
How to Use Puppeteer in Node.js (with Examples)
Contents
If you’re looking for a Node.js library that can run the browser and take screenshots of a website, save its content to a PDF file, or download images from it, try Puppeteer. As a developer, you may have come across scenarios where you have to perform these tasks programmatically for various reasons. It could be taking screenshots of your website to verify its appearance or behavior visually after a code change, saving content from another website for offline reference, or any other reasons that require you to perform these tasks repeatedly.
In all these situations, Puppeteer can be a handy tool. In this article, we’ll learn how to install the Puppeteer library in your Node.js project using npm, and use it to perform the tasks mentioned above. Let’s dive in!
What is Puppeteer
Puppeteer is an open-source Node.js library that provides a high-level API to control Chrome or Chromium over the DevTools Protocol. It can be used to run the Chrome/Chromium browser in headless mode to automate the browser and perform tasks like taking website screenshots, generating PDFs, downloading images, and more, all using code.
Although it is developed to be run on Chrome, the collaboration between Puppeteer and Mozilla to support cross-browser testing coverage for developers has made Puppeteer available on Firefox from version 2.1.0 onwards.
Pre-requisites
To use Puppeteer in Node.js, you will need to have these installed:
For reference, the versions used in this tutorial are 20.5.0 for Node.js and 9.8.0 for npm. That said, it’s not necessary to use the same versions as this tutorial.
Installing Puppeteer
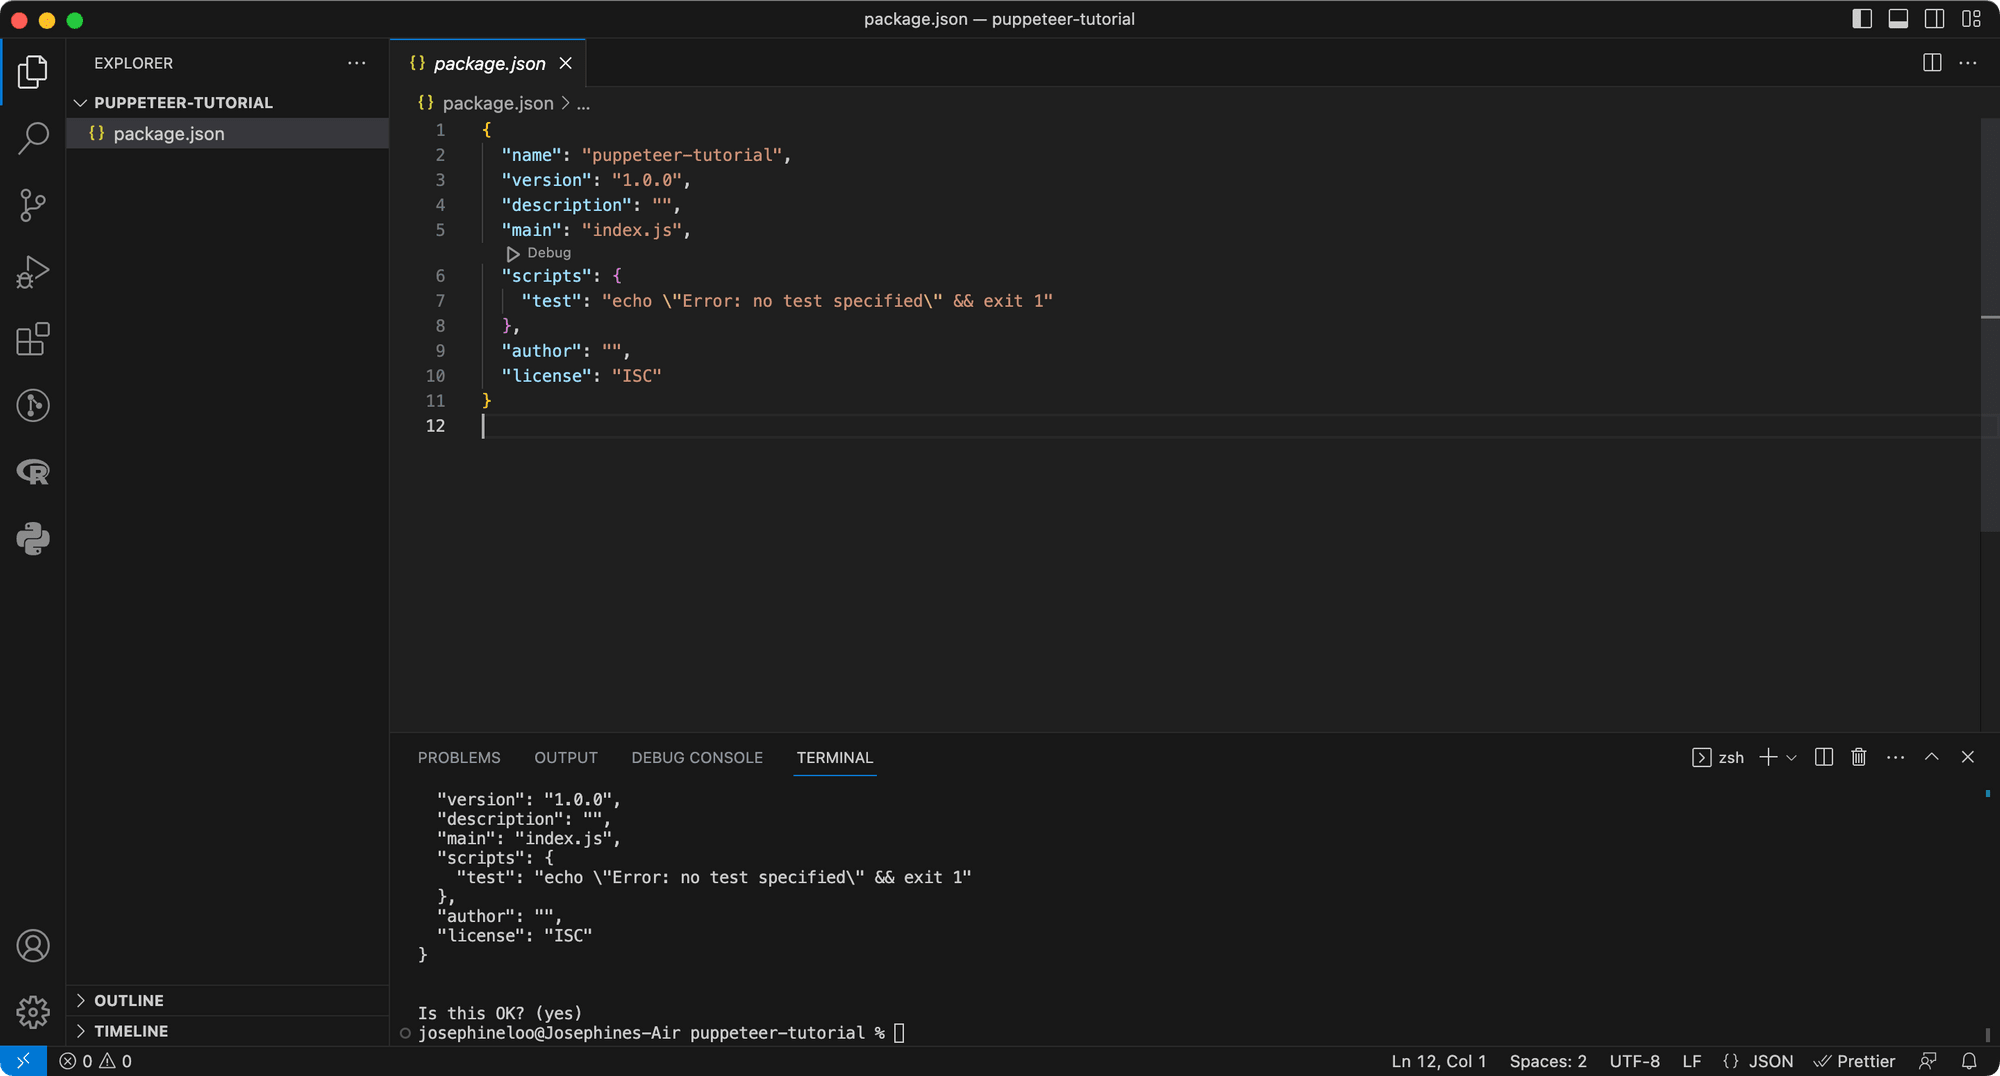
Create a new folder for your project by running the mkdir command followed by the folder name in your terminal/command prompt. The command below will create a new folder named “puppeteer-tutorial”:
mkdir puppeteer-tutorial
Then, navigate to the project directory:
cd puppeteer-tutorial
Next, initialize a new Node.js project in the folder by running the command below:
npm init
It will prompt you to input values for a few properties of the project, press enter all the way to use the default values. Otherwise, you can enter your custom values.
Once you have run through all the npm init steps, a package.json file will be generated in the project directory.
Next, run the command below to install the Puppeteer library in your Node.js project using npm:
npm i puppeteer
When you run the command above to install Puppeteer, a recent version of Chromium which is guaranteed to work with the Puppeteer API will also be downloaded automatically. You will see it in the terminal/command prompt:

Now that we have the Puppeteer library installed in our Node.js project, let's learn how to use it!
🐻 Bear Tips: You can refer to How to Run Puppeteer with Firefox to run it on Firefox too.
Using Puppeteer in Node.js
In your project directory, create a new file named “index.js”. This is where we will write our code to use Puppeteer.
In the “index.js” file, import puppeteer:
const puppeteer = require('puppeteer');
Next, create a self-invoking function. We will write our code within it to launch the browser and perform various actions using Puppeteer.
(async () => {
	// use Puppeteer here
})();
Alternatively, you can also create a function and call the function explicitly to do the same thing.
function launchPuppeteer(){
	// use Puppeteer here
}

launchPuppeteer();
Typically, we will start with launching the browser, opening a new page, and then navigating to the target URL. Then, perform various actions on the web page and close the browser when it's done.
(async () => {

    const browser = await puppeteer.launch();
    const page = await browser.newPage();
    await page.goto('https://www.bannerbear.com/');

    // perform various browser actions

    await browser.close();

})();
Let’s look at some examples…
Taking Website Screenshots
One thing that you can do with Puppeteer is to take screenshots of a website. After navigating to the target URL, we can use the page.screenshot() method to take a screenshot of the web page. We can also control the size of the screenshot by setting the viewport to specific width and height, as shown in the code below:
const puppeteer = require('puppeteer');

(async () => {

  const browser = await puppeteer.launch();
  const page = await browser.newPage();

  // Set viewport width and height
  await page.setViewport({ width: 1280, height: 720 });

  const website_url = 'https://www.bannerbear.com/blog/how-to-convert-html-into-pdf-with-node-js-and-puppeteer/';
  await page.goto(website_url, { waitUntil: 'networkidle0' });

  // Capture screenshot
  await page.screenshot({
    path: 'screenshot.jpg',
  });

  await browser.close();
})();
Here’s the result of the screenshot:
This can be useful for taking scheduled screenshots of a website automatically for archiving purposes. And by setting the viewport to different sizes, you can take screenshots of the website on different devices (eg. desktop, tablet, and mobile) with a single piece of code.
Saving HTML to PDF
Puppeteer can also be used in Node.js to save the HTML content of a web page to PDF. You can either pass the URL of the web page to Puppeteer or convert the HTML code into a PDF file directly.
Similar to taking screenshots of a website, we will first launch the browser, open a new page, and navigate to the target URL. To enhance the output in the PDF, we need to change the CSS media type to screen using page.emulateMediaType('screen'). Next, save the web page to PDF using page.pdf() with properties like path, margin, printBackground, and format:
const puppeteer = require('puppeteer');

(async () => {

    const browser = await puppeteer.launch();
    const page = await browser.newPage();
    const website_url = 'https://www.bannerbear.com/blog/how-to-download-images-from-a-website-using-puppeteer/';
    await page.goto(website_url, { waitUntil: 'networkidle0' });

    //To reflect CSS used for screens instead of print
    await page.emulateMediaType('screen');

    // Download the PDF
    const pdf = await page.pdf({
        path: 'result.pdf',
        margin: { top: '100px', right: '50px', bottom: '100px', left: '50px' },
        printBackground: true,
        format: 'A4',
    });

    await browser.close();
})();
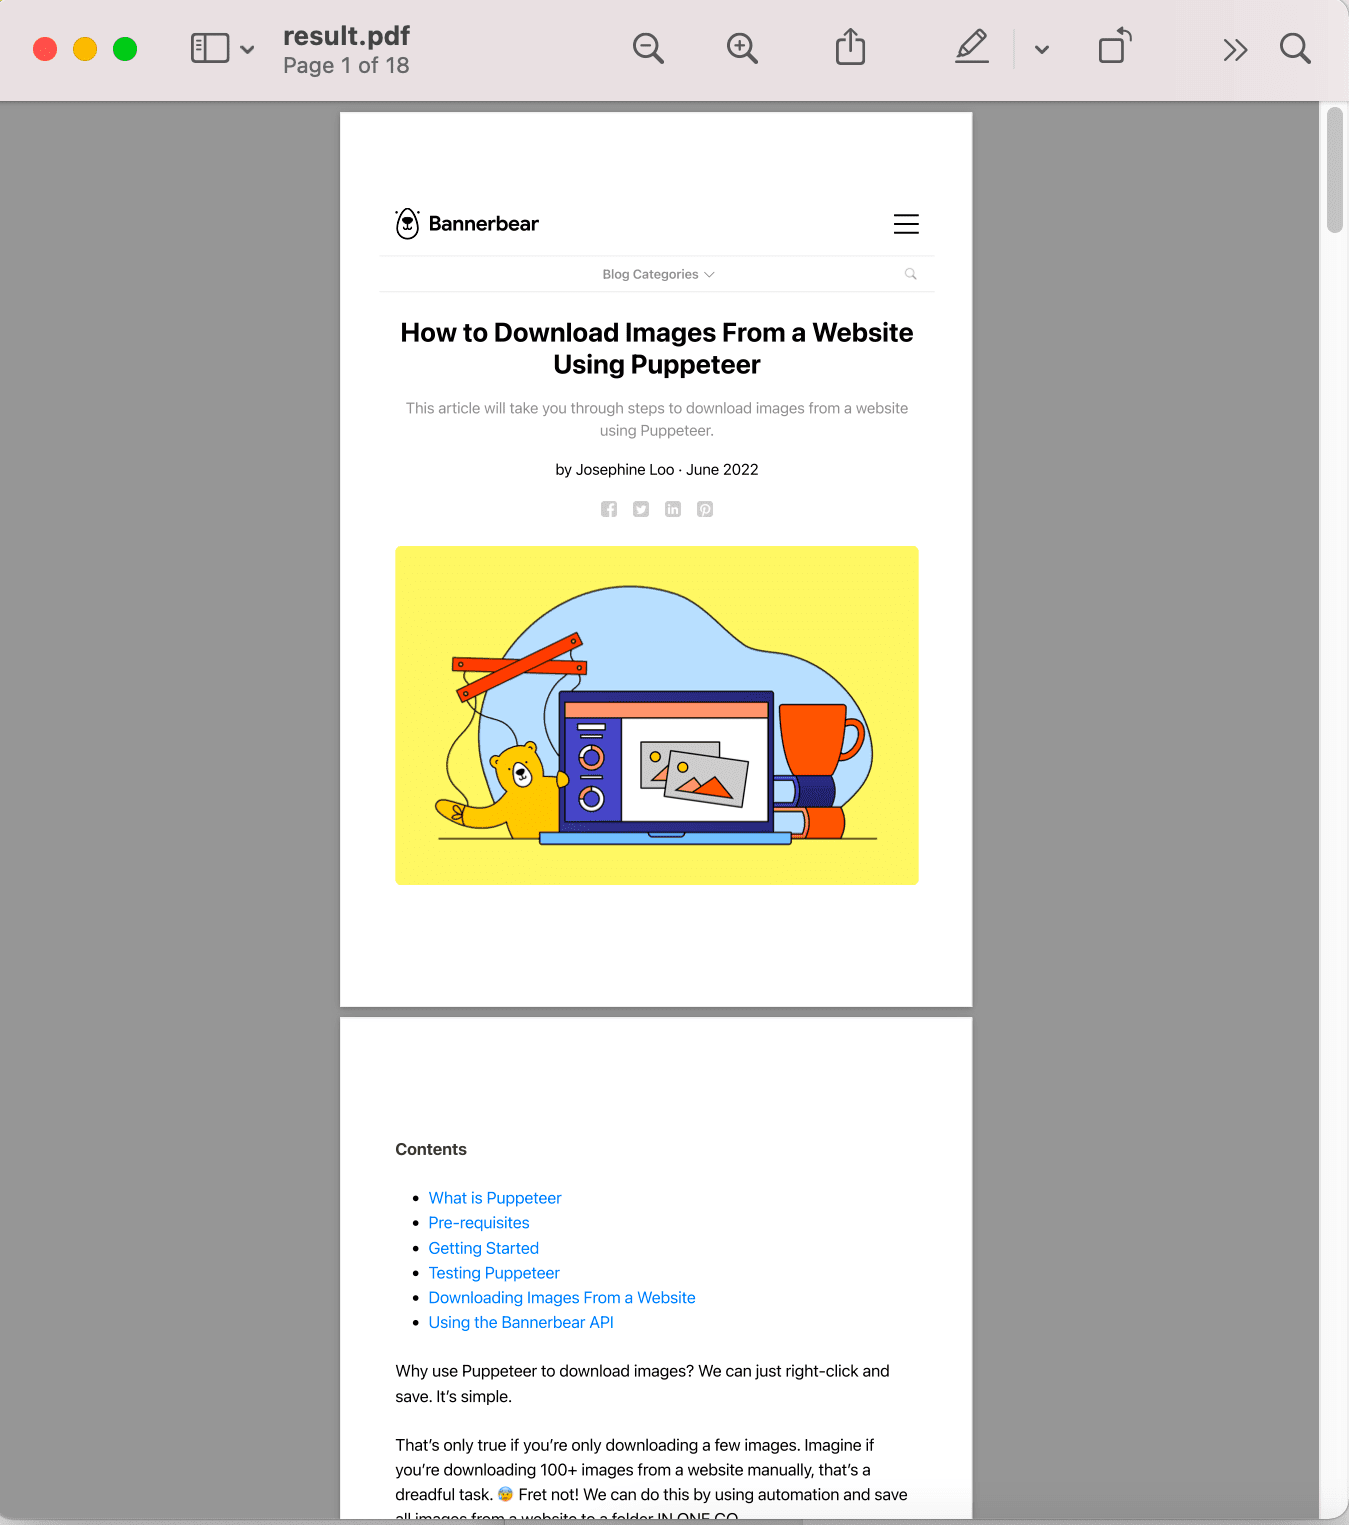
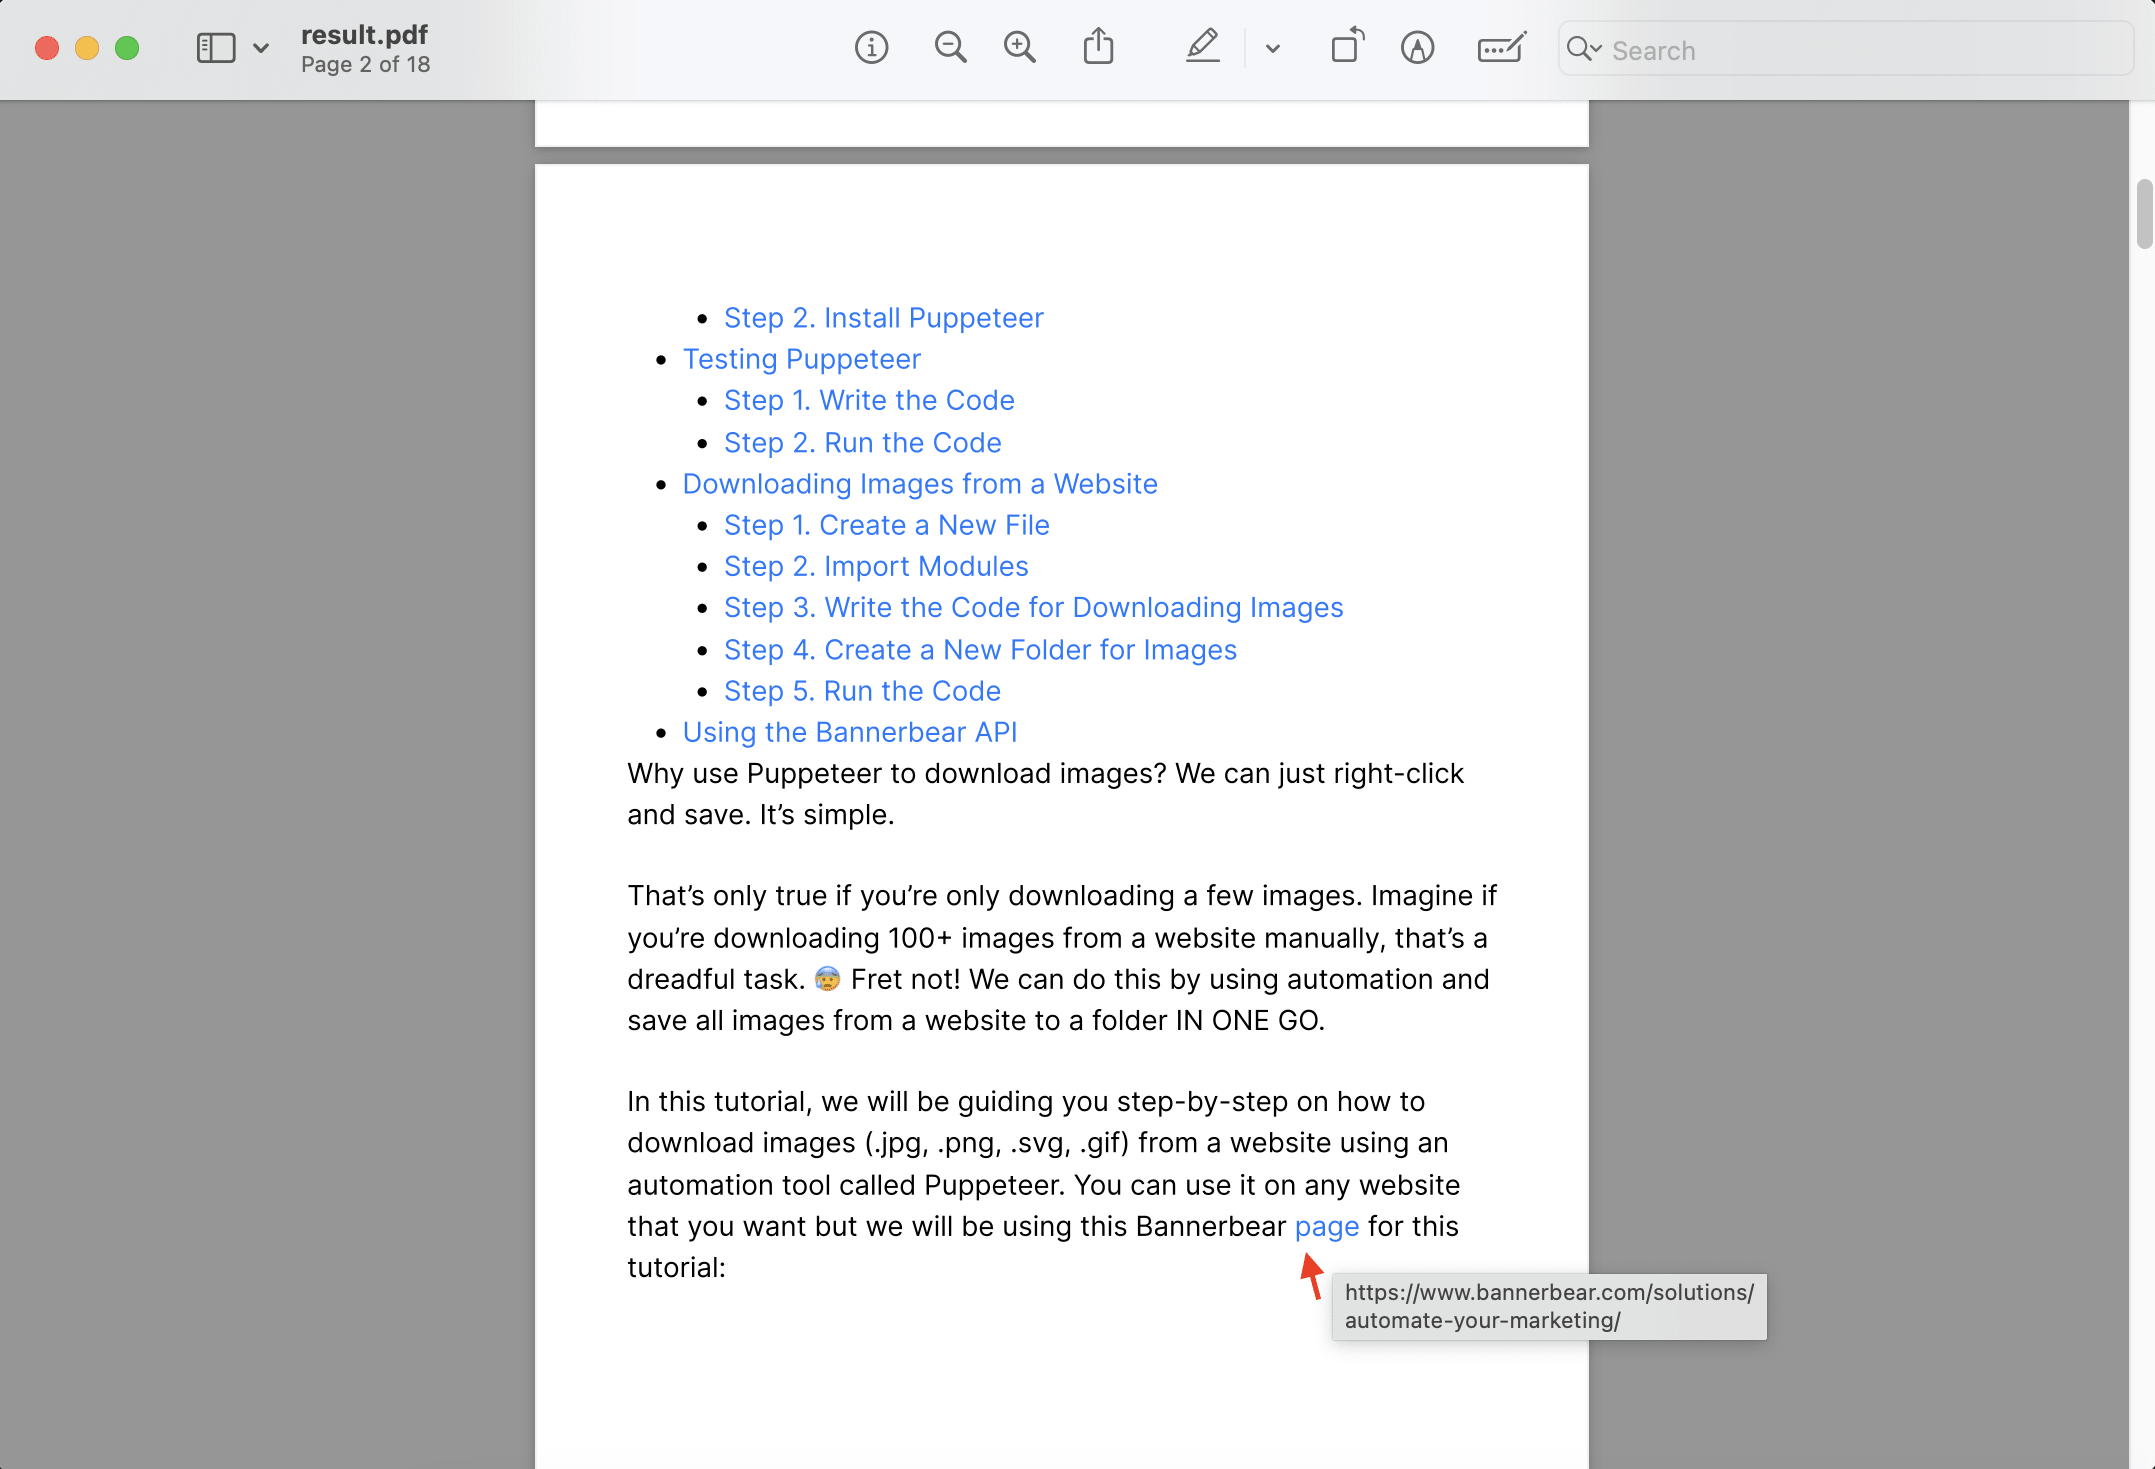
The content of the web page will be saved to a PDF file in the specified file path:
Different from taking a screenshot, saving the content of a web page in a PDF file not only saves its appearance but also preserves the links. You can click on the links on the PDF file and open them in a browser.
To convert HTML code into PDF, follow the full tutorial on How to Convert HTML into PDF with Node.js and Puppeteer.
Downloading Images
You can also use Puppeteer to download images from a web page in different formats including JPEG, PNG, SVG, and GIF. As you can listen to page events using page.on(), it allows you to listen to response and catch responses where the URL match the specified regular expression.
The code below will catch responses with URL ending with ".jpg", ".png", ".svg", or ".gif" and save them into a folder named /images after renaming them. They will be renamed to image-x, where x is an index that counts the images.
const puppeteer = require('puppeteer');
const fs = require('fs');

(async () => {

  const browser = await puppeteer.launch();
  const page = await browser.newPage();

  let counter = 0;
  page.on('response', async (response) => {
    const matches = /.*\\.(jpg|png|svg|gif)$/.exec(response.url());
    console.log(matches);
    if (matches && (matches.length === 2)) {
      const extension = matches[1];
      const buffer = await response.buffer();
      fs.writeFileSync(`images/image-${counter}.${extension}`, buffer, 'base64');
      counter += 1;
    }
  });

  await page.goto('https://www.bannerbear.com/solutions/automate-your-marketing/');

  await browser.close();
})();
Here's a screenshot of the folder with the downloaded images:
Using Bannerbear API
If you want to add a watermark to the screenshots and images, or use them to create other visual content, you can automate the process with Bannerbear. It provides a simple REST API that offers easy integration into any existing platform or app to generate designed visual content like images and videos automatically.
First, you will need a design template in your Bannerbear account like the one in the screenshot below:
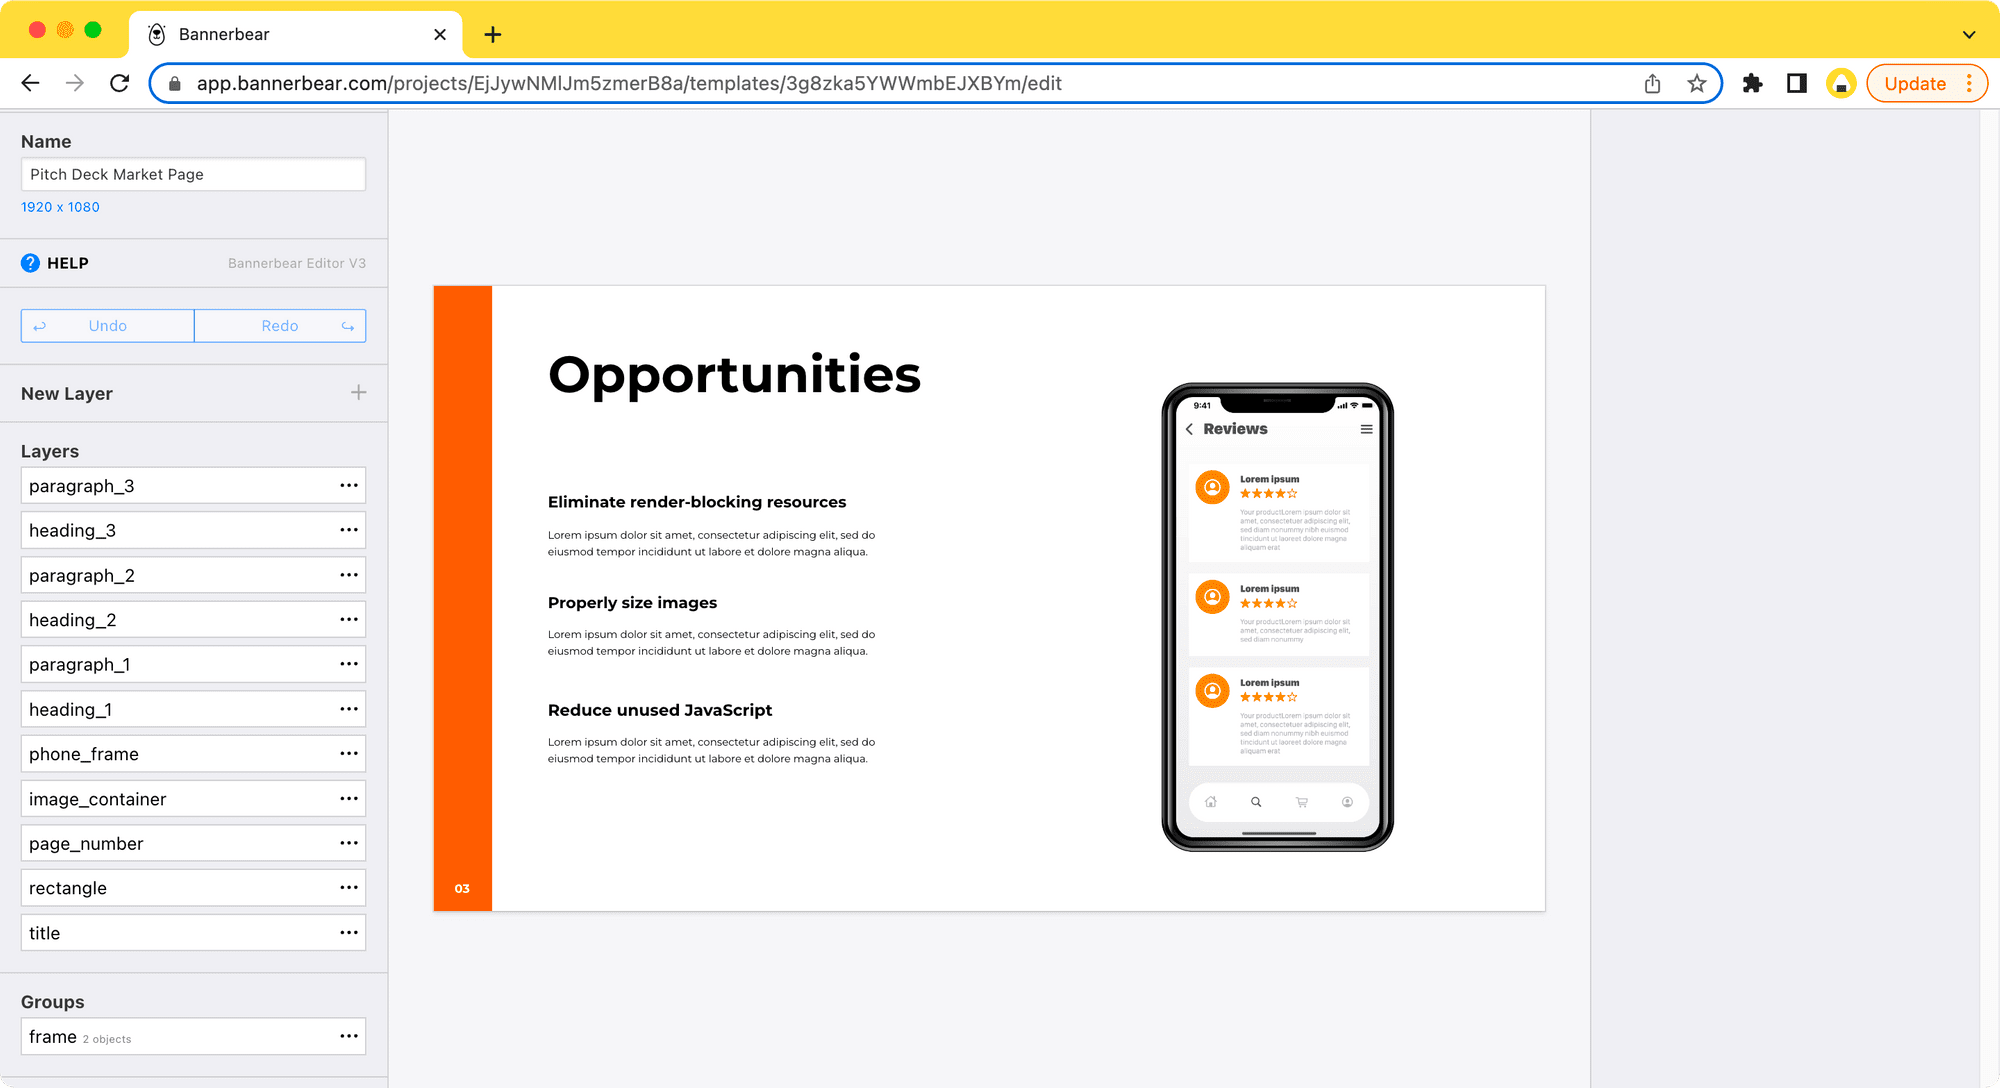
The image on the phone screen can be replaced with other images by passing their URLs to the Bannerbear API. We can integrate it into a Puppeteer task like one of the examples above by passing the images we got using Puppeteer (eg. a website screenshot) to the template, and it's all done with code.
Here's an example of the result:
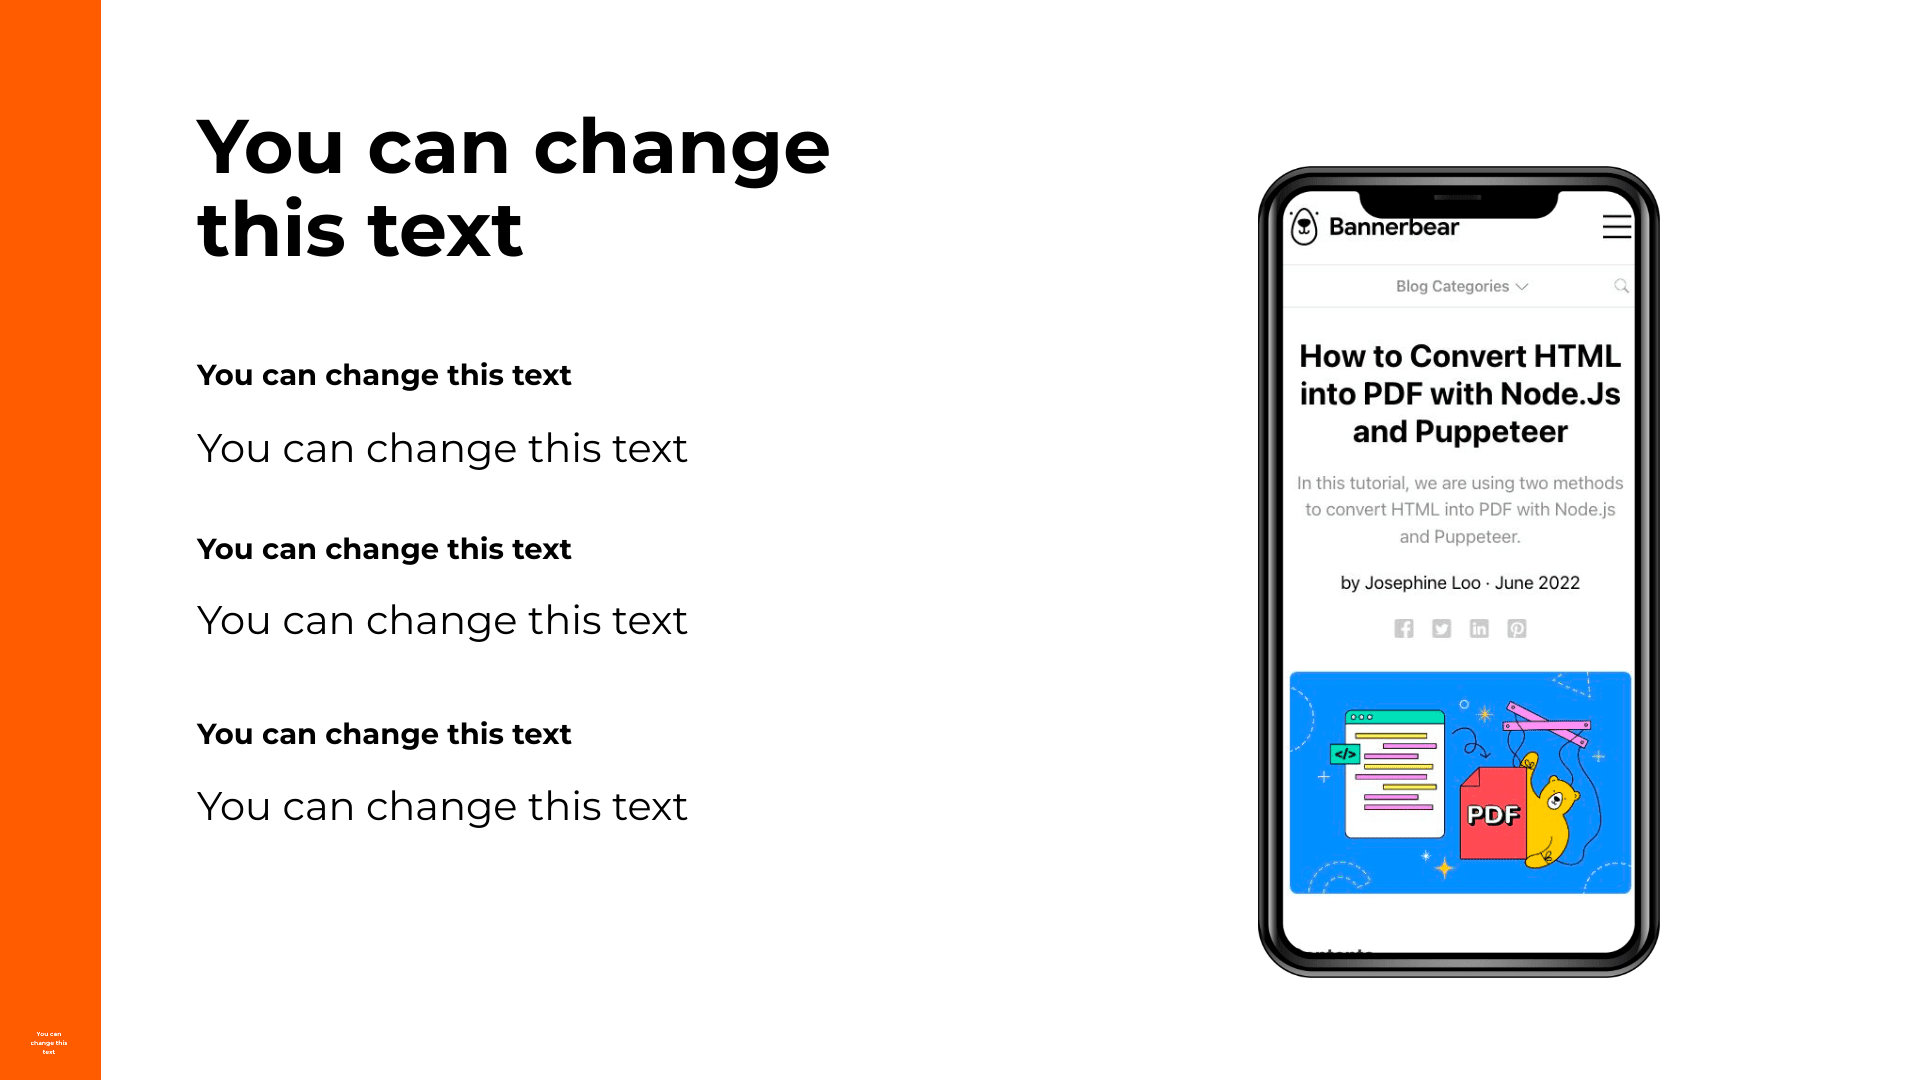
As different images can be passed to the same Bannerbear template to generate unique results, it can be useful for scenarios where you need to generate a large number of images with different content. It can save you lots of time and effort compared to designing and creating each image manually.
🐻 Bear Tips: You don't have to create the design template from scratch—duplicate one from the Template Library in seconds!
What’s Next
Now that you have learned how to use Puppeteer in Node.js to perform various tasks and how Bannerbear can be seamlessly integrated into the workflow to automate them, why not further explore how you can utilize Bannerbear?
You can start for free and follow these tutorials:
- How to Add Auto-Generated Custom Open Graph Images to WordPress Using Bannerbear
- How to Make a T-Shirt/Merchandise Mockup Generator Using Bannerbear in Node.js
- How to Make a Device Mockup Generator for Websites using Bannerbear
- How to Build a Video Thumbnail Generator Tool Using React and Bannerbear
