
How to Run Puppeteer with Firefox Instead of Chrome
Contents
When developing an application, it is important to perform cross browser testing to make sure that the application runs as intended on different browsers like Google Chrome, Firefox, Safari, etc. Although all browser vendors follow the Web Standards, each browser renders the code differently.
You can use automation tool like Puppeteer to carry out automated testing on these browsers.
What is Puppeteer
Puppeteer is a Node library that is open source and maintained by Google. It is developed to provide a high-level API to control Chrome or Chromium over Chrome DevTools Protocol.
Although Puppeteer is developed to run on Chrome, Puppeteer supports Firefox from Puppeteer v2.1.0 onwards. It is an ongoing collaboration between Puppeteer and Mozilla to support cross-browser testing coverage for developers.
Puppeteer can do most things we do manually on the browser. It is commonly used by developers to automate the browser to run website tests. Besides that, Puppeteer can also be used for other things like generating screenshots and PDFs of pages, crawling web pages, automating form submission, etc.
📣 20204 Update: Puppeteer (v22.0.0) now has experimental support for the new WebDriverBiDi protocol that can be used to automate Chrome and Firefox.
Pre-requisites
To run Puppeteer with Firefox, you will need to have these installed:
- Node.js
- npm
For reference, these are the versions used in this tutorial:
- Node.js - 14.17.3
- npm - 6.14.13
Although we will be running Puppeteer with Firefox, you don’t need to install Firefox manually. The most recent version of Firefox Nightly will be downloaded automatically when you install the Puppeteer package via npm.
Creating a New Node.js Project
Create a new puppeteer-firefox folder and go to the directory.
mkdir puppeteer-firefox
cd puppeteer-firefox
Init a new Node.js project in the folder.
npm init
It will prompt you for input for a few aspects of the project, just press enter if you want to use the default values.
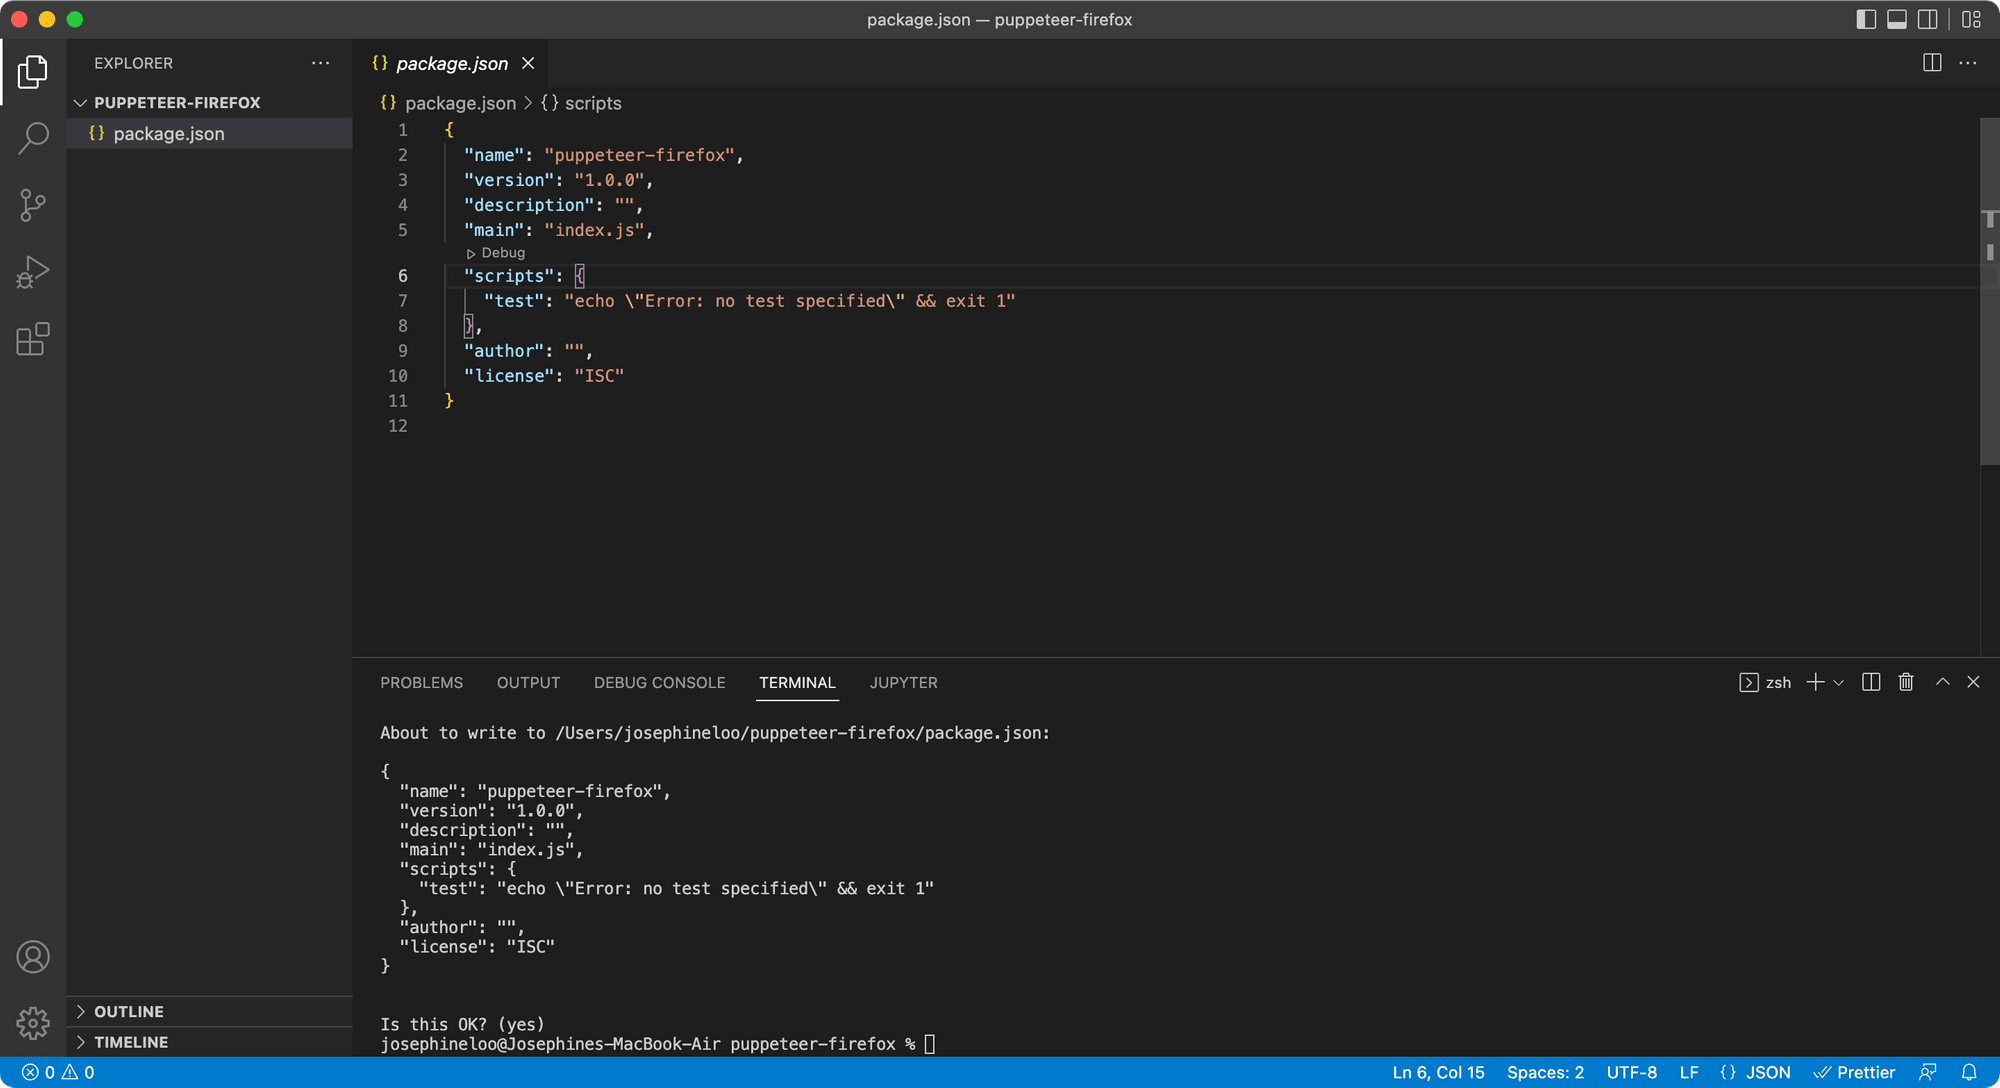
Once you run through the npm init steps above, a package.json file will be generated and placed in the current directory.
Installing Puppeteer
By default, the command for installing Puppeteer, npm i puppeteer will download the latest version of Chromium which is guaranteed to work with the Puppeteer API automatically.

To download Firefox instead, we need to set the PUPPETEER_PRODUCT environment variable to firefox before installing the Puppeteer package.
Run the command below instead of npm i puppeteer:
PUPPETEER_PRODUCT=firefox npm i puppeteer
Puppeteer will now install a recent version of Firefox Nightly instead of Chromium.

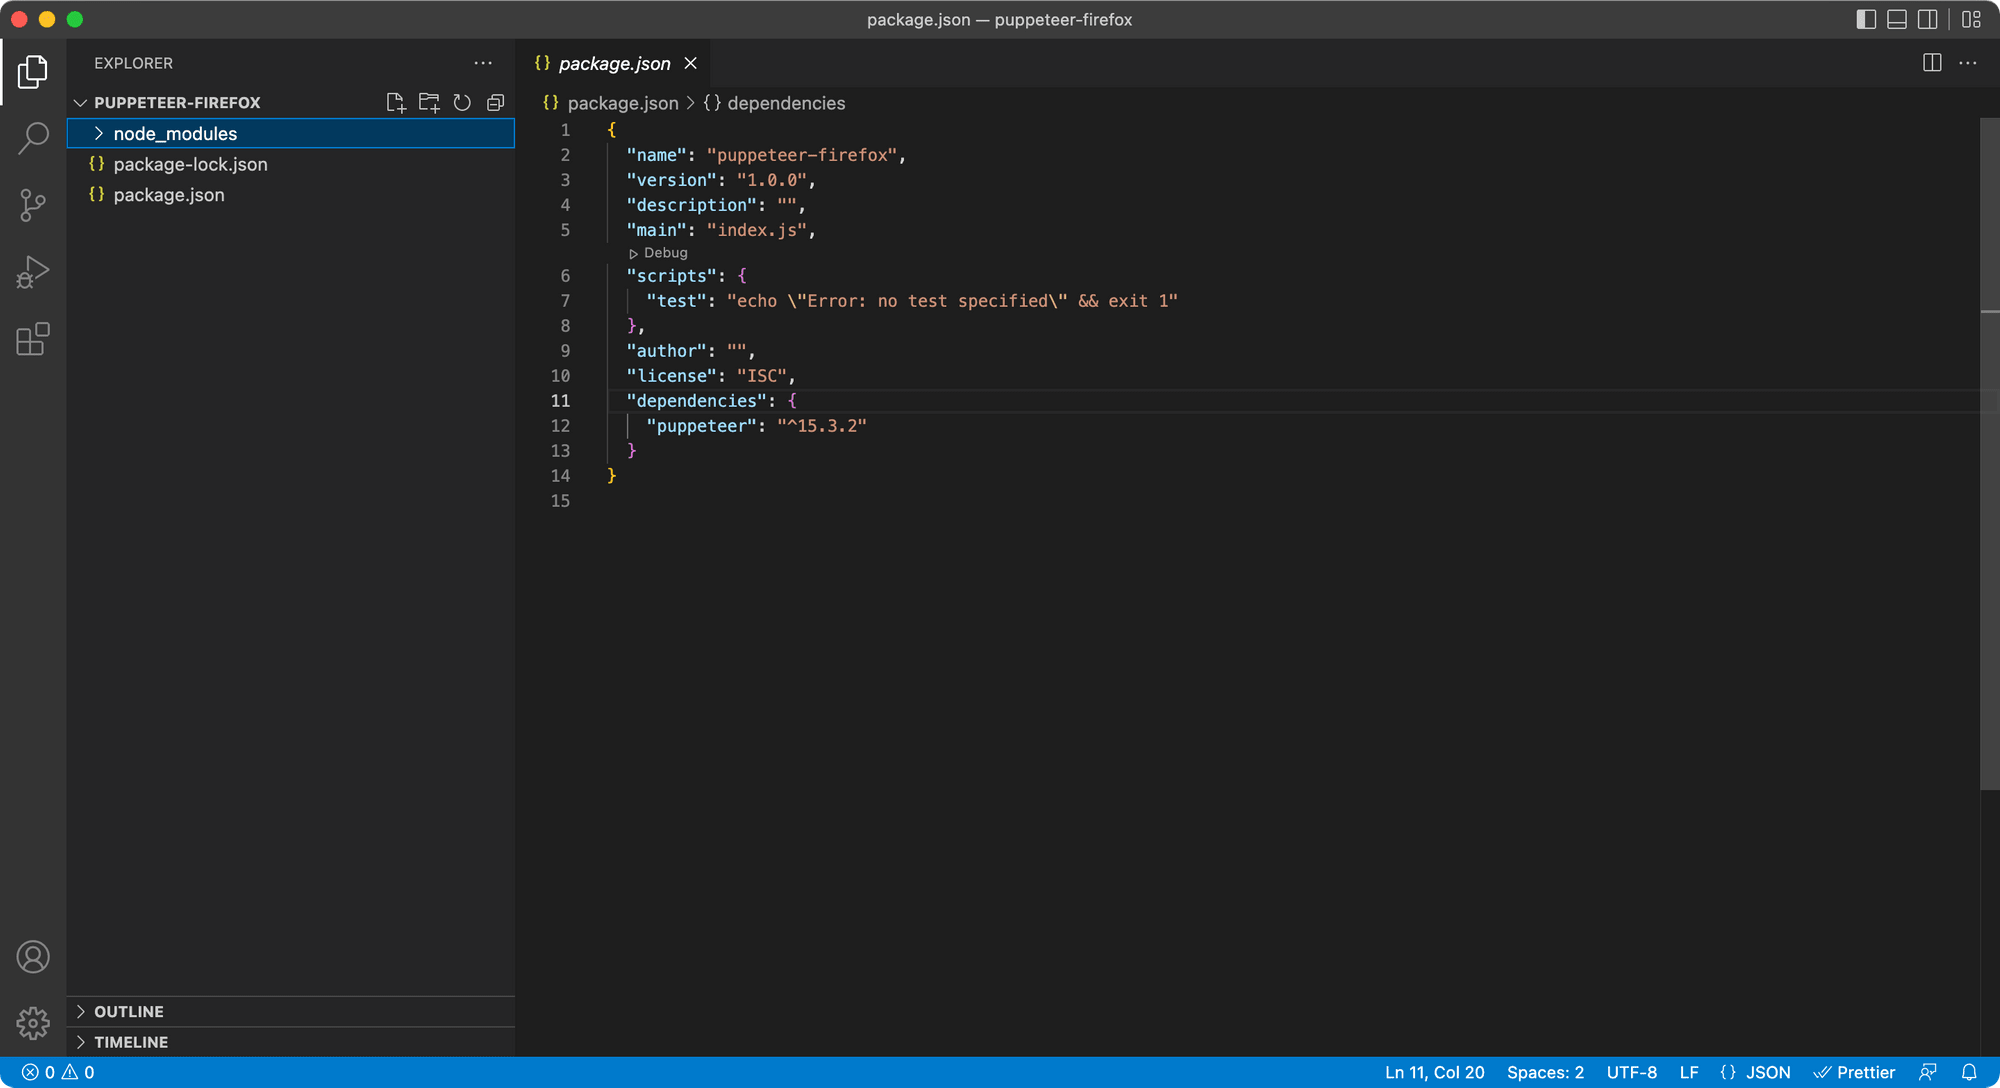
A folder named node_modules and a file named package-lock.json will also be added to your project after running the command.
Next, let’s write some code to run Puppeteer with Firefox!
Testing Puppeteer
Create a new index.js file and write the following code:
const puppeteer = require('puppeteer');

(async () => {
  const browser = await puppeteer.launch({
	product: 'firefox'
  });
  const page = await browser.newPage();
  await page.goto('https://www.bannerbear.com');
  await page.screenshot({ path: 'example.png' });

  await browser.close();
})()
📣 20204 Update: You can launch Firefox with WebDriver BiD by adding
protocol:'webDriverBiDi'to the launch options.
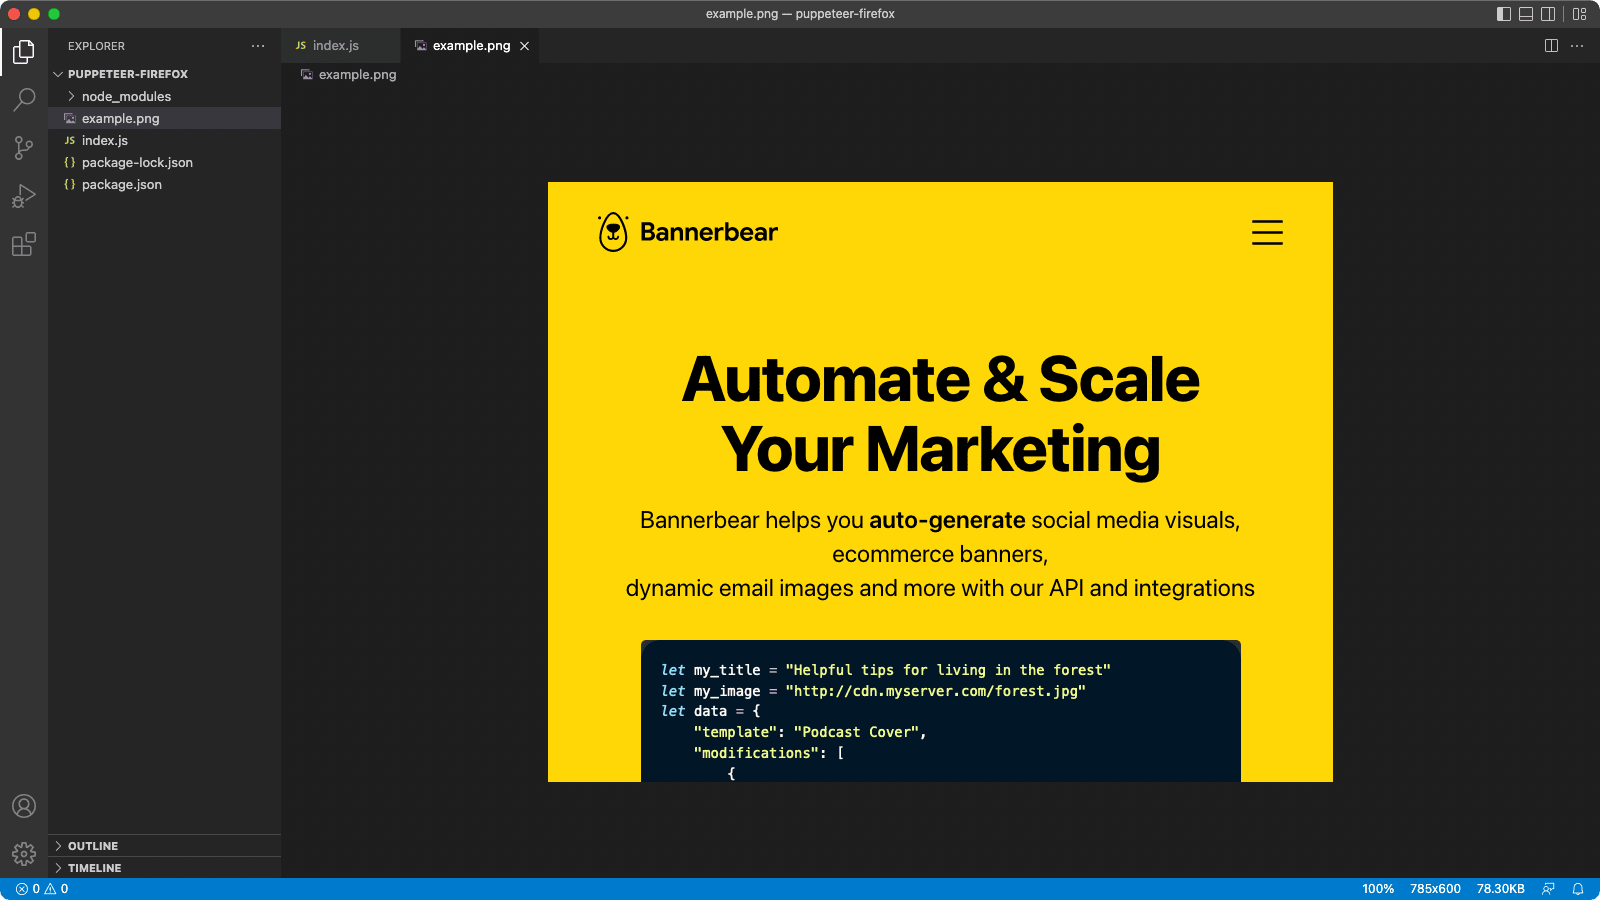
The code above creates a page in a new browser instance, navigates to Bannerbear homepage, and then saves a screenshot.
Puppeteer runs headless by default. You will not see the Firefox browser being launched. If you want to watch Puppeteer running with Firefox, you can set the headless option to false in puppeteer.launch().
const browser = await puppeteer.launch({
    product: 'firefox',
    headless: false
});
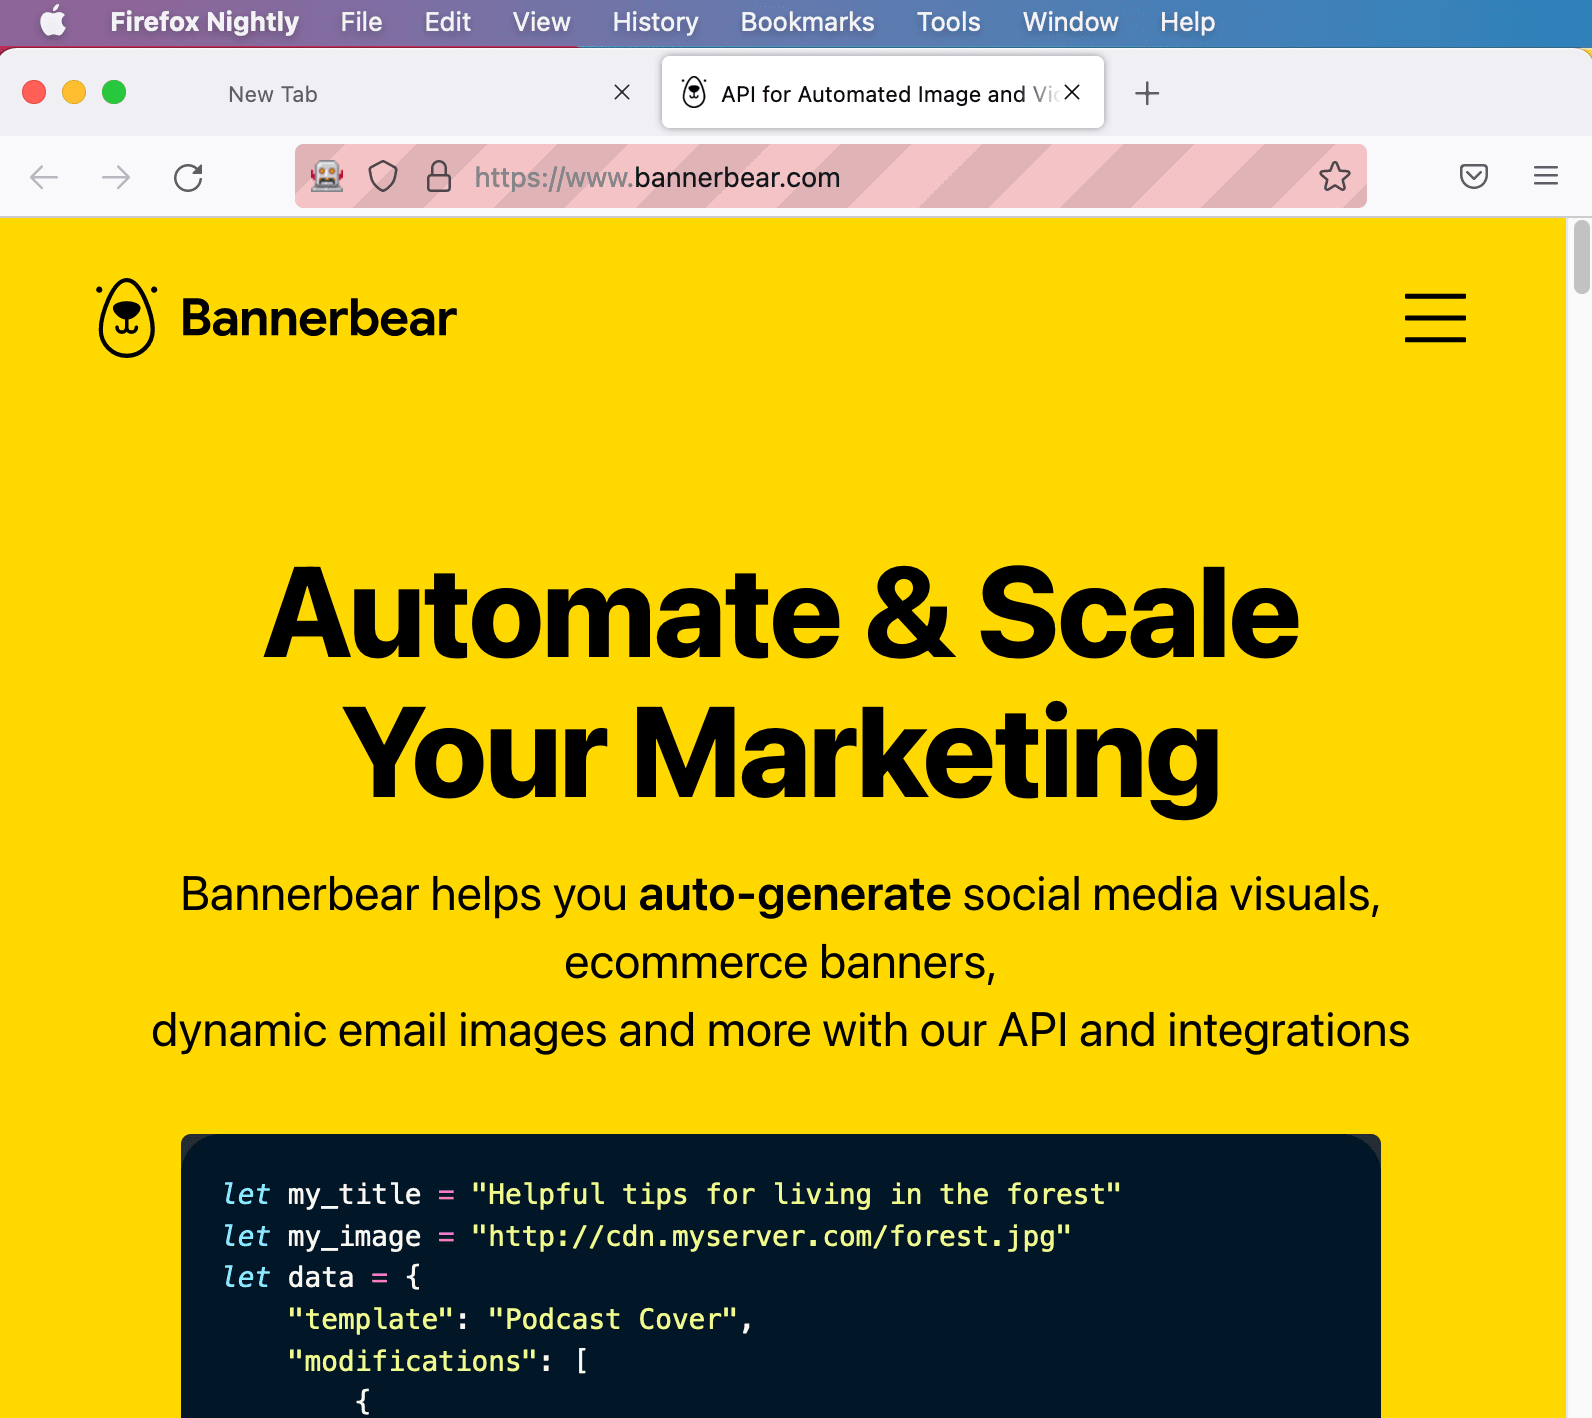
You can see that a Firefox Nightly window is launched and the URL in the code is visited.
Using Firefox with an Existing Puppeteer Project
If you have an existing project which uses the default Chromium to run Puppeteer, you can change it to run with Firefox without creating a new project.
Here are some Puppeteer tutorials which run Puppeteer with the default Chromium browser:
- How to Take Screenshots with Puppeteer
- How to Convert HTML into PDF with Node.js and Puppeteer
- How to Download Images from a Website Using Puppeteer
Let’s try using the example from How to Take Screenshots with Puppeteer with Firefox. If you are following the steps from the tutorial, you need some extra steps to run it with Firefox:
Step 1. Delete the /puppeteer Folder
First, you need to delete the /puppeteer folder from your /node_modules folder.
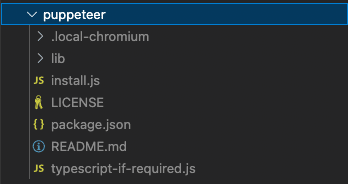
The Chromium browser is downloaded in the /node_modules/puppeteer folder when you install the Puppeteer package. Firefox Nightly might not be downloaded if there is an existing /puppeteer folder with Chromium downloaded.
Step 2. Install Puppeteer (Firefox Nightly)
Next, run the command below to set the PUPPETEER_PRODUCT environment variable to firefox and install Puppeteer:
PUPPETEER_PRODUCT=firefox npm i
As puppeteer is already added to package.json, we can run npm i.
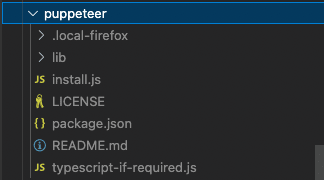
The latest version of Firefox Nightly should be downloaded during the installation.

You can check it in the /node_modules/puppeteer folder.
Although Firefox Nightly is installed, Puppeteer still runs Chromium by default. If you execute the code by running node index.js, you will run into an error that states that the expected browser (chrome) could not be found:

To run Puppeteer with Firefox Nightly, we needed to modify the code.
Step 3. Modify the Original Code
This is the original code for taking a simple screenshot with Puppeteer:
const puppeteer = require('puppeteer');

(async () => {
  // Create a browser instance
  const browser = await puppeteer.launch();

  // Create a new page
  const page = await browser.newPage();

  // Set viewport width and height
  await page.setViewport({ width: 1280, height: 720 });

  const website_url = 'https://www.bannerbear.com/blog/how-to-convert-html-into-pdf-with-node-js-and-puppeteer/';

  // Open URL in current page
  await page.goto(website_url, { waitUntil: 'networkidle0' });

  // Capture screenshot
  await page.screenshot({
    path: 'screenshot.jpg',
  });

  // Close the browser instance
  await browser.close();
})();
First, we need to add {product: ‘firefox’} in puppeteer.launch() when creating a browser instance. This will set Puppeteer to run with Firefox.
const browser = await puppeteer.launch({
  product: 'firefox'
});
Then, we need to change the value for waitUntil. The original value is set to networkidle0 to ensure that there are no more than 0 network connections for at least 500ms before the navigation is considered to be finished.
As networkidle0 is not supported in Firefox currently, we need to change it to other values such as ‘load’ or ‘domcontentloaded’.
await page.goto(website_url, { waitUntil: 'domcontentloaded' });
Run node index.js again to execute the code. It should run without error now.
As Firefox’s support for Puppeteer is limited, you might run into unexpected errors when running Puppeteer with Firefox. Some of the errors only occur in Firefox.
You can check Puppeteer’s official Github Issues to check whether there is a solution for your error.
Puppeteer Project Idea
Now that you can take screenshots using Puppeteer, you can use Puppeteer to generate a custom Open Graph image automatically.
For example, this is a custom Open Graph image of Ruby on Rail's Github repo which is generated automatically using Puppeteer:
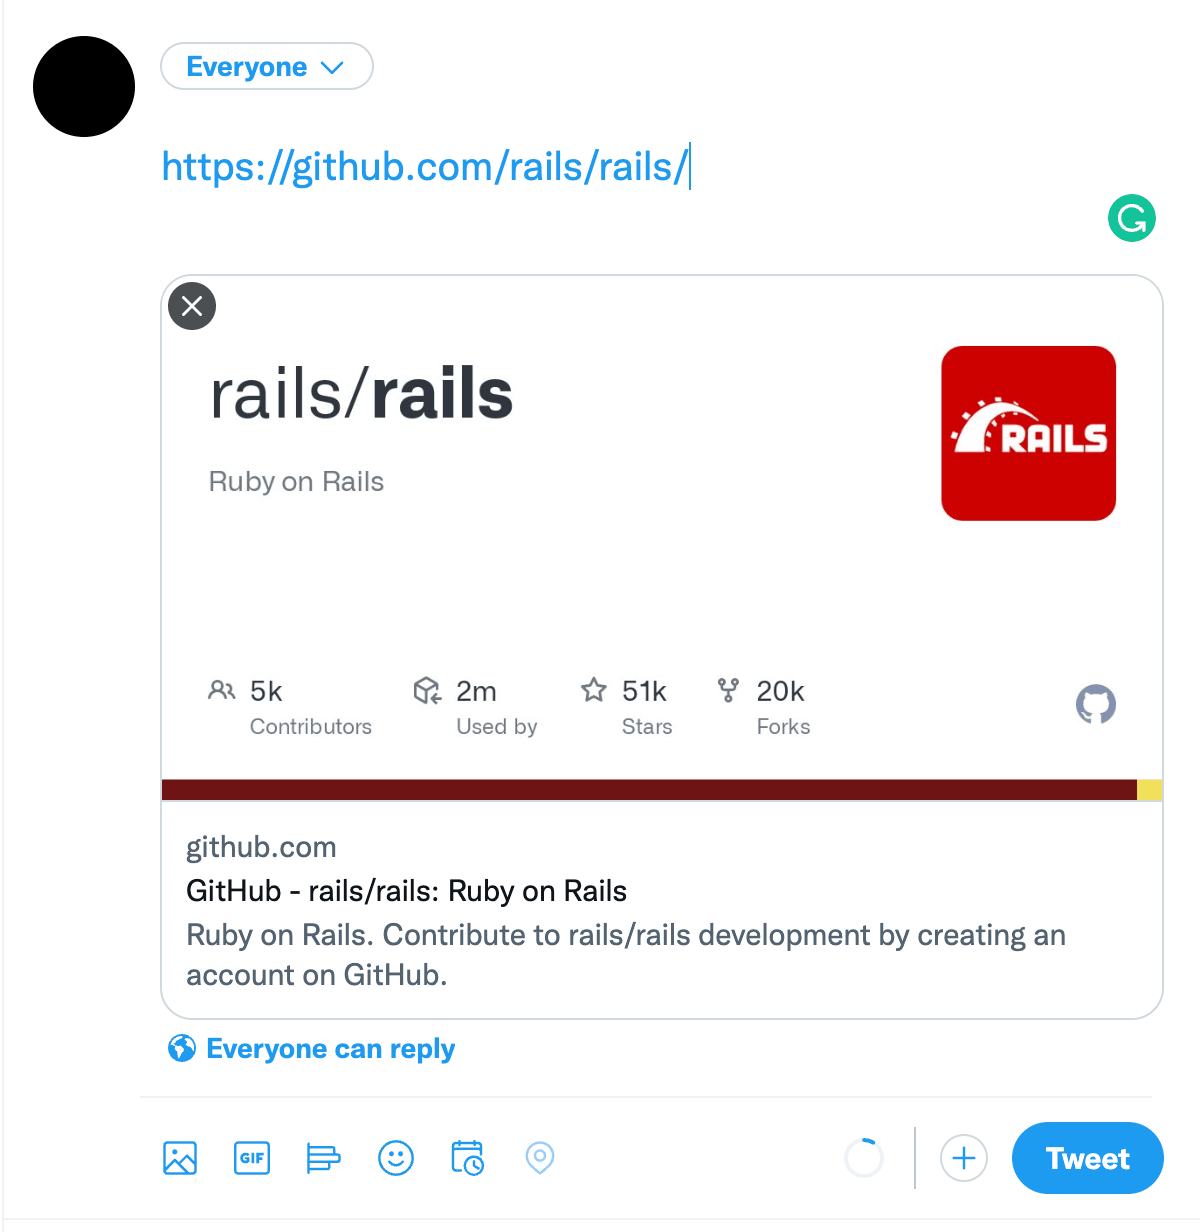
Rather than displaying a simple image, the Open Graph image above has the Github repo's name and statistics on it.
Github has explained how their Open Graph image generator works in detail on their blog. First, the image is generated using the repo data and some HTML templates. Then, Puppeteer is used to take a screenshot of the HTML.
It is a great idea to generate a custom Open Graph image when sharing a URL on social medias. The information on the image is capable of grabbing users’ attention and providing more context about the content of the URL.
However, more effort might be needed to create a design in HTML if the design or layout is complex. The code will also need to be updated everytime when there's a change in the design.
If you're interested in other ways to generate an Open Graph image automatically, here are some articles that you can read:
