
How to Convert HTML into PDF with Node.Js and Puppeteer
Contents
Puppeteer is a really powerful browser automation tool that can be used for many different purposes. In this tutorial, we are going to use Puppeteer to convert HTML into PDF. Puppeteer can convert the HTML content of a web page using its URL or convert an HTML file directly into PDF. We are going to do both in this tutorial and it’s going to be a bit long, so let’s jump right into it!
What Is Puppeteer
Puppeteer is a Node library that provides a high-level API to control Chrome or Chromium over the DevTools Protocol. It is very useful for automating the Chrome browser to run website tests. Puppeteer runs headless by default, which means you won’t see the browser running but it can be configured to run full (non-headless) Chrome or Chromium.
Getting Started
Step 1. Create a New Node.js Project
Create a new folder for your project and go to the directory.
mkdir html-to-pdf
cd html-to-pdf
Init a new Node.js project in the folder.
npm init
It will prompt you for input for a few aspects of the project, just press enter if you want to use the default values.
Once you run through the npm init steps above, a package.json file will be generated and placed in the current directory.

Step 2. Install Puppeteer
Run the command below to install Puppeteer.
npm i puppeteer
A folder named node_modules and a file named package-lock.json will be added to your project after running the command.
When you run the command above to install Puppeteer, a recent version of Chromium which is guaranteed to work with the Puppeteer API is also downloaded.

Step 3. Create a New File
In the same project, create index.js file. This is where we will be writing our code to convert HTML into PDF.
Step 4. Import Puppeteer
Inside the index.js file, import puppeteer.
const puppeteer = require('puppeteer');
Method 1: Downloading PDF from a Web Page Using URL
We will start with writing code for converting the HTML content of a web page into a PDF using its URL and we will be using this page for this tutorial: How to Download Images From a Website Using Puppeteer.
Note : We will write the code in a self-invoking function.
Step 1. Create a Browser Instance and a New Page
First, a Chrome browser instance is created in headless mode (Puppeteer runs headless by default, we don’t have to state it in the parameter). Then, a new page is created and it will navigate to the URL stated in the website_url variable.
// Create a browser instance
const browser = await puppeteer.launch();

// Create a new page
const page = await browser.newPage();

// Website URL to export as pdf
const website_url = 'https://www.bannerbear.com/blog/how-to-download-images-from-a-website-using-puppeteer/';
Note : PDF generation is currently only supported in Chrome headless.
Step 2. Navigate to a URL
Then, we will call the page.goto() method with { waitUntil: 'networkidle0' } to open the URL in current page.
// Open URL in current page
await page.goto(website_url, { waitUntil: 'networkidle0' });
The value of waitUntil determines whether the navigation is considered to be successful. The default value is load, where the navigation is considered to be finished when the load event is fired but we want to wait until there are no more than 0 network connections for at least 500ms by using the value networkidle0. Alternatively, networkidle2 can be used to consider successful navigation when there are no more than 2 network connections for at least 500ms. Besides these values, domcontentloaded is also another option, and we will use this when generating a PDF directly from an HTML file later.
Step 3. Configure the Output
By default, page.pdf() generates a PDF of the page with print CSS media. To generate a PDF of the web page which is similar to what we see on screen, we will use the screen media. Add page.emulateMediaType('screen') before downloading the PDF:
//To reflect CSS used for screens instead of print
await page.emulateMediaType('screen');
Step 4. Download the PDF
Next, call page.pdf() to download the PDF with these options passed to the method:
// Downlaod the PDF
const pdf = await page.pdf({
  path: 'result.pdf',
  margin: { top: '100px', right: '50px', bottom: '100px', left: '50px' },
  printBackground: true,
  format: 'A4',
});
path
This is the file path where the PDF will be saved and it’s mandatory in this tutorial. The file won’t be saved to the disk and we will get a buffer instead if we don’t state the path.
margin
The output PDF does not have a page border by default. You can add margins to the file to add page border to your PDF.
printBackground
This parameter prints the background graphics of the web page and the default value is false. You might want to set this to true as some of the images will be missing in the PDF if it is set to false.
format
This is the paper format of the PDF file and the default value is “letter" but you can set it to “a4” like the example in this tutorial.
For more available options, you can refer to the official Puppeteer documentation.
Step 5. Close the Browser
Finally, close the browser instance after the PDF has been downloaded.
// Close the browser instance
await browser.close();
Our completed code looks like this:
const puppeteer = require('puppeteer');

(async () => {

  // Create a browser instance
  const browser = await puppeteer.launch();

  // Create a new page
  const page = await browser.newPage();

  // Website URL to export as pdf
  const website_url = 'https://www.bannerbear.com/blog/how-to-download-images-from-a-website-using-puppeteer/';

  // Open URL in current page
  await page.goto(website_url, { waitUntil: 'networkidle0' });

  //To reflect CSS used for screens instead of print
  await page.emulateMediaType('screen');

// Downlaod the PDF
  const pdf = await page.pdf({
    path: 'result.pdf',
    margin: { top: '100px', right: '50px', bottom: '100px', left: '50px' },
    printBackground: true,
    format: 'A4',
  });

  // Close the browser instance
  await browser.close();
})();
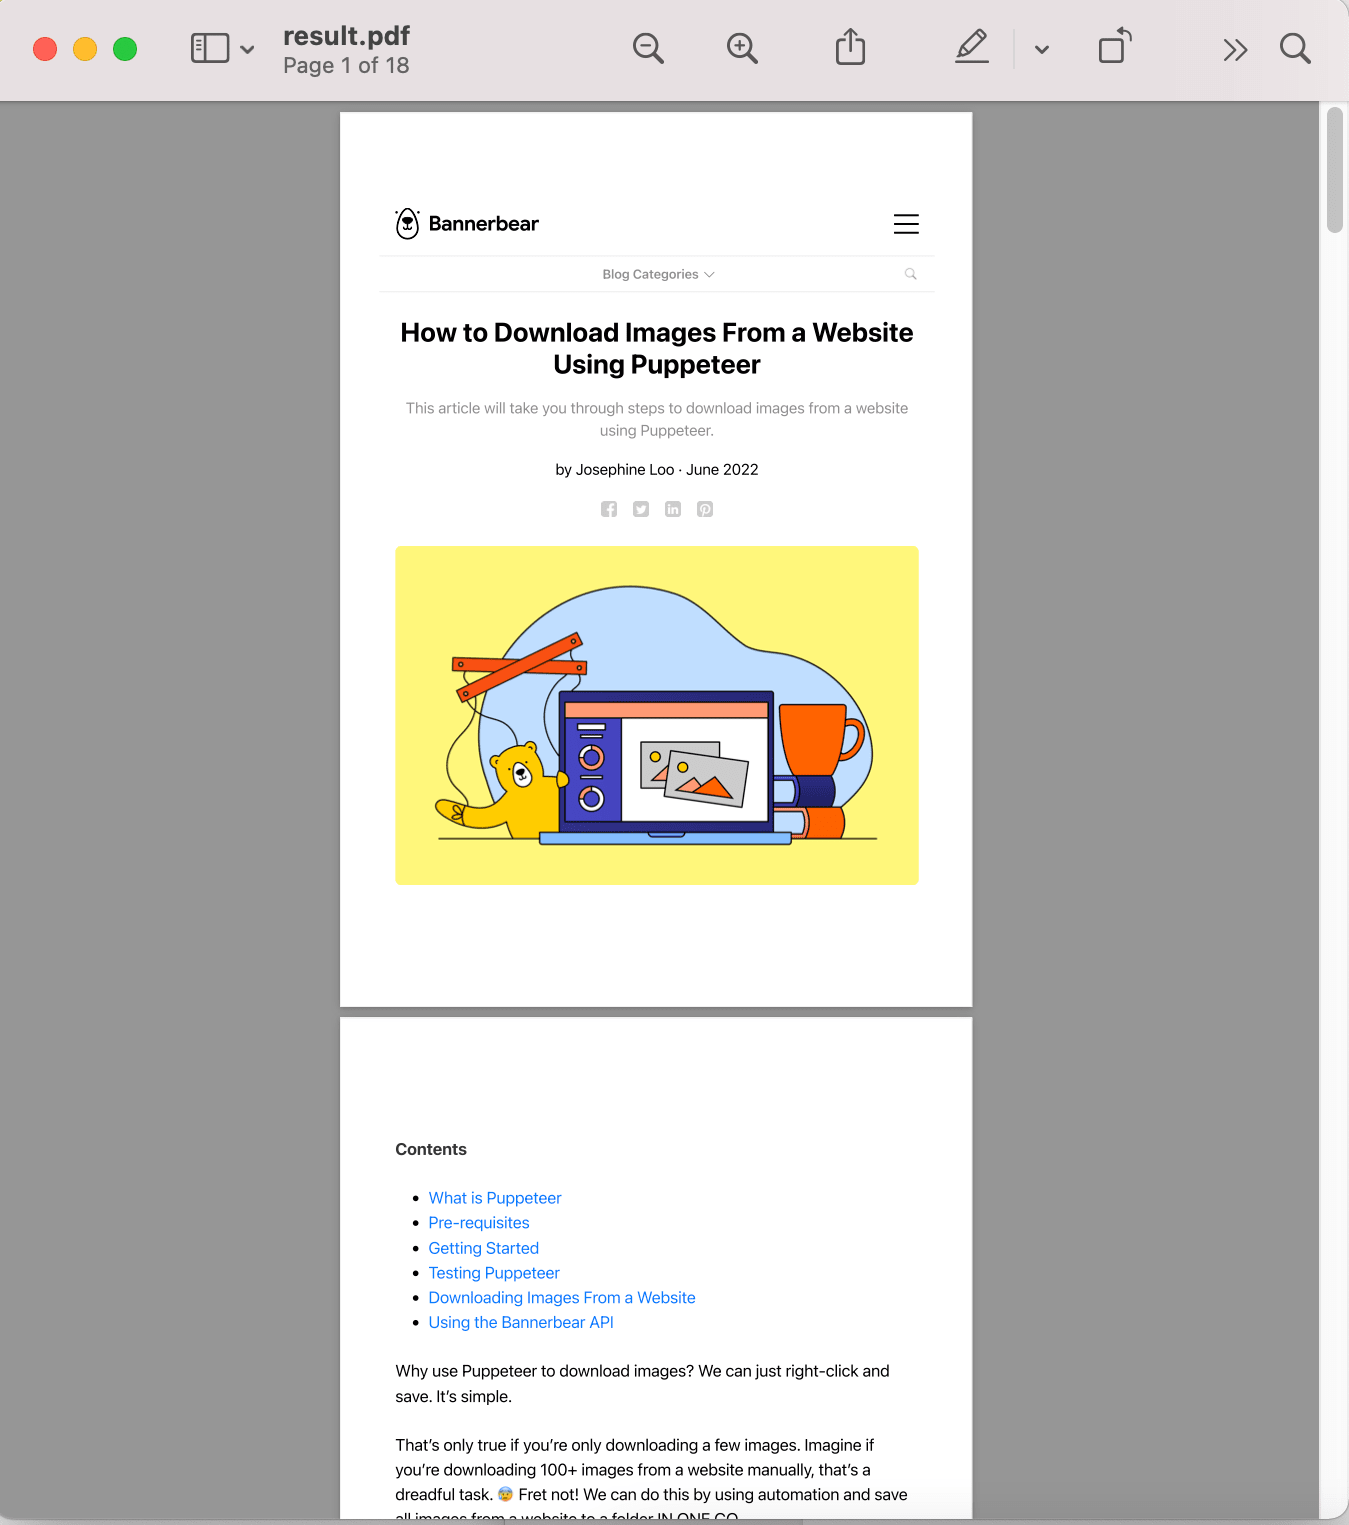
Run node index.js and you will have the web page saved to the path that you have stated in PDF format:
Next, we will tweak the code a bit to download PDF from an HTML file directly.
Method 2: Downloading PDF from an HTML File
You can create another file to write this code or you can write it in the index.js file to replace the previous code. Another option is to write both in the same file and run node index.js with an argument to decide which method to use. We will do this later but for now, we are going to write this code separately from the previous one.
Step 1. Import the File System Module
Similar to the previous example, we need to import puppeteer. We will also need to import the fs module to read the HTML file from your file system.
const puppeteer = require('puppeteer');
const fs = require('fs');
Step 2. Modify the Code
The rest of the code is the same as the previous example except for this part where the Puppeteer will navigate to the URL:
// Website URL to export as pdf
const website_url = 'https://www.bannerbear.com/blog/how-to-download-images-from-a-website-using-puppeteer/';

// Open URL in current page
await page.goto(website_url, { waitUntil: 'networkidle0' });
We want to replace the code above with this:
//Get HTML content from HTML file
const html = fs.readFileSync('sample.html', 'utf-8');
await page.setContent(html, { waitUntil: 'domcontentloaded' });
The code above will read the “sample.html” file from your current directory and set it as the content of the page opened by Puppeteer. The navigation is considered to be finished when the DOMContentLoaded event is fired by using the value domcontentloaded for the waitUntil option.
sample.html
<!DOCTYPE html>
<html>
<head>
    <title>HTML content</title>
</head>
<body>
    <h1>Sample</h1>
    <div>
        <p>
        </p><ul>
            <li>Lorem ipsum dolor sit amet, consectetur adipiscing elit.</li>
            <li>Integer interdum felis nec orci mattis, ac dignissim mauris commodo.</li>
        </ul>
        <p></p>
        <p>
        </p><ul>
            <li>In et augue non turpis faucibus tincidunt a et lectus.</li>
            <li>Nulla congue nisi vel diam hendrerit, at pulvinar massa aliquam.</li>
        </ul>
        <p></p>
    </div>

    <h1>Ipsum Paragraphs</h1>
    <div>
        <p>
            Lorem ipsum dolor sit amet, consectetur adipiscing elit. Maecenas sit amet magna turpis. Donec a tellus in mi pharetra volutpat at et nulla. Aenean porttitor fringilla diam et pretium. Fusce id velit mauris. Aenean ultrices orci dolor, sed tristique eros molestie eget. Fusce non ultrices odio. Sed nisi ex, porttitor non fermentum eu, rutrum quis mauris. Morbi scelerisque sollicitudin semper. Nunc vitae pharetra tortor, vel gravida ante. Integer euismod velit nisi, quis sollicitudin neque dictum nec. Morbi magna nulla, scelerisque a malesuada at, scelerisque at quam. Aliquam sit amet lorem congue, pellentesque metus non, aliquet purus. Integer a metus augue. Ut venenatis cursus ante, sed venenatis quam consequat id. Fusce rhoncus elementum felis, eu volutpat magna lacinia id. Proin ac sagittis nulla, a molestie turpis.
        </p>
        <p>
            Praesent sagittis leo ac congue faucibus. Phasellus pellentesque faucibus nisl fringilla pharetra. Morbi iaculis mollis viverra. Etiam eget lectus ac eros finibus cursus. Sed sed odio ac nisi semper tempus. Nam semper congue dui quis dictum. Nullam molestie vehicula mi, ac faucibus augue cursus vitae. Praesent orci lectus, tempor non enim a, accumsan volutpat mi. Donec tempus faucibus nisi quis mollis. Duis vestibulum risus id purus dignissim, euismod tristique libero volutpat.
        </p>
    </div>
</body>

</html>
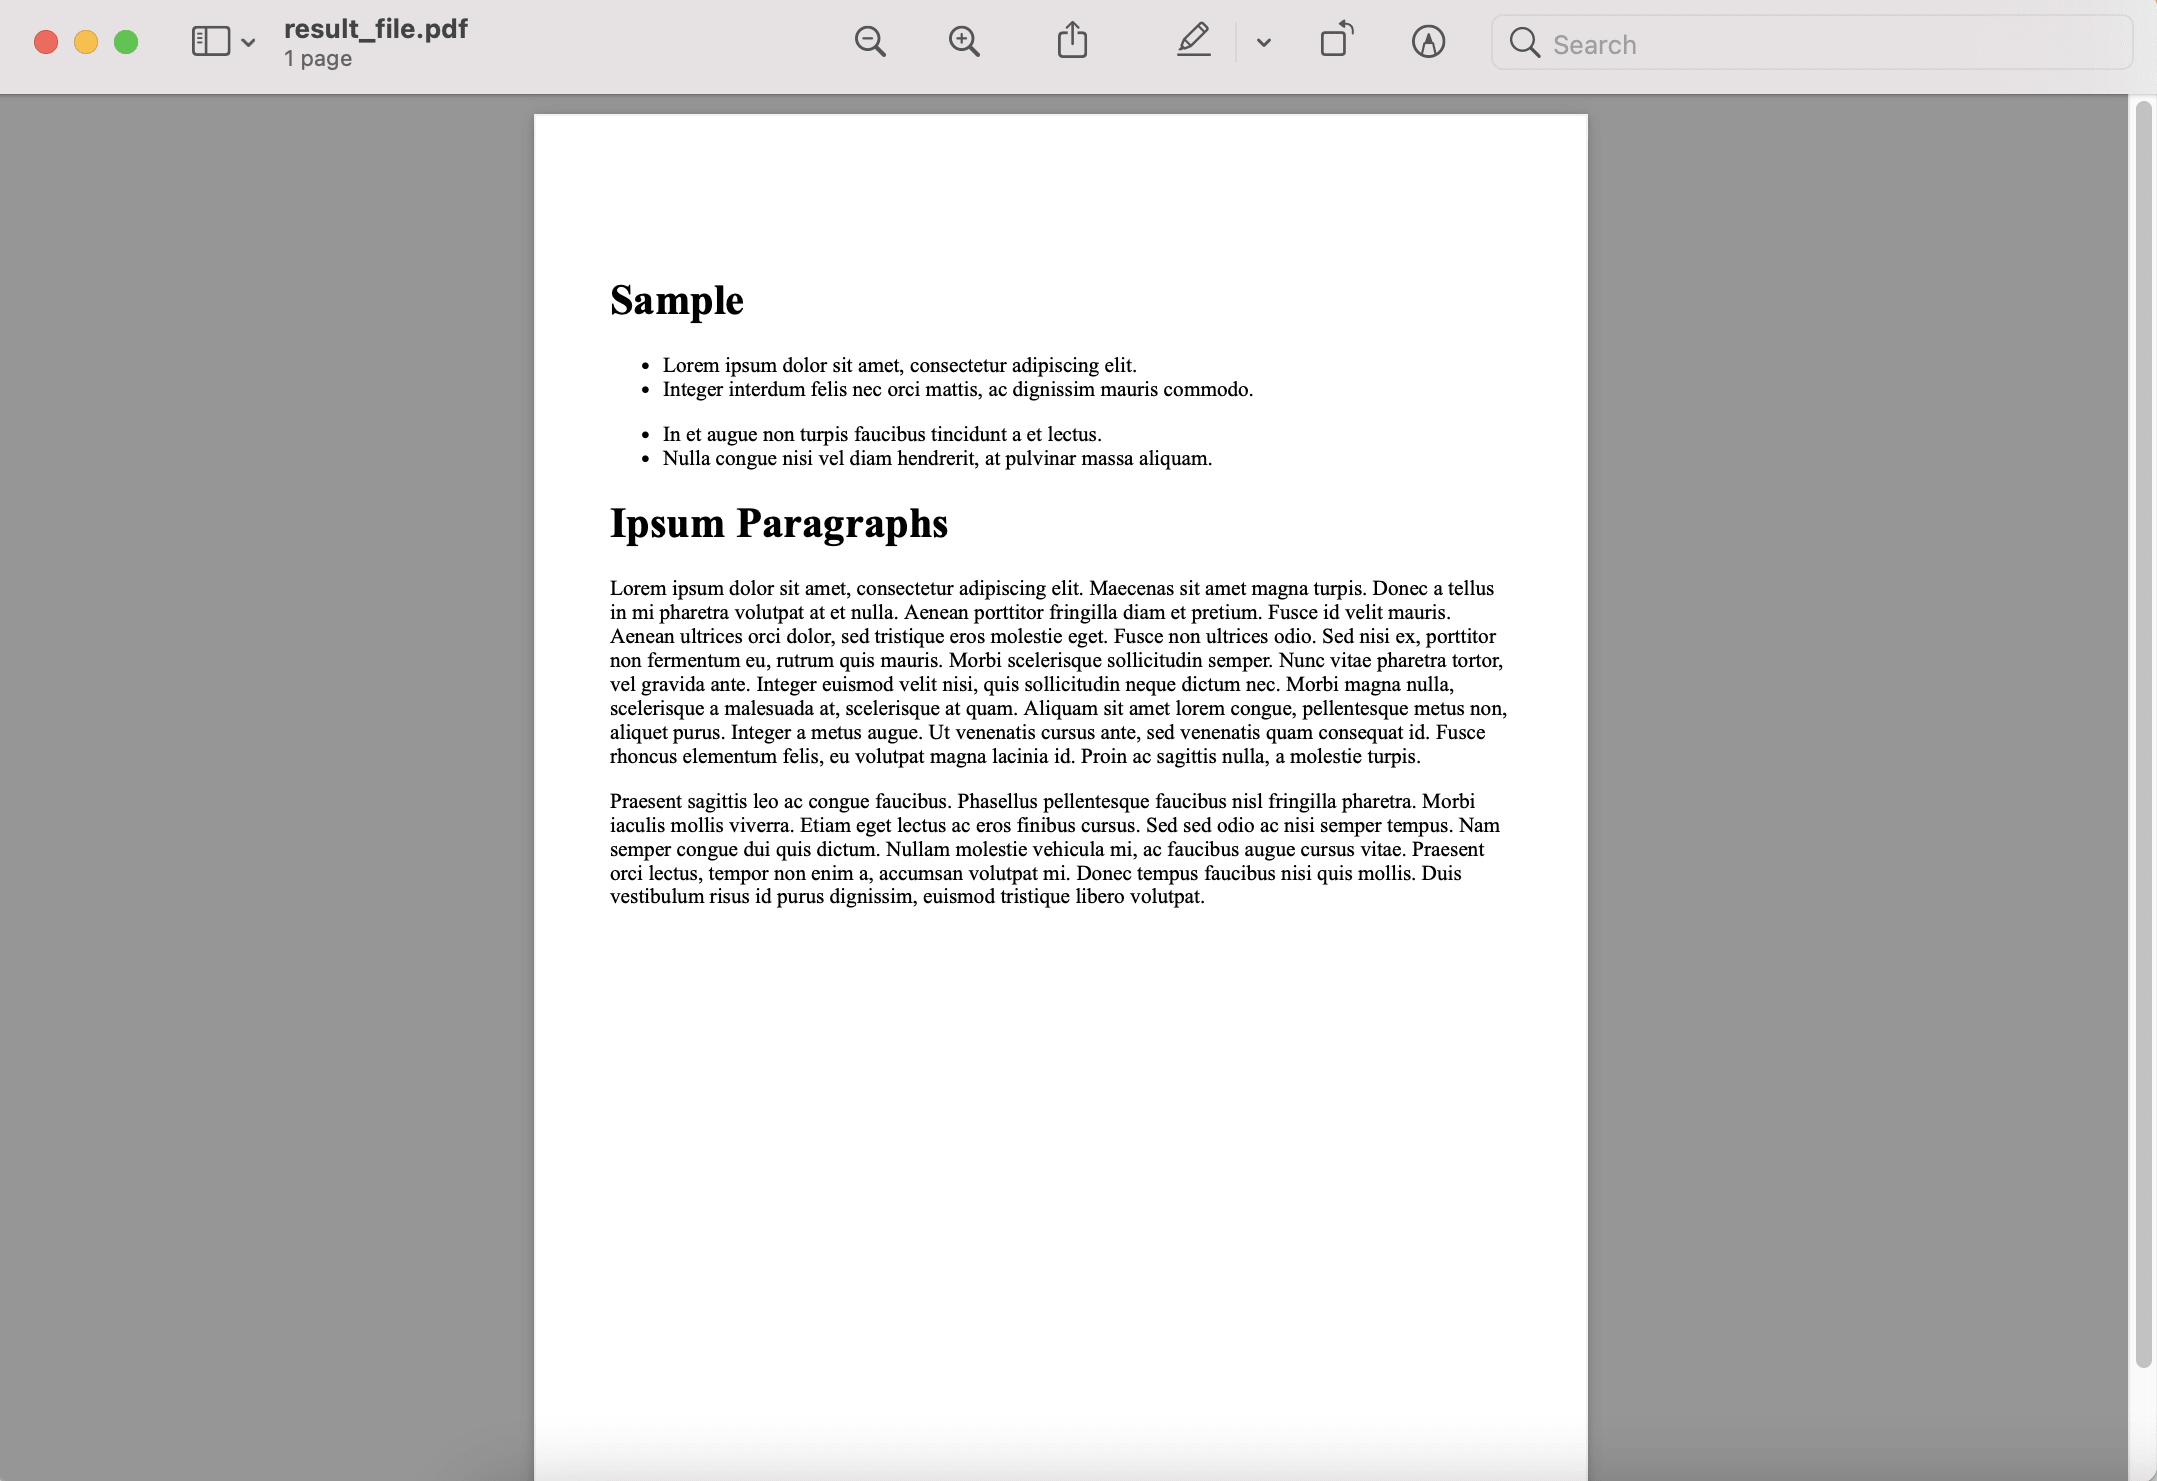
Run the code and you will get a PDF file with contents from your HTML file downloaded:
const puppeteer = require('puppeteer');
const fs = require('fs');

(async () => {

  // Create a browser instance
  const browser = await puppeteer.launch();

  // Create a new page
  const page = await browser.newPage();

  //Get HTML content from HTML file
  const html = fs.readFileSync('sample.html', 'utf-8');
  await page.setContent(html, { waitUntil: 'domcontentloaded' });

  // To reflect CSS used for screens instead of print
  await page.emulateMediaType('screen');

  // Downlaod the PDF
  const pdf = await page.pdf({
    path: 'result.pdf',
    margin: { top: '100px', right: '50px', bottom: '100px', left: '50px' },
    printBackground: true,
    format: 'A4',
  });

  // Close the browser instance
  await browser.close();
})();
Result:
Combining Both Methods
If you want to use both methods, you can write them in the same file and pass in the type of the HTML source (url/file) as an argument when executing the code to decide which method to use like this: node index.js url or node index.js file.
In the beginning of the self-invoking function, add this to get the type of HTML source from the argument when you run node index.js:
// Get type from process.argv, default to url
var type = process.argv.slice(2)[0] || 'url';
To decide whether to use method 1 or method 2, we need to add an if-else logic:
if (type === 'url') {

  // Web site URL to export as pdf
  const website_url = 'https://www.bannerbear.com/blog/how-to-download-images-from-a-website-using-puppeteer/';

  // Open URL in current page
  await page.goto(website_url, { waitUntil: 'networkidle0' });

} else if (type === 'file') {

  //Get HTML content from HTML file
  const html = fs.readFileSync('sample.html', 'utf-8');
  await page.setContent(html, { waitUntil: 'domcontentloaded' });

} else {

  console.log(new Error(`HTML source "${type}" is unkown.`));
  await browser.close();
  return;
}
This is the complete code:
const puppeteer = require('puppeteer');
const fs = require('fs');

(async () => {

  // Get type of source from process.argv, default to url
  var type = process.argv.slice(2)[0] || 'url';

  // Create a browser instance
  const browser = await puppeteer.launch();

  // Create a new page
  const page = await browser.newPage();


  if (type === 'url') {

    // Web site URL to export as pdf
    const website_url = 'https://www.bannerbear.com/blog/how-to-download-images-from-a-website-using-puppeteer/';

    // Open URL in current page
    await page.goto(website_url, { waitUntil: 'networkidle0' });

  } else if (type === 'file') {

    //Get HTML content from HTML file
    const html = fs.readFileSync('sample.html', 'utf-8');
    await page.setContent(html, { waitUntil: 'domcontentloaded' });

  } else {

    console.log(new Error(`HTML source "${type}" is unkown.`));
    await browser.close();
    return;
  }

  // To reflect CSS used for screens instead of print
  await page.emulateMediaType('screen');

  // Downlaod the PDF
  const pdf = await page.pdf({
    path: `result_${type}.pdf`,
    margin: { top: '100px', right: '50px', bottom: '100px', left: '50px' },
    printBackground: true,
    format: 'A4',
  });

  // Close the browser instance
  await browser.close();

})();
That’s it! Now, you can:
1-Run node index.js or node index.js url to convert the HTML content of a web page using its URL into a PDF.
2-Run node index.js file to convert the content of an HTML file into a PDF.
You can also modify the code to pass in different arguments to the function, eg. website URL, path, margin, etc. to generate PDFs, so feel free to play around with the code.
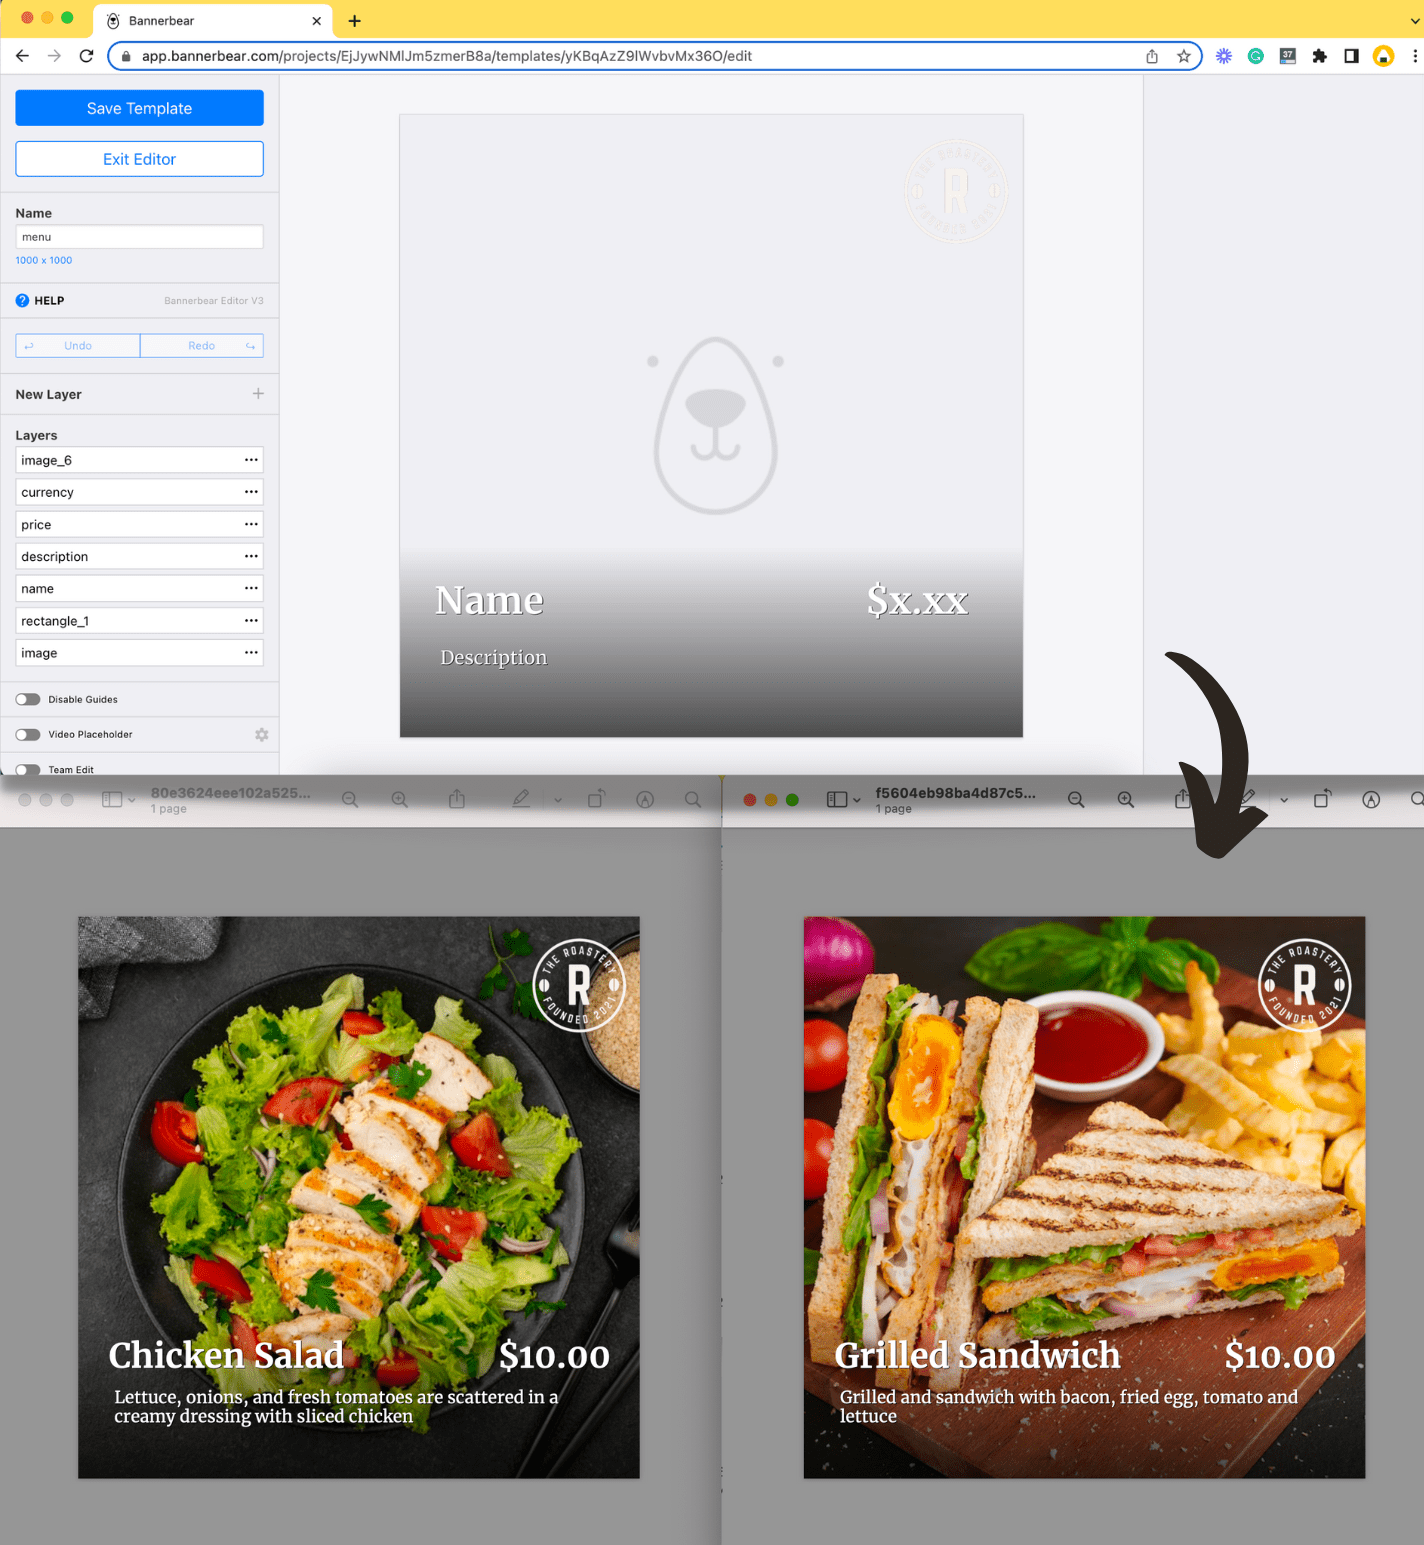
Using Bannerbear API
If you have multiple PDFs and want to join them into a single PDF, here’s an easy method to do so. Bannerbear has an API to join PDF files when you generate PDFs from templates using Bannerbear’s PDF generation API. You can use the API to join your PDFs that are generated using Puppeteer too if they are hosted on a server. Just call the API and pass in the PDF URLs to join them into a single file and receive the generated result via webhook or via polling.
Here's an example of PDFs generated from a template using the PDF generation API:
The URLs of the PDF and a compressed version of it are returned in the response body:
"pdf_url": "https://images.bannerbear.com/direct/EjJywNMlJm5zmerB8a/requests/000/021/248/112/BjdZ0l7VAYA1NrMWY3Kn1DLqe/f5604eb98ba4d87c5318b06060d06da36202d250.pdf",
"pdf_url_compressed": "https://images.bannerbear.com/direct/EjJywNMlJm5zmerB8a/requests/000/021/248/112/BjdZ0l7VAYA1NrMWY3Kn1DLqe/f5604eb98ba4d87c5318b06060d06da36202d250-compressed.pdf"
You can then send a POST request to the /v2/utilities/pdf/join endpoint to join the PDFs:
var data = {
  "pdf_inputs": [
    "https://images.bannerbear.com/direct/EjJywNMlJm5zmerB8a/requests/000/021/248/112/BjdZ0l7VAYA1NrMWY3Kn1DLqe/f5604eb98ba4d87c5318b06060d06da36202d250-compressed.pdf",
    "https://images.bannerbear.com/direct/EjJywNMlJm5zmerB8a/requests/000/021/248/016/bknAjN4e7637PBo26XPRKxlD8/80e3624eee102a5255d3939cefbdc0a0a3bd437b-compressed.pdf"
}
fetch('https://api.bannerbear.com/v2/utilities/pdf/join', {
  method: 'POST',
  body: JSON.stringify(data),
  headers: {
    'Content-Type' : 'application/json',
    'Authorization' : `Bearer ${API_KEY}`
  }
})
You will need an API key for the request and you can get it by creating a project in Bannerbear (it’s free to sign up).
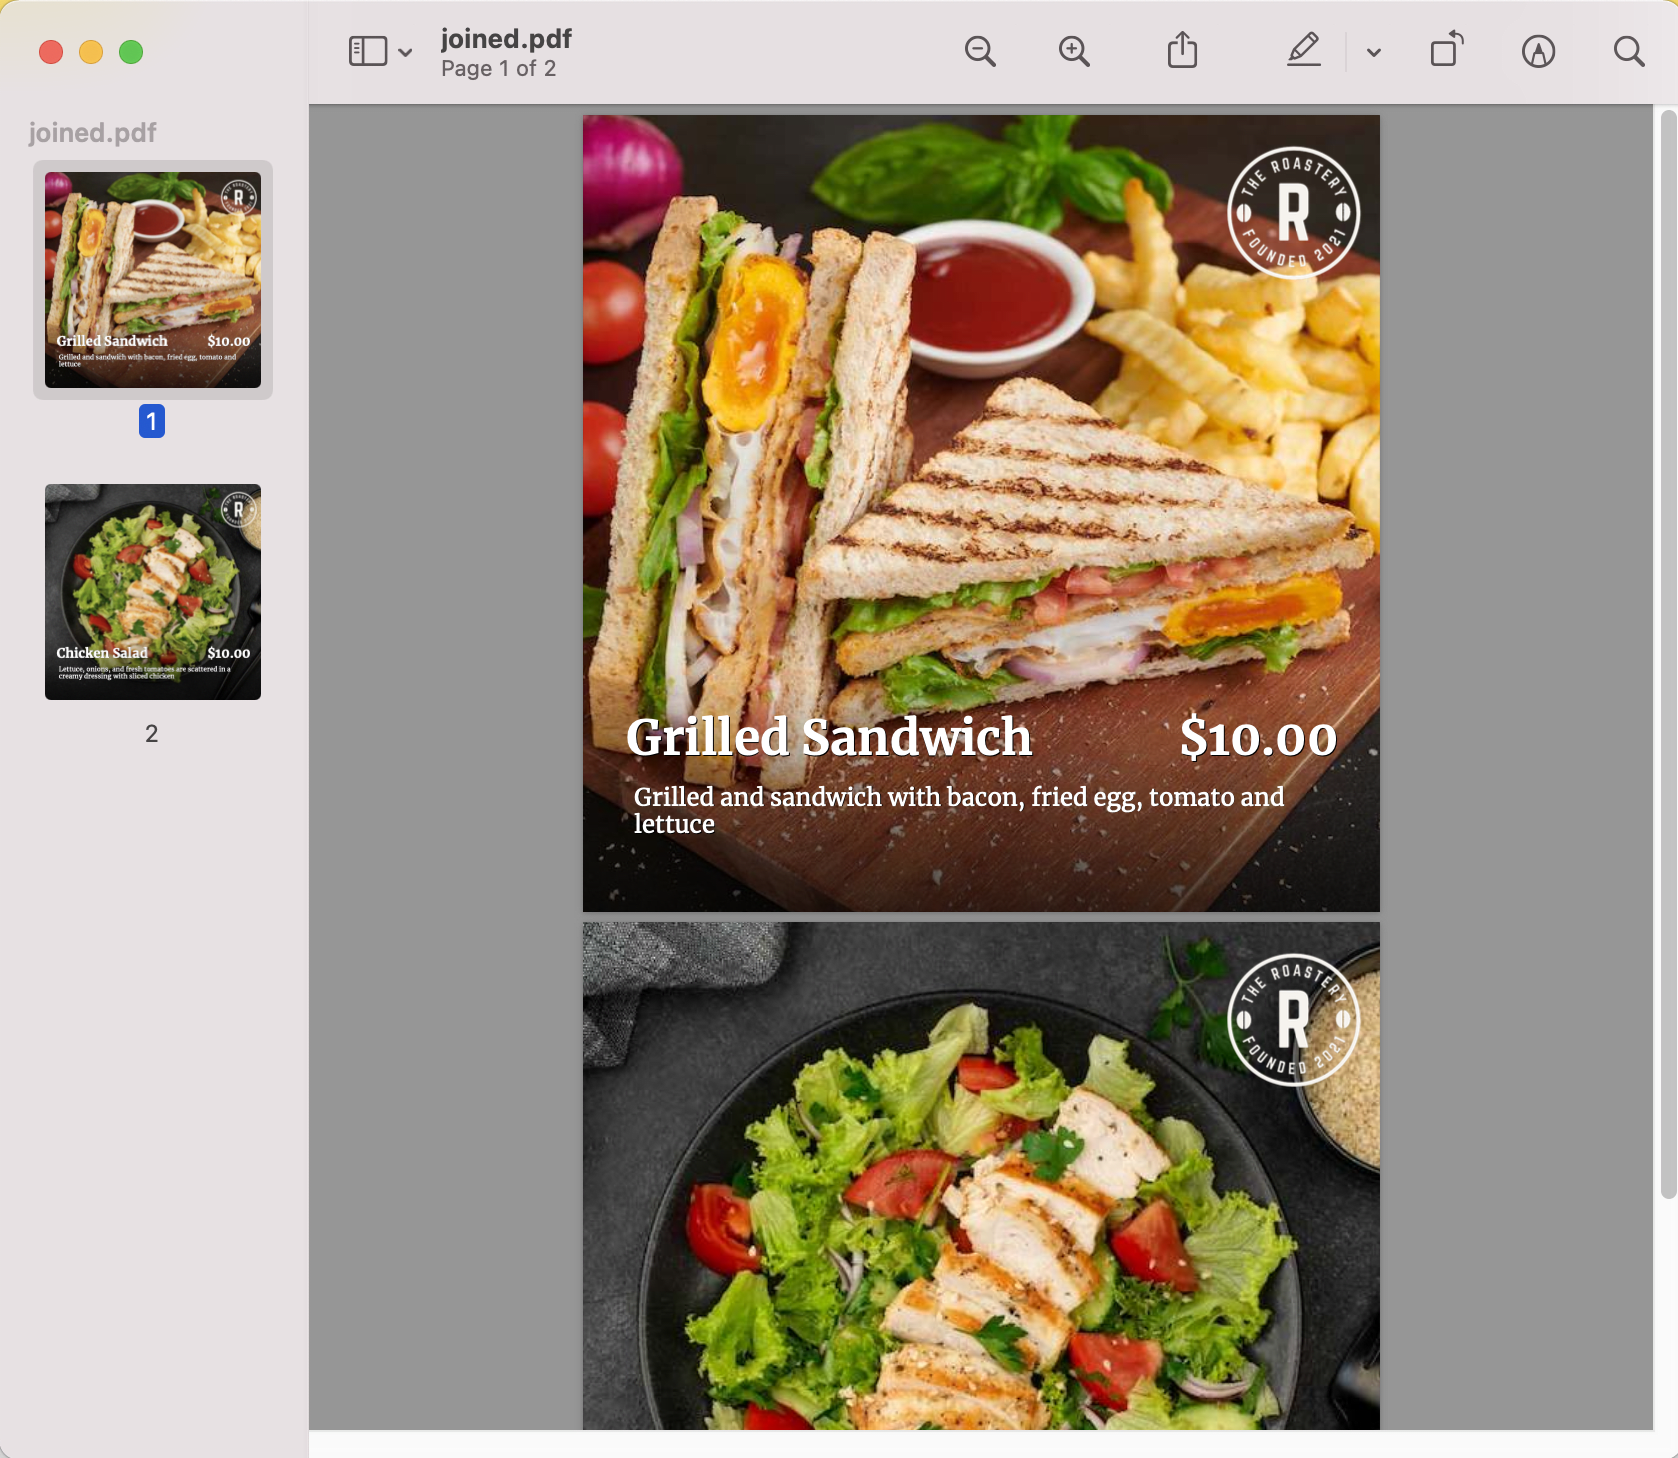
Here's the result:
That's all for this tutorial. I hope you enjoyed the tutorial and learned something from it. See you in the next article! :)
