
How to Download Images from a Website Using Puppeteer
Contents
Why use Puppeteer to download images? We can just right-click and save. It’s simple.
That’s only true if you’re only downloading a few images. Imagine if you’re downloading 100+ images from a website manually, that’s a dreadful task. 😰 Fret not! We can do this by using automation and save all images from a website to a folder IN ONE GO.
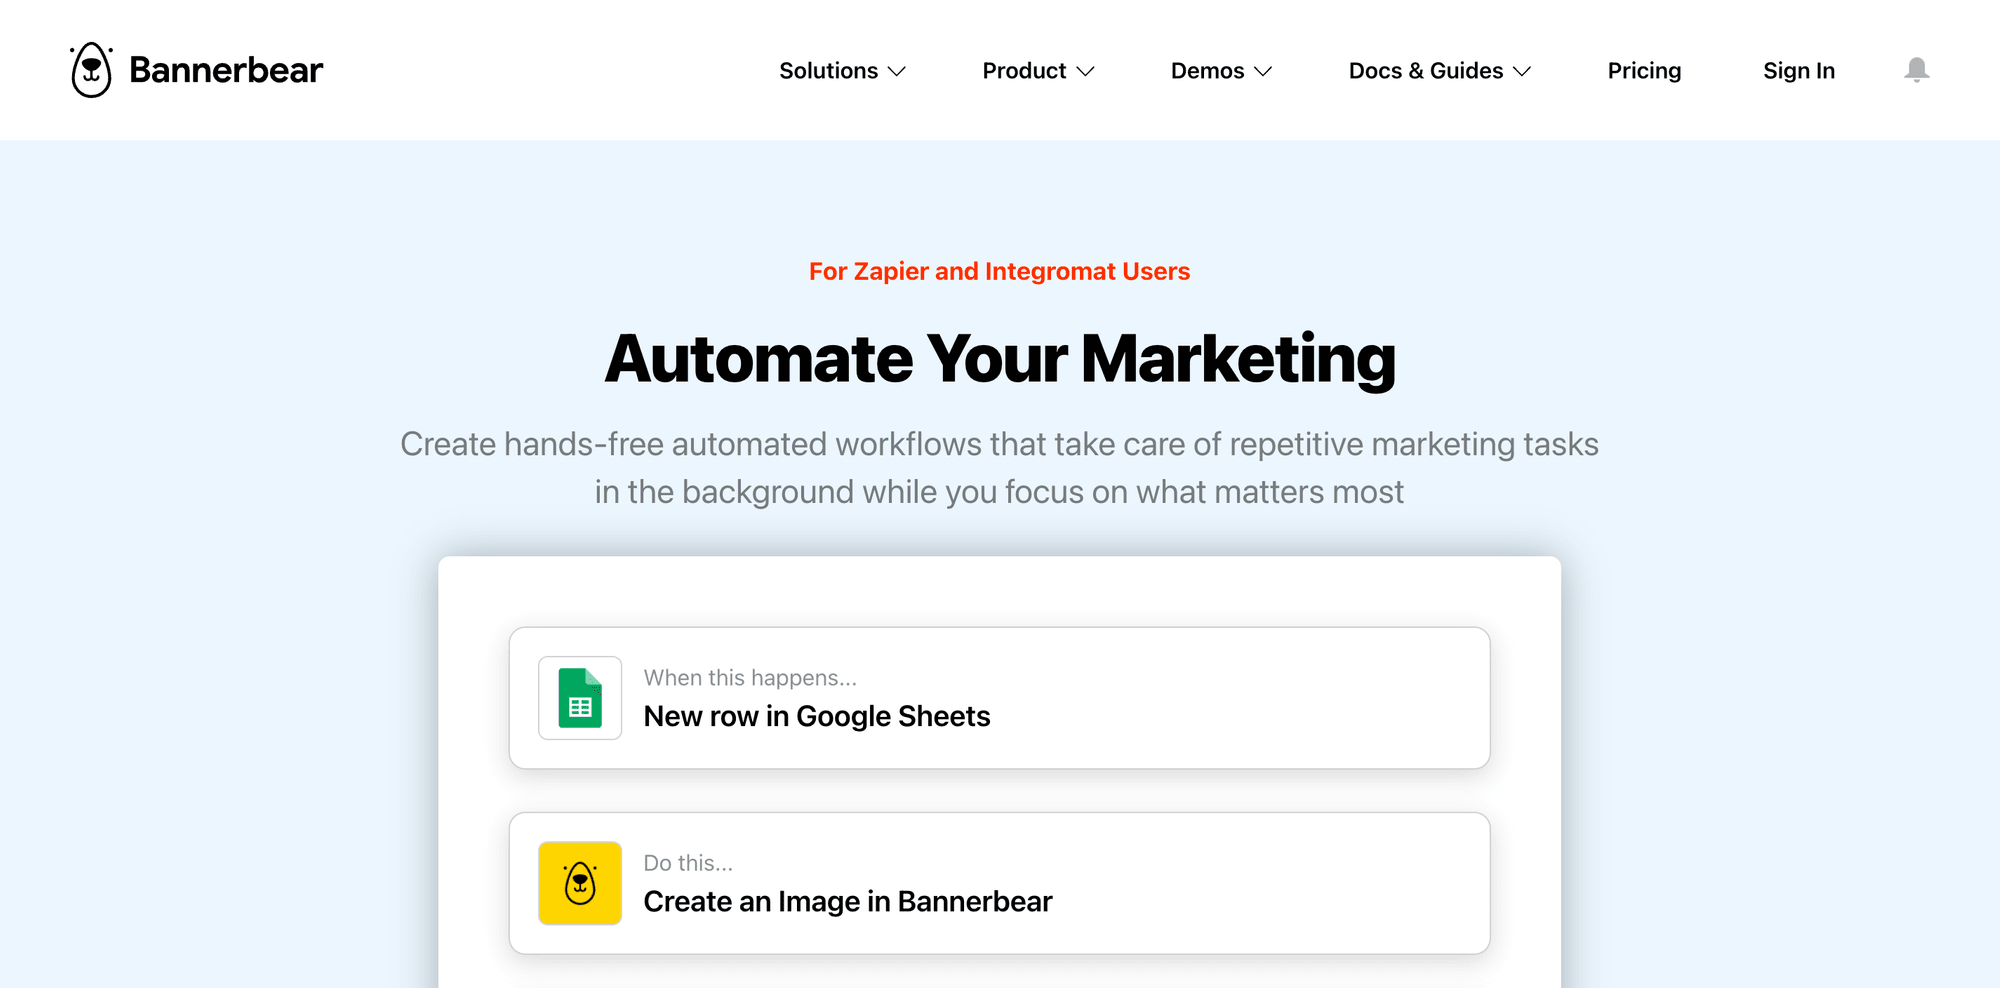
In this tutorial, we will be guiding you step-by-step on how to download images (.jpg, .png, .svg, .gif) from a website using an automation tool called Puppeteer. You can use it on any website that you want but we will be using this Bannerbear page for this tutorial:
At the end of this tutorial, you will have images from a website downloaded to a folder:
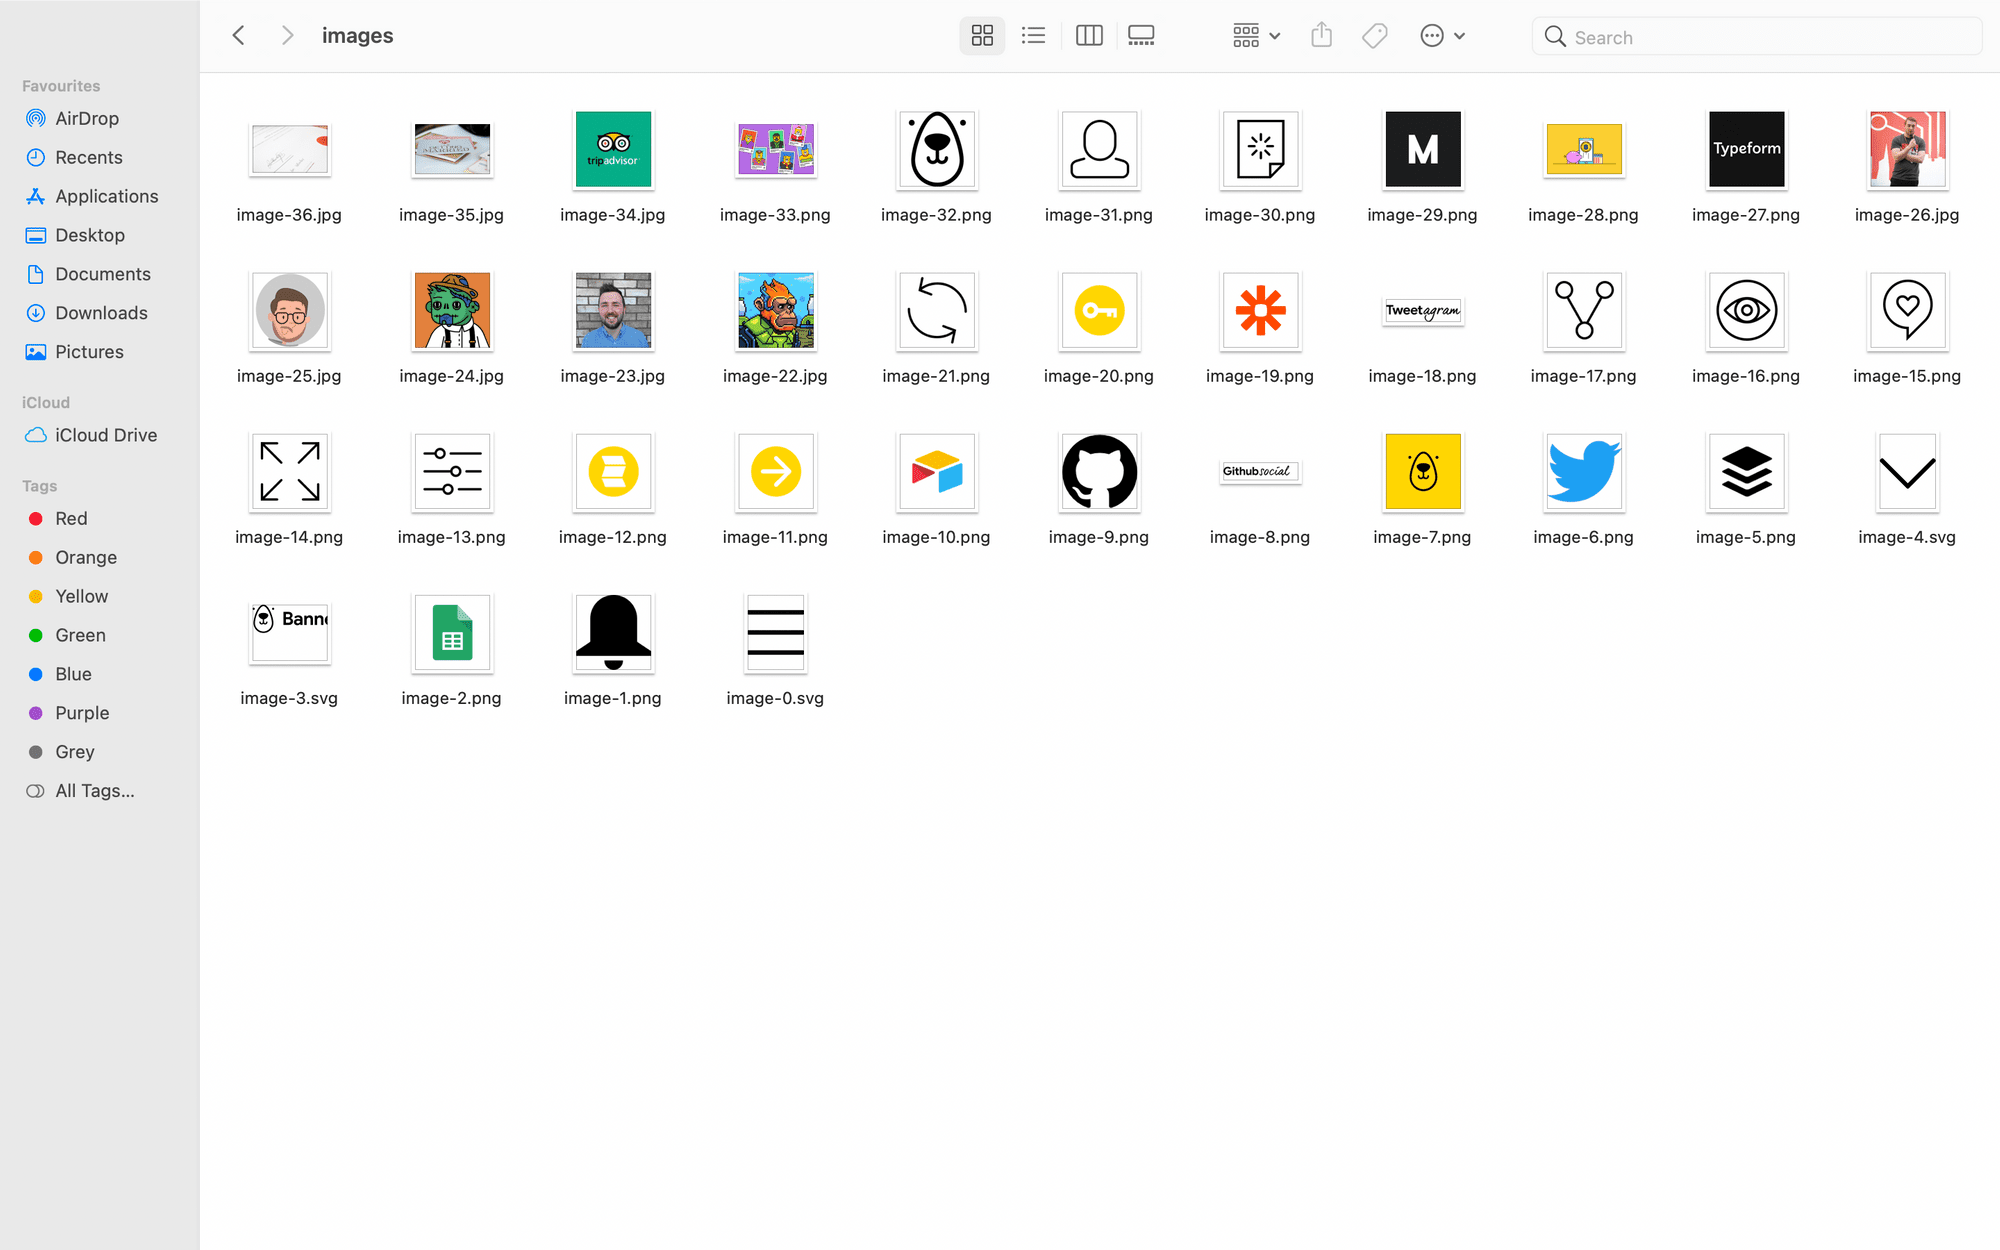 Images downloaded from the Bannerbear page using Puppeteer
What is Puppeteer
Puppeteer is a Node library which provides a high-level API to control Chrome or Chromium over the DevTools Protocol. It is very useful for automating the Chrome browser to run website tests. Puppeteer runs headless by default, which means you won’t see the browser running but it can be configured to run full (non-headless) Chrome or Chromium.
Pre-requisites
To use Puppeteer to download images from a website, you will need to have Node.js and npm installed.
For reference, the version of Node.js and npm we are using for this tutorial are 14.17.3 and 6.14.13 respectively. Please check the official documentation to check your version compatibility.
Getting Started
Step 1. Create a New Node.js Project
Create a new folder for your project and go to the directory.
mkdir puppeteer-download-images
cd puppeteer-download-images
Init a new Node.js project in the folder.
npm init
It will prompt you for input for a few aspects of the project, just press enter if you want to use the default values.
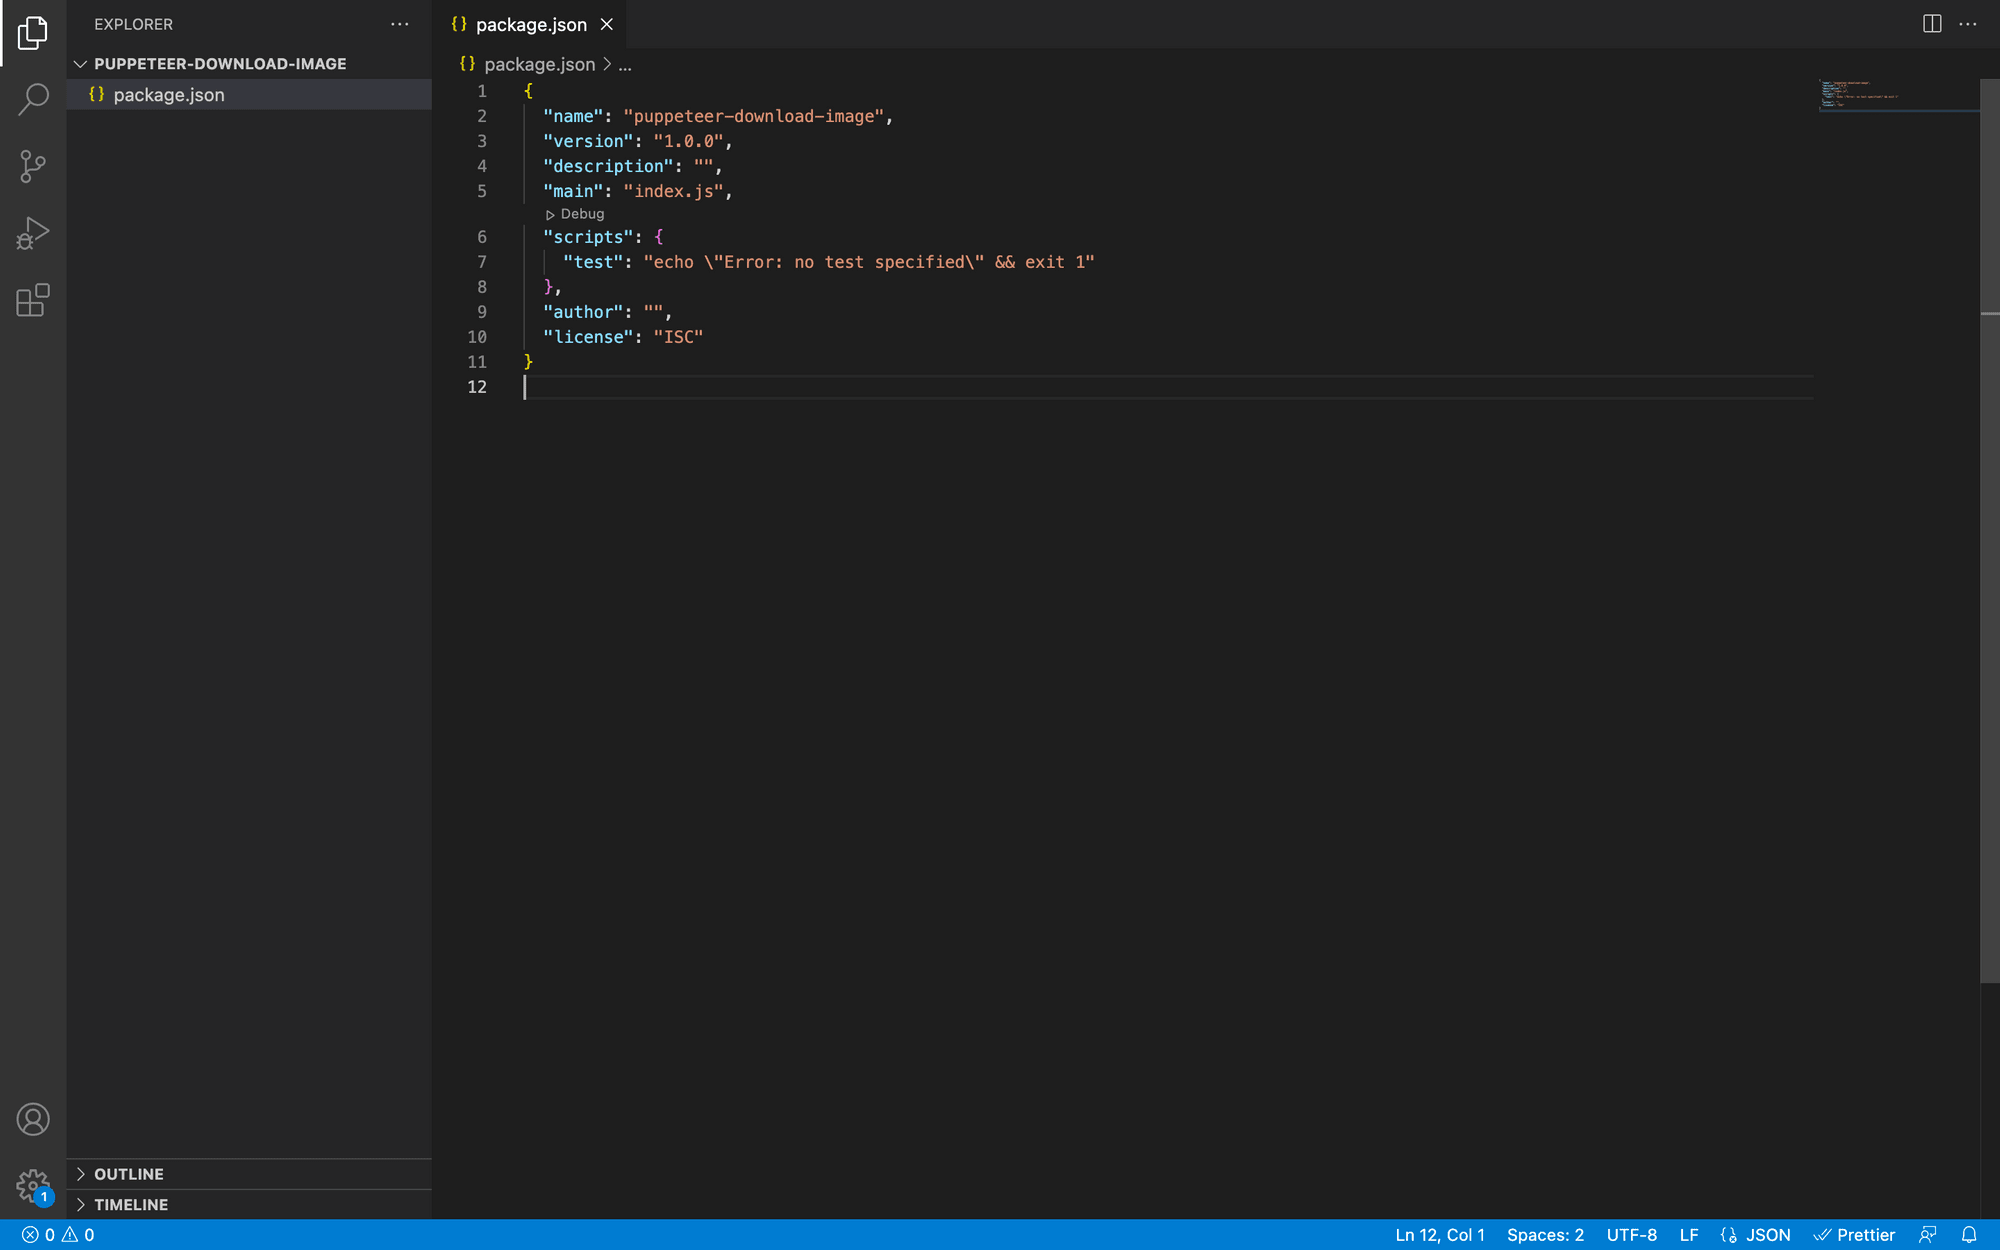
Once you run through the npm init steps above, a package.json file will be generated and placed in the current directory.
Step 2. Install Puppeteer
Run the command below to install Puppeteer.
npm i puppeteer
A folder named node_modules and a file named package-lock.json will be added to your project after running the command.
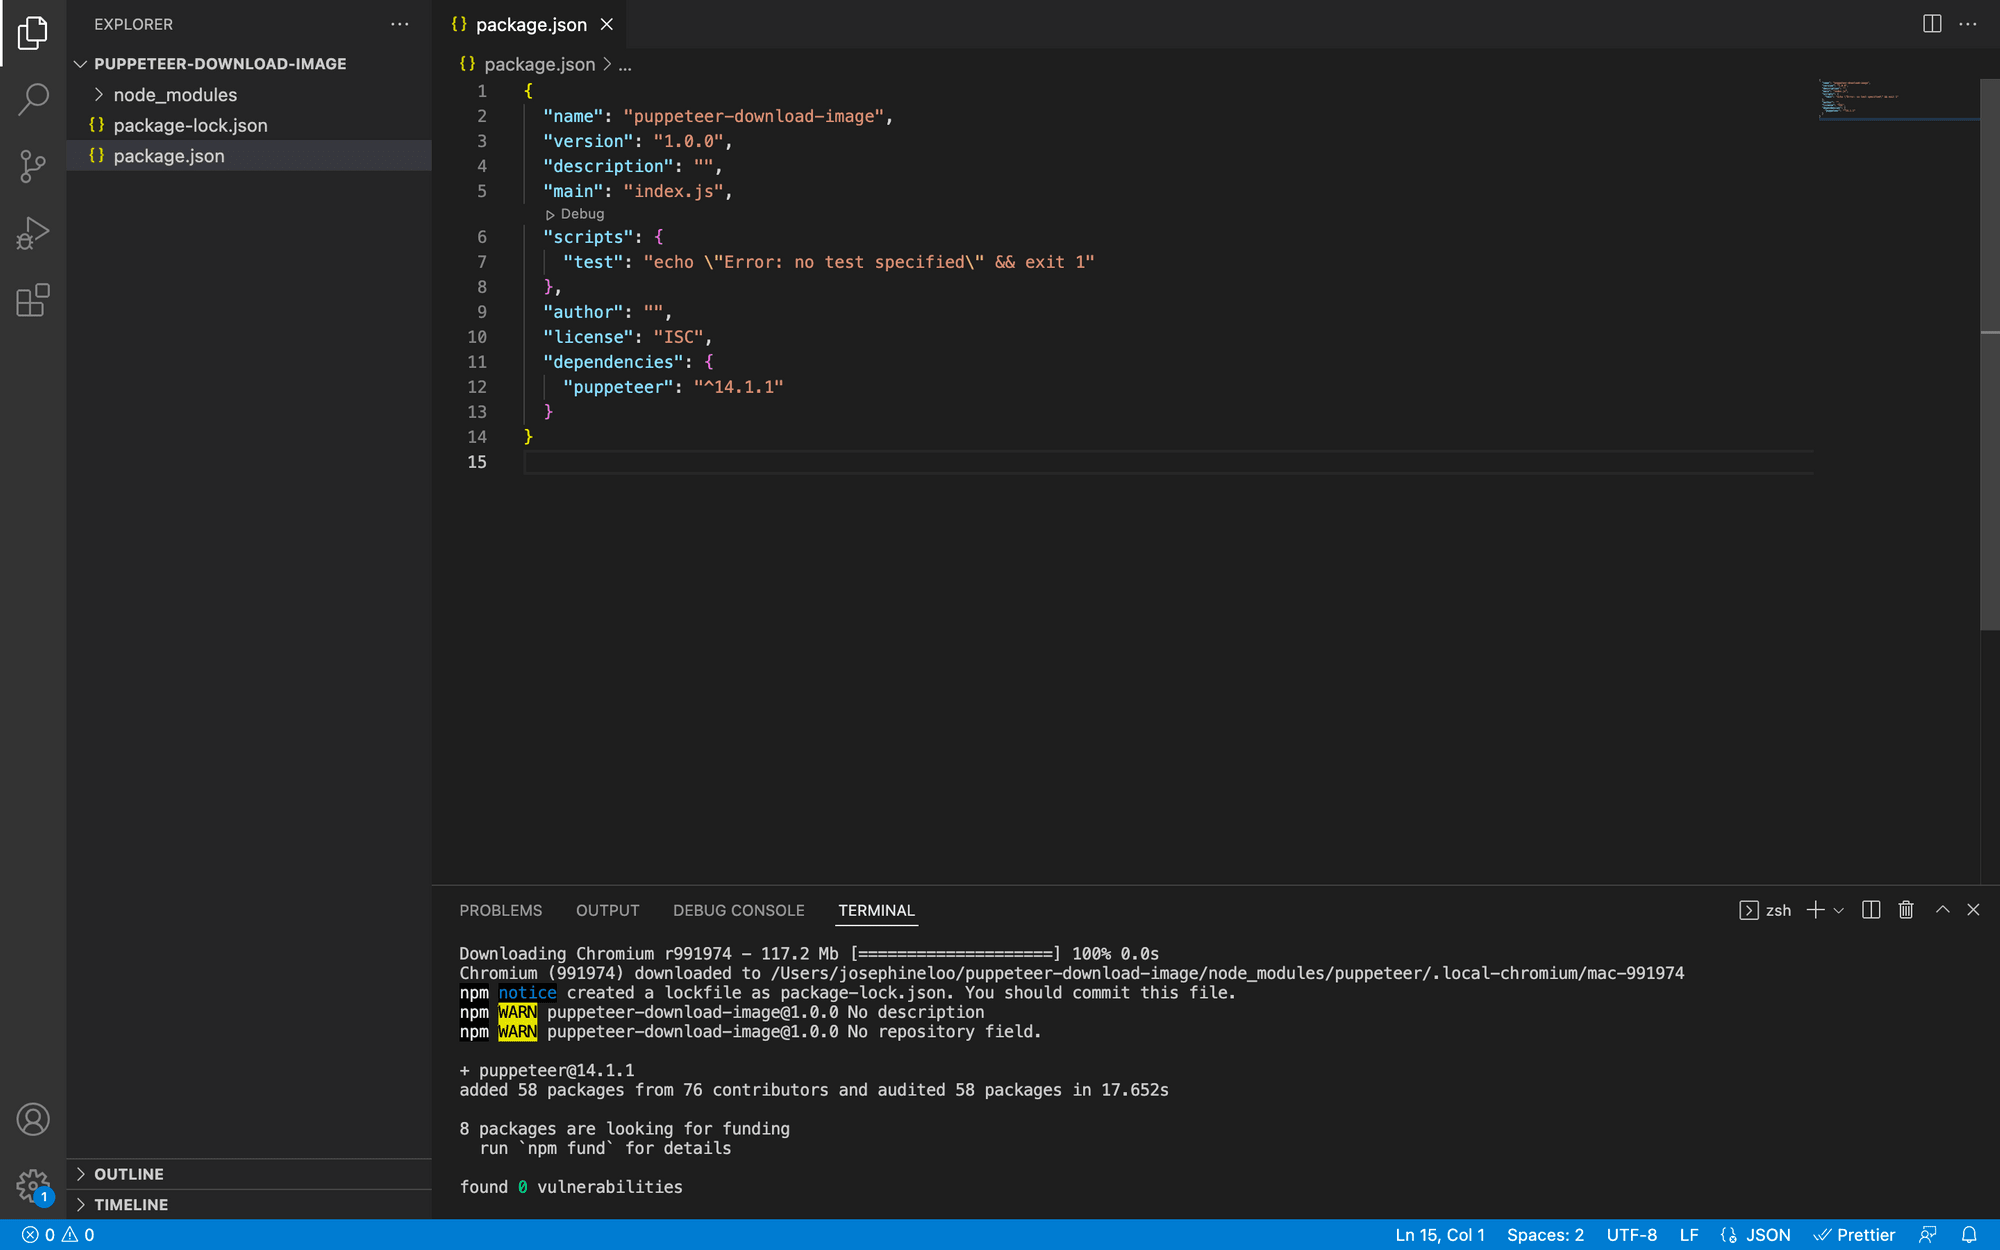
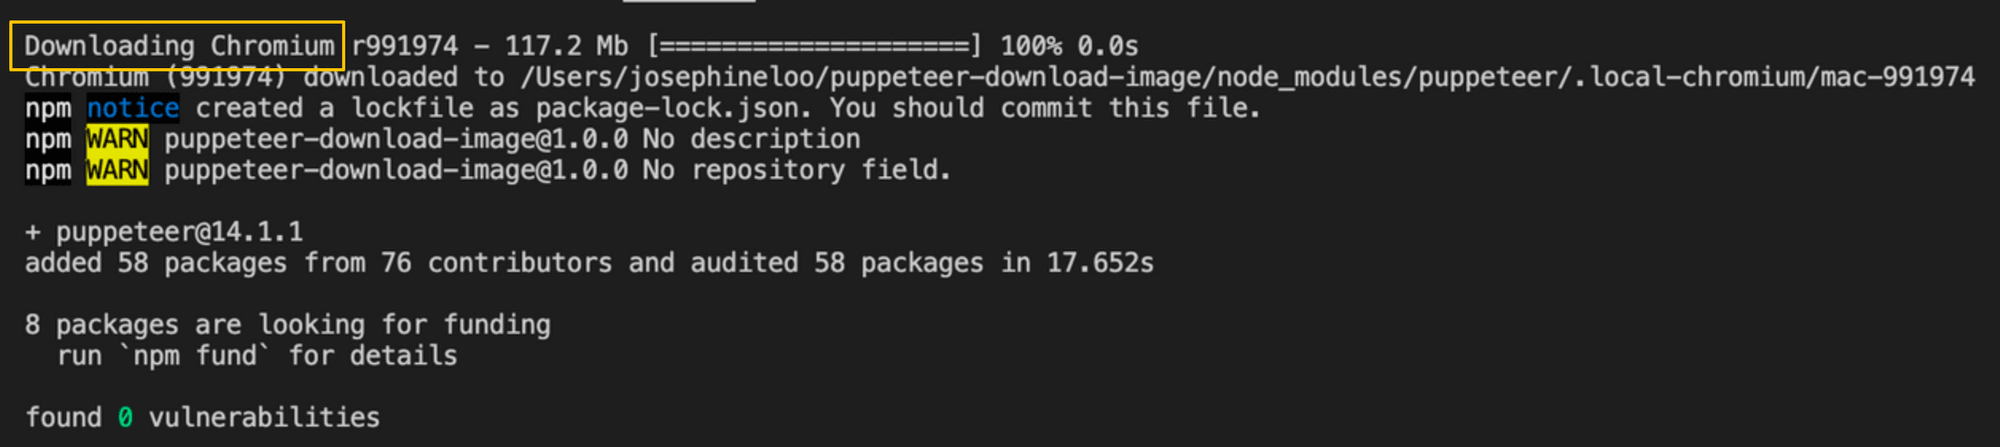
When you run the command above to install Puppeteer, a recent version of Chromium which is guaranteed to work with the Puppeteer API is also downloaded.
Testing Puppeteer
Before we start writing codes to download images from a website, let’s try whether Puppeteer is working properly. We will use a simple example from the official documentation to take a screenshot of a website.
Step 1. Write the Code
Create a new example.js file and paste the following code:
const puppeteer = require('puppeteer');

(async () => {
  const browser = await puppeteer.launch();
  const page = await browser.newPage();
  await page.goto('https://google.com');
  await page.screenshot({ path: 'example.png' });

  await browser.close();
})();
This example creates a page, navigates it to a URL, and then saves a screenshot.
Step 2. Run the Code
Run the example.js file to execute the code.
node example.js
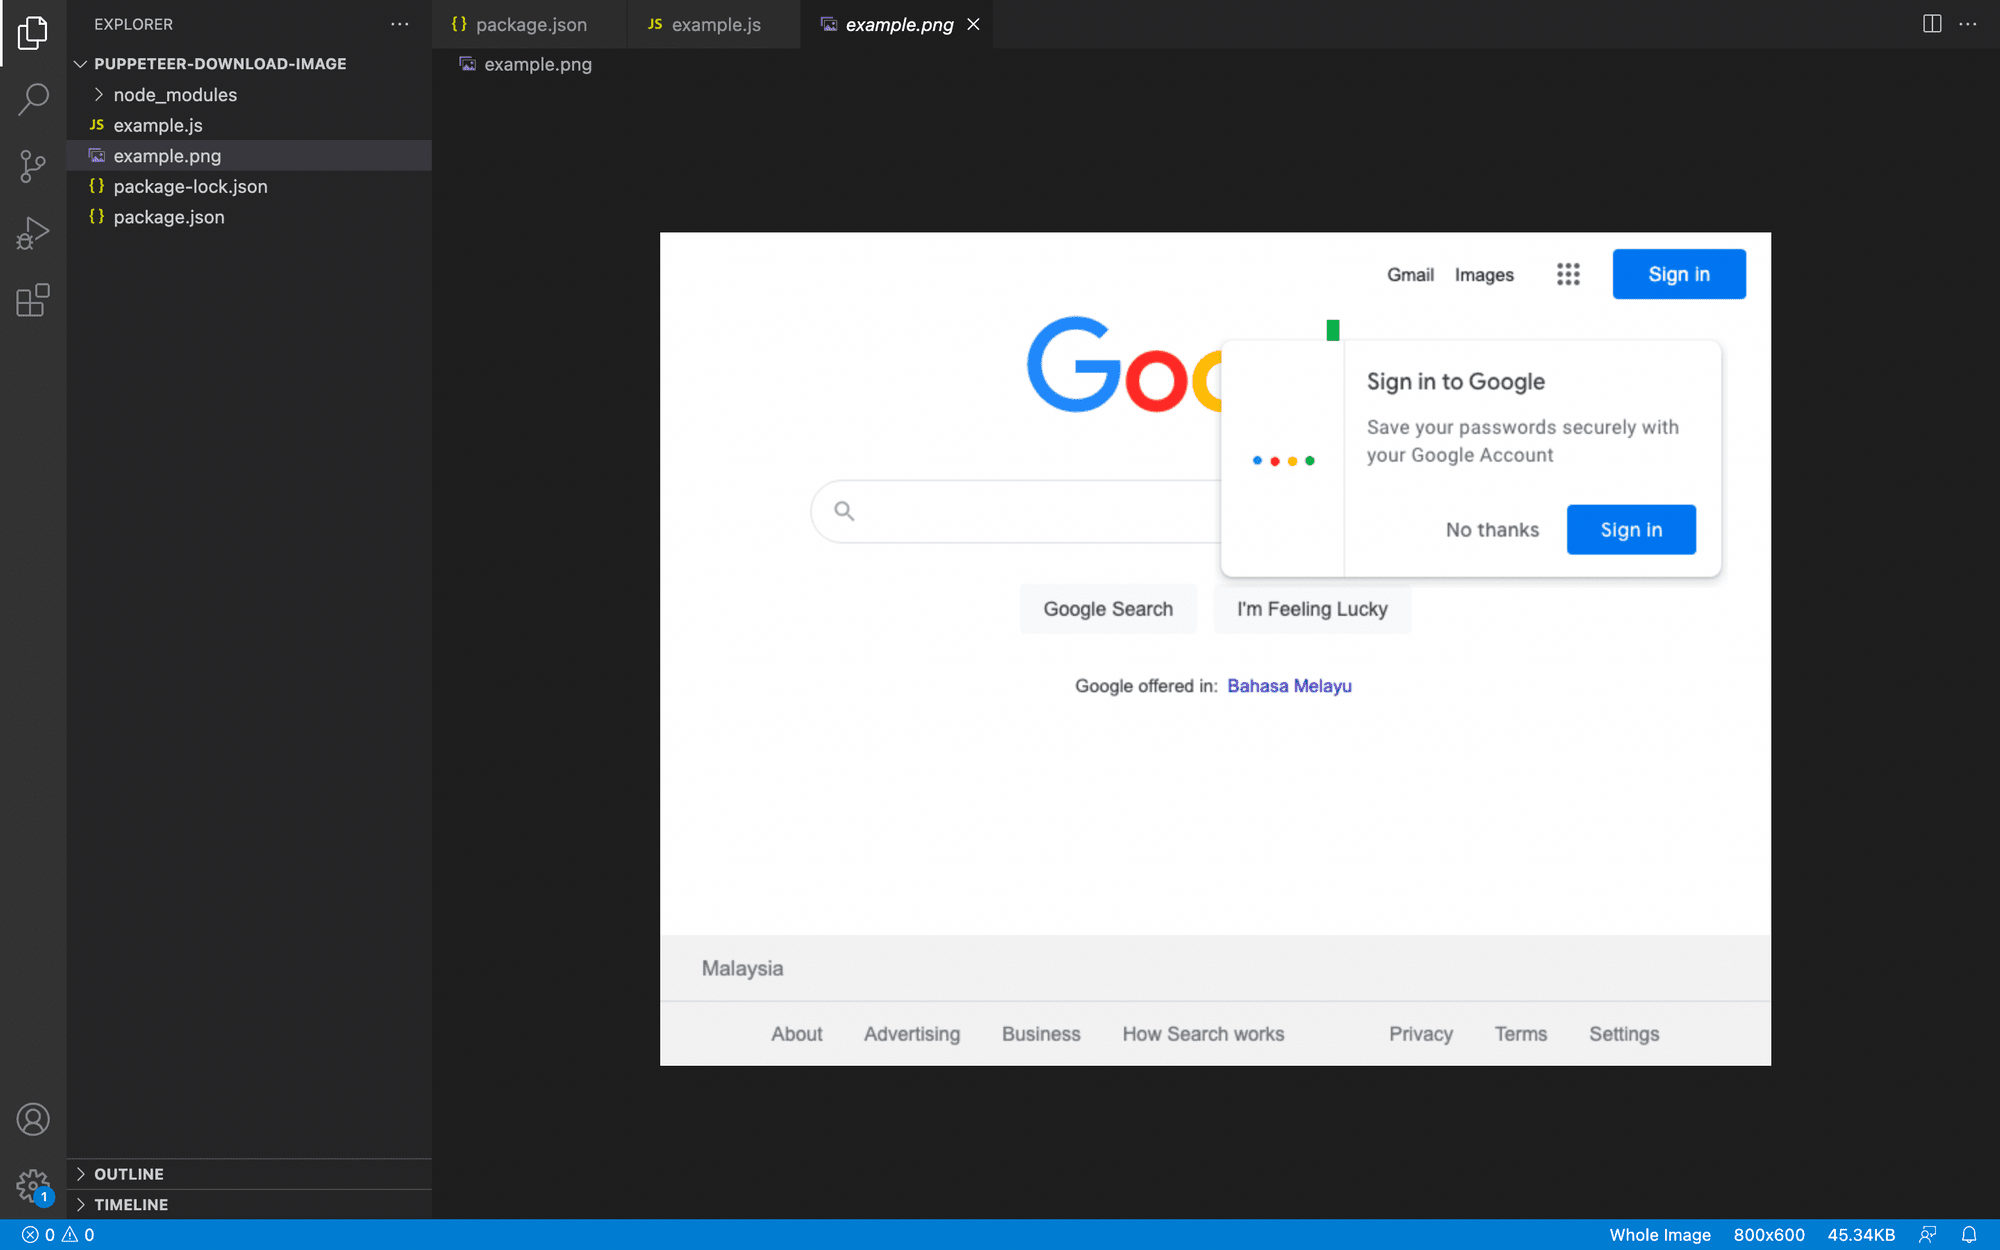
You will find a new image example.png created inside your folder. This is the screenshot of the page visited by Puppeteer. 😃
Now we know that Puppeteer is working, we can start writing codes to download images!
Downloading Images from a Website/URL
Step 1. Create a New File
In the same project, create index.js file. This is where we will be writing our code to download images from the Bannerbear page.

Step 2. Import Modules
Inside the index.js file, we need to require puppeteer and the fs (file system) module. The fs module will allow you to write data fetched from the website into a file.
const puppeteer = require('puppeteer');
const fs = require('fs');
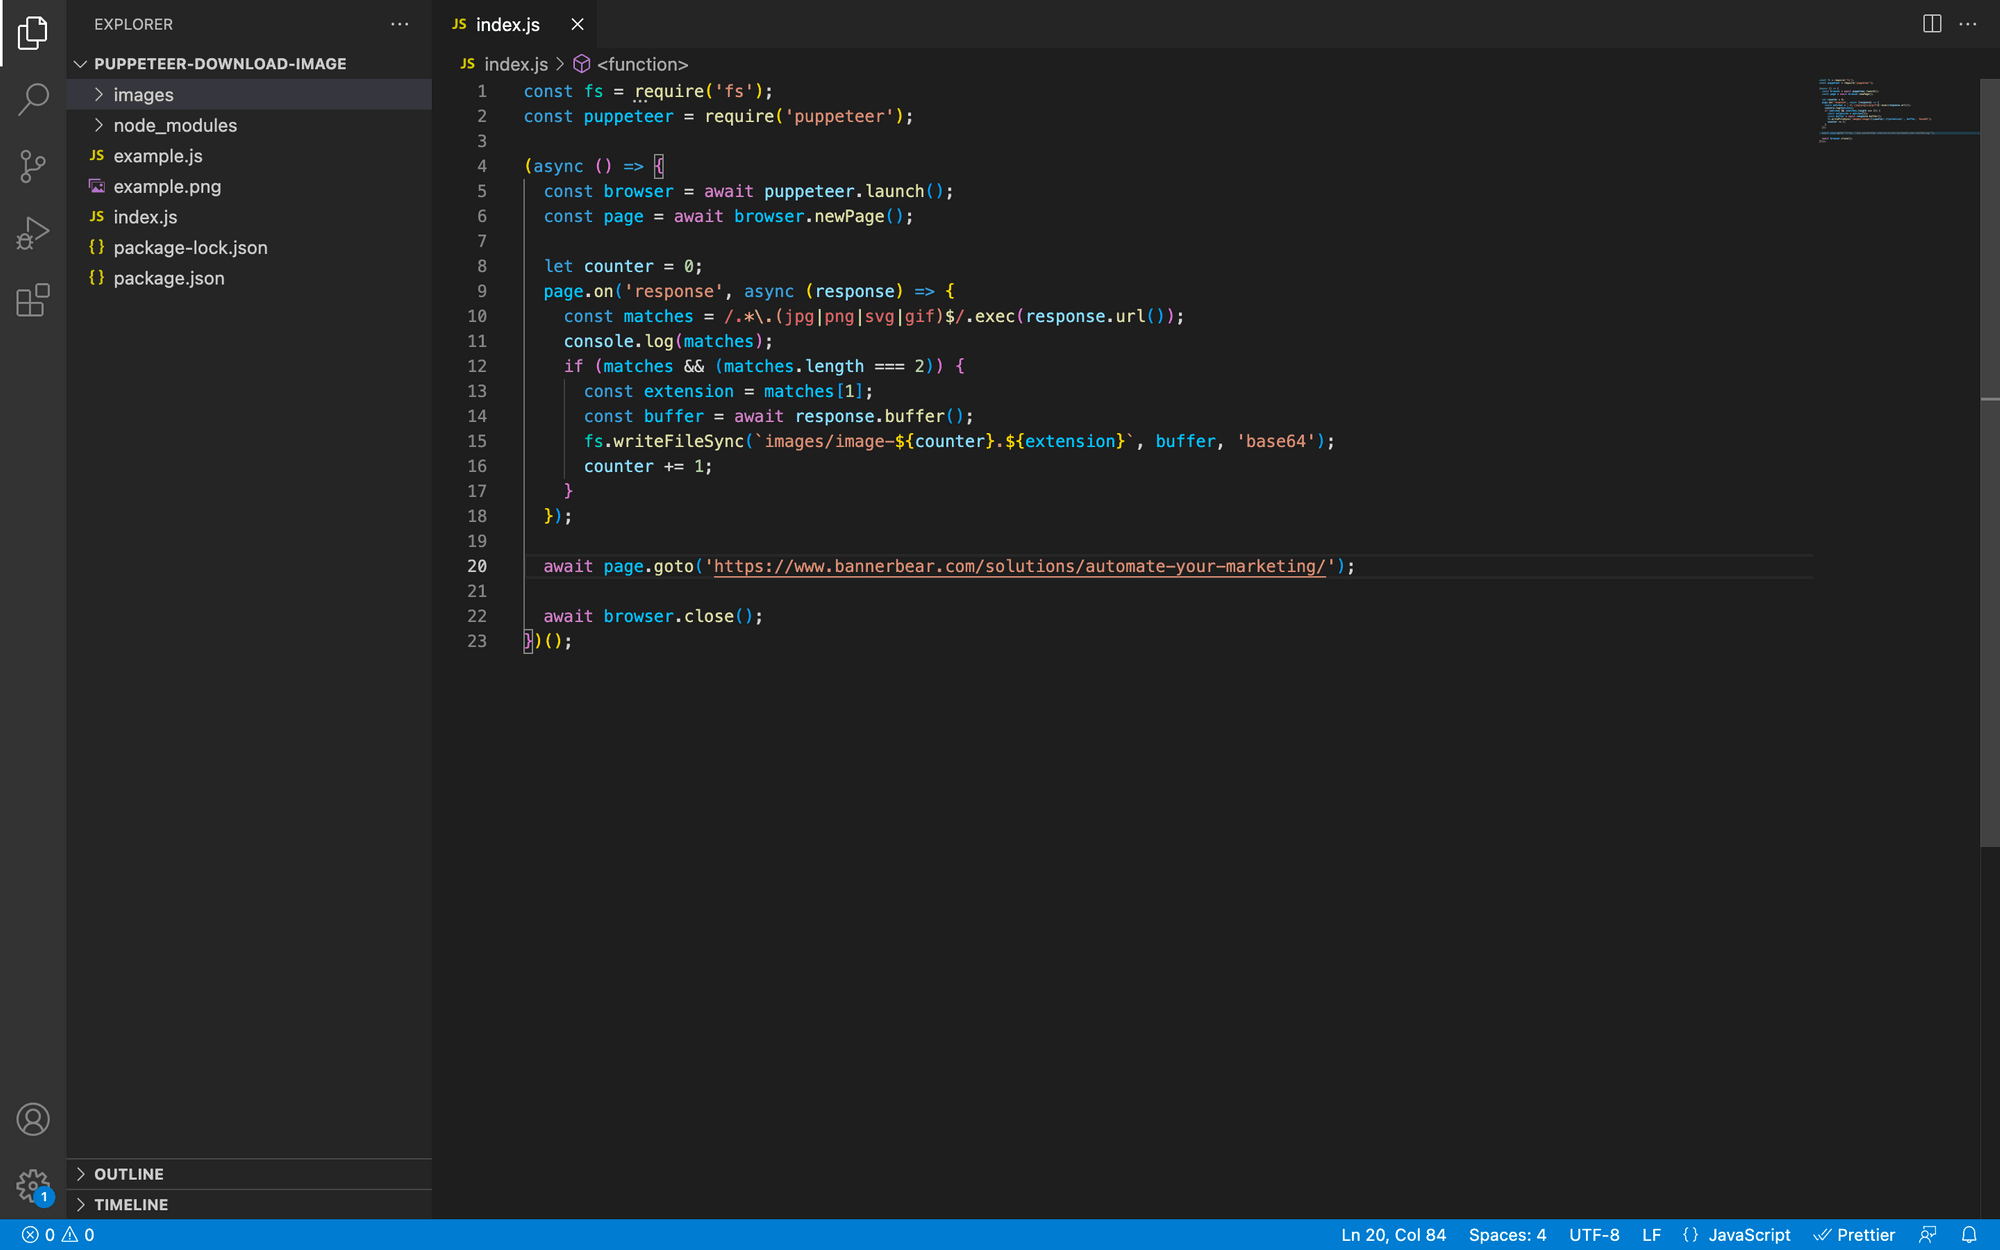
Step 3. Write the Code for Downloading Images
Then, write the following code:
(async () => {
  const browser = await puppeteer.launch();
  const page = await browser.newPage();

  let counter = 0;
  page.on('response', async (response) => {
    const matches = /.*\.(jpg|png|svg|gif)$/.exec(response.url());
    console.log(matches);
    if (matches && (matches.length === 2)) {
      const extension = matches[1];
      const buffer = await response.buffer();
      fs.writeFileSync(`images/image-${counter}.${extension}`, buffer, 'base64');
      counter += 1;
    }
  });

  await page.goto('https://www.bannerbear.com/solutions/automate-your-marketing/');

  await browser.close();
})();
Similar to the previous example, Puppeteer will open a page and navigate to the URL. Then, it will catch responses which match the image file extensions (.jpg, .png, .svg, .gif), rename it and save it to a folder named /images.
The complete code looks like this.
const puppeteer = require('puppeteer');
const fs = require('fs');

(async () => {
  const browser = await puppeteer.launch();
  const page = await browser.newPage();

  let counter = 0;
  page.on('response', async (response) => {
    const matches = /.*\.(jpg|png|svg|gif)$/.exec(response.url());
    console.log(matches);
    if (matches && (matches.length === 2)) {
      const extension = matches[1];
      const buffer = await response.buffer();
      fs.writeFileSync(`images/image-${counter}.${extension}`, buffer, 'base64');
      counter += 1;
    }
  });

  await page.goto('https://www.bannerbear.com/solutions/automate-your-marketing/');

  await browser.close();
})();
Step 4. Create a New Folder for Images
Before executing the code, create a new /images subfolder in the current directory. This is where the images downloaded from the page will be saved.
Step 5. Run the Code
Now, run index.js and see all images from the page get downloaded into the /images folder.
node index.js
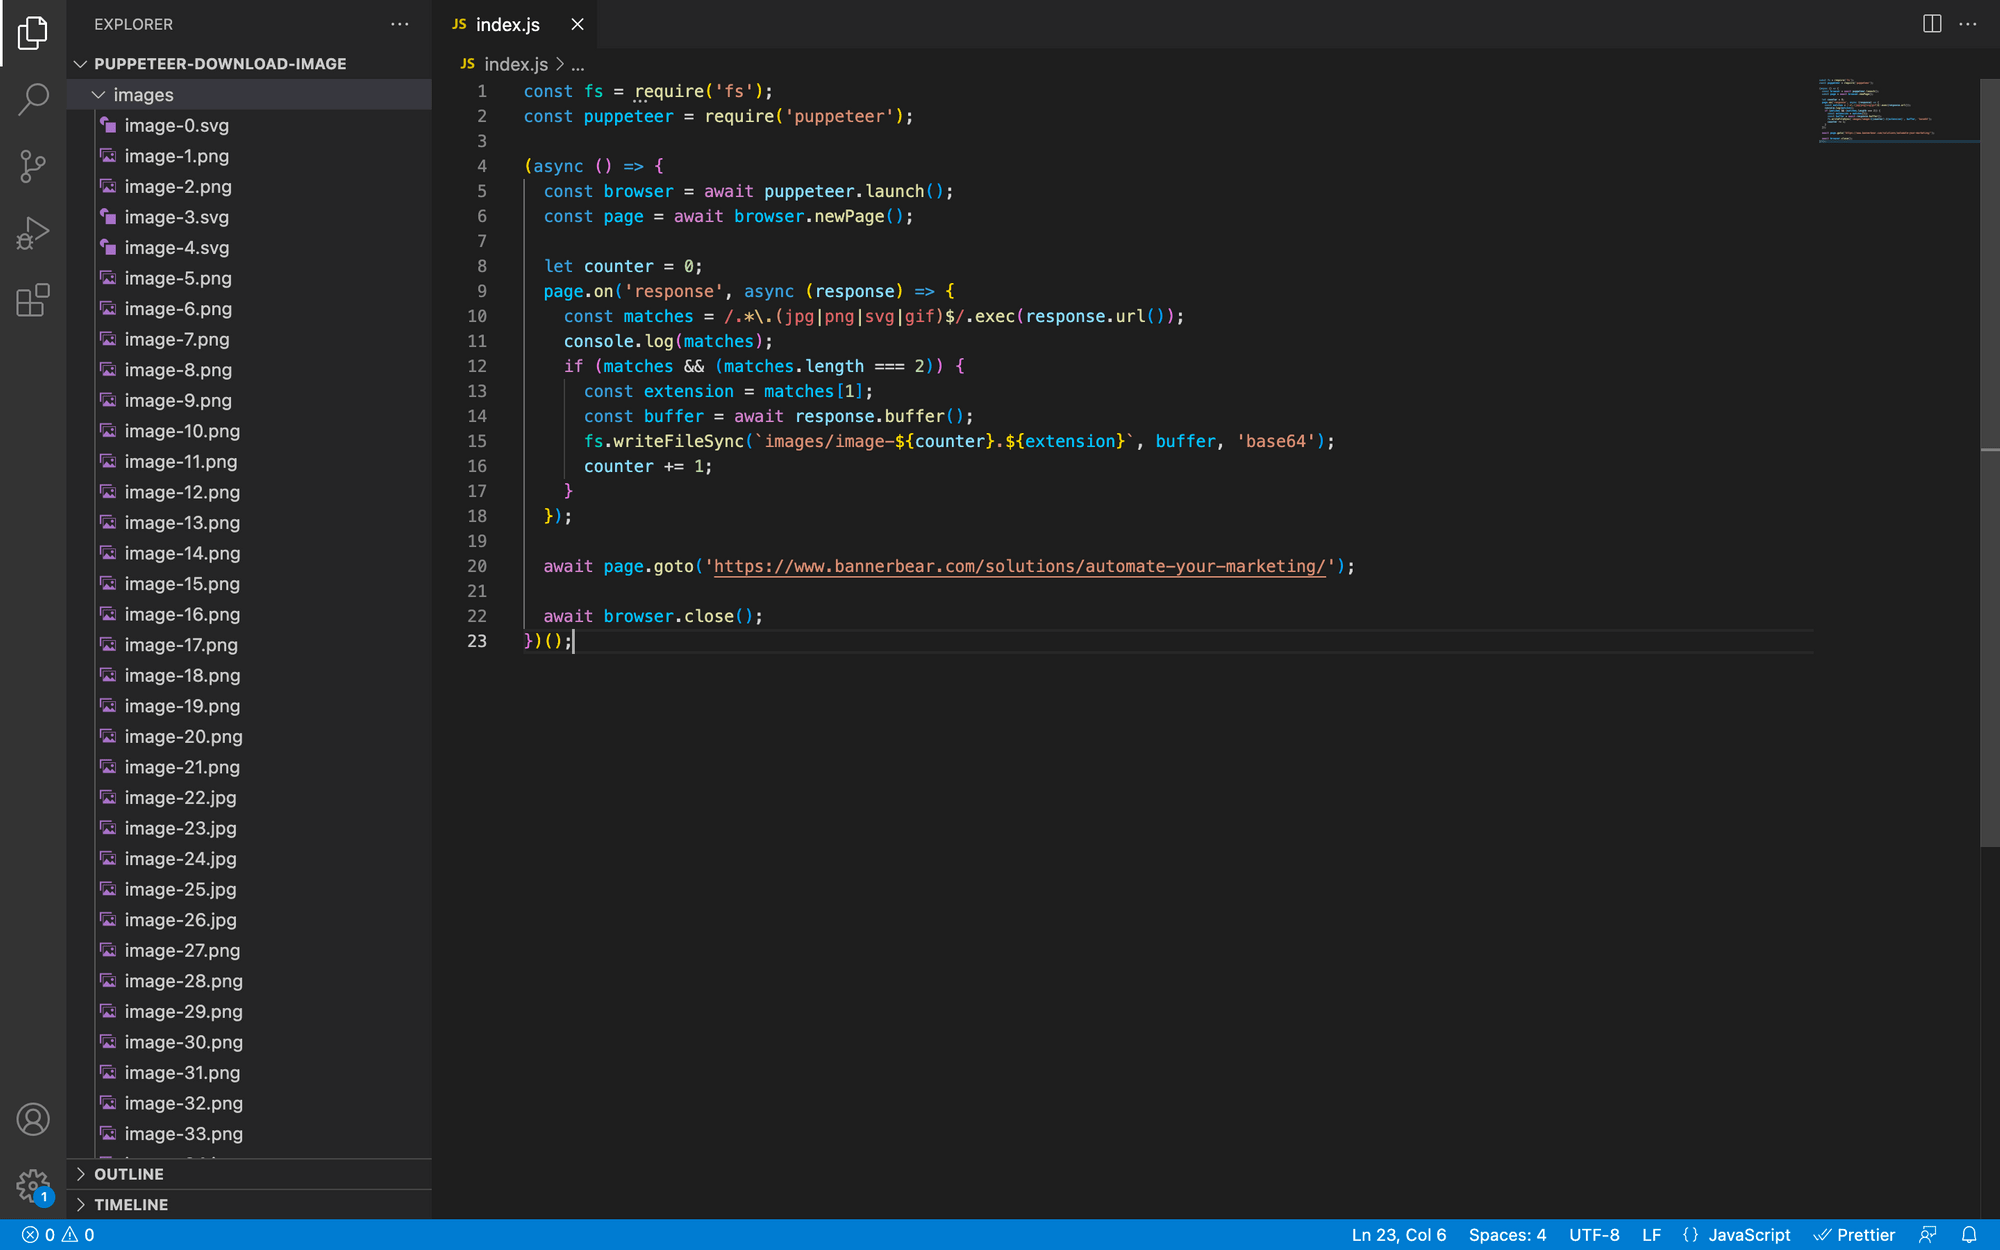
That’s it! All images from the Bannearbear page are now downloaded to the /images folder. 🥳
You can try this on other websites as well. Simply replace the Bannerbear URL with another URL and then run the node index.js command.
Using the Bannerbear API
If you want to process the images like applying an overlay or watermark to them, you can try using the Bannerbear API. The Bannerbear API allows you to create a template that can be applied to all images and generate the images in a few seconds by sending modification requests to the API endpoint. There are also tons of templates in our template library to choose from if you don’t want to create your own template. All you need to do is sign up for an account and you can start generating images immediately for free! 😉
