
How to Take Screenshots with Puppeteer
Contents
Puppeteer is a popular Node library that is very useful for developers to run automated website tests. In this tutorial, we will be showing you examples of how to use Puppeteer save screenshots of web pages as JPG images. We can use Puppeteer to capture simple screenshots, full-page screenshots, multiple screenshots, and screenshots of a particular HTML element.
Pre-requisites
To use Puppeteer to take screenshots of web pages, you will need to have these installed:
For reference, these are the versions used in this tutorial:
- Node.js - 14.17.3
- npm - 6.14.13
Please check the official documentation to check your version compatibility.
Getting Started
Step 1. Create a New Node.js Project
Create a new folder for your project and go to the directory.
mkdir puppeteer-screenshot
cd puppeteer-screenshot
Init a new Node.js project in the folder.
npm init
It will prompt you for input for a few aspects of the project, just press enter if you want to use the default values.
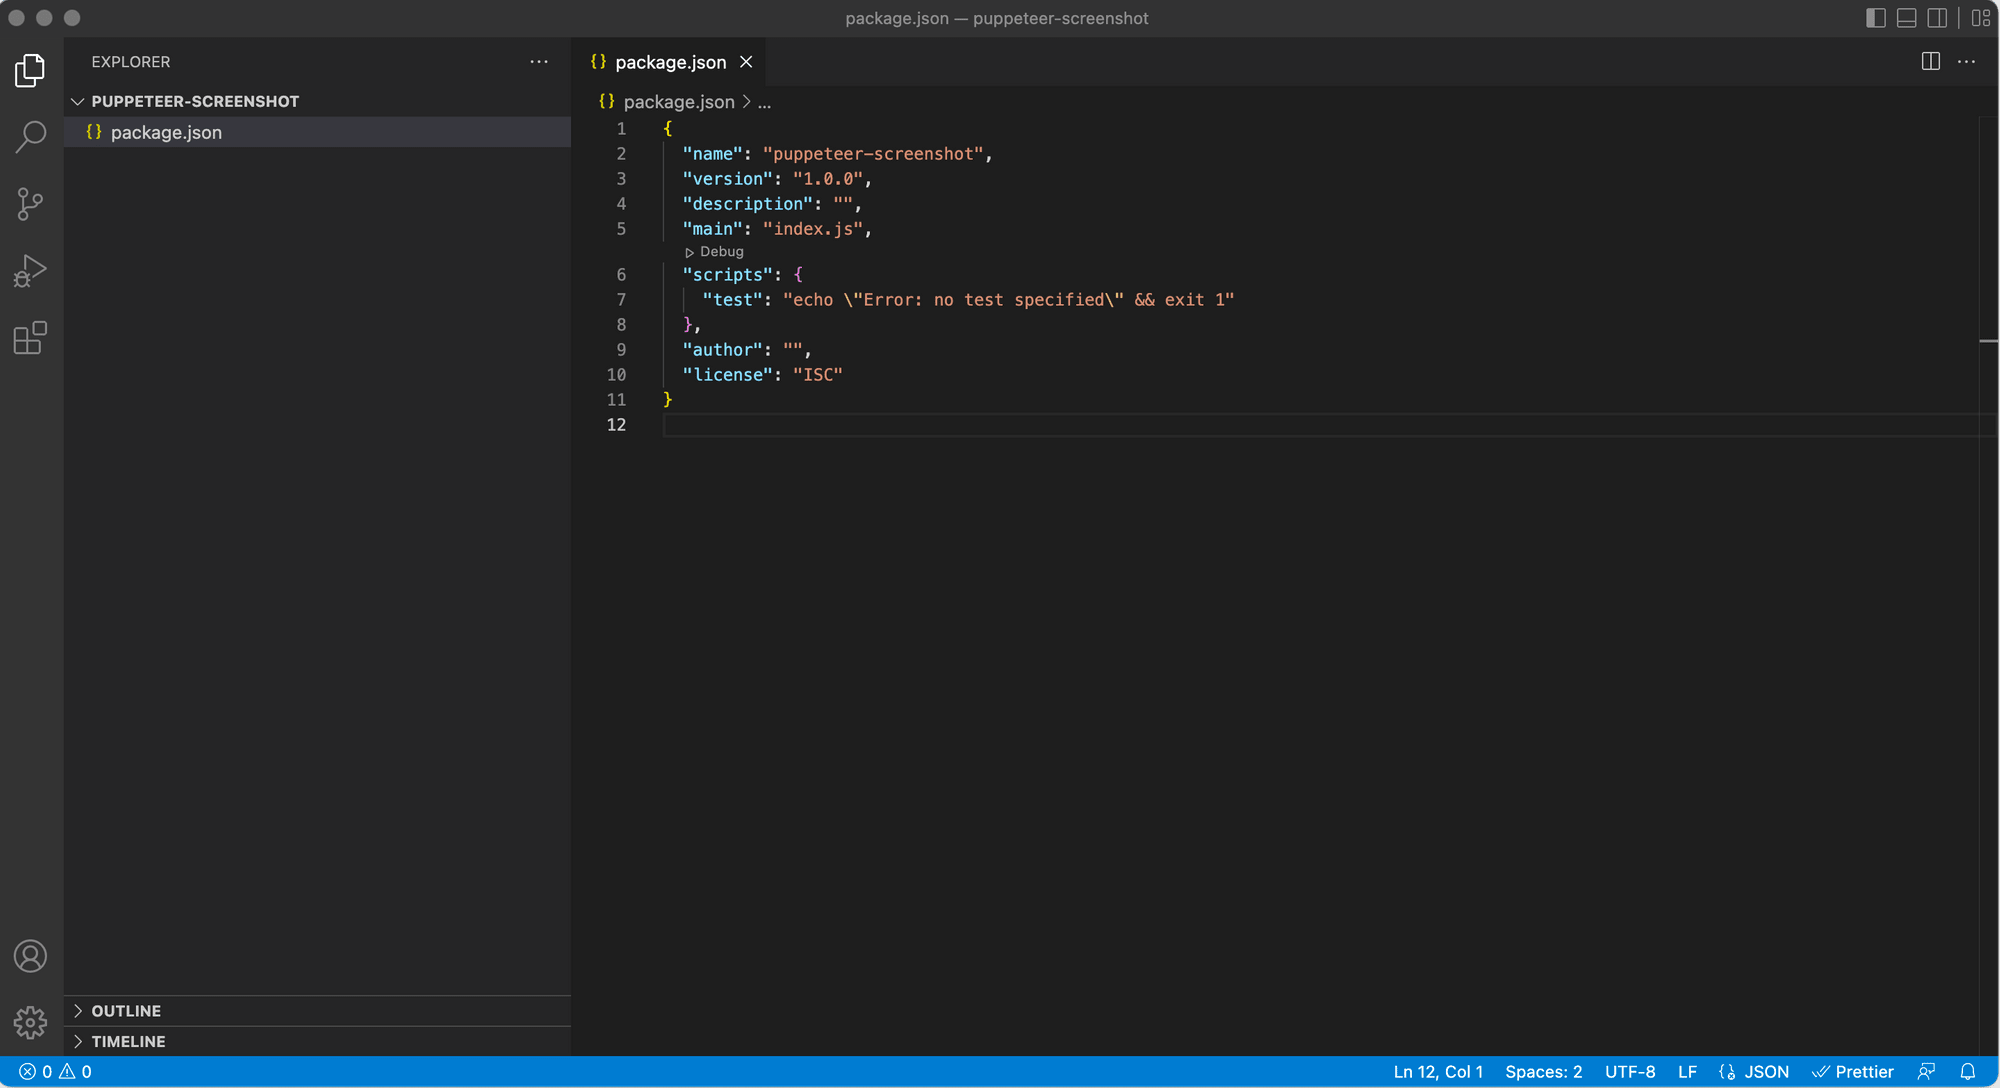
Once you run through the npm init steps above, a package.json file will be generated and placed in the current directory.
Step 2. Install Puppeteer
Run the command below to install Puppeteer.
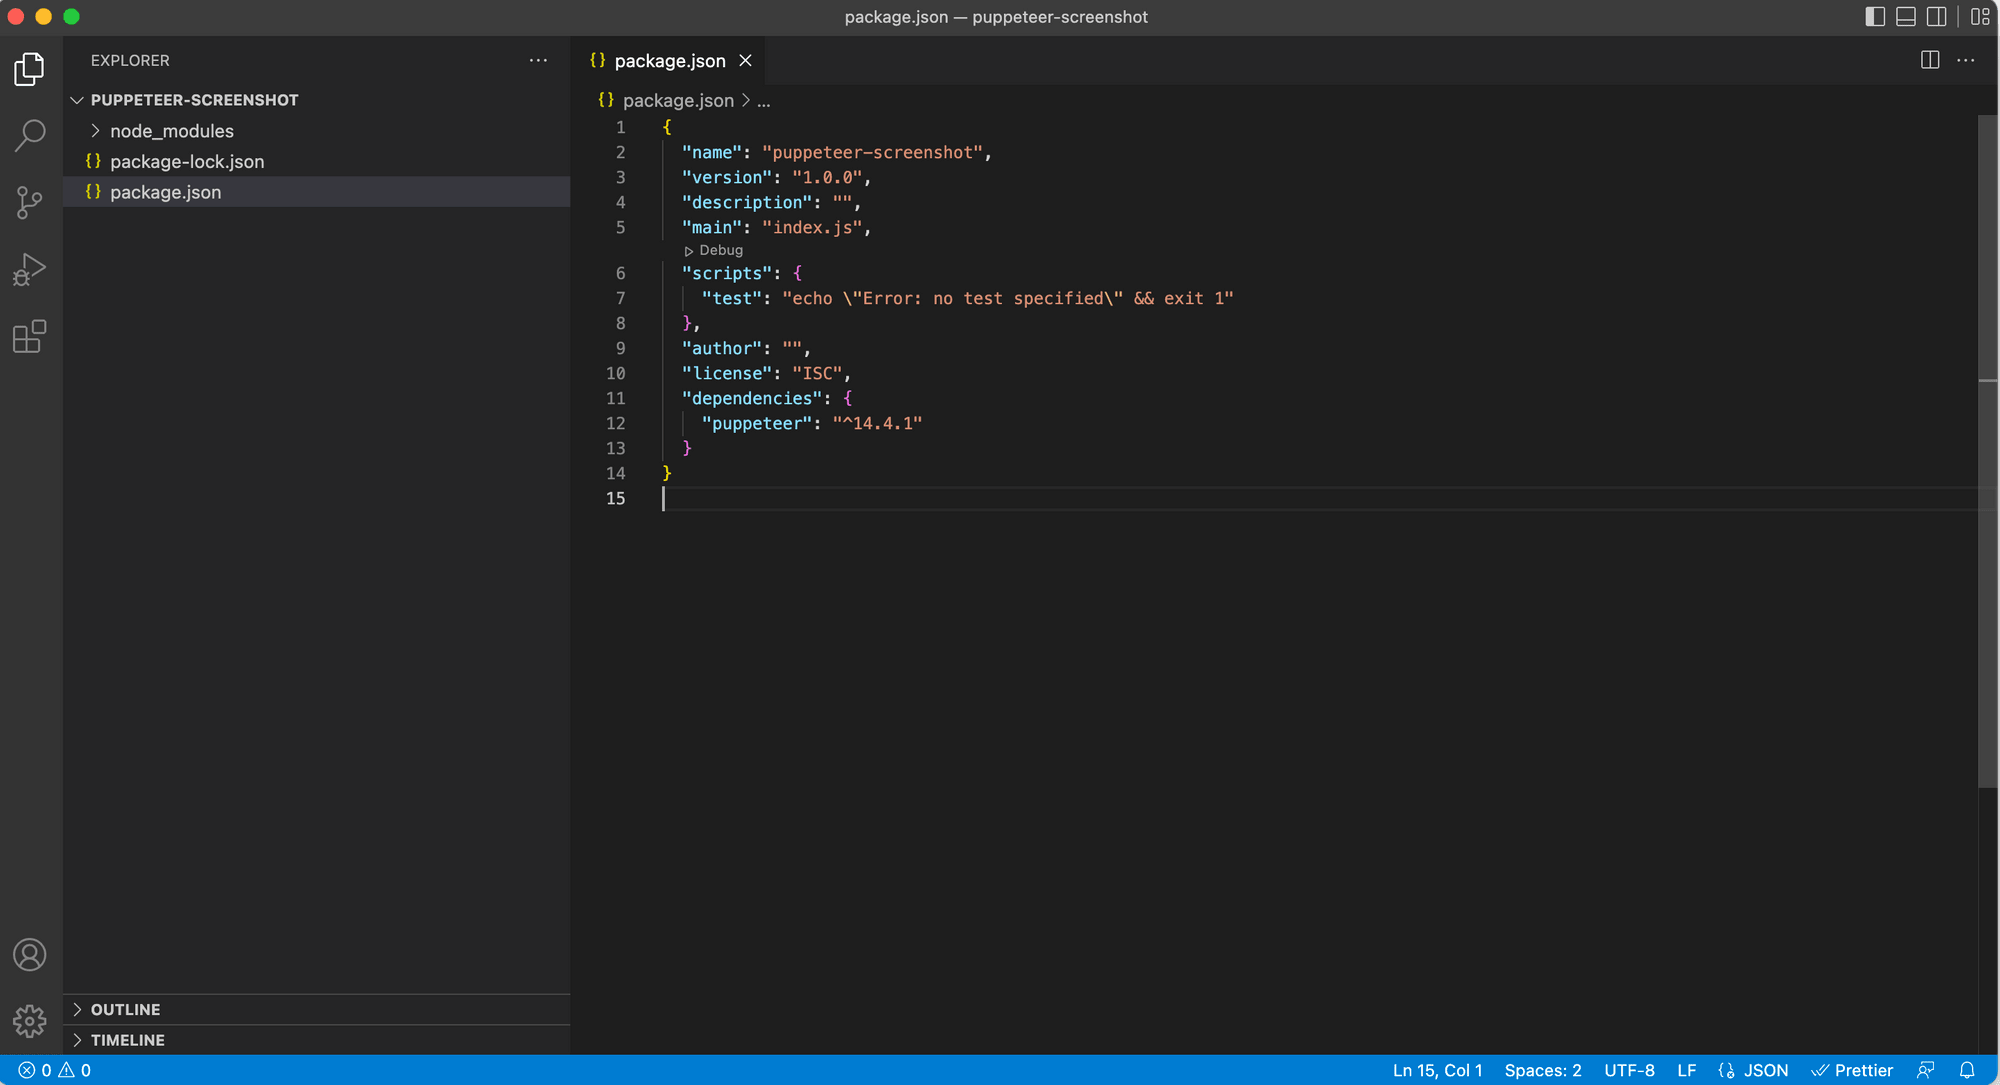
npm i puppeteer
A folder named node_modules and a file named package-lock.json will be added to your project after running the command.
When you run the command above to install Puppeteer, a recent version of Chromium which is guaranteed to work with the Puppeteer API is also downloaded.

Step 3. Create a New File
In the same project, create index.js file. This is where we will be writing our code to capture screenshots with Puppeteer.
Step 4. Import Puppeteer
Inside the index.js file, import puppeteer.
const puppeteer = require('puppeteer');
Now, we have all files and dependencies required. Let’s start coding!
Note : We will be writing the code in a self-invoking function.
How to Save Screenshot as JPG (Simple Screenshot)
Step 1. Create a Browser Instance and a New Page
First, create a Chrome browser instance in headless mode. As Puppeteer runs headless by default, we don’t have to state it in the parameter. Then, create a new page in the browser.
// Create a browser instance
  const browser = await puppeteer.launch();

// Create a new page
const page = await browser.newPage();
We can take the screenshot in different device views by setting the viewport size. For example, we can set the viewport to 1280x720 pixels to take a screenshot of the page in desktop view.
// Set viewport width and height
await page.setViewport({ width: 1280, height: 720 });
Step 2. Navigate to a URL
Next, set the URL of your target web page and call the page.goto() method with { waitUntil: 'networkidle0' } to open the URL in current page.
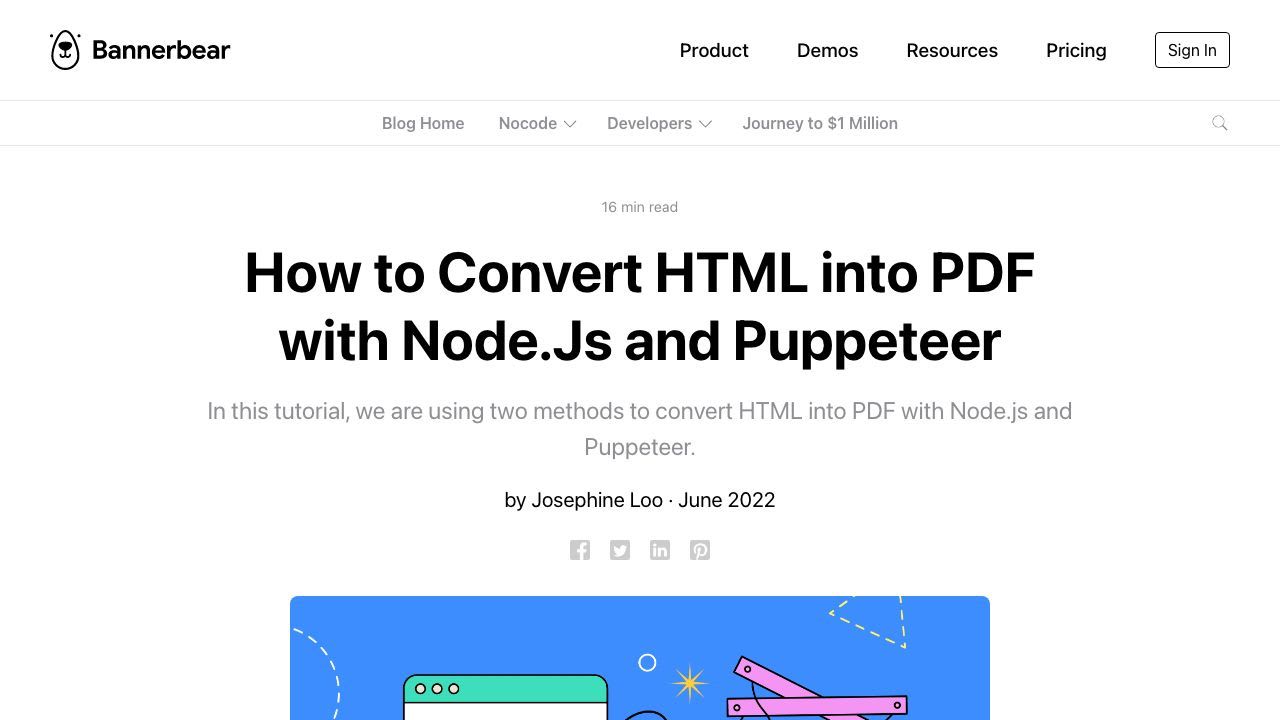
const website_url = 'https://www.bannerbear.com/blog/how-to-convert-html-into-pdf-with-node-js-and-puppeteer/';

// Open URL in current page
await page.goto(website_url, { waitUntil: 'networkidle0' });
{ waitUntil: 'networkidle0' } will ensure that there are no more than 0 network connections for at least 500ms before the navigation is considered to be finished.
Step 3. Capture a Screenshot
Next, call page.screenshot() along with the path option to capture a screenshot of the page.
// Capture screenshot
await page.screenshot({
  path: 'screenshot.jpg'
});
The path will set the file path to save the image to. The screenshot type (jpg/png) will be inferred from the file extension. Make sure to state the path as the image won’t be saved to the disk if no path is provided.
We will be saving our screenshot in JPEG format in this tutorial as the speed of taking a screenshot in JPEG is faster compared to PNG.
Beside saving your screenshot in JPEG format, there are other ways to speed up your Puppeteer screenshots too. You can read more about them in this article: 8 Tips for Faster Puppeteer Screenshots.
Step 4. Close the Browser
Finally, close the browser instance after the screenshot is completed.
// Close the browser instance
await browser.close();
This is the complete code for the operation:
const puppeteer = require('puppeteer');

(async () => {
  // Create a browser instance
  const browser = await puppeteer.launch();

  // Create a new page
  const page = await browser.newPage();

  // Set viewport width and height
  await page.setViewport({ width: 1280, height: 720 });

  const website_url = 'https://www.bannerbear.com/blog/how-to-convert-html-into-pdf-with-node-js-and-puppeteer/';

  // Open URL in current page
  await page.goto(website_url, { waitUntil: 'networkidle0' });

  // Capture screenshot
  await page.screenshot({
    path: 'screenshot.jpg',
  });

  // Close the browser instance
  await browser.close();
})();
Execute the code by running node index.js in your command line and you should get a result similar to this:
The code above takes a screenshot of the web page as how it is displayed on a browser window. It works fine for websites like the Google homepage which has nothing to scroll.
For most web pages that are scrollable, it does not take a complete screenshot of your web page. If you want to take a full-page screenshot, you need to add an option for page.screenshot().
How to Save Screenshot as JPG (Full-page Screenshot)
To take a full-page screenshot, add fullPage: true to page.screenshot().
await page.screenshot({
      path: 'screenshot_full.jpg',
      fullPage: true
    })
  }
This will take a full-page screenshot of the web page instead of capturing just a part of the web page that fits the viewport.
There are also other options that you can set for your Puppeteer screenshot like clip, encoding, omitBackground, etc. For more details, you can refer to the Puppeteer official documentation.
How to Save Screenshot as JPG (Multiple Screenshots)
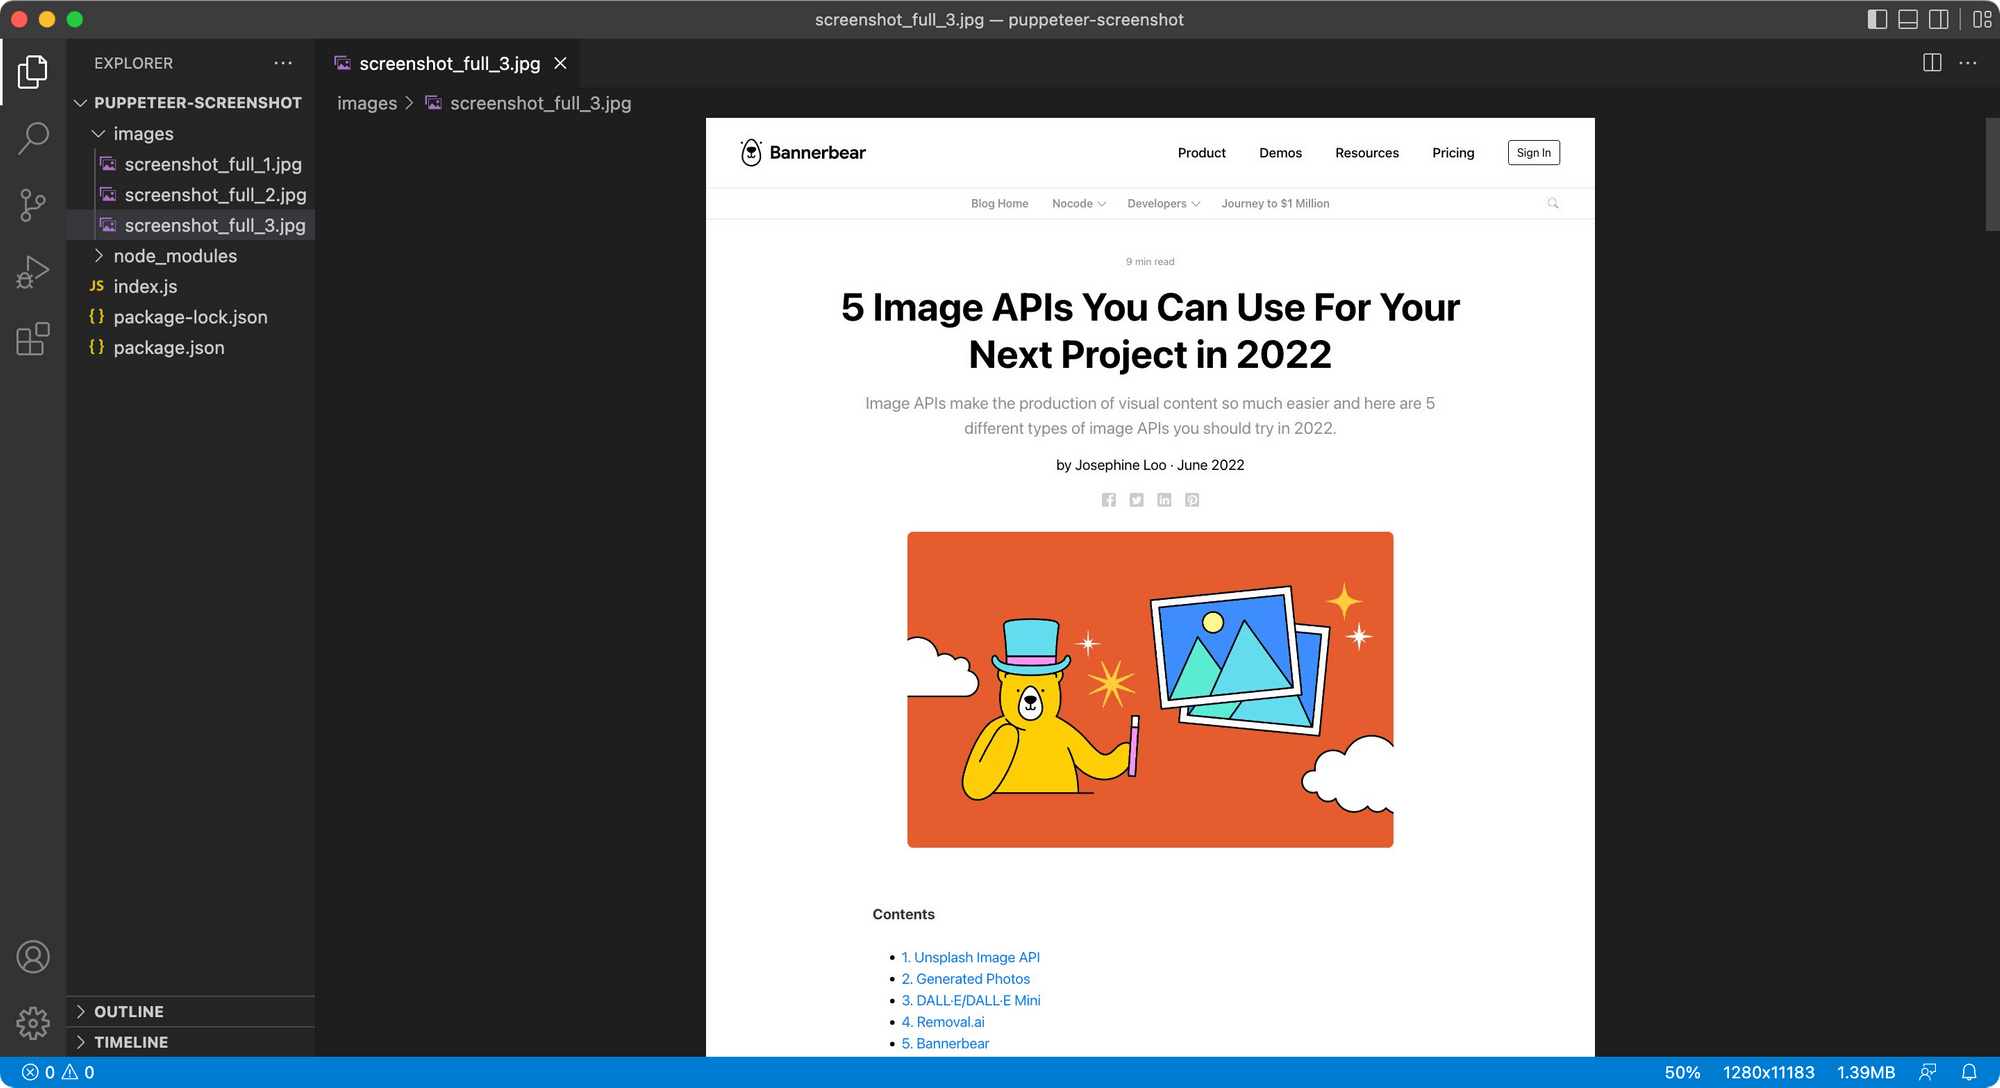
You can also capture multiple screenshots of different web pages by passing in the URLs as an array and saving them in a folder.
In this example, we will be taking screenshots of these pages and saving them in a folder named /images:
- How to Convert HTML into PDF with Node.Js and Puppeteer
- How to Download Images from a Website Using Puppeteer
- 5 Image APIs You Can Use For Your Next Project in 2022
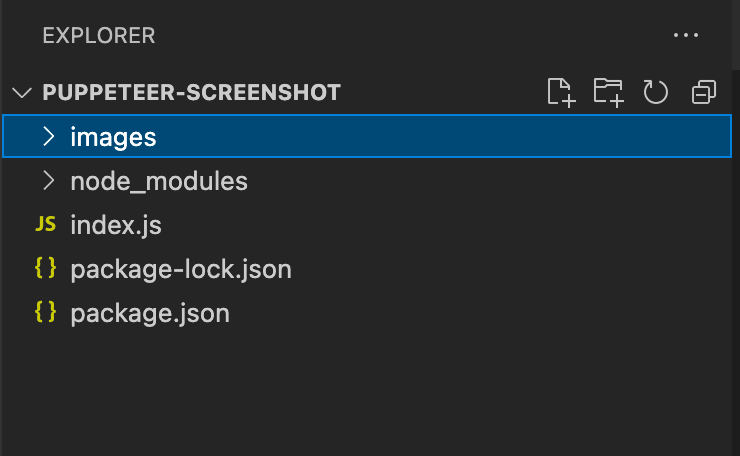
First, create a new /images folder in your project directory to save the screenshots.
We want to modify this part of the code to loop through the URLs in an array and capture full-page screenshots of them:
const website_url = urlArray[i];

    // Open URL in current page
    await page.goto(website_url, { waitUntil: 'networkidle0' });

    // Capture screenshot
    await page.screenshot({
      path: 'screenshot_full.jpg',
      fullPage: true
});
Next, create an array to store the URLs of the web pages which you want to capture full-page screenshots.
const urlArray = [
    'https://www.bannerbear.com/blog/how-to-convert-html-into-pdf-with-node-js-and-puppeteer/',
    'https://www.bannerbear.com/blog/how-to-download-images-from-a-website-using-puppeteer/',
    'https://www.bannerbear.com/blog/5-image-apis-you-can-use-for-your-next-project-in-2022/'
];
Then, move the code into a for loop and change the naming format of the Puppeteer screenshots:
for(var i = 0; i < urlArray.length; i++) {

    const website_url = urlArray[i];

    // Open URL in current page
    await page.goto(website_url, { waitUntil: 'networkidle0' });

    // Capture screenshot
    await page.screenshot({
      path: `images/screenshot_full_${i+1}.jpg`,
      fullPage: true
    });

}
The code will loop through every URL in the array, capture a full-page screenshot and save them as screenshot_full_1.jpg, screenshot_full_2.jpg, and screenshot_full_3.jpg in the /images folder.
How to Save Screenshot as JPG (a Particular HTML Element)
Other than adding the fullpage option to capture a full-page screenshot, we can also capture only a particular HTML element in the webpage. For example, we can modify the previous code to capture only the post image using the CSS selector.
You can copy the selector of the post image by right-clicking the image and selecting Inspect. Then, right-click the highlighted HTML code of the image and copy the selector.
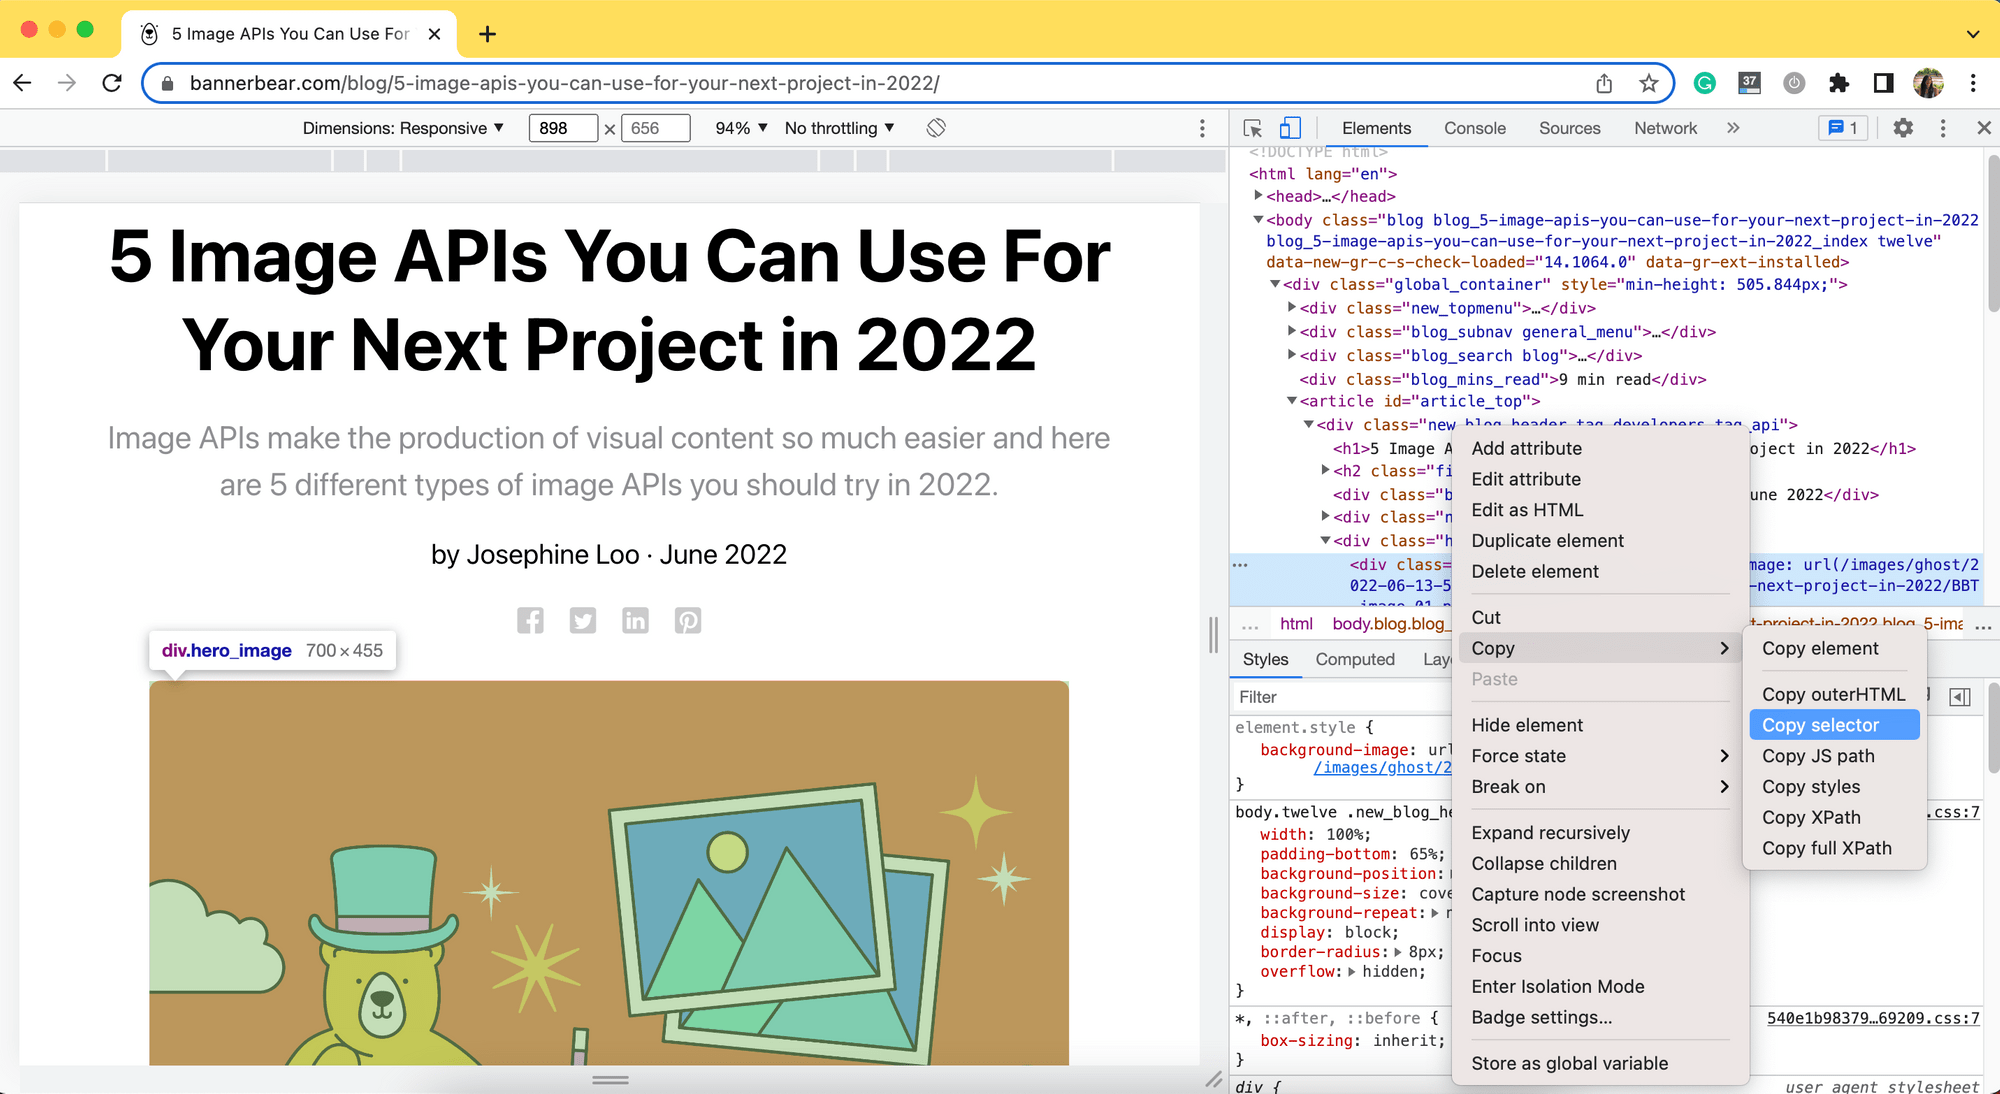
This is the selector copied:
#article_top > div > div.hero_image_container > div.
Next, go to your index.js file and declare a variable for the selector before .screenshot() and get the element from the web page.
const selector = '#article_top > div > div.hero_image_container > div';
We can remove { waitUntil: 'networkidle0' } and ask the page to wait for the selector instead.
await page.goto(website_url);
await page.waitForSelector(selector);

const element = await page.$(selector);
Next, change page.screenshot() to element.screenshot() to capture the element. Remove fullPage: true or set it to false.
// Capture screenshot
await element.screenshot({
  path: `images/post_image_${i+1}.jpg`
});
The complete code looks like this:
const puppeteer = require('puppeteer');

const urlArray = [
  'https://www.bannerbear.com/blog/how-to-convert-html-into-pdf-with-node-js-and-puppeteer/',
  'https://www.bannerbear.com/blog/how-to-download-images-from-a-website-using-puppeteer/',
  'https://www.bannerbear.com/blog/5-image-apis-you-can-use-for-your-next-project-in-2022/'
];

const selector = '#article_top > div > div.hero_image_container > div';

(async () => {
  // Create a browser instance
  const browser = await puppeteer.launch();

  // Create a new page
  const page = await browser.newPage();

  // Set viewport width and height
  await page.setViewport({ width: 1280, height: 720 });

  for(var i = 0; i < urlArray.length; i++) {

    const website_url = urlArray[i];

    // Open URL in current page
    await page.goto(website_url);
    await page.waitForSelector(selector);

    const element = await page.$(selector);

    // Capture screenshot
    await element.screenshot({
      path: `images/post_image_${i+1}.jpg`,
    });
  }

  // Close the browser instance
  await browser.close();
})();
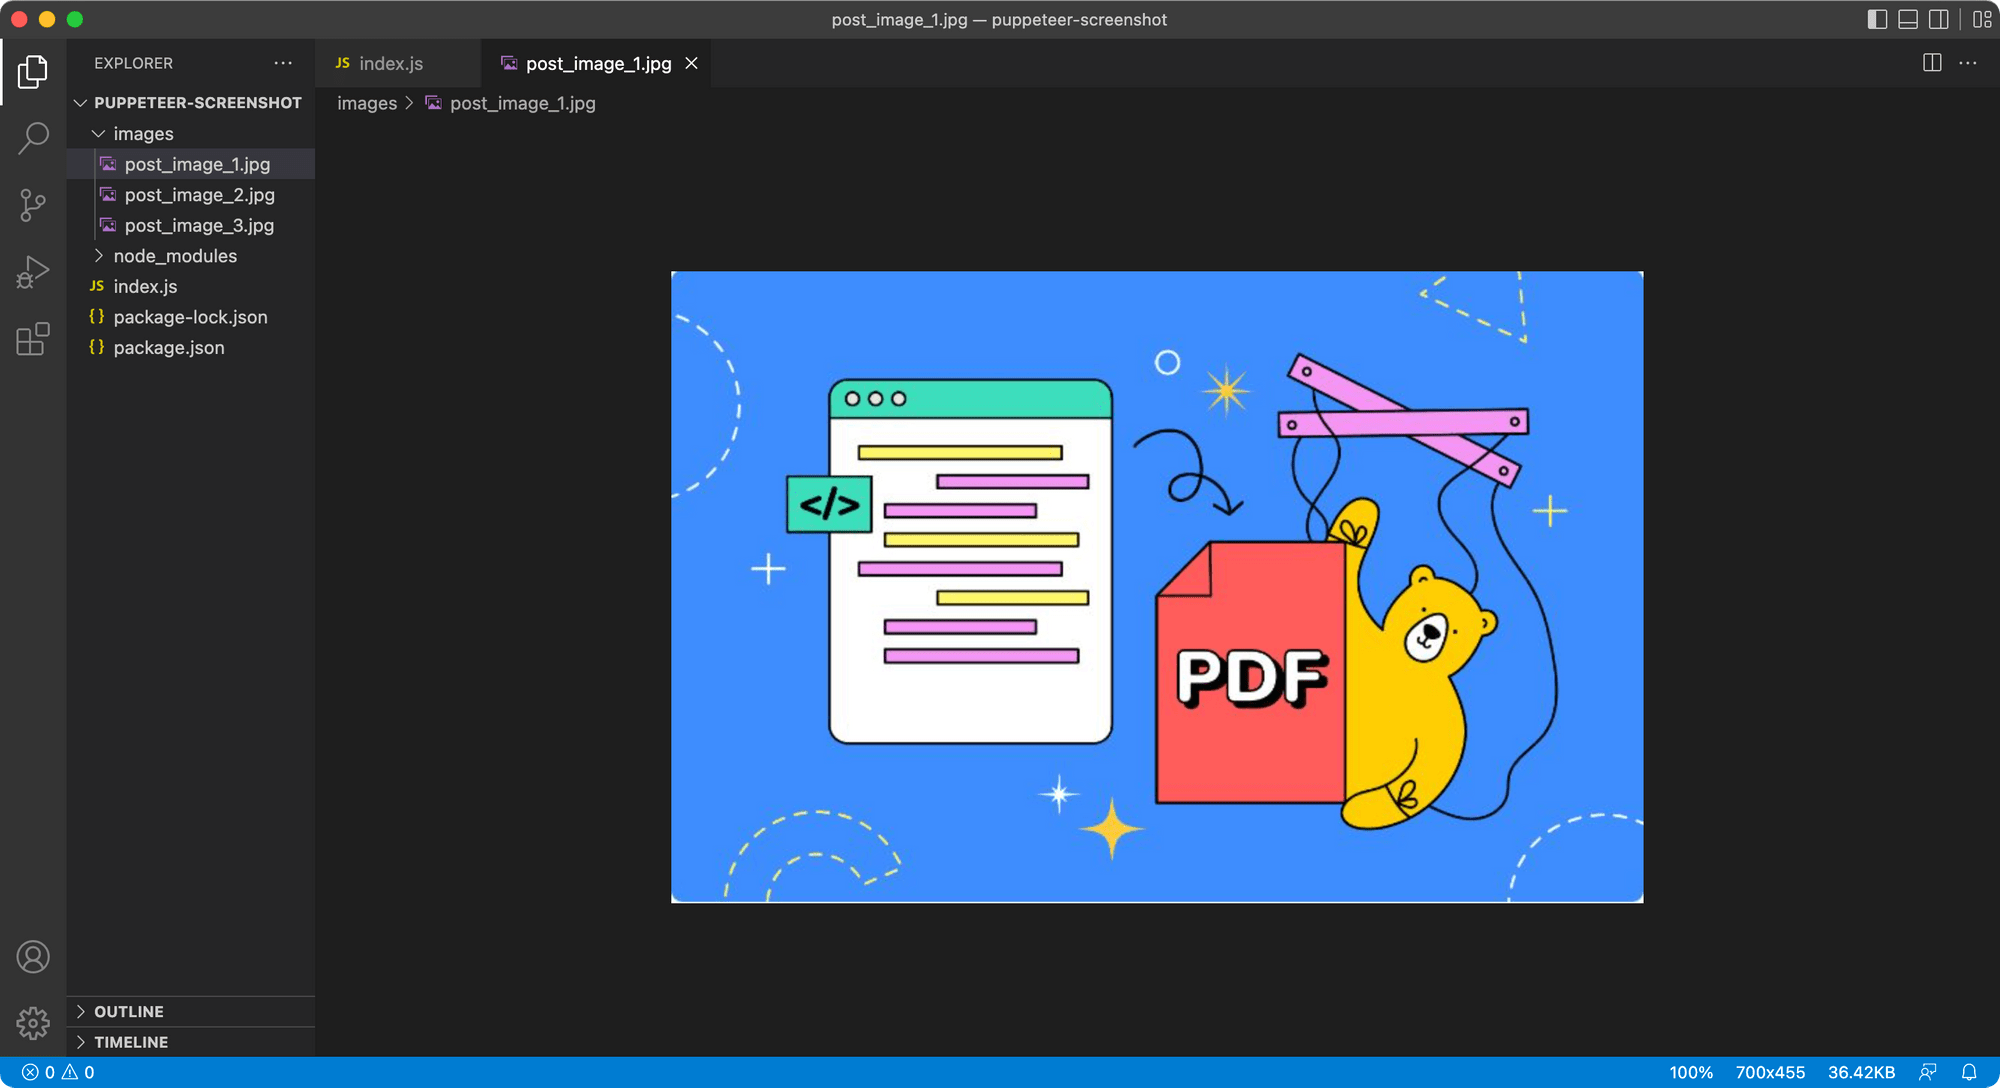
Run node index.js and you should have the post images saved to the /images folder.
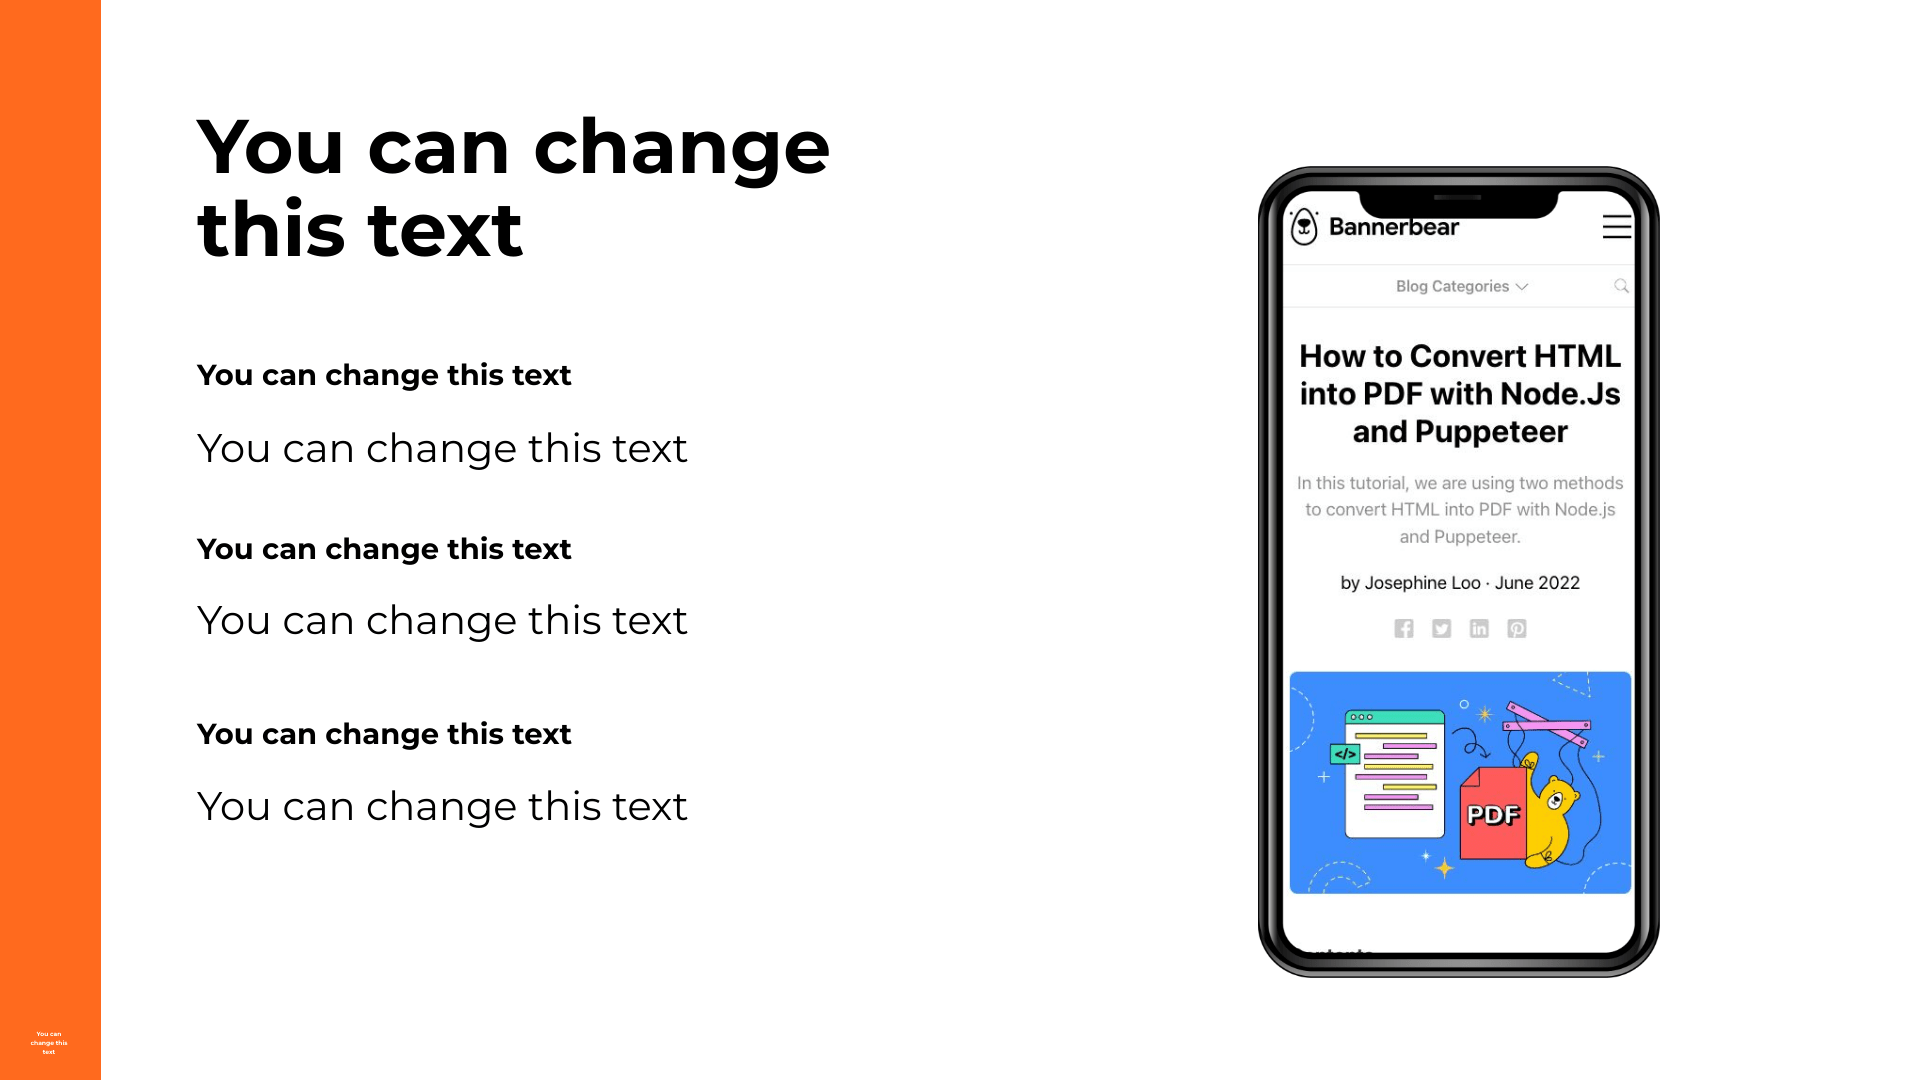
🐻 Bear Tips: Use Bannerbear's free pretty screenshot tool to add a background to your screenshot!
Using Bannerbear API
If you want to apply an image template or add a watermark to your images, you can do it with Bannerbear Image Generation API. It is a simple REST API that offers easy integration into any existing platform or app to generate designed images automatically.
This is an example generated automatically from one of the Puppeteer screenshots using Bannerbear API:
If your Puppeteer screenshots are hosted on a server, you can apply an image template to all images automatically using Bannerbear.
Before that, you need to create a Bannerbear project and a design template. You can design the template from scratch or choose a design from the template library.
This Pitch Deck Template consists of a dynamic image object and some dynamic text objects which can be set when calling the API.
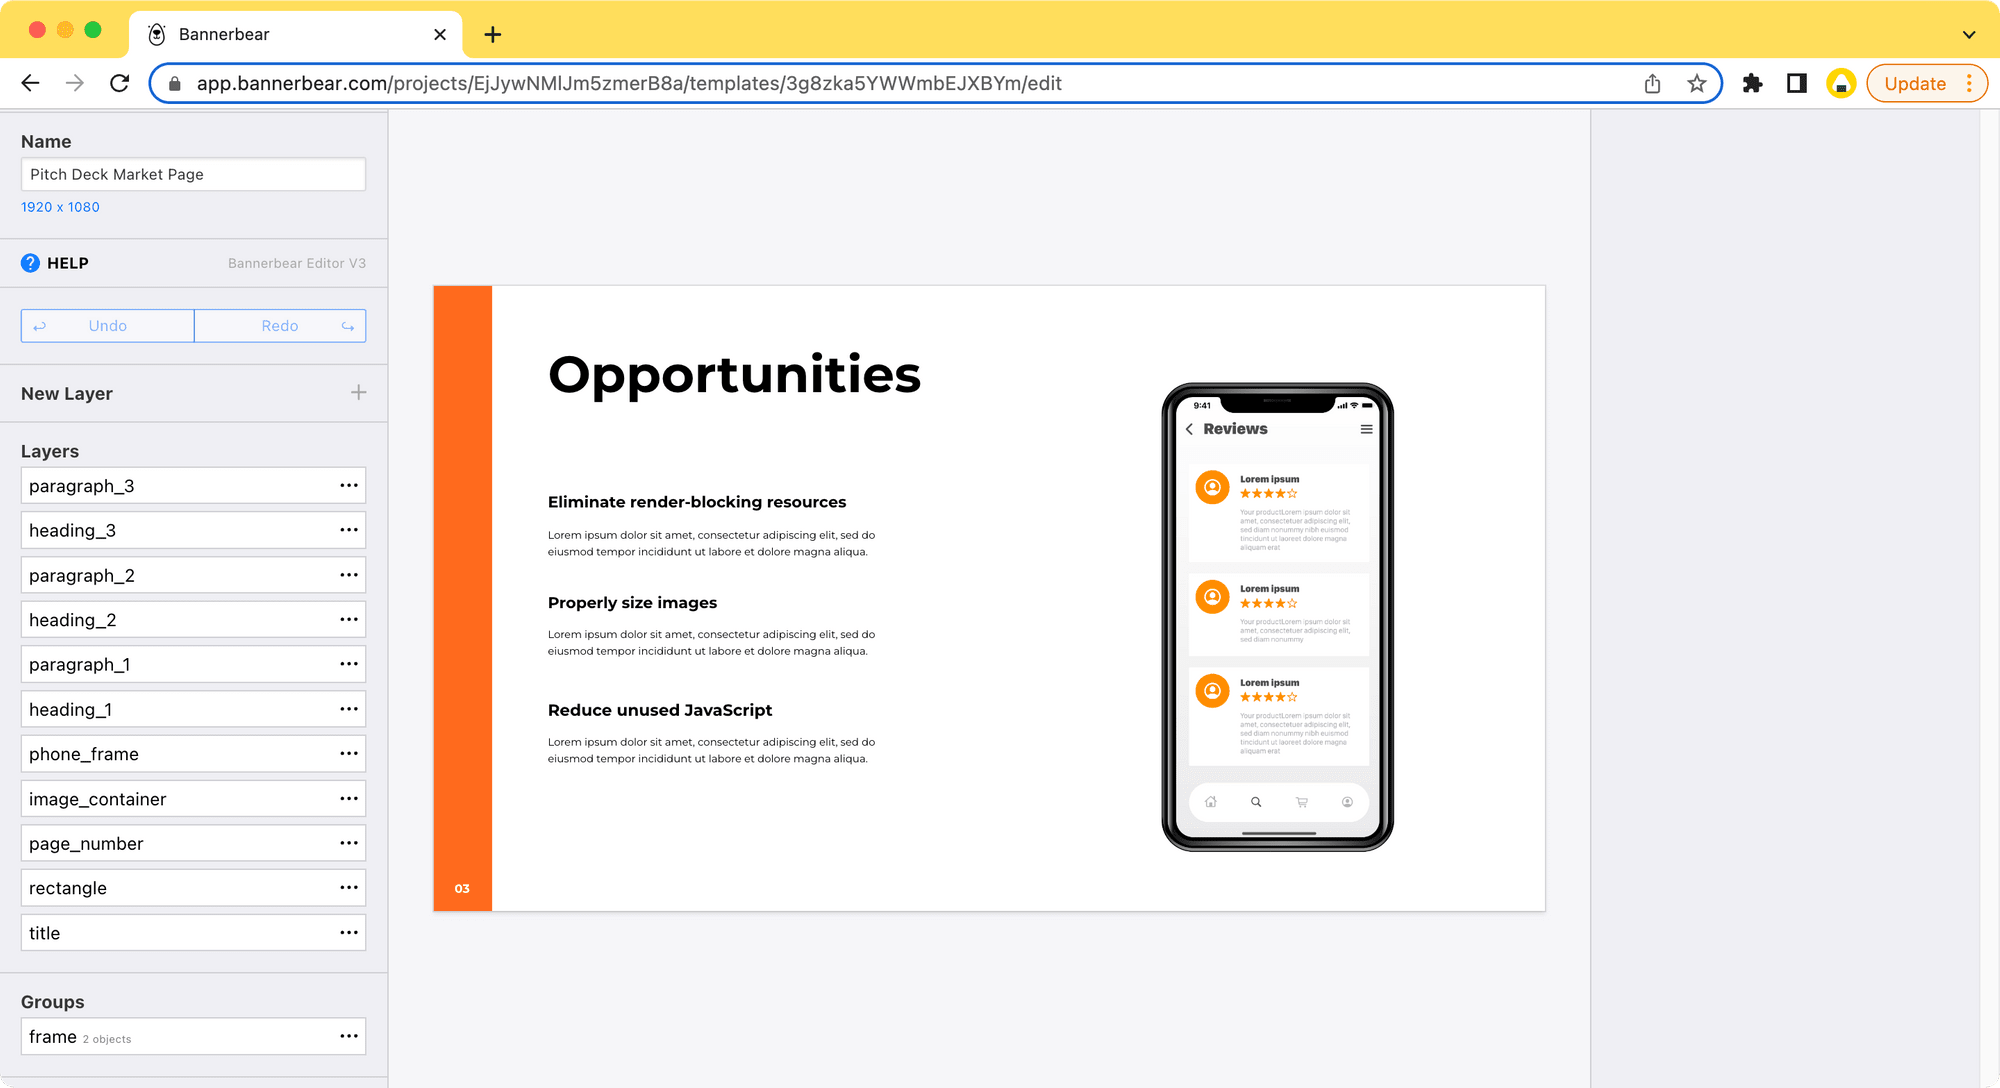
You need to call the API with your project API key and the template ID.
imgUrl.forEach((url, i) => {

  var data = {
    template: TEMPLATE_ID,
    modifications: [
    {
      "name": "title",
      "text": "You can change this text",
      "color": null,
      "background": null
    },
    {
      "name": "rectangle",
      "color": null
    },
    {
      "name": "page_number",
      "text": "You can change this text",
      "color": null,
      "background": null
    },
    {
      "name": "image_container",
      "image_url": url
    },
    {
      "name": "heading_1",
      "text": "You can change this text",
      "color": null,
      "background": null
    },
    {
      "name": "paragraph_1",
      "text": "You can change this text",
      "color": null,
      "background": null
    },
    {
      "name": "heading_2",
      "text": "You can change this text",
      "color": null,
      "background": null
    },
    {
      "name": "paragraph_2",
      "text": "You can change this text",
      "color": null,
      "background": null
    },
    {
      "name": "heading_3",
      "text": "You can change this text",
      "color": null,
      "background": null
    },
    {
      "name": "paragraph_3",
      "text": "You can change this text",
      "color": null,
      "background": null
    }
   ]
  };

  fetch('https://api.bannerbear.com/v2/images', {
    method: 'POST',
    body: JSON.stringify(data),
    headers: {
      'Content-Type': 'application/json',
      Authorization: `Bearer ${API_KEY}`,
    }
  });

});
It saves a lot of time when you have a lot of images that needs to be edited as the images can be generated automatically using Bannerbear by simply calling the API.
If you’re interested to know more about how you can automate your process using Puppeteer or Bannerbear, here are some articles that might help you:
