
How to Make a T-Shirt/Merchandise Mockup Generator Using Bannerbear in Node.js
Contents
Creating mockups for physical products like t-shirts, bags, caps, and branded packaging helps visualize the products’ outcomes without having to produce them. Graphic design and marketing agencies often present their designs on product mockups to clients to provide a glimpse of the final product. However, creating mockups for various designs and different clients repetitively adds more work on top of their regular workload.
Luckily, the mockup creation process can be automated with the help of some tools, like a mockup generator on print-on-demand sites such as Printful and Printify that shows users a preview of the final product after uploading their designs. However, it is challenging to create such images in Node.js if you were to create a mockup generator for them, particularly using an image manipulation library like Jimp to overlay the design on top of the product image.
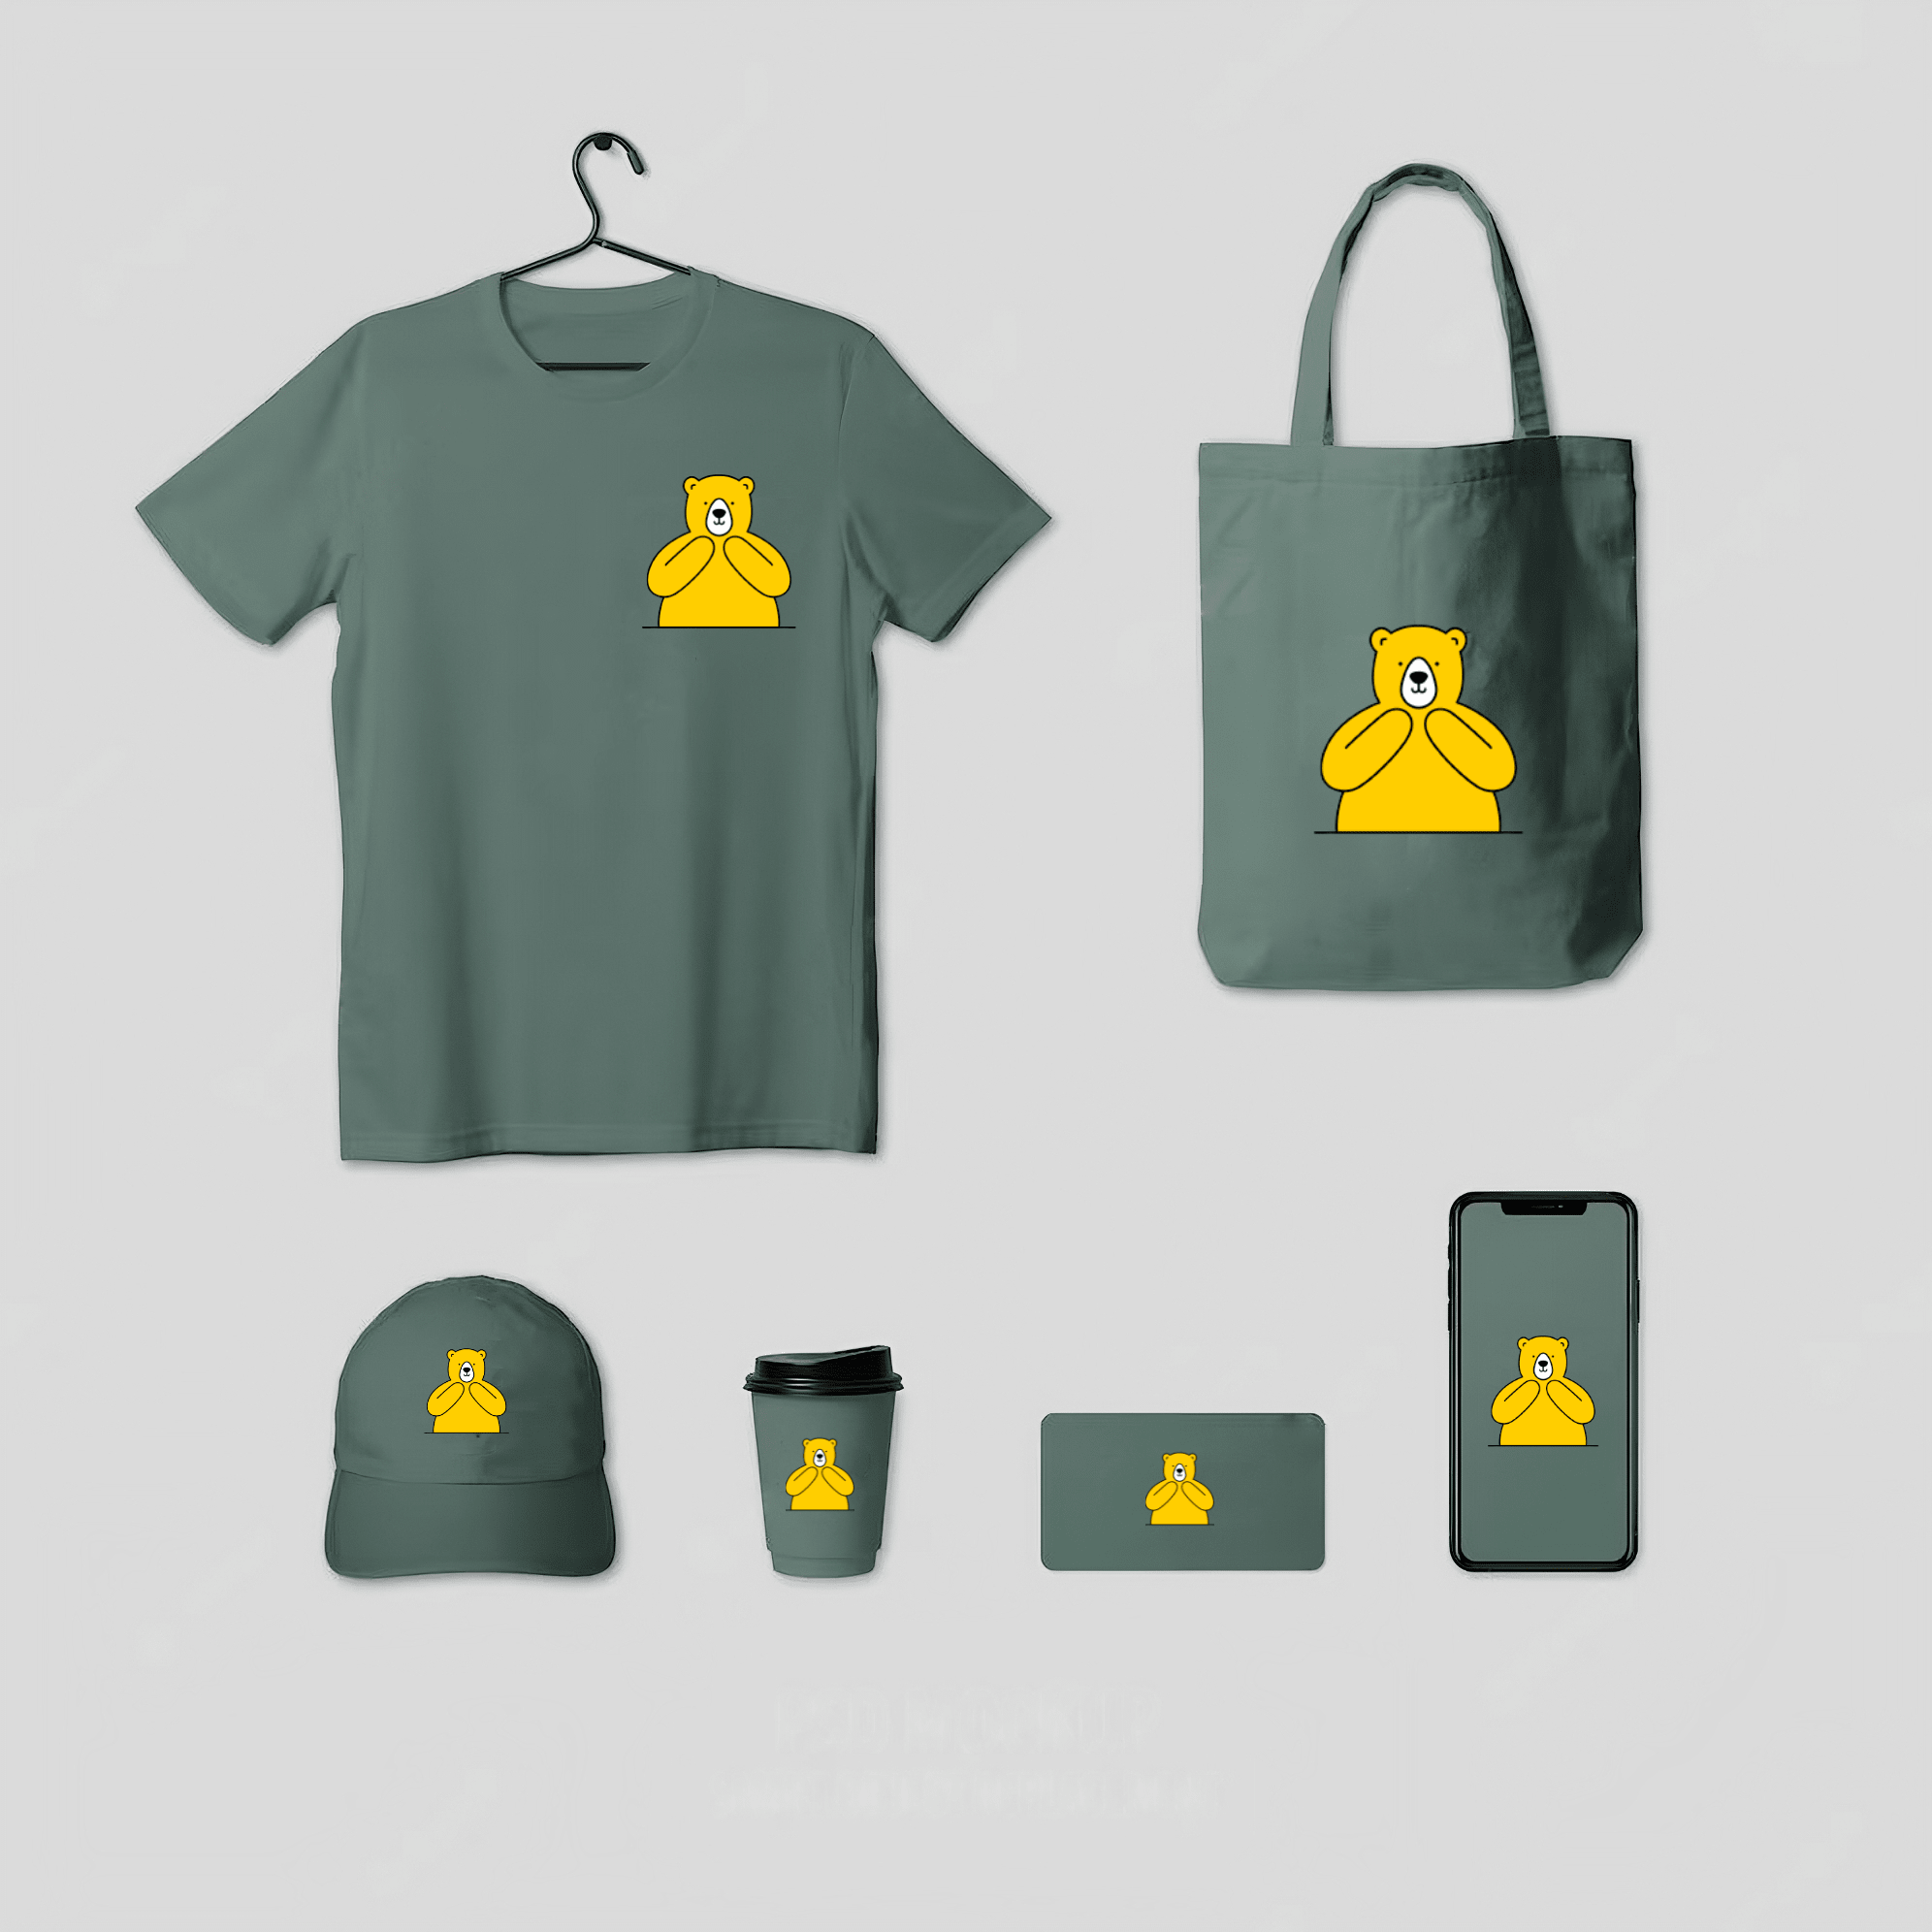
In this article, we will guide you through a simpler approach to building a mockup generator using Bannerbear. By providing only the URL of the design’s image to Bannerbear, you’ll be able to create a mockup generator that creates images like the examples shown below:
Example 1
Example 2

What is Bannerbear
Bannerbear is a tool that helps you generate custom images, videos, and more using API. It has libraries in various popular programming languages like Ruby, PHP, and Node.js, making integrating image generation and other media manipulation functionalities into your application effortless.
The images and other media files are created based on a template where you can add static and dynamic objects such as images, text, and shapes. By passing different data to the API, the values of these dynamic objects can be altered to generate unique content.
All API requests on Bannerbear are scoped to a project and you can create multiple design templates in the same one. After creating the design templates, you can access them using the project API key and template IDs.
Now that you have a little bit of an idea of what Bannerbear does, let’s start by creating a template!
Creating a Bannerbear Project
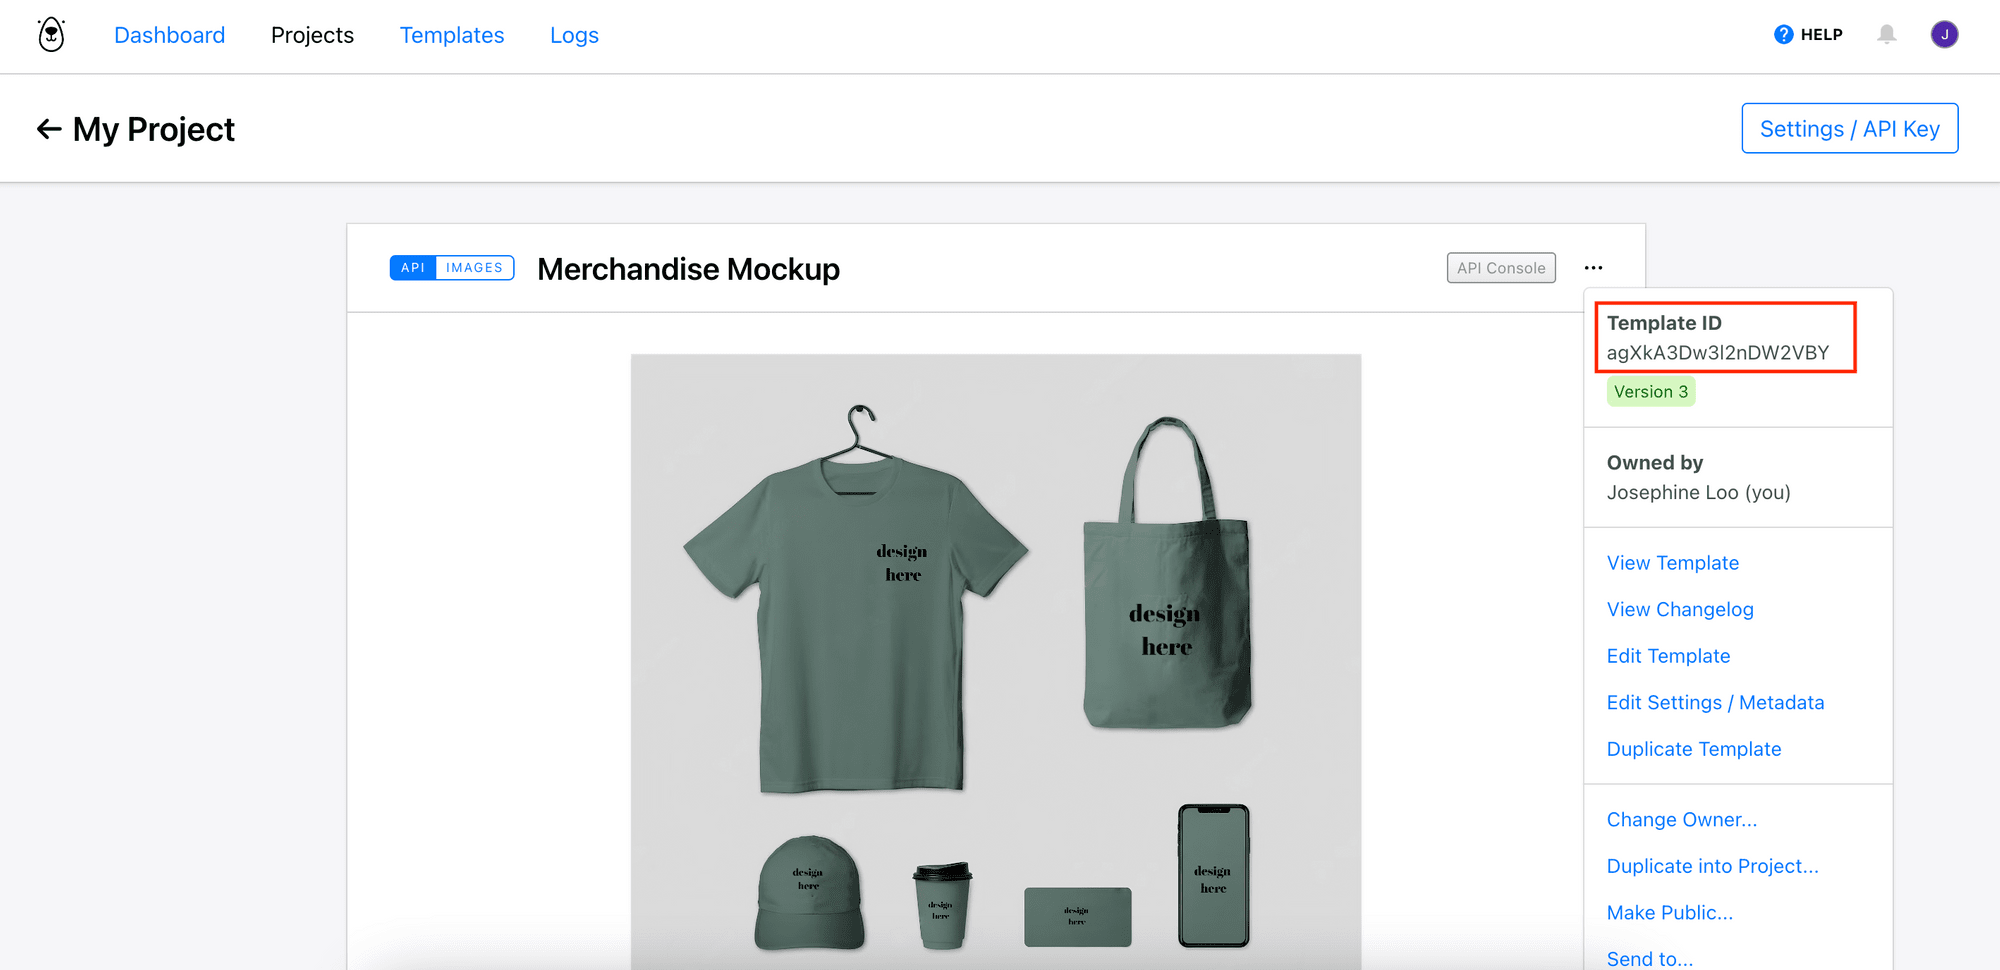
To make a template for generating images, you will need a Bannerbear account. Sign up for an account and create a new project in your account. Next, duplicate this mockup template to your project.
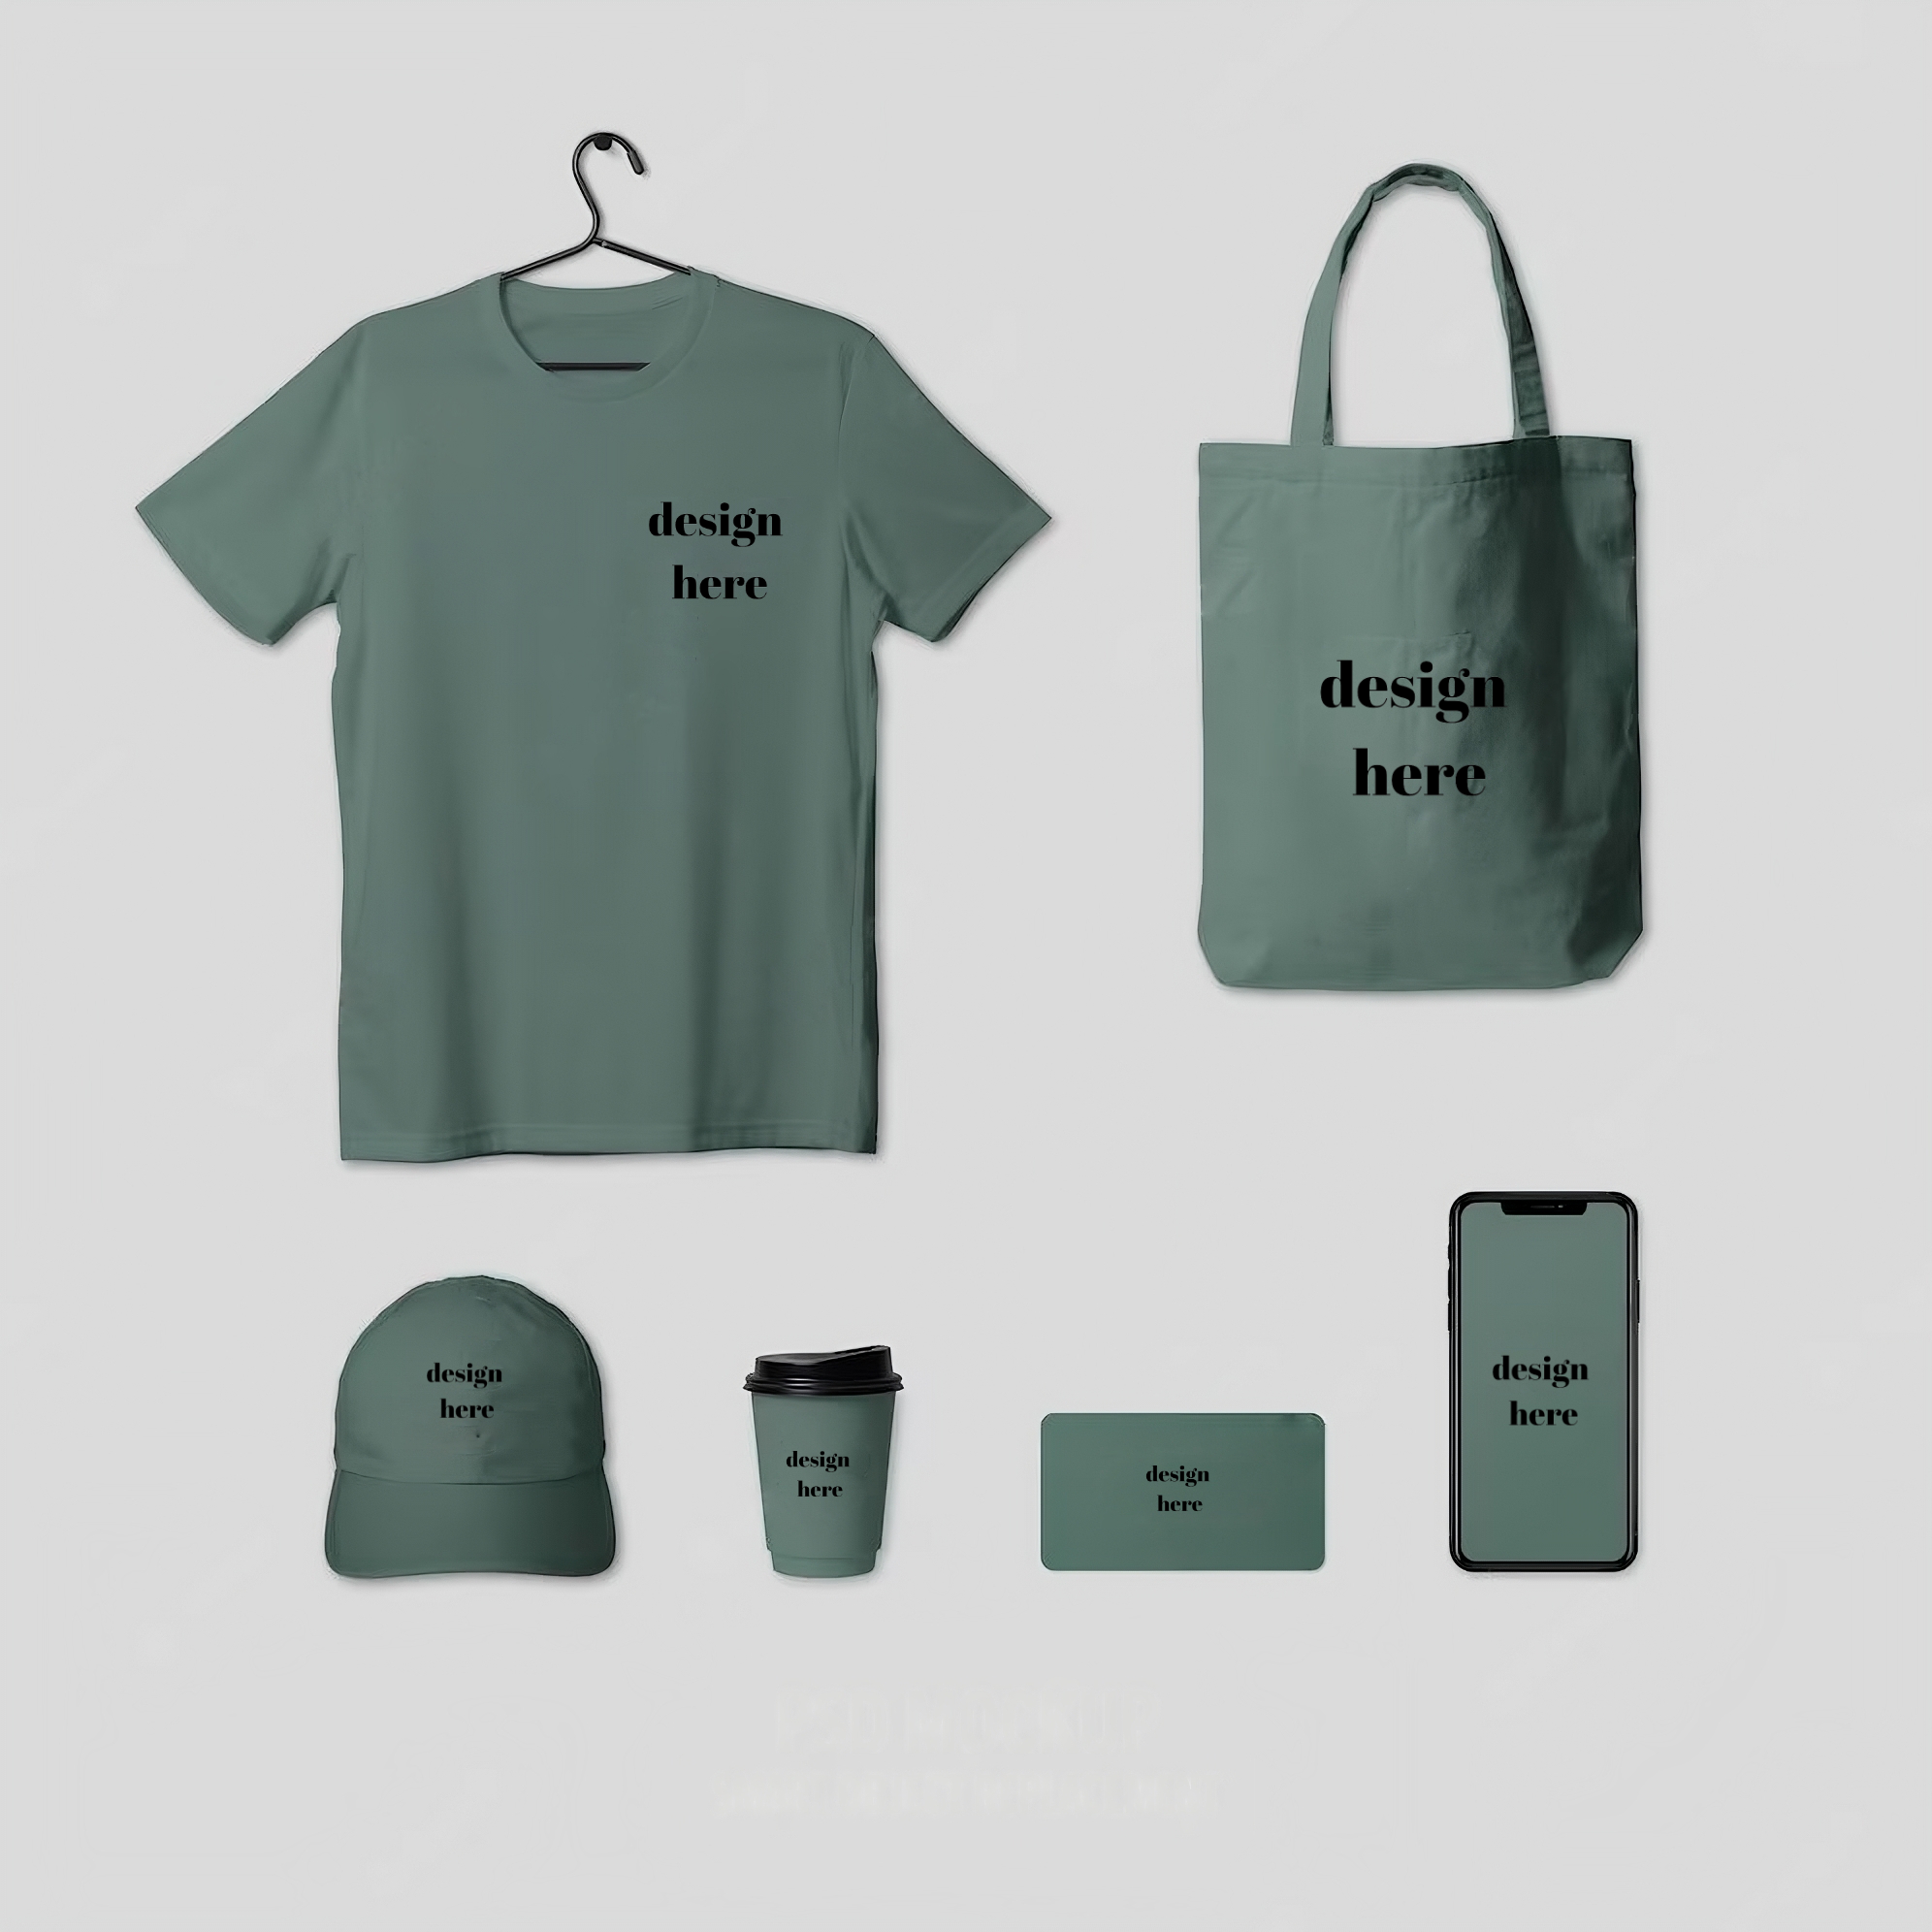
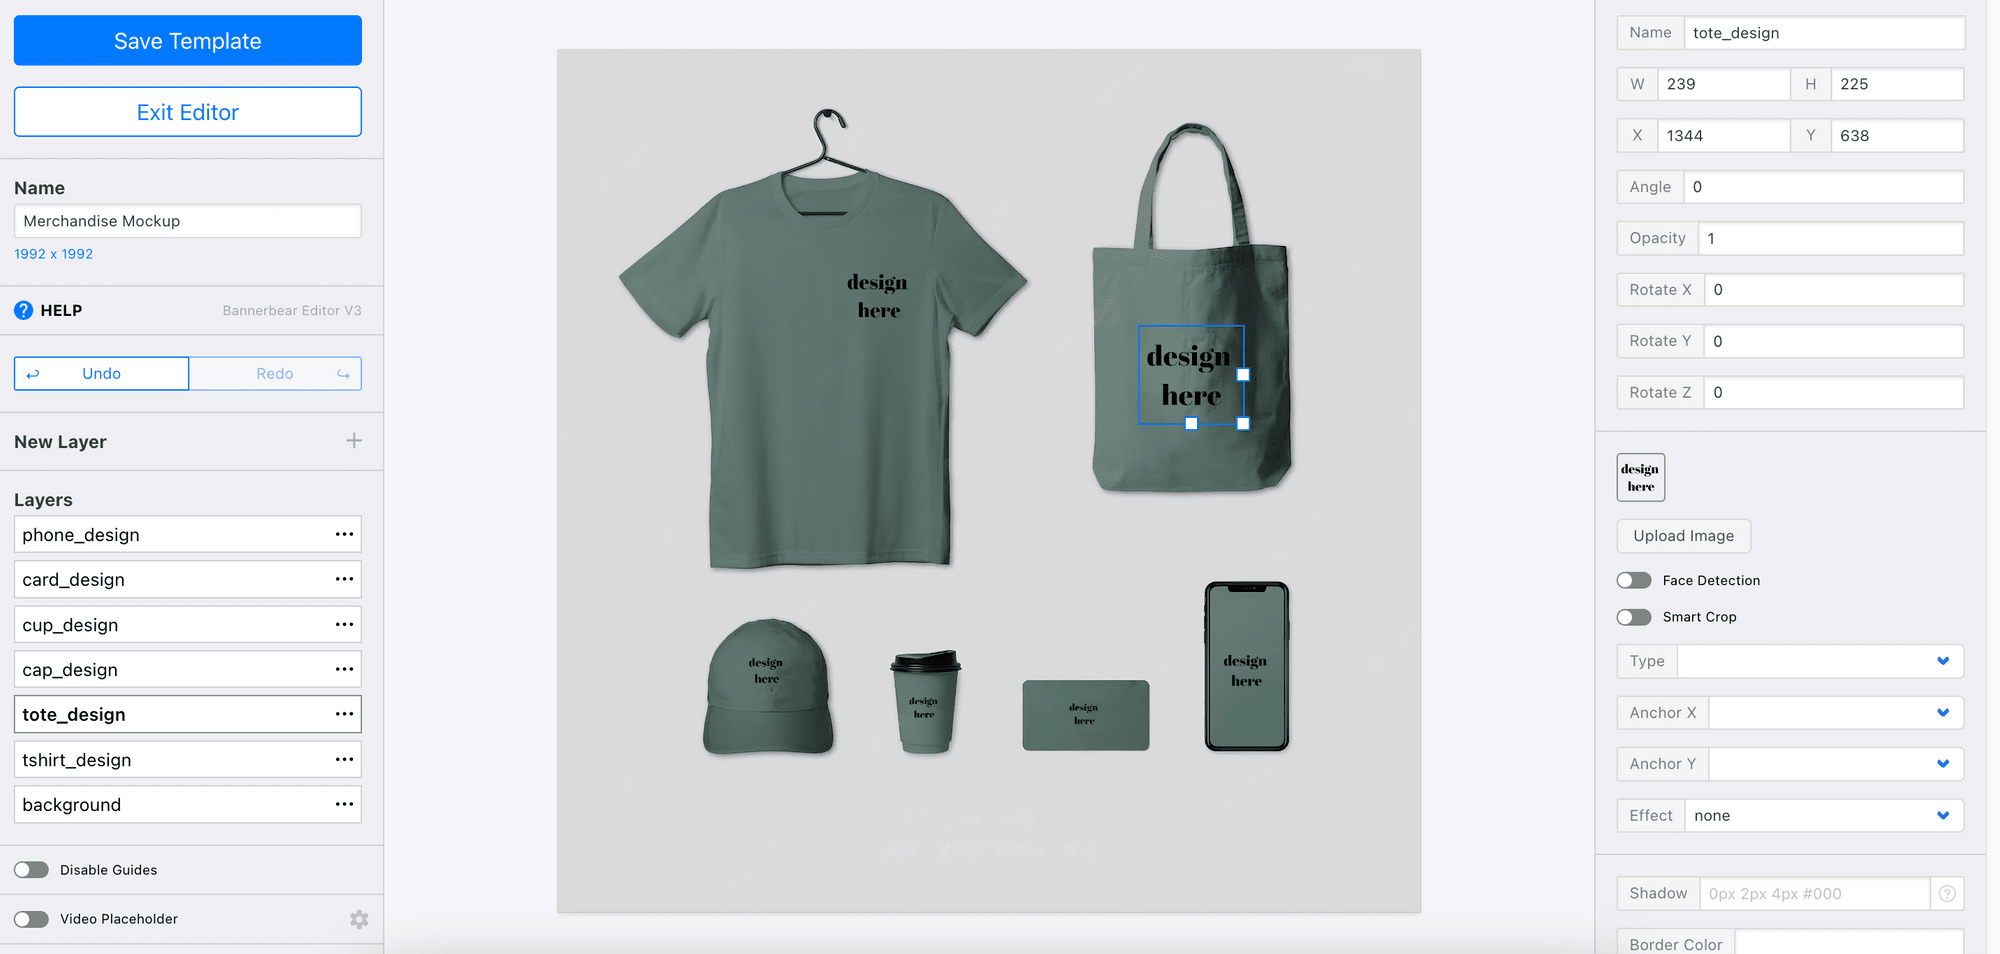
The template contains dynamic image objects that hold the design such as phone_design, card_design, cup_design, etc. If you would like to change their placements, you can drag these objects to a new position in the editor. Save the template when you’re done.
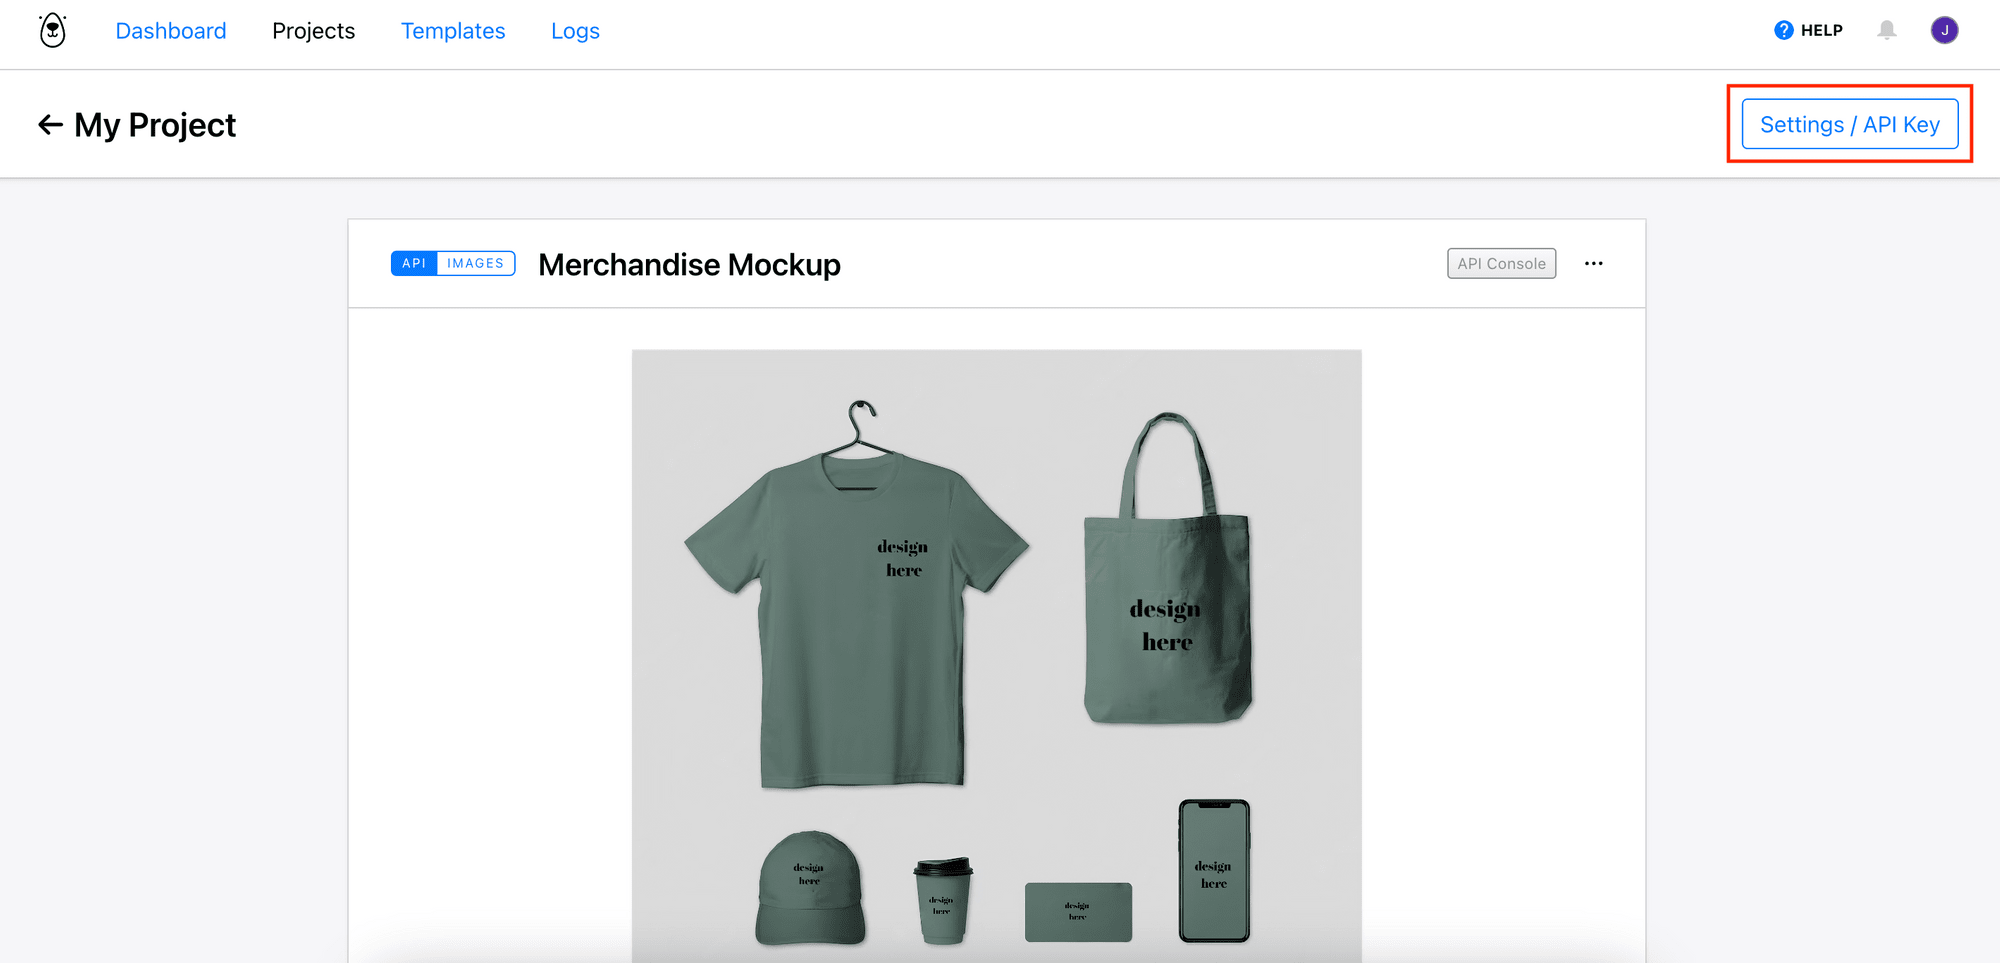
Then, get the project API key and template ID. We will need them in our code to access the project and template.
Writing the Code
Create a new Node.js project by running npm init in your project directory and create a file named index.js for writing your code.
Step 1. Install and Import the Bannerbear Library
Run the command below in your terminal to install the Bannerbear library for Node.js in your project:
npm i bannerbear
In index.js, import the library and create a new instance of Bannerbear with your API key:
const { Bannerbear } = require('bannerbear');
const bb = new Bannerbear('your_api_key');
Step 2. Create Images with a New Design
The design on the image can be changed by calling the create_image() method with the new design's image URL and other properties as stated in the API reference.
Declare the image URL as a constant.
const design_image_url = 'https://bannerbeartutorial.s3.ap-southeast-1.amazonaws.com/bannerbear_design.png';
Then, in a self-invoking function, call create_image() with the template ID and an array containing modifications that need to be applied to the template.
(async () => {
  const images = await bb.create_image(
    'your_template_id',
    {
      modifications: [
        {
          name: 'tshirt_design',
          image_url: design_image_url,
        },
        {
          name: 'tote_design',
          image_url: design_image_url,
        },
        {
          name: 'cap_design',
          image_url: design_image_url,
        },
        {
          name: 'cup_design',
          image_url: design_image_url,
        },
        {
          name: 'card_design',
          image_url: design_image_url,
        },
        {
          name: 'phone_design',
          image_url: design_image_url,
        },
      ],
    },
    true
  );

  console.log(images?.image_url_png);
})();
The objects in the modifications array are the dynamic image objects in the template. For each object, set image_url to the new design's image URL.
{
  name: 'tshirt_design',
  image_url: design_image_url,
}
By default, Bannerbear creates images asynchronously when create_image() is called. When it's called with the third argument set to true, Bannerbear creates the images synchronously and returns the result in the response.
Step 3. View the Result
As we are calling create_image() synchronously, the image will be returned in the response in PNG and JPEG formats. Here’s how's the result looks like:

🐻 View the full code on GitHub.
Bonus: Generating Images from Multiple Templates
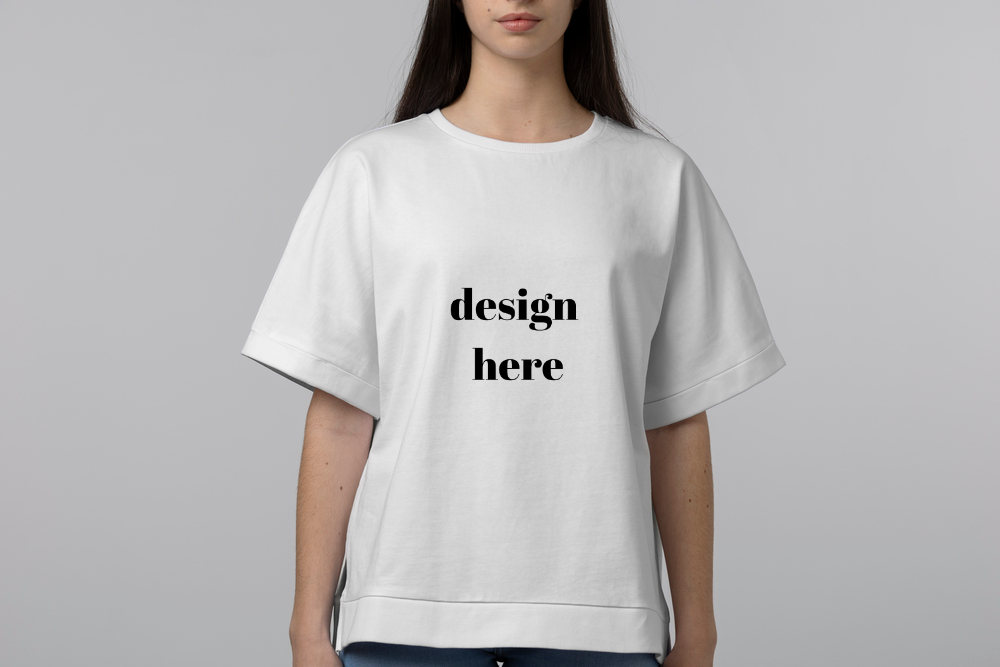
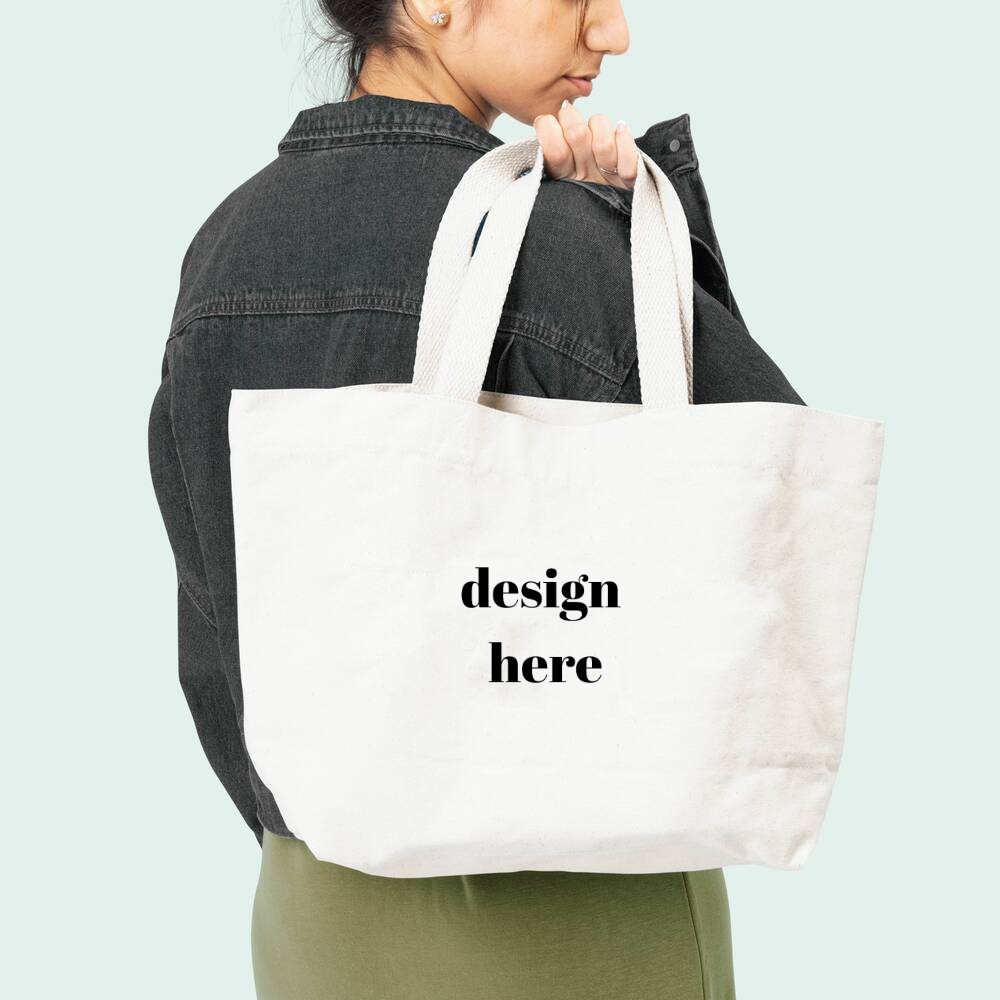
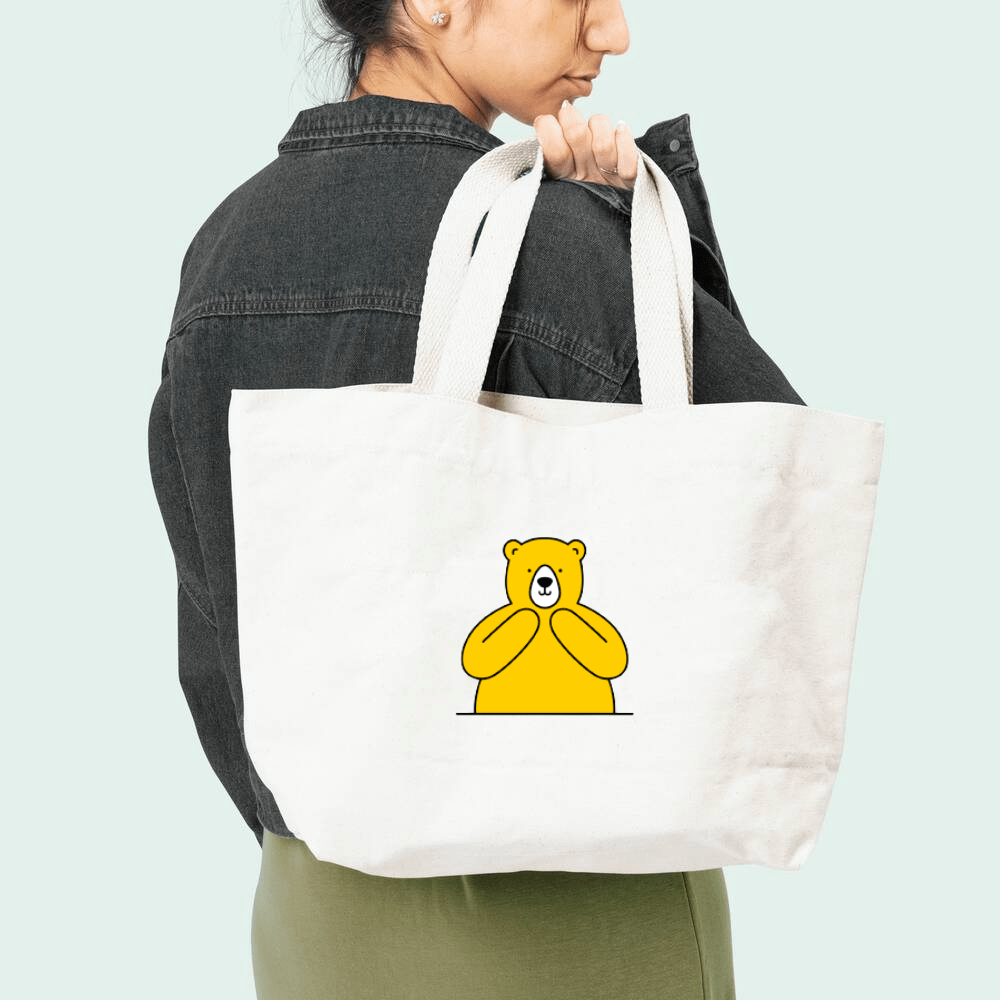
Sometimes, creating more than one mockup image might be helpful. The previous template creates images that are able to provide a glimpse of the designs' outcomes. However, they don't show how the products look on a human.
You can create additional templates that showcase how the products look on a model to provide a more realistic preview of the design, like these templates below:
Duplicate the templates above into your project and modify your code to include these templates using their IDs:
(async () => {
  const images = await bb.create_image(
    'your_template_id',
    {
      modifications: [
        {
          name: 'tshirt_design',
          image_url: design_image_url,
        },
        {
          name: 'tote_design',
          image_url: design_image_url,
        },
        {
          name: 'cap_design',
          image_url: design_image_url,
        },
        {
          name: 'cup_design',
          image_url: design_image_url,
        },
        {
          name: 'card_design',
          image_url: design_image_url,
        },
        {
          name: 'phone_design',
          image_url: design_image_url,
        },
      ],
    },
    true
  );

  const images_tote = await bb.create_image(
    'your_second_template_id',
    {
      modifications: [
        {
          name: 'design_container',
          image_url: design_image_url,
        },
      ],
    },
    true
  );

  const images_tshirt = await bb.create_image(
    'your_third_template_id',
    {
      modifications: [
        {
          name: 'design_container',
          image_url: design_image_url,
        },
      ],
    },
    true
  );

  console.log(images?.image_url_png + '\\n' + images_tote?.image_url_png + "\\n" + images_tshirt.image_url_png);
})();
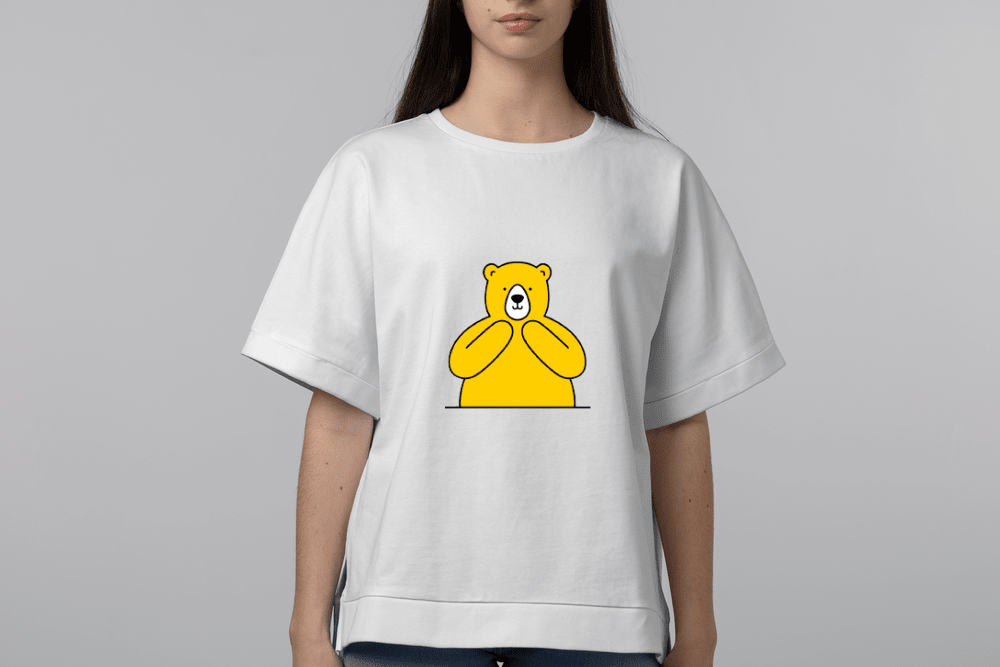
Whenever a new design's image URL is provided, Bannerbear will create mockup images with all three templates in one go:
Conclusion
Working with image manipulation in Node.js is not necessarily difficult. By making some modifications based on this tutorial, you can turn this into a service that generates multiple product mockups based on a design easily.
Besides generating mockups for physical products, you can also use Bannerbear to create mockups for web applications. Learn how to do it and other interesting stuff with Bannerbear from these articles:
- How to Make a Device Mockup Generator for Websites using Bannerbear
- How to Build a Video Thumbnail Generator Tool Using React and Bannerbear
- How to Embed a Bannerbear Template Editor on Your Website to Generate Images Automatically
- How to Set Your Notion To-do List as Desktop Wallpaper Automatically (Free Notion Template)
