
How to Embed a Bannerbear Template Editor on Your Website to Generate Images Automatically
Contents
With the booming creator economy, the demand for content creation is set to grow in the future years. By 2024, the time users spend on digital media consumption is expected to increase to an average of eight hours per day.
People are creating content in the form of blog posts, social media posts, videos, and more. As a result, there is a need for tools that make it easy to create content. The content creation pipeline can be optimized by automating the generation of assets like customized open graph images for blog posts, various-sized images for social media posts, and thumbnails for videos.
If you have a website that hosts content for other users, it is very easy to integrate these functions to help your users create content more efficiently on your platform with Bannerbear.
In this tutorial, we’ll learn how to embed a Bannerbear template editor that allows your users to customize their design template and generate images like the examples below automatically when they publish content on your platform.
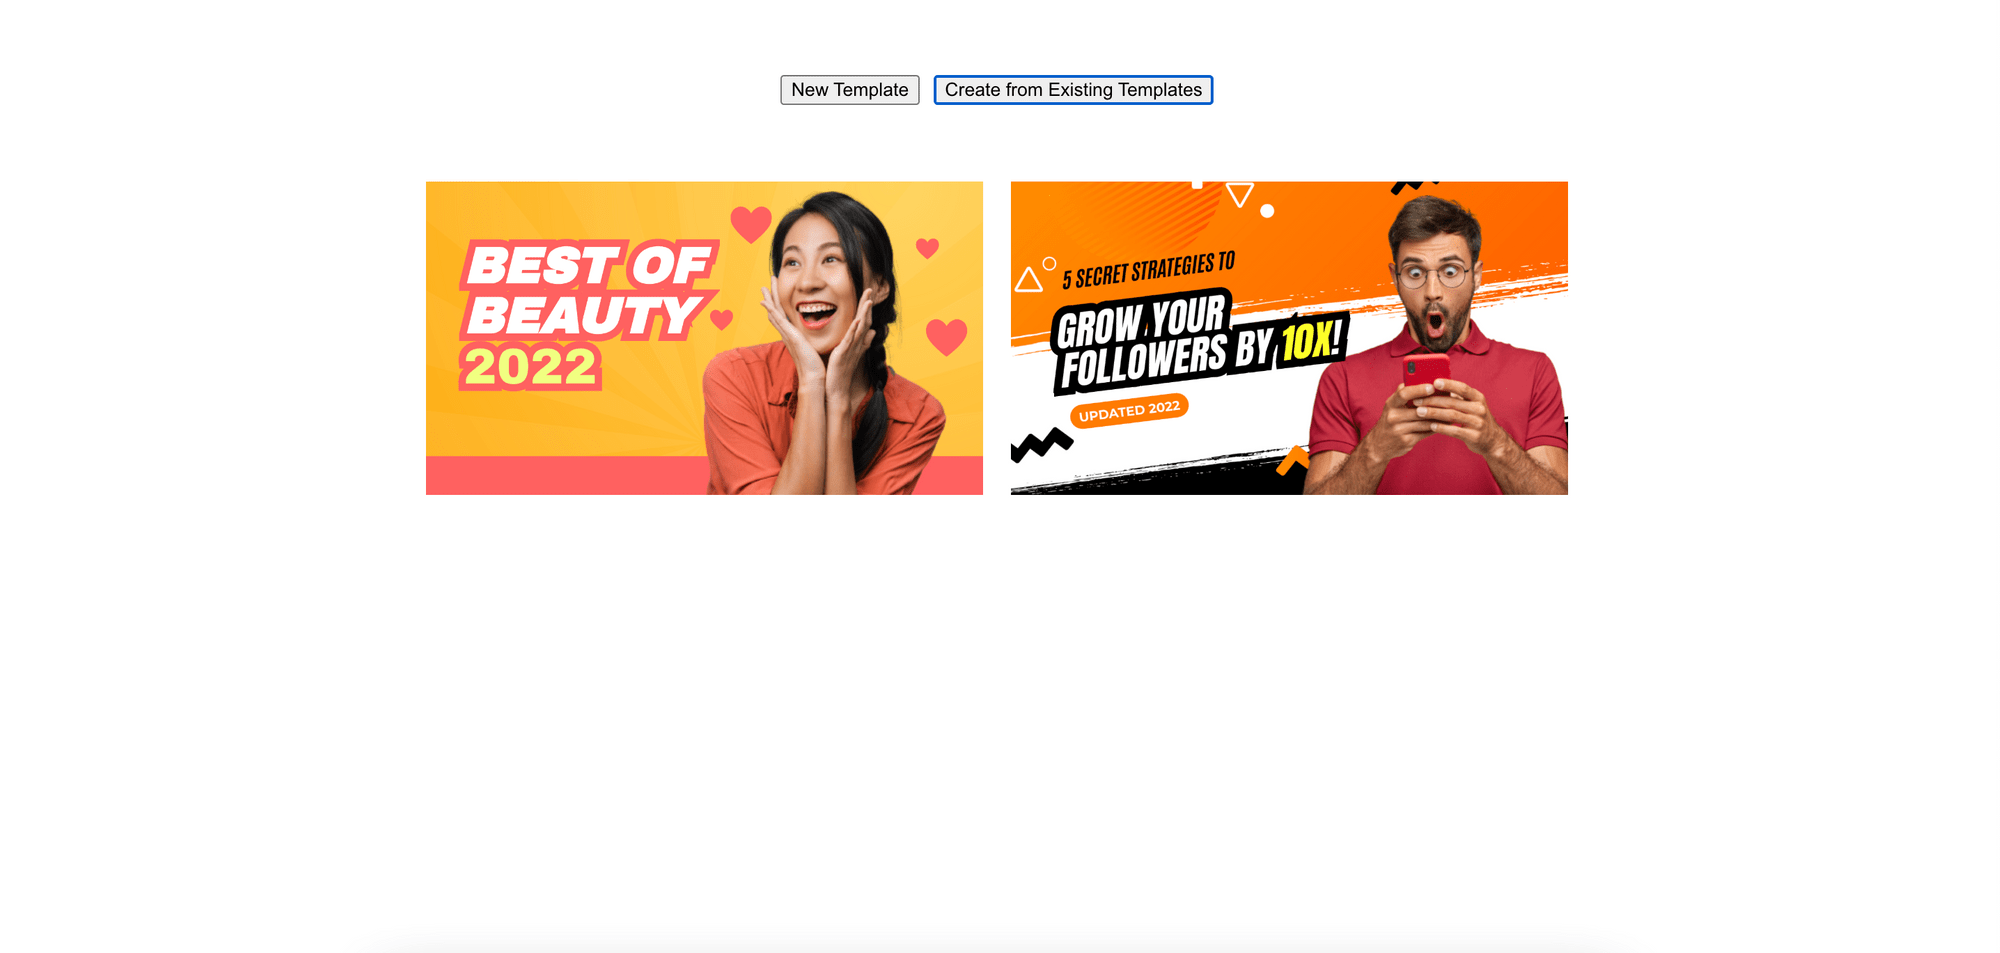
Example 1

Example 2

Example 3

What is Bannerbear
Bannerbear is an automated media generation service that helps you create custom images, videos, and more using API. Depending on the media format that you are creating, you can use different APIs as documented in the Bannerbear API Reference to integrate different functions into your app or create an automated workflow easily.
The images and videos are generated automatically based on a design template which you can add static and dynamic images, texts, shapes, etc. By passing different data to the API, the values of the dynamic objects can be changed to generate unique images and videos.
All API requests on Bannerbear are scoped to a project and you can create multiple templates in the same one. The templates can be updated and duplicated from your Bannerbear account dashboard or via API after they have been created.
Following recent updates, if you are integrating Bannerbear into your app to auto-generate custom images or videos for your users, you can now allow them to create and customize their design templates on your platform!
In the next section, I’ll be showing you how to do so step-by-step.
Creating a Bannerbear Project
As mentioned previously, all API requests on Bannerbear are scoped to a project. To create a design template, you need to create a project first.
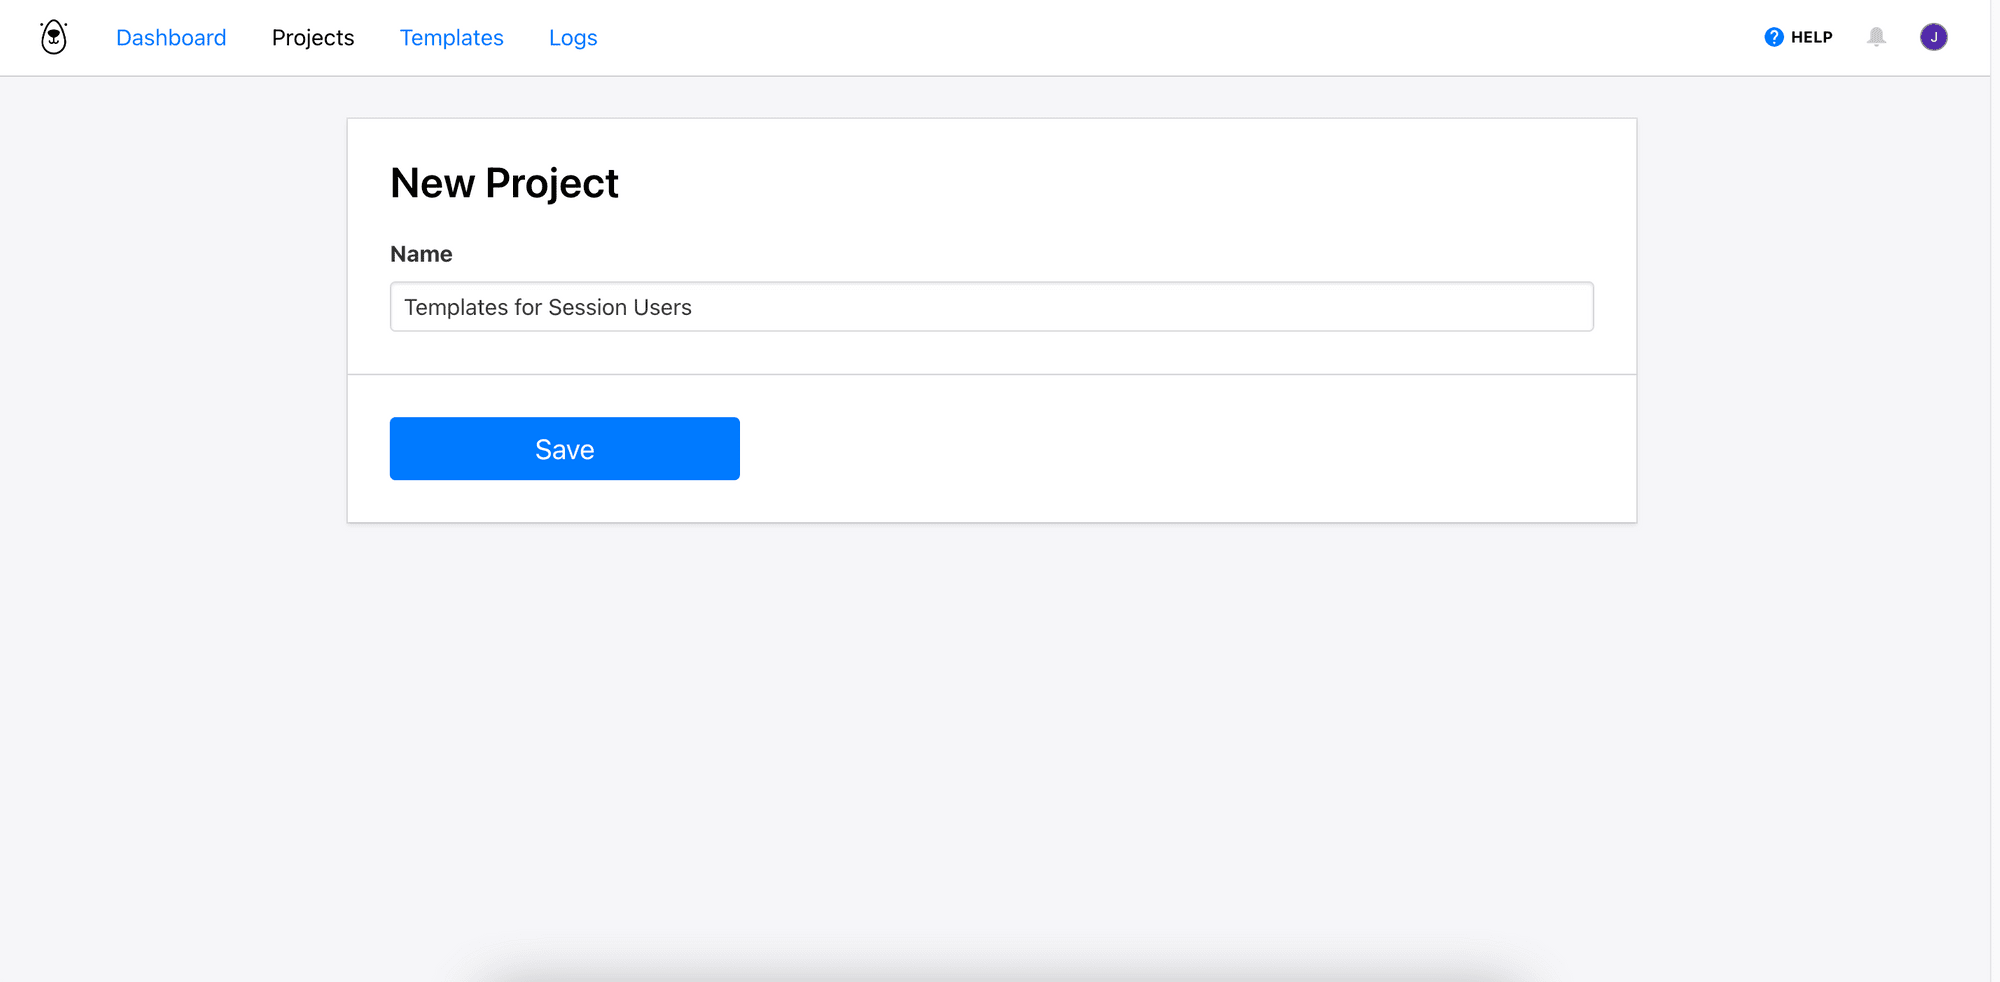
Step 1. Create a New Project
After logging in to your Bannerbear account dashboard, create a new project.
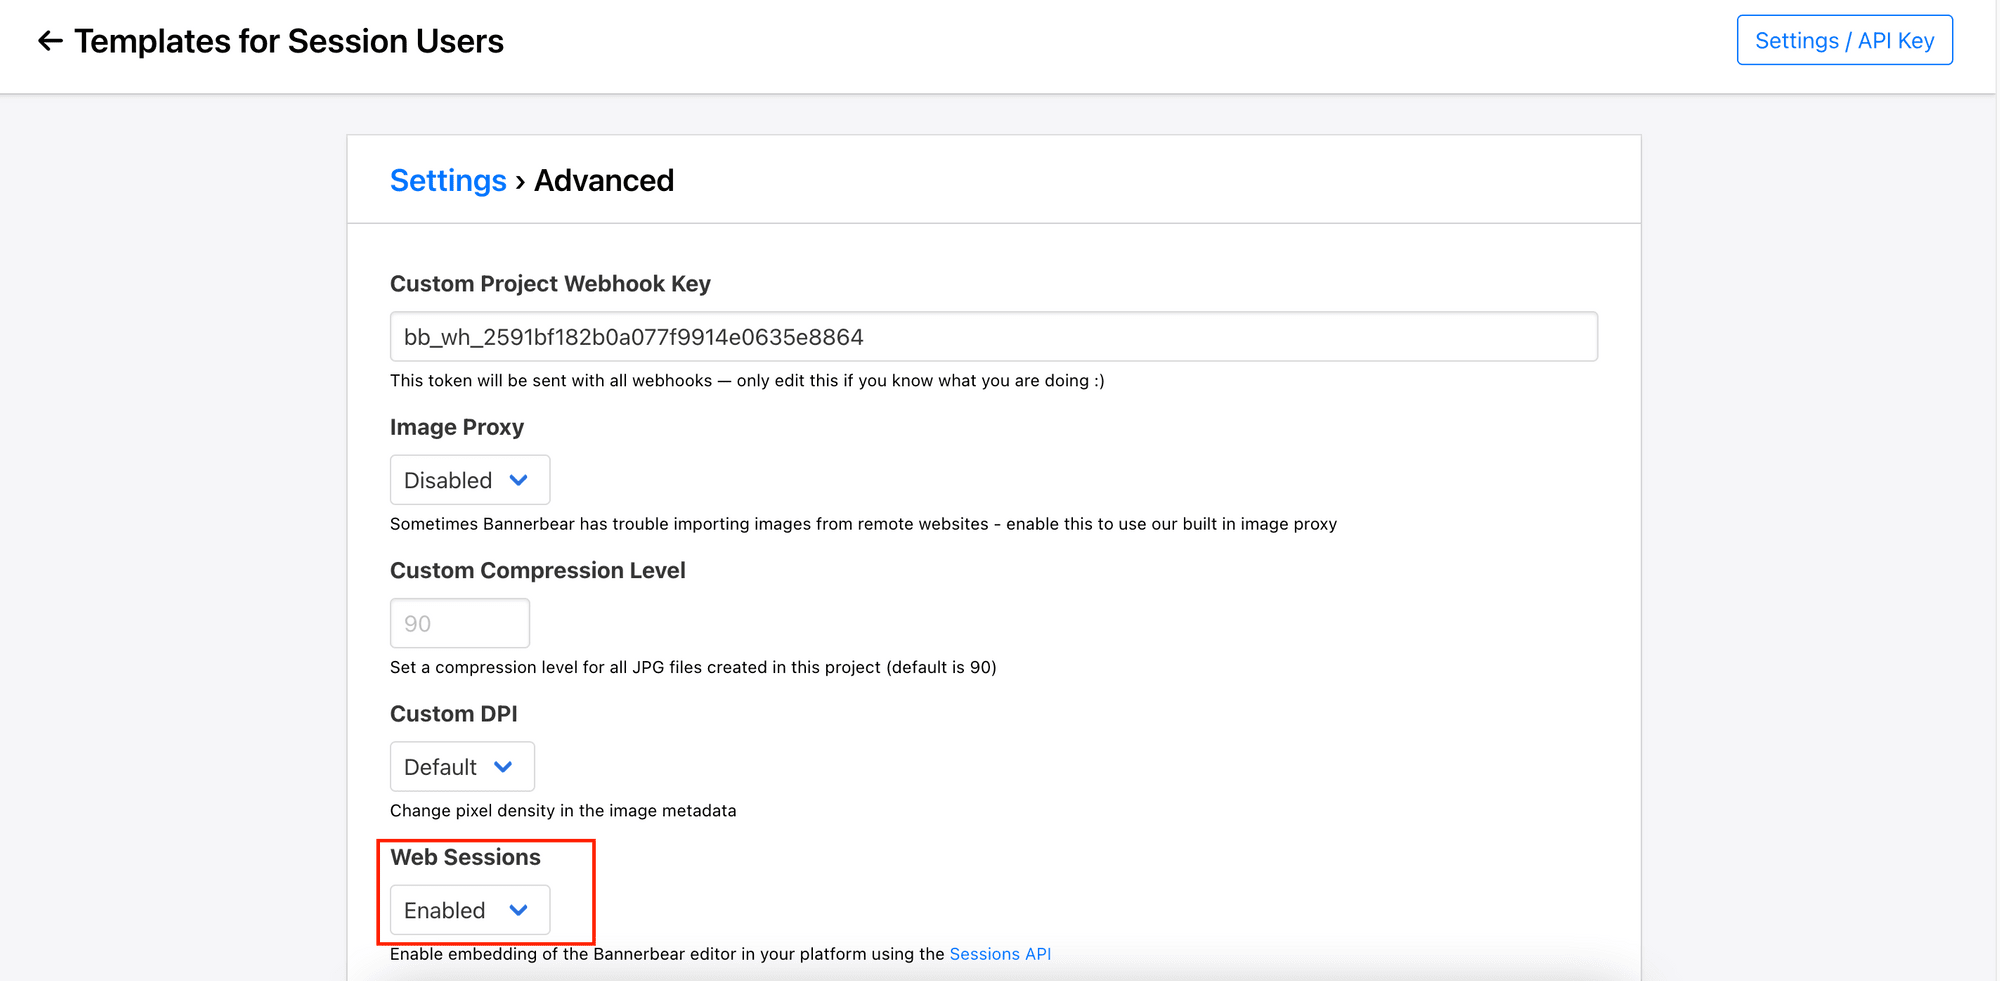
Step 2. Enable Web Sessions
Your users will get access to the Bannerbear template editor on your platform via Sessions. Therefore, you need to enable Web Sessions from “Settings > Advanced” on the right top corner of your dashboard.
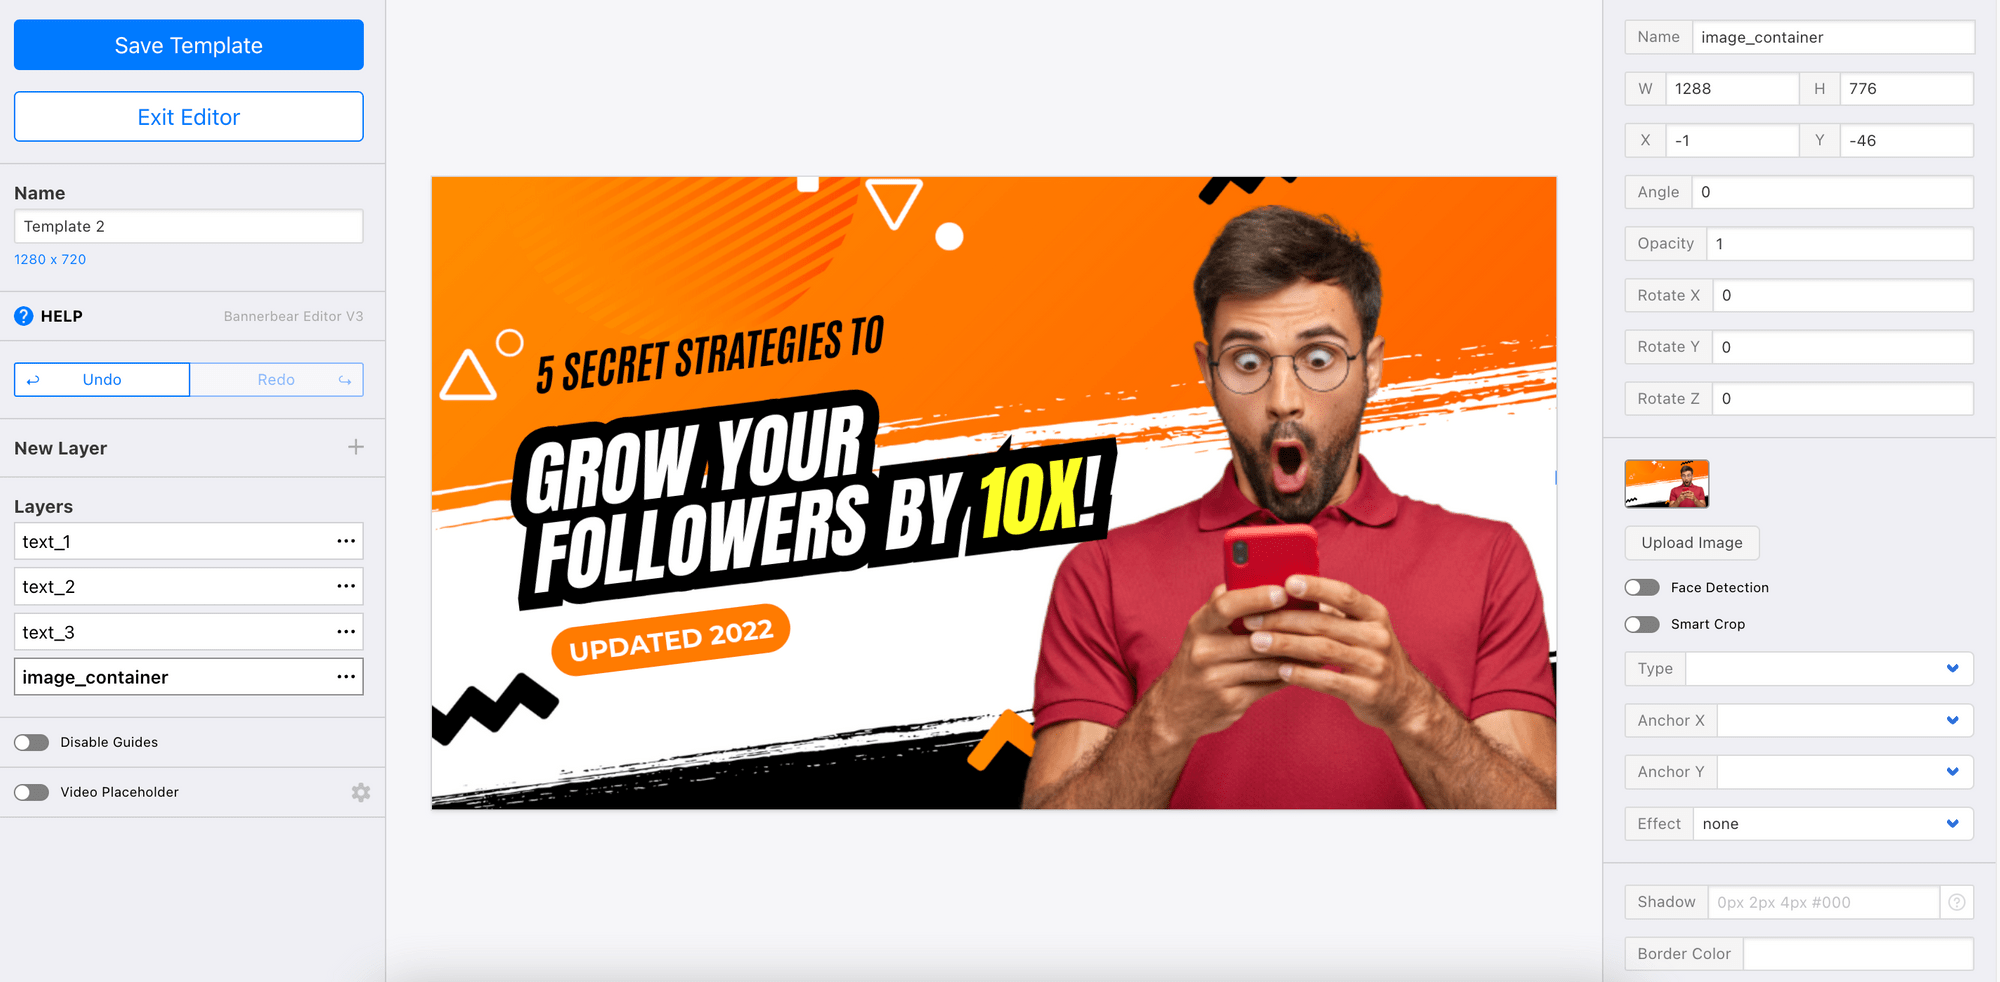
Step 3. Add Templates to the Project
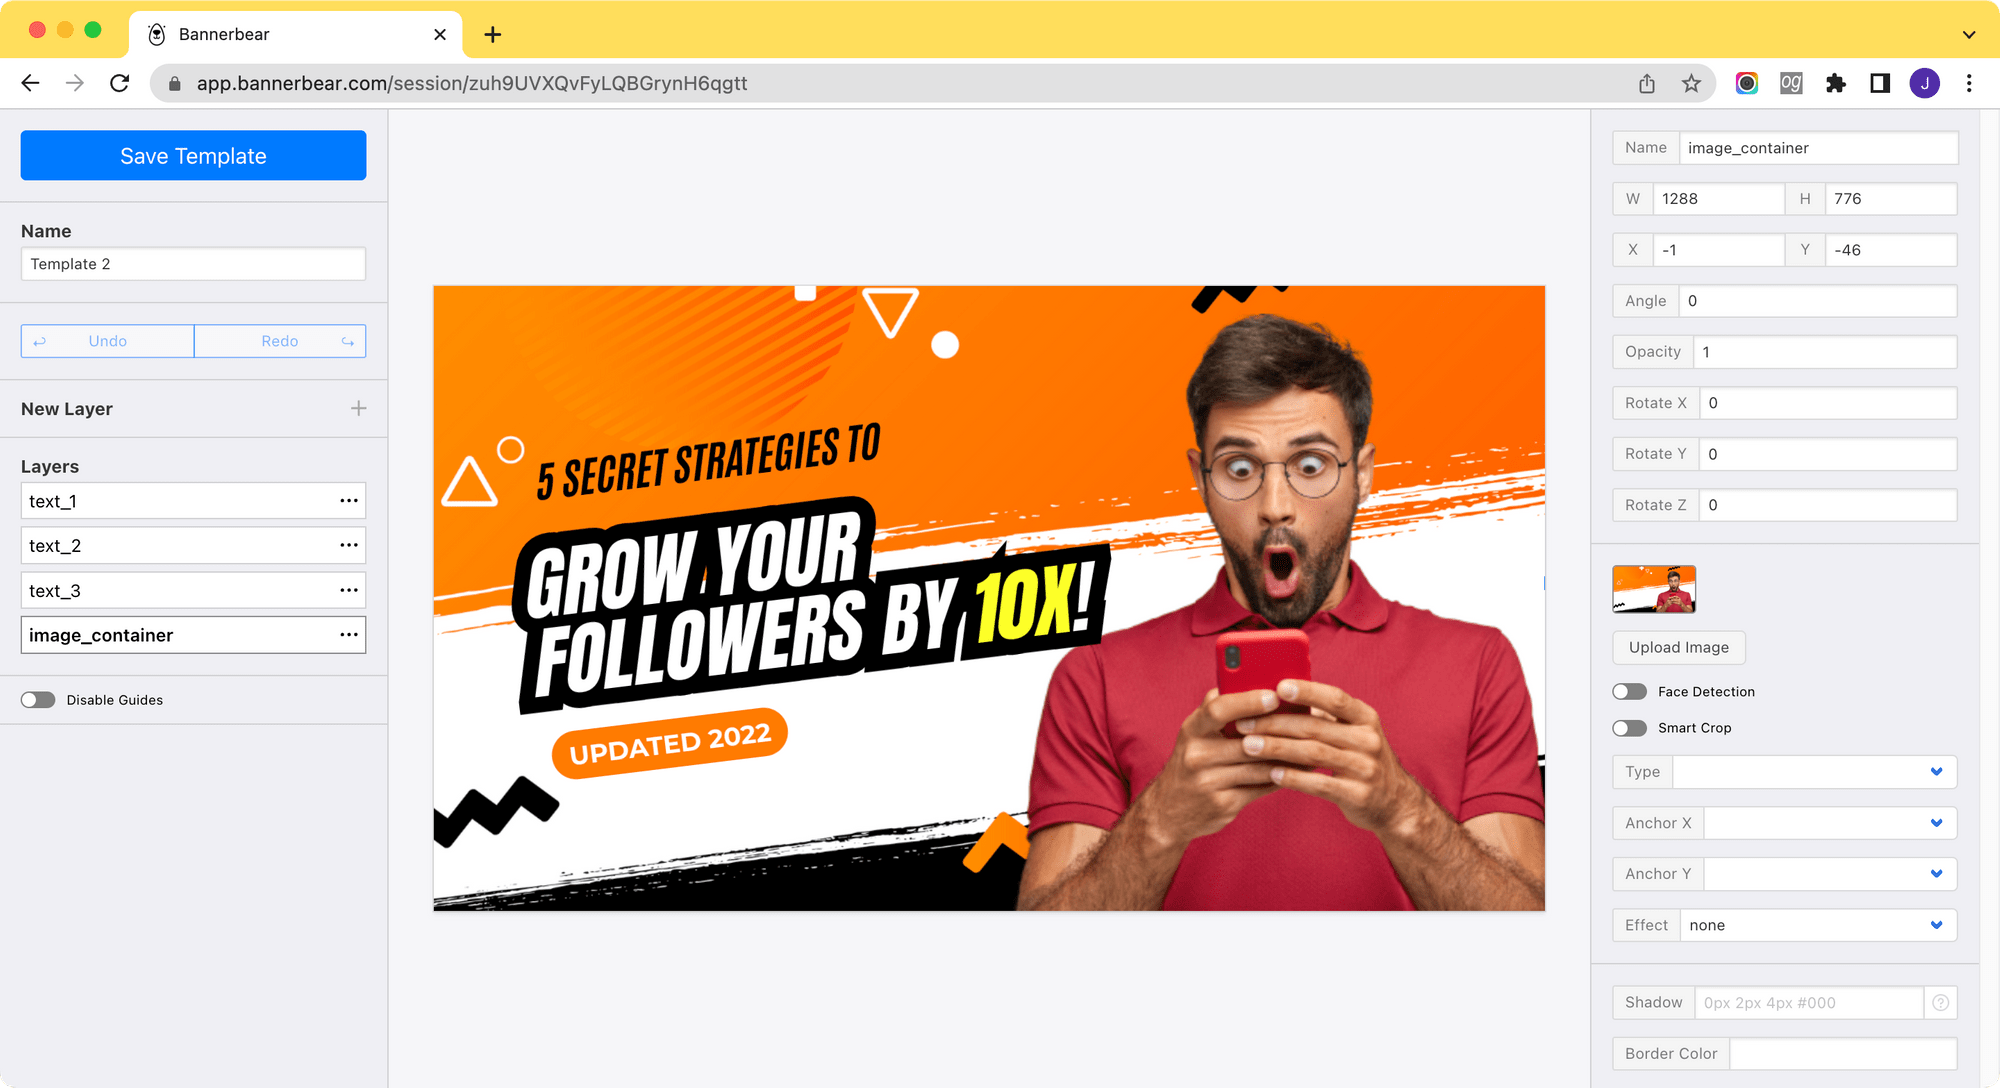
You can create some starter templates for your users from scratch or duplicate/modify them from the template library.
Using a video hosting platform as an example, the template can have these dynamic objects which the values can be changed via API:
- Text - text_1, text_2, text_3
- Image - image_container
The values can be entered manually by users or pulled automatically from their video information depending on how you will be implementing it.
🐻 Bear Tips: You can use two colors on the same text object by setting a secondary color and enclosing the target text within two asterisks (*10X*).
Embedding The Template Editor on Your Website
The ability to embed the Bannerbear template editor is enabled by the Sessions API, which returns a session_editor_url in the response. The URL is secure and will expire after an amount of time.
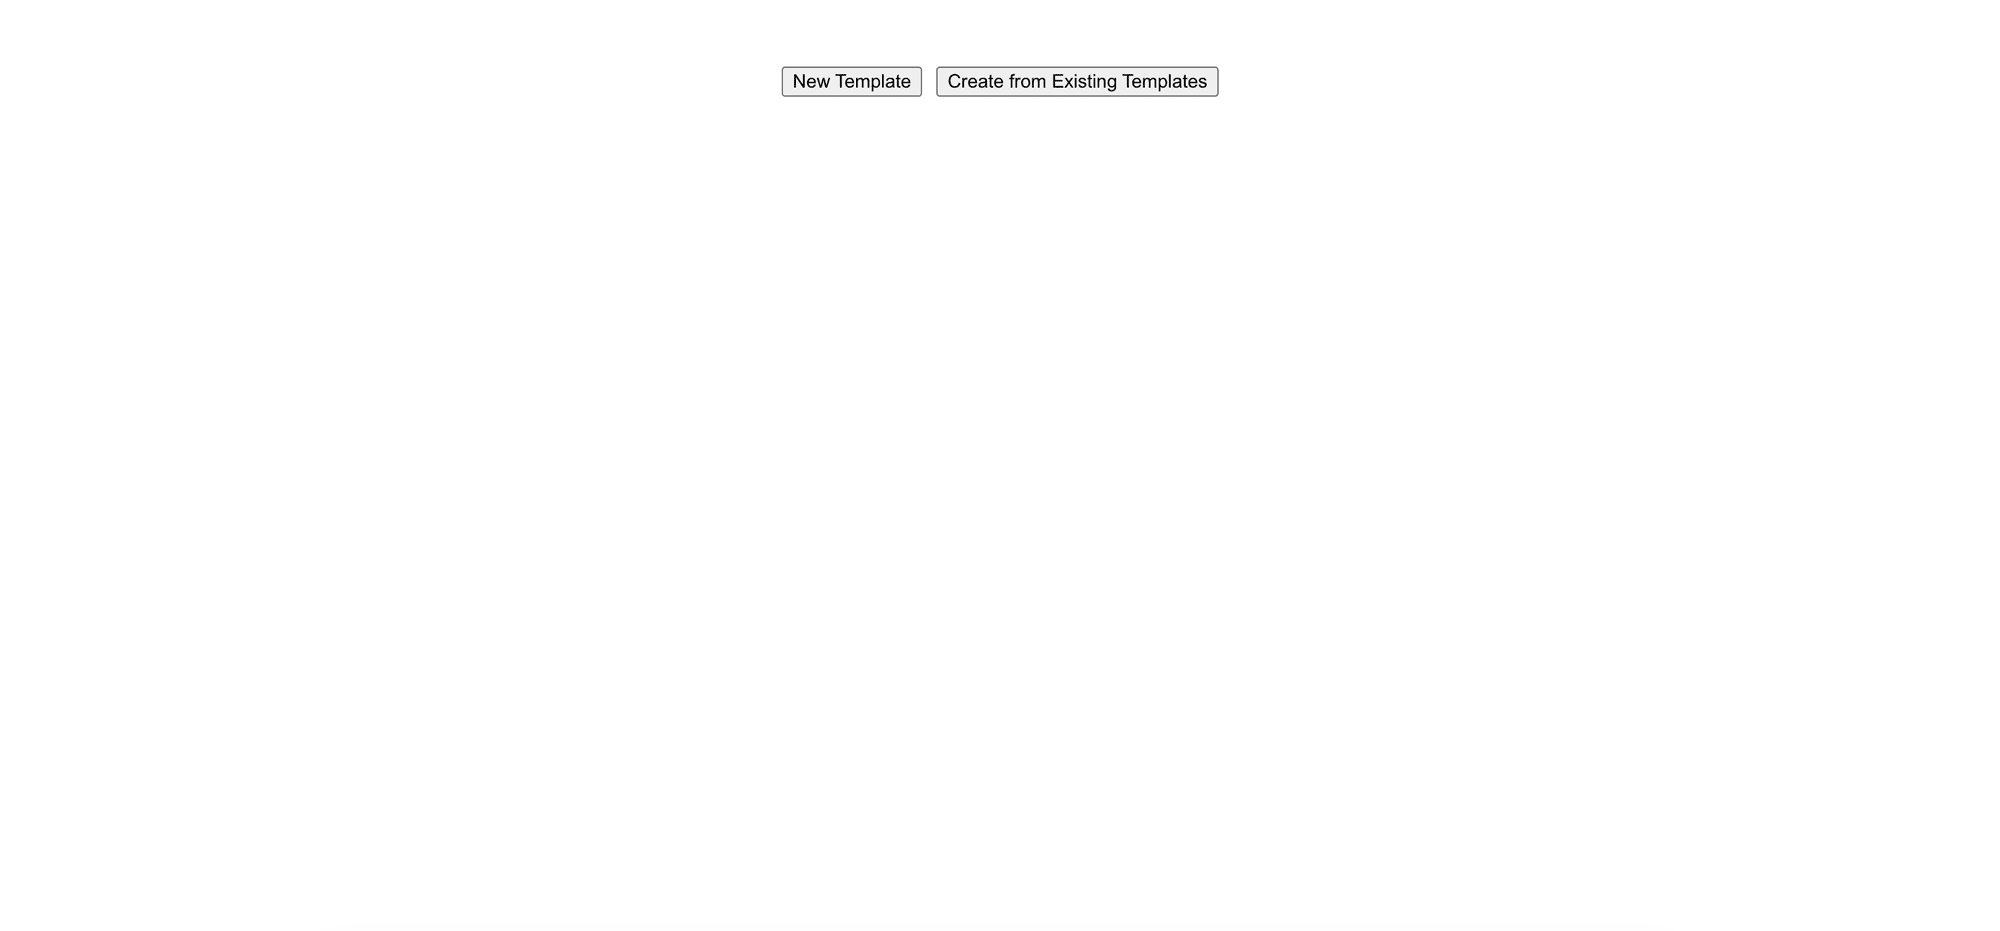
Next, I will show you two examples of how the template editor can be embedded on your website. In this sample project, the users will be given two options to create a template:
a. Create a new template from scratch
b. Create a template from pre-designed templates
Note : In the following examples, only the code snippets where the APIs are called will be shown. You can view the full code of the project created in React on this GitHub repo.
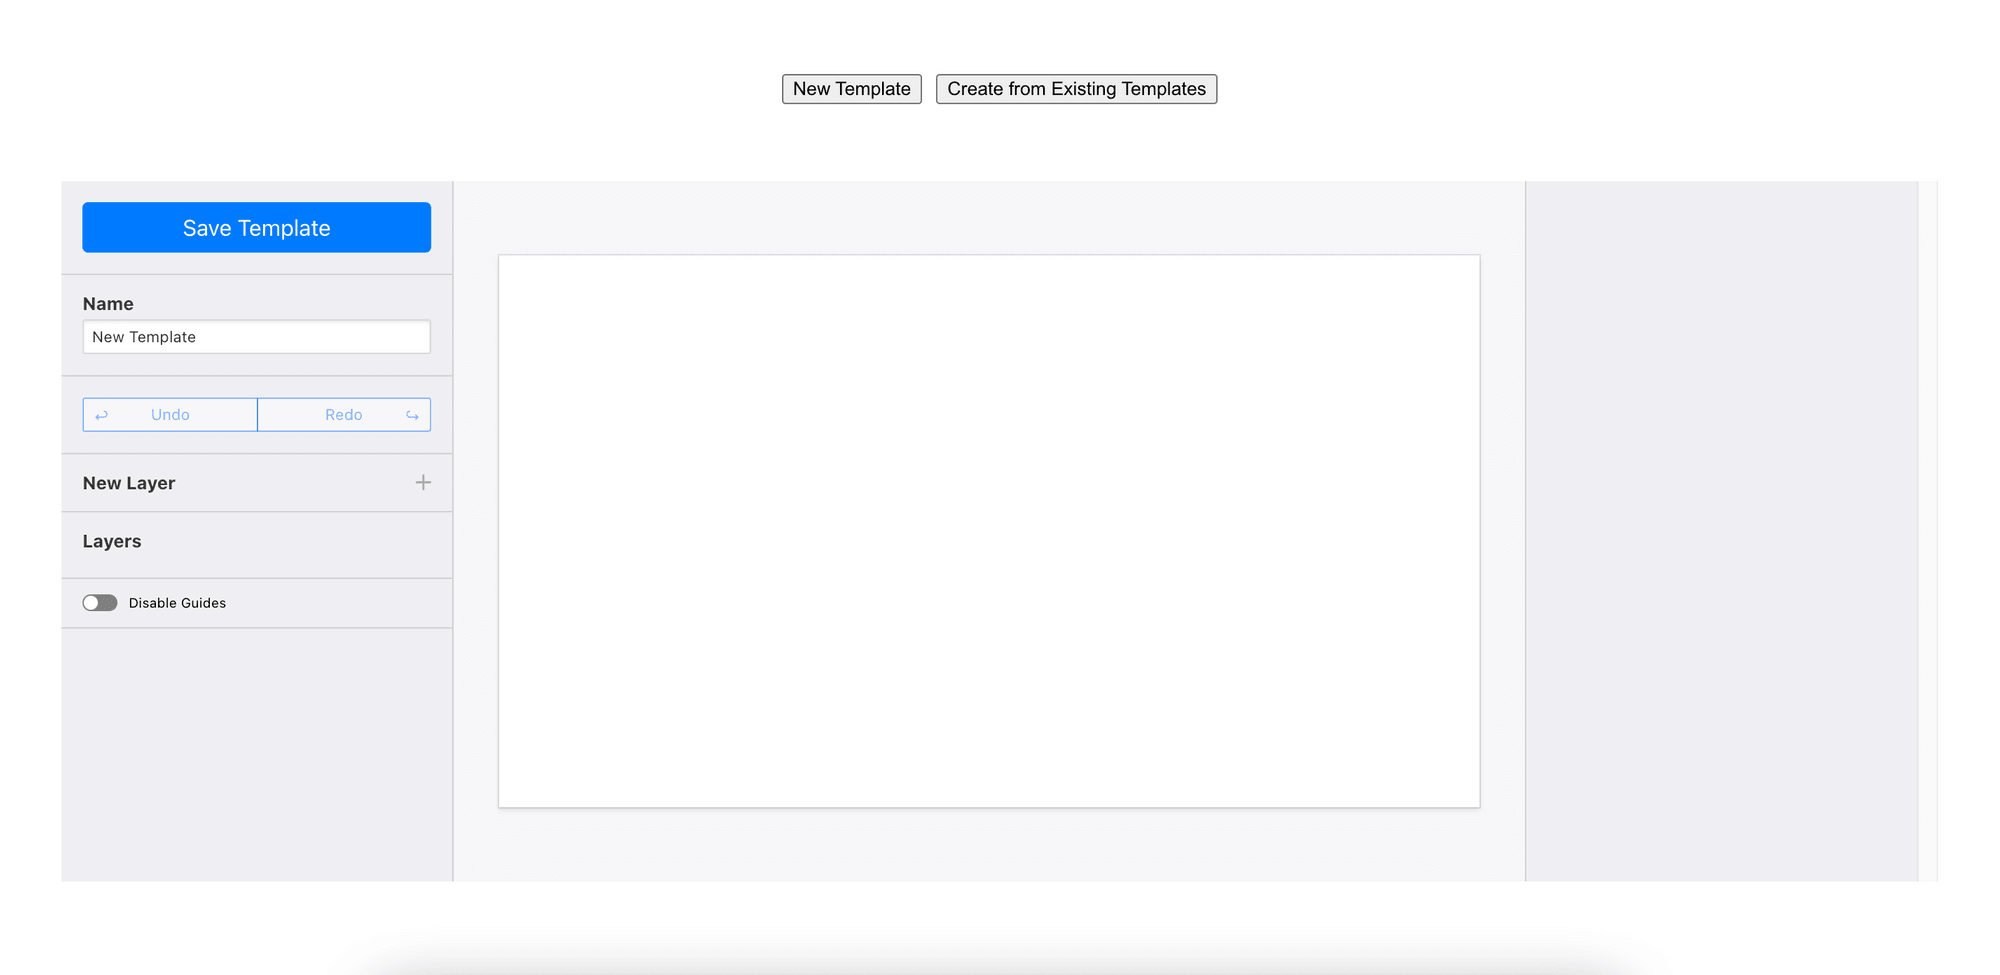
Scenario 1 - Create a New Template from Scratch
Step 1. Create a New Template
When “New Template” is selected, make a POST request to /v2/templates to create an empty template. All requests will be made with a Bearer token which can be found on your project’s Settings page.
async function createEmptyTemplate() {
  var data = {
    name: 'New Template',
    width: 1280,
    height: 720,
  };
  const res = await fetch('https://api.bannerbear.com/v2/templates', {
    method: 'POST',
    body: JSON.stringify(data),
    headers: {
      'Content-Type': 'application/json',
      Authorization: `Bearer ${process.env.REACT_APP_API_KEY}`,
    },
  });

  return res.json();
}
When the template is created successfully, the ID of the template will be returned as one of the properties in the response.
Step 2. Create a New Session Using the Template ID
Pass the template ID in the parameter when making a POST request to /v2/sessions to create a new session for your user. Upon successful creation, a secure URL of the Bannerbear template editor will be returned.
async function createSession(templateId) {
  var data = {
    template: templateId,
  };
  const res = await fetch('https://api.bannerbear.com/v2/sessions', {
    method: 'POST',
    body: JSON.stringify(data),
    headers: {
      'Content-Type': 'application/json',
      Authorization: `Bearer ${process.env.REACT_APP_API_KEY}`,
    }
  });

  return res.json();
}
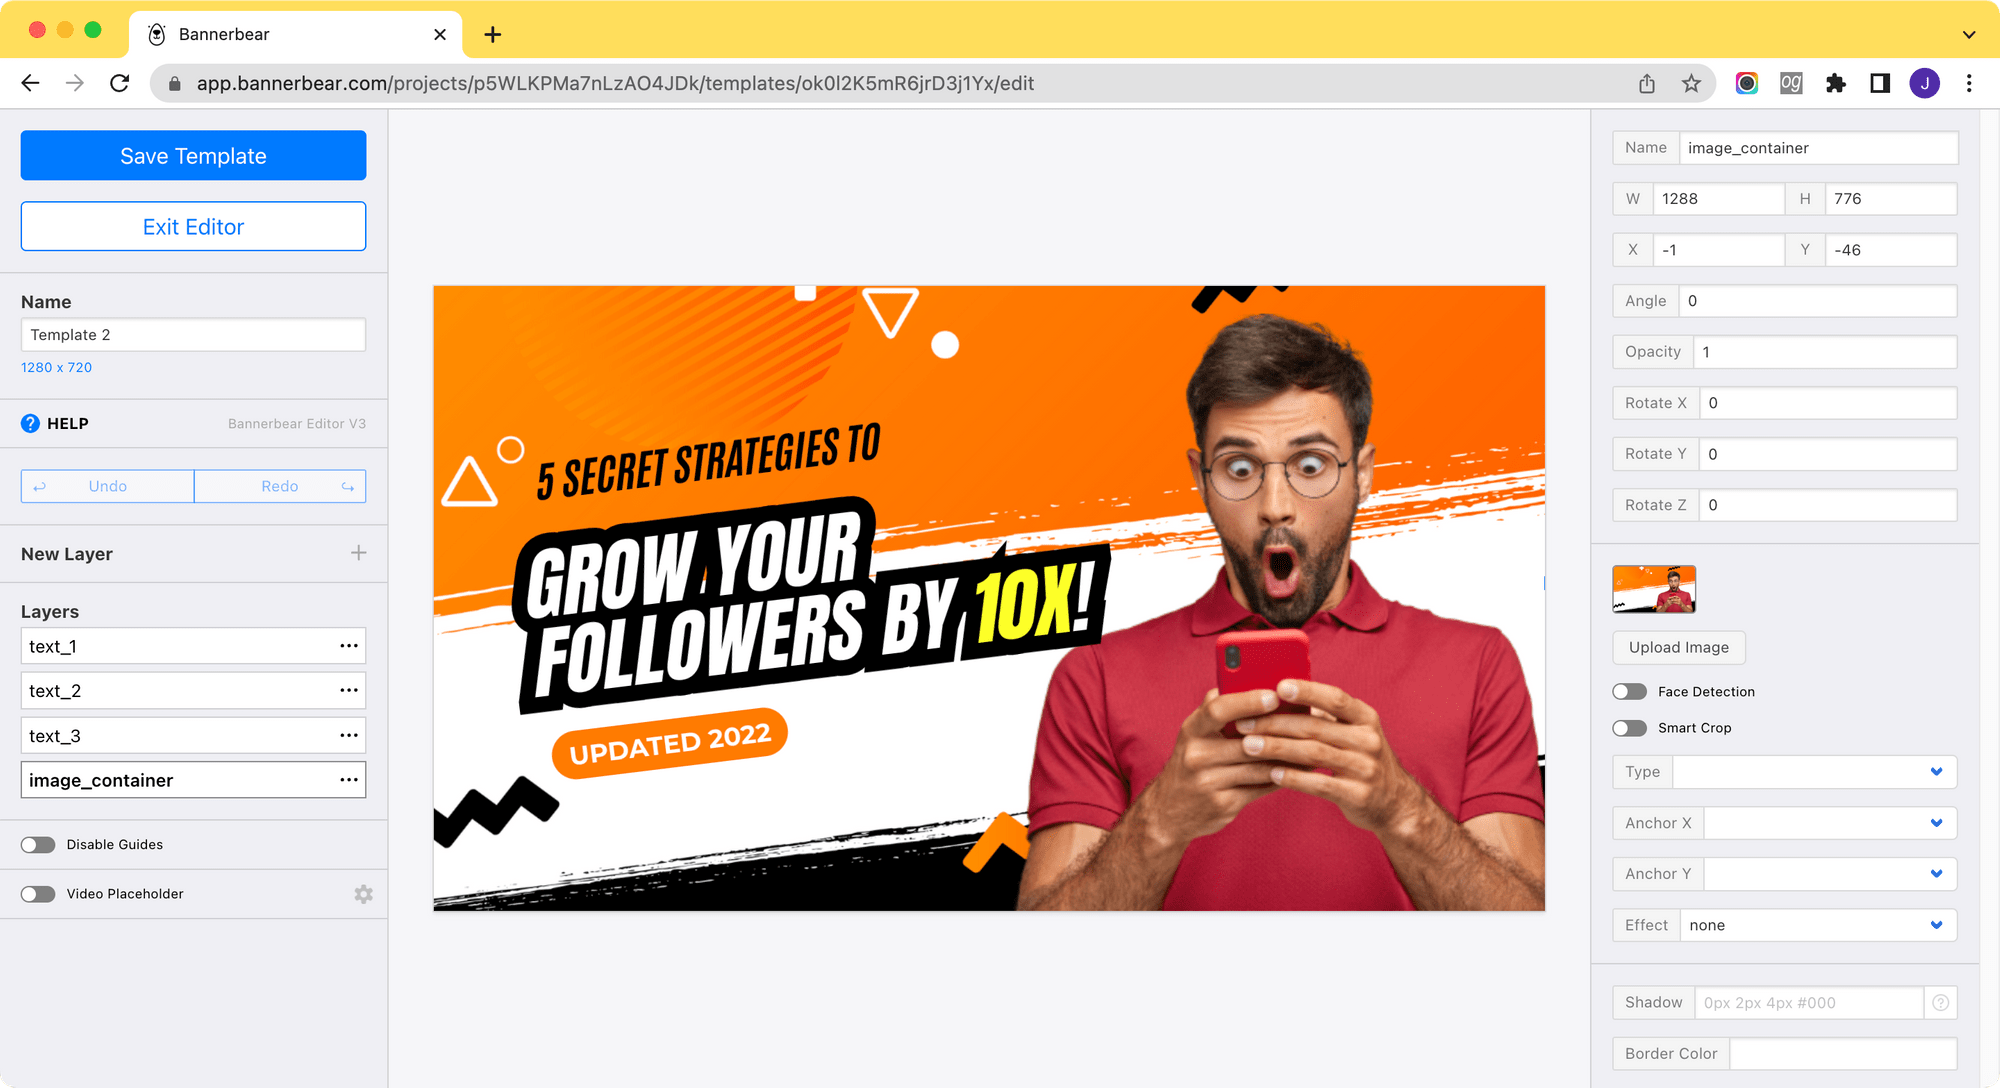
Step 3. Embed the URL on Your Website
The template editor will be displayed after the URL is embedded and your user will be able to edit the design template on your website.
<embed src={props.templateEditorUrl} width='100%' height='100%' />
Scenario 2 - Create a Template from Pre-Designed Templates
Step 1. List All Templates from the Project
Retrieve the templates in your project by making a GET request to /v2/templates.
async function getTemplates(){

    const res = await fetch('https://api.bannerbear.com/v2/templates', {
      method: 'GET',
      headers: {
        'Authorization' : `Bearer ${process.env.REACT_APP_API_KEY}`
      }
    });

    const data = await res.json();

    setTemplateArr(data);
}
The response will return an array containing information about the templates in the project, including their ID and preview URL.
You can display the preview images and use their IDs as the keys for the images so that your user can choose their starter template from one of the templates.
Step 2. Duplicate the Template
Once your user has chosen a template, duplicate the selected template so that changes made by the user will not affect the original template.
async function duplicateTemplate(templateId) {

  const res = await fetch(`https://api.bannerbear.com/v2/templates?source=${templateId}`, {
    method: 'POST',
    headers: {
      Authorization: `Bearer ${process.env.REACT_APP_API_KEY}`,
    },
  });

  return res.json();
}
When the template is duplicated successfully, the ID of the template will be returned as one of the properties in the response.
Step 3. Create a New Session Using the Template ID
Follow Step 2 from Scenario 1 to create a new session for the duplicated ID.
Step 4. Embed the URL on Your App
Like the previous scenario, embed the URL on your website. This time, a template editor containing the selected design will be displayed instead of an empty one. The changes made to this template will only be applied to itself.

Another Way to Use the Session
Since the template editor is returned as an URL, you can redirect your users to it or display it as a link on your website. Users will only enter the editor after clicking on the link.
The template editor will look exactly like how it looks on the Bannerbear website but without the “Exit Template” button.
Session URL
Bannerbear website
Generate Images Automatically to Increase Efficiency
Whenever your users upload new content, video thumbnails will be generated for them automatically via the Image Generation API. You can choose to let them upload their base image for the thumbnail and edit the texts, or provide some images for them to choose from and auto-populate the texts.
This is one of the examples:
👉🏻 How to Build a Video Thumbnail Generator Tool Using React and Bannerbear
Whichever approach is used, it surely decreases the work and time for your users to create content on your platform. If you are interested to find out other ways to be more efficient in content and media generation using Bannerbear, take a look at these tutorials:
- How to Create a Dynamic Twitter Banner with an Event Countdown in Node.js (Updated Automatically)
- How to Add Auto-Generated Custom Open Graph Images to WordPress Using Bannerbear
- How to Auto-Generate Multiple Image Sizes at Once Using Bannerbear
- How to Create Videos with Auto Subtitles in One API Request
