
How to Set Your Notion To-do List as Desktop Wallpaper Automatically (Free Notion Template)
Contents
Notion is a great tool to organize and plan your life. One of the things you can do with it is creating a to-do list to manage and prioritize your tasks. It can be a daily, weekly, or a categorized to-do list like what we will be creating in this tutorial.
Creating a to-do list in Notion is simple but you can do more with the help of APIs. For example, you can auto-generate a desktop wallpaper with your to-do tasks on it using Notion API and Bannerbear API.
You can even create a job to change your desktop wallpaper automatically when you edit your to-do list in Notion using Node.js and Bash scripts!
In this tutorial, I will show you how to create an automation to set an aesthetic desktop wallpaper with a live calendar and to-do list that is in sync with your Notion to-do list.
Note : This tutorial is done on a Mac. The process will be the same for Windows except for creating a Bash script and running it automatically. For Windows, you can create a batch file (.bat) and trigger it using Windows Task Scheduler.
Changing the Desktop Wallpaper Automatically
Your desktop wallpaper can be changed automatically over a specified time interval no matter you're using MacOS or Windows.
Step 1. Create a New Folder for Your Wallpaper
This is the folder where we will save our to-do list wallpaper. Since the to-do list wallpaper has not been generated, you can place any image in the folder as a placeholder. Rename it to wallpaper.png and create a copy of it in the same folder.
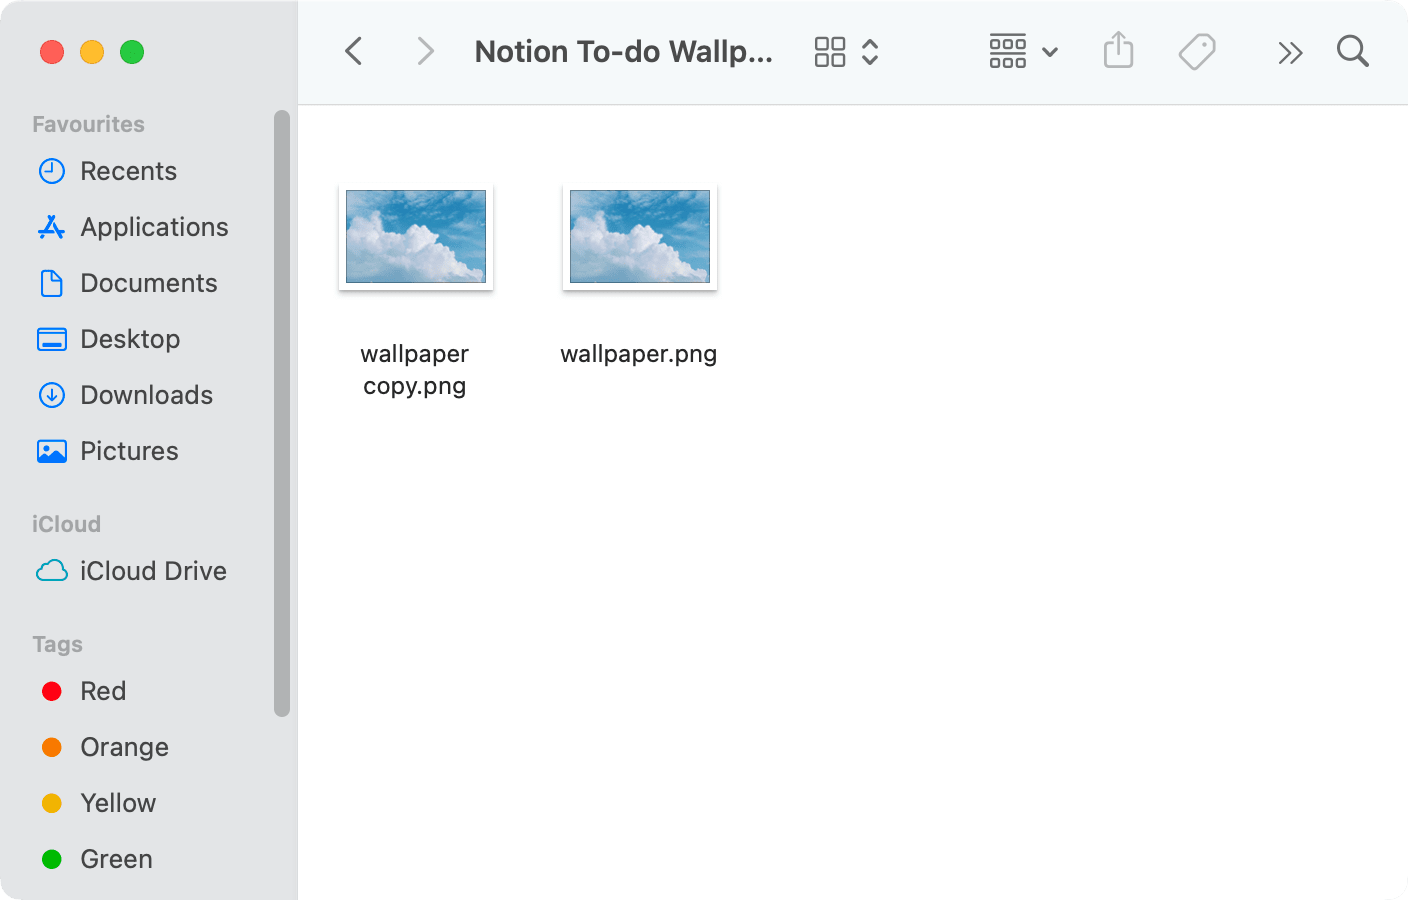
❗️Note: You need to duplicate the wallpaper so that the system can detect changes when a new wallpaper replaces the current one. Without this step, the desktop wallpaper won't be updated.
Step 2. Select the Folder as the Source of Your Desktop Wallpaper
In the Desktop & Screen Saver setting, add and select the folder that you have created. Tick Change Picture and set the time interval to 5 seconds.
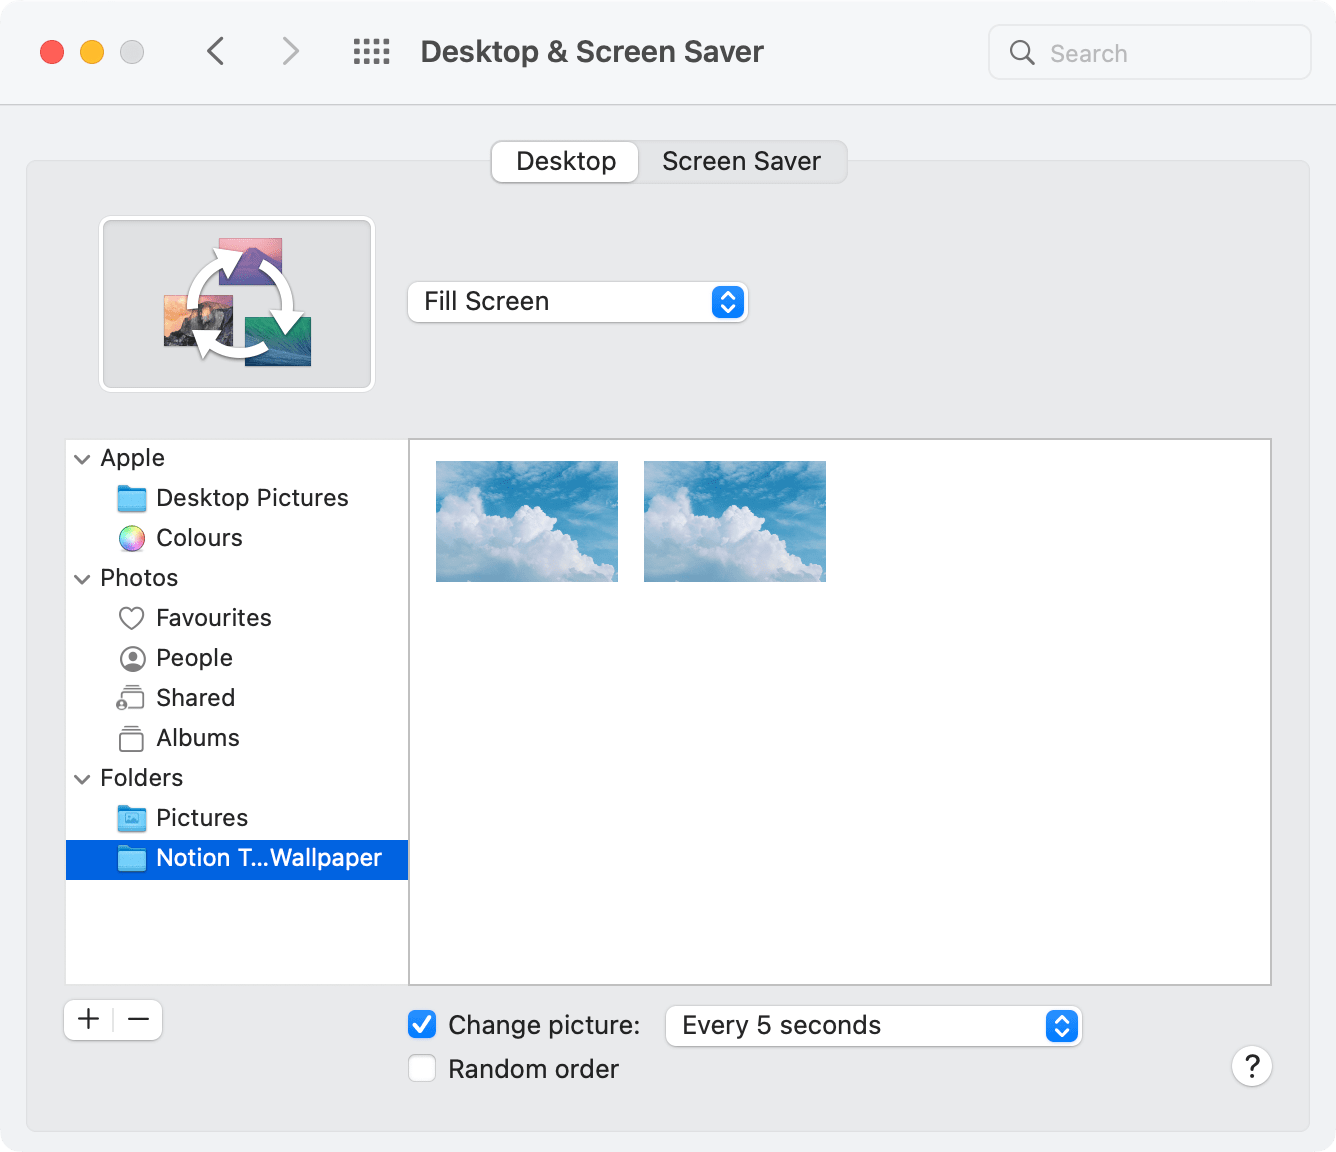
The images in the folder will be set as the wallpaper on a rotating basis every 5 seconds.
Setting up Notion
Step 1. Create a Notion Database
Duplicate this Notion to-do list template or create a new database with these fields manually:
- Name (Title)
- Done (Checkbox)
- Tags (Select: Personal, Work)
- Priority (Select: 1, 2, 3)
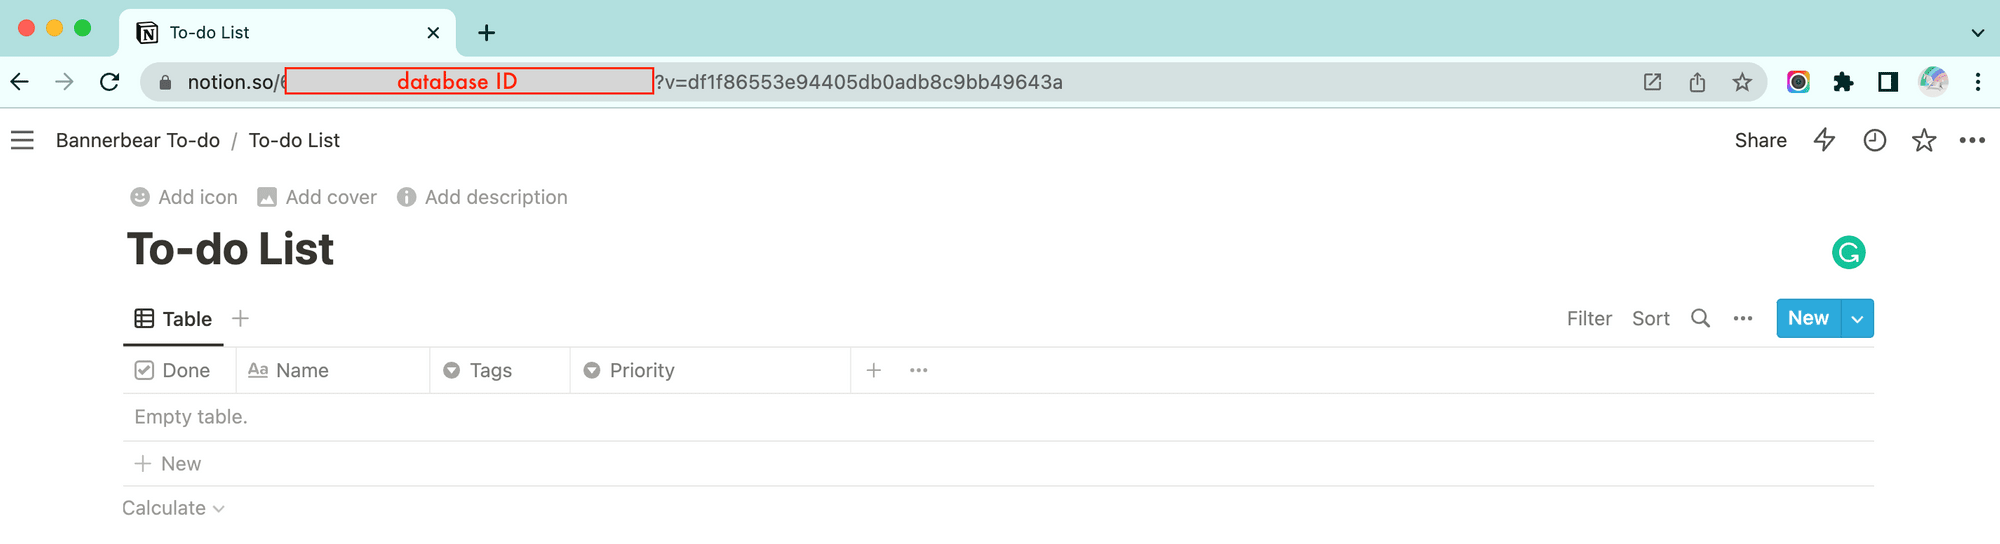
Save the database ID which can be found between notion.so/ and ?v=… in the URL. We will need it to query the database using Notion API.
❗ Note : If the database is created as an inline database, you need to open it as a page to get the correct database ID.
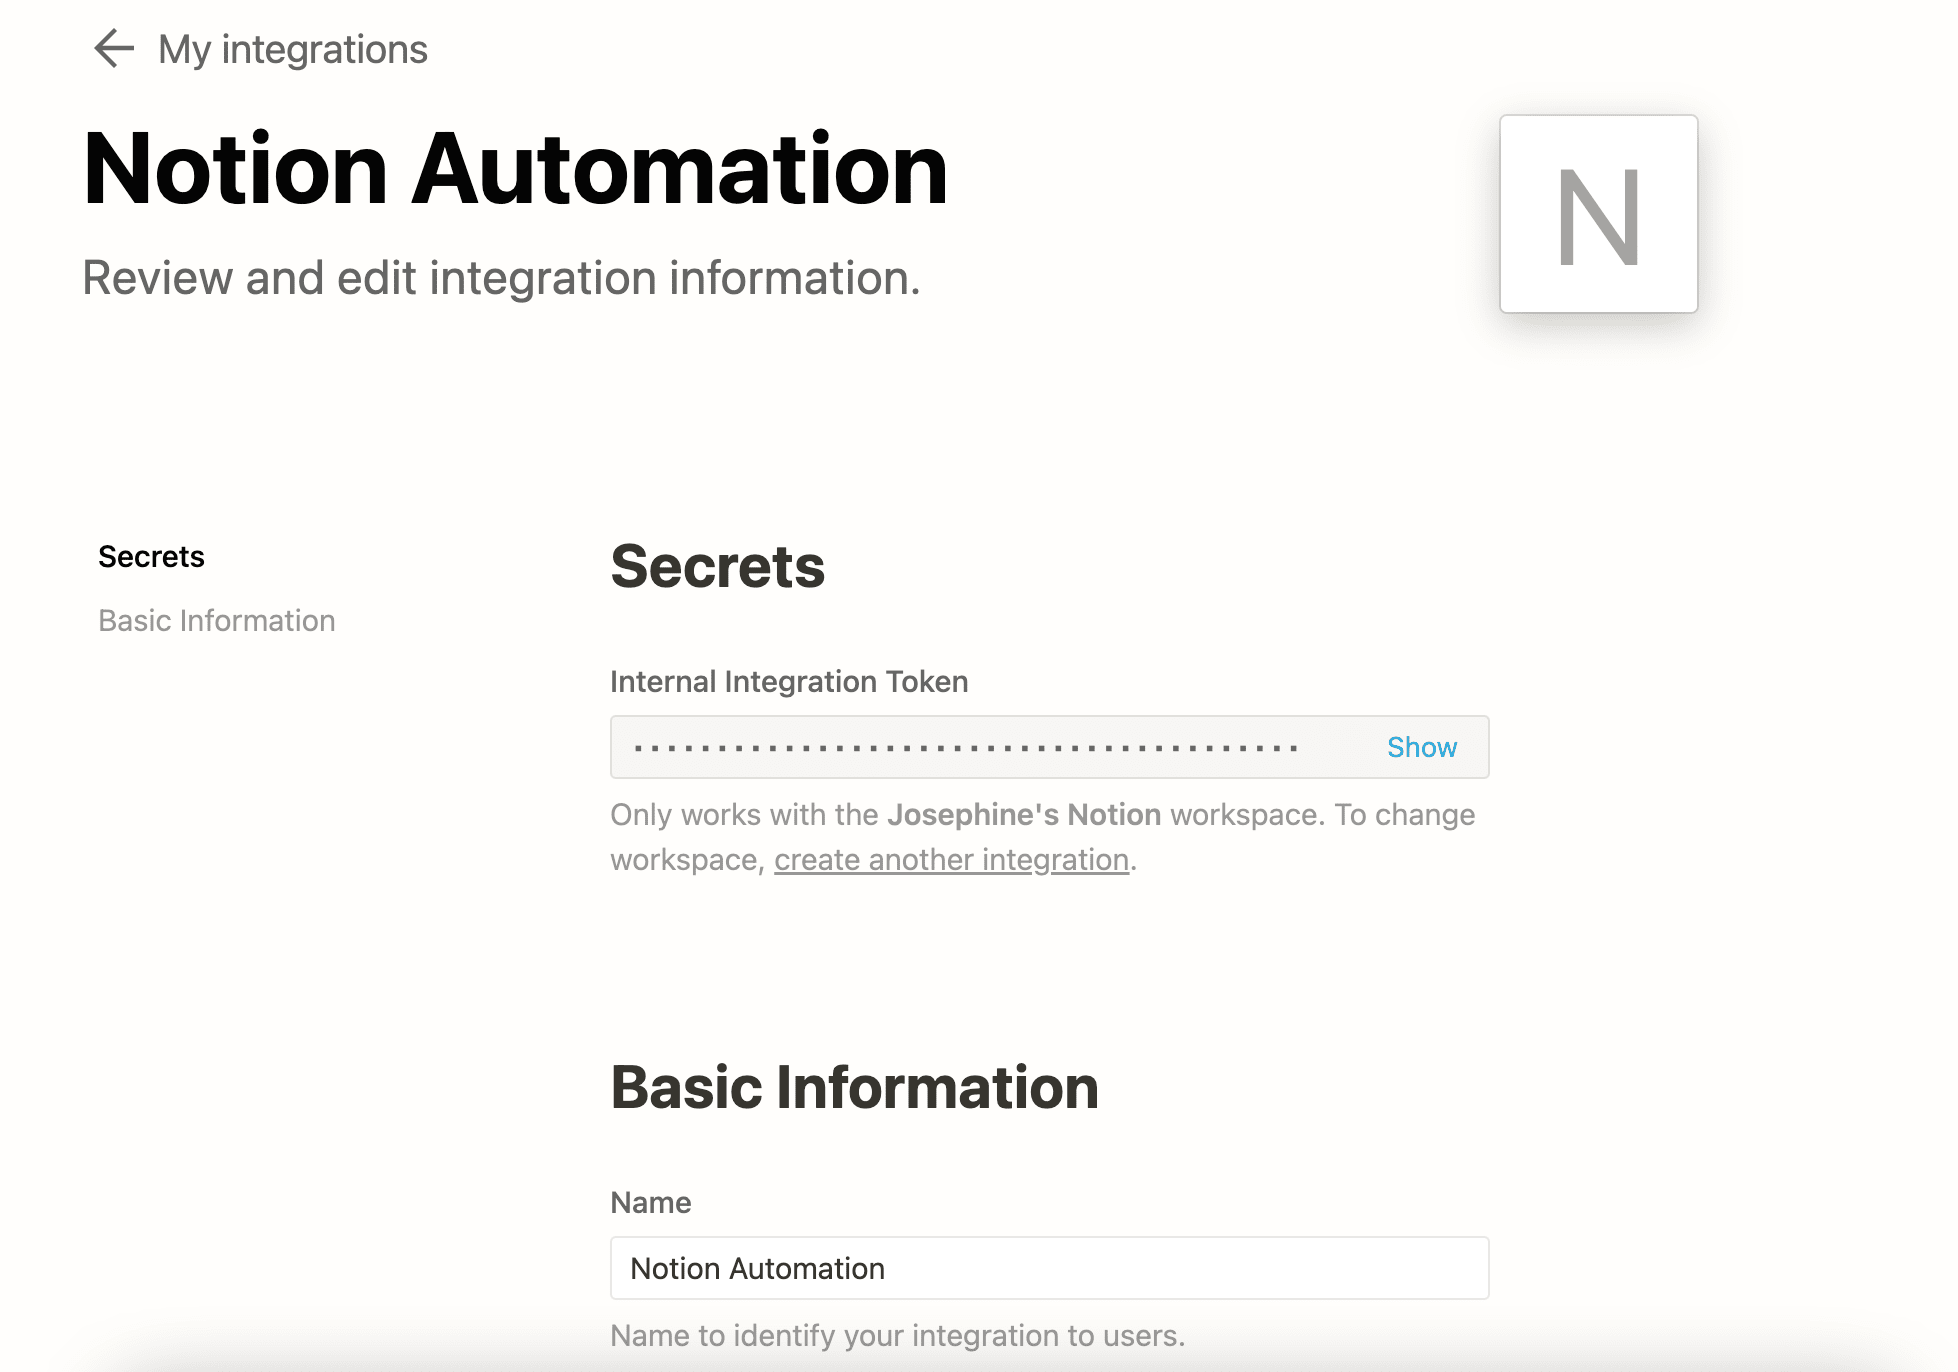
Step 2. Create a Notion Integration
Create a new internal integration following the instructions from Notion’s Developer’s Guide.
On the configuration page, you should see the integration token/API key. Save it too.
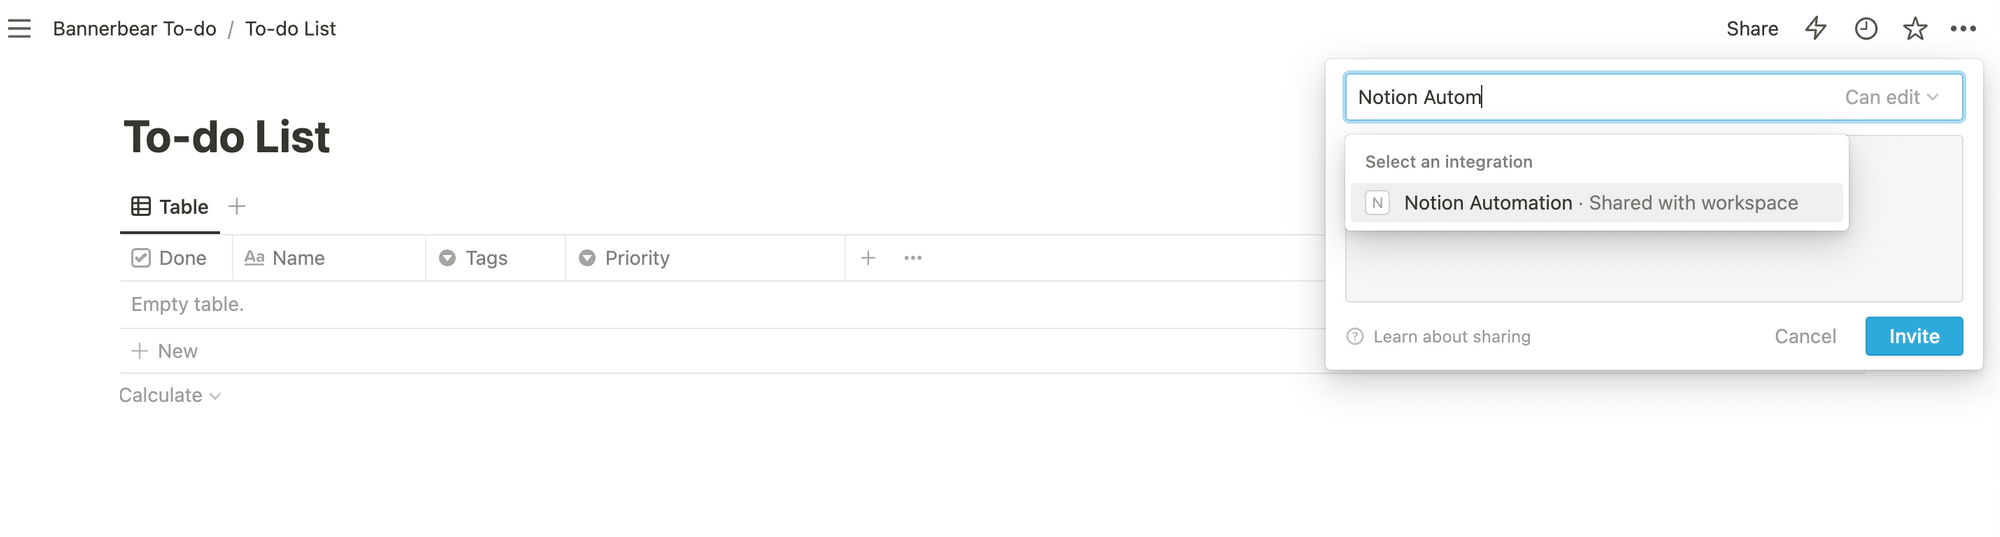
Step 3. Share the To-do List Database with the Integration
Share the database with the integration created in the previous step so that the database can be accessed via API.
Setting up Bannerbear
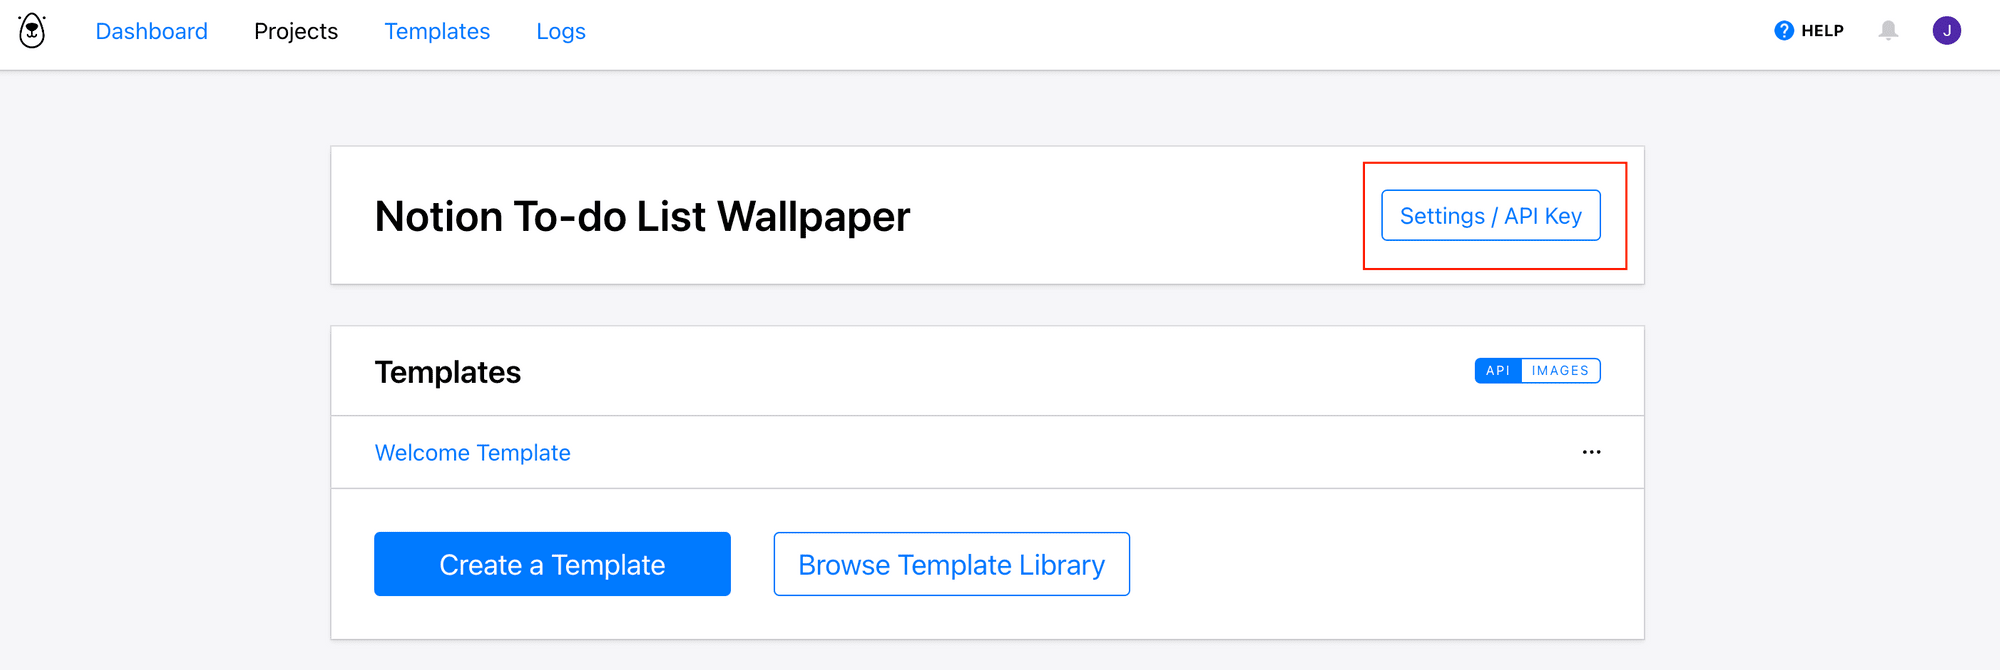
Step 1. Create a Bannerbear Project
Create a new Bannerbear project and save the API key from the project home to use Bannerbear API later.
Step 2. Create a Design Template
Bannerbear will generate the wallpaper automatically from a design template when the API is called. Modify the template of this tutorial or create one from scratch.
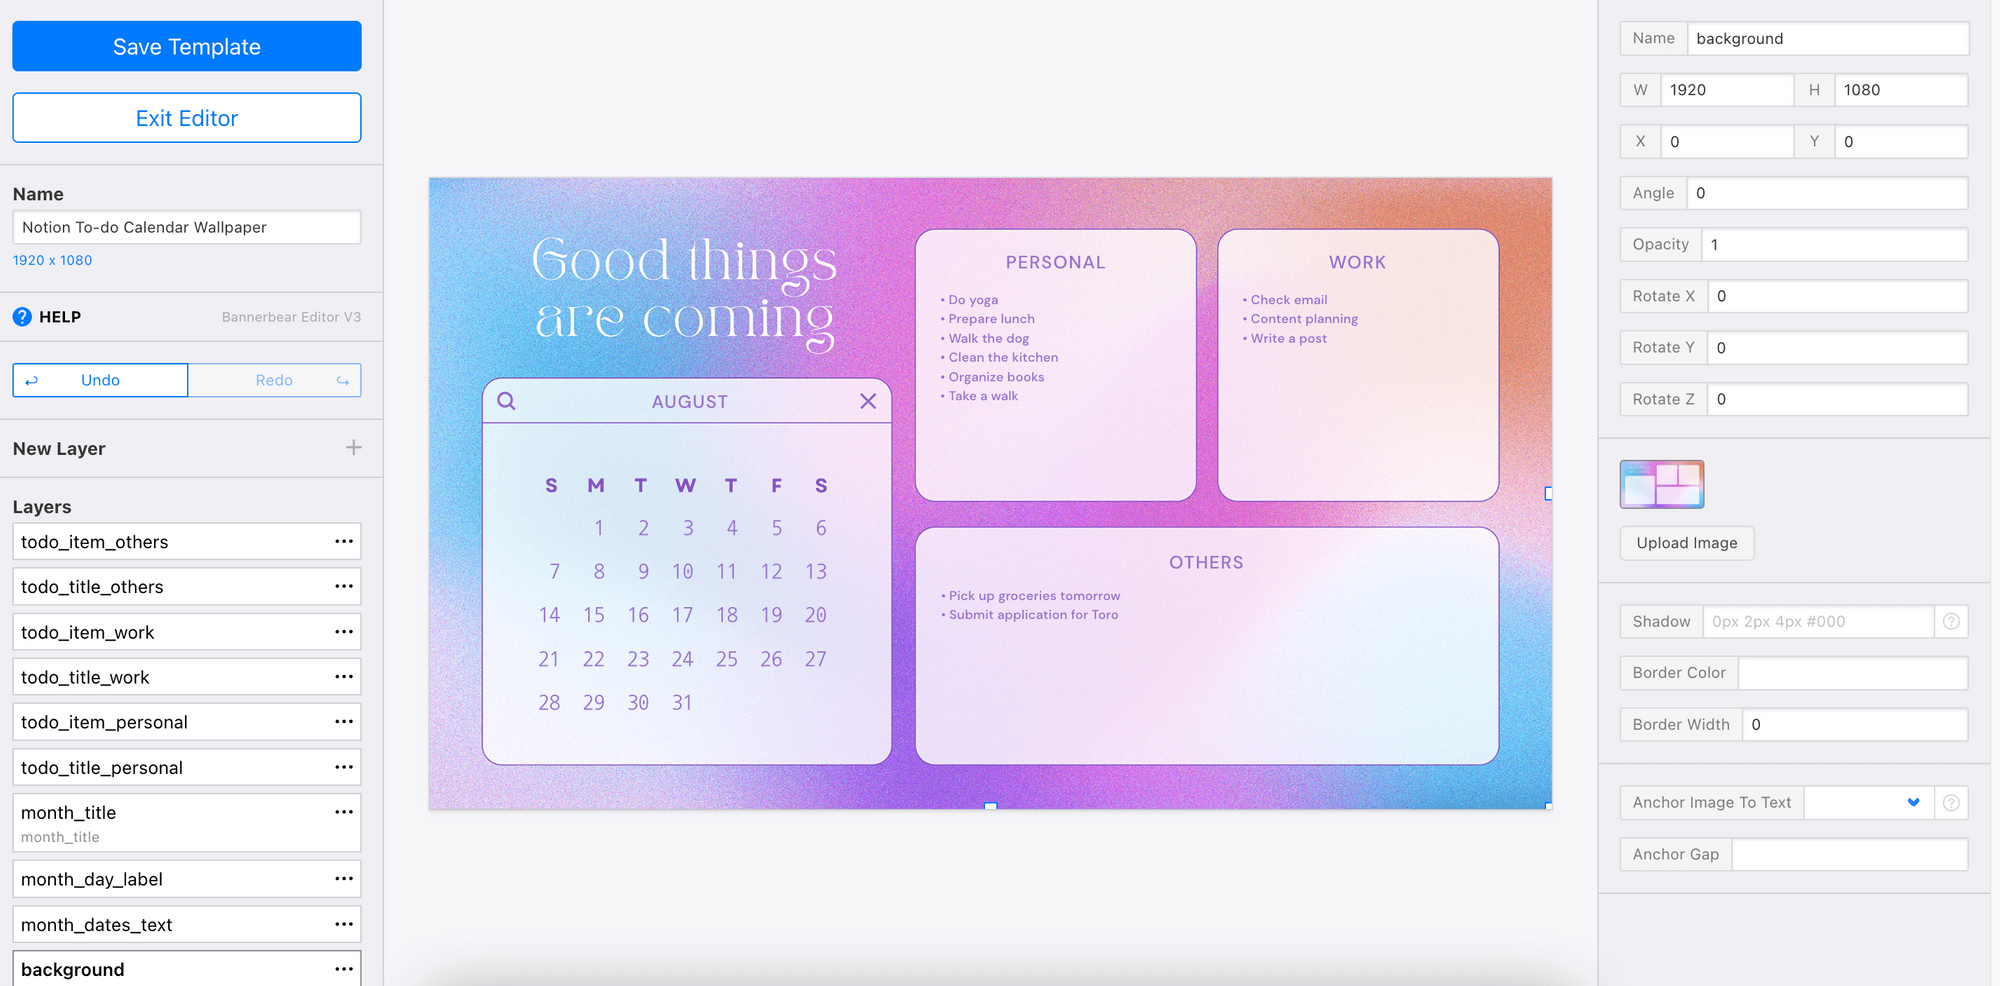
The value of these fields in the template will be populated by your to-do list:
- todo_item_personal
- todo_item_work
- todo_item_others
- month_title
- month_dates_text
These are dynamic objects and the values can be changed every time the API is called. You need to get the template ID from the project home as well to generate an image using the template via API.
Creating an API to Check for Database Updates
Create an API endpoint, /notion-todo-wallpaper in Node.js to check whether there is an update in the database. If there is an update, the URL of the new wallpaper generated automatically using the latest data will be returned.
index.js
// other configurations above this is excluded in this snippet

var todoTasks;

app.get('/notion-todo-wallpaper', async (req, res) => {

  var hasChange = false;
  var imageUrl = '';

  // Step 1. Get the To-do List from the Notion Database
  var result = await notion.getTodoTasks();

  var hasChange = JSON.stringify(todoTasks) !== JSON.stringify(result);

  const calendarObj = await calendar.getCurrentMonthCalendar();

  // Step 2. Generate a Wallpaper Using Bannerbear
  if (hasChange) {
    imageUrl = await bannerbear.generateWallpaper(result, calendarObj);
  }

  todoTasks = result;

  res.send(JSON.stringify({ hasChange: hasChange, imageUrl: imageUrl }));
})
Step 1. Get the To-do List from the Notion Database
We will query the Notion database using Notion SDK to get tasks where the field “Done” is unchecked. The query result will be sorted in ascending order according to the priority and the time of creation.
We will transform the result into an object with keys named Personal, Work, and Others. Each of the tasks will be inserted into its respective array according to the Tags field. Tasks without a tag or with other tags will be added to the Others array.
notion.js
const { Client } = require('@notionhq/client');
const notion = new Client({ auth: process.env.NOTION_API_KEY });

exports.getTodoTasks = async function() {

  const data = {
    "Personal": [],
    "Work": [],
    "Others": []
  };

  const response = await notion.databases.query({
    database_id: process.env.NOTION_DB_ID,
    "filter": {
      "property": "Done",
      "checkbox": {
        "equals": false
      }
    },
    "sorts": [
        {
            "property": "Priority",
            "direction": "ascending"
        },
        {
            "timestamp": "created_time",
            "direction": "ascending"
        }
    ]
  });

  const results = response.results;

  for(var i = 0; i < results.length; i++) {
    const result = results[i];
    const category = result.properties["Tags"].select?.name || "Others";
    const task = result.properties["Name"].title[0].plain_text;

    data[category].push(task);
  }

  console.log(data);
  return data;
}
❗️Note : The version of the Notion SDK used is 1.0.4. Check your SDK version if your query result is different from this tutorial.
Step 2. Generate a Wallpaper Using Bannerbear
We will use Bannerbear SDK to populate the data into the dynamic fields of the design template and return the URL of the image generated.
bannerbear.js
const { Bannerbear } = require('bannerbear');
const bb = new Bannerbear(process.env.BB_API_KEY);
const TEMPLATE_ID = 'k4qoBVDy1g7rDzN0gj'; //replace this with your own template ID

exports.generateWallpaper = async function(todoTasks, calendarObj) {

  var modifications = [
    {
      "name": "todo_title_work",
      "text": "Work",
    },
    {
      "name": "todo_title_personal",
      "text": "Personal",
    },
    {
      "name": "todo_title_others",
      "text": "Others",
    },
    {
      "name": "month_title",
      "text": calendarObj.month,
    },
    {
      "name": "month_dates_text",
      "text": calendarObj.dates,
    }
  ];

  for (category in todoTasks) {

    var bb_object = {
      "name": "",
      "text": "",
    };

    const todo = todoTasks[category];
    var todoText = '';

    for (i in todo) {
      todoText += `- ${todo[i]}\n`
    }

    switch (category) {
      case 'Personal':
        bb_object.name = 'todo_item_personal';
        break;
      case 'Work':
        bb_object.name = 'todo_item_work';
        break;
      default:
        bb_object.name = 'todo_item_others'

    }

    bb_object.text = todoText;

    modifications.push(bb_object);
  }


  const images = await bb.create_image(TEMPLATE_ID, { "modifications": modifications }, true);

  return images.image_url_png;
}
Here’s the Github repo with the code for this Node.js project and other scripts in this tutorial. You can clone it and modify the code.
Creating a Node.js Script to Call the API (Local)
This script will call the /notion-todo-wallpaper API created in the previous section.
If there is an update in the database, we will save the image returned as wallpaper.png to replace the current wallpaper in the wallpaper folder created earlier.
script.js
const fetch = require('node-fetch');
const fs = require('fs');

(async () => {

  var result = await fetch('https://your-domain.com/notion-todo-wallpaper').then((res) => res.json());

  if (result.hasChange && result.imageUrl) {
    const res = await fetch(result.imageUrl);
    const buffer = Buffer.from(await res.arrayBuffer());
    fs.writeFileSync('/Users/username/Pictures/Notion To-do Wallpaper/wallpaper.png', buffer);
    fs.writeFileSync('/Users/username/Pictures/Notion To-do Wallpaper/wallpaper copy.png', buffer);
    console.log(`imageUrl: ${result.imageUrl}`);
  } else {
    console.log('no new wallpaper')
  }
})();
Creating a Bash Script
Create a bash script, todo-wallpaper-script.sh that will run the Node.js script above to check for updates and download the latest wallpaper.
#!/bin/sh
echo `date` : checking Notion database for updates
result=$(/usr/local/bin/node /Users/username/notion-todo/script.js);

if [-z "$result"]
then echo "no change"
else echo "$result"
fi
Running the Bash Script Automatically
We will use launchd, an init and operating system service management daemon created by Apple to run todo-wallpaper-script.sh automatically every minute.
The configuration file for the job is called a property list (.plist).
Step 1. Add Permission to Run the Bash Script
Before creating a property list and loading it, we need to add permission to execute the script in the terminal/command line.
chmod +x /Users/username/notion-todo/todo-wallpaper-script.sh
Step 2. Create a Property List for the Automation Job
In the /Users/username/Library/LaunchAgents folder, create a file named com.notion.wallpaper.plist and paste the code below:
<?xml version="1.0" encoding="UTF-8"?>
<!DOCTYPE plist PUBLIC "-//Apple//DTD PLIST 1.0//EN" "<http://www.apple.com/DTDs/PropertyList-1.0.dtd>">
<plist version="1.0">
    <dict>
        <key>Label</key>
        <string>com.notion.wallpaper</string>
        <key>Program</key>
        <string>/Users/username/notion-todo/todo-wallpaper-script.sh</string>
        <key>RunAtLoad</key>
        <true/>
        <key>StartInterval</key>
        <integer>60</integer>
        <key>StandardOutPath</key>
        <string>/Users/username/notion-todo/output.txt</string>
        <key>StandardErrorPath</key>
        <string>/Users/username/notion-todo/errors.txt</string>
    </dict>
</plist>
RunAtLoad is used to start the job as soon as it has been loaded. It will be executed at login.
StartInterval will set the time interval of the execution, using second as the unit.
StandardOutPath and StandardErrorPath are where the output and the error of the script will be stored. They can help you to debug the job if there is an error.
Bear tip 🐻 : If you can't find the LaunchAgents folder, press Command + Shift + . (period) in Finder to make the hidden folder appear.
Step 3. Load the Property List
Run the command below to load the property list.
launchctl load /Users/username/Library/LaunchAgents/com.notion.wallpaper.plist
You can check whether the file is loaded by running launchctl list.
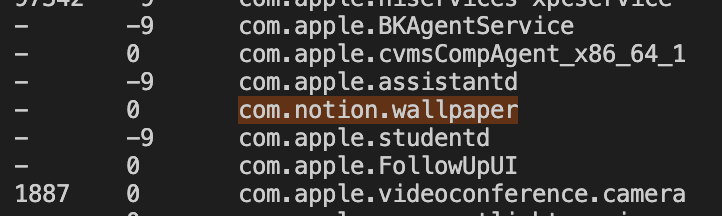
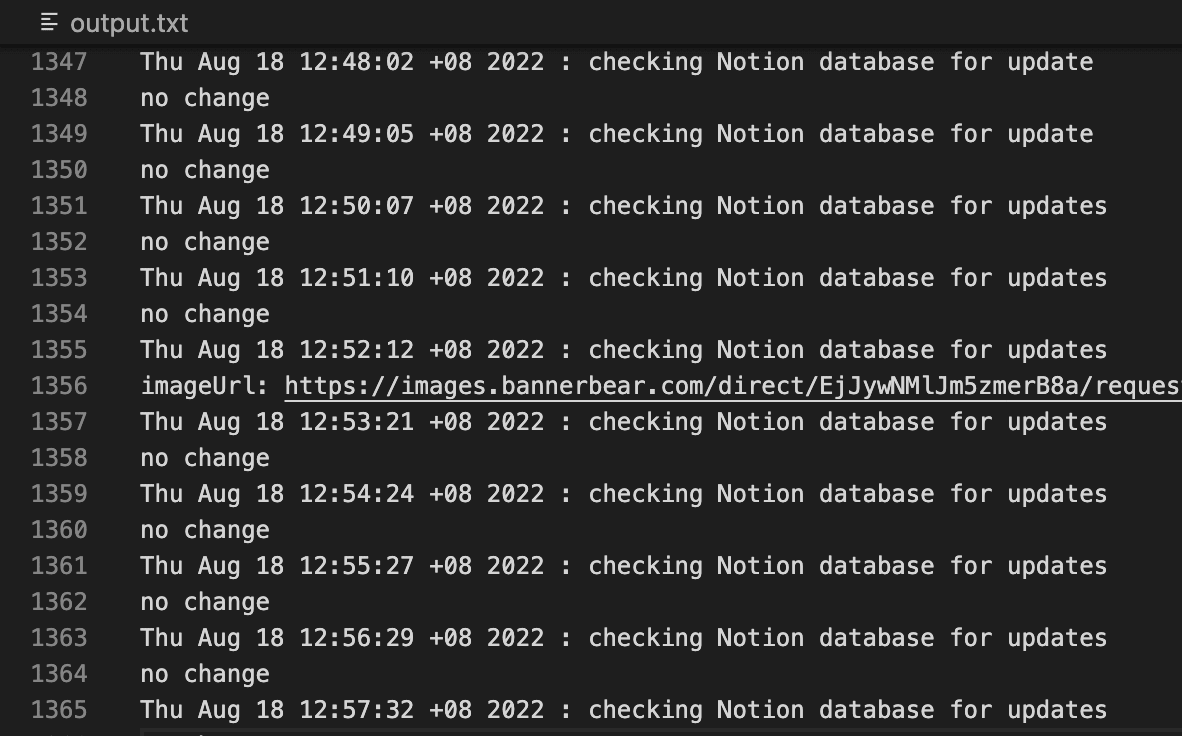
If there is no error, the job should be running and you will see the output in output.txt.
If you want to stop the job, unload the property list.
launchctl unload /Users/username/Library/LaunchAgents/com.notion.wallpaper.plist
Start Automating
Try adding some tasks into your Notion to-do list and voila! Your desktop wallpaper should be changed automatically.

The wallpaper might not be changed immediately as the script will only be run every minute. If the wallpaper doesn't change, you can check error.txt to see if there's an error.
Check out How to Generate Weekly Goal Wallpapers for Productivity to make a similar wallpaper using no-code!
There are many tasks that can be automated by integrating different services and tools to increase productivity and efficiency. If you're developing something, you can try these tutorials to automate some tasks during your development:
