
How to Add a Dynamic Watermark to Puppeteer Screenshots Using Bannerbear
Contents
Puppeteer is an open-source library that is often used to generate website screenshots as it is one of the easiest ways to capture a screenshot image of a website using Javascript.
There are many reasons to use Puppeteer to take a screenshot. You can take a screenshot of a website for archiving on a schedule, making comparisons, or providing visual context in many other situations.
For cases like archiving, adding a dynamic watermark with extra information like date and time to your screenshots can help you to differentiate and manage them easier.
In this tutorial, we will be using Bannerbear to add a watermark with a logo and the date and time automatically when Puppeteer takes a screenshot.

What is Bannerbear
Bannerbear is a solution for auto-generating images and videos dynamically based on a design template via API. The content of the images and videos can be set by passing the values when calling the API.
A Bannerbear design template consists of static objects and dynamic objects like image, text, rectangle, shape, etc. The values of the dynamic objects can be set via API.
As a design template can be created in a few clicks using drag-n-drop, it saves developers a lot of time to write code to position and adjust the elements in an image.
Bannerbear also has SDKs for Ruby, PHP, and Node.js, which makes the integration into any app extremely easy! For this tutorial, we are going to create a Node.js project and use the Bannerbear Node.js SDK.
Pre-requisites
As this is a Node.js project, you need to have these installed:
For reference, the version of Node.js used in this tutorial is v18.6.0 while for npm, it’s v8.13.2.
The screenshots in this project will be saved to AWS S3. Therefore, you will need to create an AWS S3 bucket to store them. You can follow the steps in the AWS Documentation to create one.
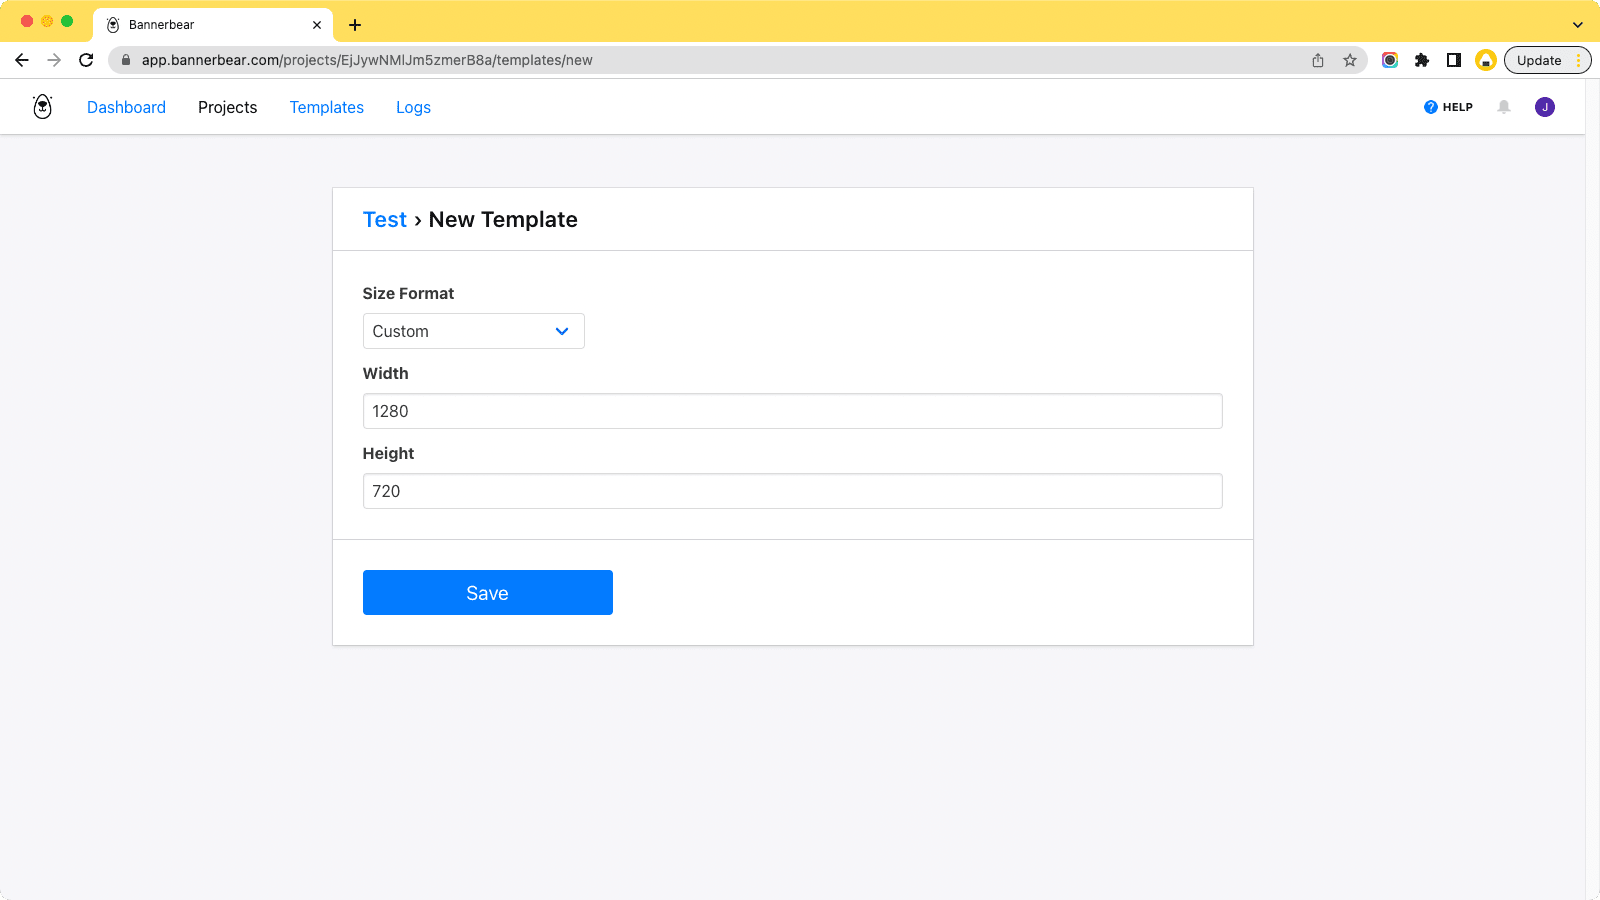
Creating a Bannerbear Template
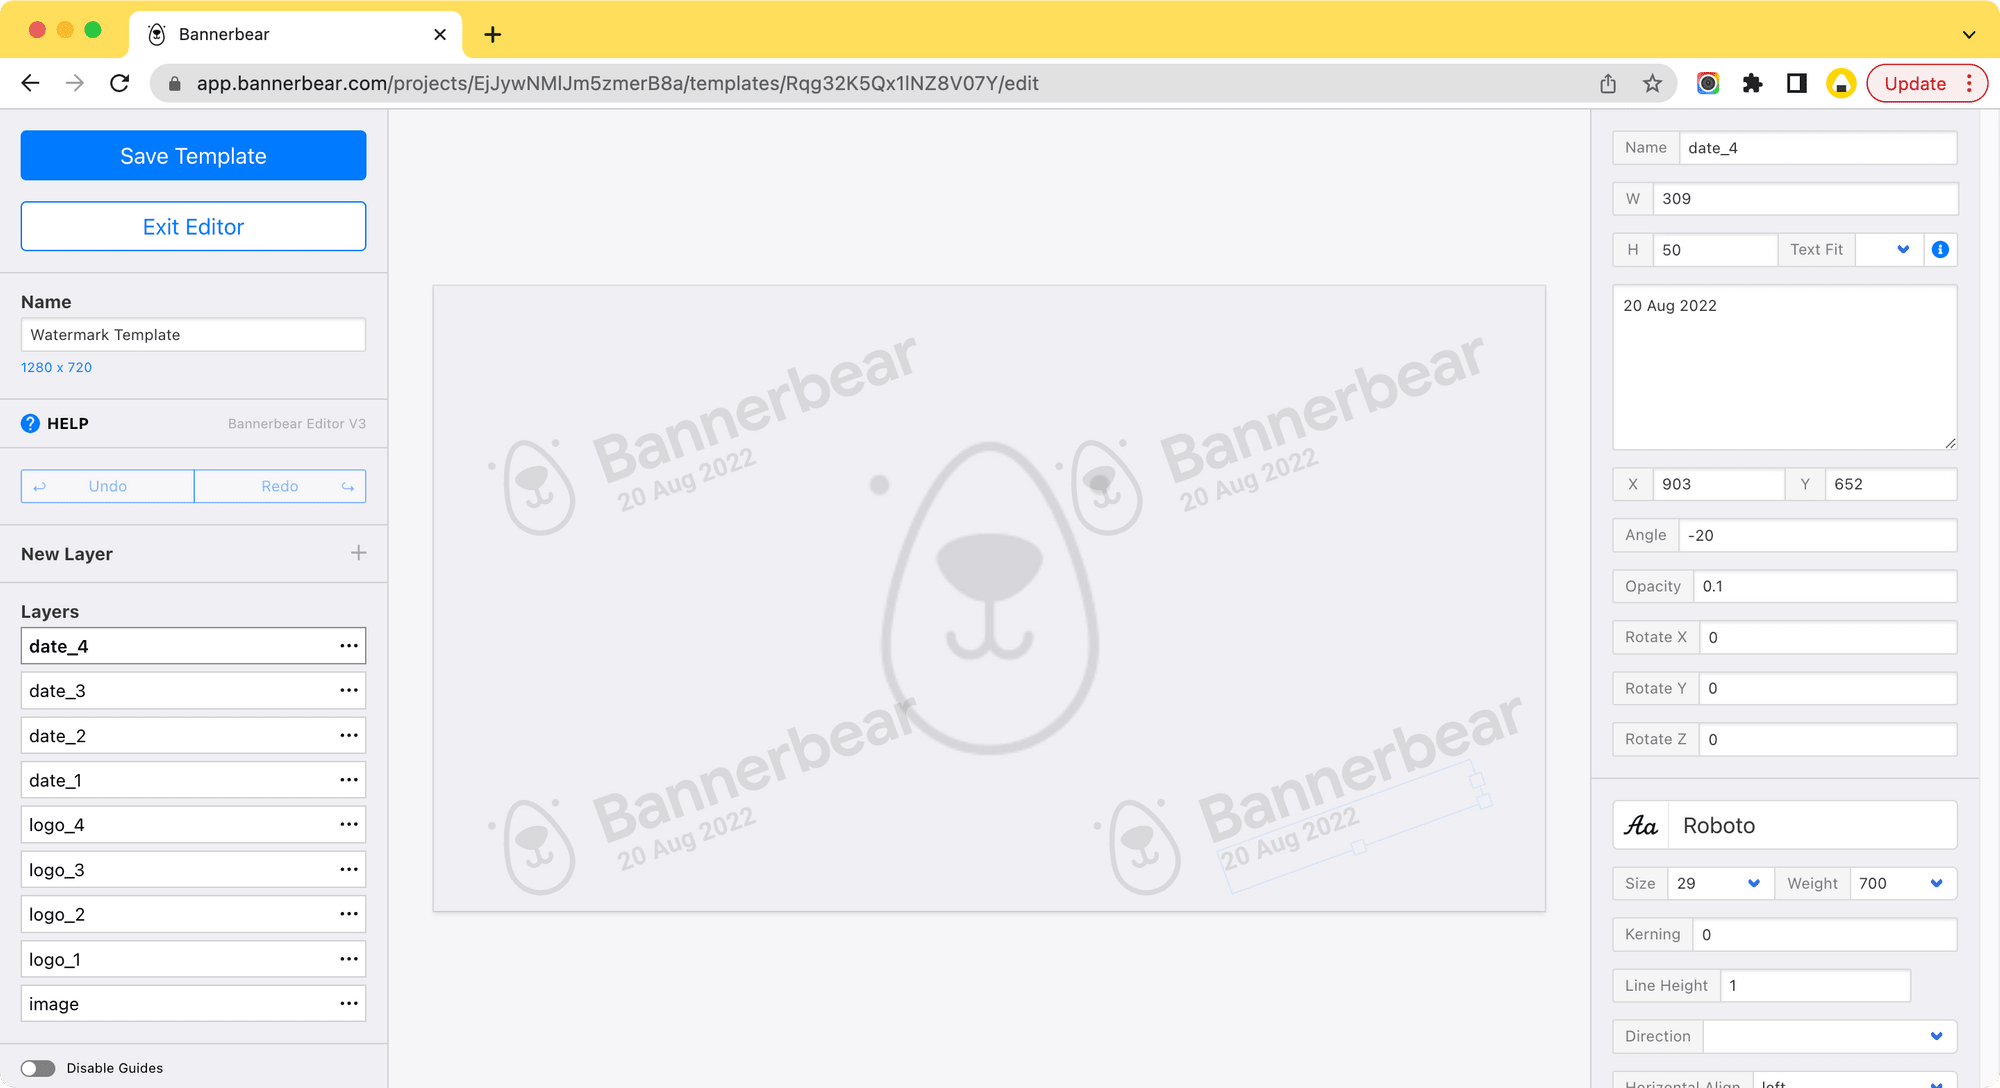
First, we need to create a Bannerbear template for the watermark design. As we will be capturing screenshots in 1280x720px using Puppeteer, the template needs to be of the same size.
These are the objects that we will add to the watermark template:
- Dynamic Image Object - image (Puppeteer screenshot)
- Dynamic Text Objects - date_1, date_2, date_3, date_4 (date and time watermark)
- Static Image Objects - logo_1, logo_2, logo_3, logo_4 (logo watermark)
After creating an AWS S3 bucket and a Bannerbear template for the watermark, we can start coding!
Getting Started
Create a New Node.js Project
Create a new folder for your project and init a new Node.js project in the folder.
npm init
After the project is created, add a new file named index.js to the project. It is where we’ll be writing our code.
Install and Import Libraries
Install the following libraries using npm i:
After installing the libraries above, import them in the index.js file.
require('dotenv').config();

const fetch = require('node-fetch');
const AWS = require('aws-sdk');
const puppeteer = require('puppeteer');
const { Bannerbear } = require('bannerbear');
Authentication
We will use dotenv to store our credentials. Create a .env file and save the AWS S3 Access Keys and Bannerbear API Key in the file:
# AWS S3 Access Keys
AWS_S3_ACCESS_KEY_ID=AK3455IA6SIWH7H
AWS_S3_SECRET_ACCESS_KEY=bPj4UKXq9fJF454W550JL04YQvCd2IVSfPiSI

# Bannerbear API Key
BB_API_KEY=bb_pr_8b4bd53cdf3005931b548af
Bear Tip 🐻: The keys above are dummy keys. You need to replace the values with your real credentials.
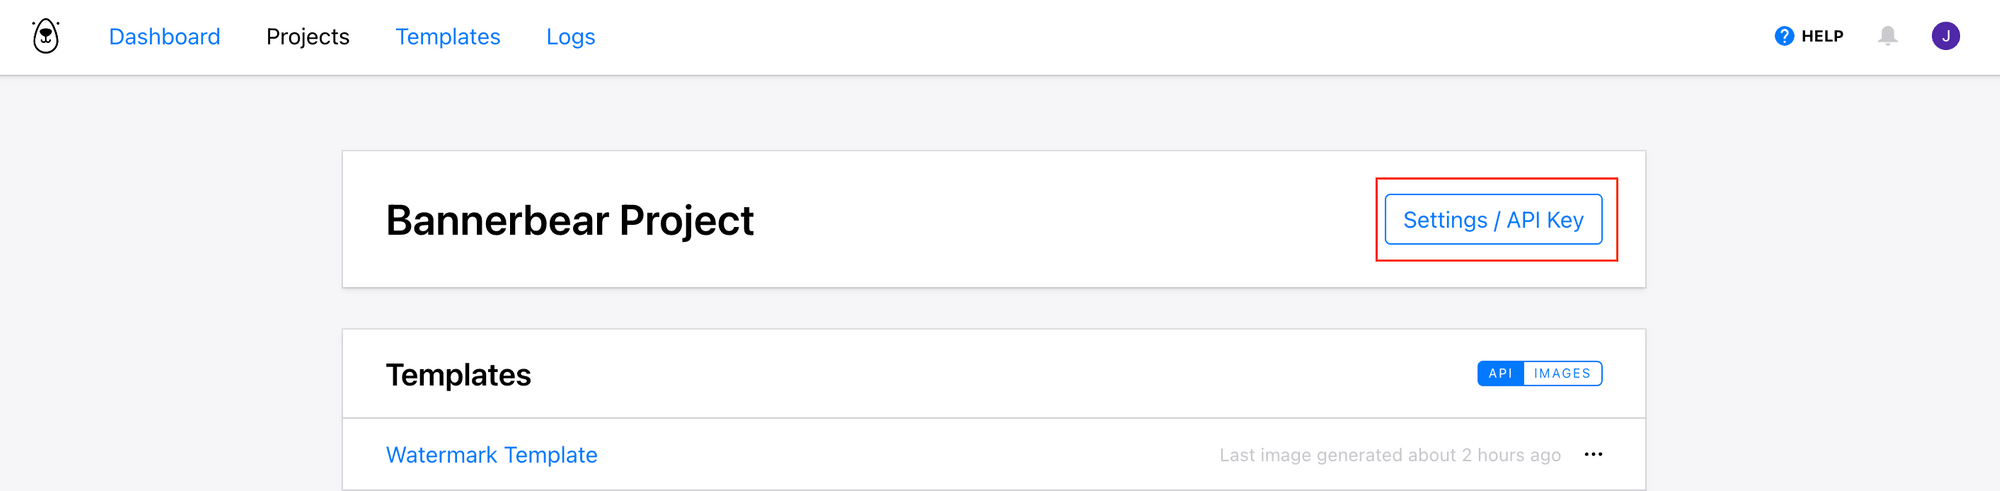
The AWS S3 Access Keys can be created and accessed through your AWS Console while the Bannerbear API Key can be retrieved from your Bannerbear Dashboard under Projects.
Instantiate New Instances
In index.js, instantiate a new instance of Bannerbear and a new instance of AWS S3 using your credentials stored in .env.
const bb = new Bannerbear(process.env.BB_API_KEY);
const s3 = new AWS.S3({
  accessKeyId: process.env.AWS_S3_ACCESS_KEY_ID,
  secretAccessKey: process.env.AWS_S3_SECRET_ACCESS_KEY,
});
Declare Constants
Next, declare the constants that we will be using in this project:
const WEBSITE_URL = 'https://www.bannerbear.com';
const SCREENSHOT_NAME = 'screenshot.jpg';
const BUCKET_NAME = 'puppeteerscreenshot';
const BB_TEMPLATE_UID = 'Rqg32K5Qx1lNZ8V07Y';
const VIEWPORT_WIDTH = 1280;
const VIEWPORT_HEIGHT = 720;
Reminder 🐻 : The size of VIEWPORT_WIDTH and VIEWPORT_HEIGHT should be the same as your Bannerbear template.
Adding a Dynamic Watermark to a Puppeteer Screenshot
Step 1. Capture a Simple Screenshot Using Puppeteer
The first step is to call the captureScreenshot() function to capture a simple screenshot of the website using Puppeteer.
const screenshotBuffer = await captureScreenshot(WEBSITE_URL, SCREENSHOT_NAME);
The detailed instructions on how to capture a simple Puppeteer screenshot can be found in this tutorial: How to Take Screenshots with Puppeteer.
Step 2. Save the Screenshot to AWS S3
Next, save the screenshot to your AWS S3 bucket and get the URL of the image.
const res = await saveImageToBucket(`original`, SCREENSHOT_NAME, screenshotBuffer);
const imgUrl = res.Location;
saveImageToBucket()
async function saveImageToBucket(folderName, fileName, screenshot) {
  const params = {
    Bucket: BUCKET_NAME,
    Key: `${folderName}/${fileName}`,
    Body: screenshot,
  };

  return await s3.upload(params).promise();
}
Step 3. Add a Dynamic Watermark Using Bannerbear
Then, pass the image URL and the date and time of the screenshot to addWatermark() to add a watermark with your logo and the timestamp to the image using Bannerbear.
const dateTime = new Date().toLocaleString('en-US', { timeZone: 'UTC' });
var watermarkedUrl = await addWatermark(imgUrl, dateTime);
addWatermark()
async function addWatermark(imgUrl, dateTime) {

  var modifications = [
	{
	  name: 'image',
	  image_url: imgUrl,
	}
  ];

  for (var i = 1; i <= 4; i++) {
    modifications.push(
      {
        name: `date_${i}`,
        text: dateTime
      }
    );
  }

  const images = await bb.create_image(
    BB_TEMPLATE_UID,
    {
      modifications: modifications,
    },
    true
  );

  return images.image_url_jpg;
}
The underlying Bannerbear API will be called when you call the bb.create_image() function. The image modifications will be sent to Bannerbear with the UID of the template to generate the watermarked images in JPG and PNG formats.
Step 4. Save the Final Image
Finally, save the watermarked image to your AWS S3 bucket.
const buffer = await getBufferFromUrl(watermarkedUrl);
const res2 = await saveImageToBucket('watermarked', screenshotName, buffer);
const finalImgUrl = res2.Location;

console.log(finalImgUrl);
getBufferFromUrl()
async function getBufferFromUrl(imgUrl) {
  const response = await fetch(imgUrl);
  return await response.buffer();
}
The URL of the watermarked screenshot stored in AWS S3 will be returned:

As the date and time of the watermark are set dynamically, different timestamps will be added automatically every time Puppeteer takes a screenshot.
The image below shows a screenshot taken at a different time:

This is the complete code for the project:
require('dotenv').config();

const fetch = require('node-fetch');
const AWS = require('aws-sdk');
const puppeteer = require('puppeteer');
const { Bannerbear } = require('bannerbear');

const bb = new Bannerbear(process.env.BB_API_KEY);
const s3 = new AWS.S3({
  accessKeyId: process.env.AWS_S3_ACCESS_KEY_ID,
  secretAccessKey: process.env.AWS_S3_SECRET_ACCESS_KEY,
});

const WEBSITE_URL = 'https://www.bannerbear.com';
const SCREENSHOT_NAME = 'screenshot.jpg';
const BUCKET_NAME = 'puppeteerscreenshot';
const BB_TEMPLATE_UID = 'wvgMNmDoa10QZyARK0';
const VIEWPORT_WIDTH = 1280;
const VIEWPORT_HEIGHT = 720;

(async () => {
  //Step 1. Capture a Simple Screenshot Using Puppeteer
  const screenshotBuffer = await captureScreenshot(WEBSITE_URL, SCREENSHOT_NAME);

  //Step 2. Save the Screenshot to AWS S3
  const res = await saveImageToBucket(`original`, SCREENSHOT_NAME, screenshotBuffer);
  const imgUrl = res.Location;

  //Step 3. Add a Dynamic Watermark Using Bannerbear
  const dateTime = new Date().toLocaleString('en-US', { timeZone: 'UTC' });
  var watermarkedUrl = await addWatermark(imgUrl, dateTime);

  //Step 4. Save the Final Image
  const buffer = await getBufferFromUrl(watermarkedUrl);
  const res2 = await saveImageToBucket('watermarked', SCREENSHOT_NAME, buffer);
  const finalImgUrl = res2.Location;

  console.log(finalImgUrl);

})();

async function getBufferFromUrl(imgUrl) {
  const response = await fetch(imgUrl);
  return await response.buffer();
}

async function addWatermark(imgUrl, dateTime) {
  var modifications = [
	{
	  name: 'image',
	  image_url: imgUrl,
	}
  ];

  for (var i = 1; i <= 4; i++) {
    modifications.push(
      {
        name: `date_${i}`,
        text: dateTime
      }
    );
  }

  const images = await bb.create_image(
    BB_TEMPLATE_UID,
    {
      modifications: modifications,
    },
    true
  );

  return images.image_url_jpg;
}

async function captureScreenshot(website_url, screenshotName) {
  const browser = await puppeteer.launch();

  const page = await browser.newPage();

  await page.setViewport({ width: VIEWPORT_WIDTH, height: VIEWPORT_HEIGHT });

  await page.goto(website_url, { waitUntil: 'networkidle0' });

  const screenshot = await page.screenshot({ path: screenshotName });

  await browser.close();

  return screenshot;
}

async function saveImageToBucket(folderName, fileName, screenshot) {
  const params = {
    Bucket: BUCKET_NAME,
    Key: `${folderName}/${fileName}`,
    Body: screenshot,
  };

  return await s3.upload(params).promise();
}
If you want to change the watermark design, just drag-n-drop different objects to the template and add them to the modifications object in the code. No more writing complex code to adjust the position and other properties of a watermark!
🐻 Bear Tips: Use Bannerbear's free pretty screenshot tool to add a background to your screenshot!
