
How to Generate and Print Custom Labels for Small Batch Products
Contents
One of the biggest problems for small business owners is the time they spend on administrative tasks. Often, these tasks don't take significantly less time compared to larger businesses. But because a small team only has so much manpower, every minute they spend on manual, repetitive tasks is a minute they could be spending on something that directly contributes to their bottom line.
Task automation is a small business owner’s best friend because by eliminating as many mundane tasks as possible, you can get back hours of your time each week. This could be by scheduling lead generation emails, sending new clients directly to your CRM, and even automating billing.
If your company sells custom or small batch products, one of the manual tasks you likely find yourself doing is designing labels and other marketing material for every new production round. Before you hire an assistant to manually produce these assets for you, consider setting up a task automation that leaves them by your printer, ready to be used.
What You Will Create
Custom labels have to be created and printed in small batches, taking up a significant amount of a small business owner’s time each week. These labels typically do not vary much in design—they just need new information entered and sent to the printer.
In this tutorial, you’ll learn how to use nocode tools to send new product information to a pre-designed template, generate a custom label, and initiate printing for the exact number of labels you need—automatically!
Here are the tools you’ll need:
- Airtable : To enter and store data for every new production round
- Bannerbear : To design and generate custom labels
- Zapier : To trigger events in different programs based on pre-specified commands
You’ll also need a printer capable of producing the type of labels you need and an ezeep account (free for up to 10 users!).
By the end of the tutorial, you should be able to produce custom labels that look a little bit like this:
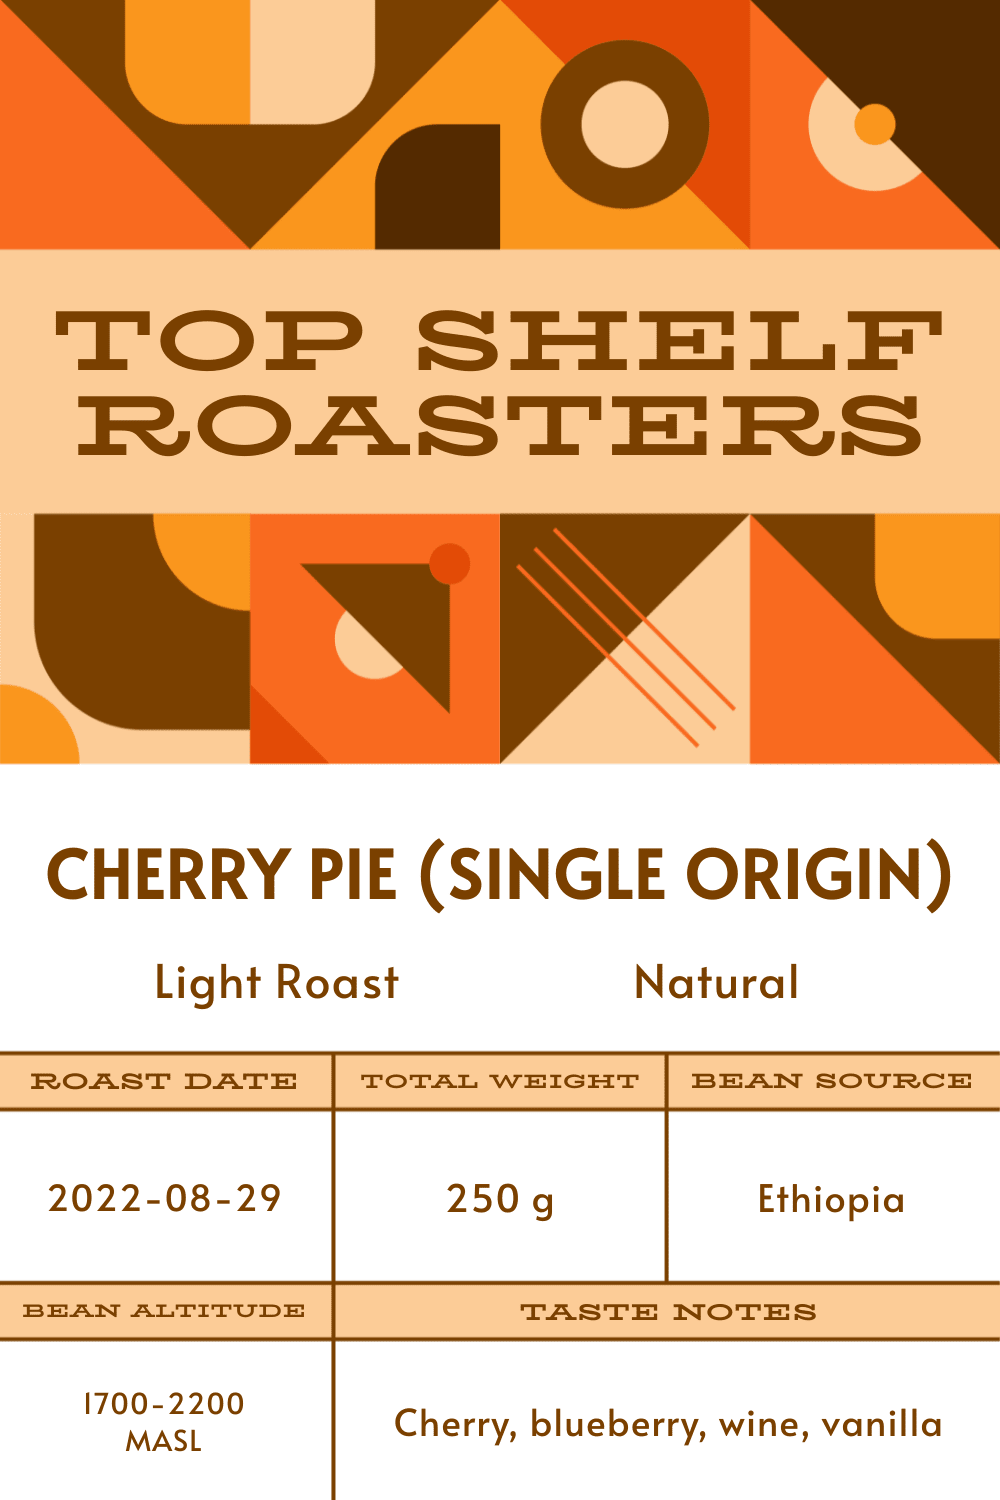
We will use a hypothetical example of a coffee roaster that needs to generate custom labels for every small batch of specialty coffee.
Let’s get started!
Customize Your Bannerbear Templates
To create a template in Bannerbear, log into your account, then create a new project from the “Projects” tab. You can then start from a blank template or use one of ours:
Make sure you select dimensions that are the correct size for your product and the stock/sticker paper you will be printing on.
Customize the design until you are satisfied, then click “Save Template.”
Bear Tip 🐻: If you’ll be marketing every batch of products on social media, create another template optimized for the platform of your choice. With Bannerbear's Image Collection, you can send the same data through to multiple templates, generating both labels and marketing material every time a new batch of products is produced!
Create an Airtable Base
Airtable’s modular structure and ability to integrate with a variety of tools makes it a fantastic database choice. We’ll use it to store our batch production data and trigger new label generation.
Step 1. Set up a Grid View
Log into your Airtable account, then click “Add a base.” To a blank table, add fields for every separate piece of information you need to include in your label.

Make sure you have a field for generated image URLs—this will make it easy for you to locate a specific label should you need it in the future.
Step 2. Set up a Form View
A form view will make it easy for you to input new batch information without accidentally triggering label production before details are confirmed. Since you can access it using a shared URL, you can easily submit a production entry using a mobile device even if the Airtable app isn’t installed.
Click the “+” button next to the Form entry on the bottom left corner of your Airtable base. Set up the form to include all the fields that will change with each production batch.
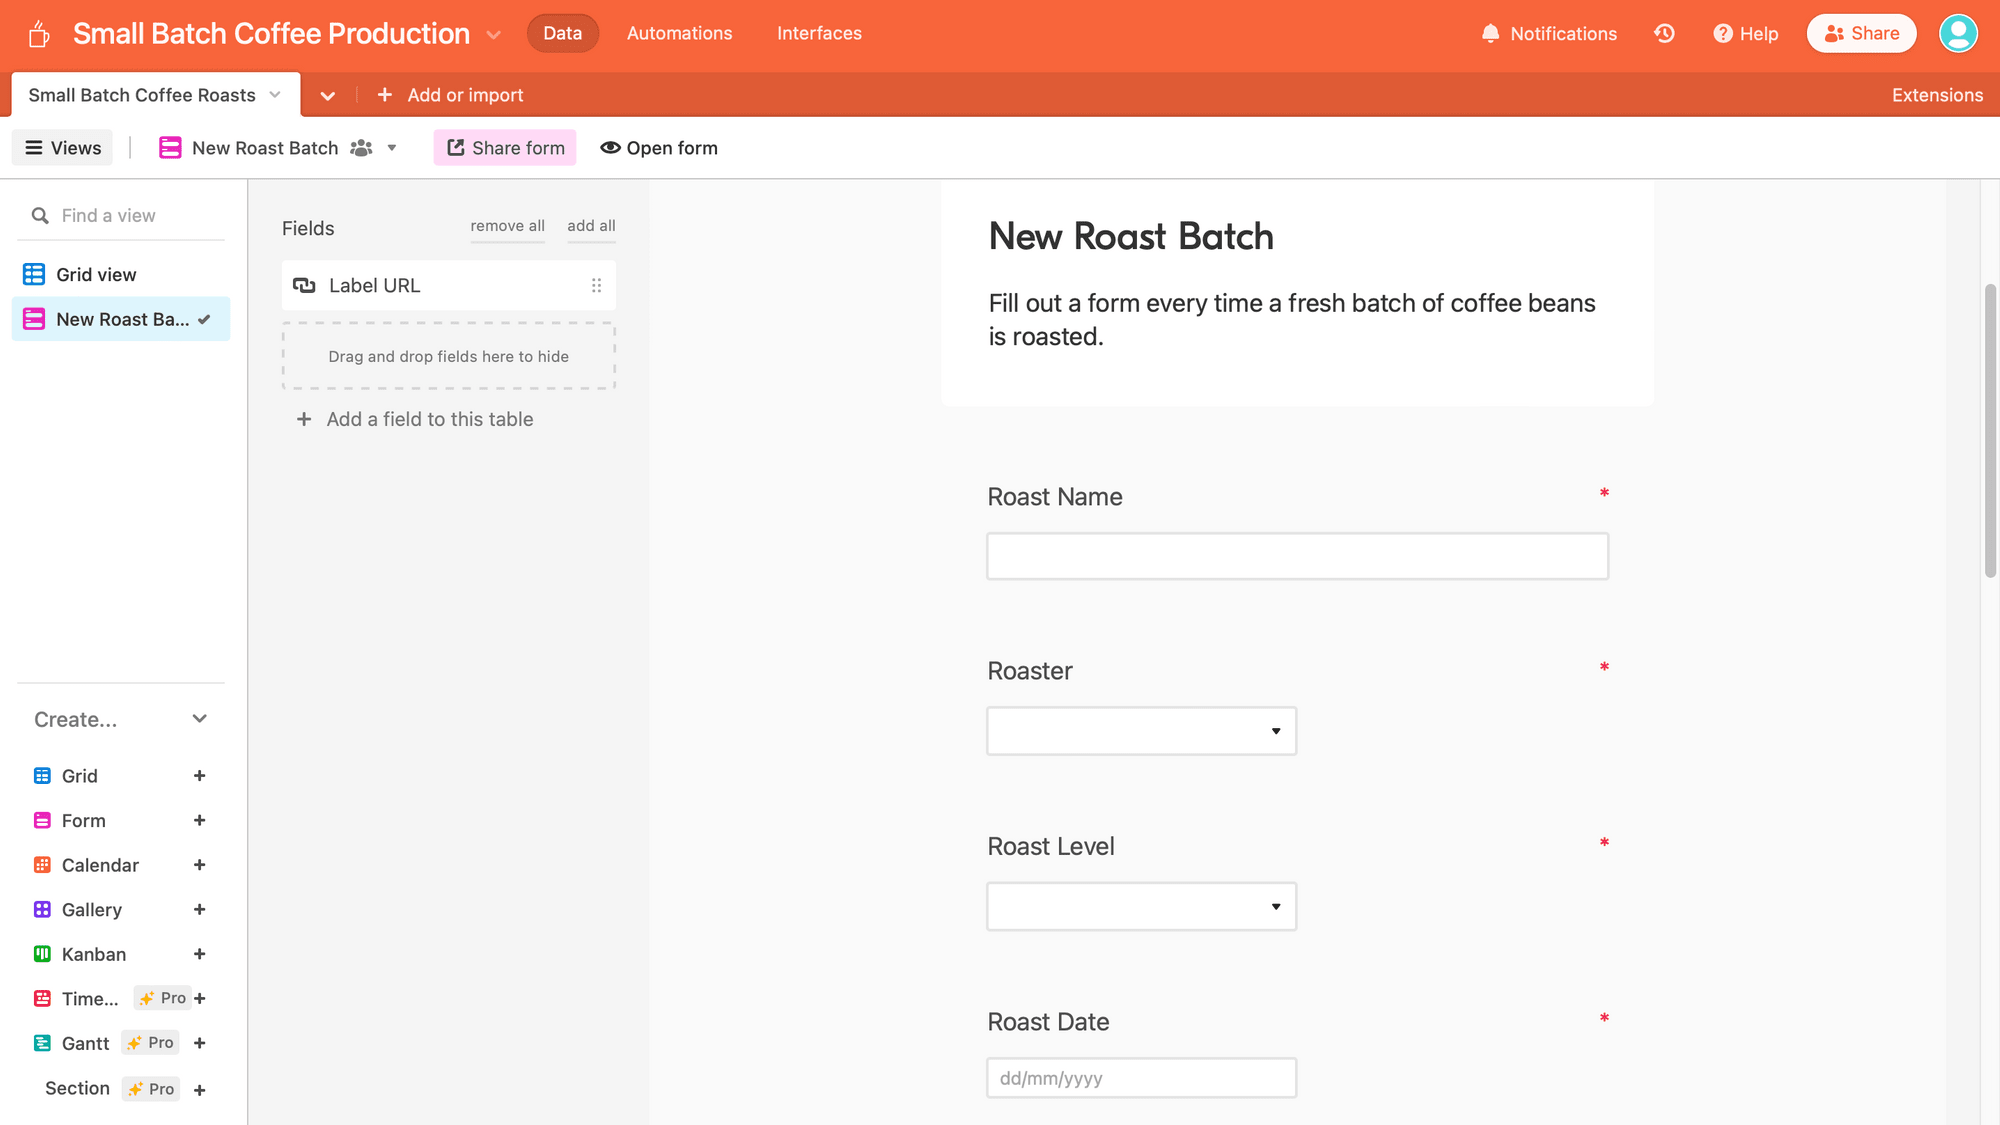
You do not need to include the field for generated URLs, as this will be populated during the automation process.
Bear Tip 🐻: Minimize the chances of data entry error by setting all form fields as “Required.” This ensures that every set of data submitted (and, consequently, every label) is complete.
Step 3. Submit a Test Entry
Your Airtable base is ready for use. But before moving on, submit a test entry to ensure all the fields on your form view are set up correctly.
From your Form view, click the “Share form” button and follow the private link it provides.
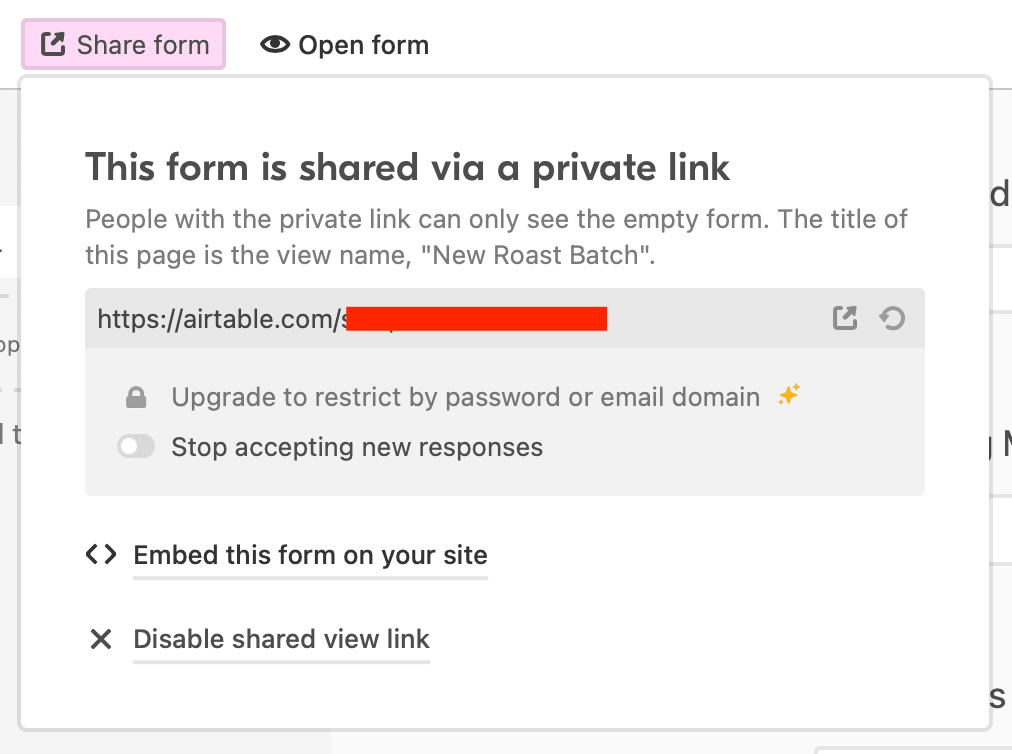
Fill out a form, then click “Submit.”
You should see a record appear in your Grid view. Double check that it is complete, then continue to the next step.
Set up a Zap to Generate and Print Labels
The final piece of the puzzle is a zap that receives every form you submit, triggers label generation, then signals your printer to start printing.
From your Zapier dashboard, click “+ Create Zap” and set up the following steps:
Trigger: New Record in Airtable
Choose Airtable as the app and “New Record” as the event. If your Airtable account has not been connected yet, you will be prompted to add it using an API key you can get from your Account page.
Once you’ve successfully selected the right account, set up the trigger with your project’s base, table, and Grid view.
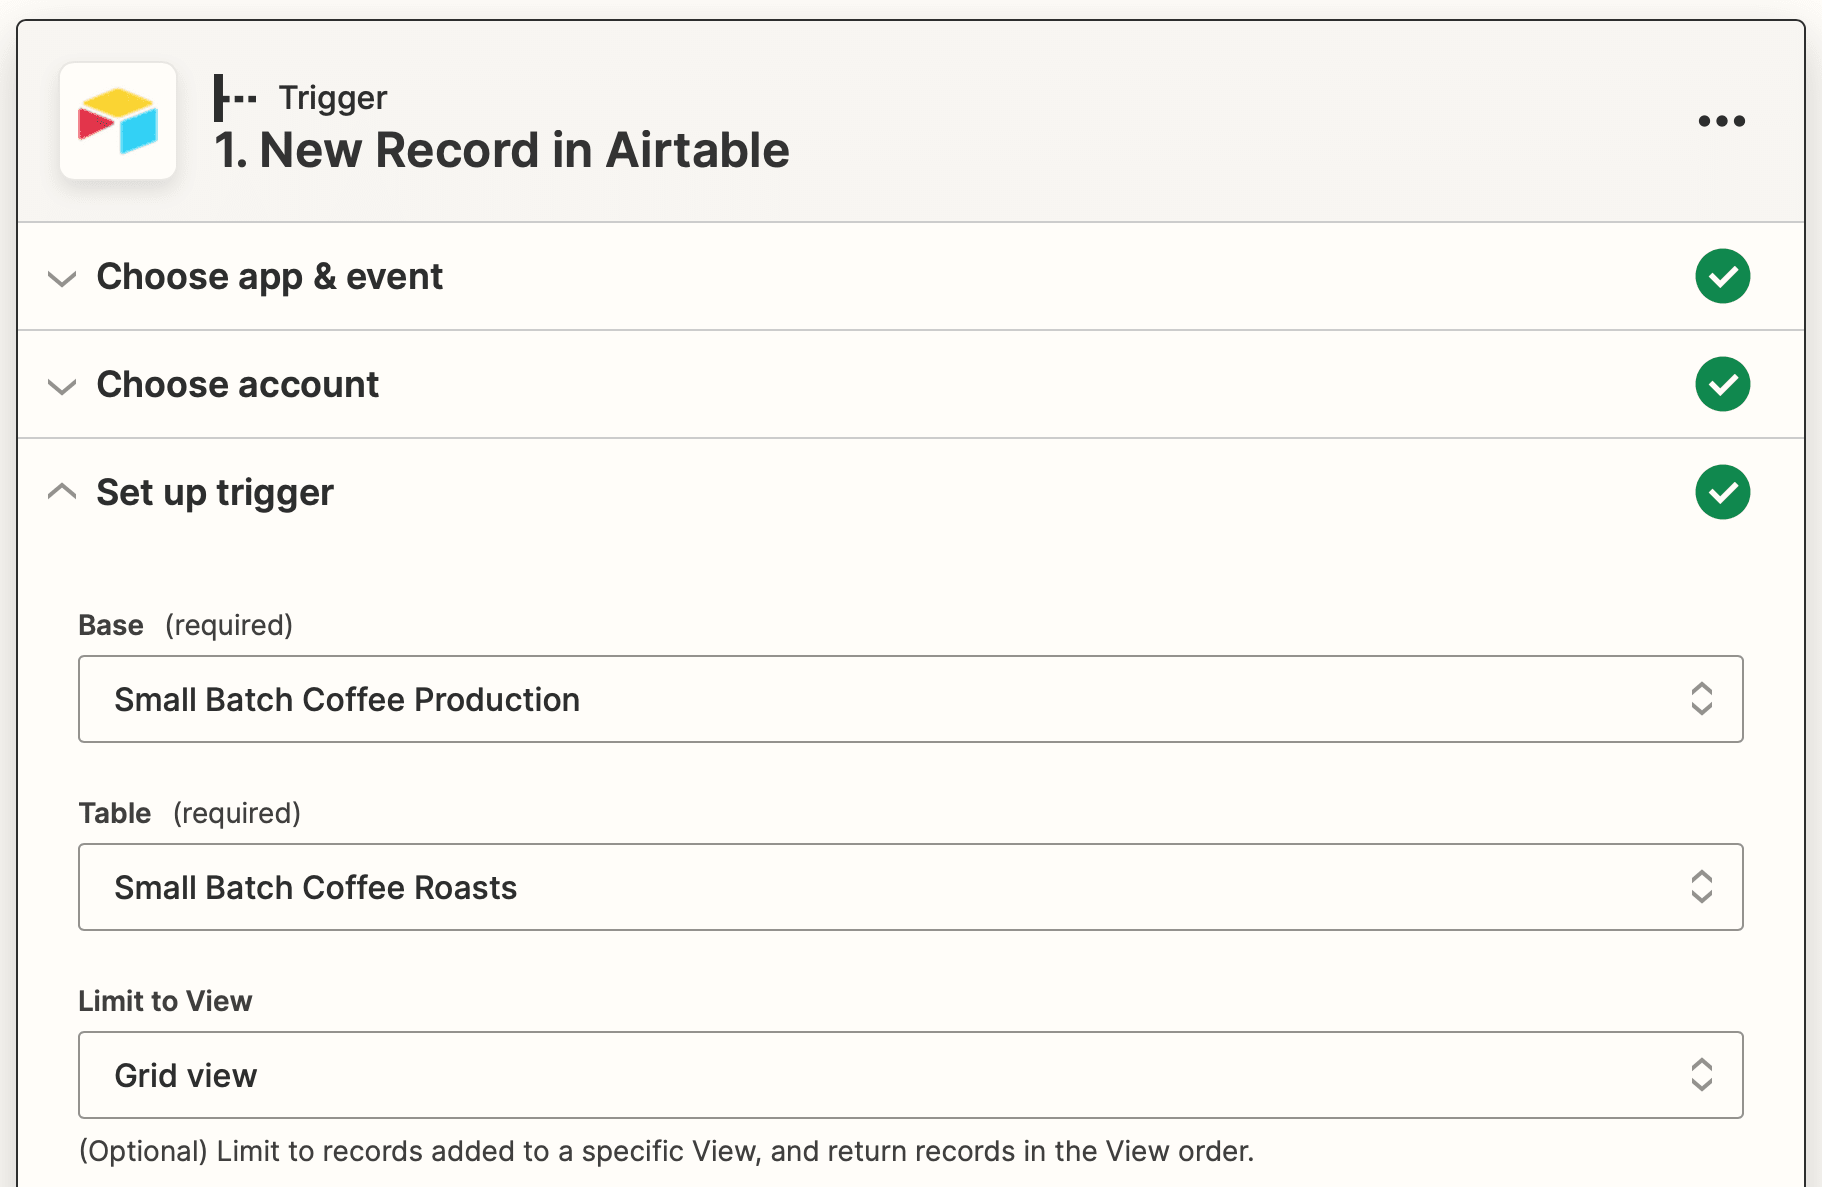
Test the trigger to ensure Zapier is able to find a record.
Action: Create Image in Bannerbear
Choose Bannerbear as the app and “Create Image” as the event. You will need to connect your account using the Project API key found in the settings tab of the corresponding project page.
Once connected, select the account and move on to set up your action by mapping Airtable fields to their corresponding dynamic template fields.

Remember to add the Airtable ID as metadata to be saved with each generated image, and set the PDF render field to “True.”
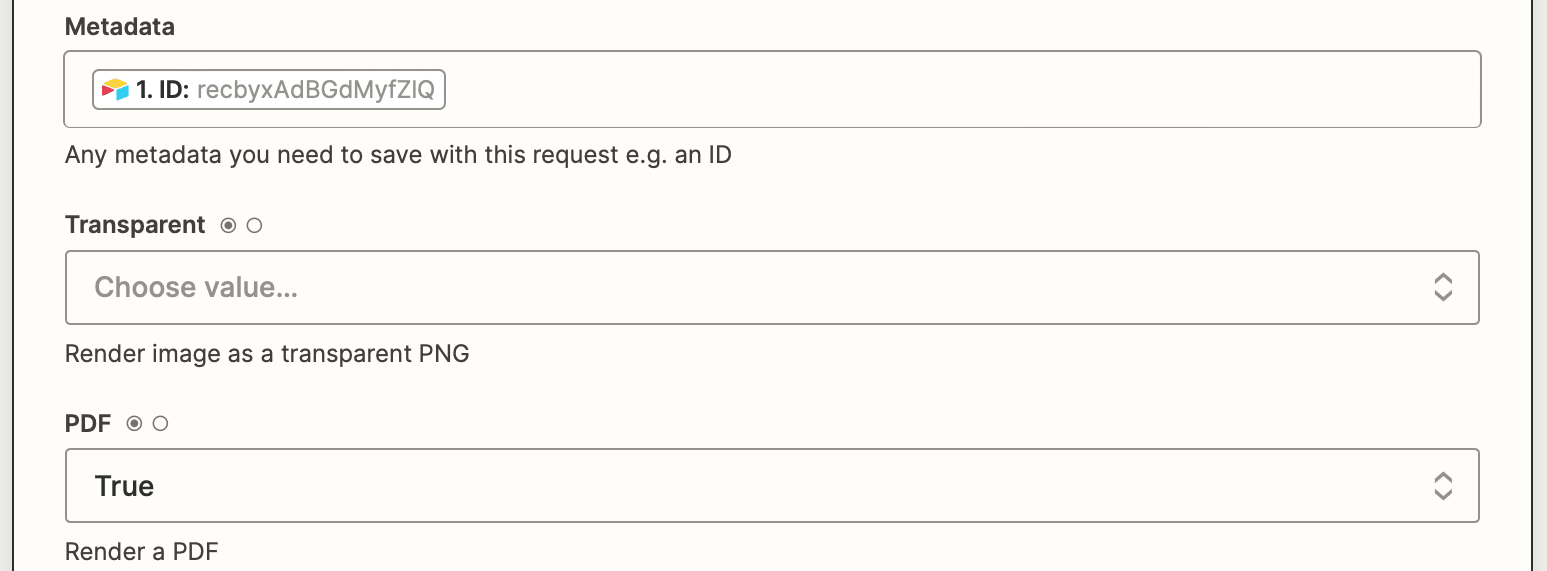
Test the action to see if any adjustments need to be made.
Action: Update Record in Airtable
Choose Airtable as the app and “Update Record” as the event. After selecting the right base, table, and view, set up the action by inserting the generated image ID into the corresponding Airtable field.
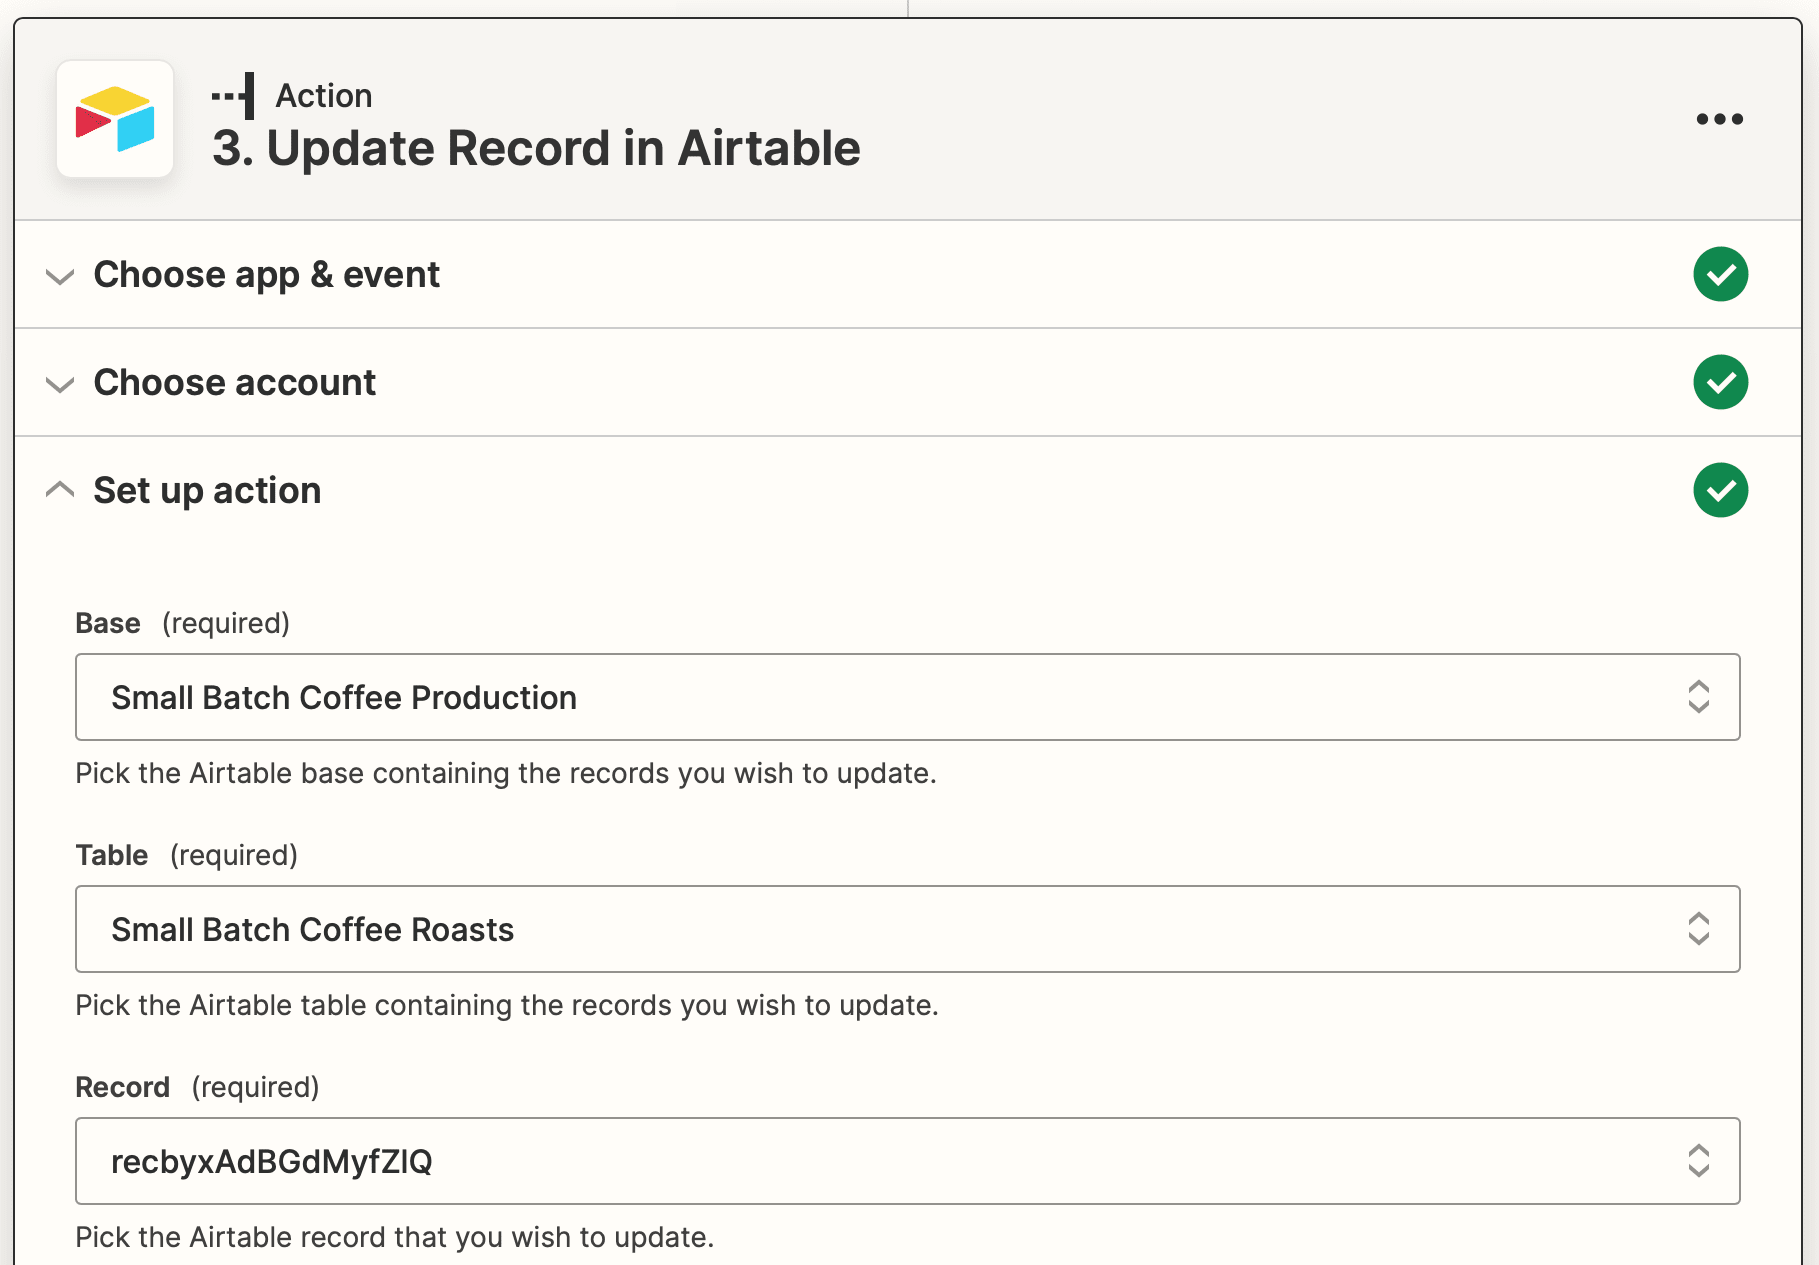
Test the action, checking to see if the URL lands in your base.
Action: Print File in ezeep Blue printing
Choose ezeep Blue printing as the app and “Print File” as the event. If your ezeep account has not been connected yet, you will be prompted to log in.
Once your account has been added, set up the action by selecting your label printer and inserting the generated image URL as a file reference. Make any necessary changes to the print settings.
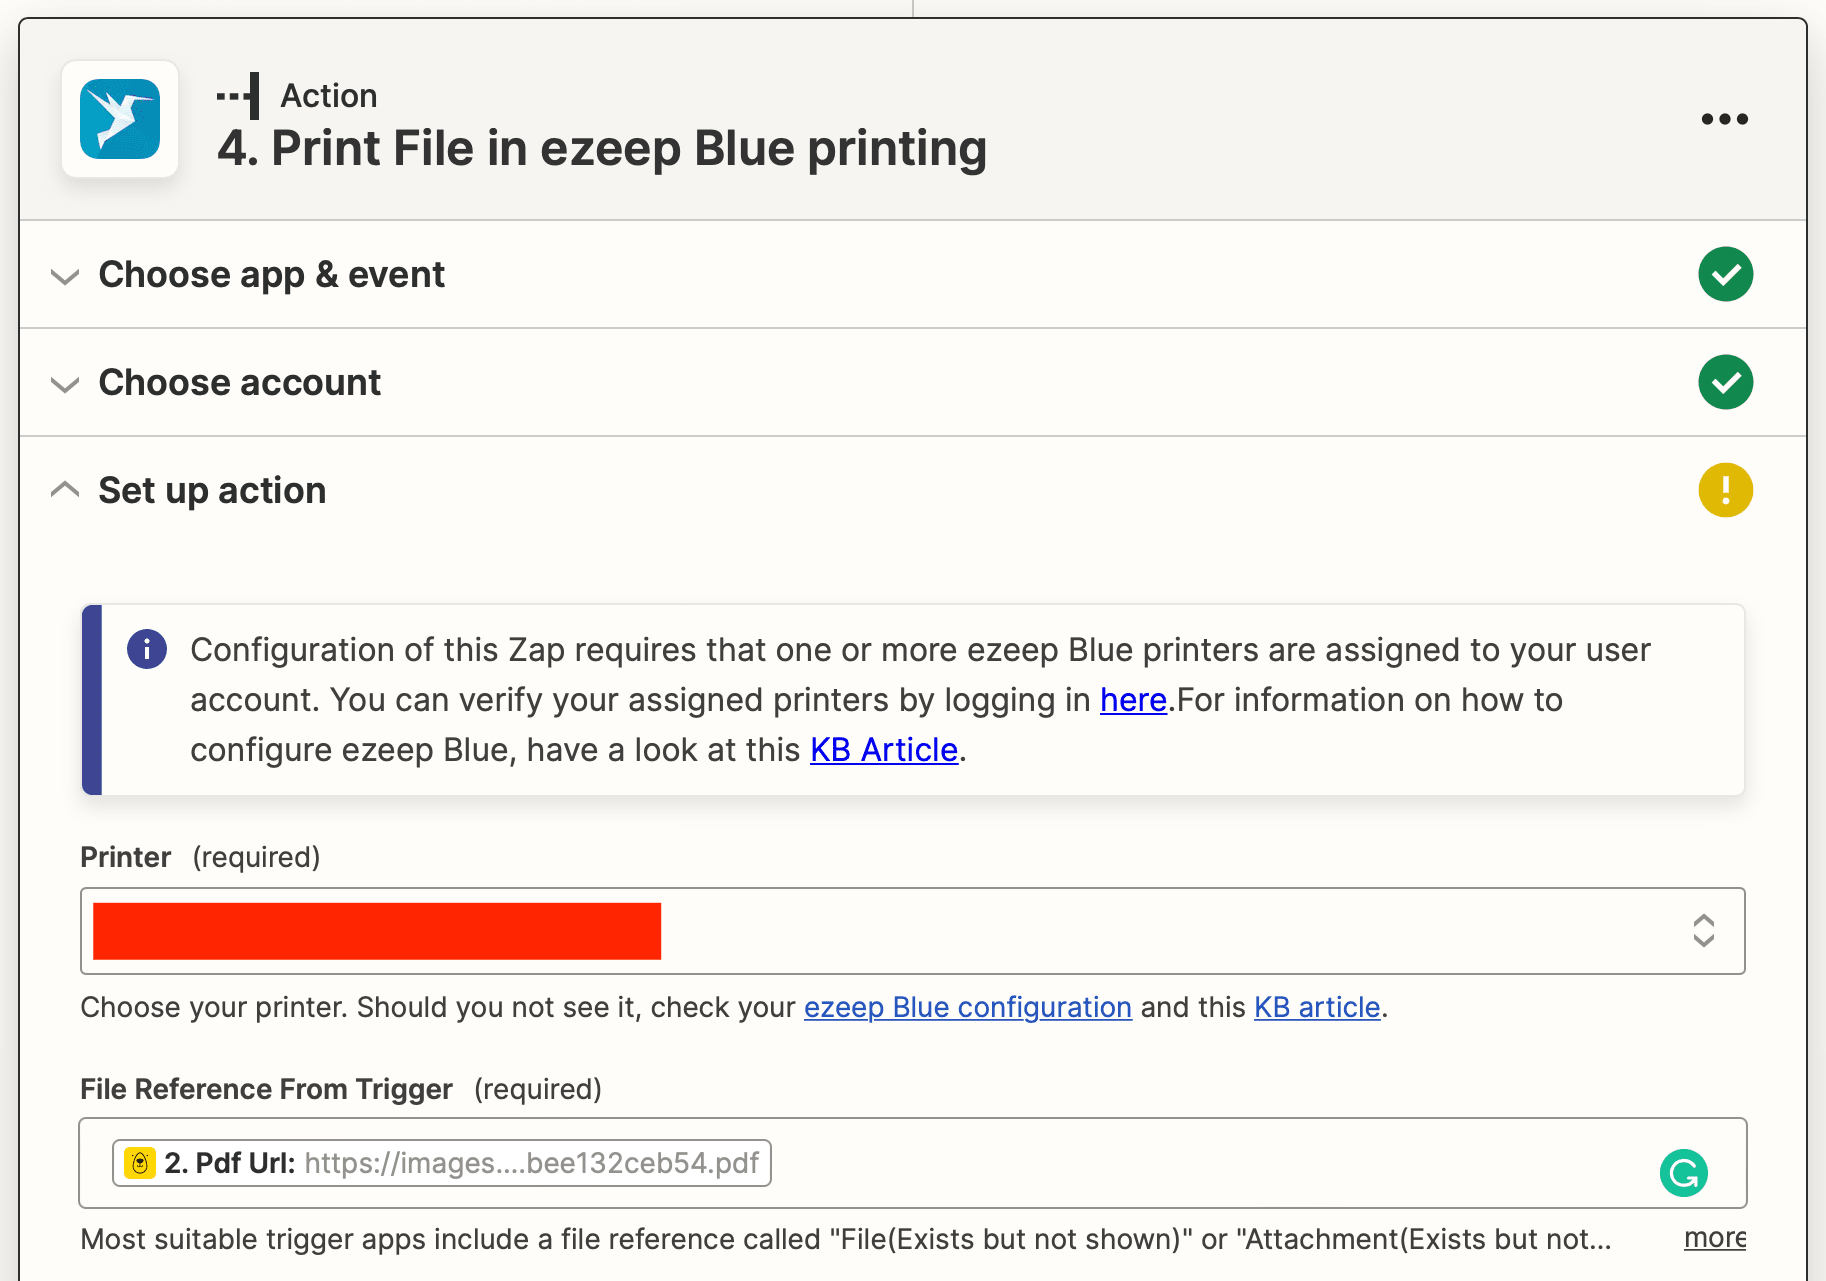
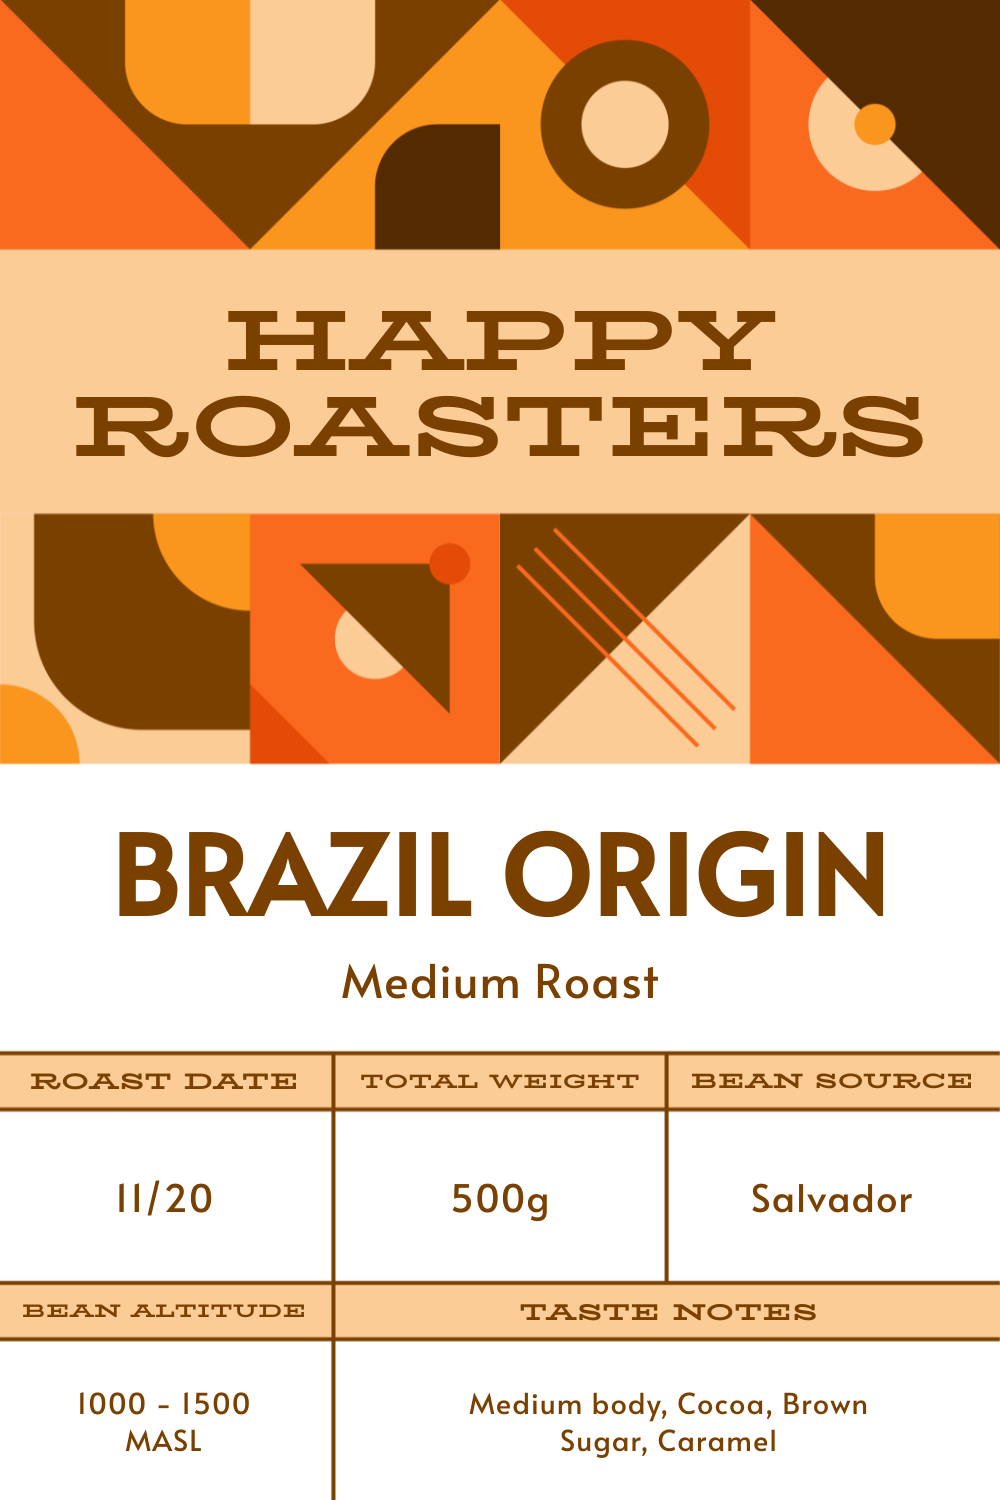
Test the action by sending 1 copy to your printer. You should end up with a label that looks something like this:

And that's it! Once you’re happy with your zap, click “Publish.”
Spend Less Time Manually Designing Labels
Your time as a small business owner is limited enough. But with task automation, you can get back some of your hours and make sure your efforts go towards the tasks that need you the most.
If you’d like to automate more of your business, check out some of these tutorials:
👉 7 Social Media Processes you can Automate with Bannerbear
👉 How to Automatically Create Images from new Google My Business reviews
👉 How to Automatically Turn Etsy Customer Reviews into Scheduled Social Posts
👉 How to Auto-Update a Twitter Banner to Promote Your Latest Shopify Products
👉 How to Generate a Collection of Product Ads for Facebook Carousel
