
How to Generate a Collection of Product Ads for Facebook Carousel
Contents
Facebook is one of the top advertising platforms in 2022, and many would even consider it to be the gold standard. The precise targeting capabilities of the platform gives it an edge, especially to e-commerce sellers who sell products to specific audiences.
Quite a bit of trial and error goes into creating a successful Facebook ad campaign. Even once you start seeing results, maintaining paid ads is an ongoing task requiring you to produce multiple sets of material, often with small differences between them: different color schemes, a snappier CTA, or an image swapped out for another. A/B testing helps you identify what works and what doesn’t.
Marketers and small business owners manually producing Facebook ad sets have to create designs, add new photos, adjust CTAs, and repeat the process for as many ads as necessary. Automatic image generation tools save time by allowing them to simply edit a template and generate an entire set at once.
In this tutorial, you’ll learn why so many brands choose Facebook carousel ads for their paid campaigns and how you can use nocode tools to generate entire ad sets instantaneously.
Why Facebook Carousel Ads?
The ad carousel format allows you to showcase up to 10 images or videos in a single ad set. They’re popular among many brands because they drive up to 10 times more traffic to landing pages and boast 72% higher click-through rates compared to standard sponsored posts.
Carousel ads are fantastic when:
- You want to display multiple products
- You want to show a sequence
- You want to highlight different features
Since using them means working to create multiple cohesive ad sets that constantly need adjustment, nocode tools can save you a lot of time. We’ll show you how to use Airtable, Bannerbear, and Zapier to produce entire ad sets at once.
What You Will Make
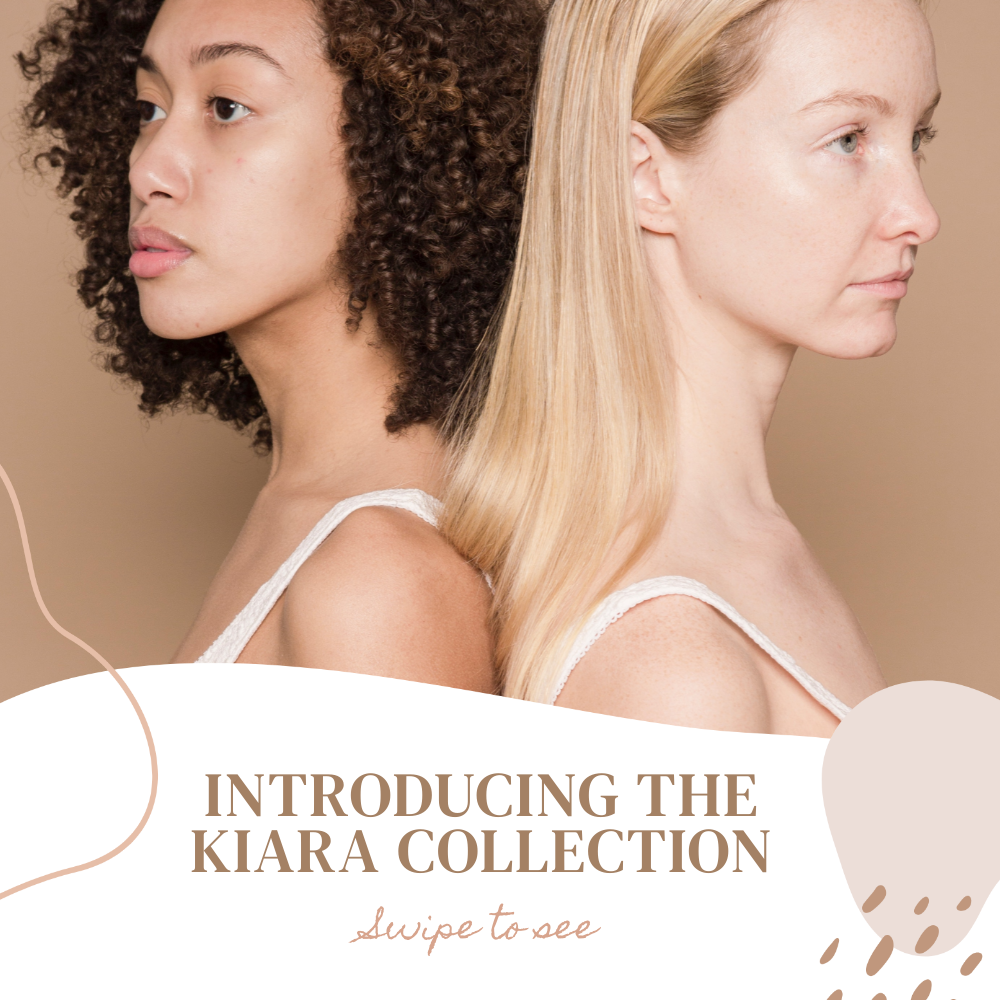
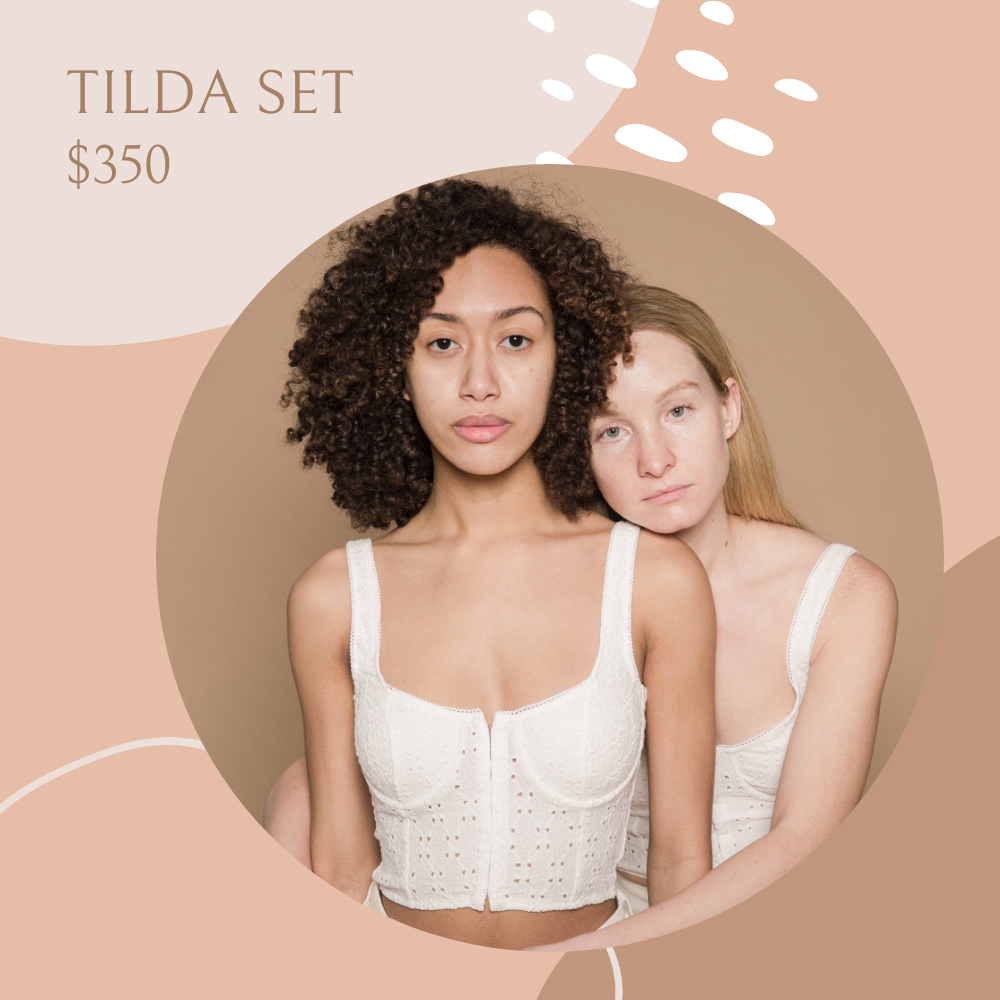
You can showcase up to 10 different images or videos in a carousel, and the way you lay out the ad will depend on your campaign strategy. In this example, we will use a few samples from Herman Supply’s product catalog to create a set of three images: one cover image and two product images.
The tools you will be using are:
- Bannerbear : To design and generate dynamic ad templates
- Airtable : To store product information and plan ad sets
- Zapier : To trigger actions in different programs based on pre-specified commands
By the end of the tutorial, you should be able to put together a carousel ad that looks something like this:

Let’s get started.
Create Bannerbear Ad Templates
There is no limit to ways you can design your carousel ads. You can use one template to create a uniform look across the media, but you can also diversify the designs and use brand elements to maintain cohesiveness. It’s worth going through Facebook’s guide to carousel ads to help you create the most effective designs.
Start designing your ads by logging into your Bannerbear account, then going to the “Projects” tab. Click “New Project,” and give it a name. Then, add a template. You can start with a blank slate or use one of our templates. We have a variety, including one for covers…
…one with a circular frame…
…and one with a square frame.

You can also find options for transparent product images by browsing our Templates page.
Edit your template according to your needs, then click “Save Template”.
Organize Airtable Product Catalog
We will be using Airtable for the purposes of this tutorial, but most spreadsheet or database software can be used to produce the same end result. You essentially need a way to organize basic product information (name, image, unit cost).
Integrating catalog with order data can help you monitor product popularity over time and identify best sellers to place in your ads. We will go over a basic way to do this in an Airtable database.
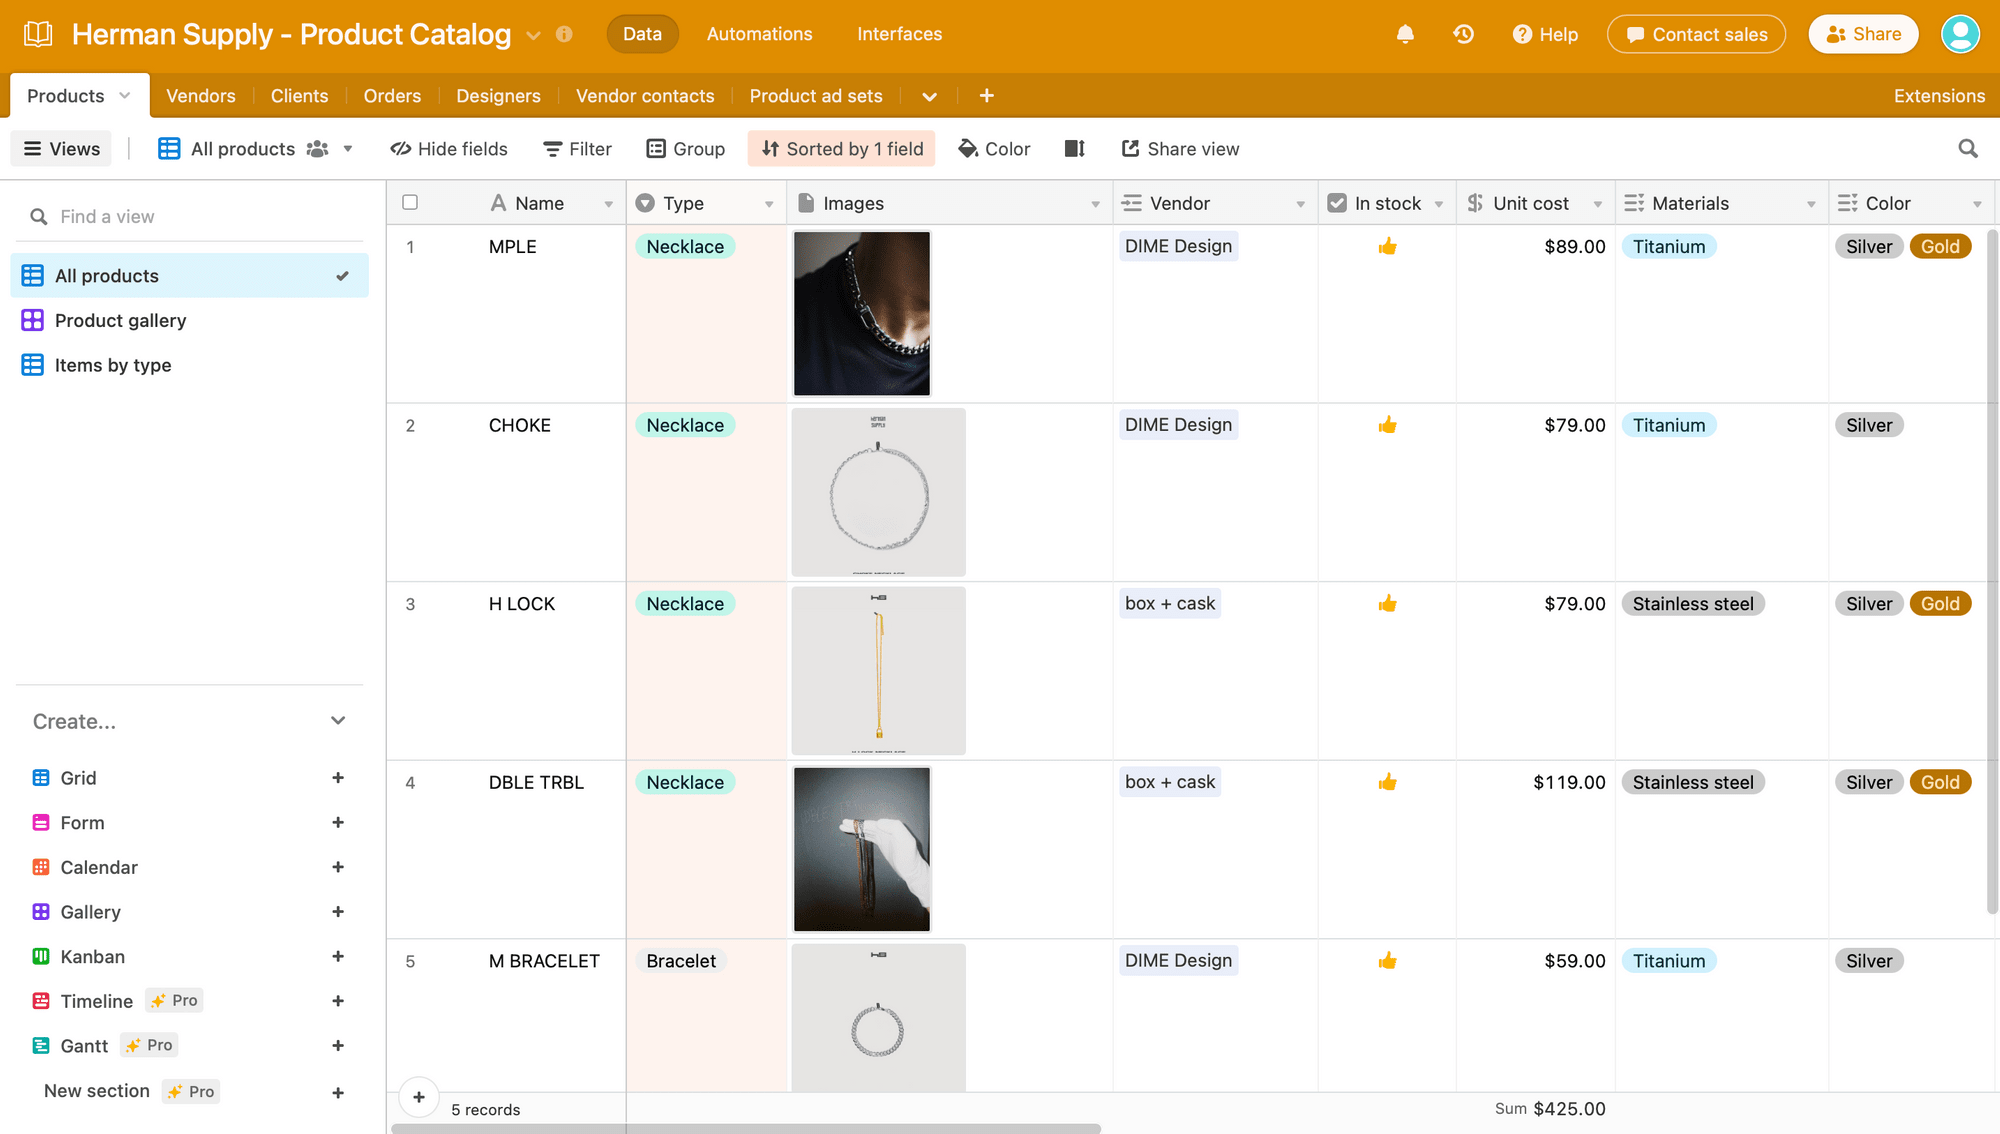
Step 1: Create Product Catalog Table
Log into your Airtable account, and create a new base. Add the following fields to your table:
- Product Name
- Product Image
- Unit Cost
- Total Units Sold (optional)
- Gross Sales (optional)
Fields such as product type, product description, vendor, and stock levels can add more detail to the base if this will be your primary database.
Total Units Sold and Gross Sales have the most utility as rollup fields from the orders table. We will customize these fields in a later step.
Bear Tip 🐻: Make your product catalog more convenient to use by adding views that sort by product type and display a product gallery.
Step 2: Create Orders Table
The orders table will summarize any sales made or orders placed from regular clients. You will need the following fields:
- Order Type - Client
- Product Item (linked to Product Catalog)
- Unit Cost (as lookup field)
- Quantity
- Total Cost (as formula,
{Unit Cost} * Quantity)
You can optionally include Product Image as a lookup field.
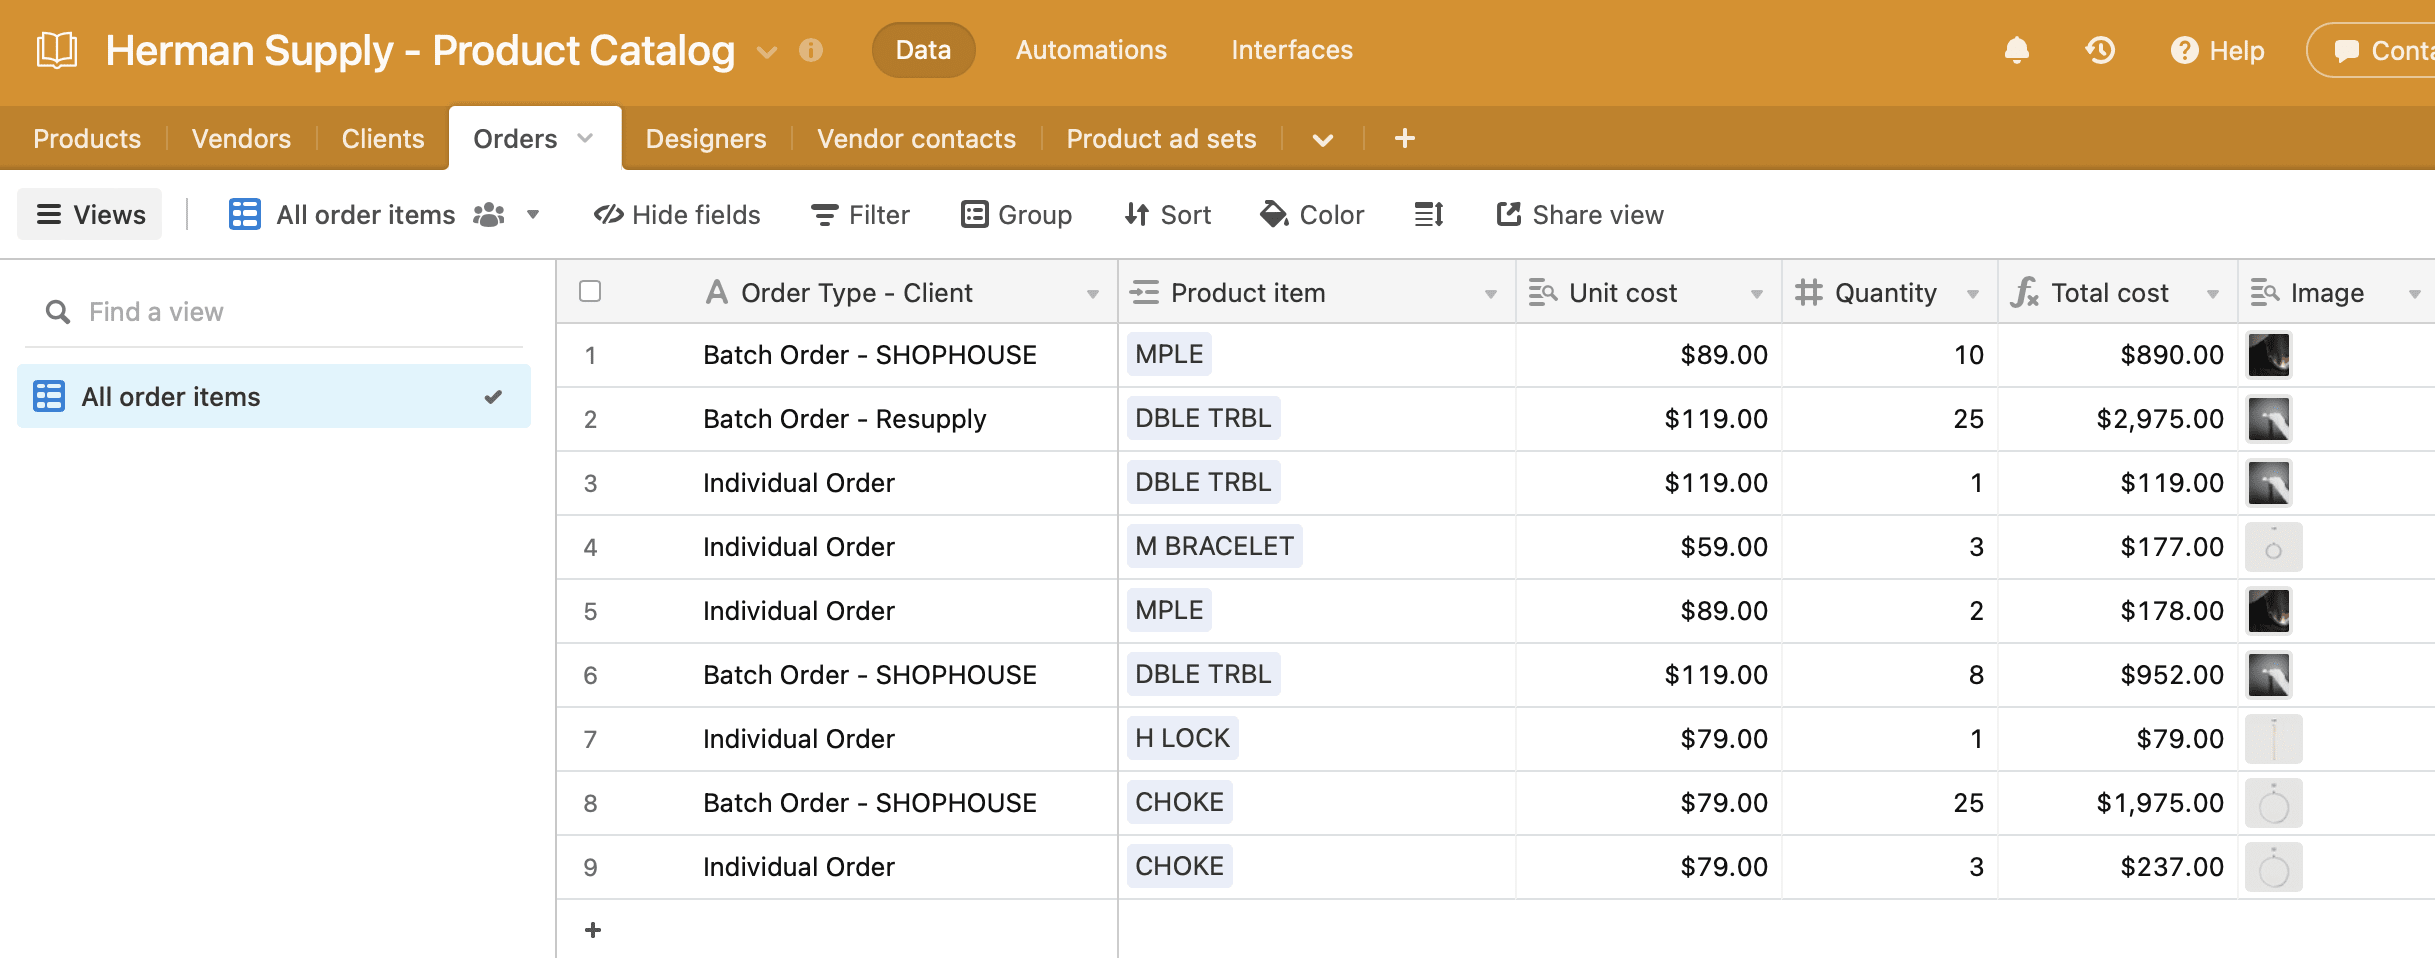
Every time an order is placed, recording it on this table will help you track inventory and gross sales.
Bear Tip 🐻: Tables for Vendors, Clients, Designers, and more will add utility to your Product Catalog.
Step 3: Rollup Orders on the Product Catalog
Units sold and gross sales per product are not crucial to producing your final ad sets. However, they can help you identify popular products so you can market them more effectively.
The rollup field type can be used to tie orders to your product catalog so you don’t have to manually input updates.
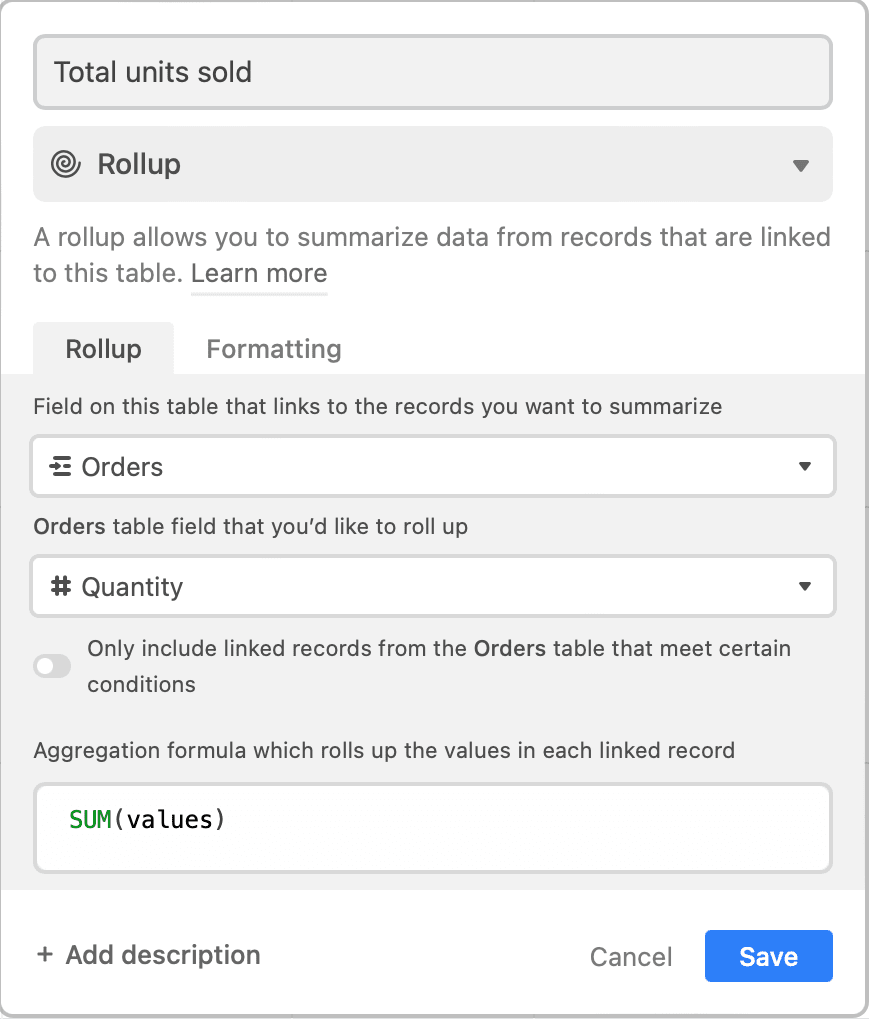
In the Total Units Sold field, summarize the Orders table and roll up the Quantity field. Use SUM(values) as the aggregation formula.
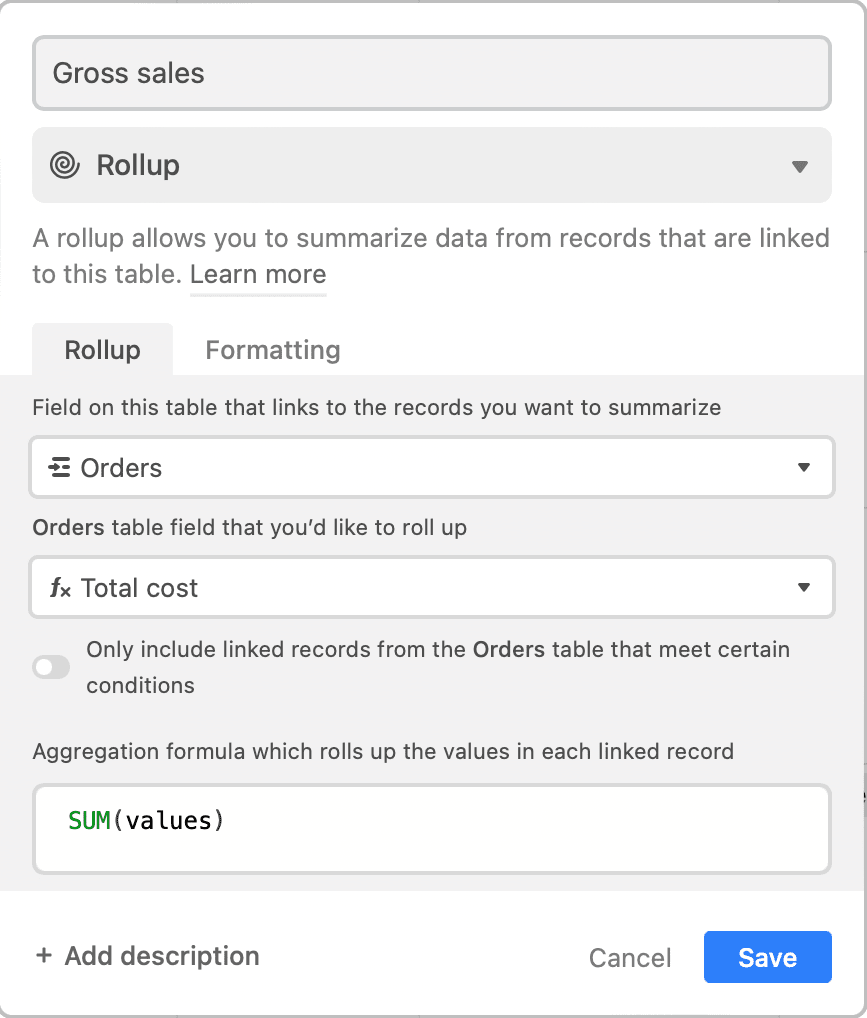
In the Gross Sales field, summarize the Orders table and roll up the Total Cost field. Use SUM(values) as the aggregation formula.
These fields will now automatically update themselves on the Product Catalog as orders are placed.
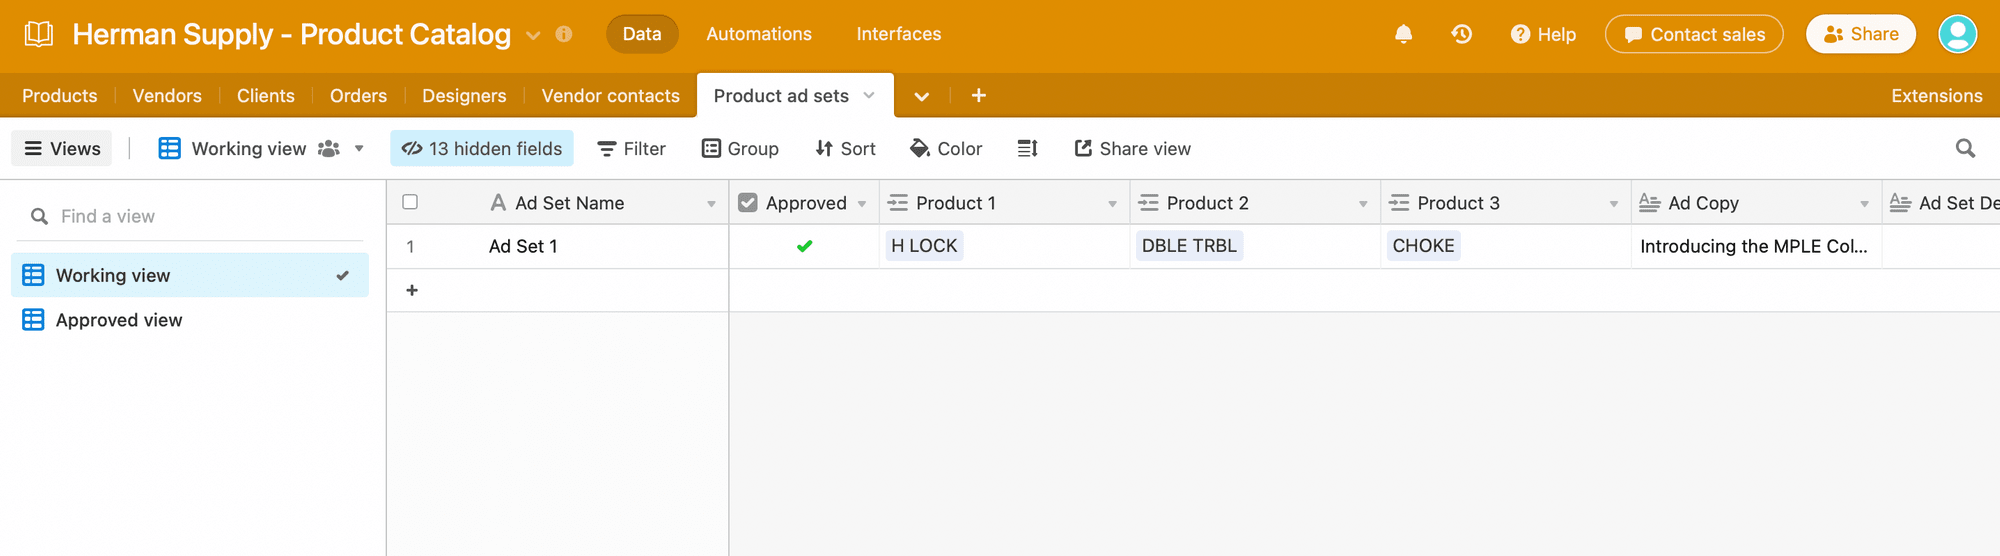
Step 4: Create Product Ad Sets Table
This table will help you organize your ad sets and act as the trigger when you want to generate a collection. Include the following fields:
- Ad Set Name
- Approved (as checkbox field)
- Product Item (linked to Product Catalog)*
- Product Name (as lookup field)*
- Unit Cost (as lookup field)*
- Product Image (as lookup field)*
- Ad Copy
- Ad Description
- Cover URL
- Product Item URL*
Repeat the fields with asterisks (*) for as many product items as you want to include in your ad set, and number them accordingly. Hide any unimportant fields.
Create an additional view that only shows records when the Approved field is checked (✅).
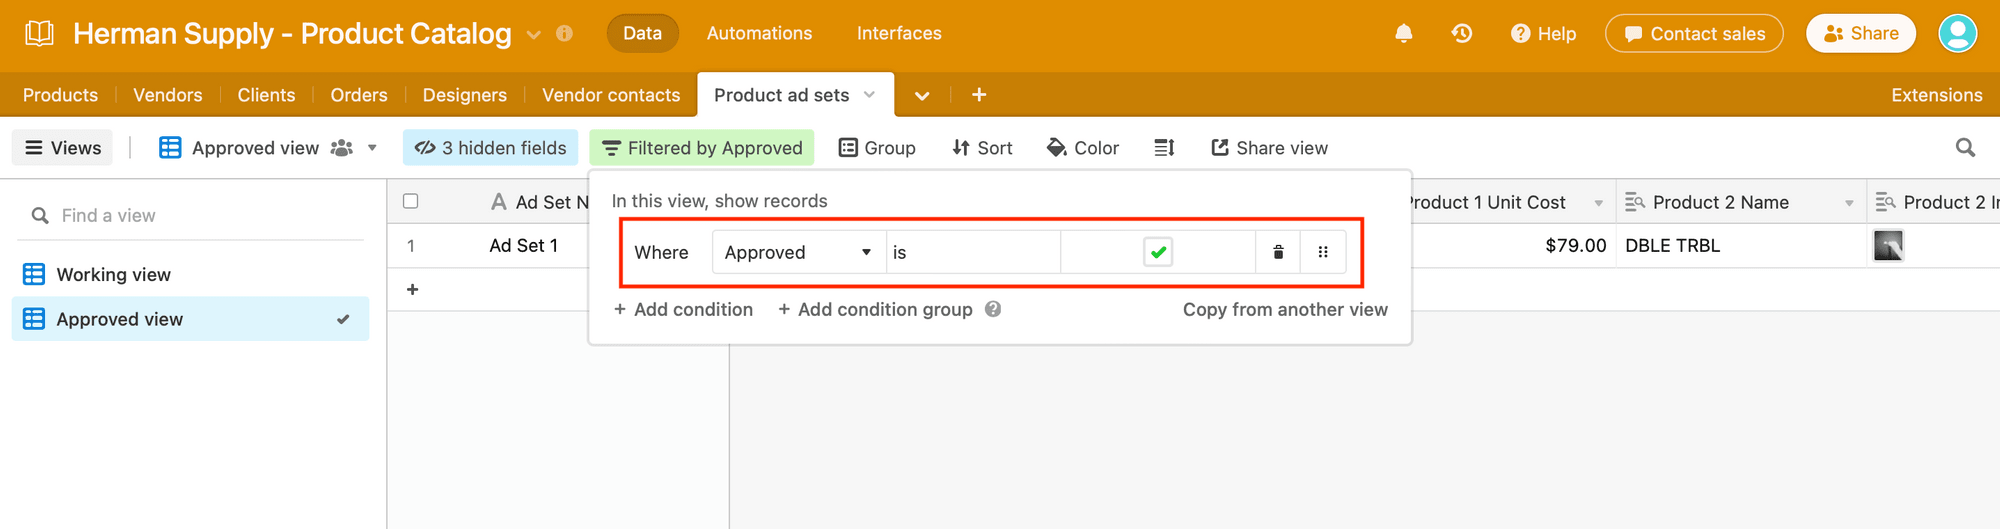
This is the view that will act as the trigger for image generation.
Step 5: Populate a Record on the Product Ad Set Table
There are many strategies you can use to select products to include in your carousel ads. Highlight a specific collection, showcase your best sellers, or curate a few select pieces for a specific audience.
Consider your product listings and decide how many you want to include in your ad. Once you’ve selected the ones you want to use, add them to a new record.
Fill out all the fields (except the generated URL fields), including ad copy and description. This will save you time setting up campaigns later on.
Create a Zap to Generate and Store Your Ad Set
The nature of paid ad optimization means there will always be some human intervention. However, task automation can relieve you from the manual image production and allow your time to be spent strategizing and making decisions.
Instantly generate and store an entire set of carousel ads by setting up a zap that is triggered once you’ve approved a record on Airtable.
Connect Your Airtable and Bannerbear Accounts
Your Bannerbear and Airtable accounts need to be added as Zapier connections before they can be used. Log into your Zapier account, click the “My Apps” button on the left sidebar, then “+ Add connection” for each new integration.
Here is what you’ll need from each app:
Bannerbear : Zapier will request authentication with a Project API key, which is generated for every new project. You can find it by clicking the “Settings / API Key” button on the associated project page in the Bannerbear app.
Airtable : Zapier will request authentication with an Airtable API key, which you can find on the Account ↗ page.
Create a Zap to Generate and Store Your Ad Media
A single zap is enough to generate your ad set and store it in your Airtable database, ready to be deposited into a Facebook ad campaign. Click “+ Create Zap” on your Zapier dashboard to get started.
Trigger: New Record in Airtable
Choose Airtable as the app and “New Record” as the trigger. Select the right account, then set up the trigger by choosing the right base, table, and view.
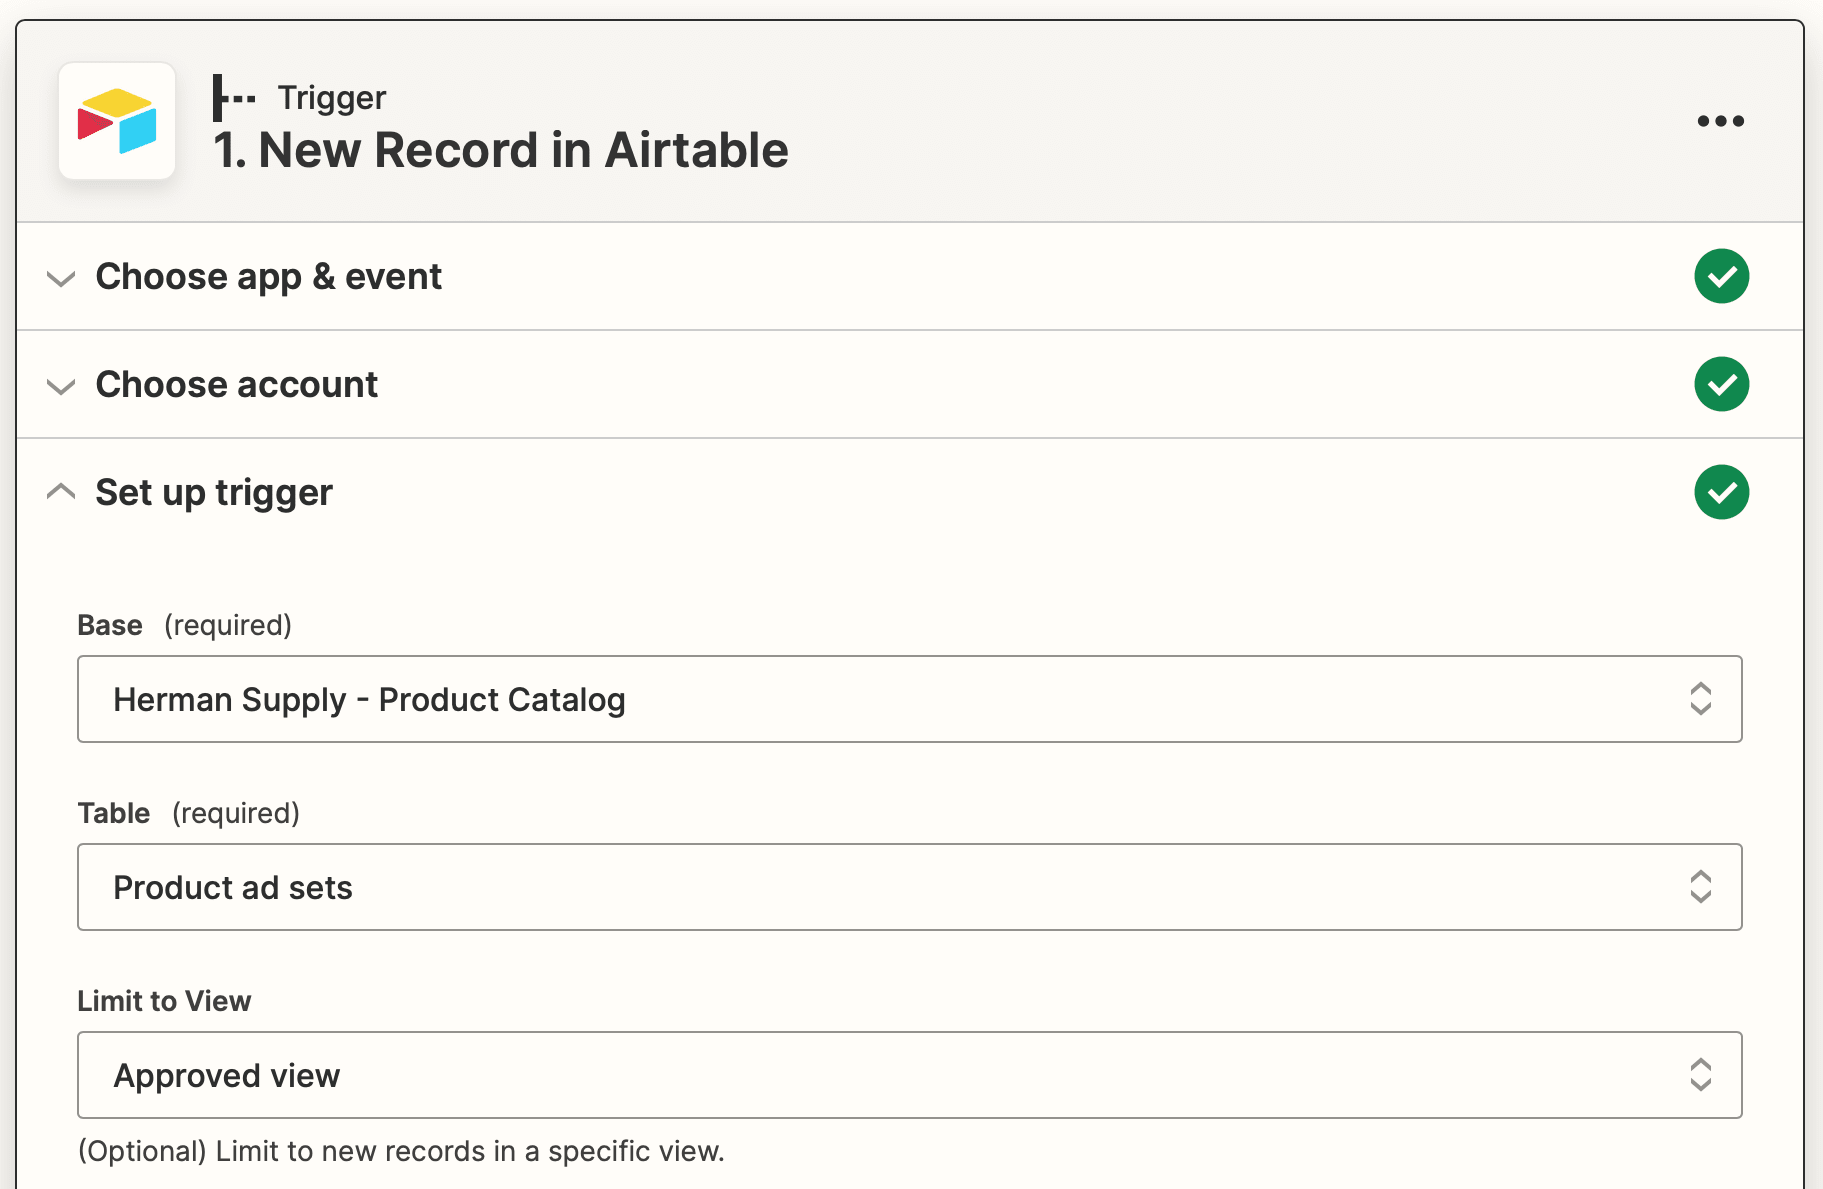
Test to ensure Zapier is able to find a record.
Action: Create Image in Bannerbear
Choose Bannerbear as the app and “Create Image” as the action. Select the correct project, then set up the action to generate your first image. This could be your cover image, product ad, or whatever aligns with your campaign strategy.
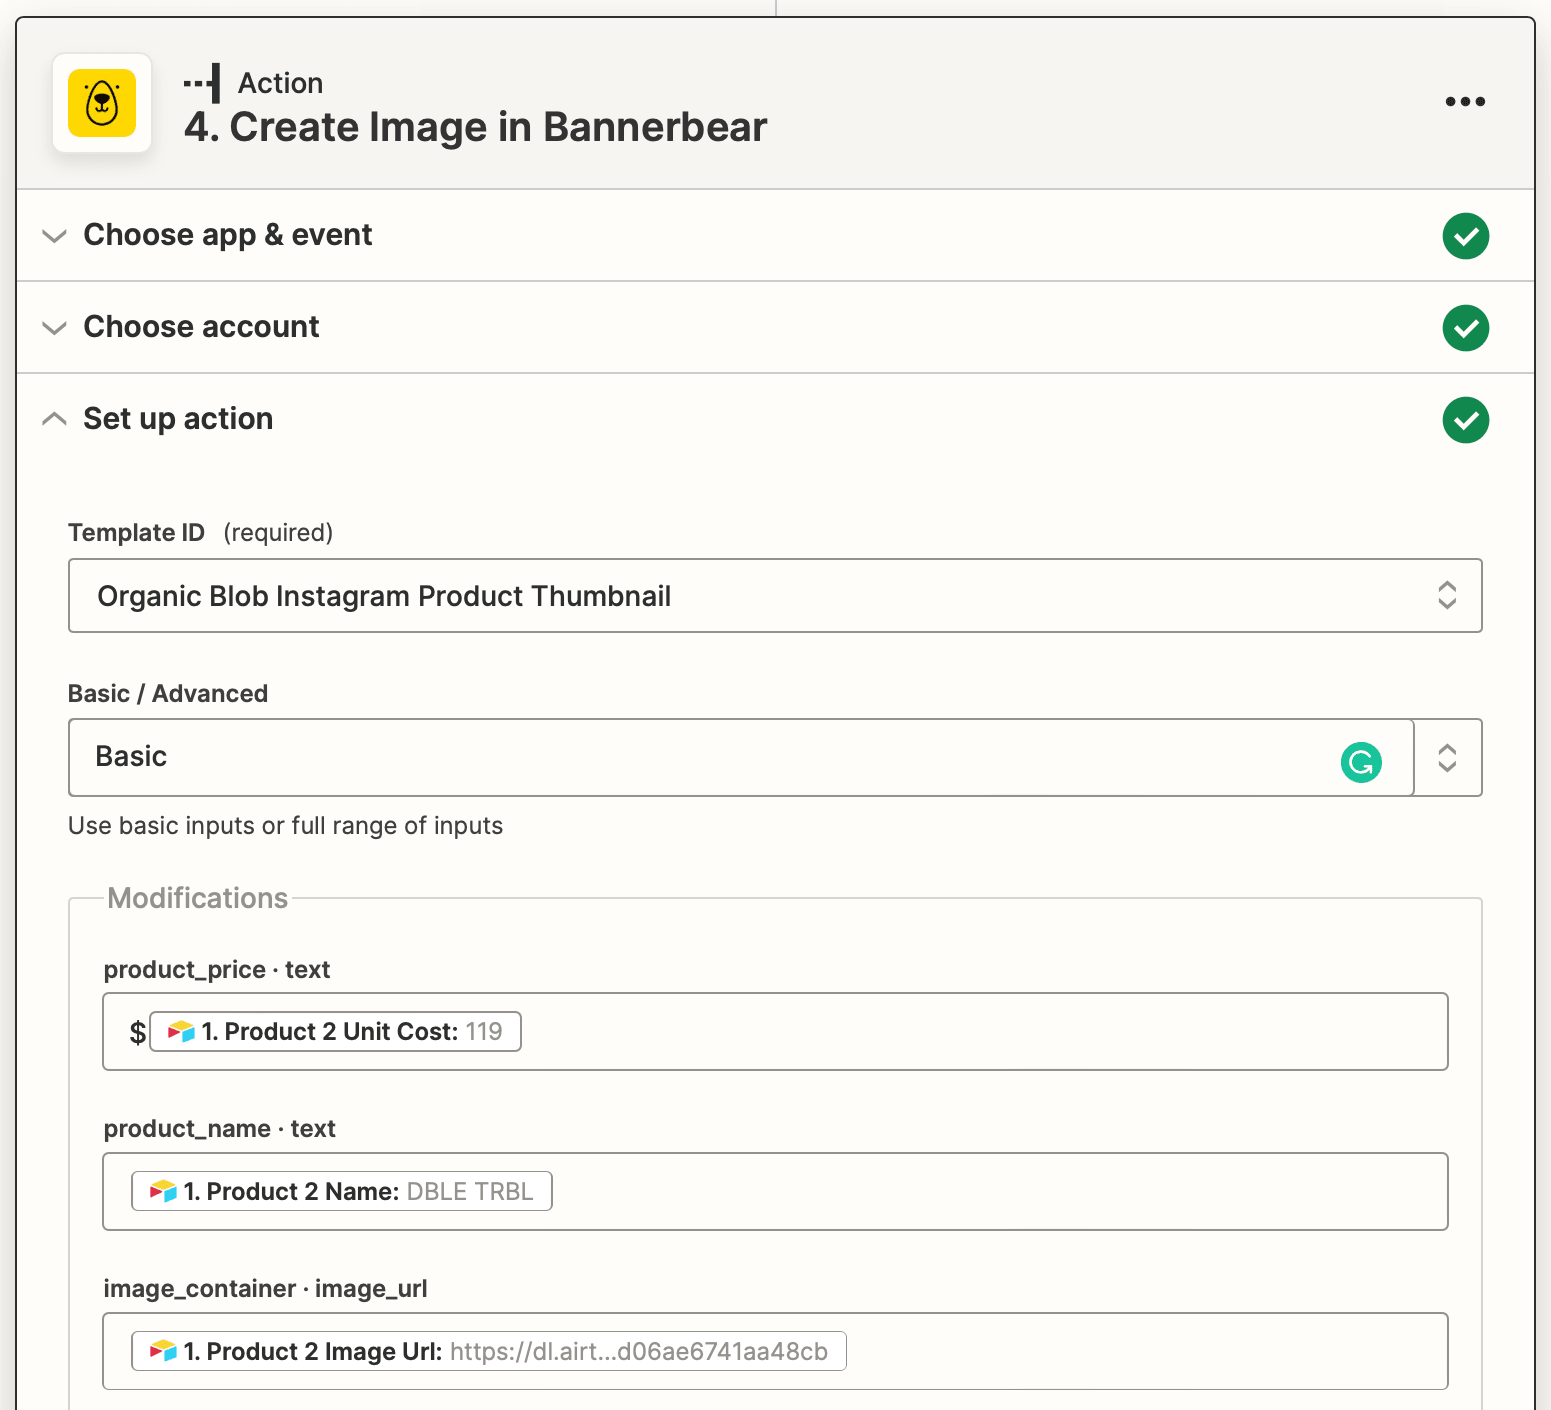
Since you will be depositing the generated image URLs in Airtable later on, save metadata with your photo.

Test to ensure your image is rendered to your liking, then repeat this action for as many images that you wish to produce.
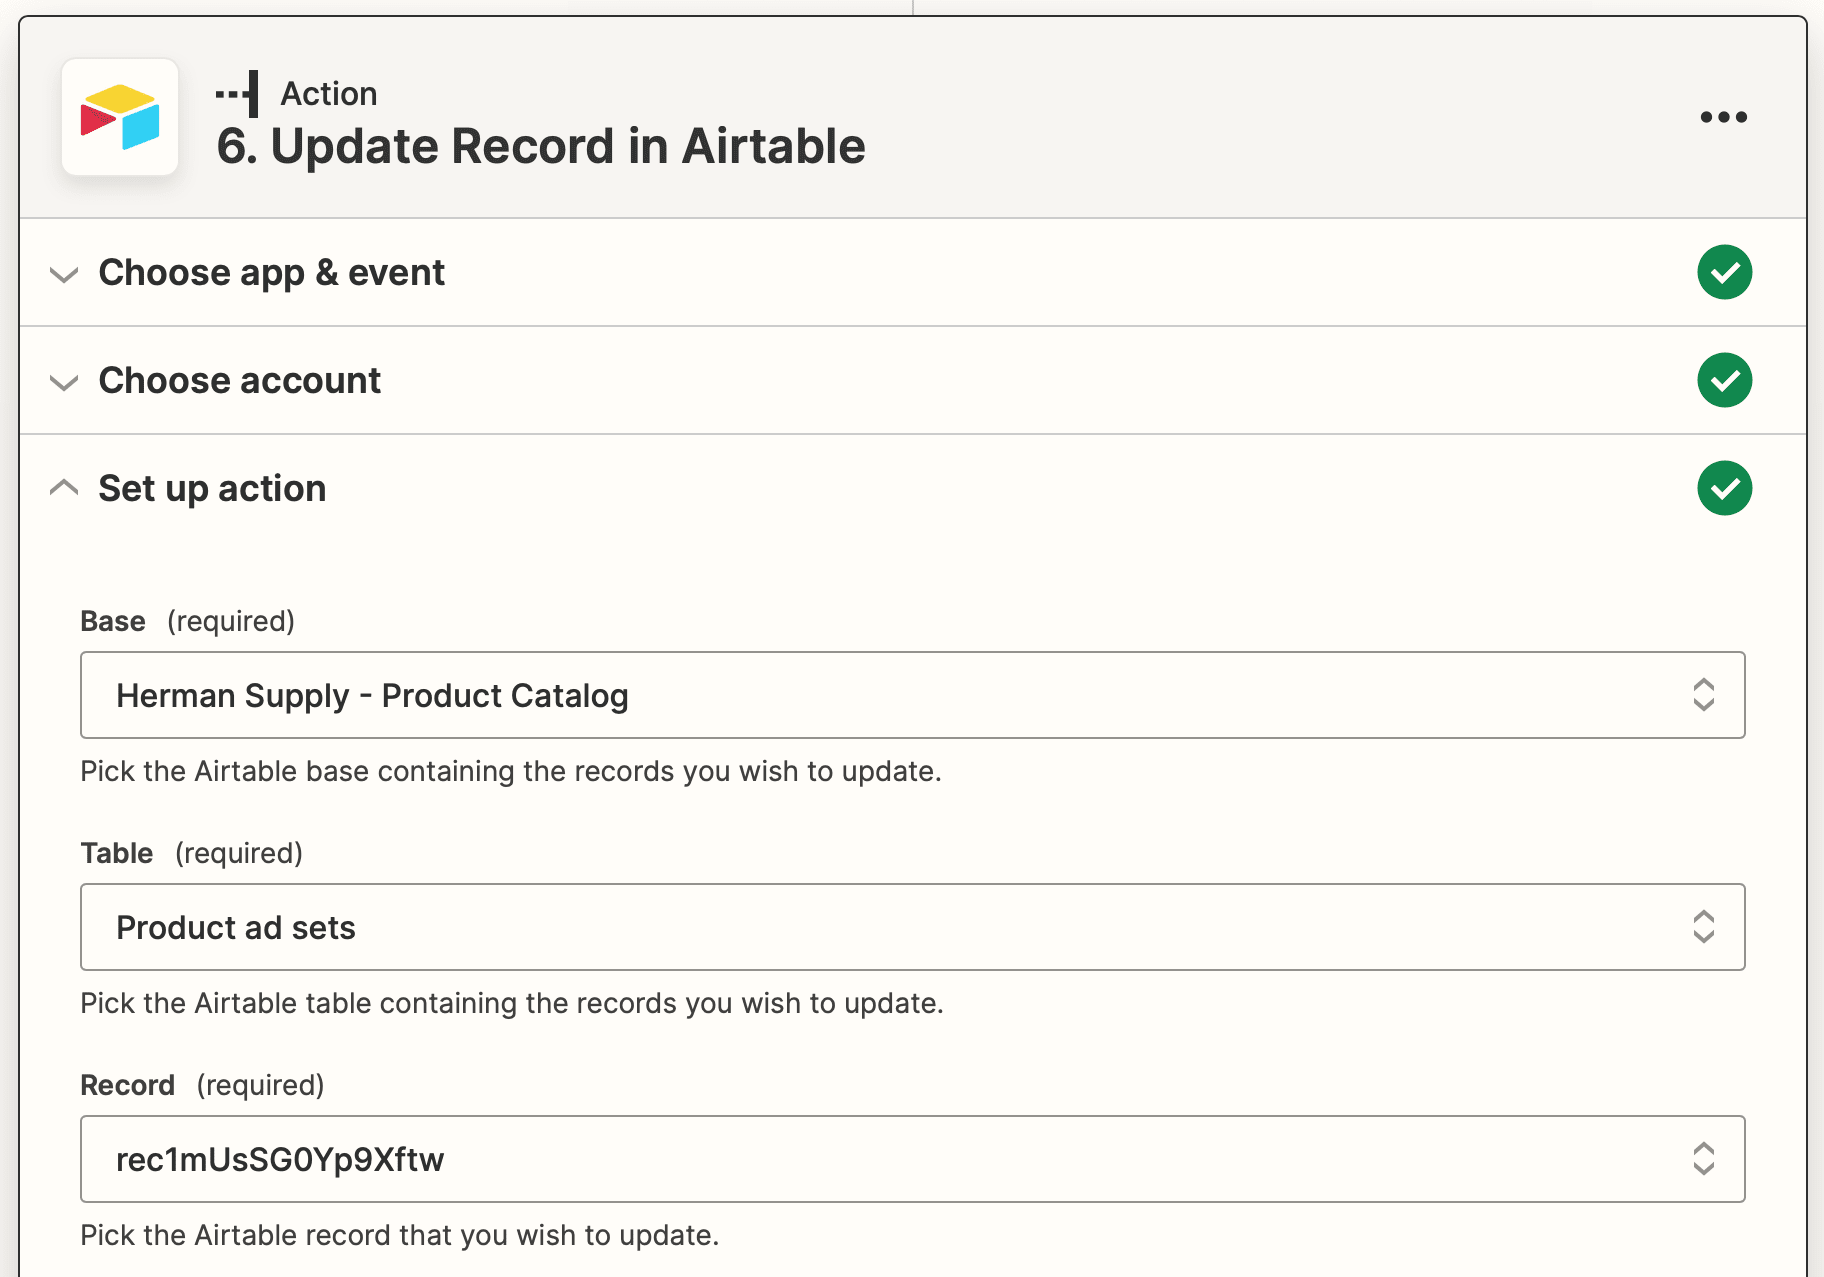
Action: Update Record in Airtable
Choose Airtable as the app and “Update Record” as the action. After choosing the correct account, set up your action by inserting the metadata to the Record field.
Then, map all the generated image URLs to their corresponding Airtable fields.
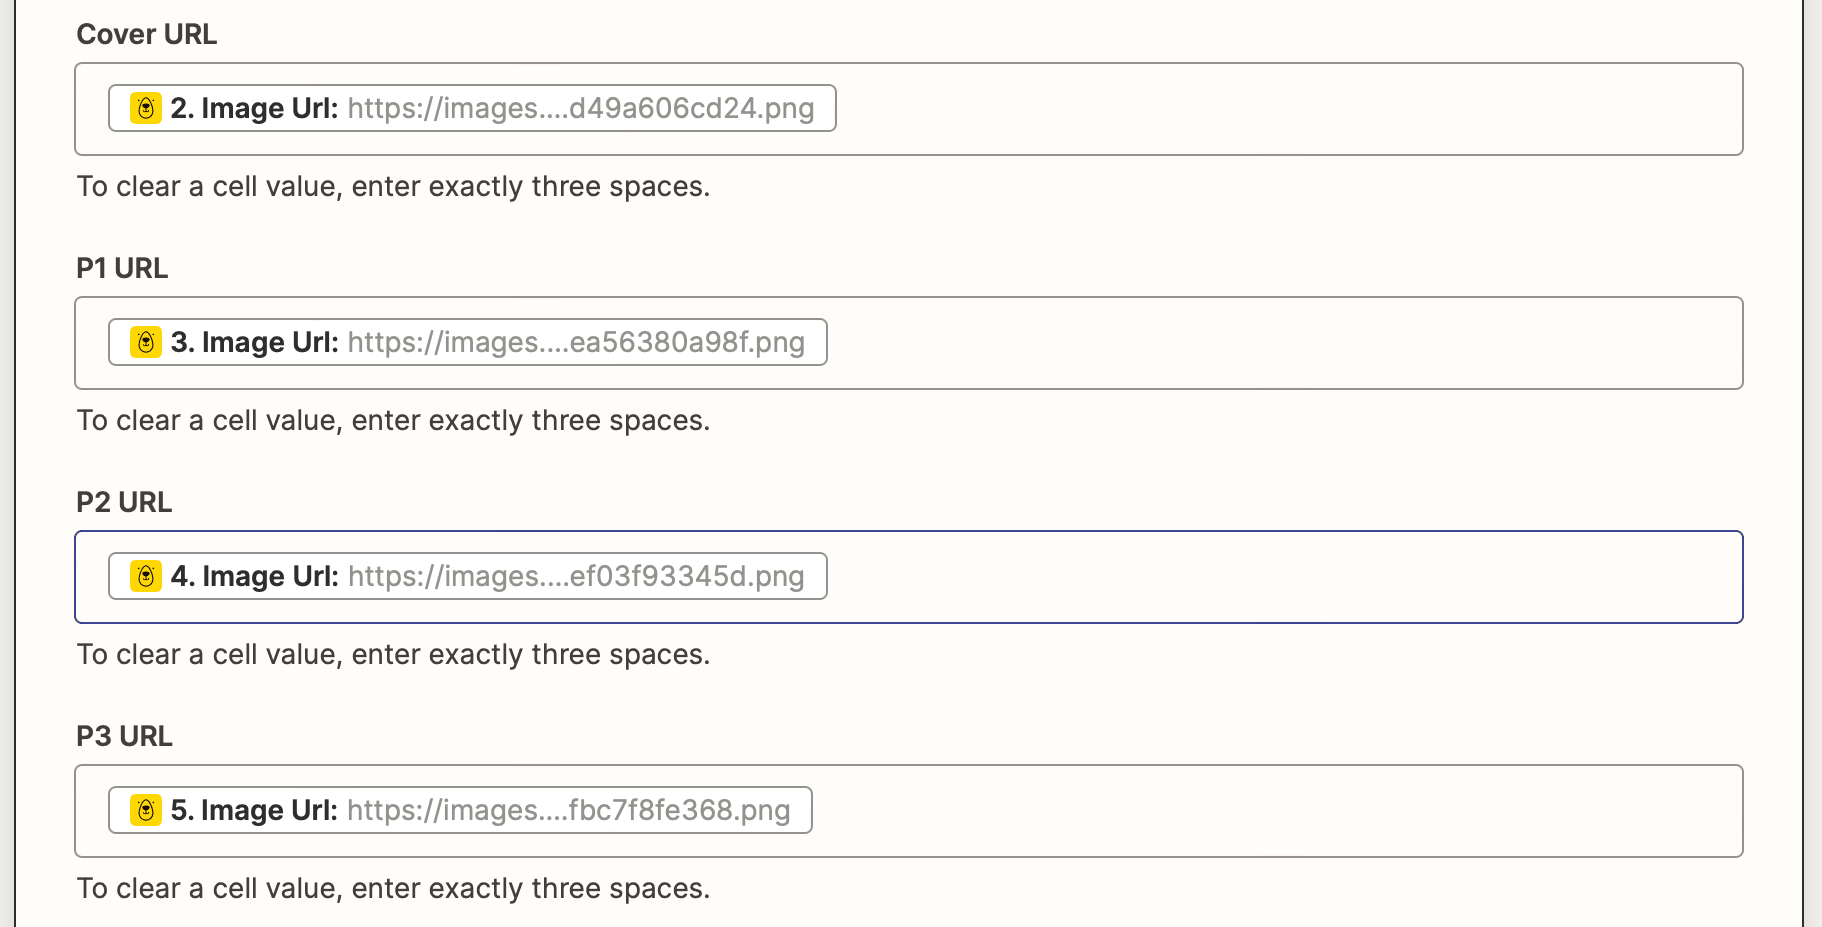
Test your action. You should see the Airtable record automatically populate itself with all the generated media, ready to be used in your ad campaign!
Set up a Facebook Carousel Ad Campaign
Your ad assets are ready, and all that’s left is to set up your campaign. Follow Meta’s instructions on how to create a carousel ad from Ads Manager.
As you monitor your ads, you might find adjustments necessary to increasing performance. That’s when you make the necessary tweaks to your templates or swap product photos for new ones that attract more clicks. Then, it’s just a matter of clicking “Approved” to trigger the zap again, and you have a fresh set of images like these to use:

Generate More Ads in Less Time
Paid ads will probably always be manual to some extent. But thanks to all the tools at our disposal today, we can automate more and more. Taking the generation step off your plate simplifies the process and frees up time that you can spend on tasks that actually need your expertise.
Want to learn more about using nocode tools to automate parts of your e-commerce business? Check these tutorials out:
👉🏼 How to Auto-Update a Twitter Banner to Promote Your Latest Shopify Products
👉🏼 How to Automatically Create an Invoice for Successful Sales with Bannerbear
👉🏼 How to Automatically Turn Etsy Customer Reviews into Scheduled Social Posts
👉🏼 7 Social Media Processes you can Automate with Bannerbear
