How to Automatically Create an Invoice for Successful Sales with Bannerbear
Contents
Generating invoices manually can be a tedious task and a complete waste of time, especially if you close multiple transactions in a day. In this tutorial, we will explore some ways automation can help your eCommerce store or company and make things even easier.
Zapier is a tool that helps you automate repetitive tasks between two or more apps—no code necessary. A Zap is an automated workflow that tells your apps to follow this simple command: " When this happens, do that."
With 4,000+ Zapier app integrations, the invoicing process doesn't need to be a hassle. Bannerbear automation can help you with administrative tasks like creating invoices so you can focus on getting your products or services out to your customers.
Now let’s get into automating your invoice creation process.
What we will do
We'll be using PayPal and Bannerbear for this tutorial, but this walk-through will be similar to most apps.
We will create automation between Bannerbear and PayPal that:
- Pulls in data from PayPal sales,
- Plugs in the data to Bannerbear by sending an API request with just the click of a button,
- Generates PDF of the invoice you have requested
Example Images
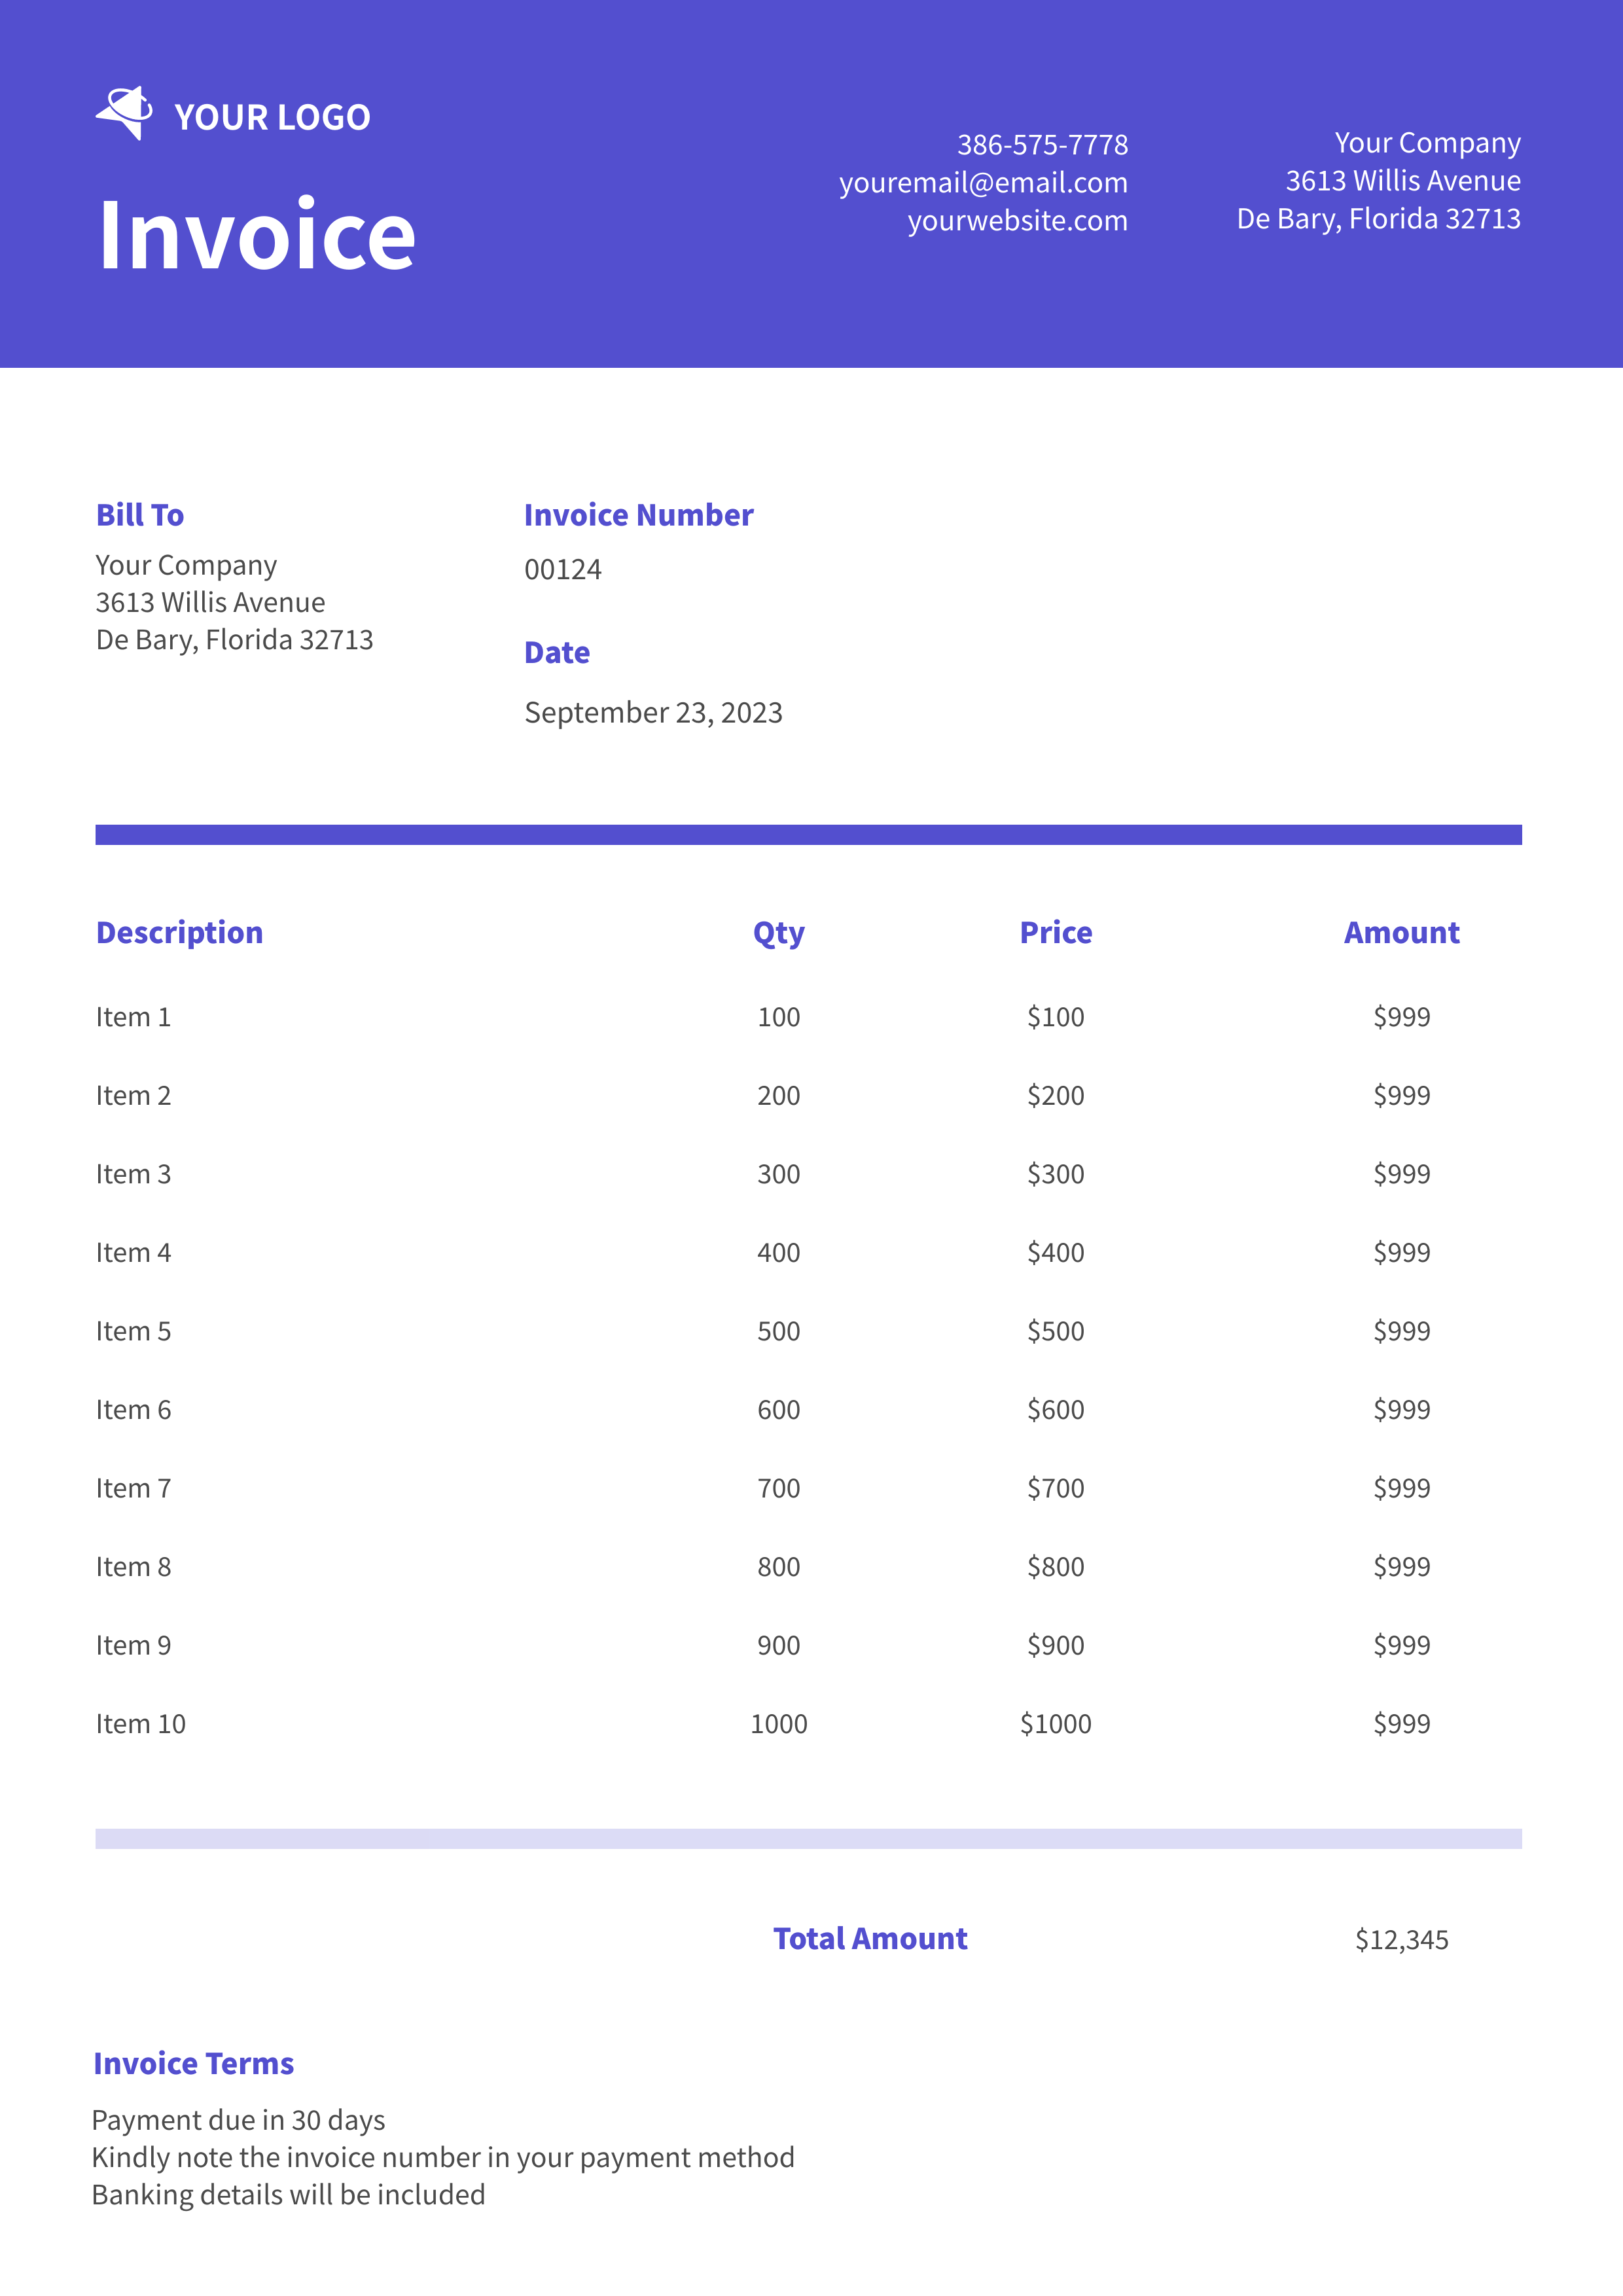
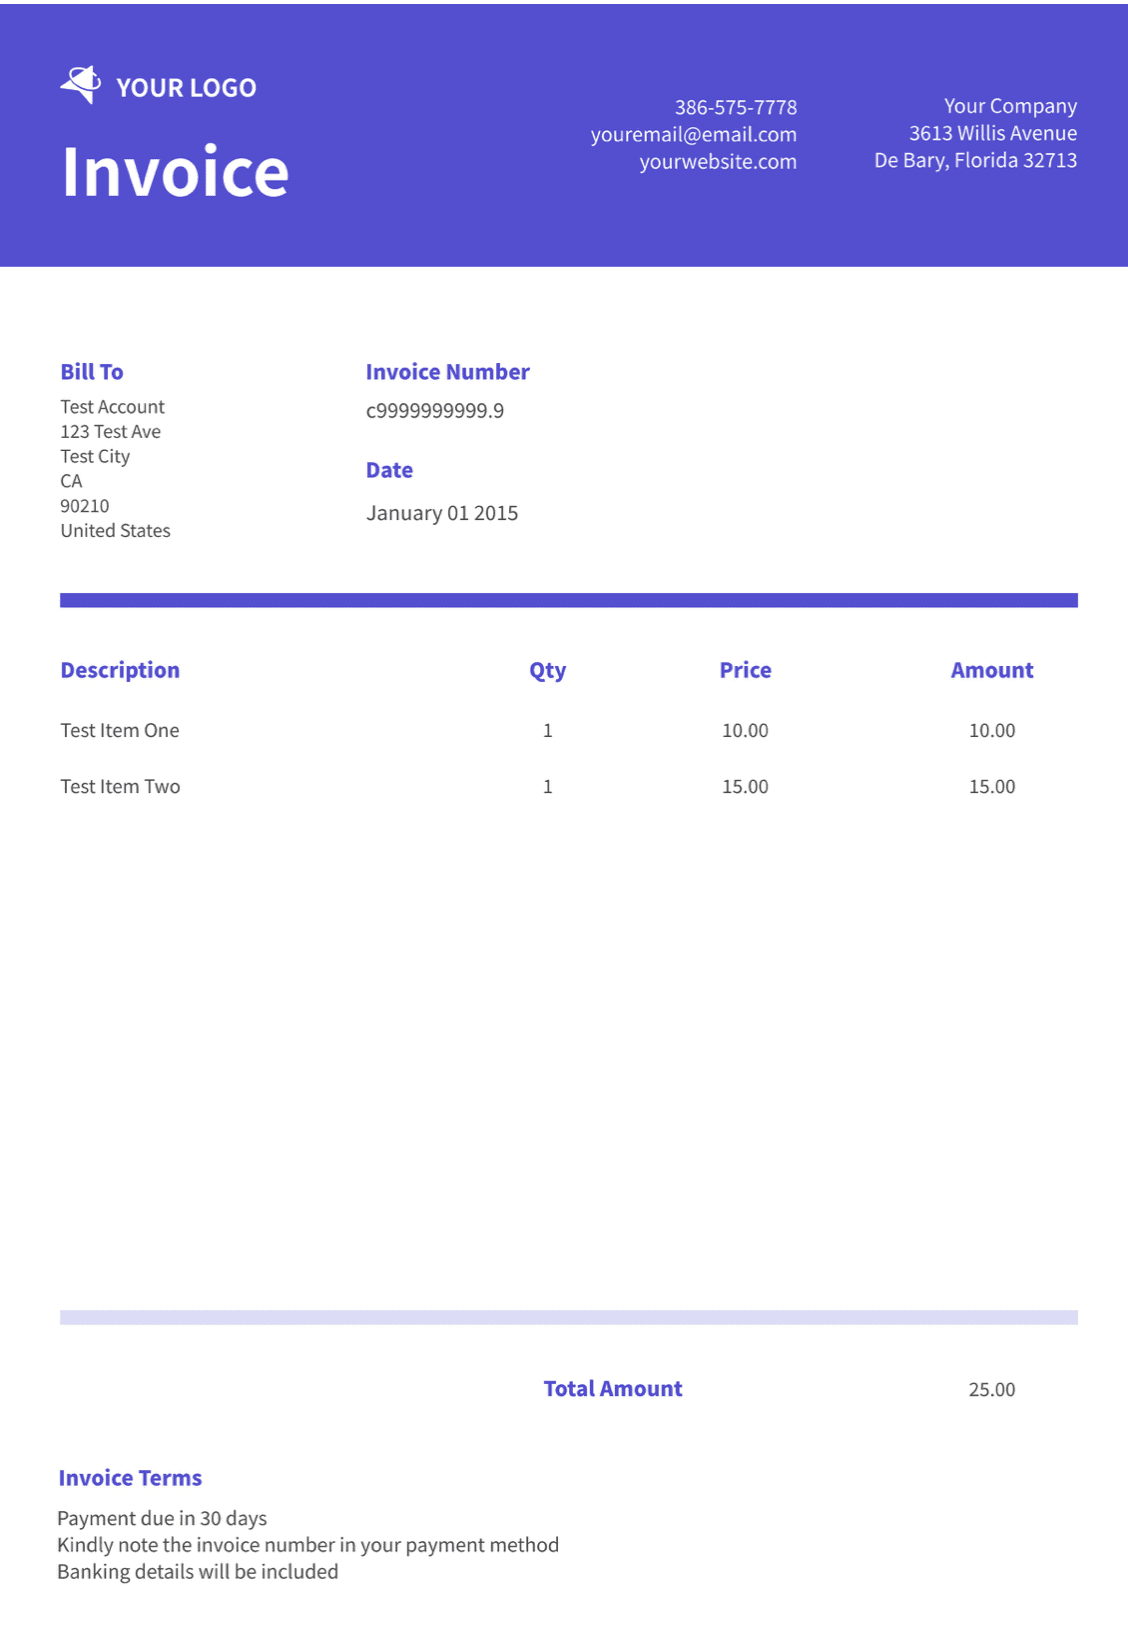
The end result will be a PDF printable document:
Let's start with the basic elements.
Getting Started
Create a project in Bannerbear
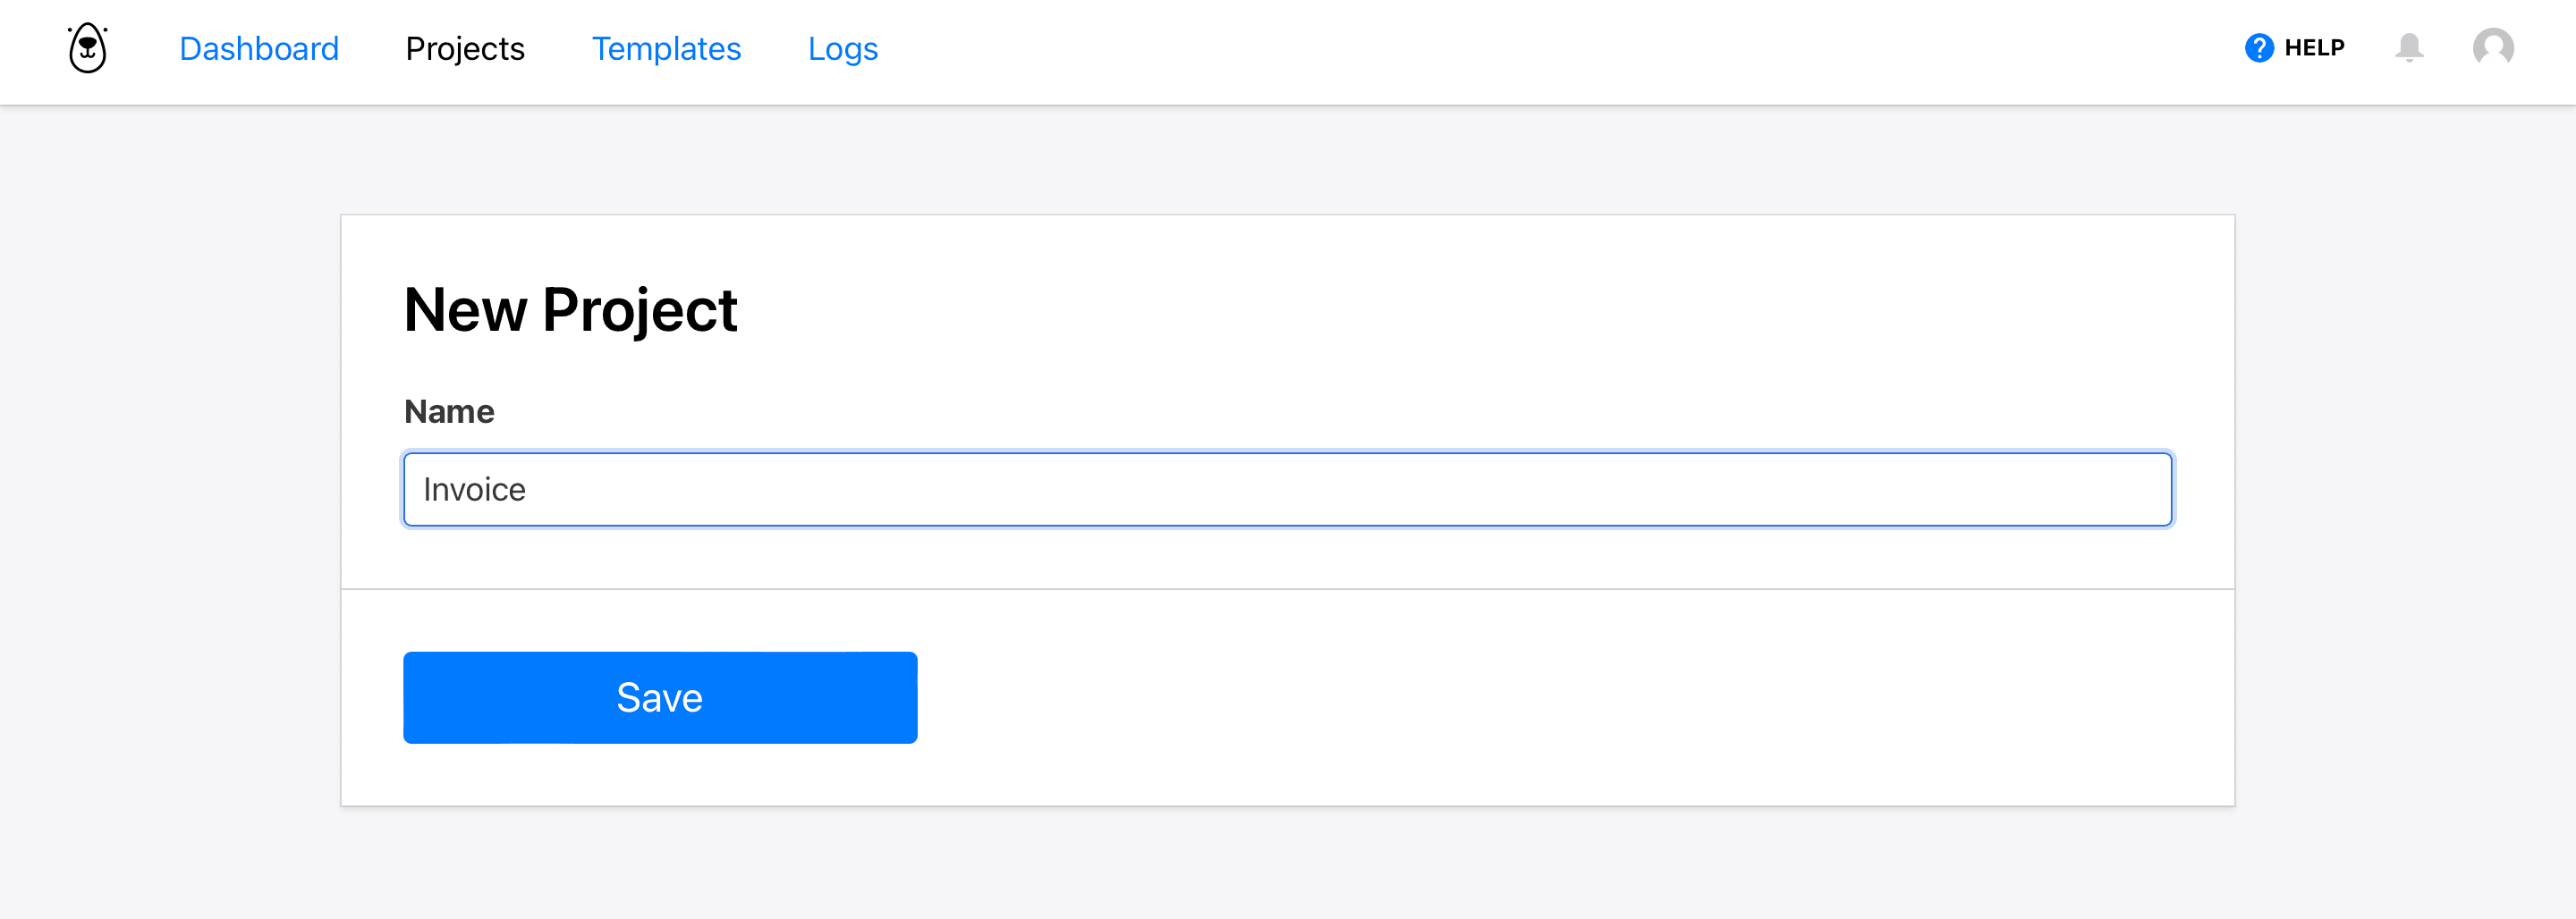
Go to https://app.bannerbear.com. You'll be prompted to sign in or create one if you don't have one already. If you don't have a Bannerbear account, it's free to start.
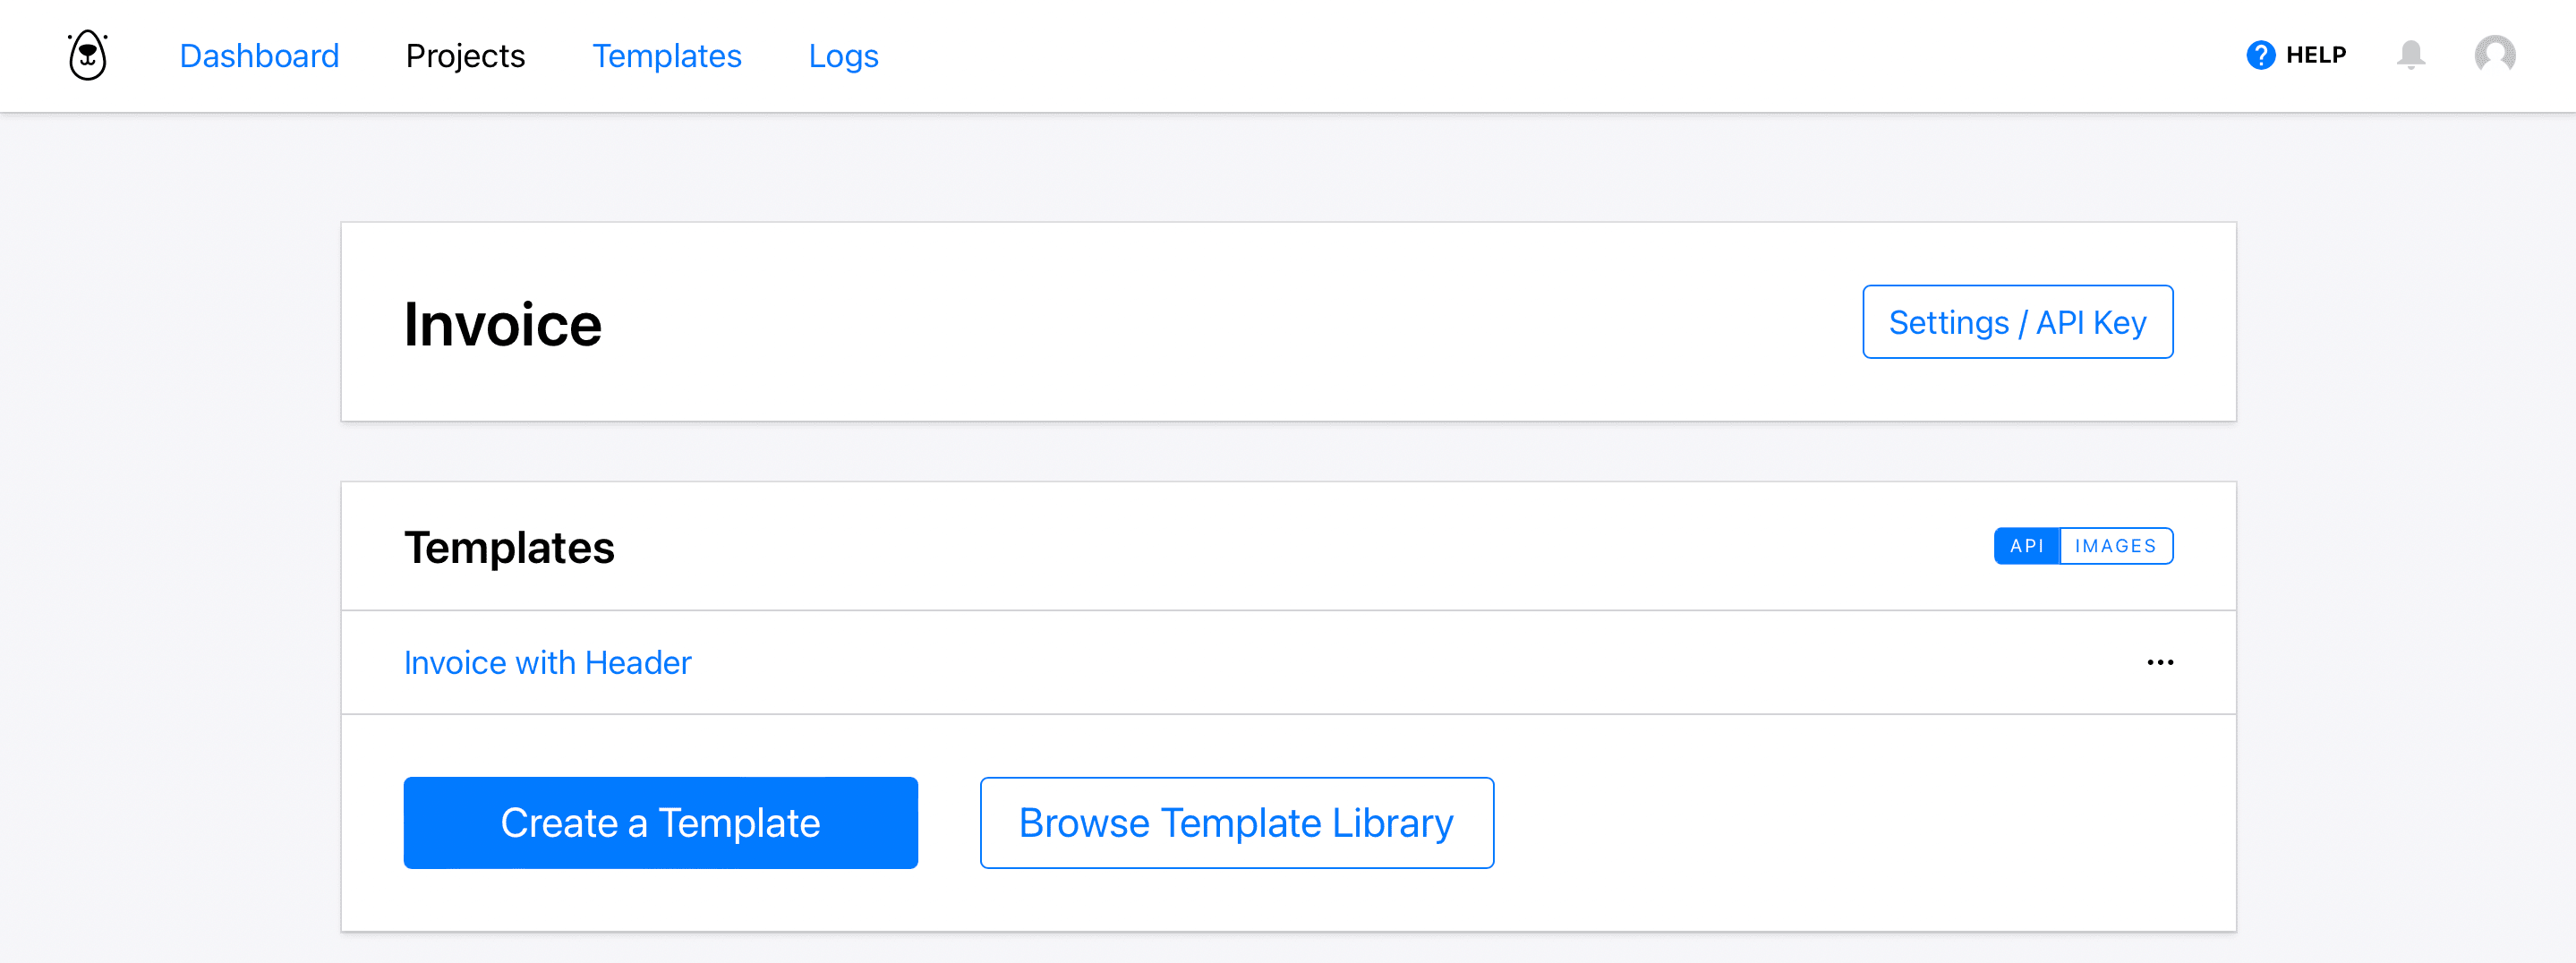
Sign in to your Bannerbear account and create a new project. Name your new project ’Invoice’:
Create a PDF Template
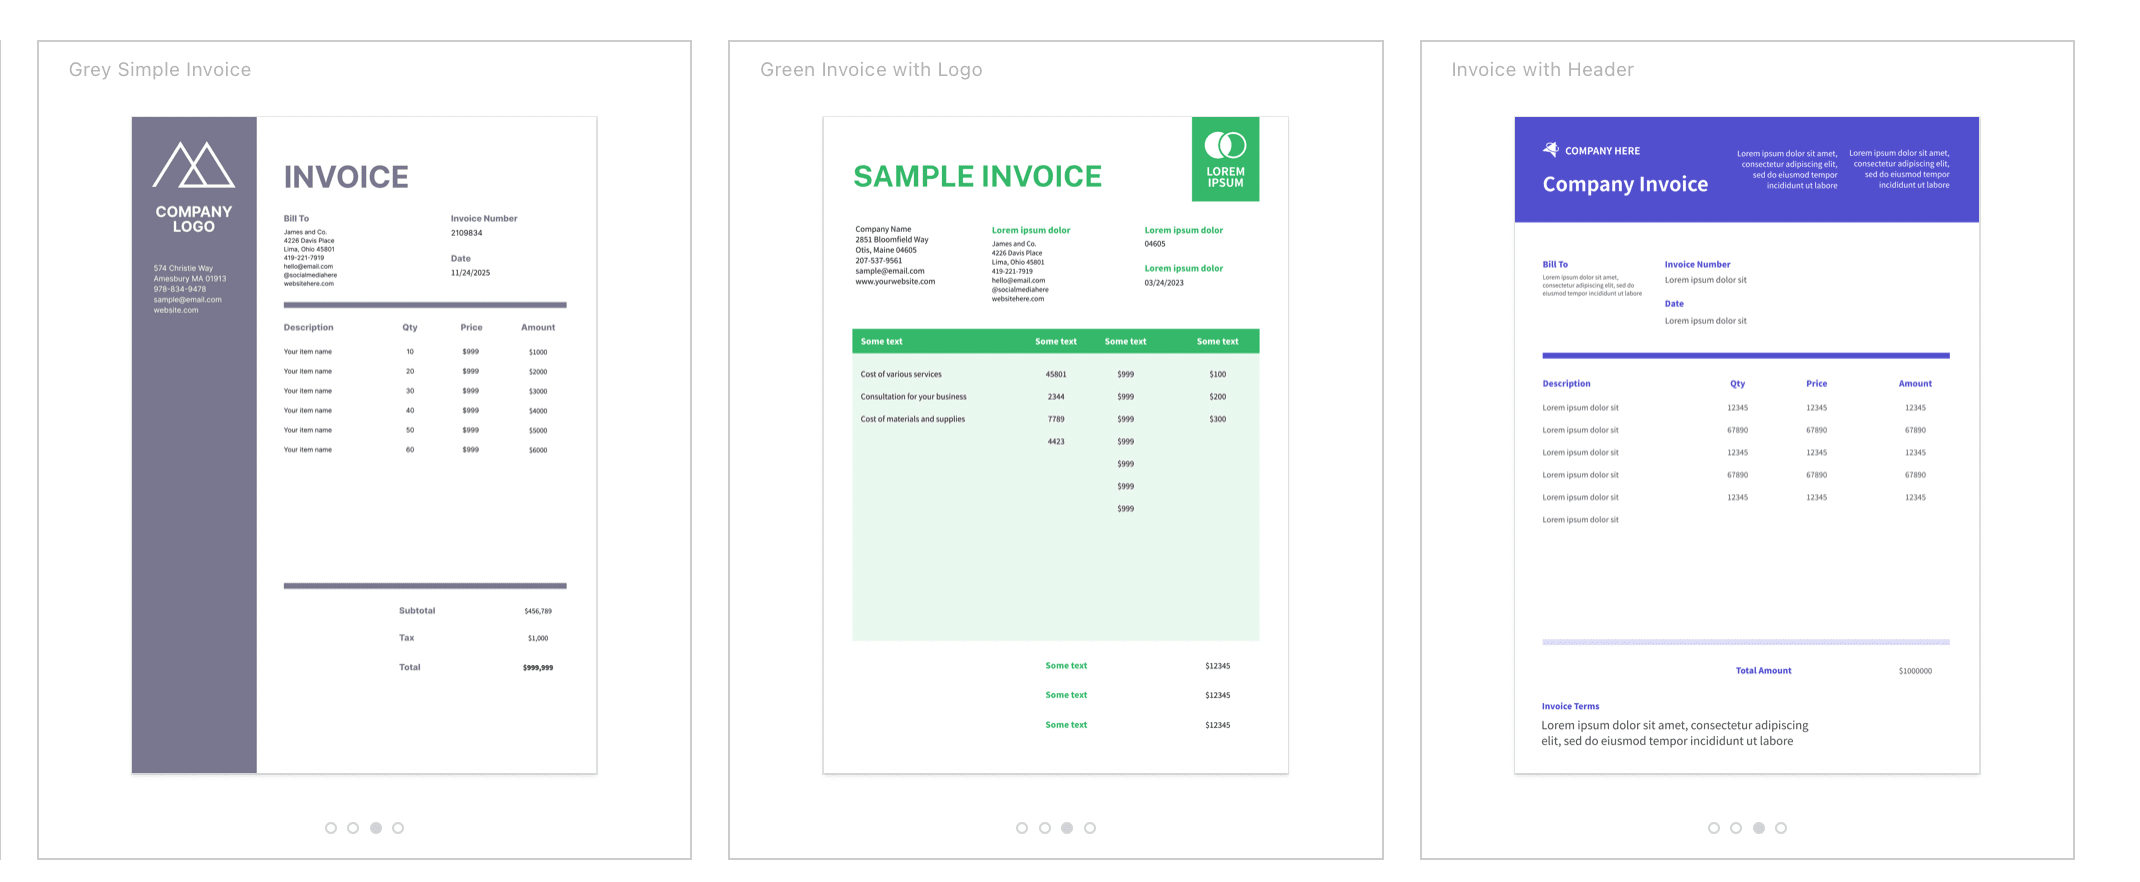
To use a template you must add it to a project. Once you're logged in, you can choose from a variety of templates to get started.
Browse the Template Library to add a sample template from a selection of ready-made templates to your Bannerbear project.
For this tutorial, we have a standard Invoice template from the library that fits this use case. You can duplicate this template here.
Or, simply click on the image below to add it to your project automatically:
Alternatively, Bannerbear allows you to create your own template with the flexibility of customising the layout, adding layers, objects, colours, fonts, etc.
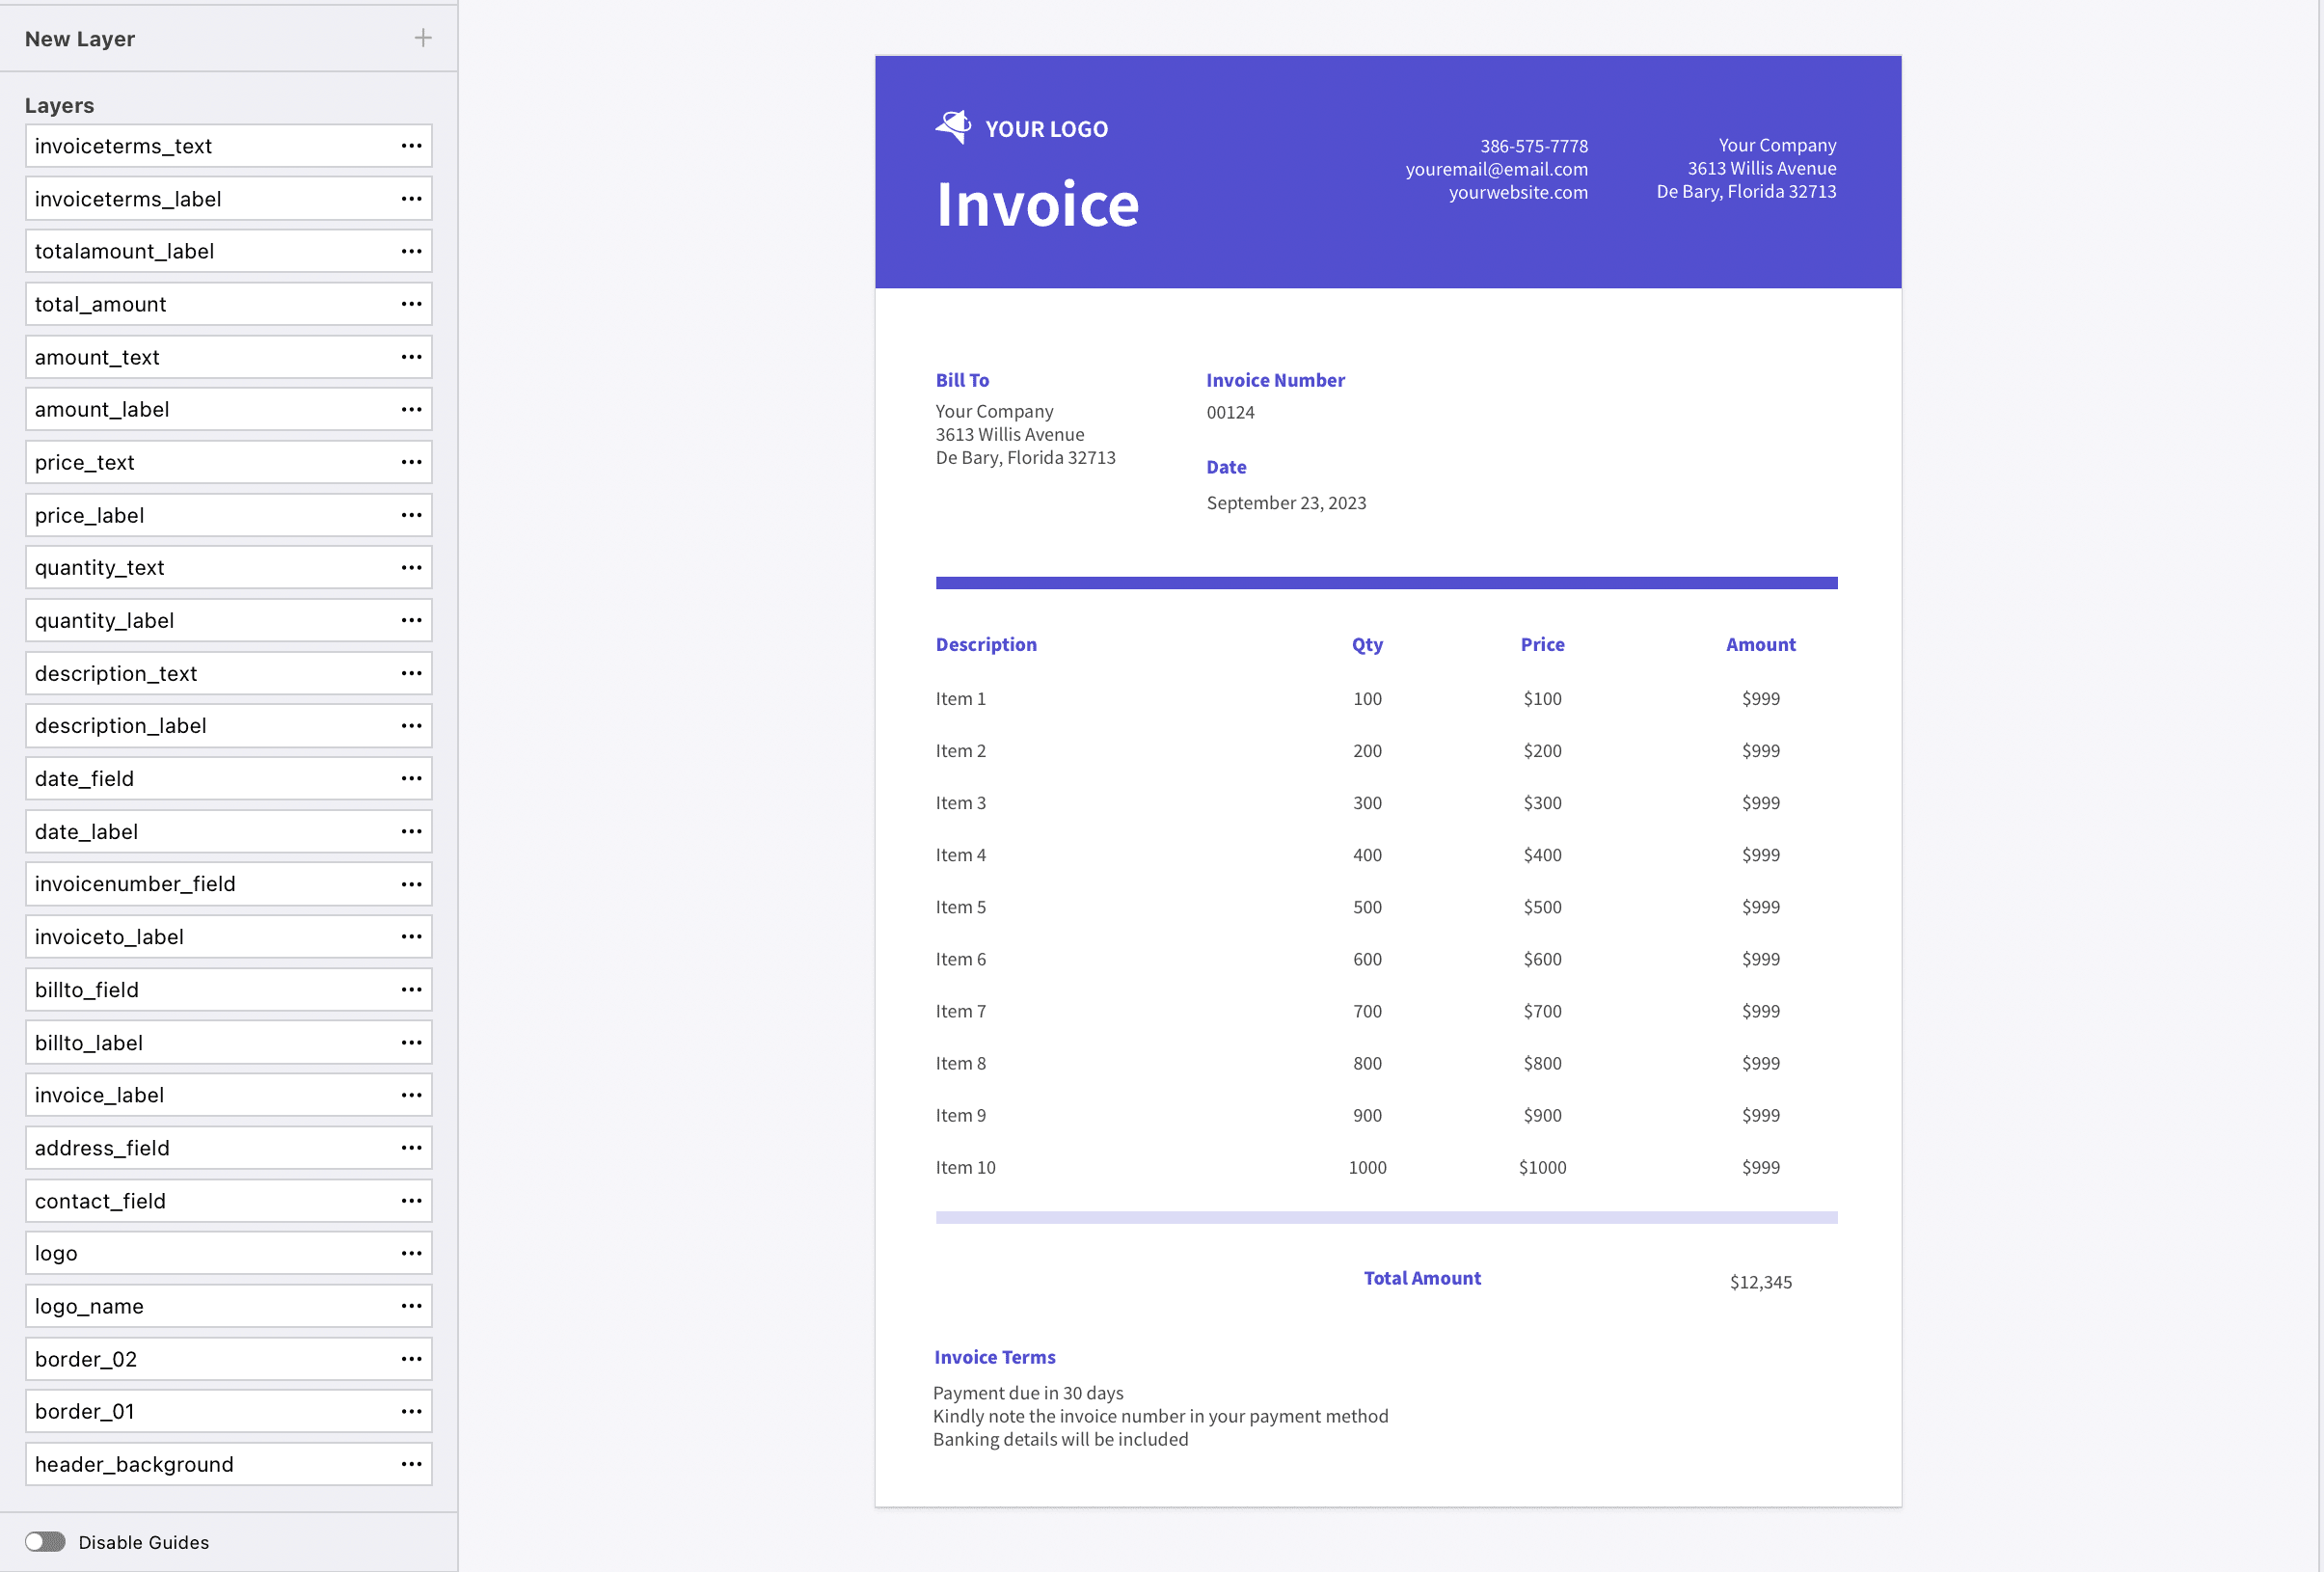
Customise the invoice header according to your brand guidelines and include your company logo and address.
After you've selected a template, you will also want to copy your Project API Key as you will need this later to connect Zapier to Bannerbear.
Get your Bannerbear Project API Key
Bannerbear uses API keys to allow access to the API. The API key is unique for each project. Always remember to keep your API key protected.
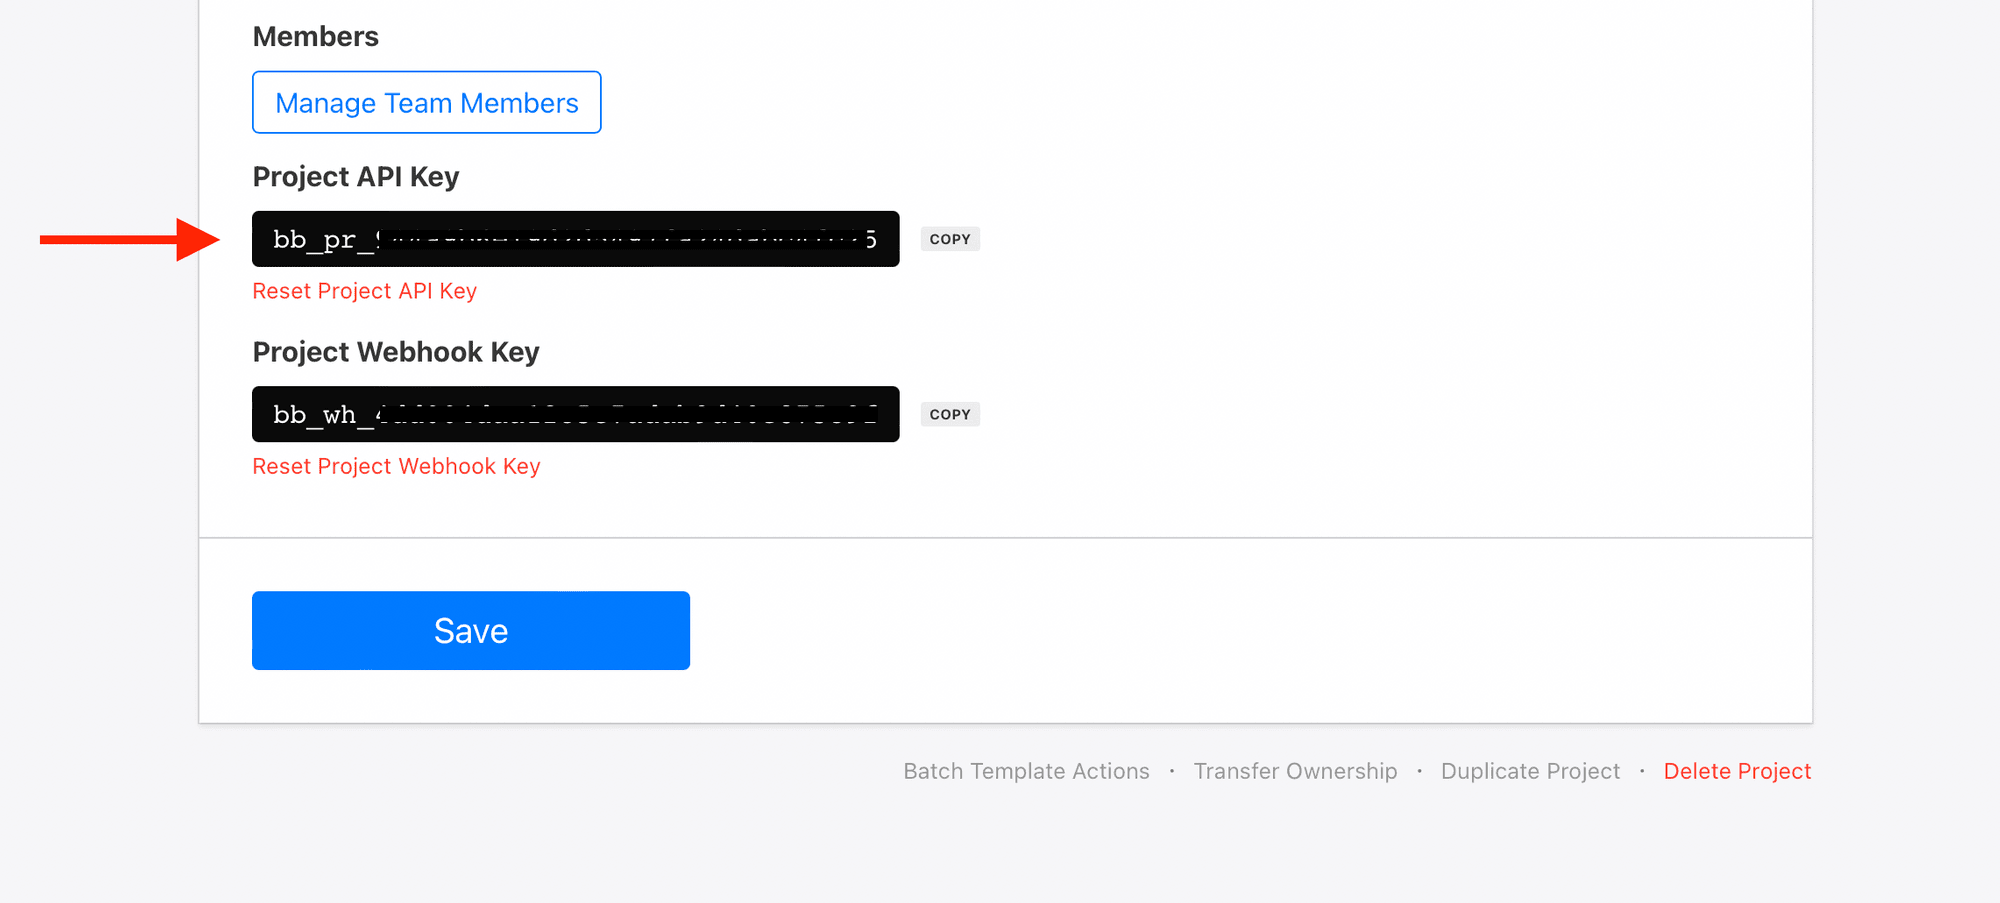
The Project API key is found on the Settings / API Key page of your Project. Navigate back to the project homepage and click the _ Settings/API Key _ button:
Copy the Project API Key to your clipboard. We will be using your API Key ID later.
Zap #1: Create a new Zap
Zapier is an automation tool that helps anyone connect apps and automate workflows—without any complicated code.
First, we want to connect the app to pull the purchaser’s details. This will tell Zapier where to look for the name, address, email, items purchased and other relevant details needed to trigger an action.
Log in to Zapier and click on Make a Zap to start from scratch. You will be directed to Zapier's editor, where you can create automated workflows.
Choose your PayPal from the dropdown menu as the trigger app, and Successful sale as the trigger event.
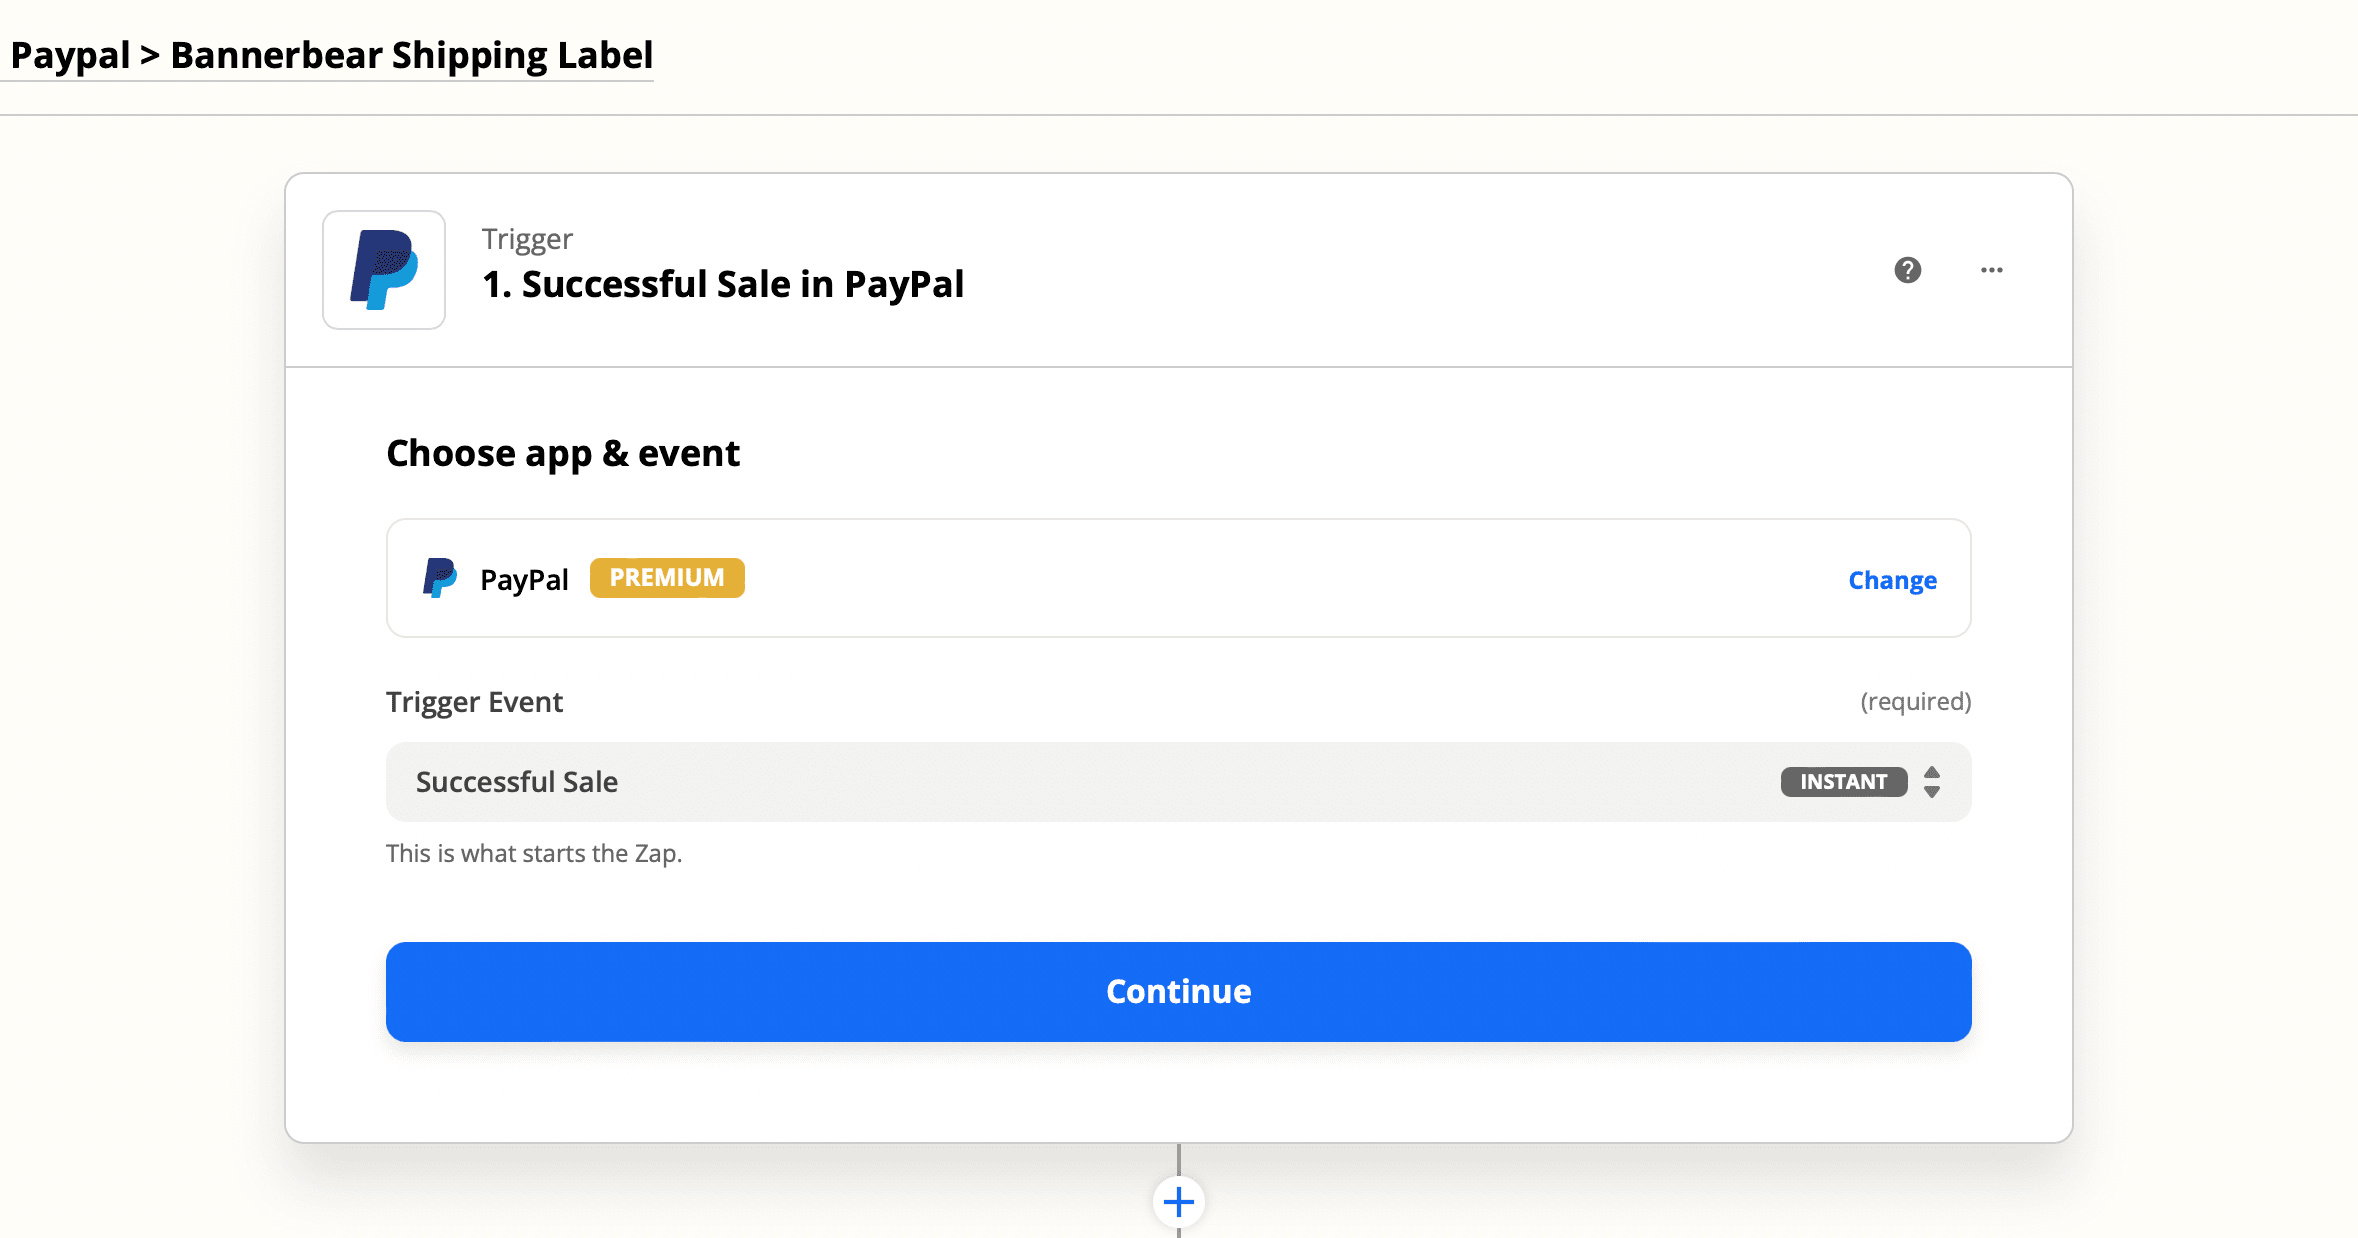
Click Continue.
To set up the trigger, visit your PayPal IPN settings to add the URL as the IPN URL. Ensure that your notification_url(usually a buy-now button level setting) is set the same (or is blank).
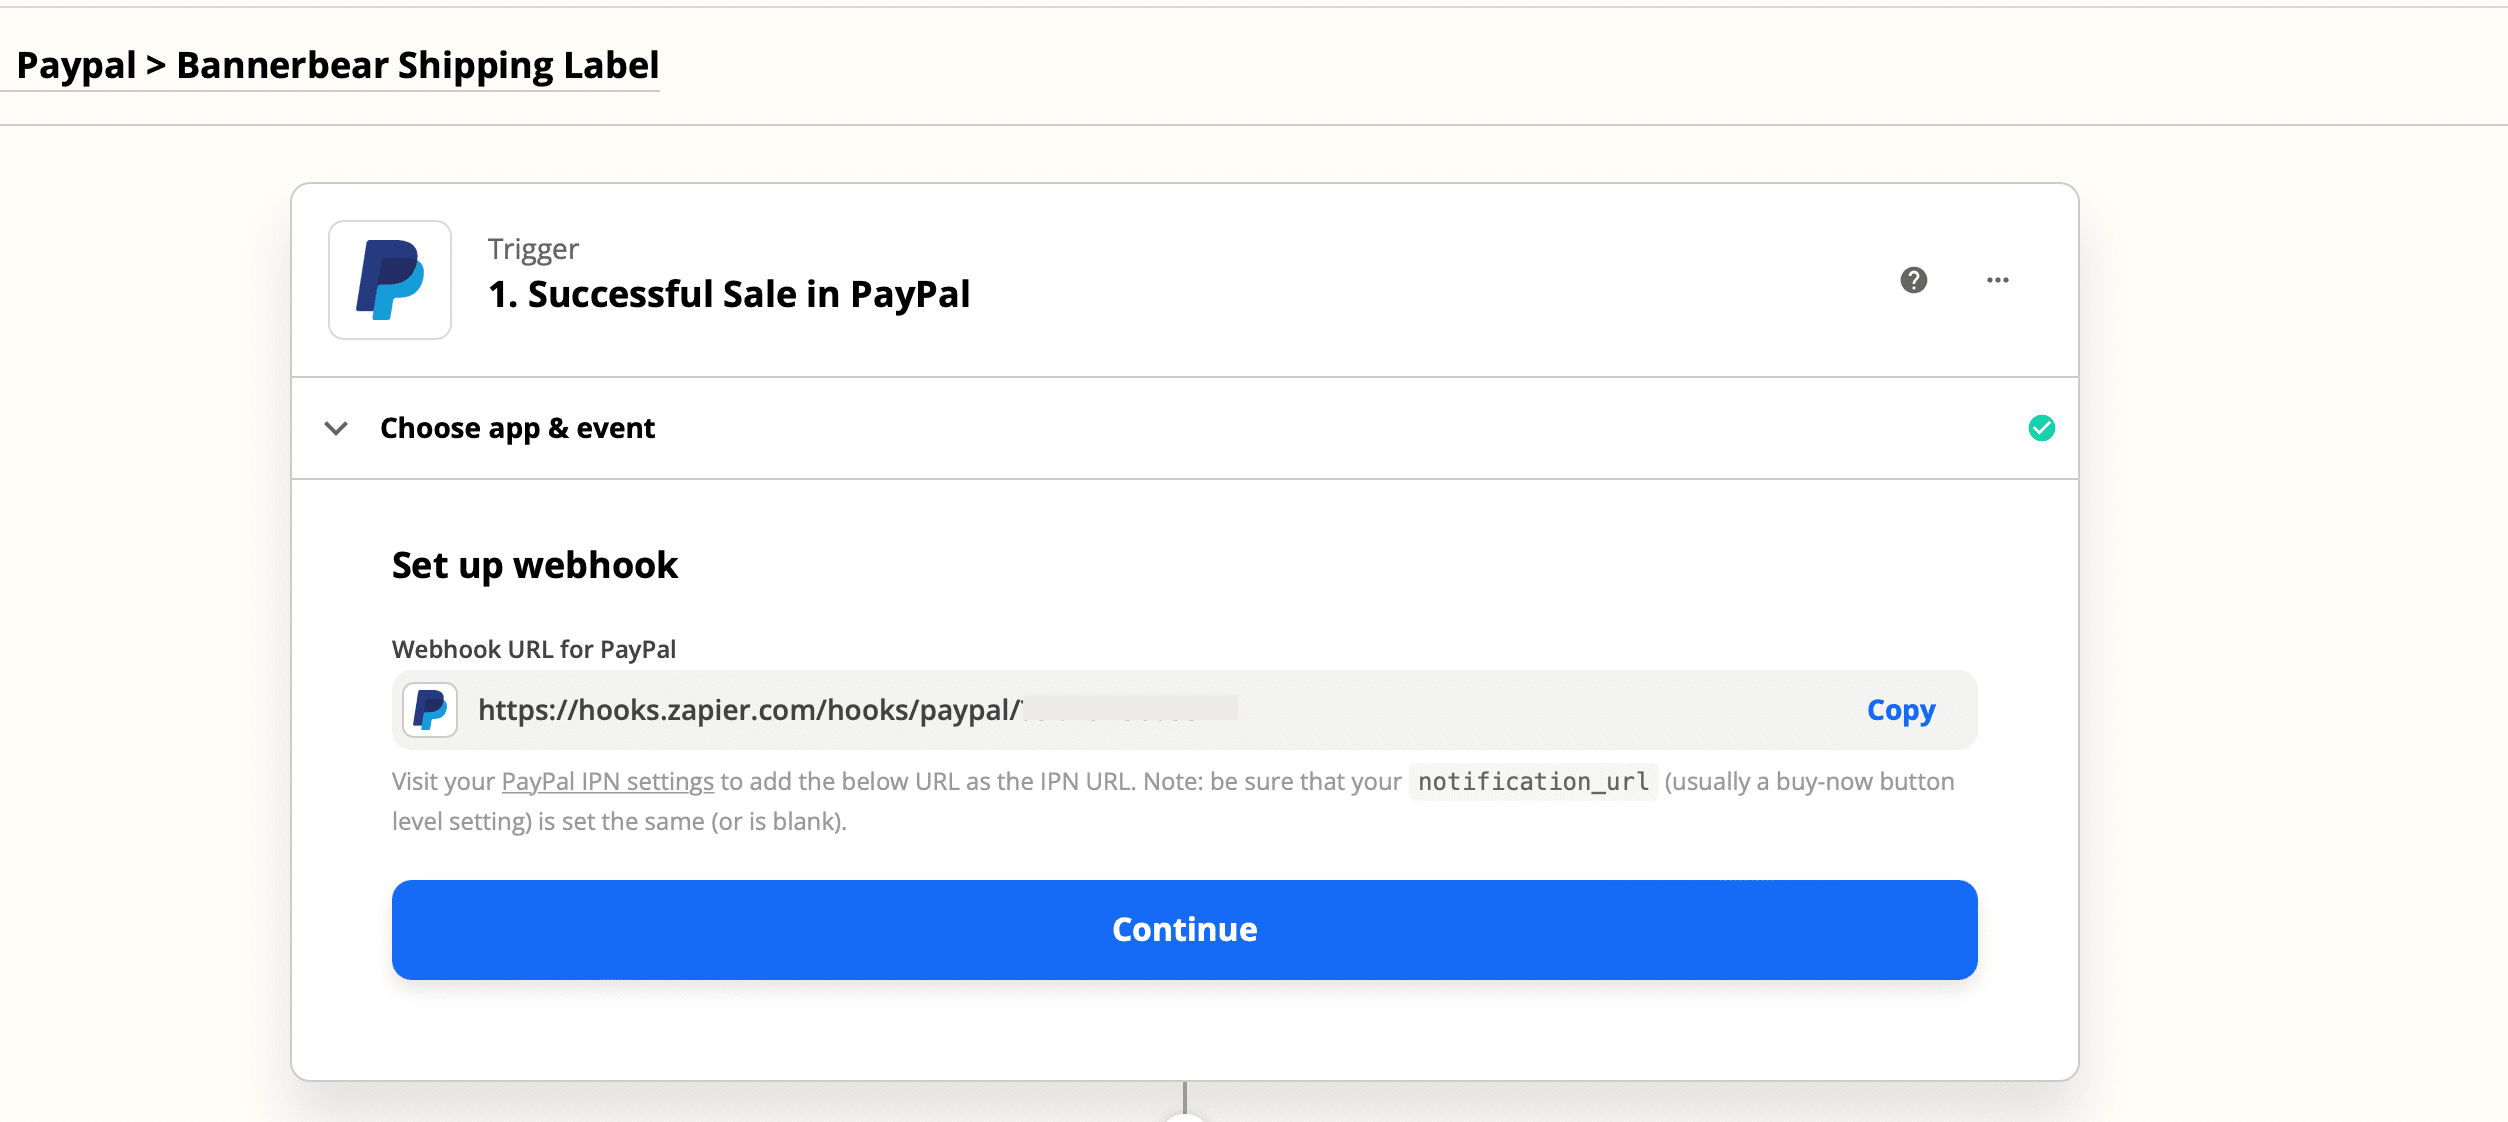
Now we need to test our trigger.
After you set up webhook, click Continue and proceed to test the trigger.
Zapier will send a request to your webhook URL and find a recent request in your PayPal account to confirm that the right account is connected and your trigger is set up correctly.
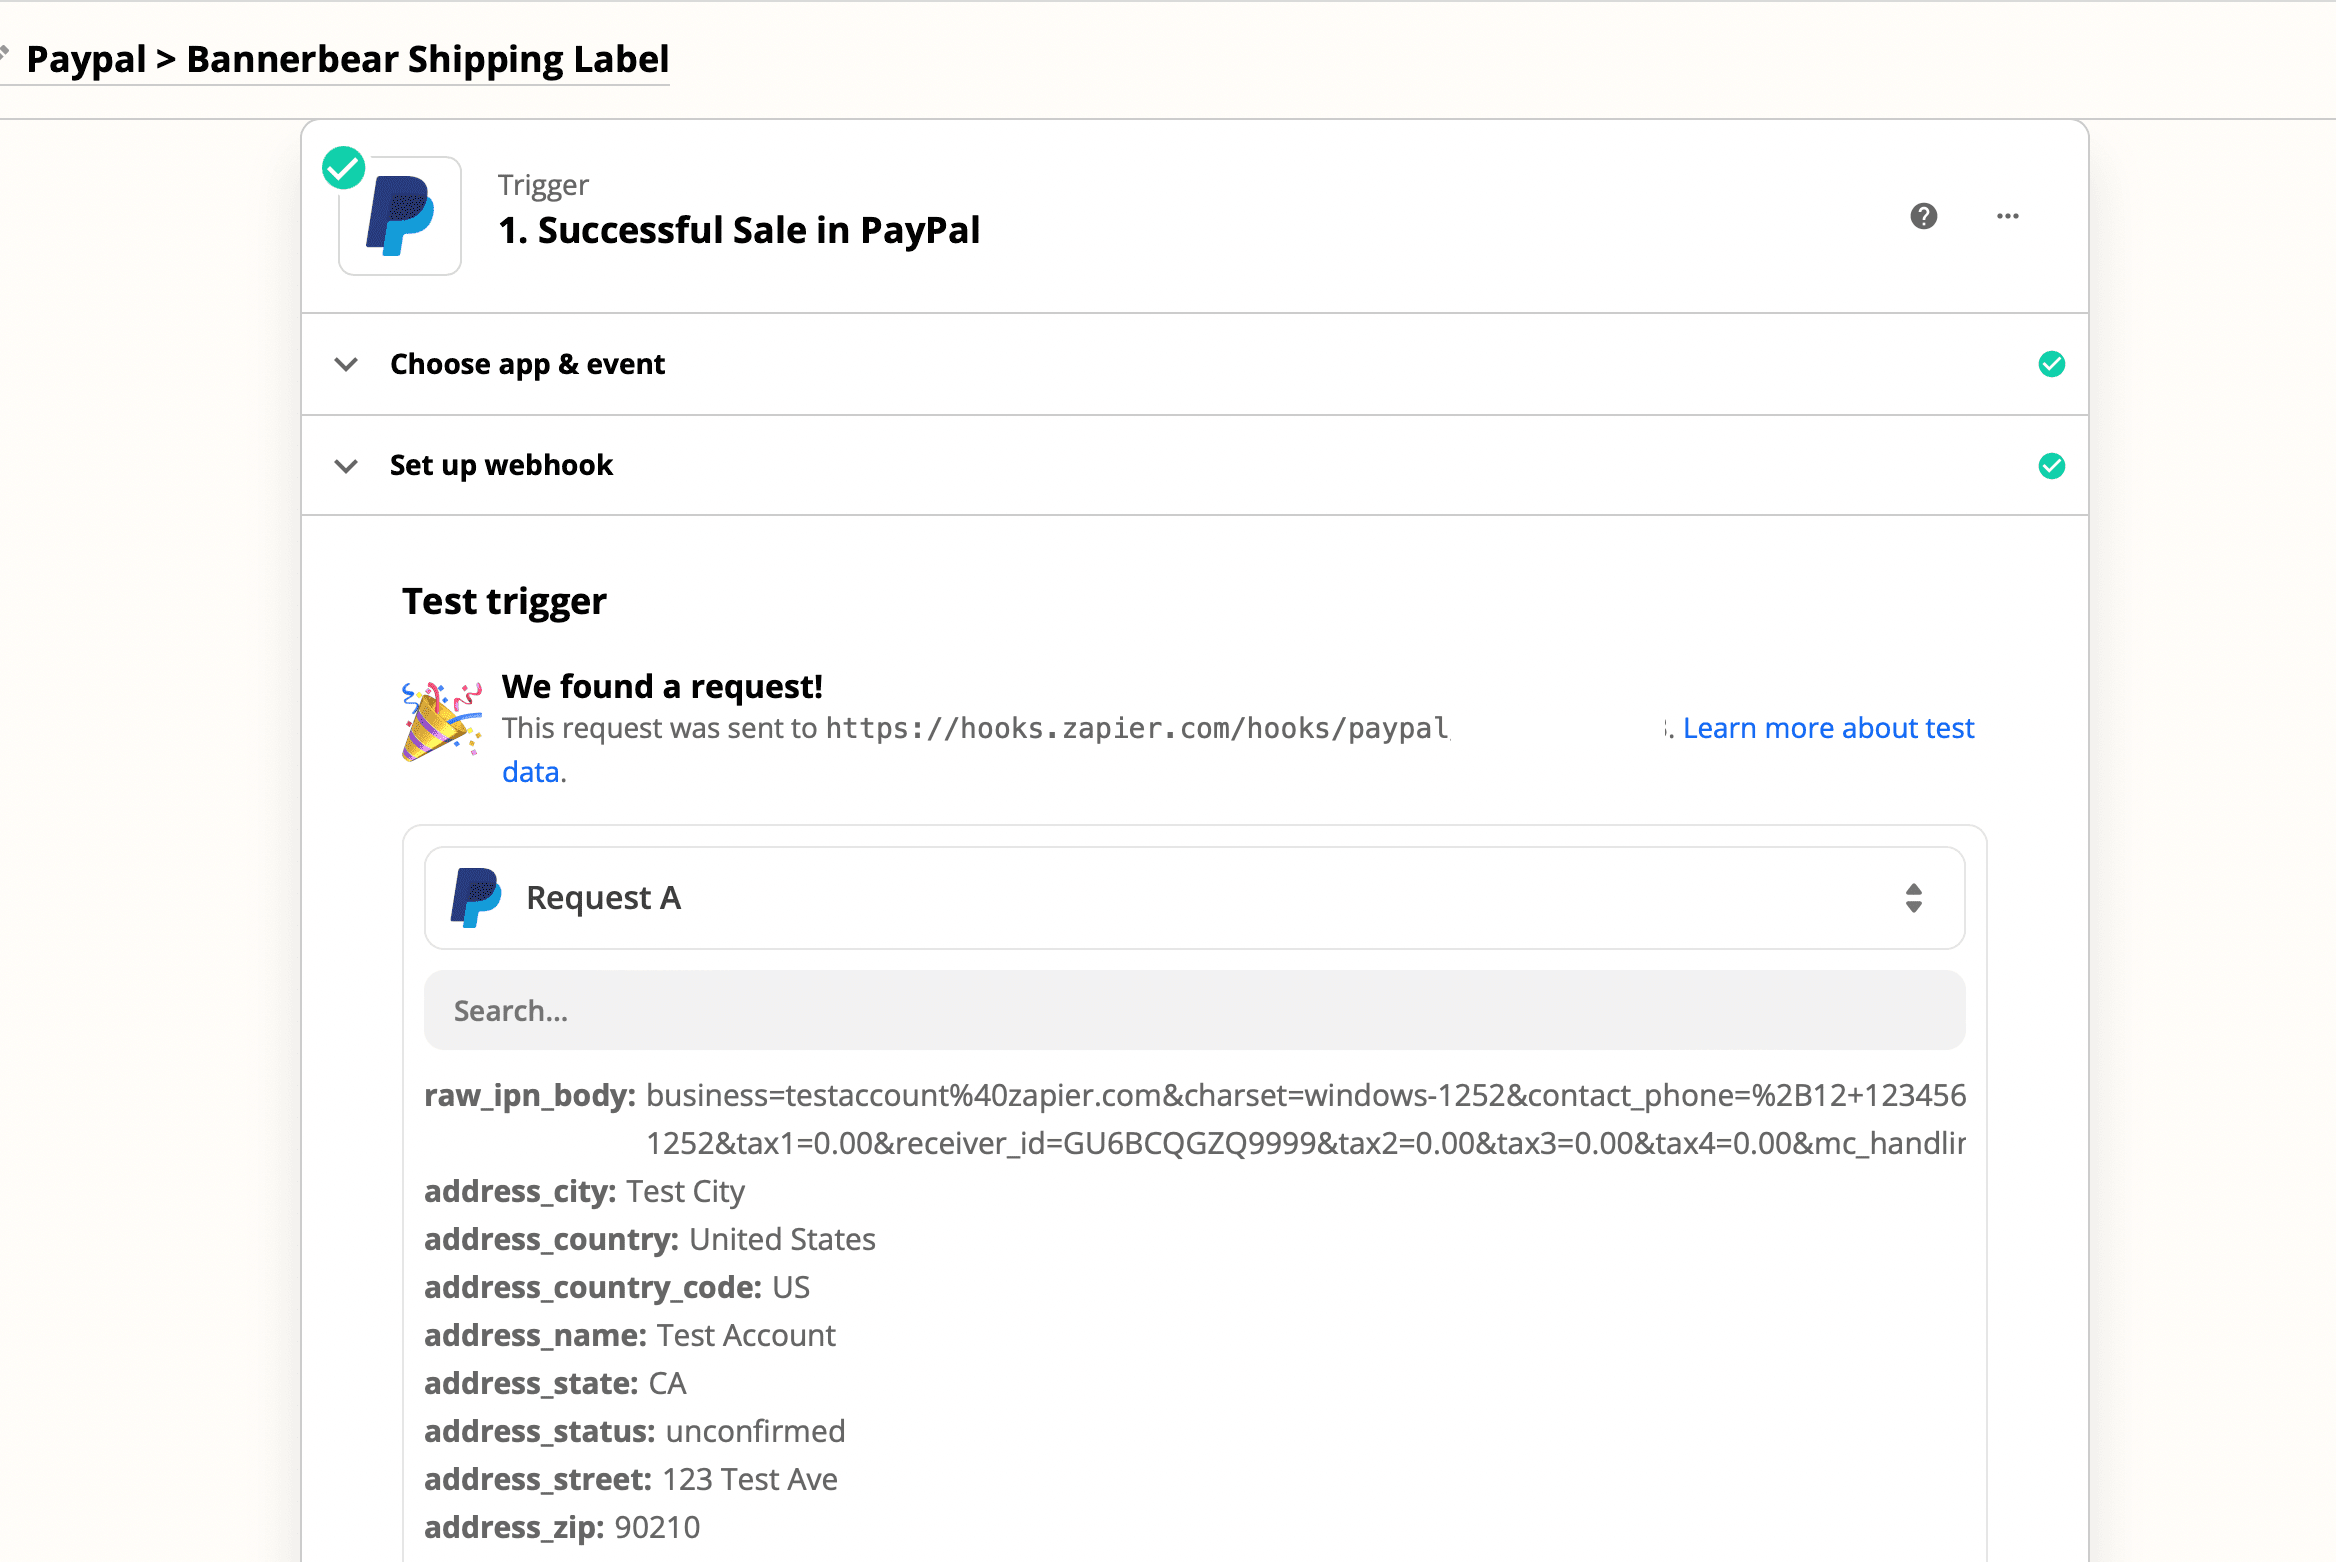
You'll see this success message if Zapier finds test information. We'll use this information to customize our Zap further. Click Continue.
Now let’s proceed to add an action. The action is the event a Zap performs after it is triggered. Now that we have the recipient’s details, we can turn them into ready-to-print invoices quickly.
Zap #2: Line itemizer with Formatter by Zapier
This is a very important step as it will be used to reformat the data as separate fields for the invoice.
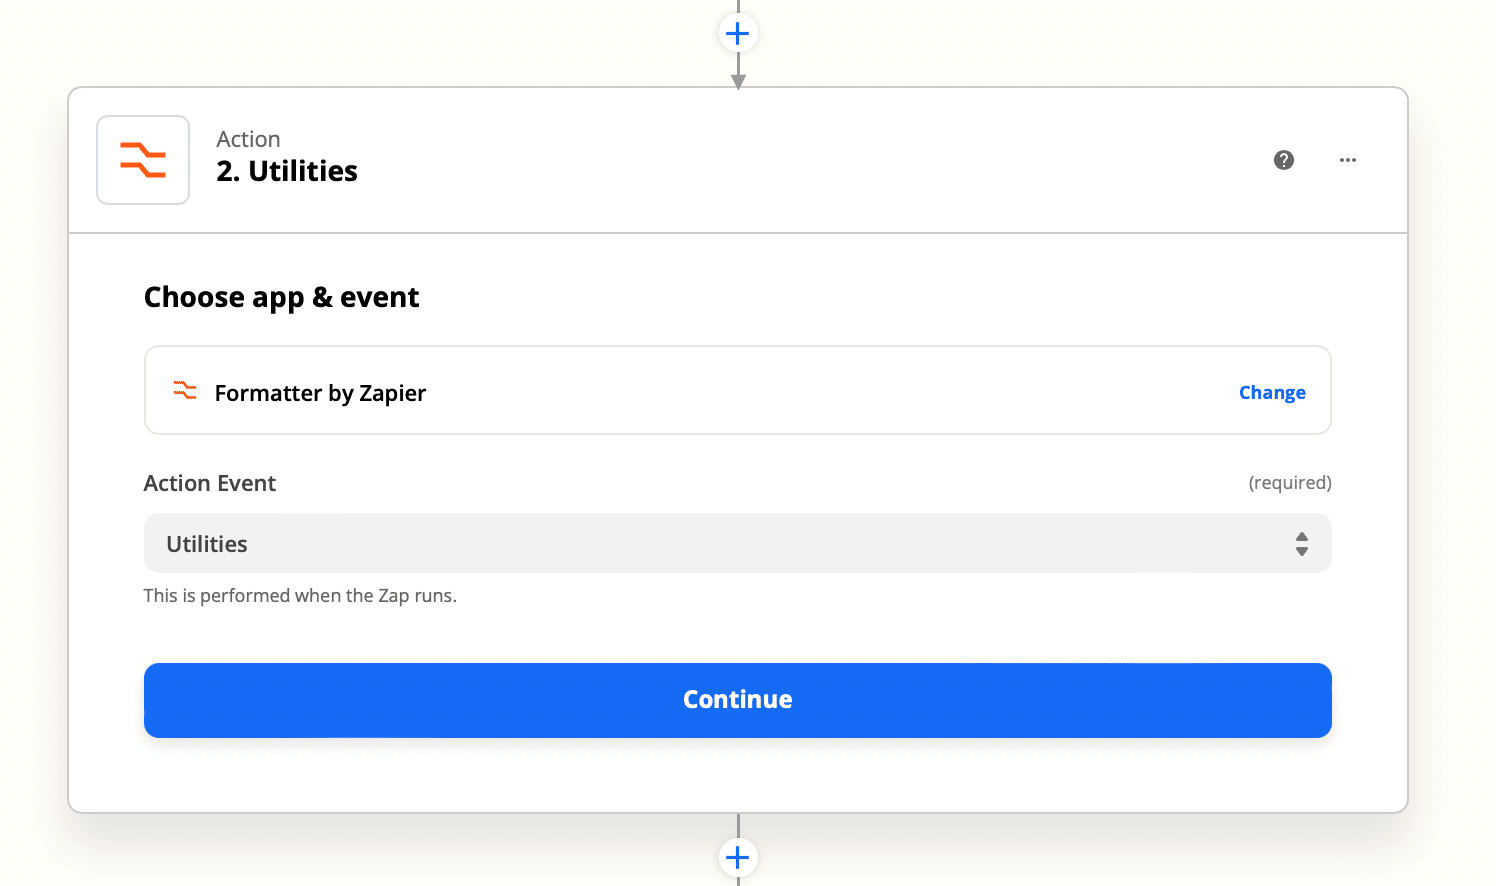
Add a new action, Choose Formatter by Zapier as your App and select Utilities as your Action Event.
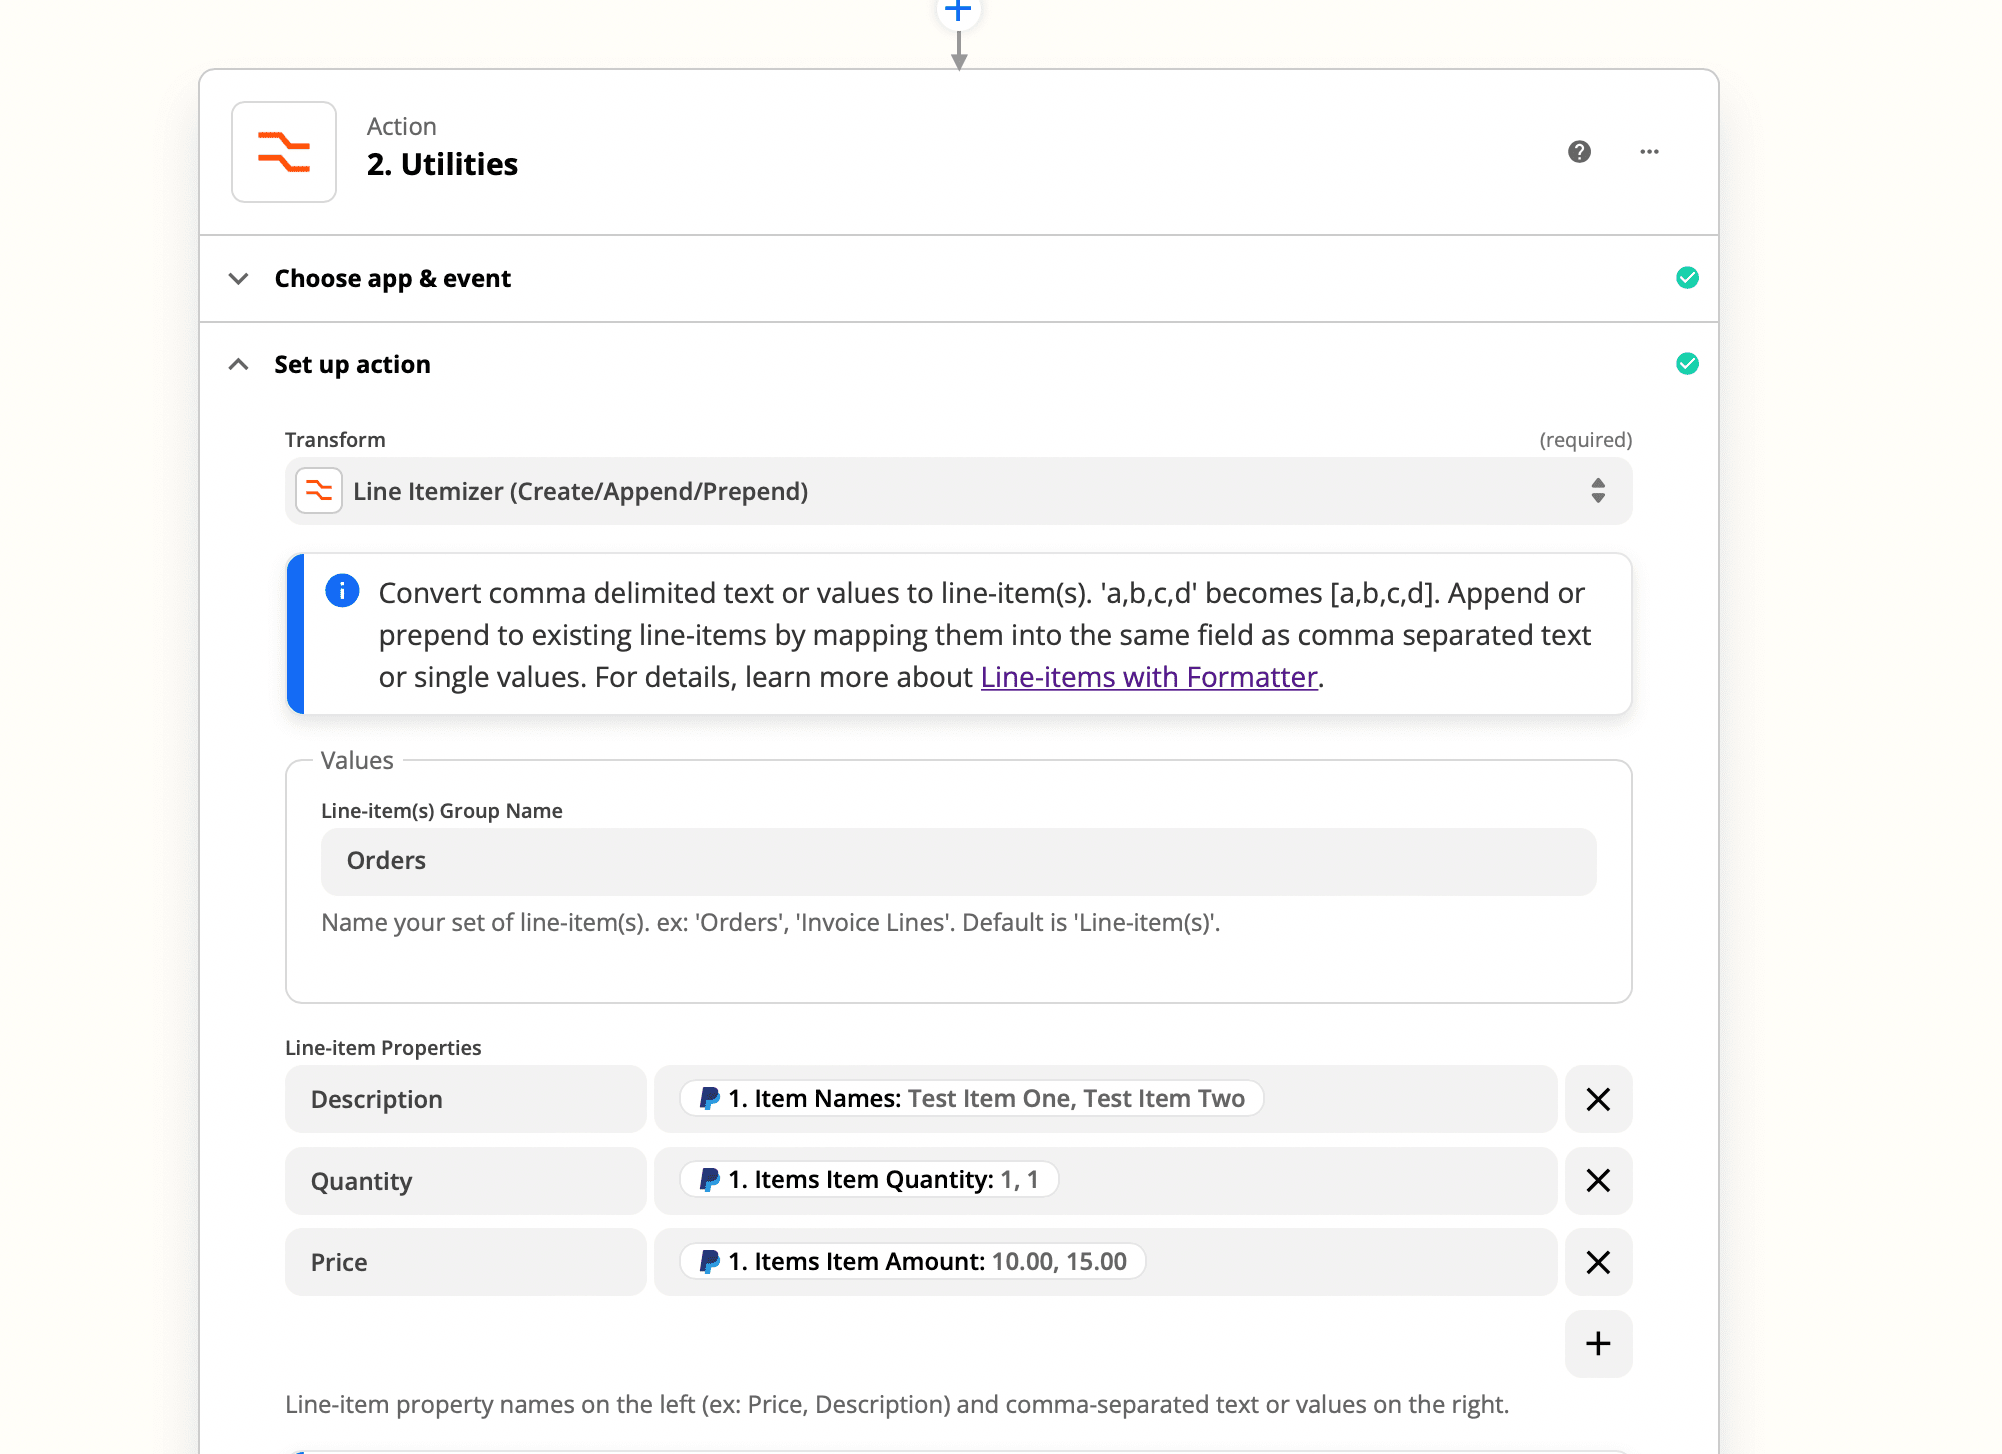
To set up the action, go to Customize and under Transform select Line Itemizer (Create/Append/Prepend) from the dropdown menu.
Input the Line-item(s) Group Name under Values. Under Line-item Properties add in the name of the property on the left and then the values on the right. The values on the right should be populated using data from the trigger and correspond to the property names on the left and the properties you wish to include in the next action:
If you have properties called 'Price' and 'Quantity' (or 'Qty') in your line-items, Line Itemizer can multiply those values together to create a corresponding 'Subtotal' property.
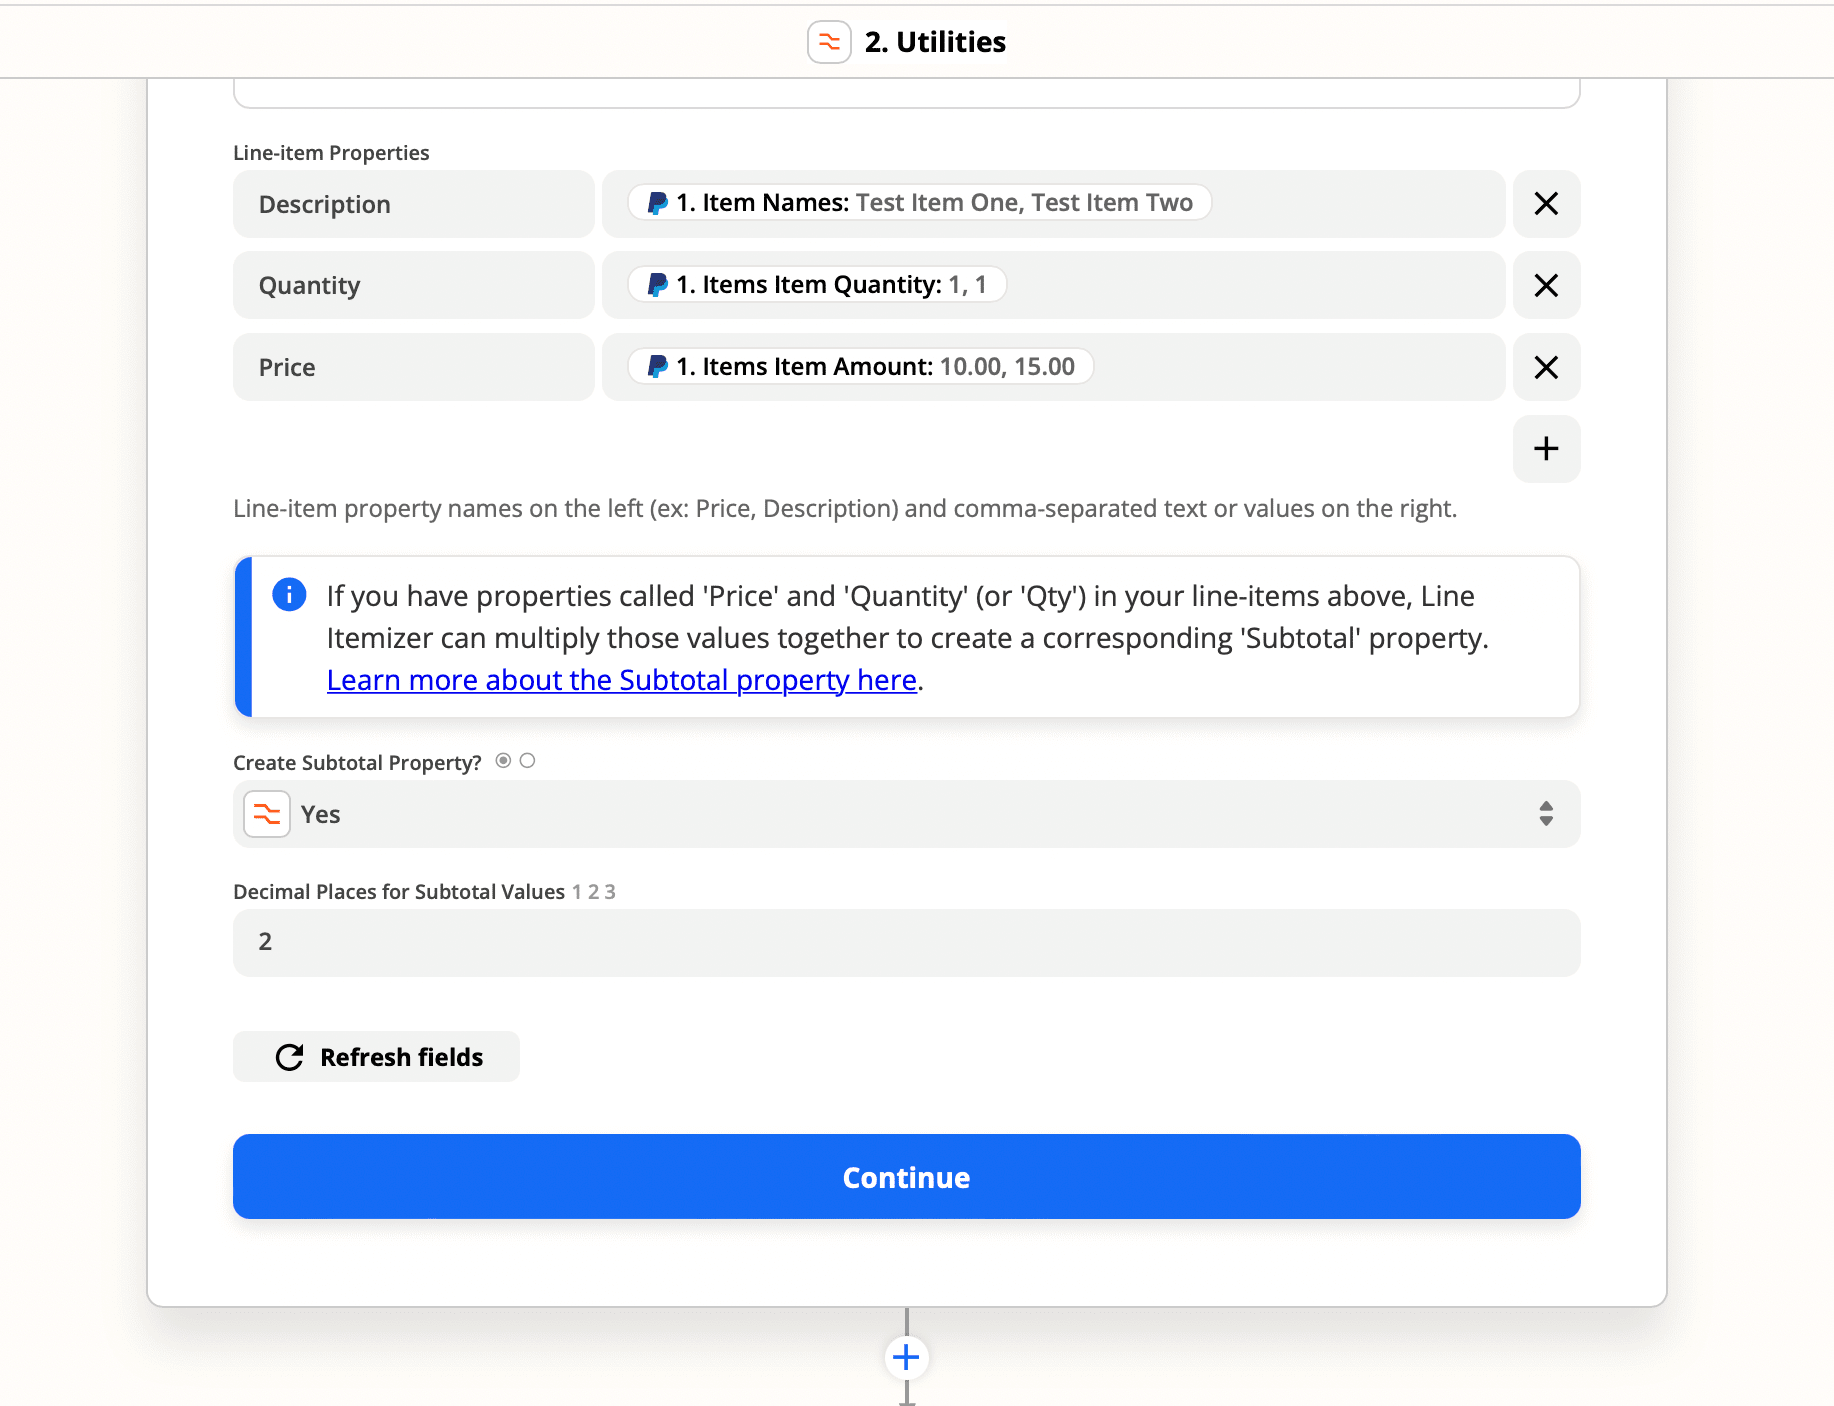
Click Continue and proceed to test and review.
Click Test & Review. If the test was successful, you'll see the results of the text transform.
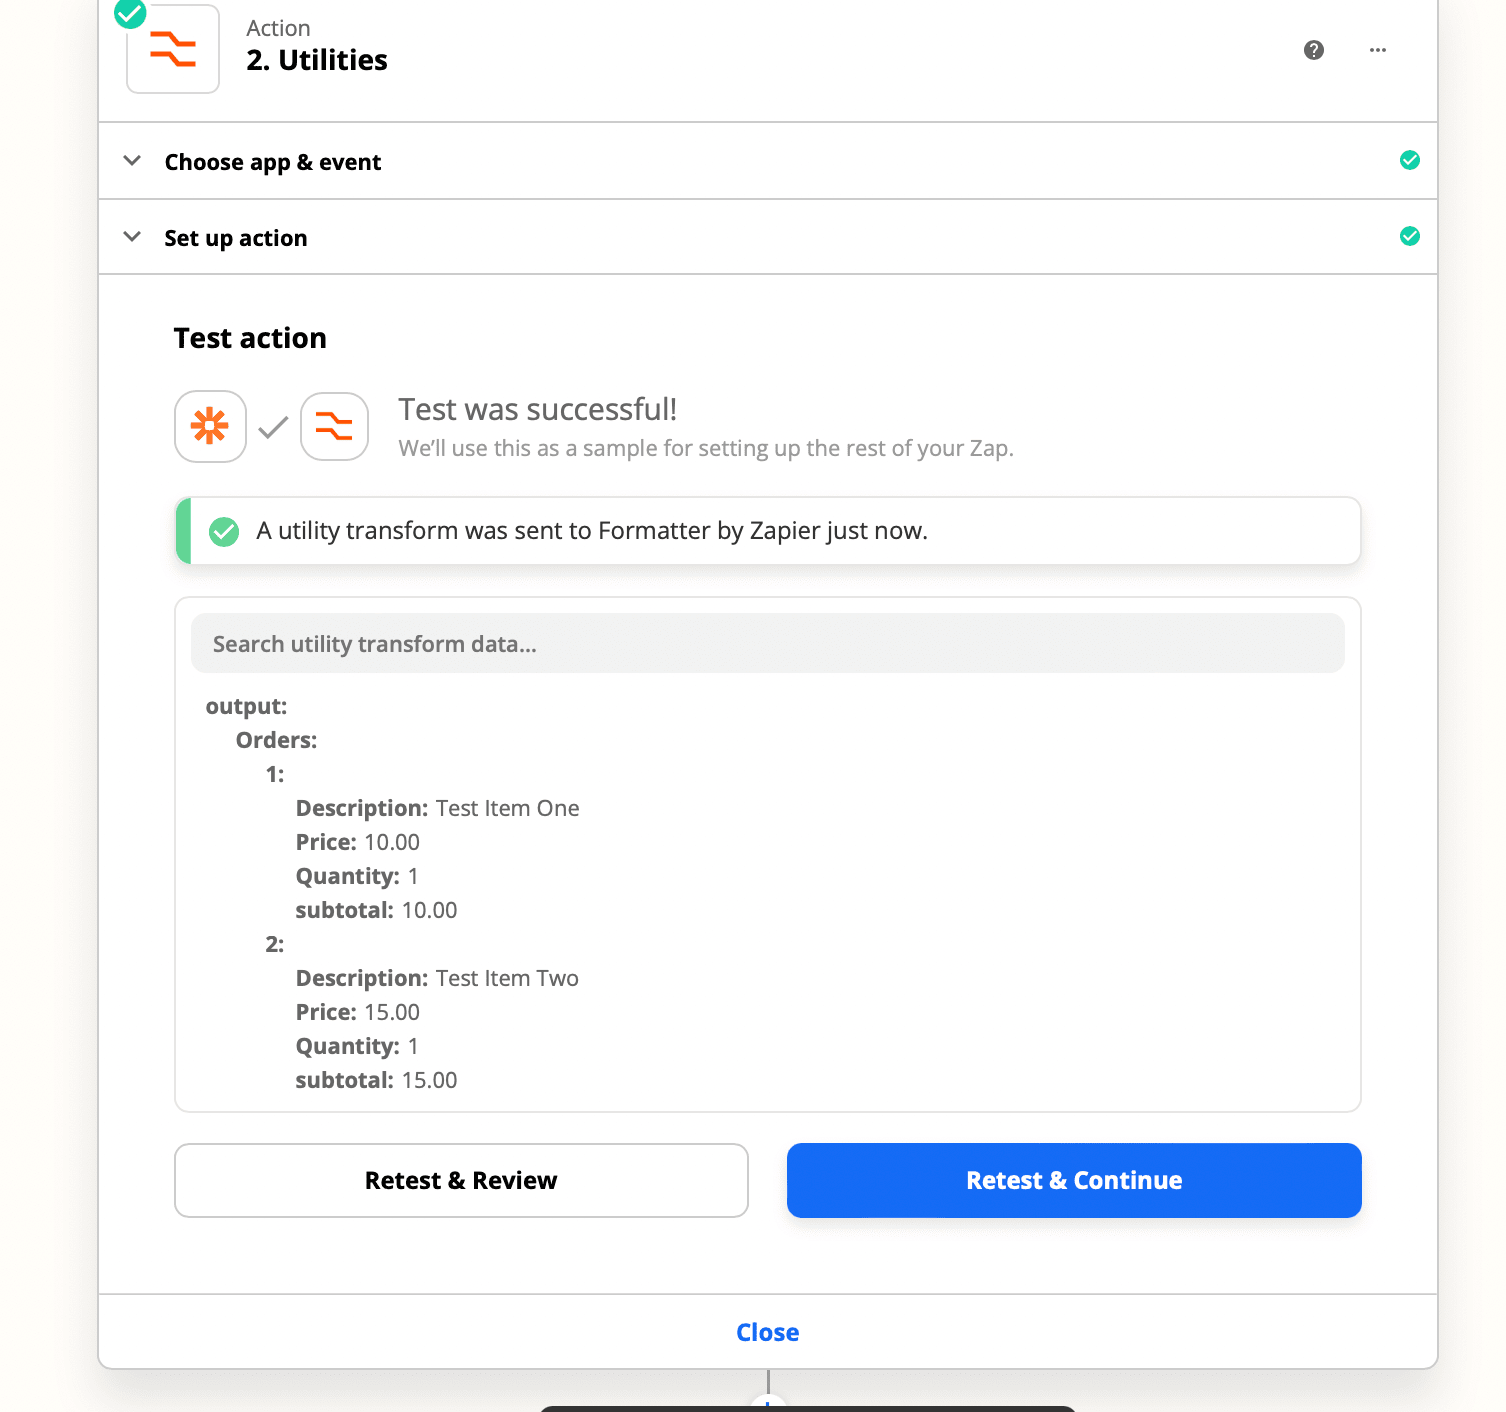
Once you've set up the Formatter Text transform, you can use the results in further actions in your Zap.
Bear tip: 🐻 If you want to perform mathematical operations on value(s), use the _ Formatter by Zapier _ app and _ Numbers _ action event to add, subtract, multiply, divide or make negative.
Zap #3: Reformat Order Date for Bannerbear Invoice
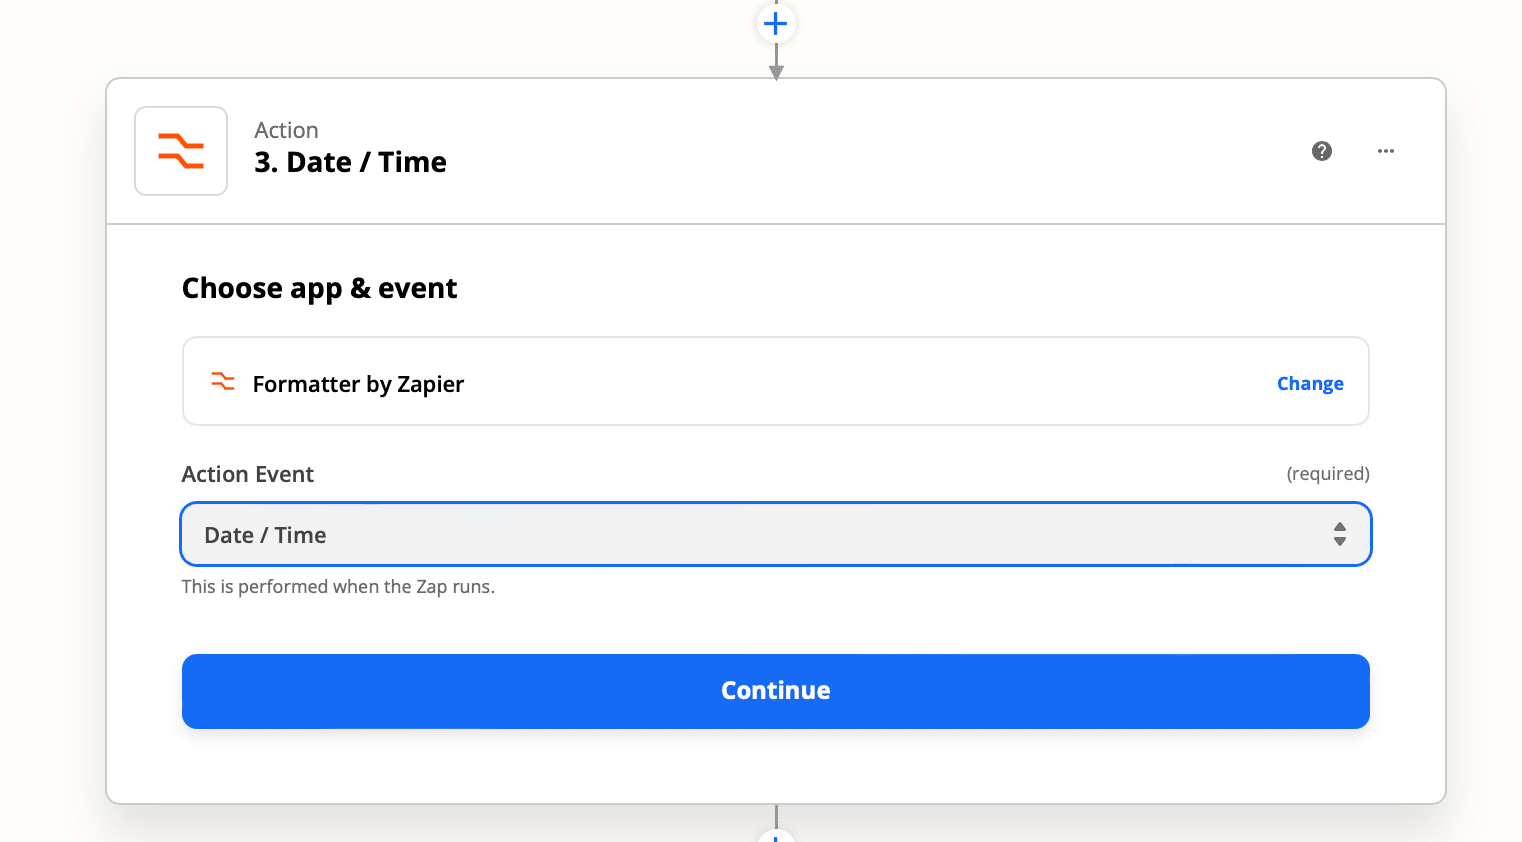
Next, add a new action and choose the Formatter by Zapier app and select Date/Time as the action event - this is to reformat the date from PayPal so we can use it in Bannerbear in a later step.
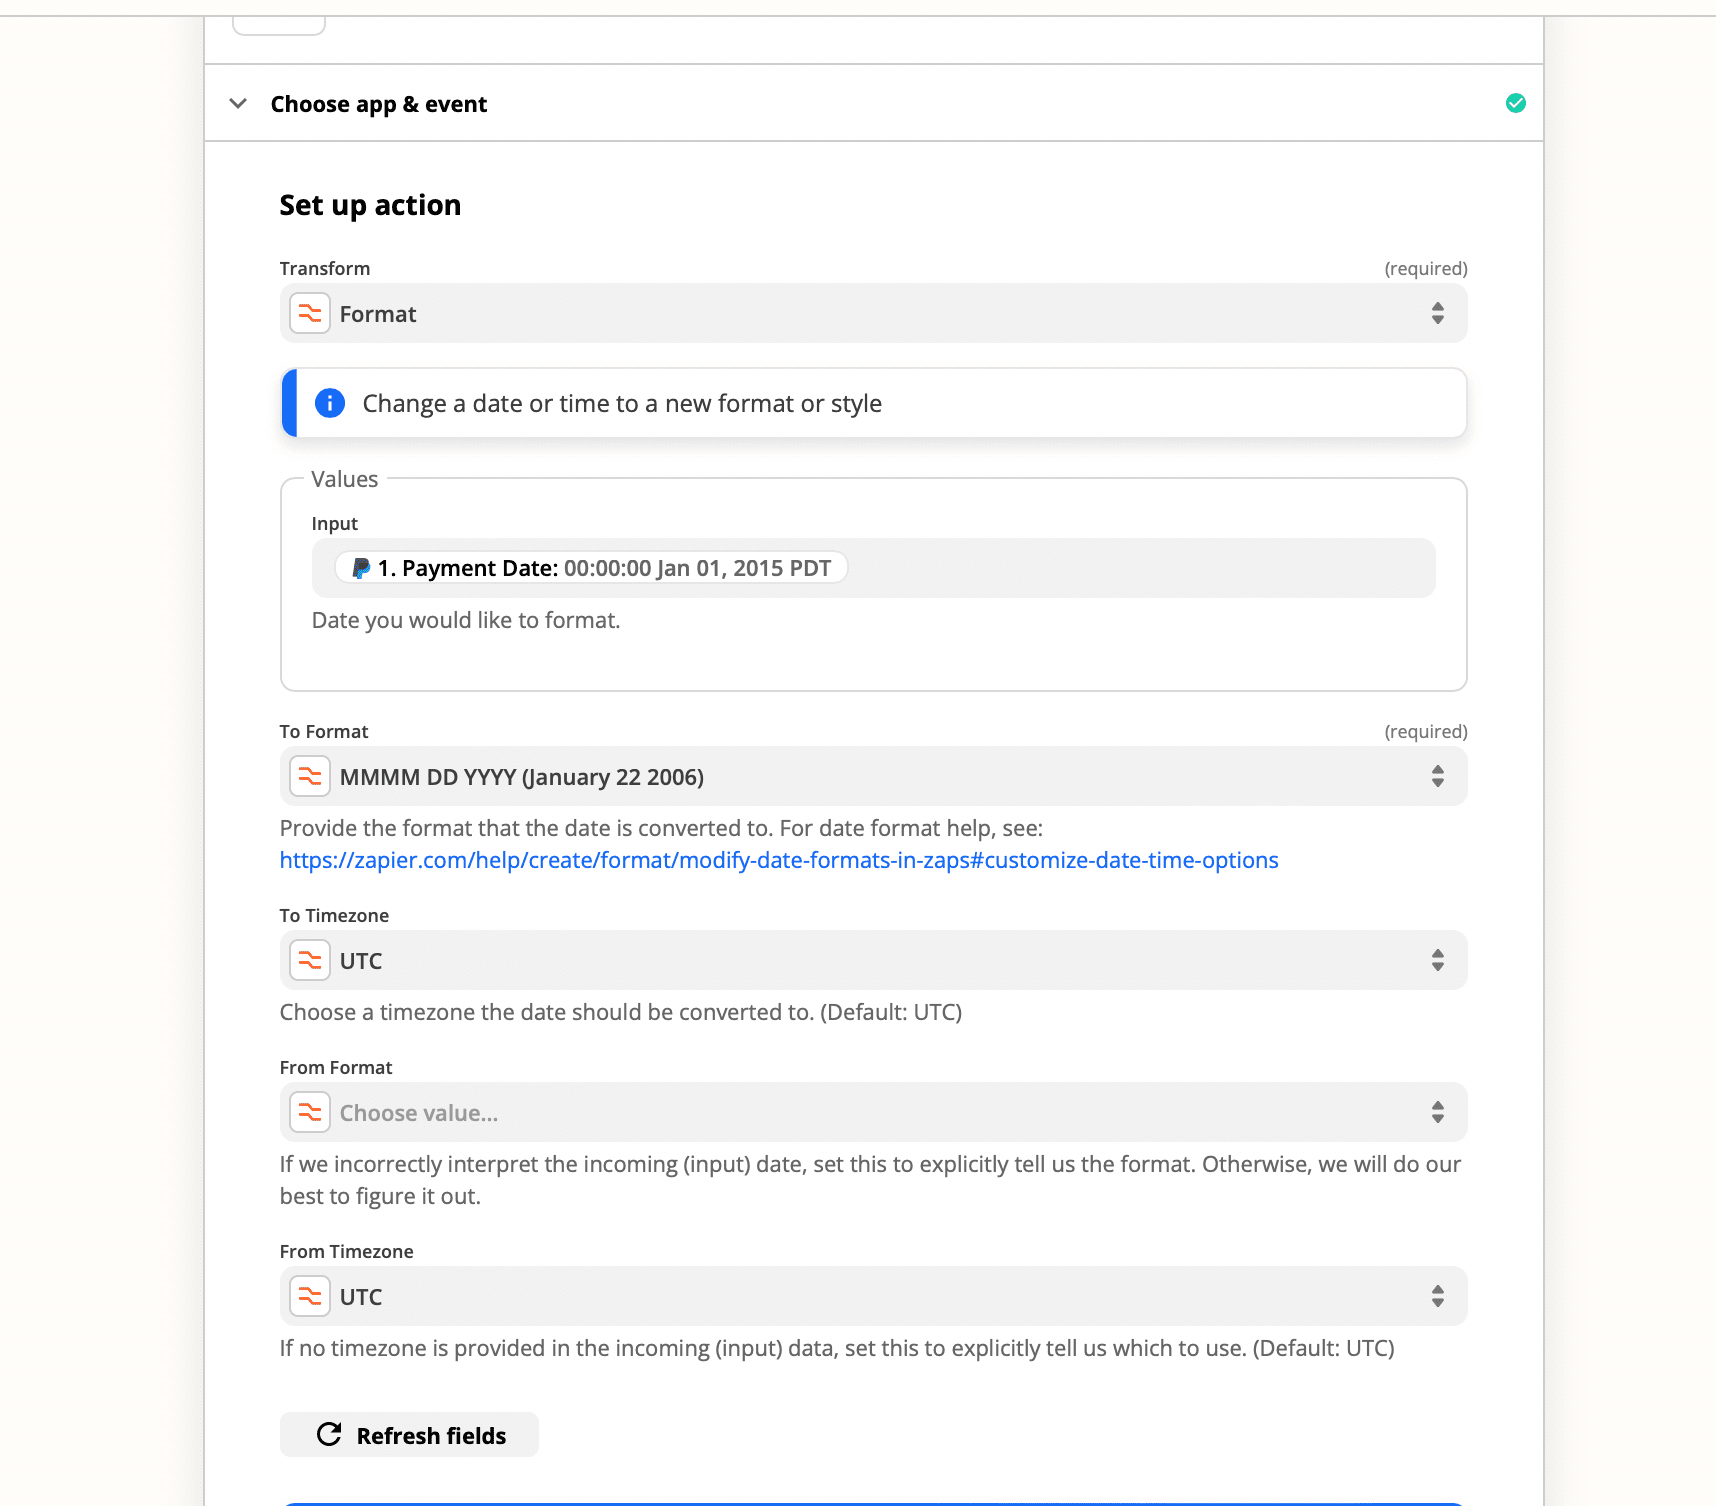
Click Continue and proceed to Customize. Under Transform select Format and add the PayPal Order Date from the trigger as the Value Input.
Under To Format, select MMMM DD YYYY in the "month-day-year" order:
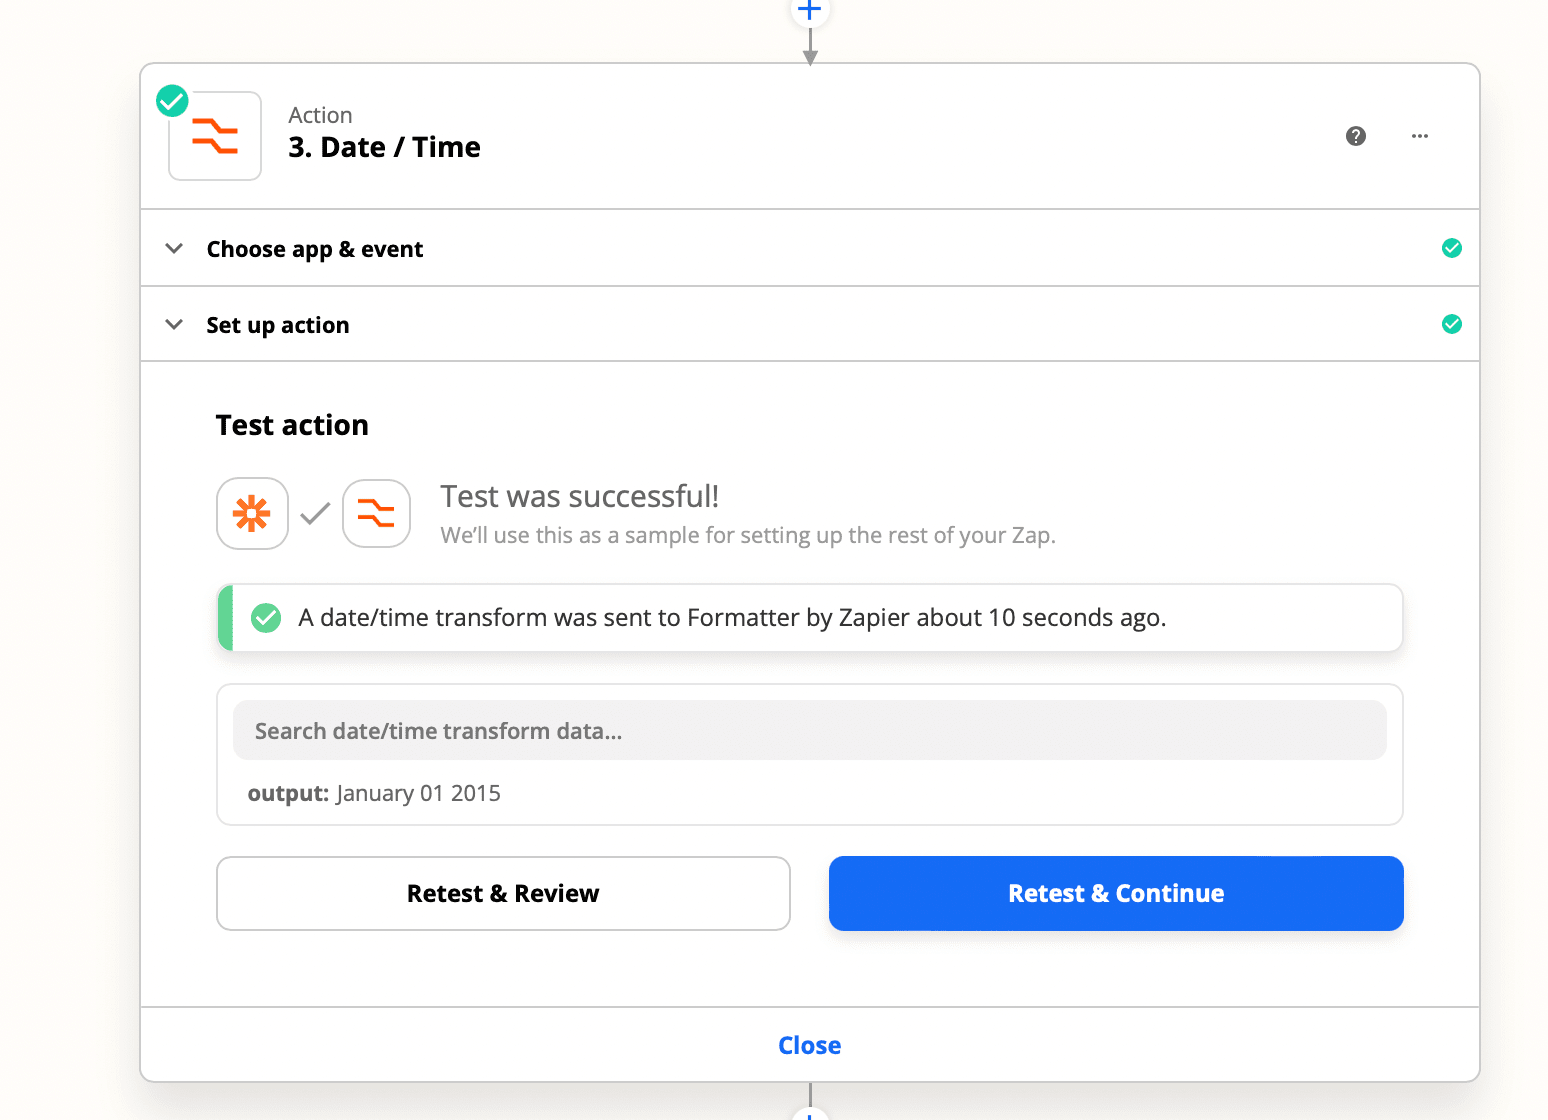
Click Test & Review. To test Formatter by Zapier, we need to create a new date/time transform:
Zap #4: Create a Bannerbear Image
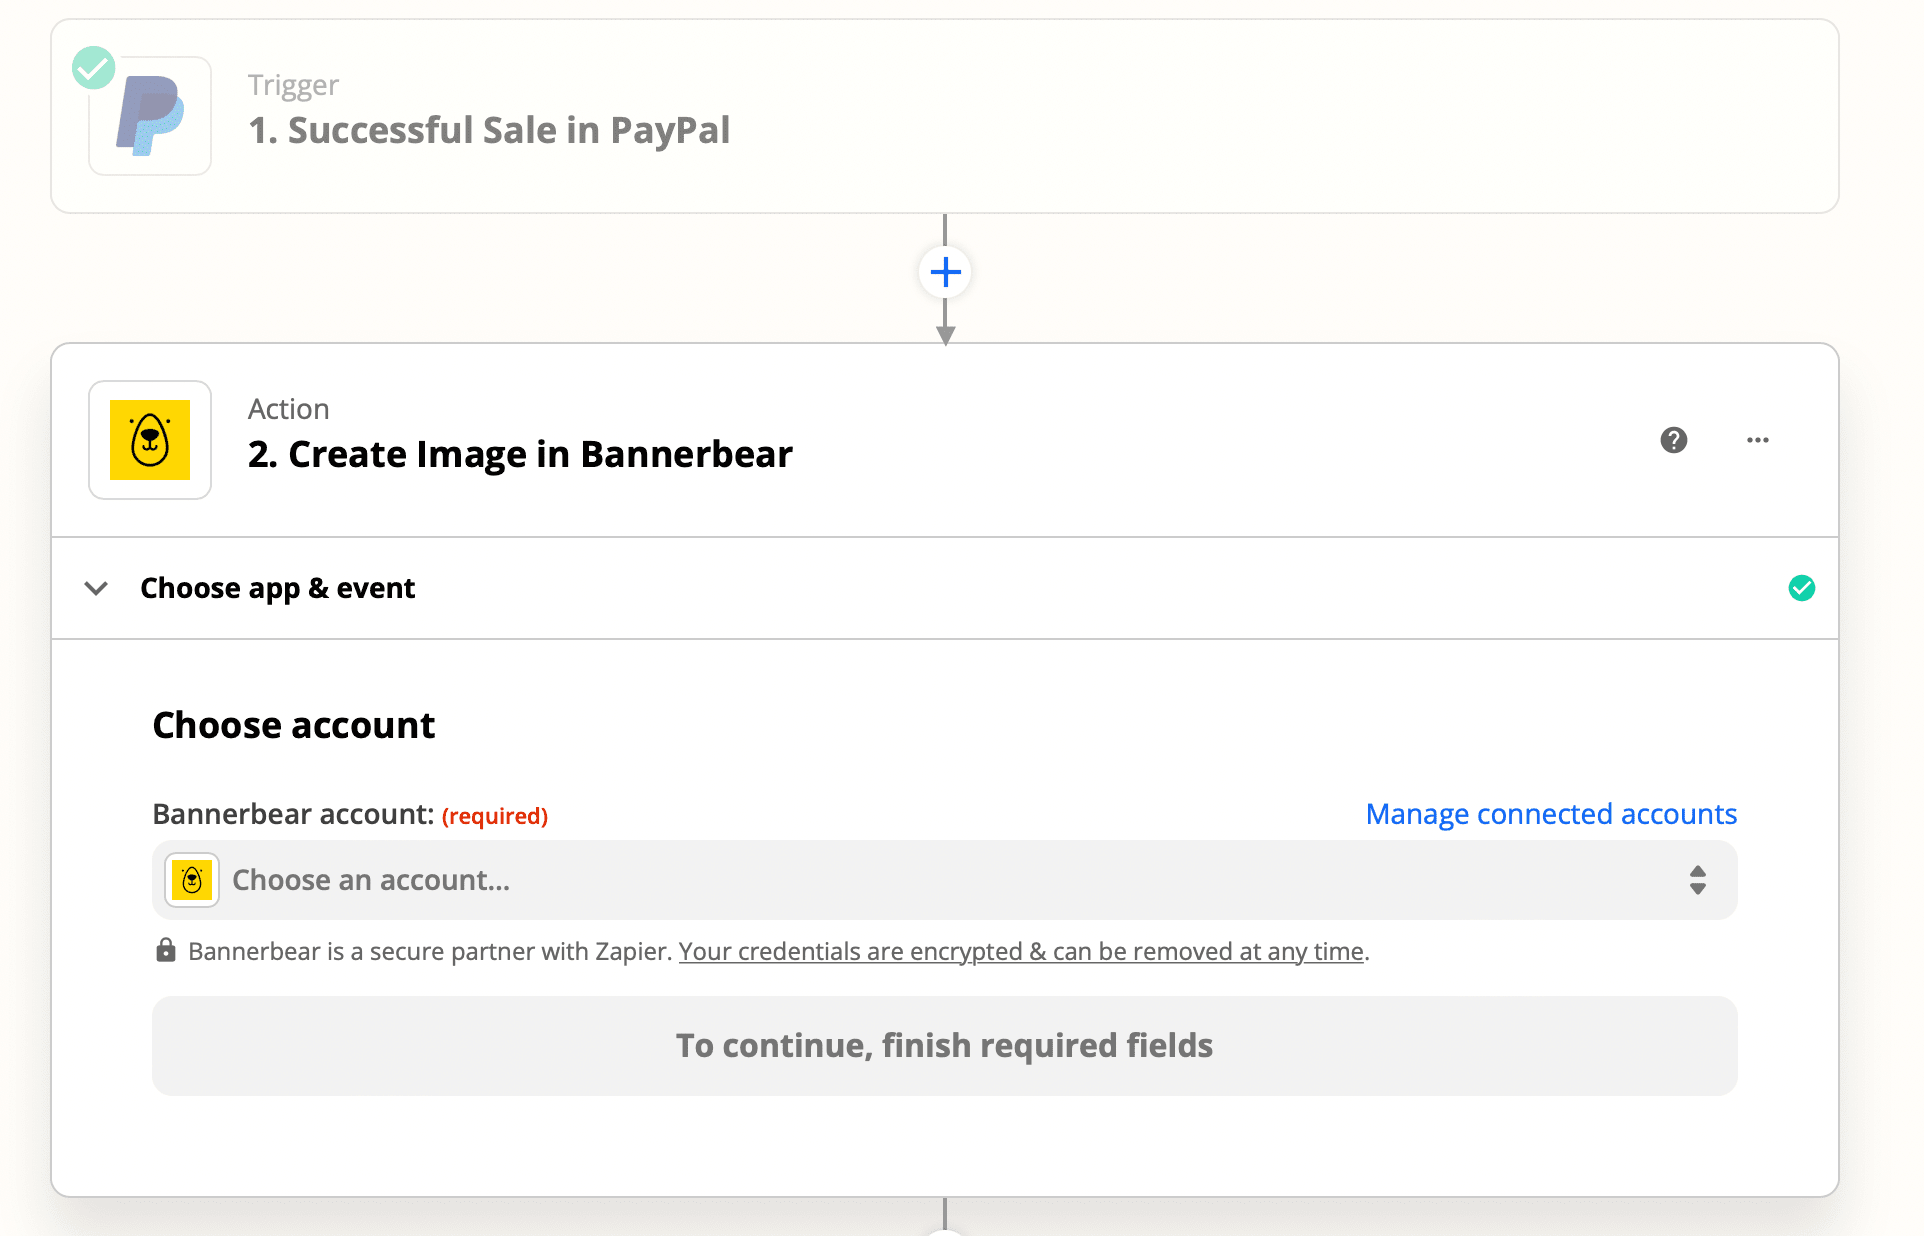
Log in to Bannerbear. We want our Zap to create a new image in Bannerbear.
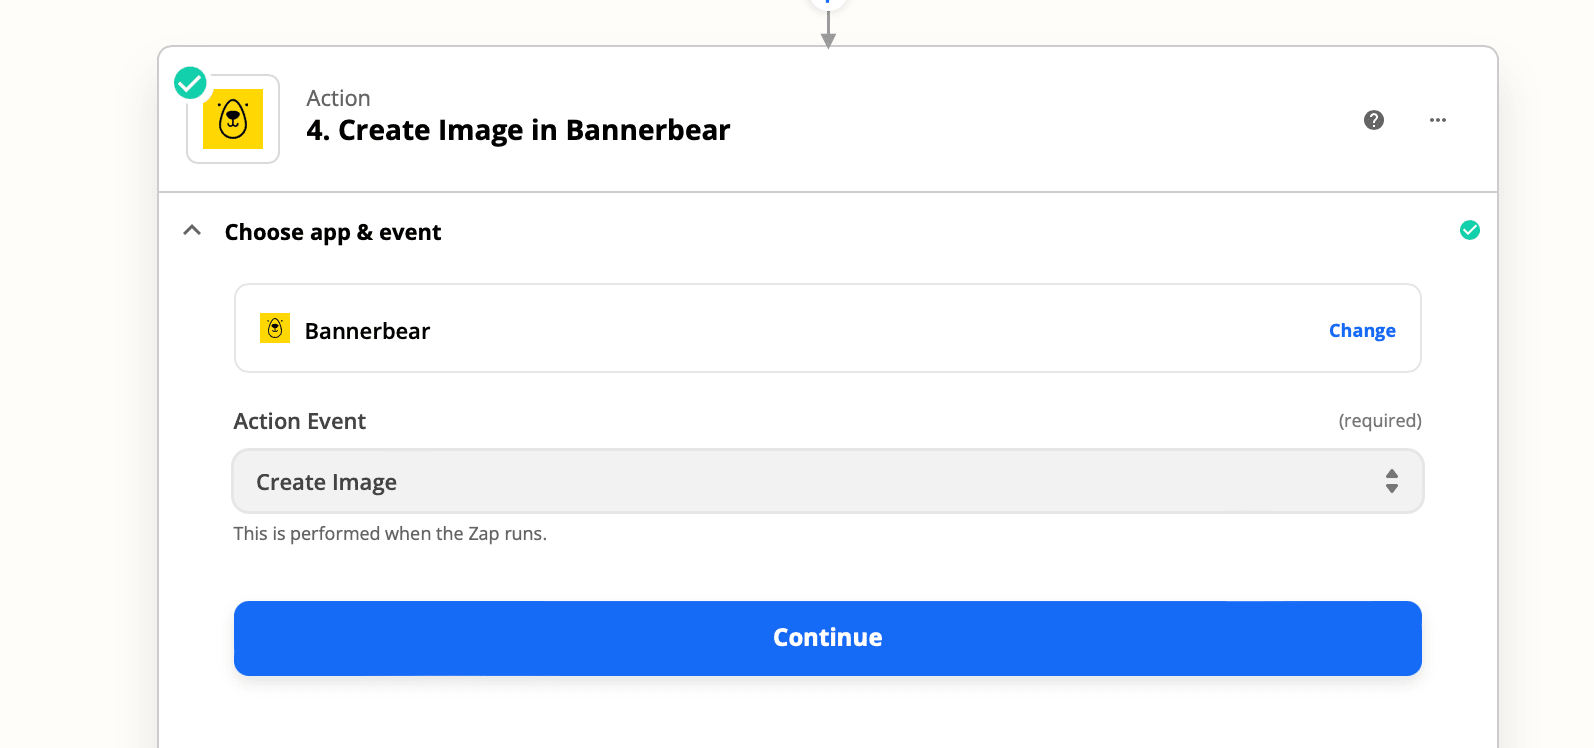
Choose Bannerbear as your App and Create Image as your Action Event.
If you've never connected your Bannerbear account to Zapier, click + Connect a new account to give Zapier permission to access your account.
Once you've connected your account, you'll see the latest Bannerbear templates in your account. Select the one you'd like to use.
Set up your template
Now you can select which details from PayPal you'd like to use by clicking on the fields in the placeholder label. Once you've made your selections, click Continue.
We’ll be working with the following dynamic fields:
- description_text
- quantity_text
- price_text
- amount_text
- billto_field
- date_field
- invoicenumber_field
- total_amount
Depending on the template you use, If you'd like to change the template output, you can adjust the formatting options or the appearance within the fields.

Set render PDF as true:
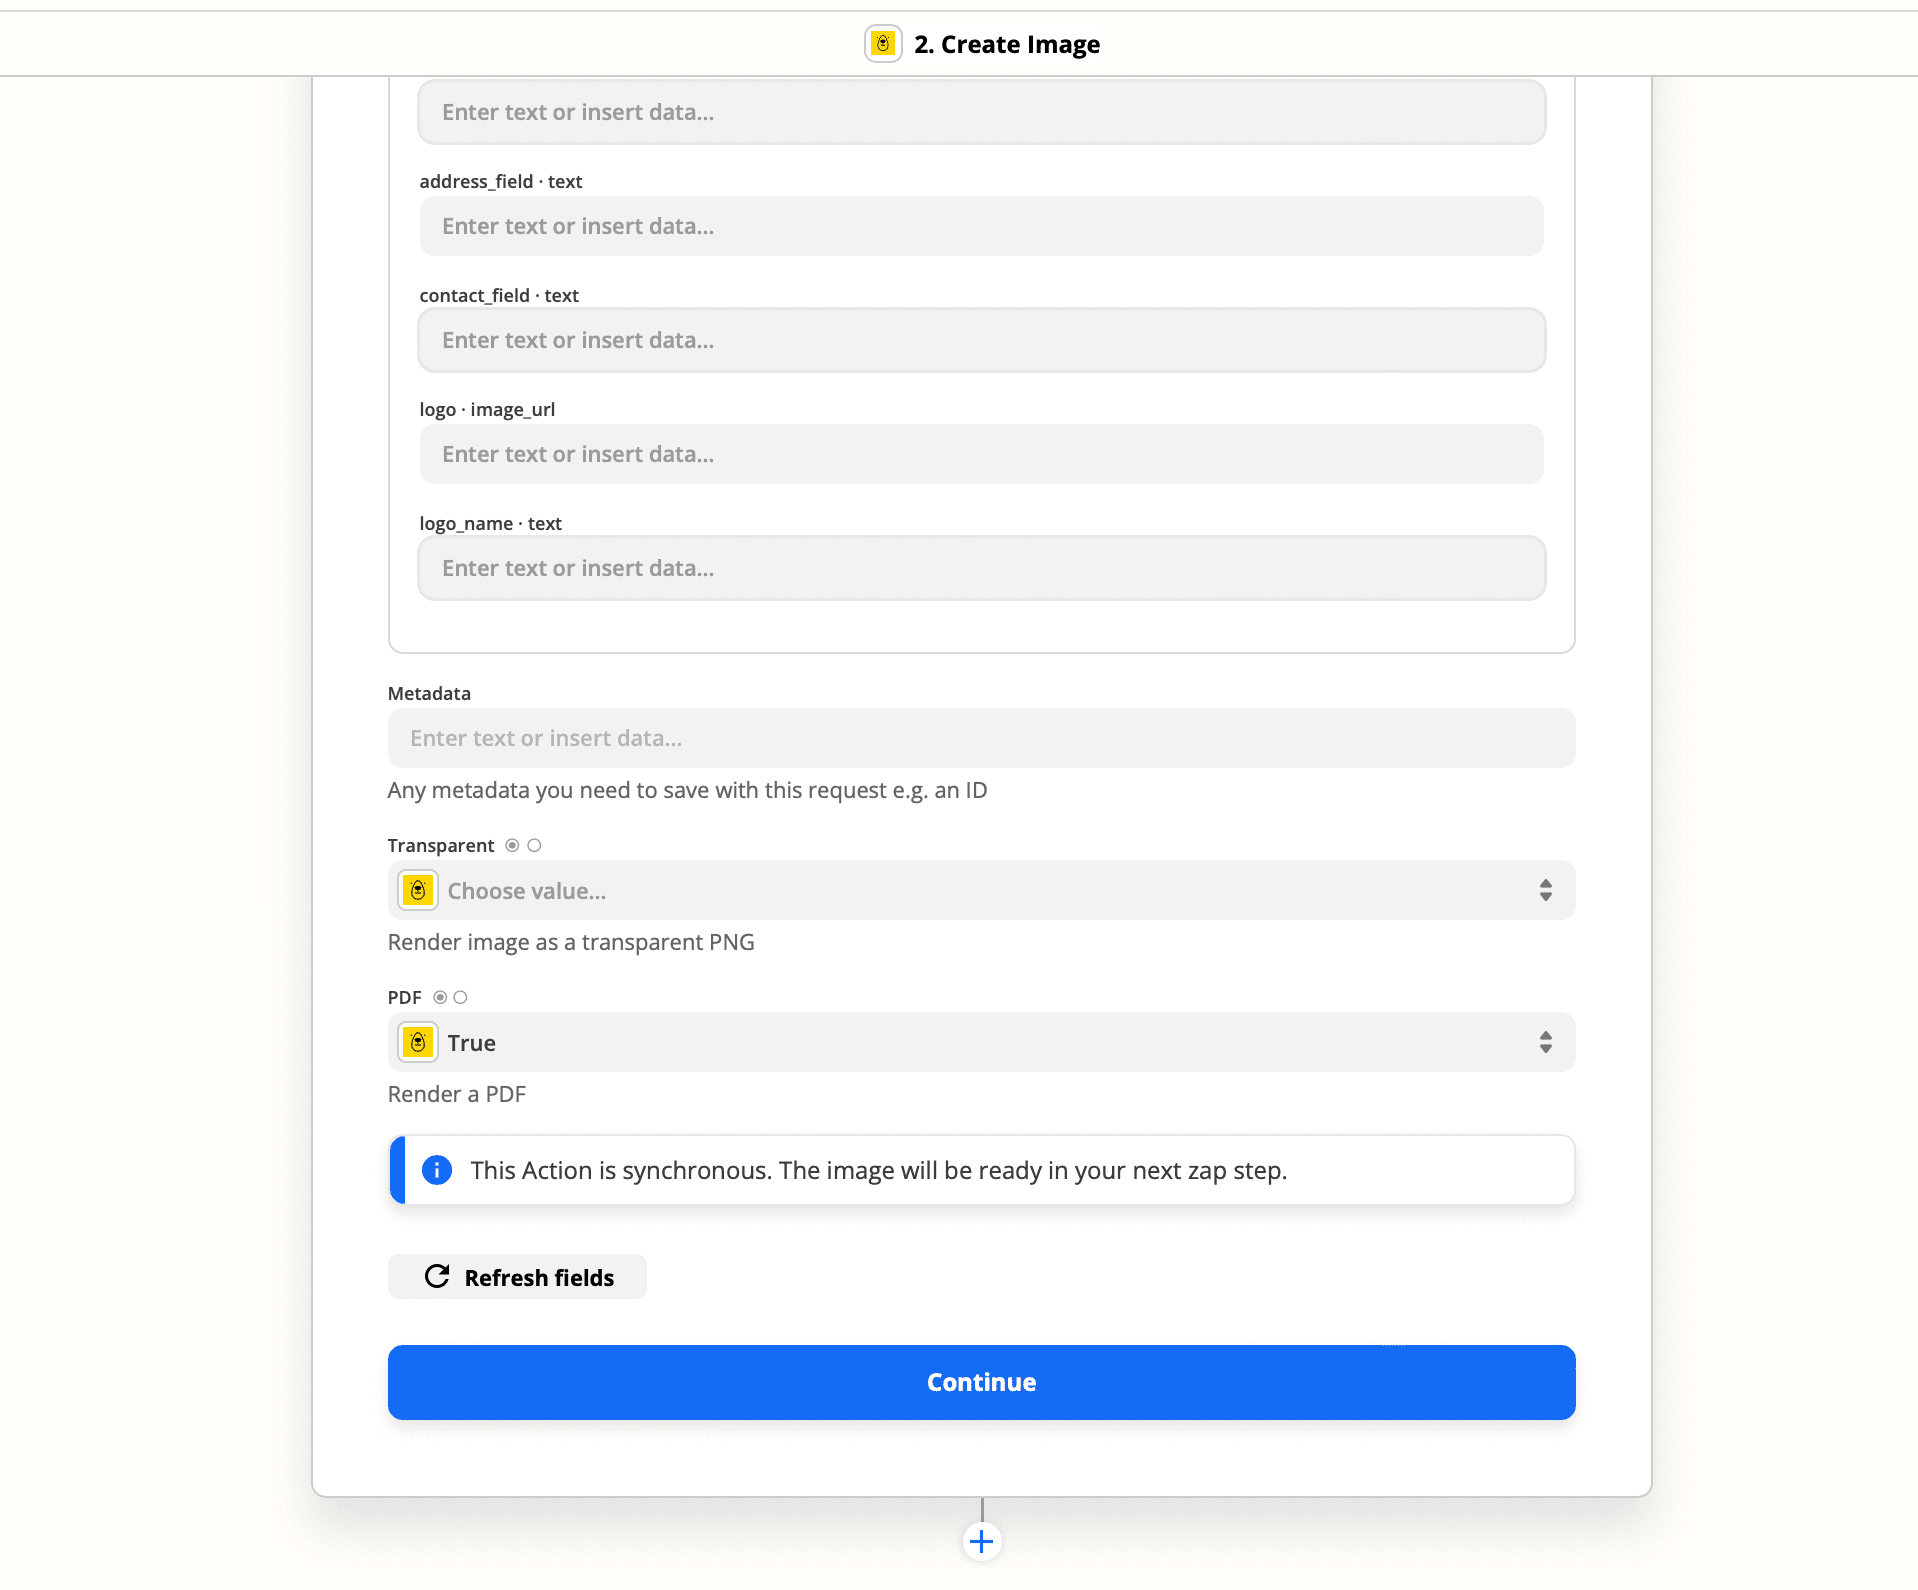
When you're happy with how your invoice looks, click the Continue button at the bottom of the screen.
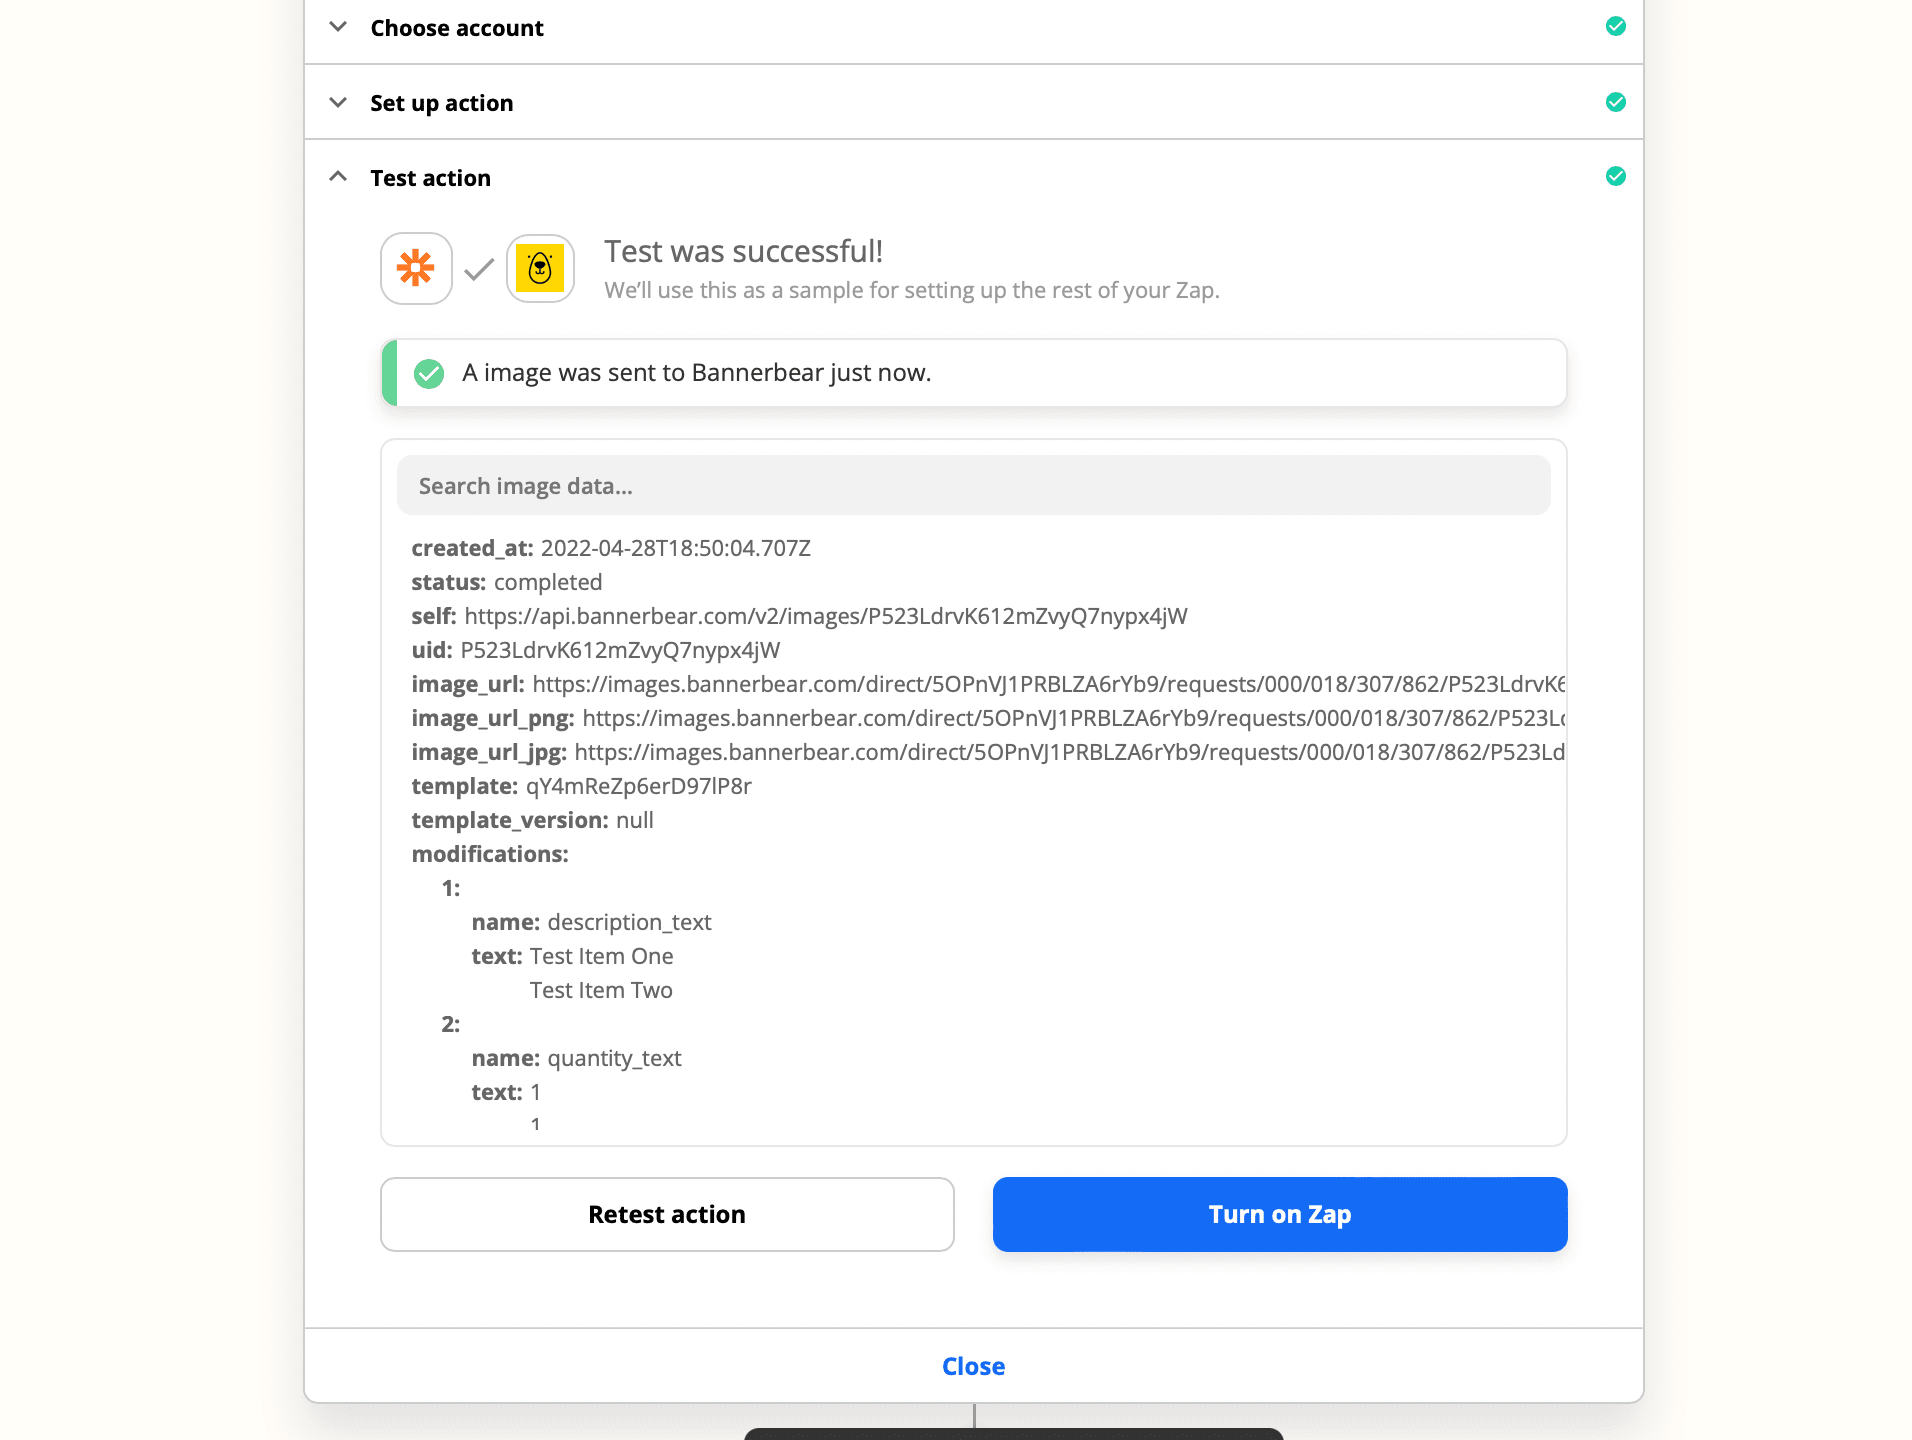
To test Bannerbear, we need to create a new image. You'll see a preview image of how your invoice will appear.
You can choose to print the invoice yourself or send them to a printing company to print for you.
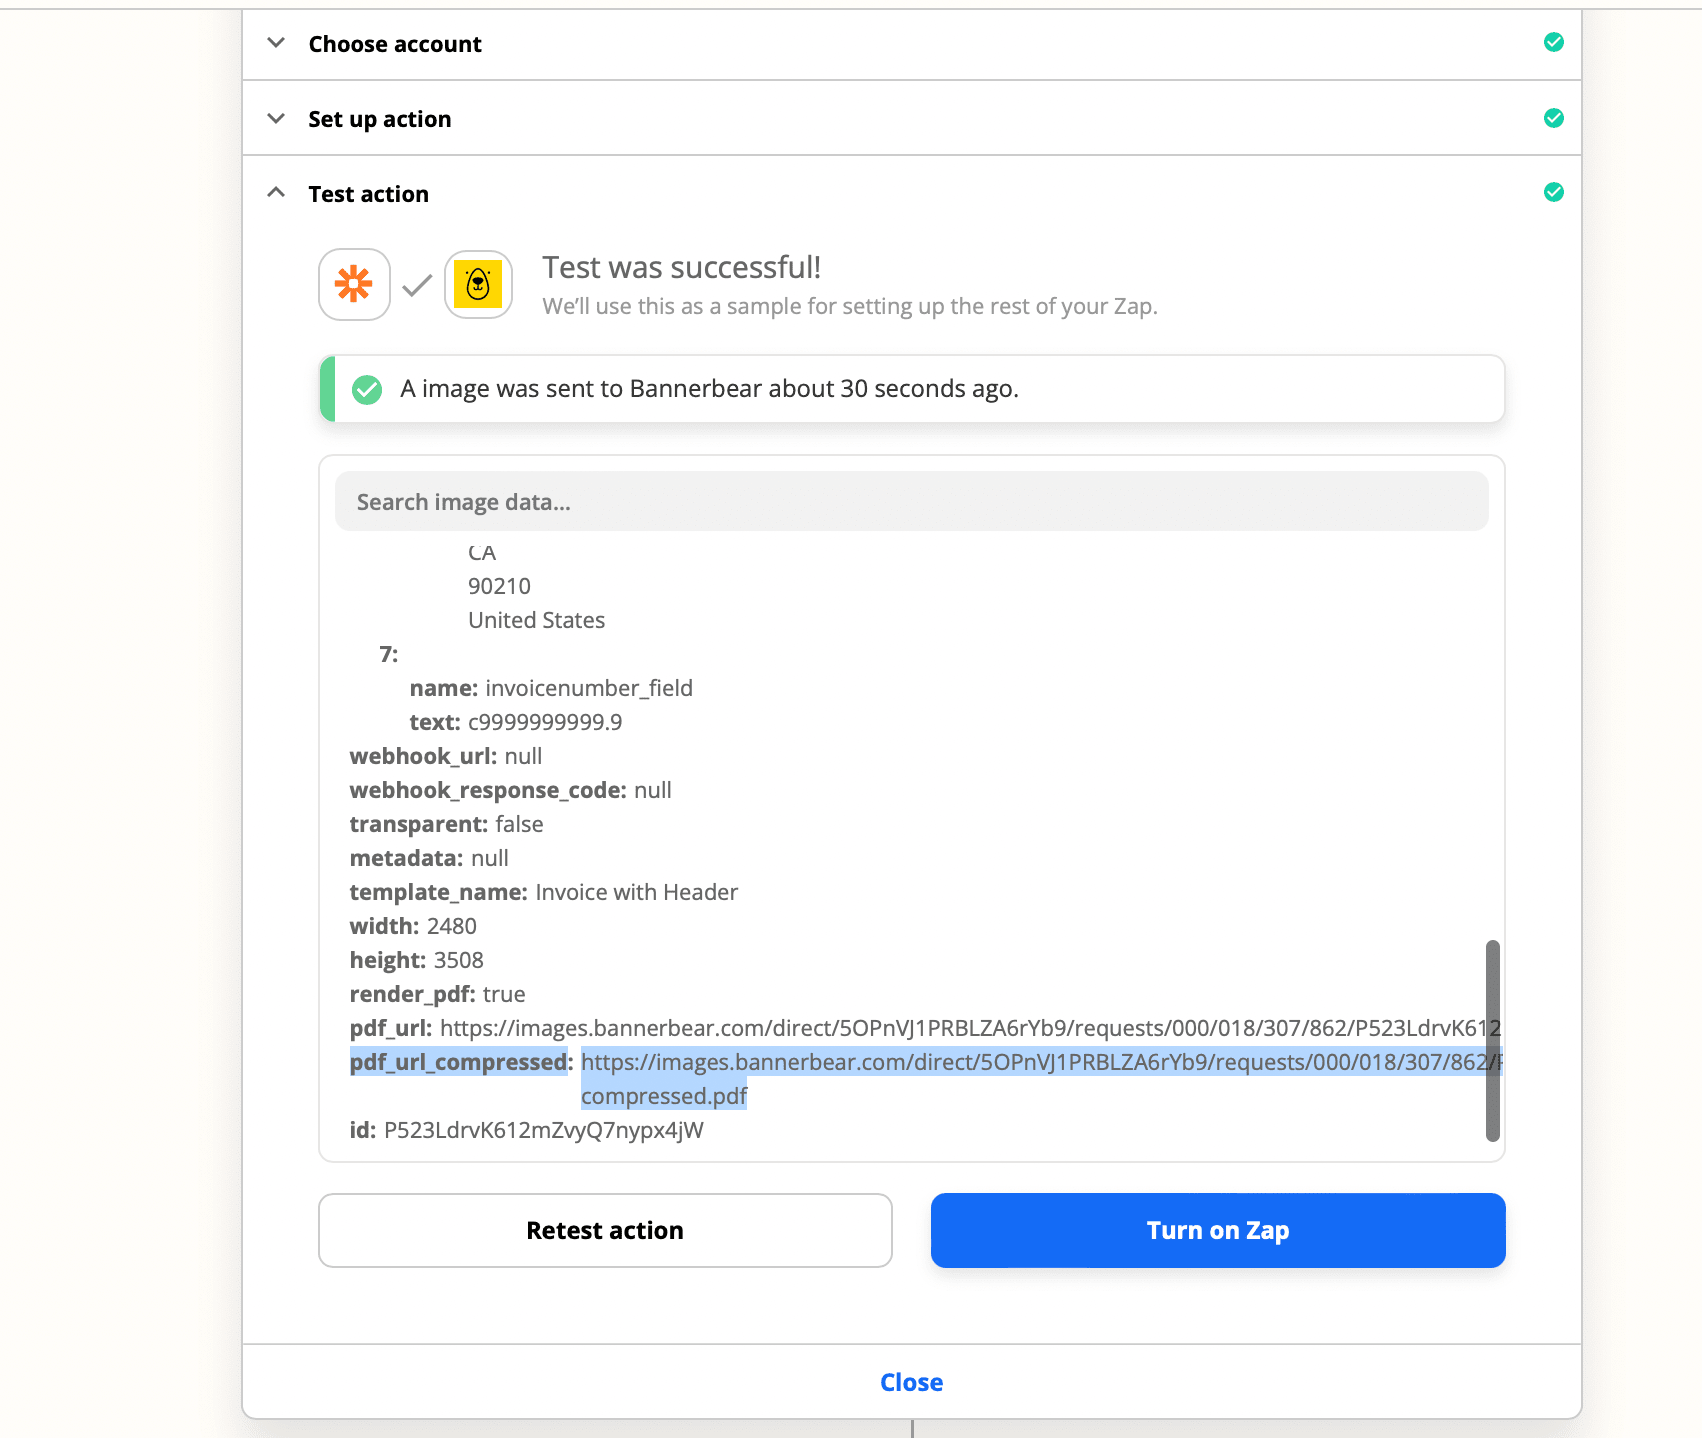
Test your Zap, And if everything has been tested and seems to work then turn it on!
Finally for future zaps, you should see a new invoice like this one.
Next steps
Don’t use PayPal for your e-commerce store? Try Shopify, WooCommerce or Stripe integrations to trigger the Zap. Or you could manually import the sales records into Google Sheets instead. This way, you can use different data sources for your Bannerbear images.
Also you can opt to add another Zapier action to forward the invoice to the purchaser via email.