
FFmpeg 101: Top 10 Command Options You Need to Know (with Examples)
Contents
Videos play an important part in the digital world—87% of the businesses that use videos for marketing have increased their website’s traffic and more businesses are doing so. Since 2016, the number has increased by 41%.
If you're developing a tool for editing videos, then you should know FFmpeg. It is a command-line tool that is widely used in different applications such as video players, video editing software, streaming platforms, etc.
It is a powerful and versatile tool for developing media-related applications as it offers hundreds of options to perform different kinds of editing and streaming tasks. However, beginners might feel overwhelmed looking at all the options in the FFmpeg documentation. To help you get started, we have listed 10 essential FFmpeg options that are commonly used in this article, with examples included.
What is FFmpeg
FFmpeg is a complete, cross-platform solution to record, convert and stream audio and video. It can decode, encode, transcode, mux, demux, stream, filter and play any media file in any format. It is also highly portable as it compiles and runs in various build environments, machine architectures, and configurations like Linux, Mac OS X, Microsoft Windows, etc.
It contains multiple tools for end-users to convert, play and analyze media files and libraries for developers to use in different applications. The libraries include libavcodec, libavutil, libavformat, libavfilter, libavdevice, libswscale, and libswresample. They will be downloaded automatically when you download the FFmpeg package or executable files.
How to Use FFmpeg
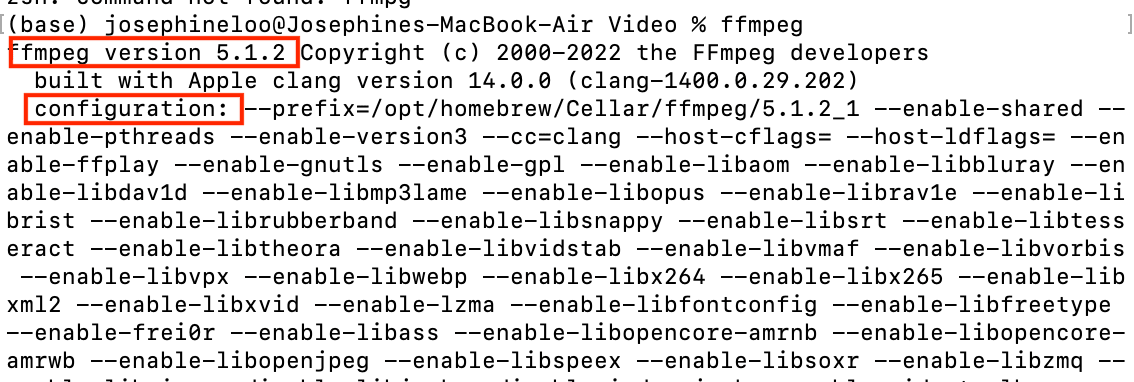
FFmpeg can be used in the terminal or command line interface. To use FFmpeg, you need to download and install the packages and executable files for your OS from the official FFmpeg download page. After installing it, verify the installation by running ffmpeg in your terminal. You should see the FFmpeg version and default configuration settings if it's installed successfully.
After that, you can run different commands in the terminal to perform various tasks on images, videos, and audio files. Some common usages include converting a file from one format to another, extracting audio from a video file, merging multiple files into one, etc. You can also use FFmpeg to change the resolution, bitrate, and other parameters of a video or audio file.
Generally, an FFmpeg command follows the structure below:
ffmpeg [global_options] {[input_file_options] -i input_url} ... {[output_file_options] output_url} ...
Run the command in the terminal and you should get the result in your working directory.
10 Essential FFmpeg Options
Note: The order of the following FFmpeg options does not represent their significance.
1. Input File (-i)
Use this option to specify the input file for the command. It can be used for an image, video, or audio file of any format. In the command, provide the file path of the input file followed by the -i option.
In a single command, you are allowed to use multiple input files, with each following the -i option. One example is when you need to add a watermark to a video. To do this, you will use the video and the watermark (image) as your inputs.
Example (Single Input)
ffmpeg -i input.mp4 output.avi
Example (Multiple Inputs)
ffmpeg -i input.mp4 -i watermark.png -filter_complex "overlay" output.mp4
2. Start Time Offset (-ss)
Use this option to specify the start time of a video or audio file. The value following the option -ss should be given in the format of hh:mm:ss, where hh is the hour, mm is the minute, and ss is the second.
You can use the -ss option to trim a video or extract images at a given timestamp from the video.
Example
ffmpeg -ss 00:01:30 -i input.mp4 output.mp4
The command above will start the input video from 00:01:30 and save it as “output.mp4”.
To control when to stop the input video, you can add the -t option (we will see how to use it next).
3. Duration (-t)
Use this option to specify the duration of the input or output file in the format of hh:mm:ss or seconds.
When it’s used as an input option, it will limit the duration of the input file. On the other hand, it will stop writing the output file after its duration reaches the duration specified when you use it as an output option. Nonetheless, both should give you the same result.
Example 1
ffmpeg -i input.mp4 -t 00:00:05 output.mp4
Example 2
ffmpeg -t 00:00:05 -i input.mp4 output.mp4
Example 3
ffmpeg -i input.mp4 -t 5 output.mp4
The three commands above will stop the video at 00:00:05, showing its first 5 seconds in the output file.
You can also use the -t option with -ss to specify the start and end of the video.
ffmpeg -ss 00:01:30 -t 5 -i input.mp4 output.mp4
It will start reading from 00:01:30 of the input video and stop after 5 seconds..
4. Codec (-codec:v, -codec:a)
Use this option to specify the encoder when it’s used before an output file and the decoder when it’s used before an input file. It can be used for both video and audio streams, and its type can be specified after -codec:
- Video:
-codec:vor-c:vor-vcodec - Audio:
-codec:aor-c:aor-acodec
In a single command, you can specify both video and audio codecs or either one of them.
Example
ffmpeg -i input.mp4 -codec:v libx264 -codec:a libmp3lame output.mkv
The command above will convert an MP4 file to an MKV file using the H.264 video codec and the MP3 audio codec. Besides libx264 and libmp3lame, there are many other codecs that you can use, like libwebp, mpeg2, aac, flac, and more.
🐻 Bear Tips: To speed up the task, use
copy(output only) to indicate that the stream is not to be re-encoded.
5. Bitrate (-b:v, -b:a)
The bitrate affects the quality of your media file. The larger the bitrate, the higher the quality (the larger the file size too). Depending on different requirements, it is common to adjust the bitrate of a media stream to increase/decrease the quality or file size.
Similar to codec, the bitrate option is also applied per stream (video/audio):
- Video:
-b:v - Audio:
-b:a
Example
ffmpeg -i input.mp4 -b:v 64k output.mp4
The command above will set the video bitrate to 64kbps. You can also use M as the abbreviation for Mbps.
6. Filter (-filter:v, -fitler:a )
Use this option to apply video and audio filters to the input file. There are hundreds of filters available, as listed in the FFmpeg documentation. To use a filter, you must have a single input and a single output of the same stream type.
- Video:
-filter:vor-vf - Audio:
-filter:aor-af
Example
ffmpeg -i input.mp4 -filter:v "rotate=90" output.mp4
The command above will apply the rotate filter and rotate the video by 90 degrees.
7. Size (-s)
Use this option to specify the resolution or frame size of the output file, in the format of WxH. It is the same as adding -vf scale=w:h to a command to use the scale video filter.
Example
ffmpeg -i input.mp4 -s 640x480 output.mp4
The command above will take the input video, re-encode it to a resolution of 640x480 pixels, and save the result to "output.mp4".
However, the result in the output file doesn't follow the specified size if the aspect ratio is different. The scale filter will preserve the input’s Display Aspect Ratio (DAR) and use the height specified in the the command to calculate the output’s width according to its Sample Aspect Ratio (SAR).
Therefore, to change the resolution without preserving the aspect ratio, we need to reset the SAR after scaling the video. Instead of using -s, use the scale filter:
ffmpeg -i input.mp4 -vf scale=640:480,setsar=1 output.mp4
8. Frame Rate (-r)
Frame rate is also known as frame per second (fps). It is the measurement of how quickly a number of frames appear within a second and it affects the smoothness of a video. You can use the -r option to specify the frame rate of the output file.
Example
ffmpeg -i input.mp4 -r 30 output.mp4
The command above will change the frame rate of the video to 30 fps. Besides the smoothness of the video, its duration will also be changed if the difference is too big from the original frame rate.
9. Aspect Ratio (-aspect)
Use this option to specify the aspect ratio of the output file. The aspect can be a floating point number string (eg. 1.3333, 1.7777) or a string in the format of num:den, like 4:3 and 16:9.
Example 1
ffmpeg -i input.mp4 -aspect 1.7777 output.mp4
Example 2
ffmpeg -i input.mp4 -aspect 16:9 output.mp4
The command above will set the video's aspect ratio to 1.7777/16:9. Keep in mind that changing the aspect ratio of a video can change the way the video is displayed, and can result in distortion.
10. Overwrite Output Files without Asking (-y)
This option overwrites the output file without asking for confirmation if it already exists. Normally, when you run the same command for the second time in the terminal, it will prompt a confirmation to overwrite the output file.
If the -y option is added, it will overwrite the old output file directly.
Example
ffmpeg -i input.mp4 -y output.mp4
Conclusion
These are only some of the options that you can add to your command. Other options can be found in the FFmpeg documentation, with categories such as main, video, audio, and subtitle.
If you are interested to learn more, here are other FFmpeg tutorials where other options are used:
