
How to Extract Images from a Video Using FFmpeg
Contents
FFmpeg is a very robust tool for different types of media operations, including extracting images from a video. You can use it to generate thumbnails for your videos or take a screenshot of the video at any given time.
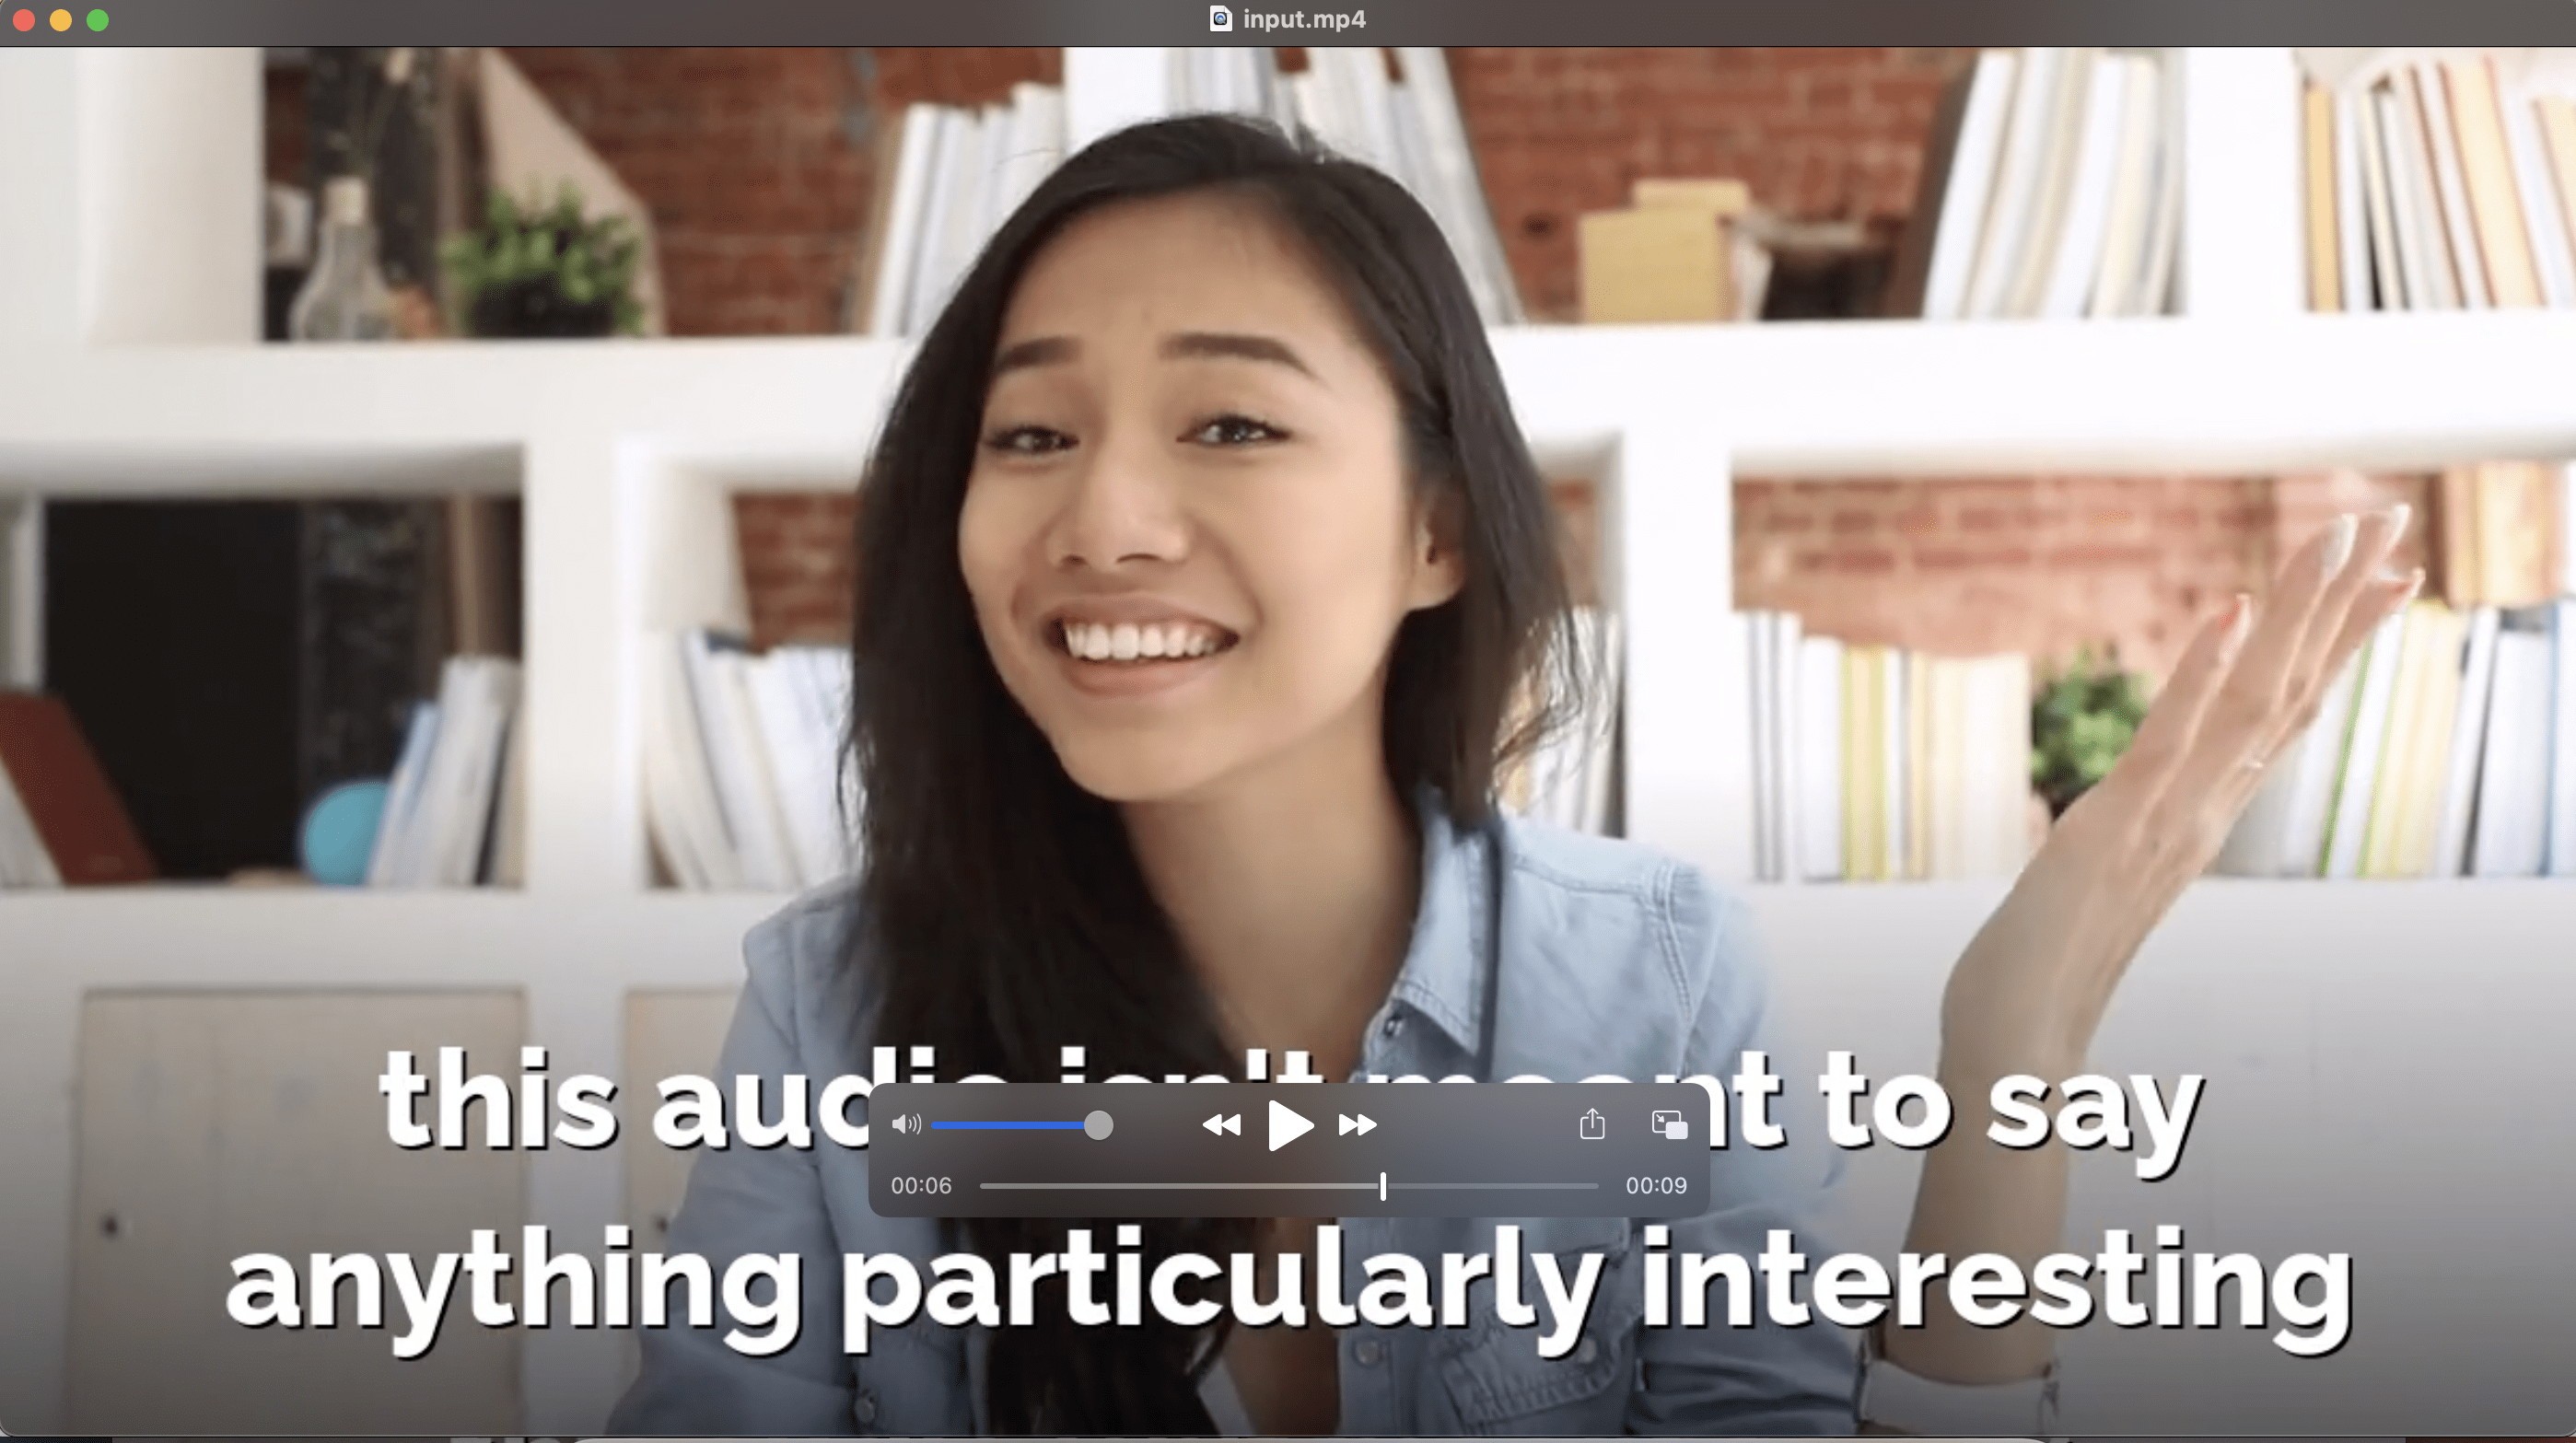
In this tutorial, we will be using the FFmpeg command-line tool to extract frames from the video below and save them as JPG/PNG images using several different commands.
What Is FFmpeg
FFmpeg is a complete, cross-platform solution to record, convert and stream audio and video. It can decode, encode, transcode, mux, demux, stream, filter and play pretty much any media file in any format. It is also highly portable as it compiles and runs in a wide variety of build environments, machine architectures, and configurations like Linux, Mac OS X, Microsoft Windows, etc.
It contains multiple tools for end-users to convert, play and analyze media files and libraries for developers to use in different applications.
Pre-requisite
You will need to download FFmpeg for this tutorial to extract images from a video. For reference, the version of FFmpeg used in this tutorial is v5.0.1.
Basic Command
This is the basic command for extracting images from a video using FFmpeg:
ffmpeg -i input.mp4 %04d.png
%04d.png is a sequence pattern type used to interpret the output file names by sequencing them with zero-padded sequential numbers, eg. 0001.png, 0002.png, 0003.png, etc. When you run the command in the terminal/command prompt, the images will be extracted and saved in the same directory where you executed the command.
By default, FFmpeg uses a frame rate which is the same as the video source. Frame rate is also known as frame per second (fps). It is the measurement of how quickly a number of frames appear within a second. As FFmpeg extracts images from a video following its frame rate, the frame rate will decide how many images will be extracted for every second of the video.
To know what is the frame rate of your video, you can run this command:
ffmpeg i input.mp4
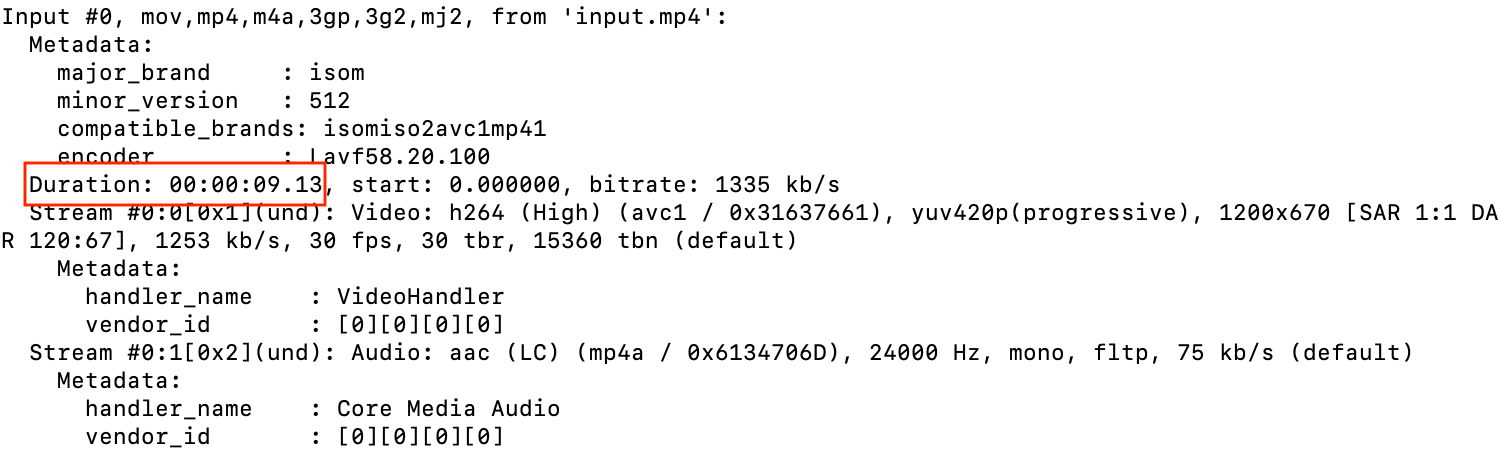
The information about the video will be printed in the terminal. You should get a result similar to this:
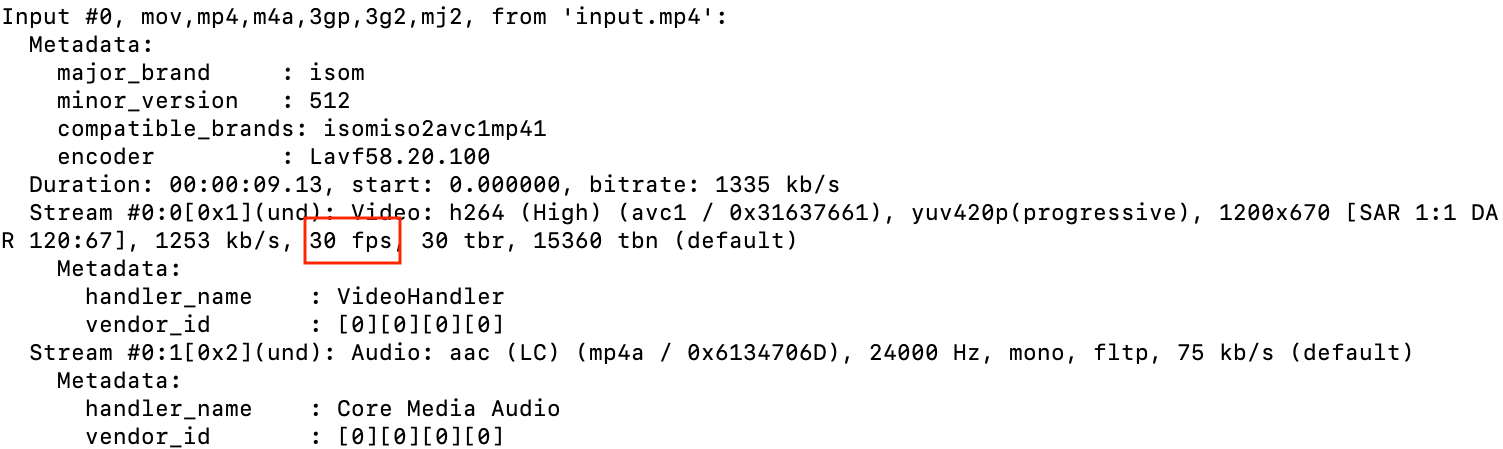
From the screenshot above, the frame rate of the video is 30 fps. This means that 30 images will be extracted for every second of the video when running the basic command ffmpeg -i input.mp4 %04d.png. As a result, a total of 274 images will be generated from the input video.
This is because the length of the video is 9.13 seconds, and 30 images will be generated from every second of it (30 images x 9.13 seconds).
🐻 Bear Tips: Change the
.pngextension to.jpgto save the images as JPG images.
Advanced Operations:
We can generate different outputs by adding some extra arguments to the basic command. Let's see what we can do.
Changing the Frame Rate
You can change the frame rate by adding the argument -vf fps or -filter:v fps with the number of frames to the basic command. It is a filter that will convert the video to the specified constant frame rate by duplicating or dropping frames as necessary.
If the original frame rate of the video is higher than the specified frame rate, the frames in the video will be dropped to match the frame rate specified. On the contrary, the frames of the video will be duplicated if the original frame rate is lower.
For example, adding -vf fps=1 to the basic command will re-encode the video to 1 fps. The frames of the video will be dropped as the original frame rate is 30 fps. The total number of images extracted from the video will become 9 (1 image x 9.13 seconds).
ffmpeg -i input.mp4 -vf fps=1 %04d.png
Note : -vf is an alias for -filter:v.
Extracting Images Every N Seconds
By adding -vf fps=1 to the basic command, you can extract an image for every second of the video. What about extracting an image every n seconds?
You can do this by adding the same argument -vf fps but with different values. You can extract images at a constant time interval by using fractions. For example, -vf fps=1/4 will output an image every 4 seconds.
ffmpeg -i input.mp4 -vf fps=1/4 %04d.png
Similarly, -vf fps=2/4 will output 2 images every 4 seconds.
Extracting Images at a Given Time
In the tutorial How to Make a GIF from a Video Using FFmpeg, -ss "x seconds" and -t "y seconds” are added to the command to specify the part of the video that we want to convert.
The -ss argument tells FFmpeg to seek x seconds into the input file. We can use the same argument to tell FFmpeg to seek x seconds into the input video and starts extracting images from that specific point.
The -ss argument needs to be placed before the input video -i in the command. This will parse the input using keyframes and make the image extraction faster compared to other methods.
ffmpeg -ss 00:00:04 -i input.mp4 %04d.png
The command above seeks 00:04 into the video and starts extracting images from that point until the end of the video. You will have a total of 154 images as the total duration of the video becomes 5.13 seconds long (30 images x 5.13 seconds).
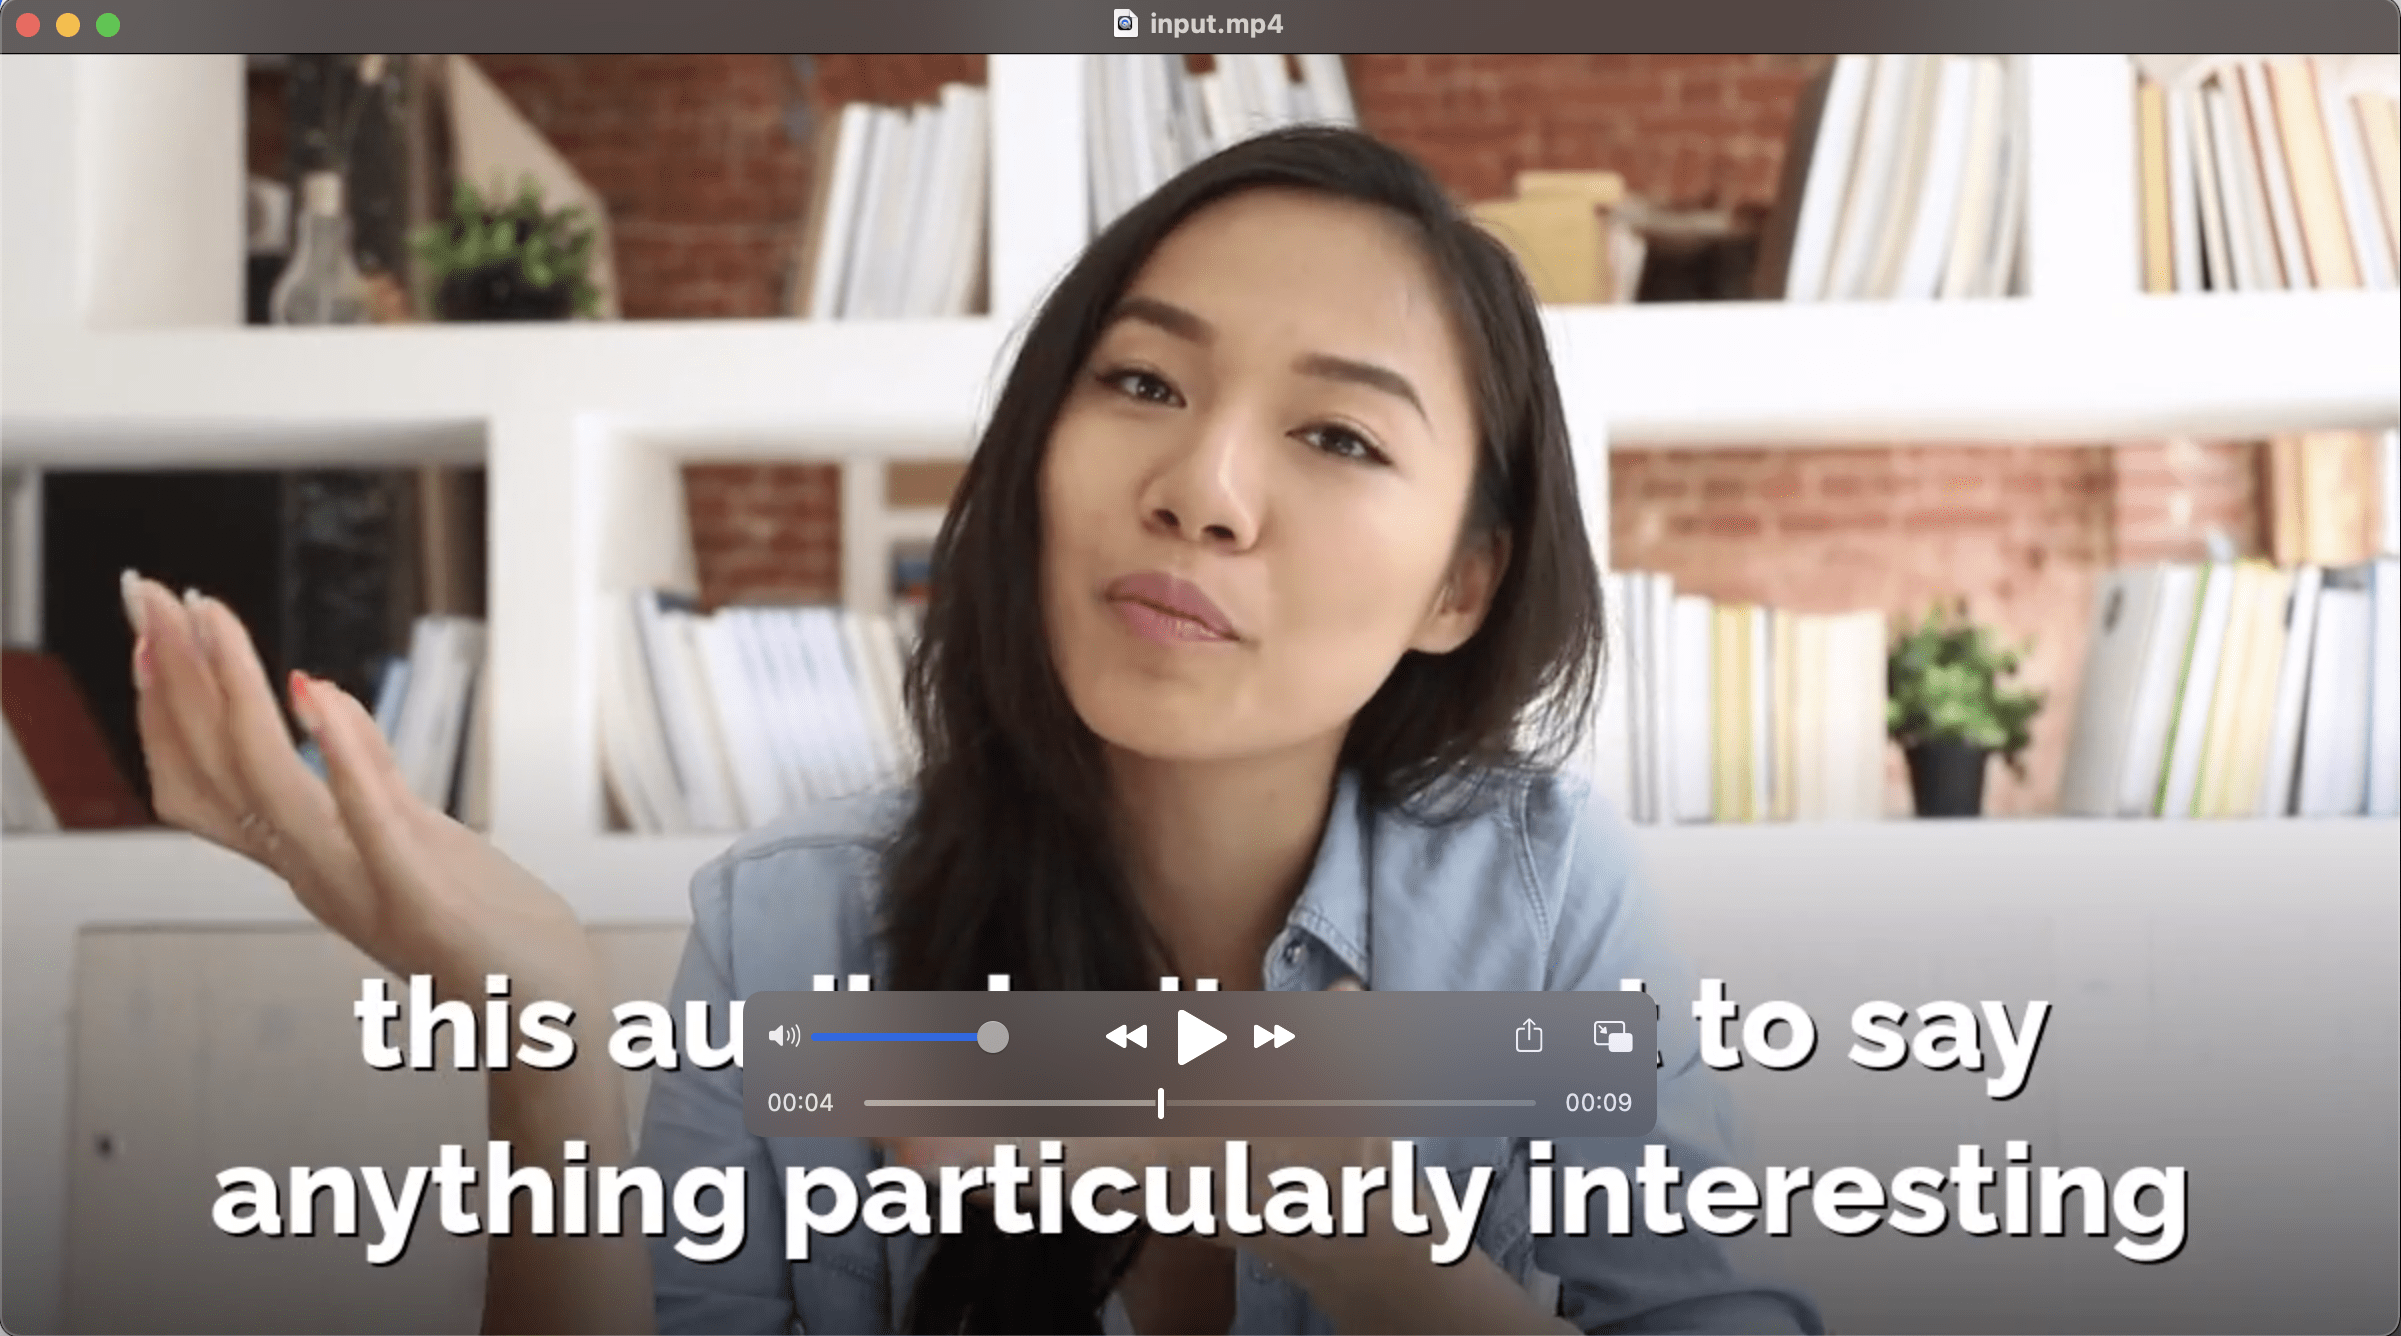
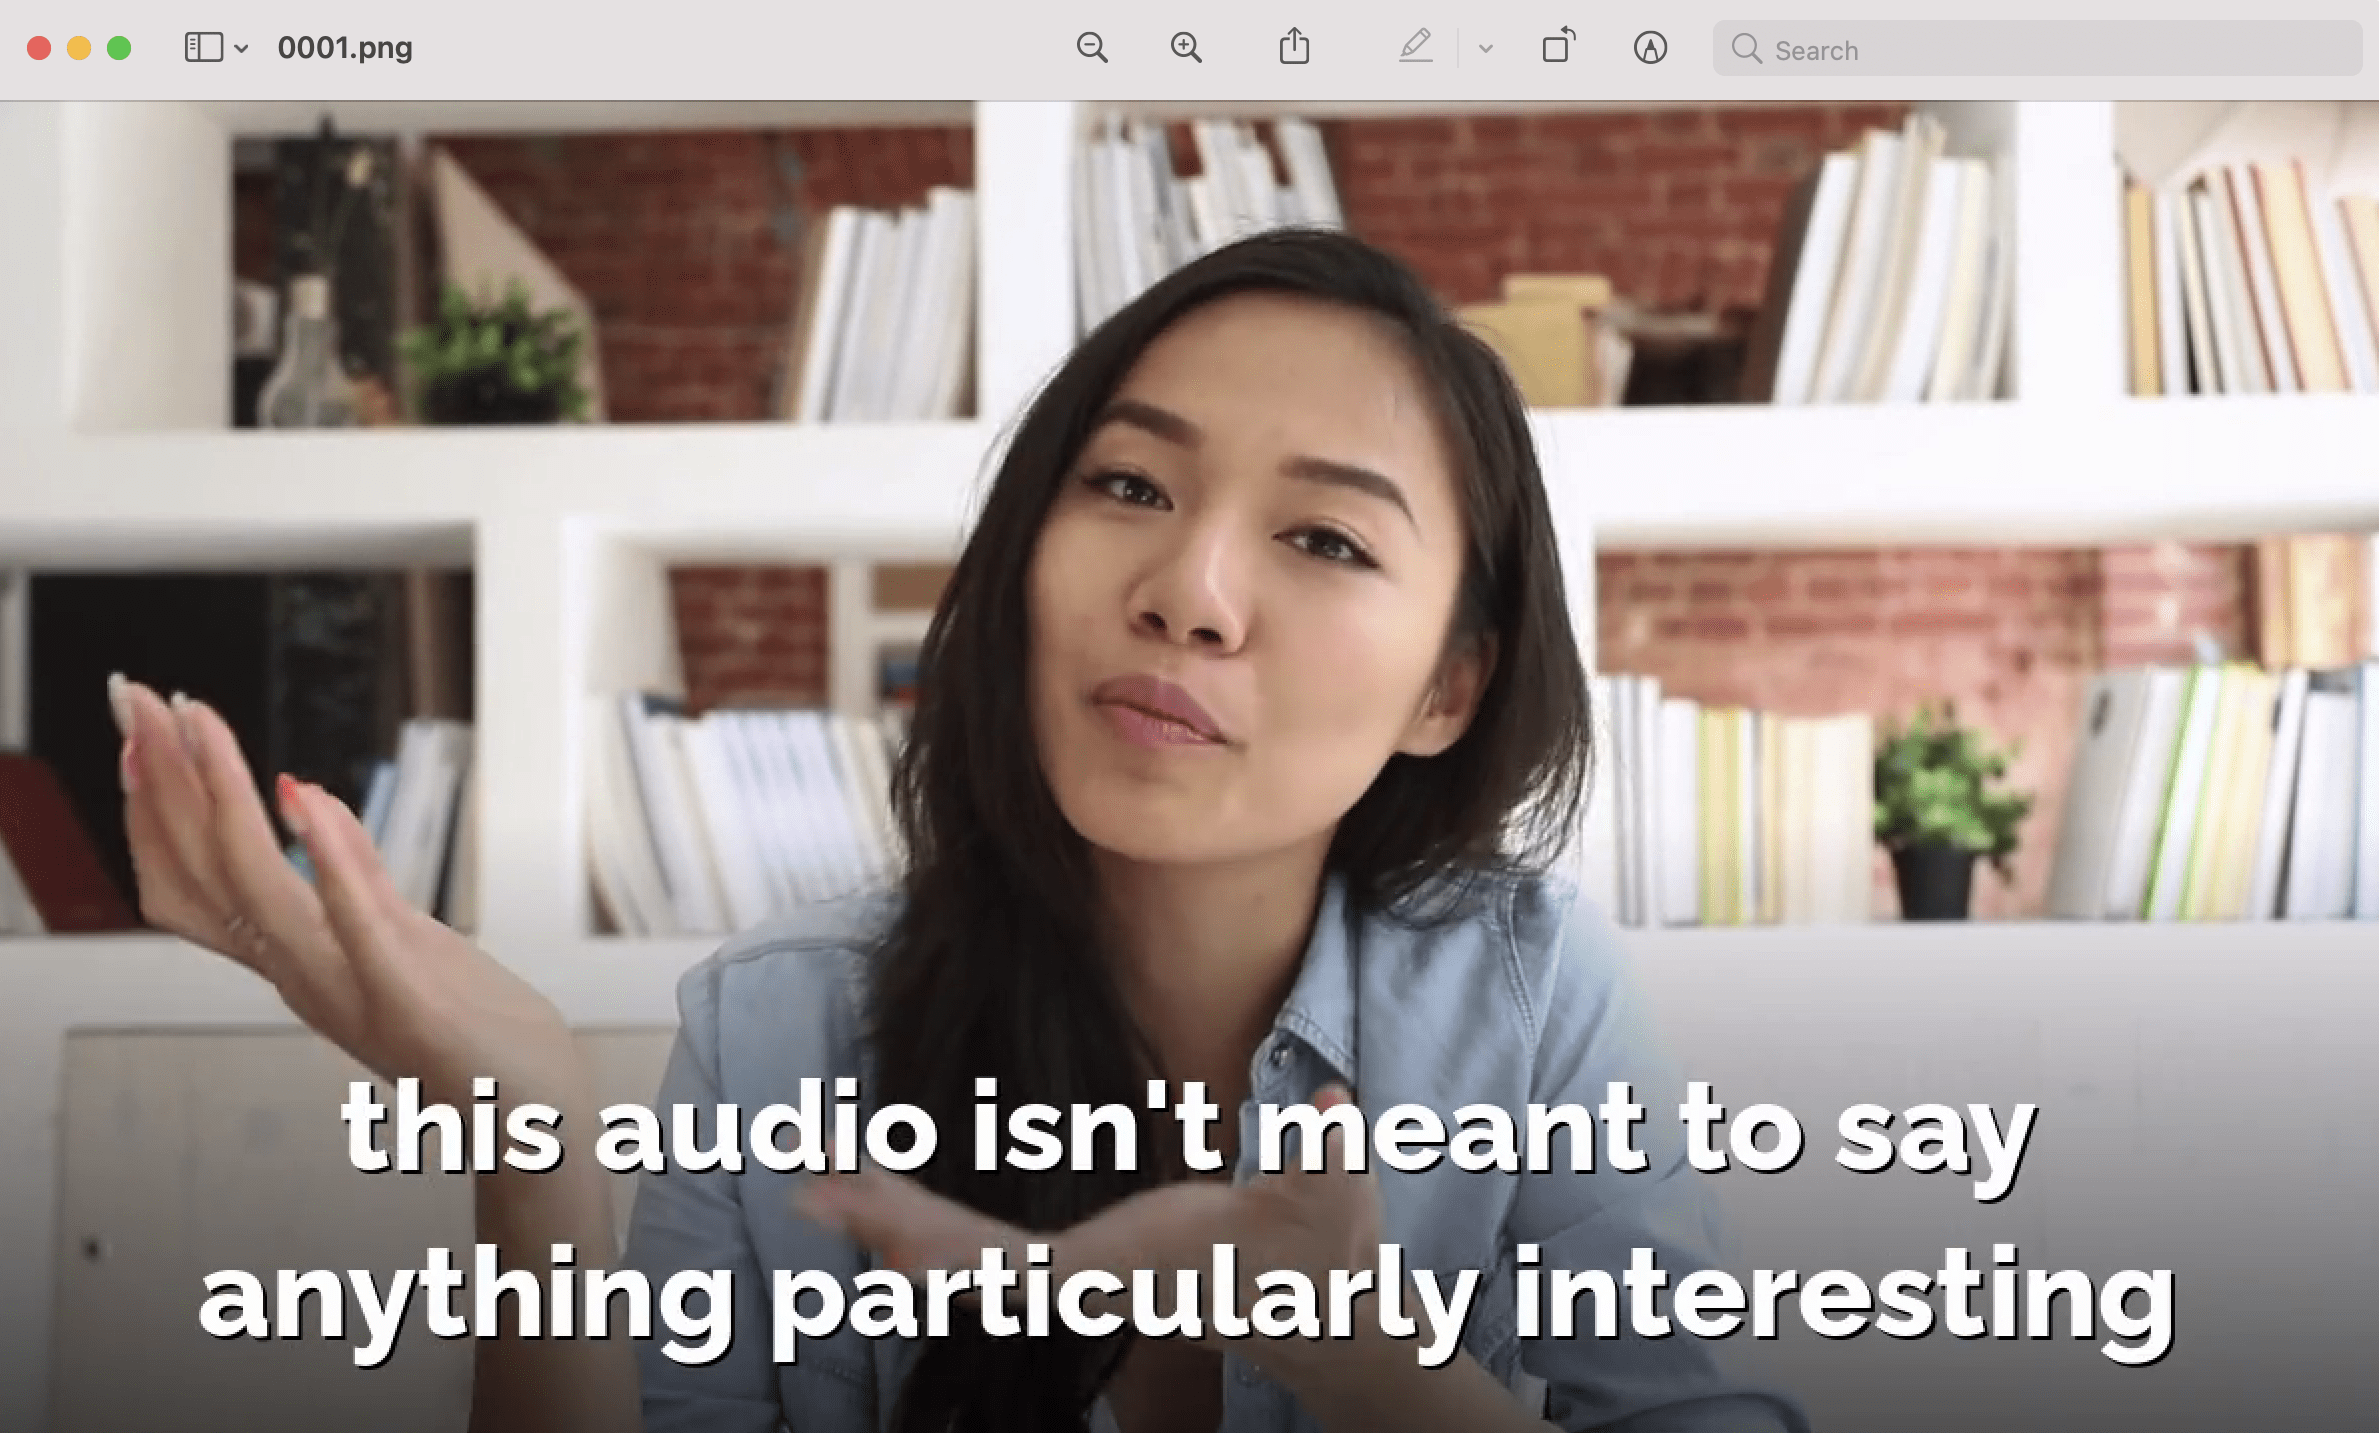
The comparison below shows that the image extraction starts from 00:04.
A screenshot of the video paused at 00:04:
The first image extracted (0001.png):
If you want to stop extracting images at a specific point, add -t "y seconds” to the command. For example, the command below will stop the extraction after 2 seconds from the time that the extraction starts.
ffmpeg -ss 00:00:04 -t 2 -i input.mp4 %04d.png
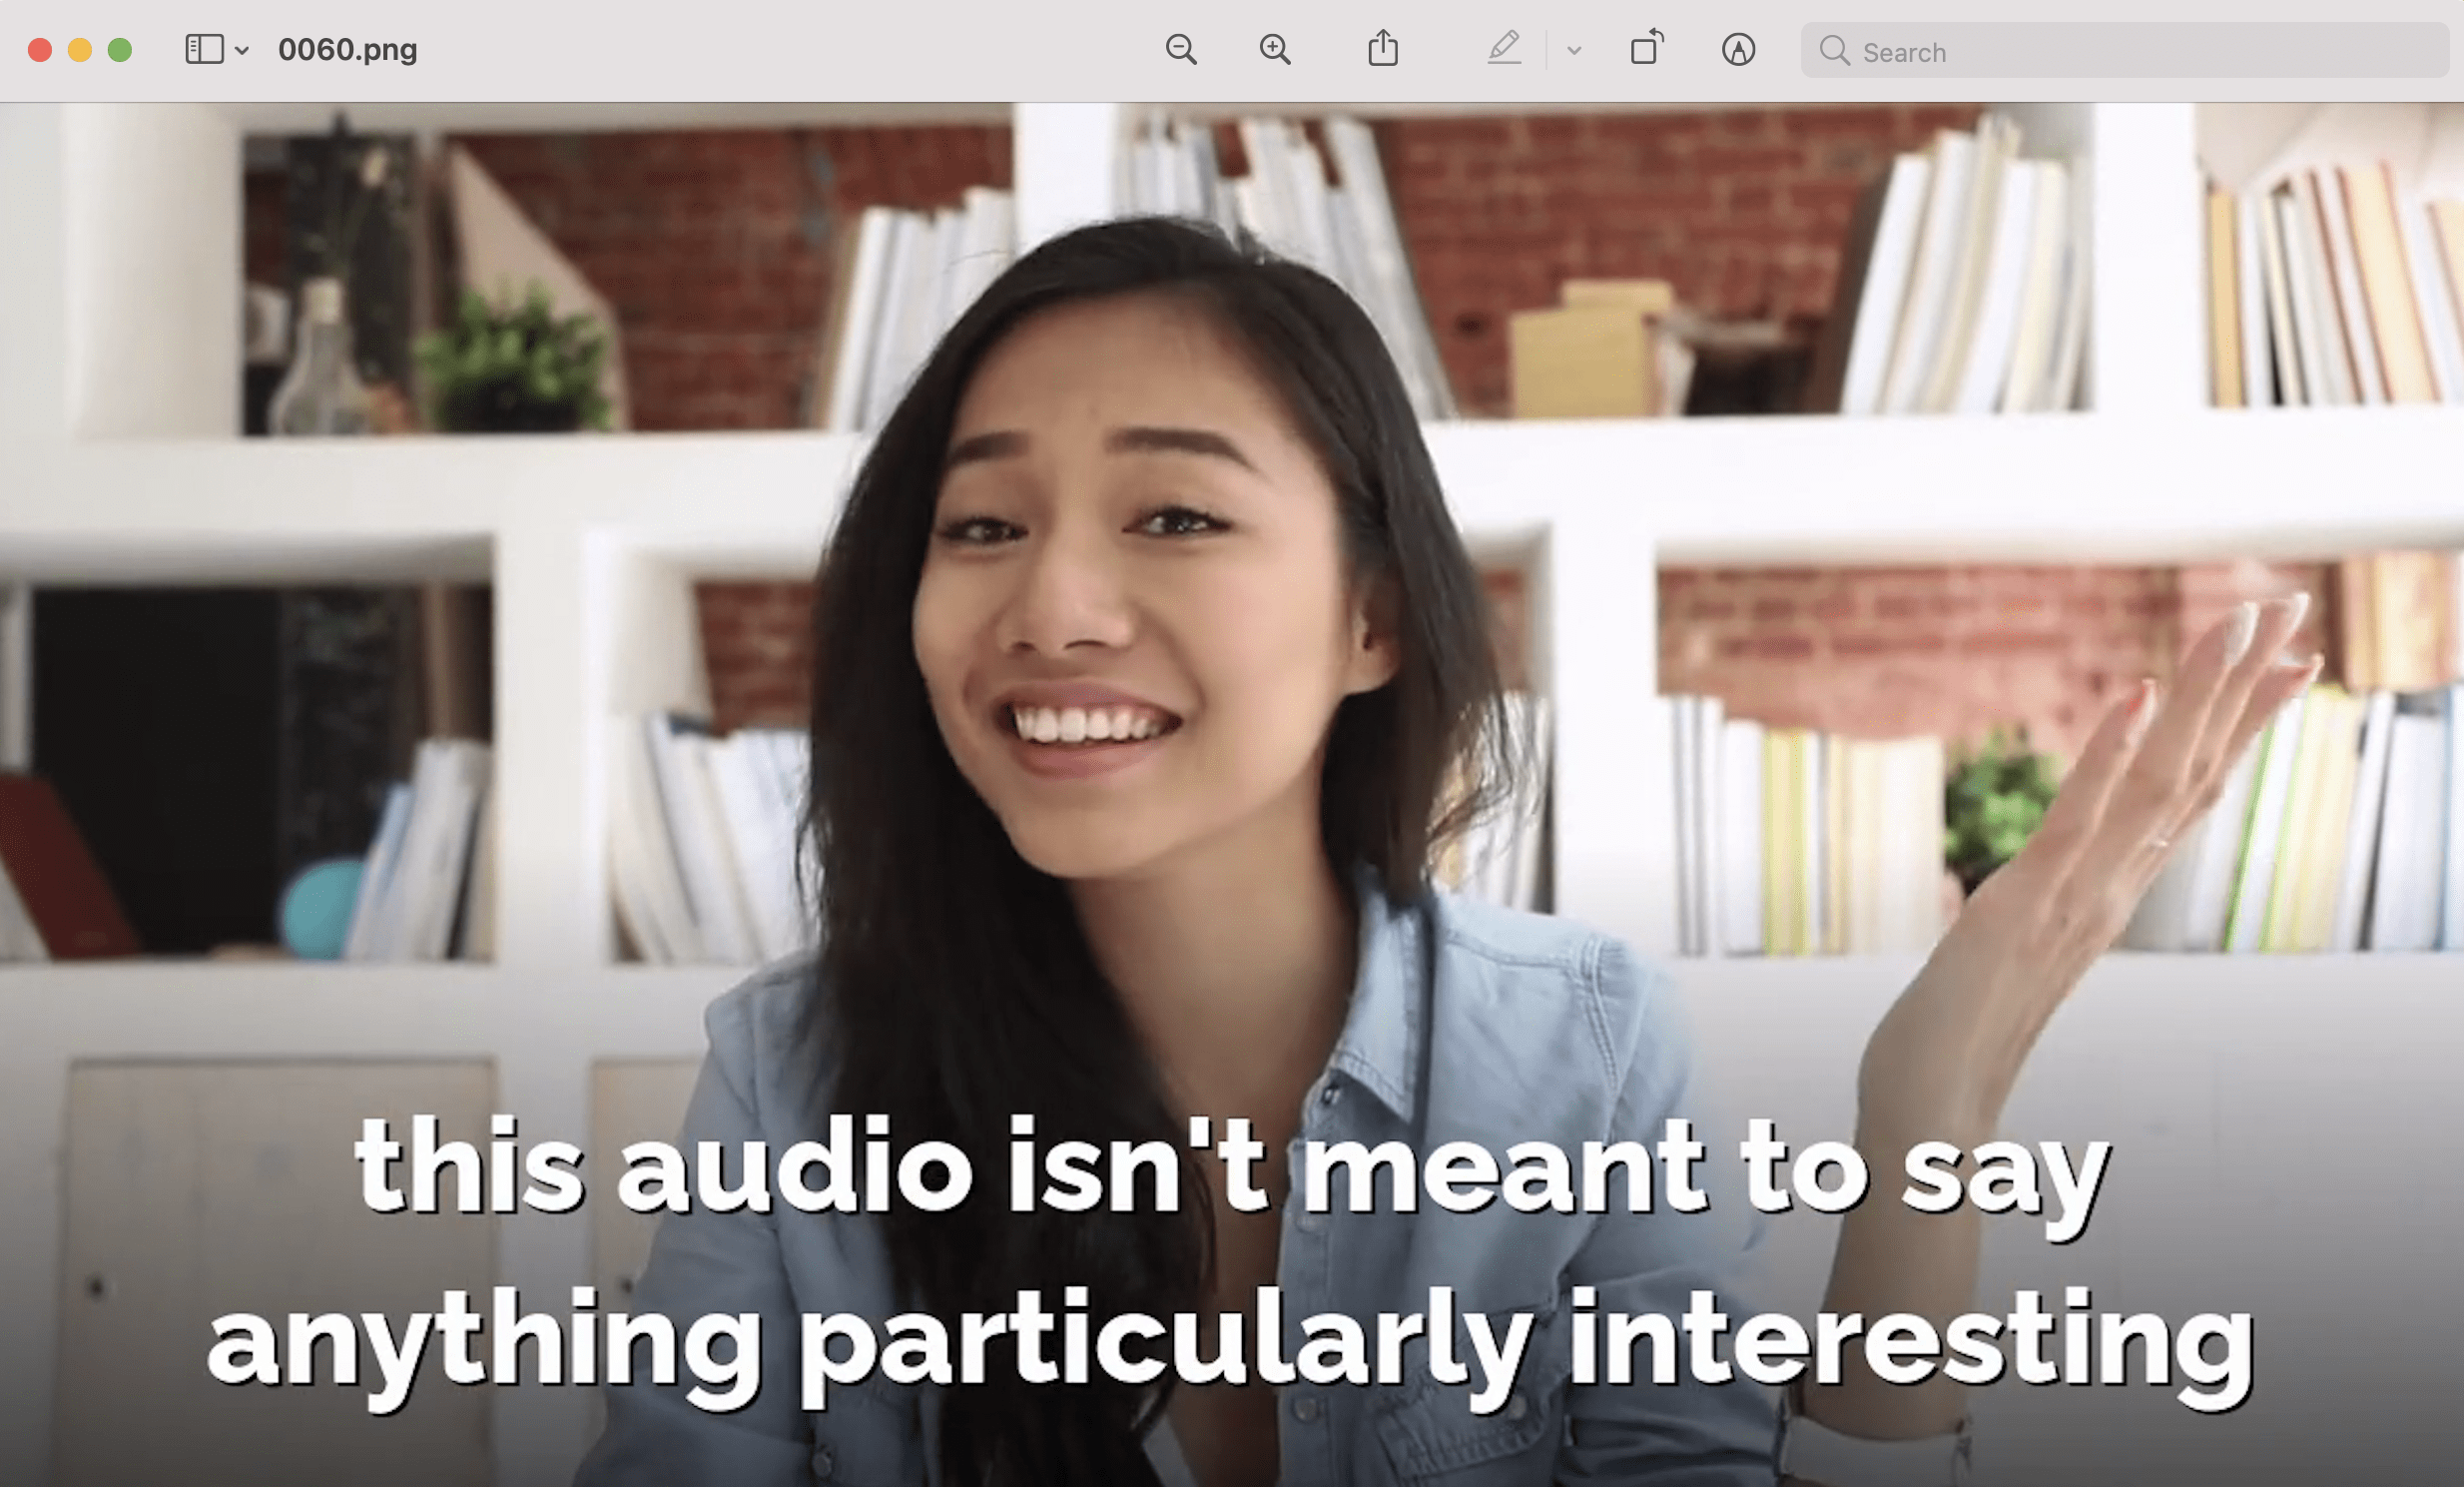
Here's a screenshot of the video paused at 00:06, which is 2 seconds from the specified starting time:
This is the last image extracted (0060.png):
Taking a Single Screenshot
To extract only an image at a given time like how you would normally take a screenshot, add -frames:v 1 to the command. This will output a single frame at the time specified.
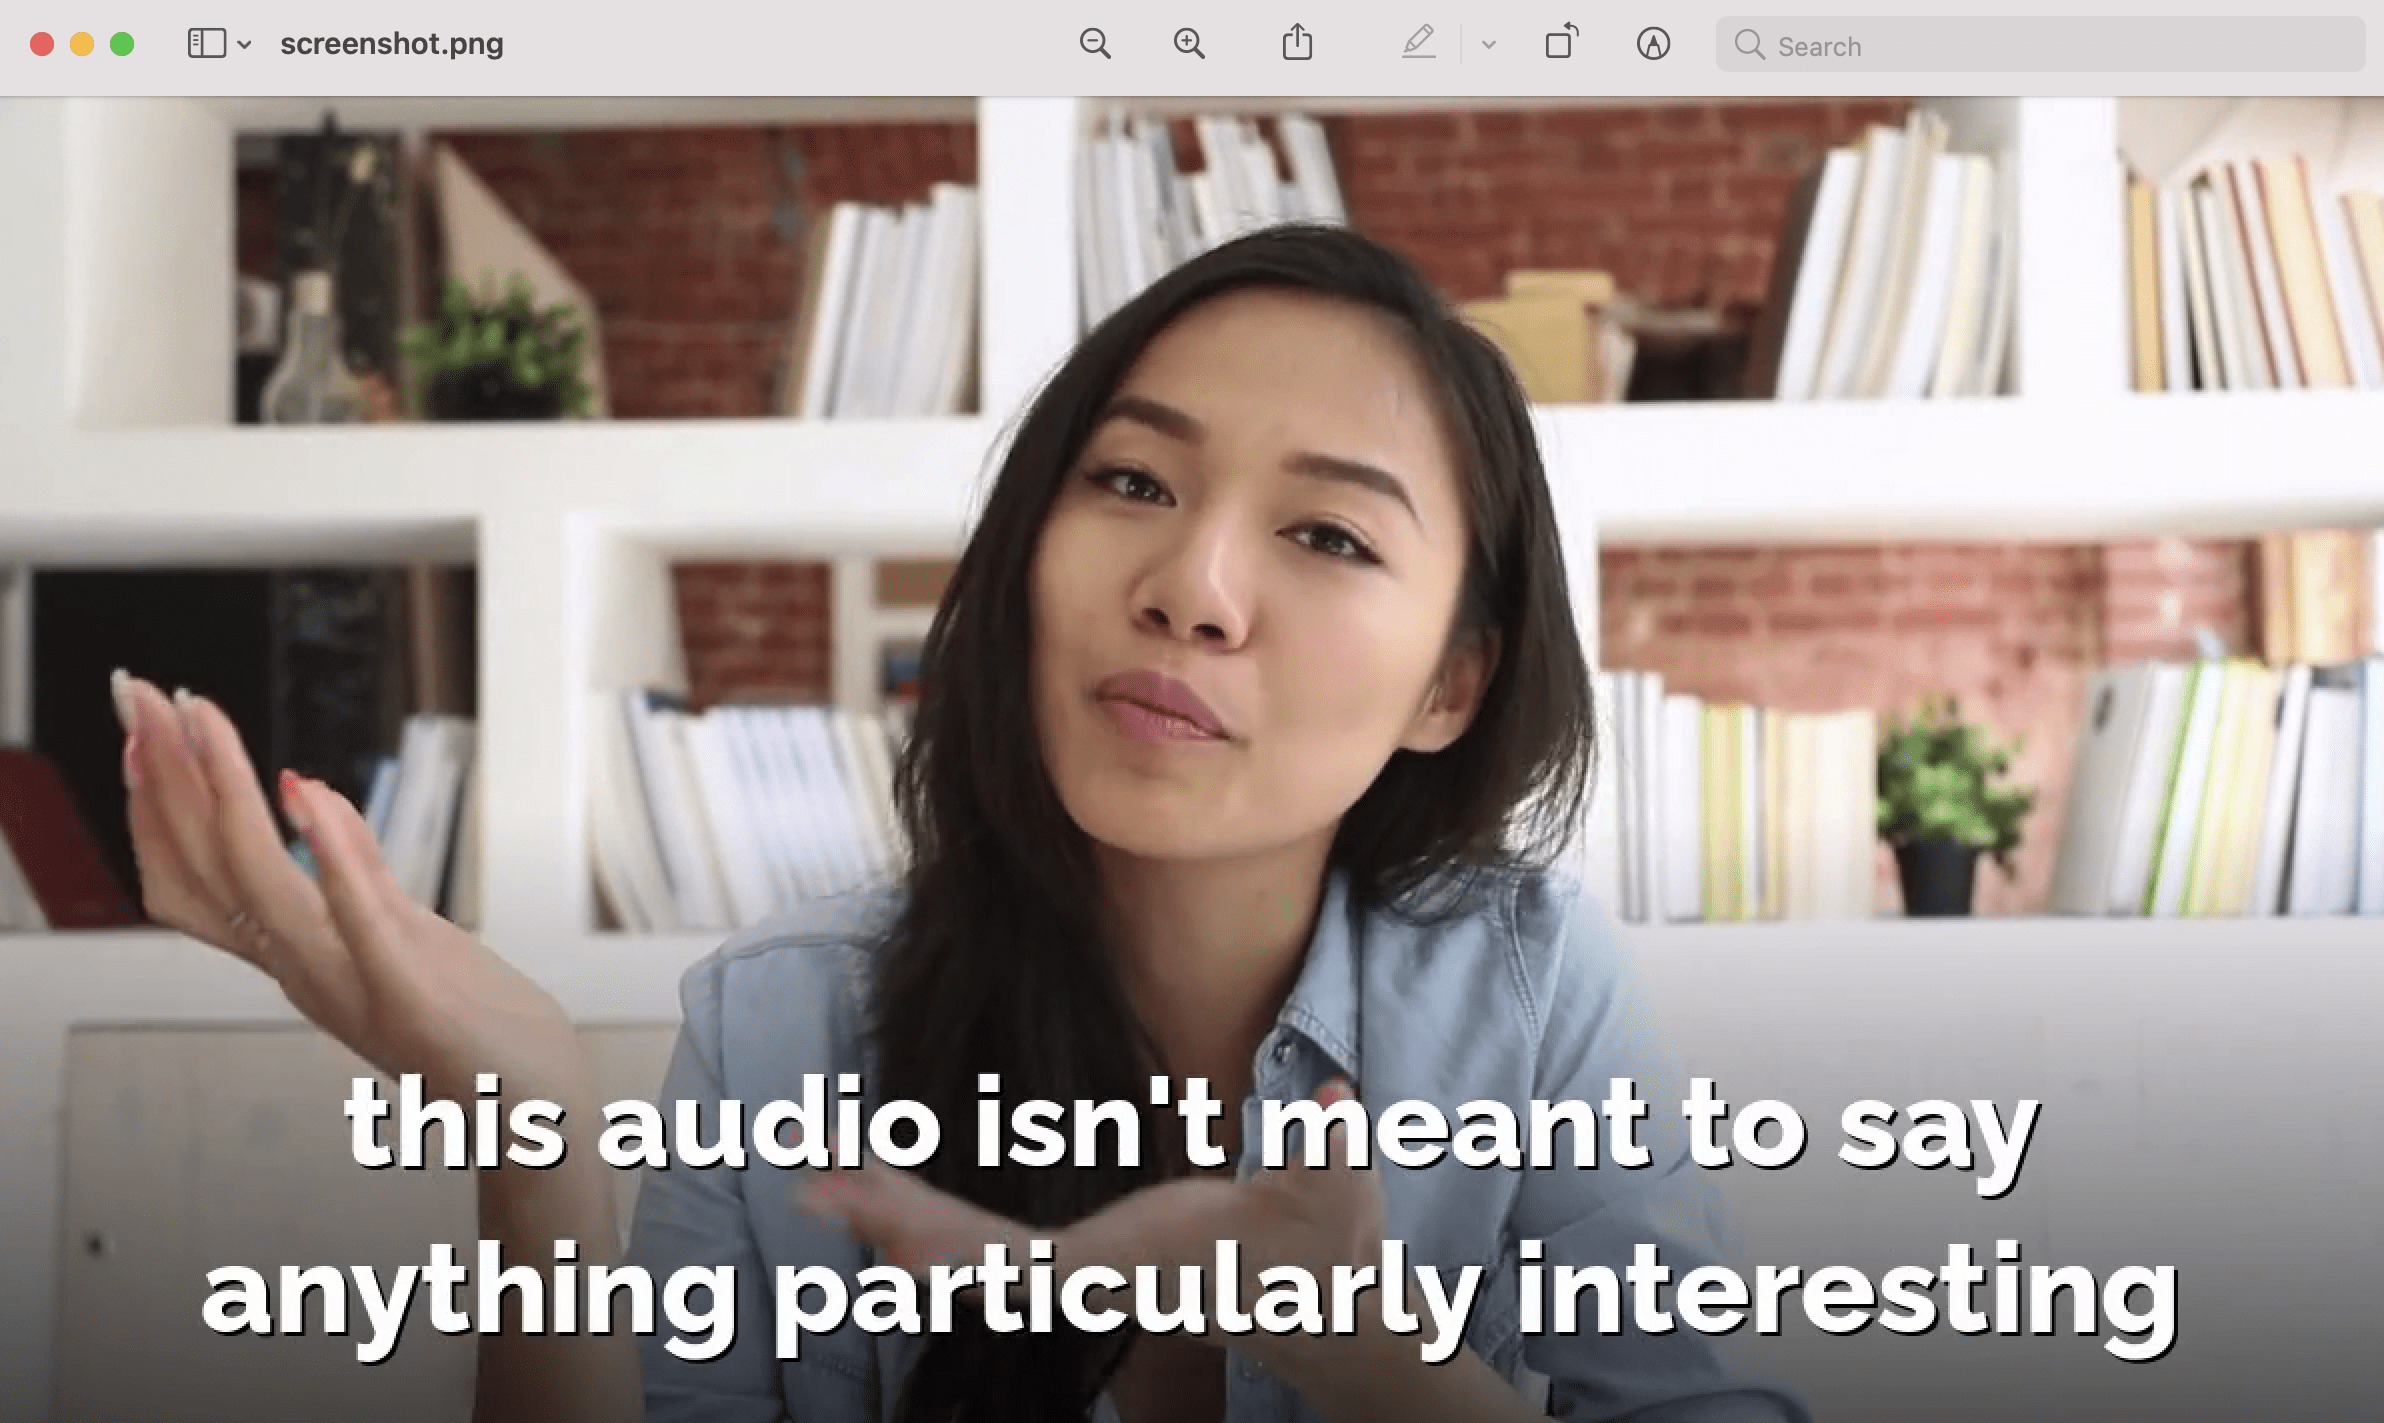
For example, this command will output a single frame at 00:04 of the video:
ffmpeg -ss 00:00:04 -i input.mp4 -frames:v 1 screenshot.png
Result:
Resizing the Frame
The size of the images will be the same as the original video by default. If you want to resize the images, you can add -s followed by the new dimension to the command.
The command below will downscale the images from the original dimension of 1200 × 670 pixels to 640×480 pixels.
ffmpeg -i input.mp4 -s 640x480 %04d.jpg
Although the command works fine, the aspect ratio is incorrect. To make sure that the output image has the same ratio as the original video, we can use the scale filter.
The scale filter is a very powerful feature of FFmpeg which let you specify either the width or the height of the image and set the other component to -1 to keep the same ratio.
ffmpeg -i input.mp4 -vf scale=640:-1 %04d.png
For example, the command above sets the width to 640 pixels. The height of the output images will be calculated automatically according to the aspect ratio of the input video. The resulting images will have a dimension of 640×357 pixels.
Result:
If you want to specify the height instead, set the first value to -1 and the second value to the new height. For example, adding -vf scale=-1:357 will set the height to 357 pixels and generate images with the same dimension as the image above.
Using Bannerbear API
In the previous examples, we use FFmpeg to extract images from a video. Do you know that you can do the other way round without using a video editing software too?
You can use Bannerbear Video Generation API to auto-generate videos from your images. The API auto-generates videos from a template which you can place different elements like watermarks, texts, company logos, etc. It is very handy when you always have a new video or a new set of images which needs to be watermarked.
Here is an example of a video that is generated from a collection of images using the API:
The video is generated using the template below using the Multi Overlay build pack.
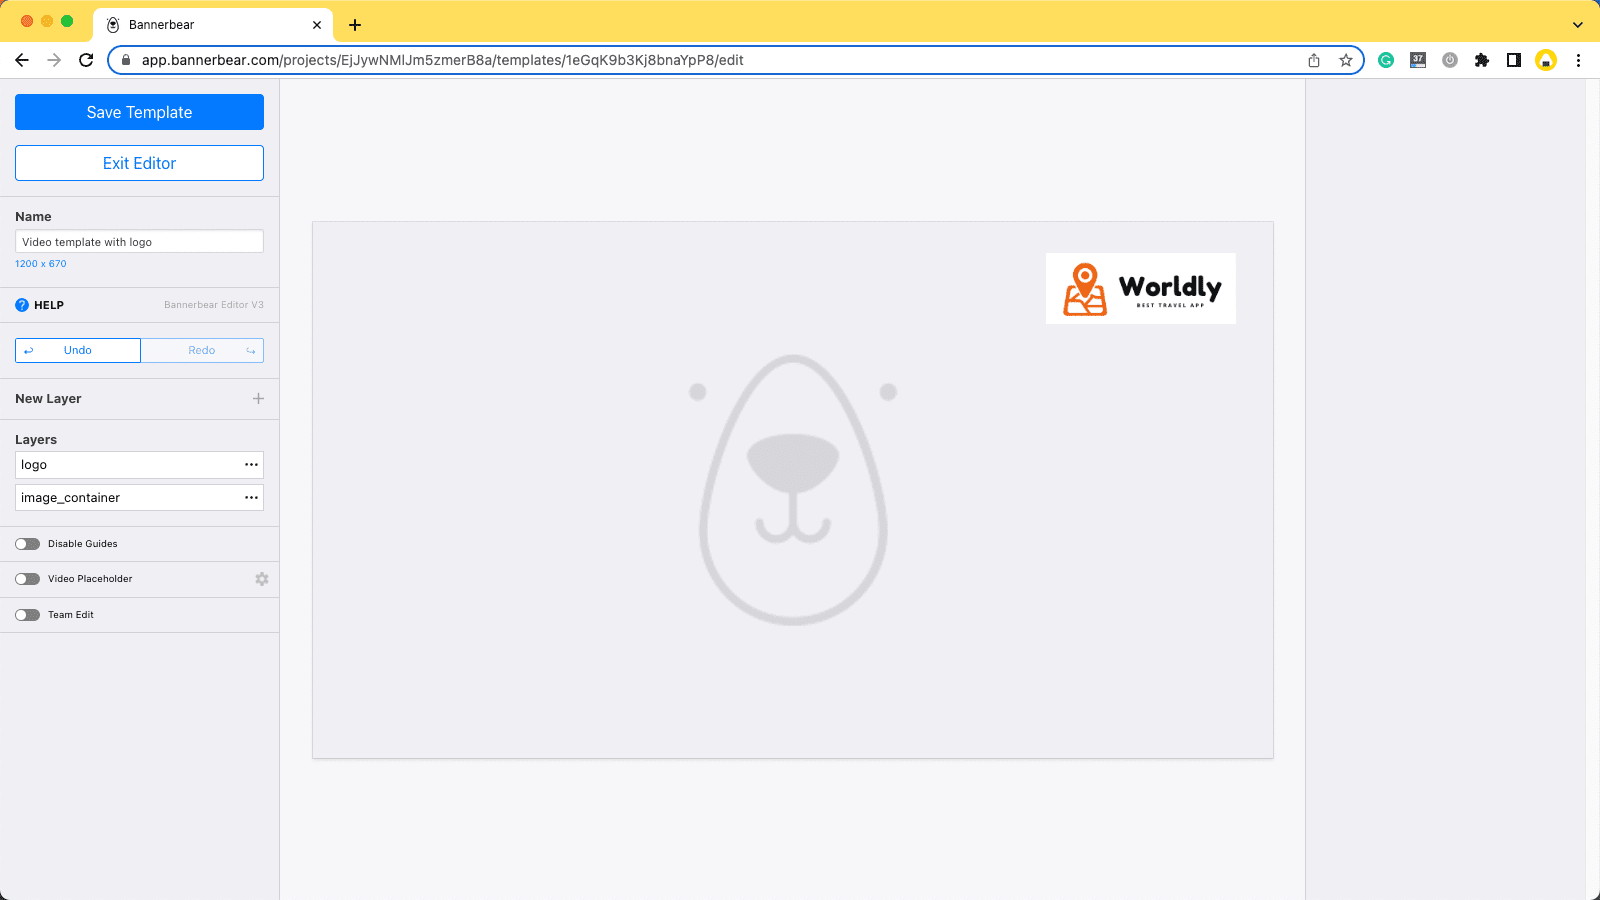
To generate a video using the template, simply pass the image URLs to the API like this:
var data = {
    video_template: constantFile.TRAVEL_VIDEO_TEMPALTE_UID, // video template ID
    input_media_url: '',
    frames: [ // an array of input images
      [{
          name: 'image_container', // name of the dynamic image object in the template
          image_url:'https://images.unsplash.com/photo-1476514525535-07fb3b4ae5f1ixlib=rb1.2.1&ixid=MnwxMjA3fDB8MHxwaG90by1wYWdlfHx8fGVufDB8fHx8&auto=format&fit=crop&w=1170&q=80'
          }],
      [{
          name: 'image_container',
          image_url:='https://images.unsplash.com/photo-1501785888041-af3ef285b470ixlib=rb1.2.1&ixid=MnwxMjA3fDB8MHxwaG90by1wYWdlfHx8fGVufDB8fHx8&auto=format&fit=crop&w=1170&q=80'
        }],
      [{
          name: 'image_container',
          image_url:'https://images.unsplash.com/photo-1539635278303-d4002c07eae3ixlib=rb1.2.1&ixid=MnwxMjA3fDB8MHxwaG90by1wYWdlfHx8fGVufDB8fHx8&auto=format&fit=crop&w=1170&q=80'
        }]
    ],
    trim_to_length_in_seconds: 3, // length of the video
  };

fetch('https://api.bannerbear.com/v2/videos', {
  method: 'POST',
  body: JSON.stringify(data),
  headers: {
    'Content-Type': 'application/json',
    Authorization: `Bearer ${constantFile.API_KEY}`, // project API key
    },
});
That's how you auto-generate a video from a collection of images without using a video editing software.
The same template can be applied to a video as well but the parameters will be slightly different. You can learn more about it from the API reference.
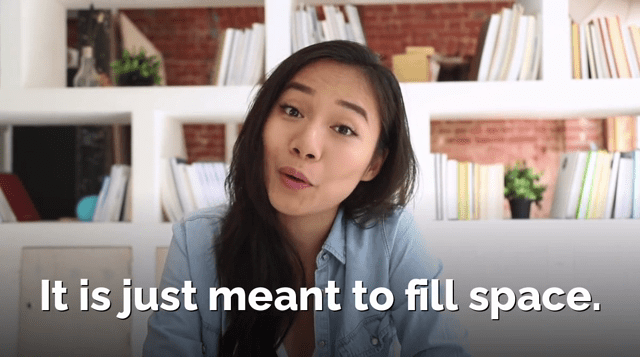
Bannerbear Video Generation API can also auto-transcribe your videos and add subtitles to them. In fact, the subtitles in the video that we are using for this FFmpeg tutorial is also generated using the API.
Thanks for reading! I hope that you find this article helpful. Feel free to try using the FFmpeg commands in this article and Bannerbear API to transform your images and videos.
