
How to Make a Custom Open Graph Image Using Puppeteer
Contents
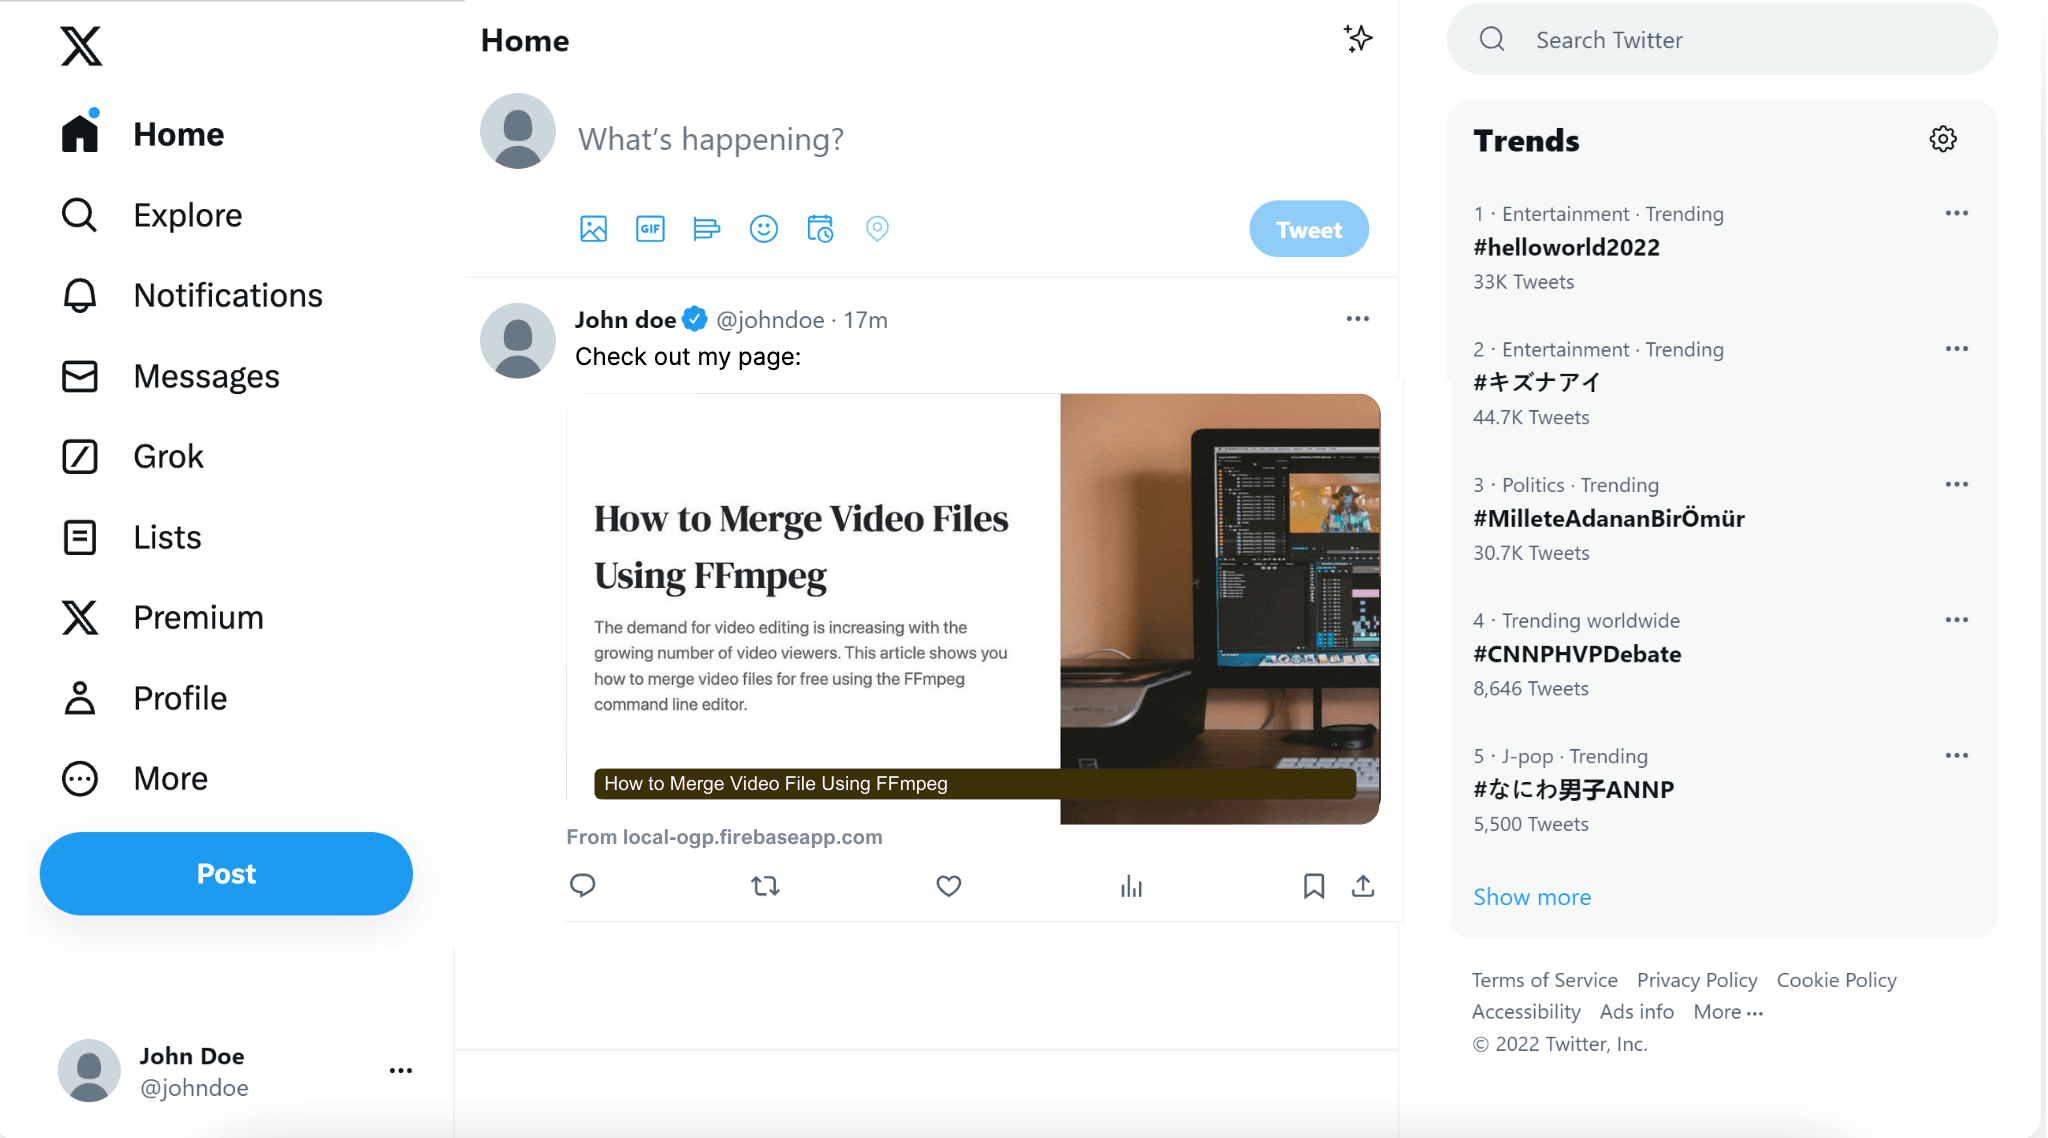
Have you ever shared your Github repo on social media and wondered how they display your repo statistics like contributors, issues, stars, etc. on the social sharing image?
The social sharing image is also known as the Open Graph image or OG image. Creating a custom Open Graph image for your website not only makes your post stand out but can also help your audience to understand the context better when you display additional info on the image.
In this tutorial, I will show you how to create an Open Graph image generator using Puppeteer so that a unique image can be created for different pages automatically when you share your website on social media like X (previously Twitter) and Facebook.
What is Puppeteer
Puppeteer is a Node library that is open source and maintained by Google. It is developed to provide a high-level API to control Chrome or Chromium over Chrome DevTools Protocol.
Puppeteer is commonly used by developers to automate the browser to run website tests. It is also often used to generate screenshots and PDFs of pages, crawl web pages, automate form submission, etc.
Here are some articles that show how to use Puppeteer to do some of the jobs above:
- How to Take Screenshots with Puppeteer
- How to Convert HTML into PDF with Node.js and Puppeteer
- How to Download Images from a Website Using Puppeteer
How Does the Open Graph Image Generator Work
Making a custom Open Graph image using Puppeteer relies on Puppeteer’s screenshot functionality.
To make a custom Open Graph image using Puppeteer, we will need to set the content of the page launched by Puppeteer using HTML.
class Page {
  setContent(html: string, options?: WaitForOptions): Promise<void>;
}
We will need to create an HTML template of the Open Graph image design with some variables so that the text and the featured image can be set dynamically.
For example, you can create some variables and set their values to the title and description of your web page. When you share different pages of your website, their respective titles and descriptions will be displayed on the Open Graph image.
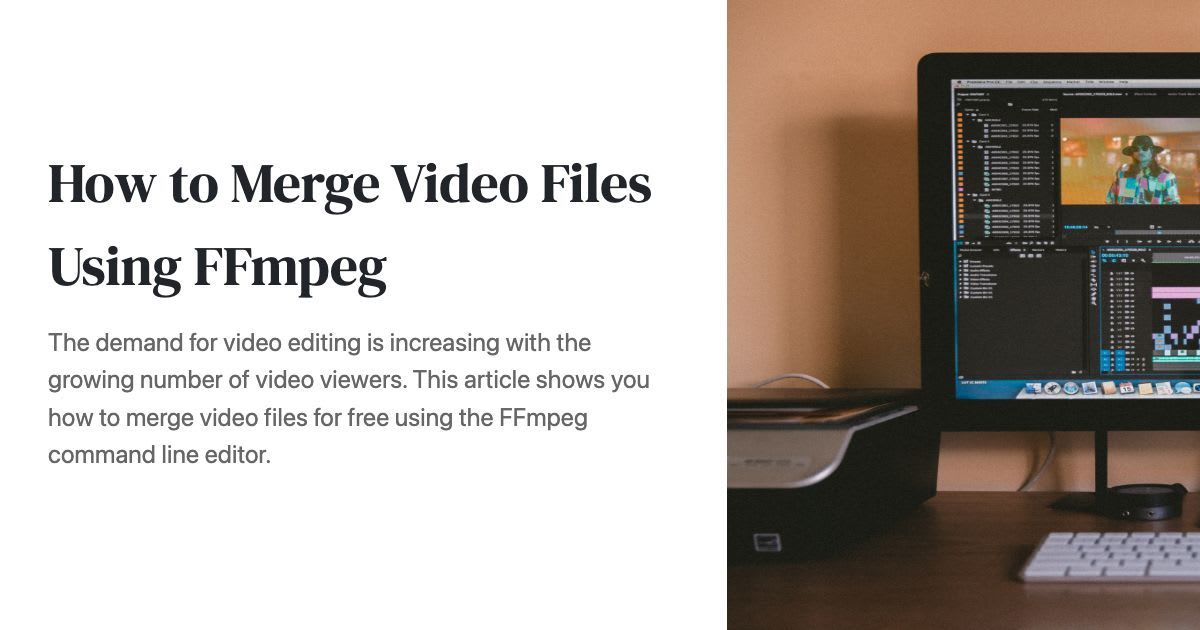
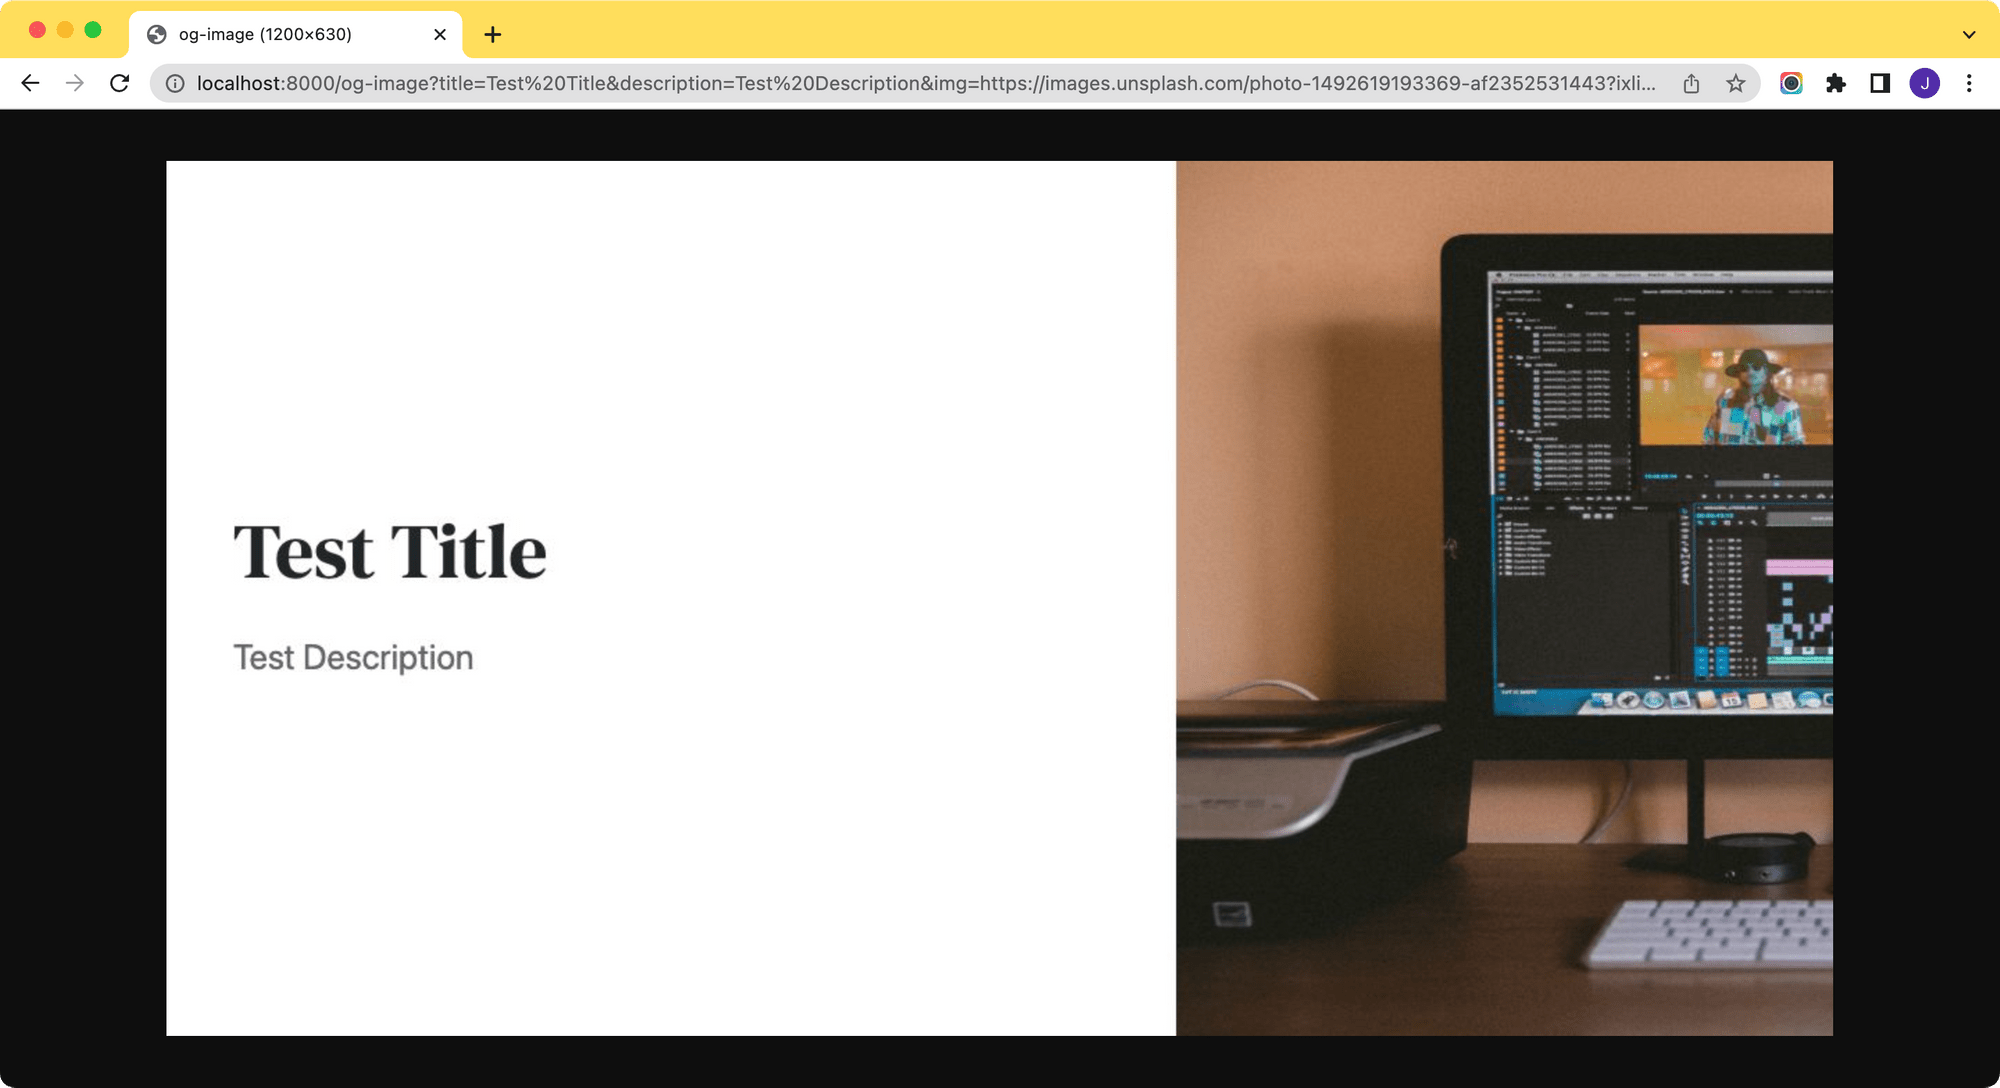
Puppeteer will launch a new page, render the HTML code and take a screenshot of the whole page.
This will be the result of the screenshot:
Now that you know how you can use Puppeteer to create a custom Open Graph image, let’s get started!
Pre-requisites
To use Puppeteer, you need to have these installed:
For reference, these are the versions used in this tutorial:
- Node.js - 18.6.0
- npm - 8.13.2
You can refer to the official documentation to check your version compatibility.
Getting Started
We will run a backend service using Express in Node.js to launch Puppeteer in headless mode to render the custom Open Graph image and take a screenshot.
Step 1. Create a new Node.js Project
Create a new folder for your project and go to the directory.
mkdir puppeteer-open-graph
cd puppeteer-open-graph
Init a new Node.js project in the folder.
npm init
It will prompt you for input for a few aspects of the project, just press enter if you want to use the default values.
Once you run through the npm init steps above, a package.json file will be generated and placed in the current directory.
Step 2. Install and Import Required Packages
Run npm i <package> to install the following packages:
You should see a recent version of Chromium which is guaranteed to work with the Puppeteer downloaded when you install the puppeteer package.

After you have done installing the packages, create a new file named index.js and import express and cors inside the file.
const express = require('express');
const cors = require('cors');
We will import puppeteer in another file later.
Step 3. Enable CORS
If your frontend is running on a different domain, you need to configure your Express server to allow the frontend from another origin to access the backend service.
const corsOptions = {
  origin: 'http://localhost:3000', //replace this with your frontend domain
  optionsSuccessStatus: 200
};

const app = express();
app.use(cors(corsOptions));
❗️ Note : You might run into an error if you skip this step. To understand more about CORS, you can read "What is a CORS Error and How to Fix It (3 Ways)".
Step 4. Start the Express Server
Paste the following code in index.js and run node index.js in the terminal/command line.
const port = 8000;
app.listen(port, () => {
  console.log(`Example app listening on port ${port}`)
});

app.get('/', (req, res) => {
  res.send('Hello World!')
});
You should see the server running at http://localhost:8000/.
Creating the Puppeteer Screenshot Service
Step 1. Prepare an HTML Template
Create a new file named template.js and add a function that will return the HTML template of the Open Graph image design.
The values of the variables in the template (title, description, and img) will be set from the function’s parameter and make every image generated unique.
template.js
exports.getHtml = function (title, description, img) {
var css = `
html, body {
height: 100%;
width: 100%;
}
.title {
font-family: 'DM Serif Display', serif;
font-size: 55px;
}
.description {
font-size: 25px;
color: #676565
}
.image-text{
width: 80%
}
.bg {
background-image: url(${img});
background-size: 1200px 630px;
background-repeat: no-repeat;
display: block;
width:60%;
height:100%;
}`
return `
<!doctype html>
<html lang="en">
<head>
<meta charset="utf-8">
<meta name="viewport" content="width=device-width, initial-scale=1">
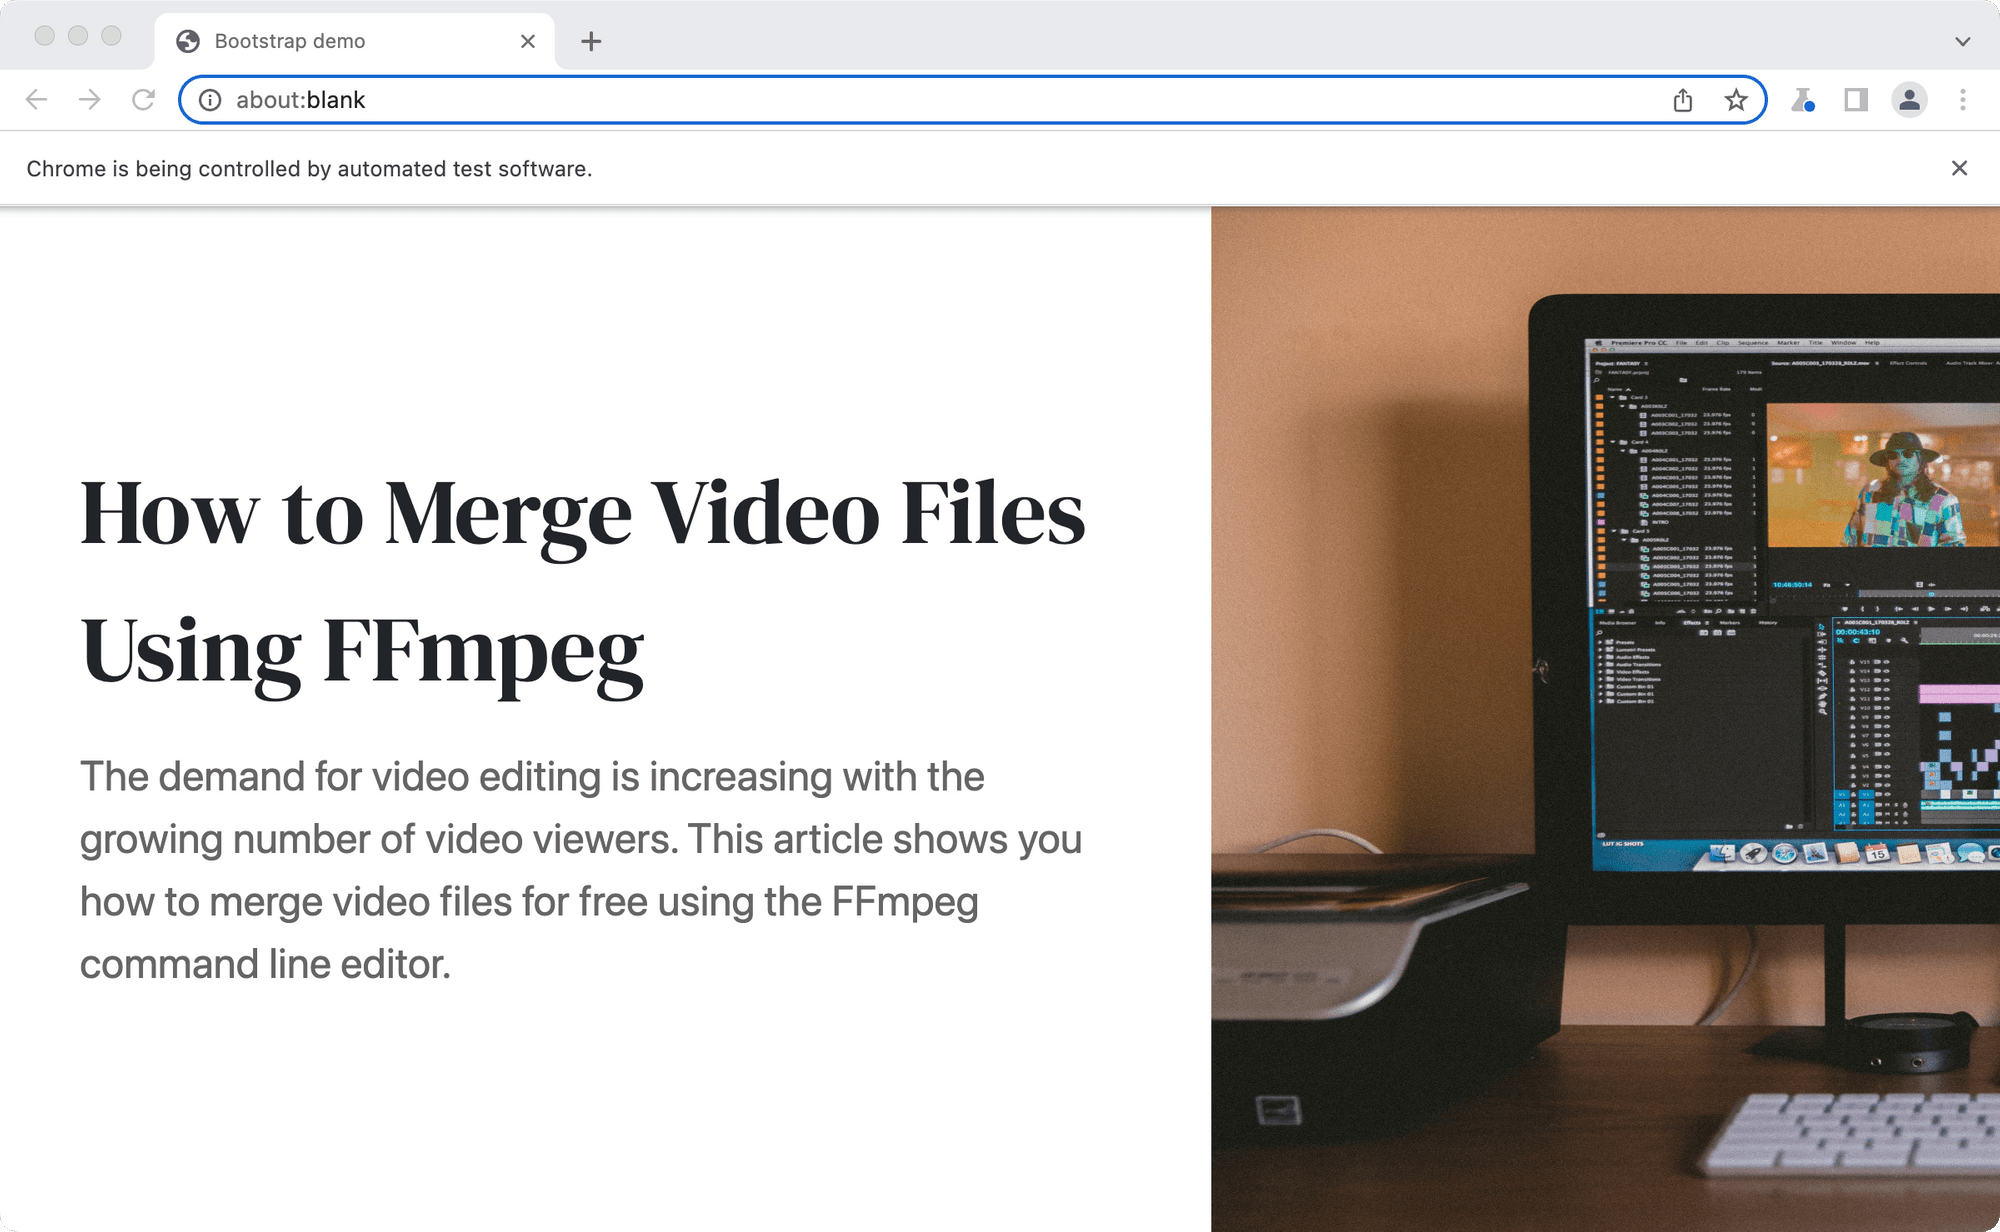
<title>Bootstrap demo</title>
<link rel="preconnect" href="https://fonts.googleapis.com">
<link rel="preconnect" href="https://fonts.gstatic.com" crossorigin>
<link href="https://fonts.googleapis.com/css2?family=DM+Serif+Display&display=swap" rel="stylesheet">
<link href="https://cdn.jsdelivr.net/npm/[email protected]/dist/css/bootstrap.min.css" rel="stylesheet" integrity="sha384-EVSTQN3/azprG1Anm3QDgpJLIm9Nao0Yz1ztcQTwFspd3yD65VohhpuuCOmLASjC" crossorigin="anonymous">
</head>
<body class="d-flex align-items-center">
<div class="m-5 image-text">
<div class="title">${title}</div>
<p class="description mt-3">${description}</p>
</div>
<div class="bg"></div>
</body>
<style>${css}</style>
</html>`
};
Step 2. Create a Service Endpoint
In index.js, add an endpoint for the Puppeteer screenshot service.
const puppeteer = require('./puppeteer');

app.get('/og-image', puppeteer.generateImage);
The endpoint will receive the title, description, and image from the URL query parameters. We will pass these values to puppeteer.generateImage to generate an image with the values.
https://www.your-domain.com/og-image?title={title}&description={description}&img={img}
Step 3. Screenshot Using Puppeteer
Create a new file named puppeteer.js and create a callback function generateImage() that will receive title, description, and img from the GET request parameter.
These values will be inserted into the HTML template. Then, Puppeteer will render the HTML and take a screenshot with the viewport size set to 1200x630, which is the size of a common Open Graph image.
puppeteer.js
const template = require('./template');
const puppeteer = require('puppeteer');

exports.generateImage = async function (req, res) {

  const { title, description, img } = await req.query;

  const browser = await puppeteer.launch();

  const page = await browser.newPage();

  await page.setViewport({ width: 1200, height: 630 });

  await page.setContent(template.getHtml(title, description, img));

  const image = await page.screenshot({ type: 'jpeg' });

  res.statusCode = 200;
  res.setHeader('Content-Type', `image/jpeg`);
  res.setHeader('Cache-Control', `public, immutable, no-transform, s-maxage=31536000, max-age=31536000`);
  res.end(image);
};
Step 4. Testing the Service
You can test the service by sending a sample GET request to the endpoint.
http://localhost:8000/og-image?title=Test%20Title&description=Test%20Description&img=https://images.unsplash.com/photo-1492619193369-af2352531443?ixlib=rb-1.2.1&ixid=MnwxMjA3fDB8MHxwaG90by1wYWdlfHx8fGVufDB8fHx8&auto=format&fit=crop&w=1464&q=80
The values sent in the parameter should be displayed on the image generated.
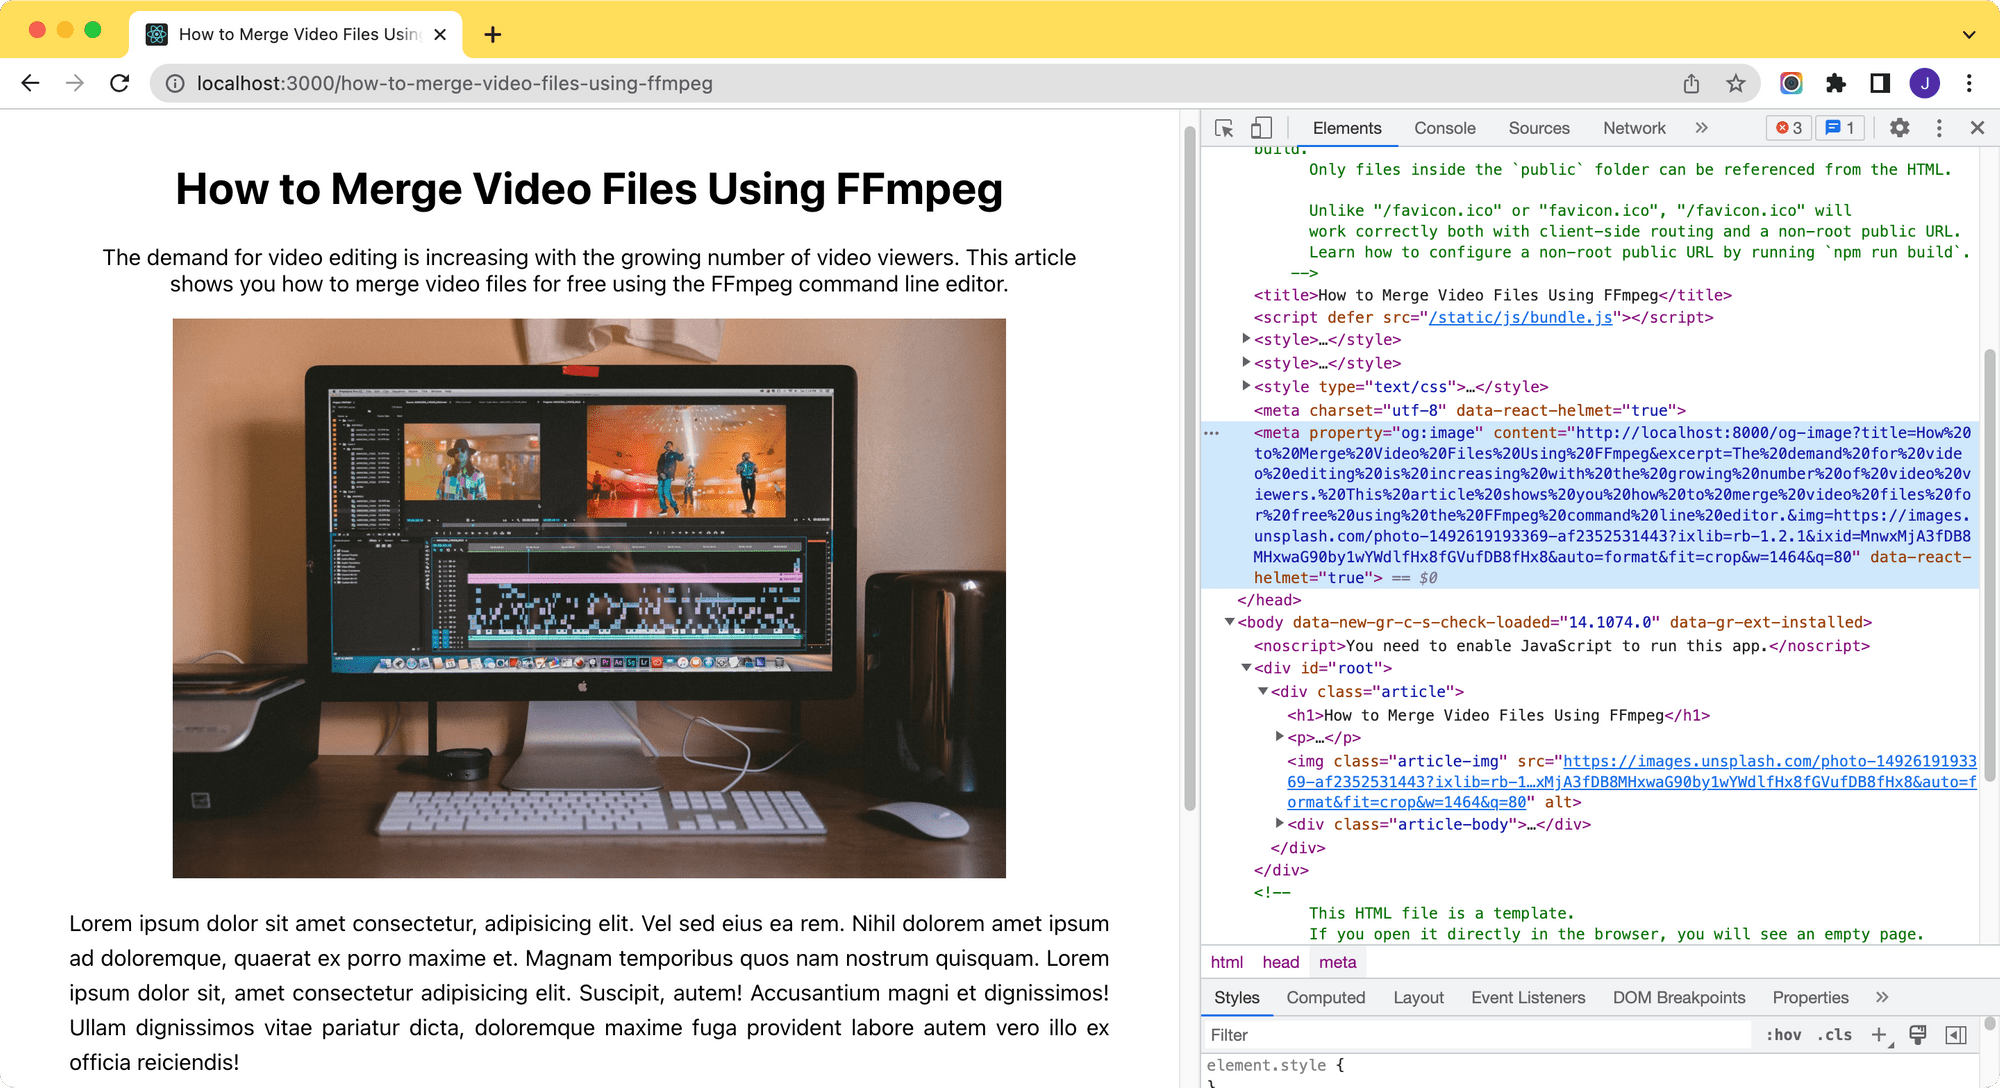
To use the service to generate custom Open Graph images for your website, you need generate URLs to the service dynamically for your pages and use them in the meta tag og:image.
💻 You can check out the full code of this project from this Github repo.
Pros vs. Cons
Using Puppeteer to create custom Open Graph images for your website dynamically is one of the simplest solutions. However, there are some pros and cons:
✅ Pros
- Free and open source
- Easy to implement
- A great number of community members (>79.5k)
❌ Cons
- Puppeteer screenshots can be slow
- Need to convert the image design to HTML
- Need to render the HTML to preview the design
For developers who are proficient at frontend coding, Puppeteer is a good option to generate dynamic Open Graph images for a website. However, creating the image template in HTML could be a hurdle if you are bad at frontend coding.
Using Bannerbear
If you find creating an image template in HTML difficult, there's another solution. Instead of writing HTML and CSS, you can create an image template using a drag-n-drop interface by using Bannerbear to generate the custom Open Graph images.
You can see how it works by following these tutorials:
- How to Add Auto-Generated Custom Open Graph Images to WordPress Using Bannerbear
- How to Add Auto-Generated Custom Open Graph Images to Webflow Using Bannerbear
- How to Add Auto-Generated Custom Open Graph Images to Wix Using Bannerbear
- How to Add Auto-Generated Custom Open Graph Images to Squarespace Using Bannerbear
Happy hacking!
