
How to Compare Puppeteer Screenshots Using ImageMagick
Contents
Puppeteer is a powerful Node.js library for automating web browsers and performing tasks like doing automated tests, scraping data, and taking screenshots. However, one common challenge that users face when using Puppeteer to automate web browser tasks is to compare the screenshots of websites to ensure that they are identical or to identify differences between them.
In this tutorial, we will explore how to use ImageMagick, a popular open-source image manipulation tool to compare Puppeteer screenshots and highlight any differences between them visually.
If you haven’t tried taking a screenshot using Puppeteer, this tutorial will help you: How to Take Screenshots with Puppeteer. Otherwise, let’s get started!
What is ImageMagick
ImageMagick is a popular open-source software suite for displaying, converting, and editing raster and vector image files. It can be used as a standalone application, or as a library that can be integrated into other existing applications in various programming languages like C, C++, Python, PHP, Ruby, and more.
With its rich collection of command-line tools, it is easy to perform a wide range of image manipulation operations, such as resizing, cropping, and color correction to modify and manipulate images programmatically. It can be used on various operating systems including Windows, macOS, and Ubuntu/Linux, and support over 200 different image file formats.
ImageMagick has been available for free since the early 1990s. To date, it is still actively maintained and has over 130 contributors and 2000 discussion posts on GitHub, making it one of the best open-source image manipulation tools for developers.
Why Compare Puppeteer Screenshots
By using Puppeteer and ImageMagick, you can automate the process of capturing website screenshots and comparing them to identify changes. This can be used for various purposes, including:
Testing and Debugging Web Applications
Puppeteer is often used for doing automated tests for web applications. By taking screenshots during the tests and comparing them, you can quickly identify any issues or differences between expected and actual results.
Quality Assurance
Comparing website screenshots can help ensure that a website is functioning as intended and that there is no unexpected behavior. This can be especially useful when making updates or changes to a site, as it can help identify any issues that might have been overlooked.
Competitive Analysis
By periodically taking screenshots of a website and comparing them to previous screenshots, you can constantly monitor a website and get notified if there are any changes. This can help any business to stay up-to-date on its competitors' activities and react immediately to potential opportunities or threats.
Comparing Screenshots with ImageMagick
ImageMagick comes with a set of useful command-line tools that helps developers to manipulate images from the command line. One of them is the compare tool, which we will be using to compare Puppeteer screenshots in this tutorial.
Save The Differences as a New Image
The compare tool compares two images and generates a third image that highlights any differences between them visually. Here's an example that shows the basic usage of the compare tool to compare two images:
magick compare screenshot-1.png screenshot-2.png difference.png
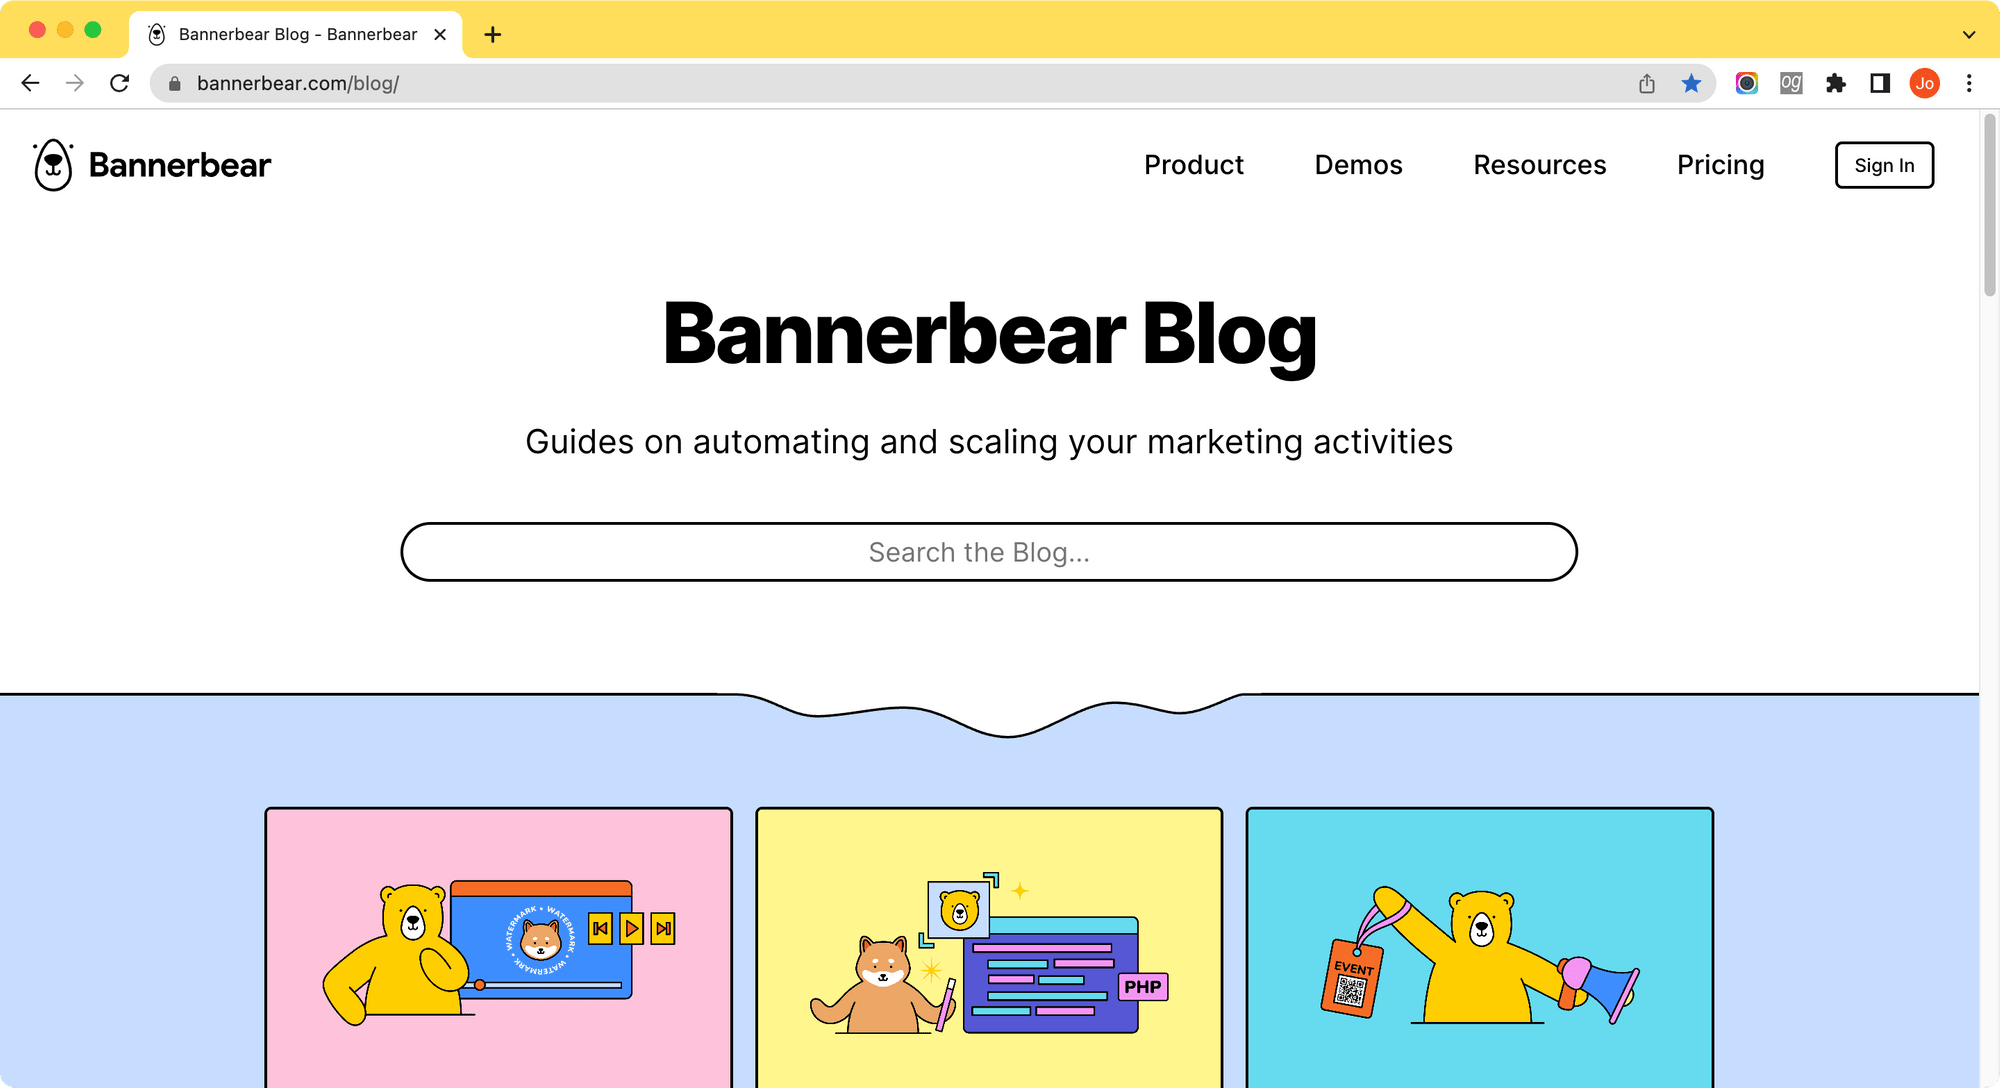
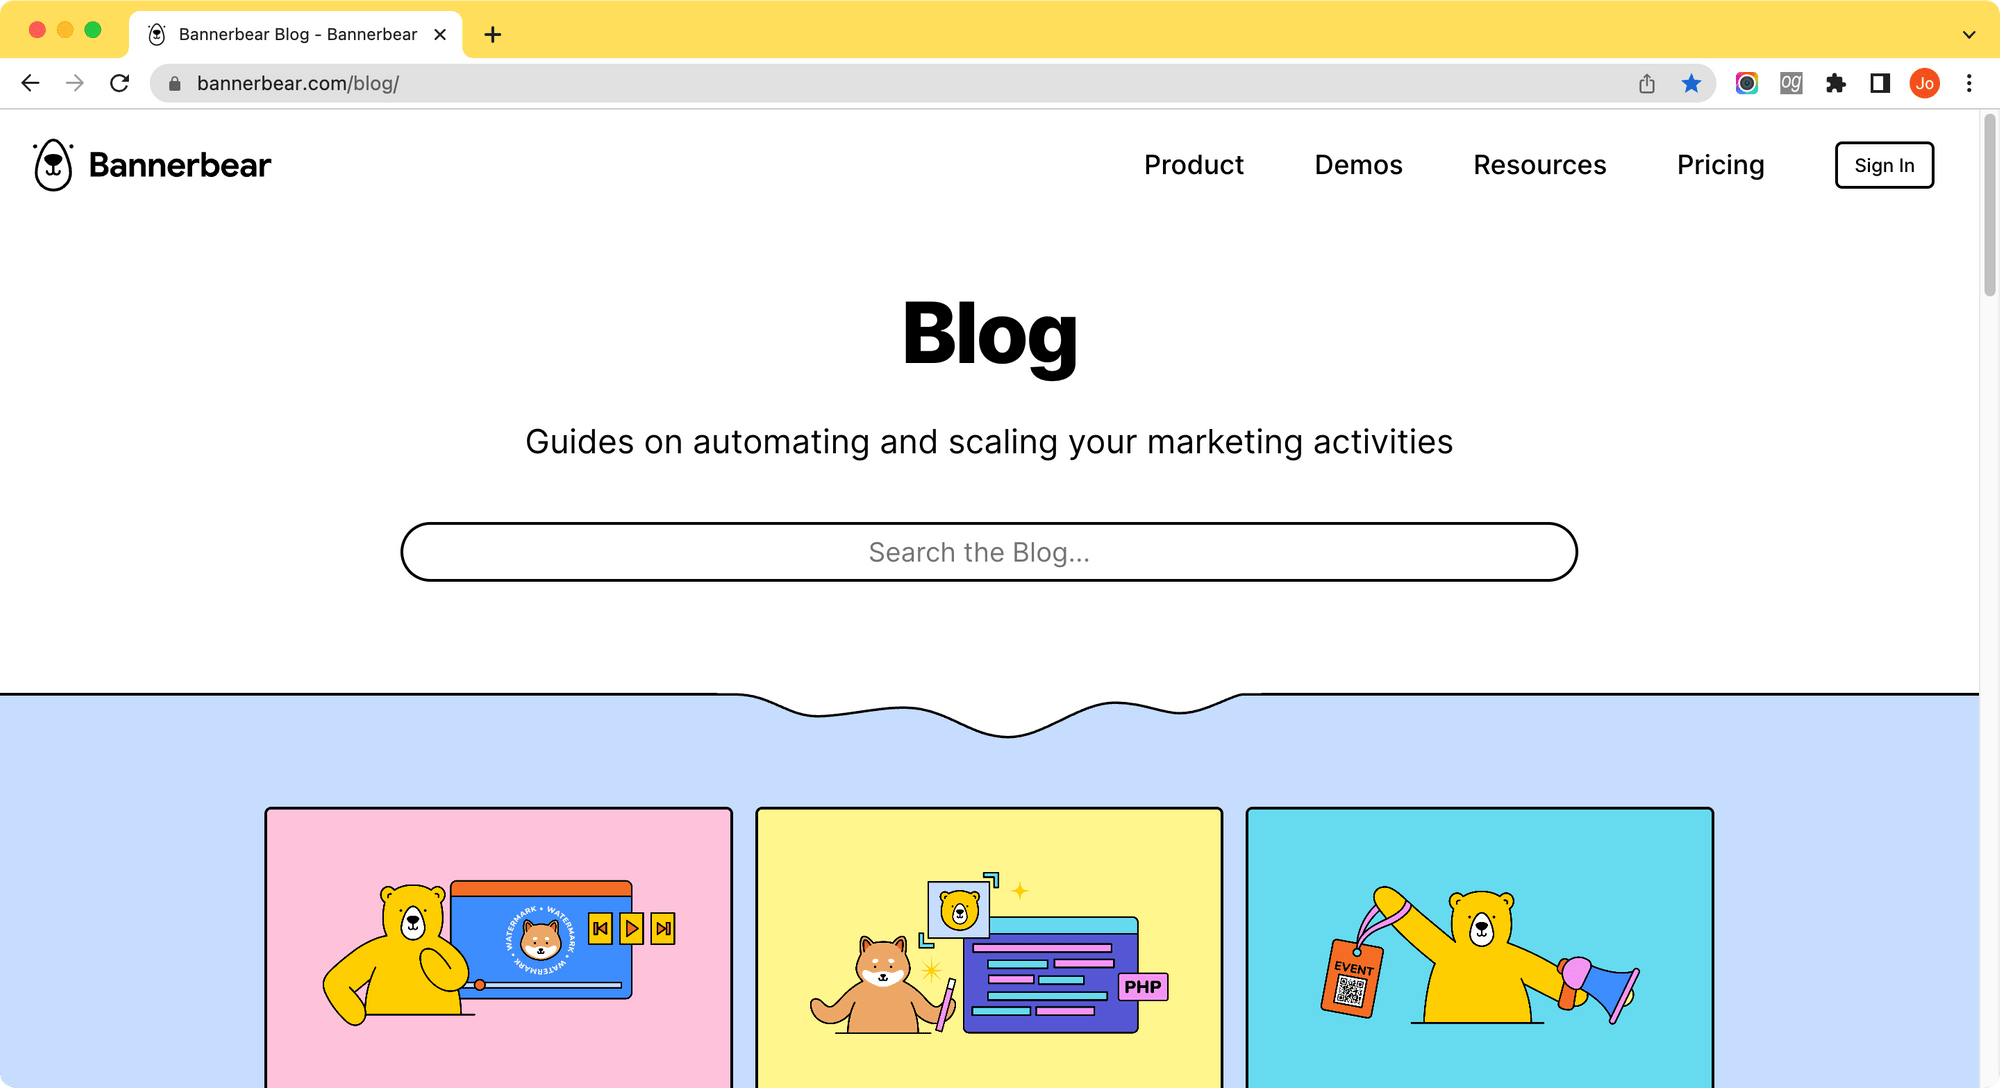
screenshot-1.png
screenshot-2.png
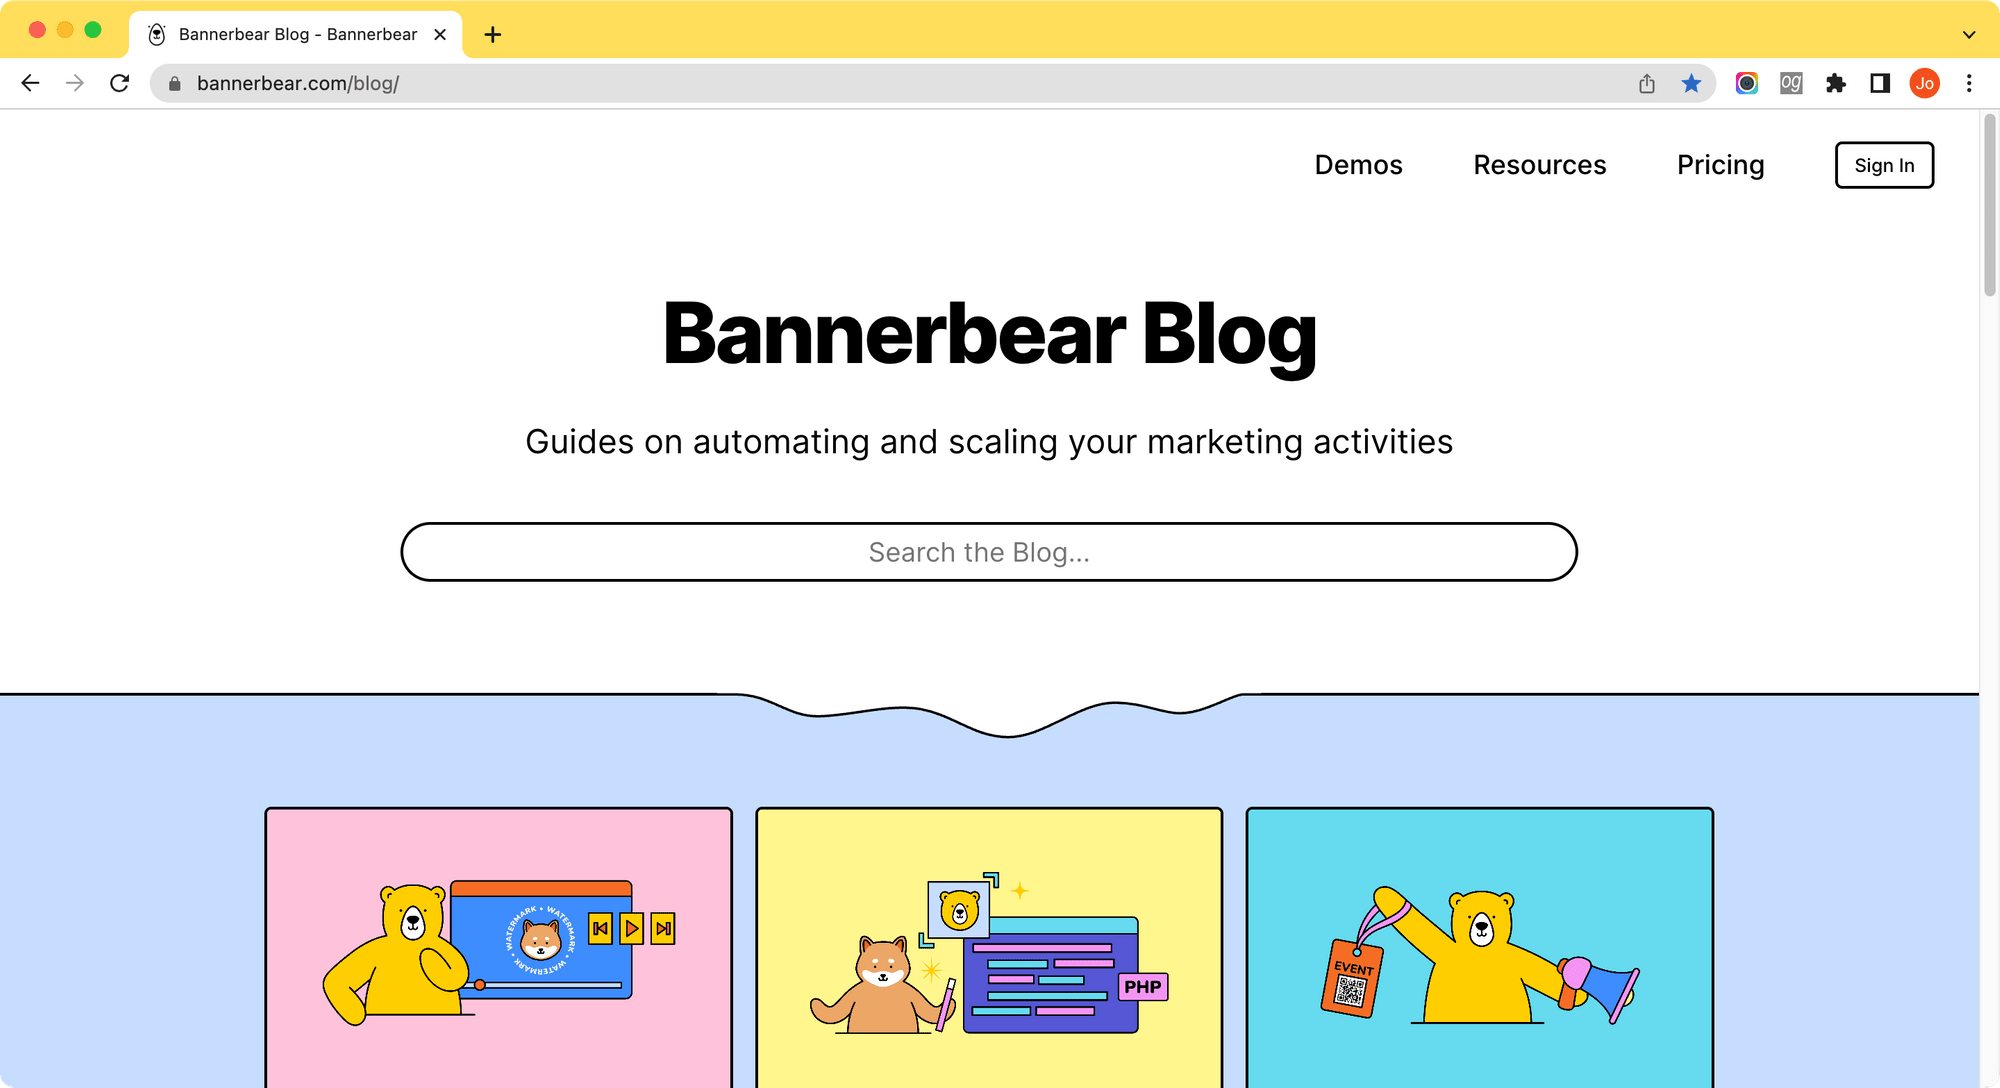
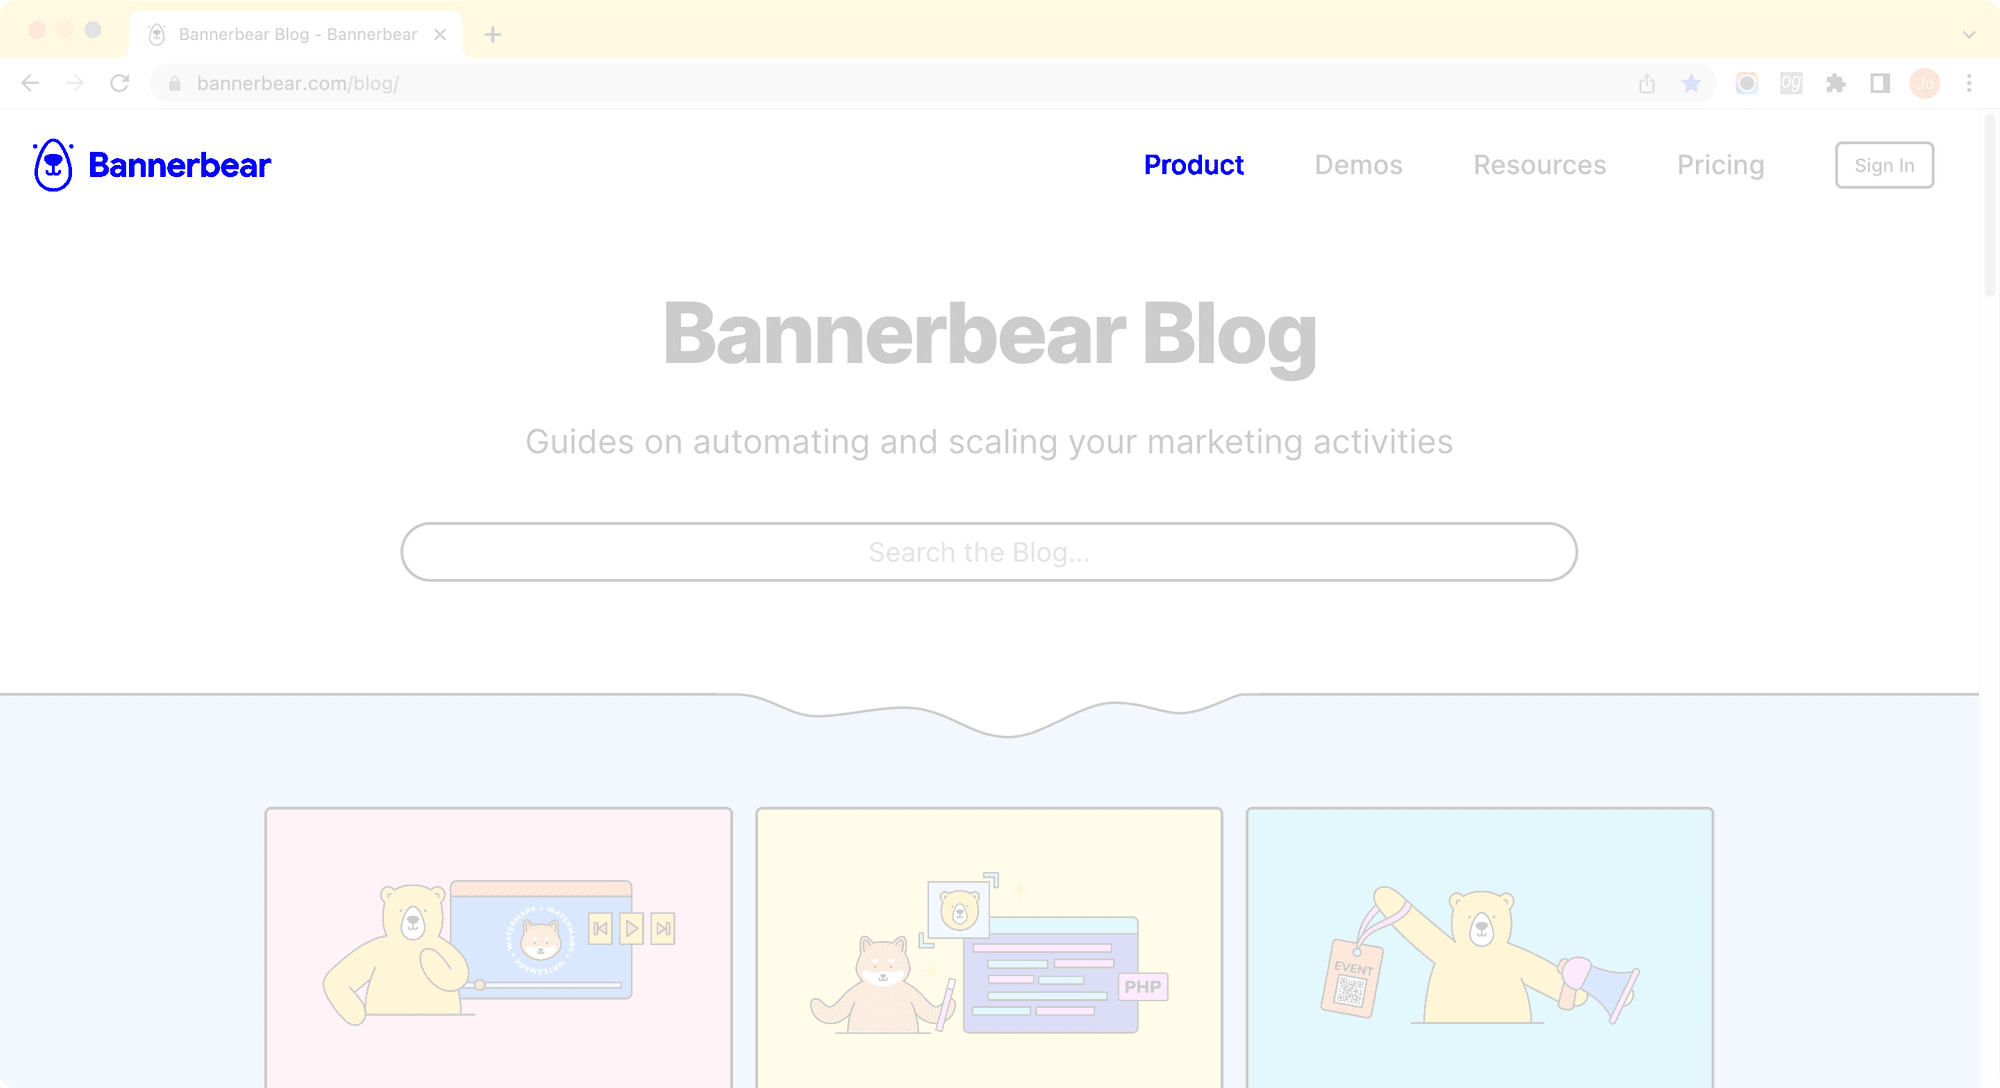
In the second screenshot, the logo and “Product” is missing from the top navigation bar. By running the command in the terminal, the output image difference.png will highlight the differences between the two images in red while other unchanged elements will be dimmed.
difference.png

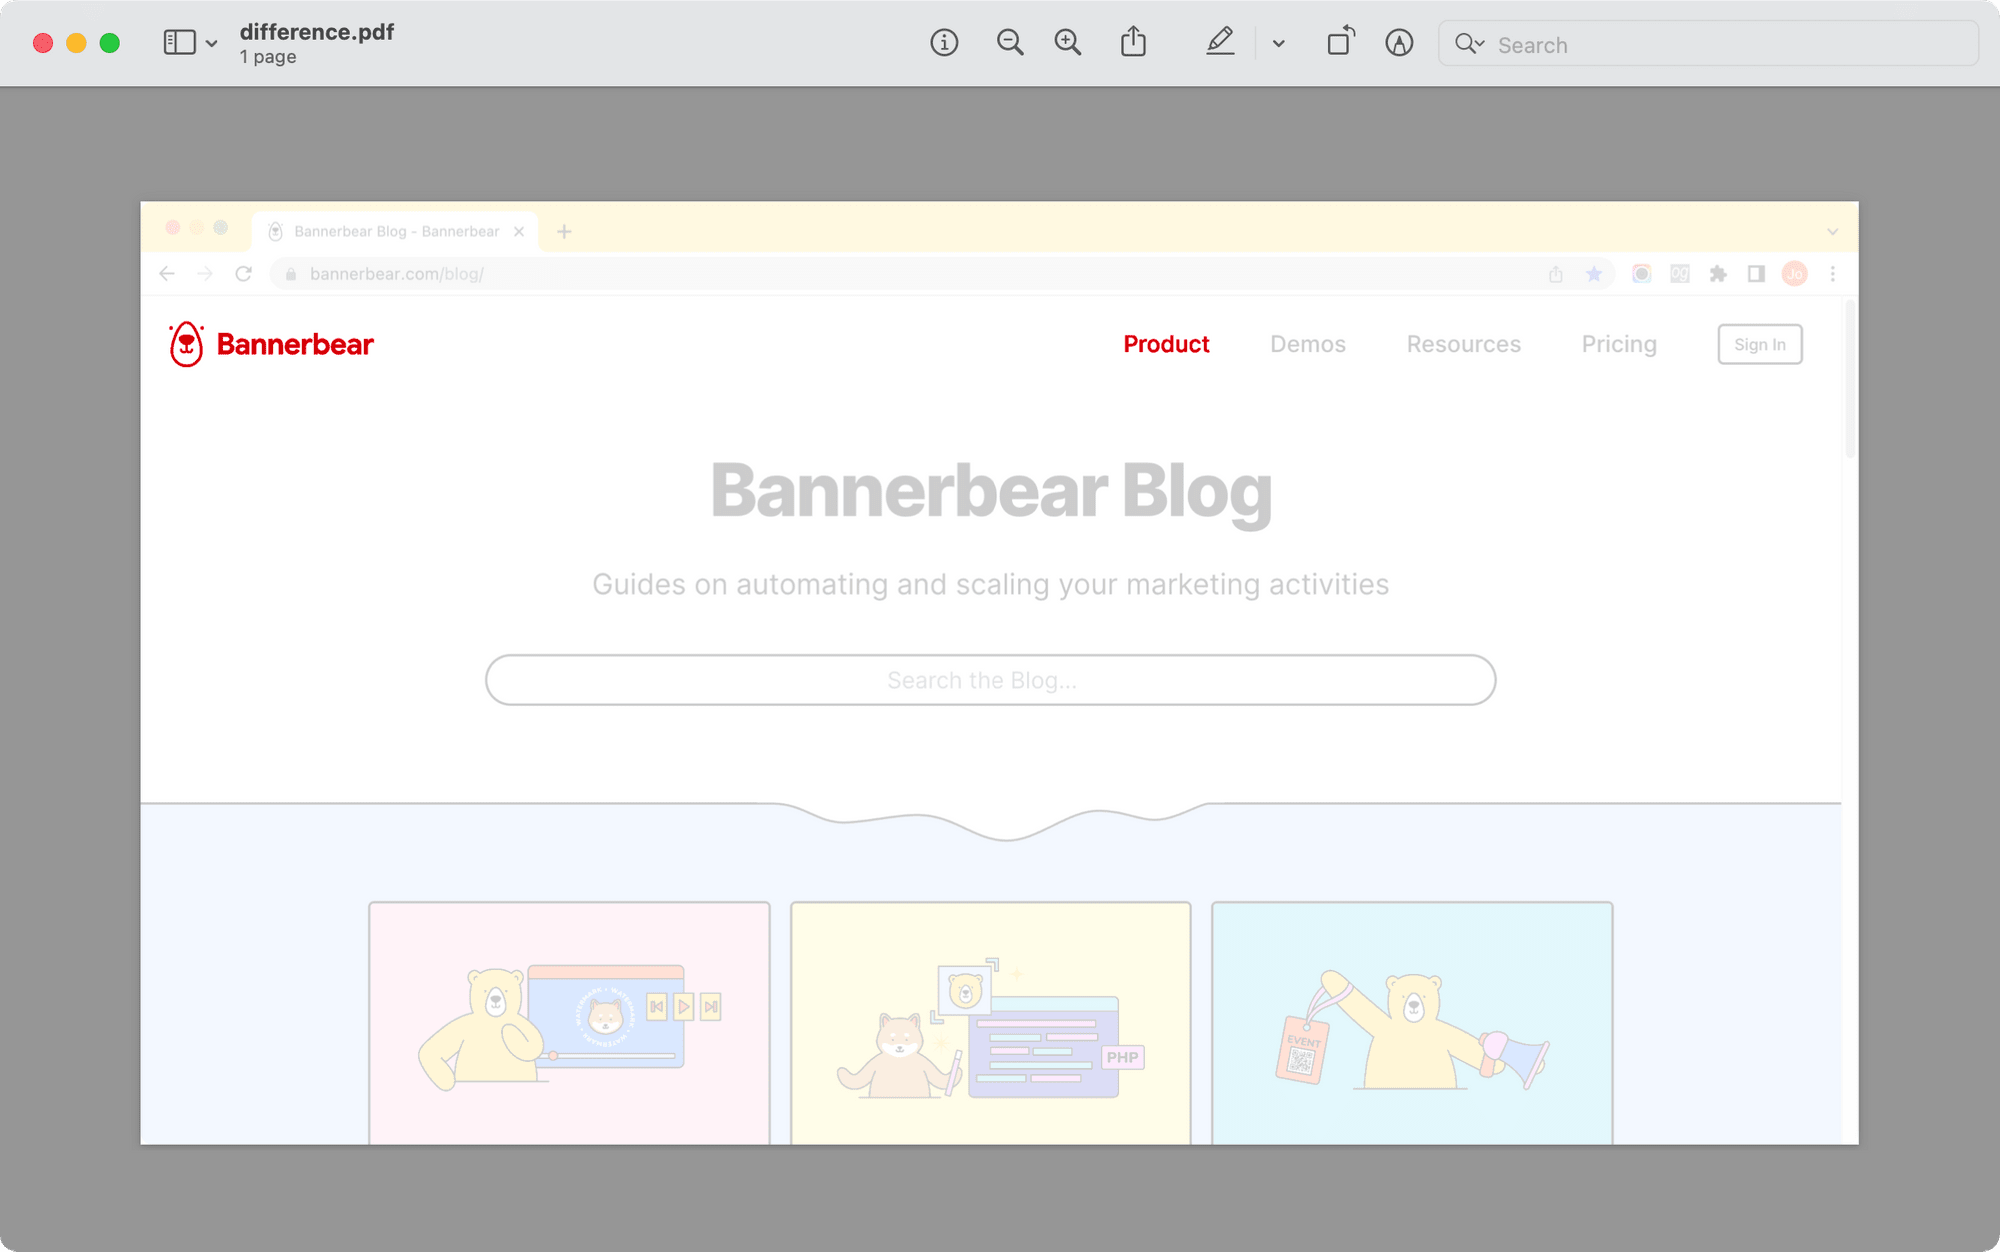
The format of the comparison result is determined by the output filename's extension. Beside saving the result in image formats like PNG, JPEG, and TIFF, you can also name the output file using the .pdf extension to save the result as a PDF file.
magick compare screenshot-1.png screenshot-2.png difference.pdf
difference.pdf
🐻 Note: You can compare images of different formats (eg. PNG and JPEG). However, they must be of the same dimension.
Use a Different Highlight Color
Red is the default color used for highlighting the differences between images. However, the highlight color can be changed by adding the parameter -highlight-color followed by the specified color.
magick compare screenshot-1.png screenshot-2.png -highlight-color blue compare-blue.png
Specifying a custom highlight color helps to emphasize the differences between two images when the same area of both images has different contents. For example, different from the previous example where the logo and the “Product” link are removed completely, in the screenshot below, the page title is changed from “Bannerbear Blog” to “Blog”.
When the compare command is executed, the differences will overlap and it becomes difficult to distinguish them as both contents are highlighted in the same color.
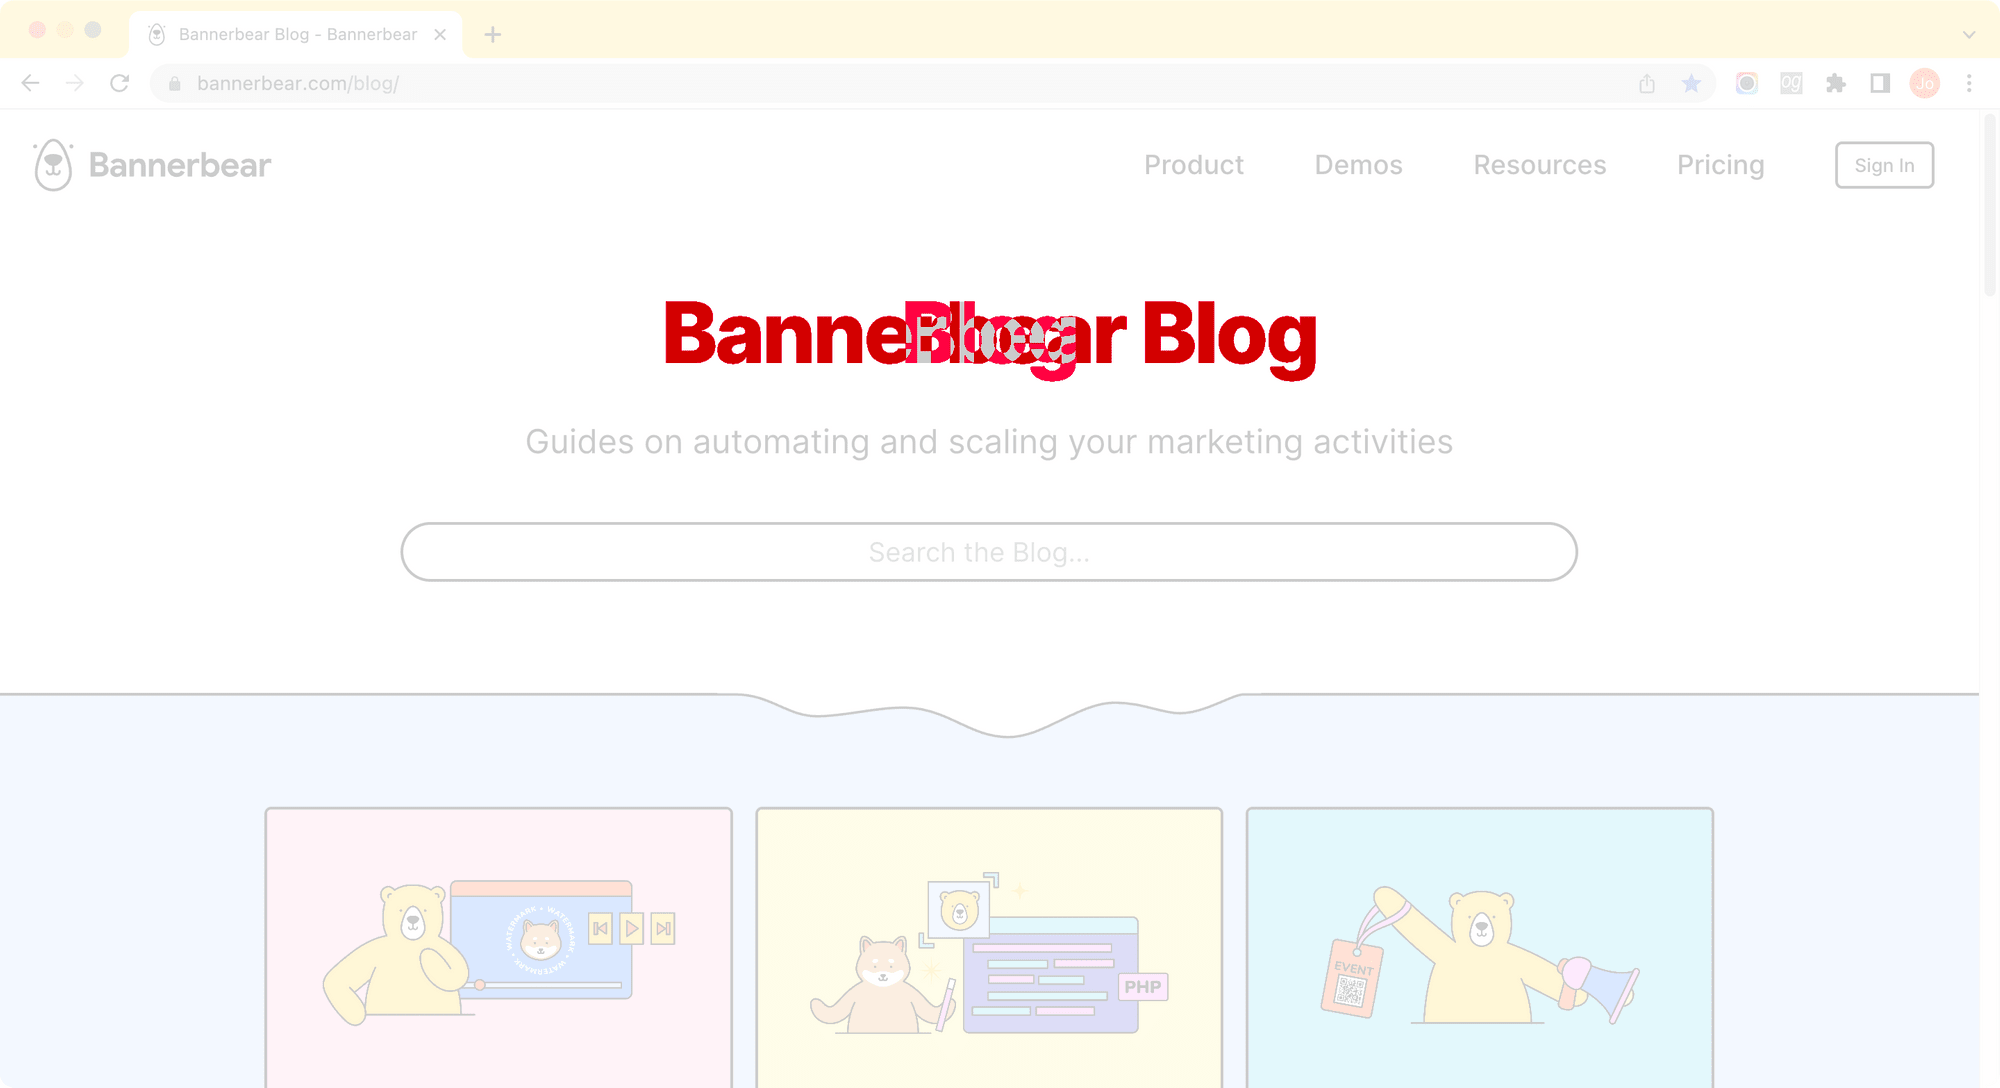
In this case, we can use two different colors to highlight the differences to have a better comparison.
Compare in Different Highlight Colors
magick screenshot-1.png screenshot-3.png -write mpr:img +delete -fill white -colorize 80% \
\( mpr:img -compose minus -composite -threshold 0 -background red -alpha shape \) \
\( mpr:img +swap -compose minus -composite -threshold 0 -background blue -alpha shape \) \
-background none -compose over -flatten compare-dual.png
-write mpr:img writes the input images to a "Memory Program Register" (MPR) named "img" and holds the image data in memory, allowing subsequent operations to refer to the stored image data without having to read the input images from disk again.
+delete deletes the last image in the current image sequence.
-fill white -colorize 80% colorizes the image by 80% using white color.
-compose minus -composite -threshold 0 -background red -alpha shape composes the images using the minus method, and fill the resulting alpha shape mask with red color. The same parameters are used for the other image using +swap, but with blue color.
The last line of the command, -background none -compose over -flatten compare-dual.png composites the image over a white background and export it as compare-dual.png.
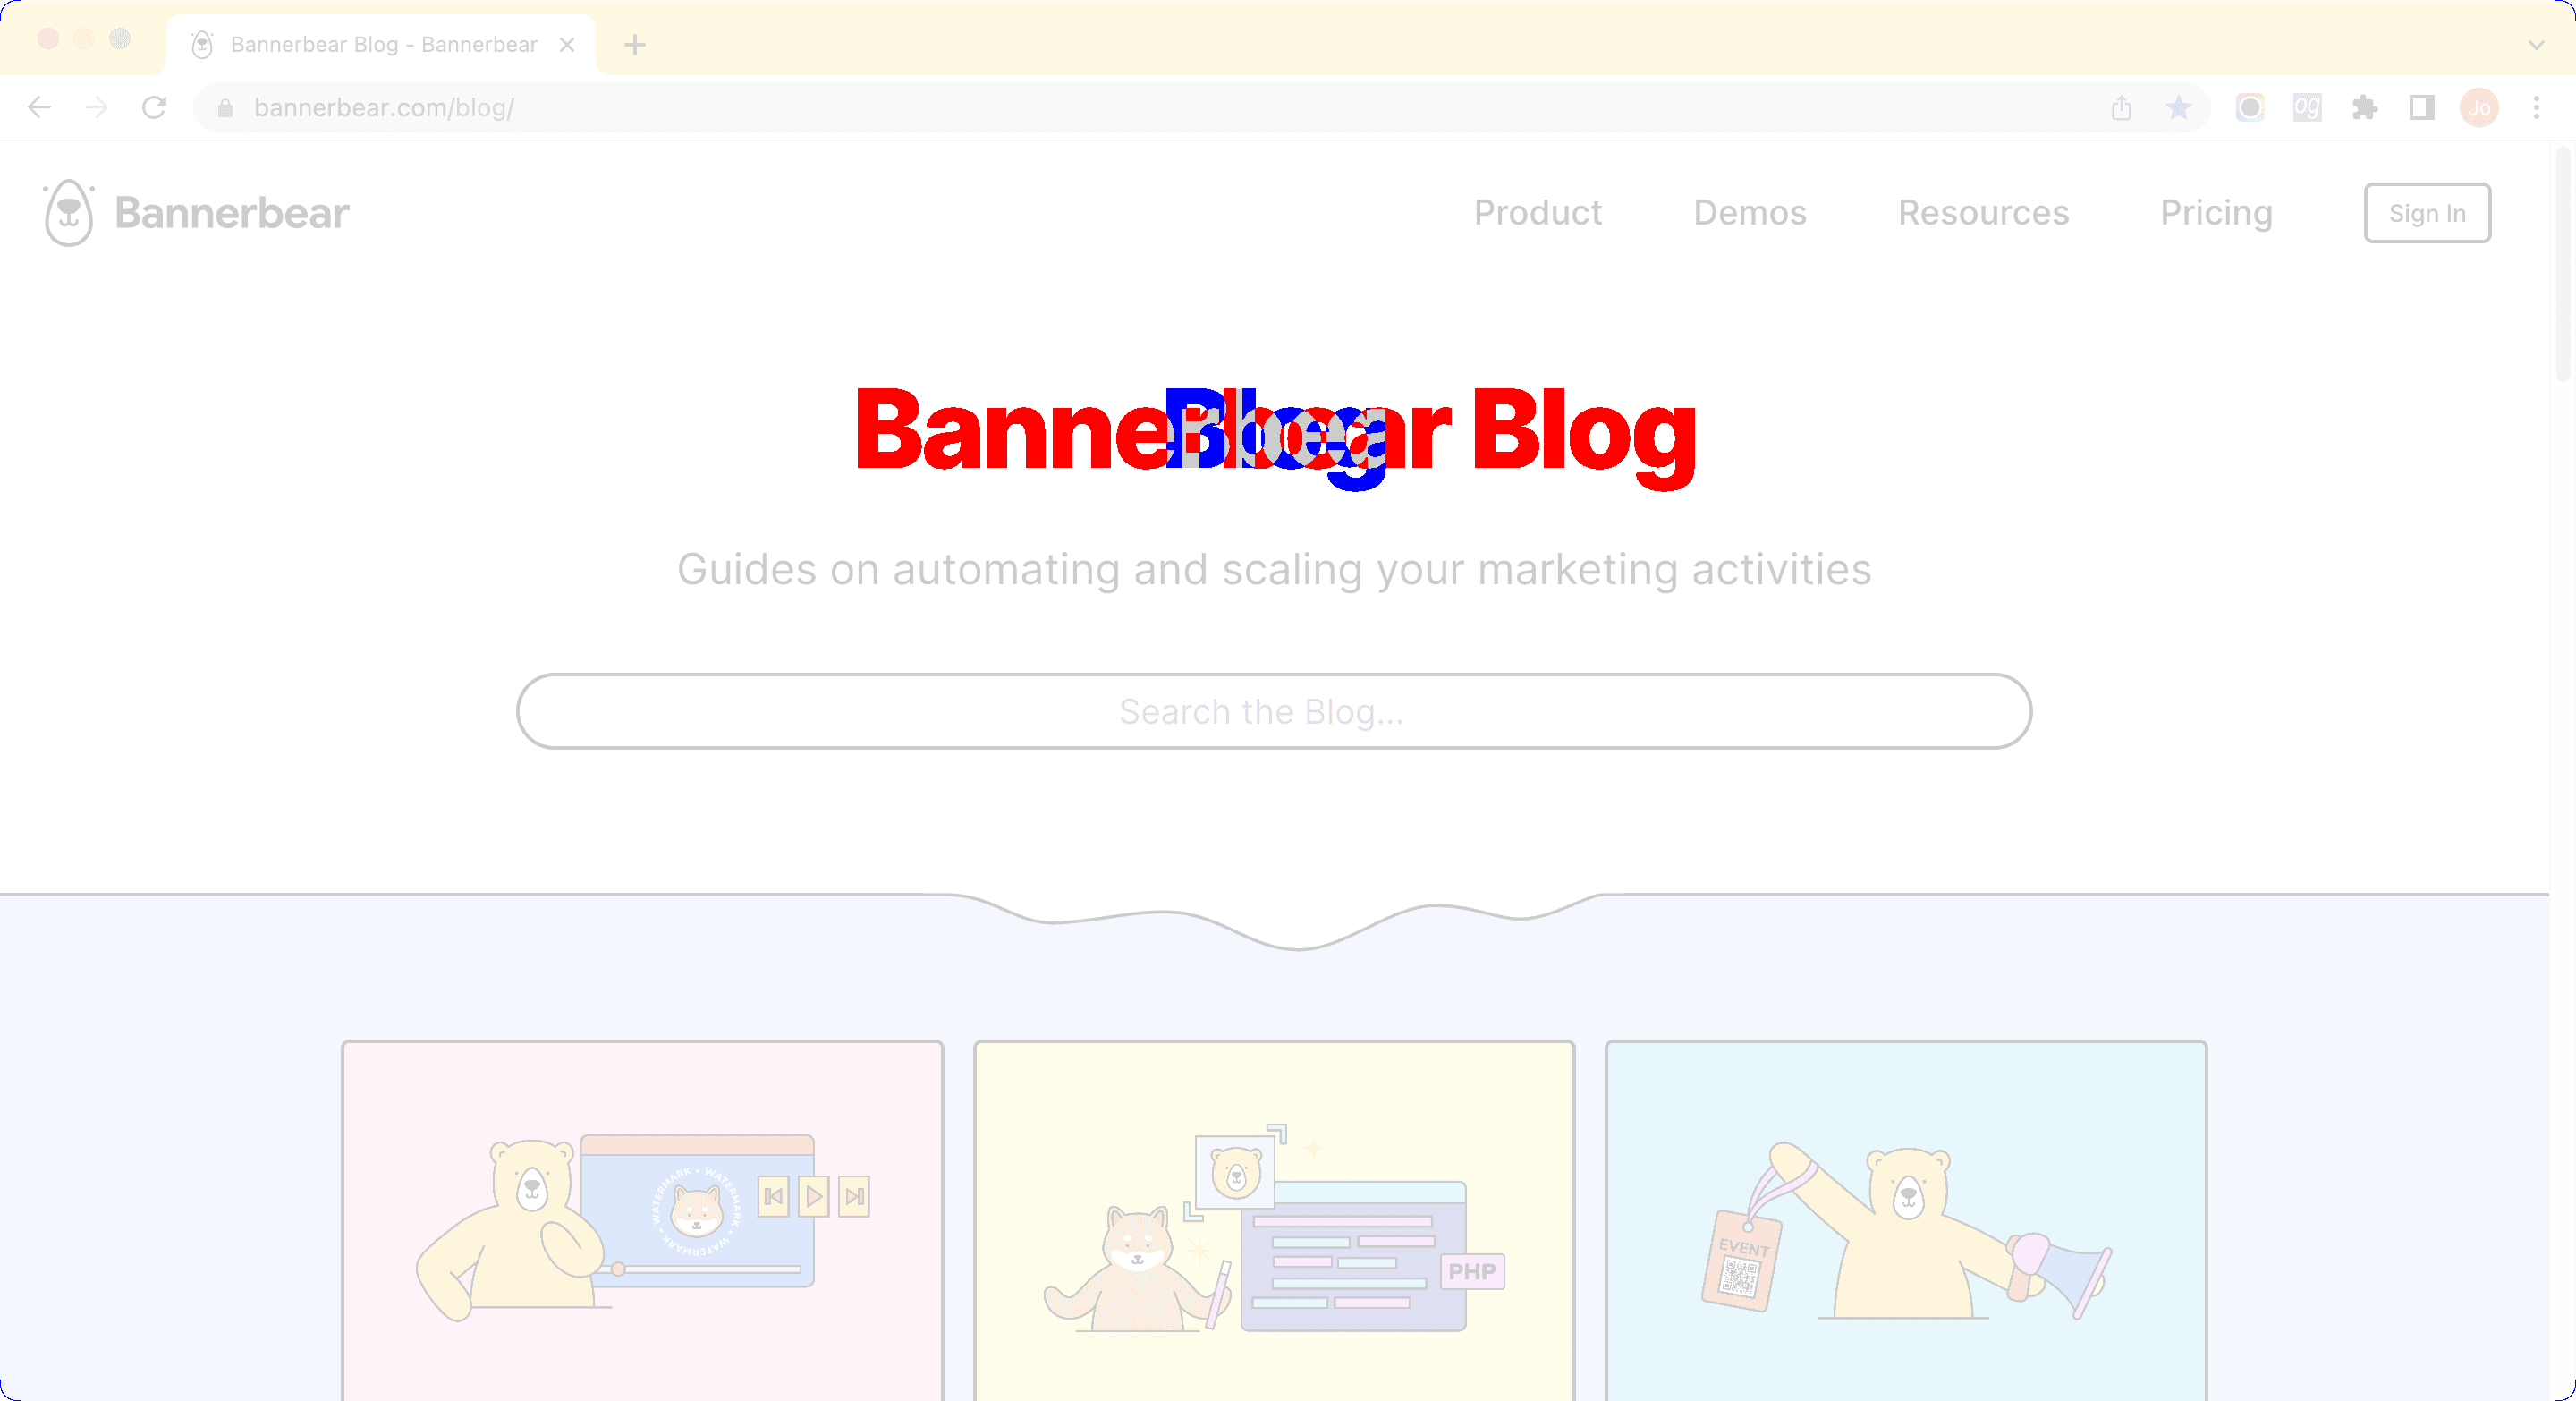
Comparing the two screenshots, the title has changed. Instead of highlighting the contents of both images using the same color, the original title in the first screenshot is highlighted in red while the new title in the second screenshot is highlighted in blue.
View the Differences in a GIF
Besides highlighting the differences between the two images in a static image, we can also present the differences in an animated GIF. As ImageMagick is a versatile tool that can export files in various formats as specified, we can generate a GIF from the two screenshots by naming the output as a .gif file.
magick -delay 80 screenshot-1.png screenshot-3.png -loop 0 compare.gif
-delay 80 displays the next image after pausing for 80 ticks. It controls the speed of the GIF.
-loop 0 repeats the animation an infinite number of times.
Although this method doesn't use ImageMagick to find the differences between both screenshots to do a real comparison, using an animated GIF can present the differences better visually if you need to present them in a slideshow or a video.
Compare Website Screenshots Effectively
Capturing website screenshots and comparing them seems like an easy task. However, it would be difficult to do so manually at a large scale. To effectively compare website screenshots at a large scale, tools like Puppeteer and ImageMagick that can automate the process can be really helpful.
These tools not only save you time and effort, but they also provide reliable results. If you're interested in other ways to automate tasks, here are some articles that you can read:
