
How to Instantly Generate Daily Special Menus for Your Restaurant
Contents
Nine out of 10 people research a restaurant online before dining. Guests look up menus, check out the ambiance, and see if there are any interesting promos that they can take advantage of. In this day and age, the question is not whether you should be investing in digital marketing—it’s how much you give up by opting out.
But restaurant managers are busy people. The food and beverage (F&B) industry is cutthroat: Running a successful eatery often involves spending 12 hours a day on your feet, even on the weekends.
The key to maximizing your time is using technology to simplify as many tasks as possible. Mundane, repetitive tasks like designing and distributing promotional material for daily specials can be automated in under an hour using Nocode tools—and in this tutorial, we’ll show you how!
What You Will Create
Restaurants use daily specials to decrease food waste, generate buzz, and add variety to an otherwise consistent menu.
A good inventory process and creative executive chef can make your featured dishes add to restaurant profitability and strengthen customer loyalty. And a handful of Nocode tools can automate the generation and distribution of these assets so you don’t have to give it a second thought.
The tools you will be using to create your daily special menus are:
- Airtable : To store your menu planning data and generated assets
- Bannerbear : To design and generate your dynamic marketing material
- Zapier : To trigger actions in different programs based on pre-specified commands
- Buffer (or the social media management software of your choice): To distribute promotional material on your chosen social platforms
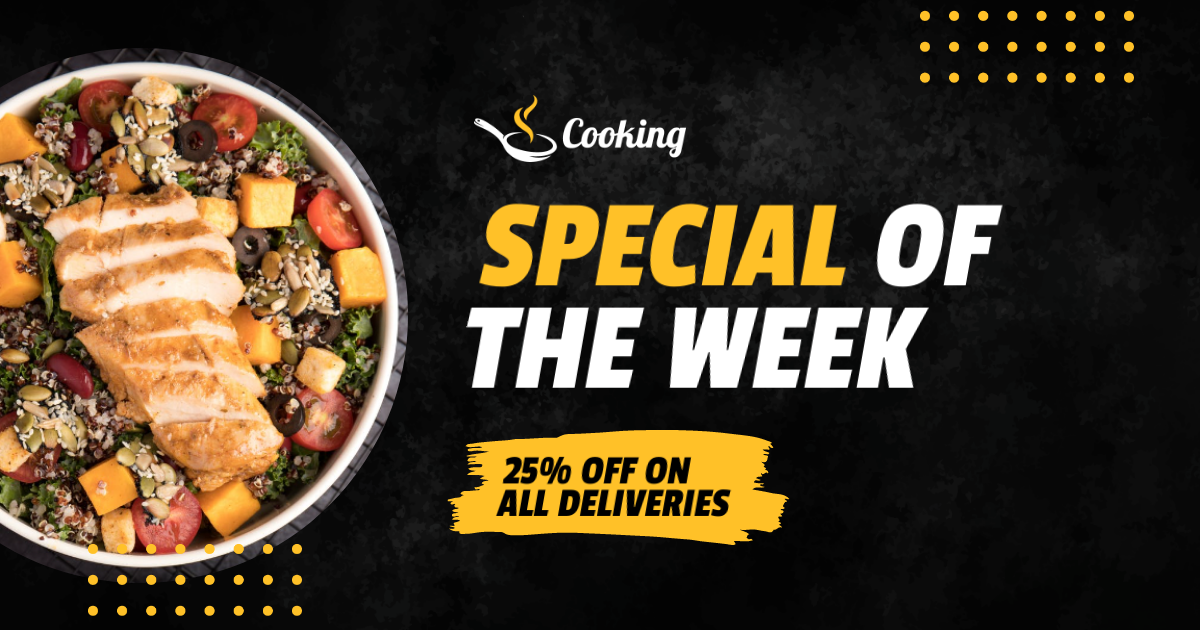
By the end of this tutorial, you should be able to automate the production of daily special promotional material, just like this:
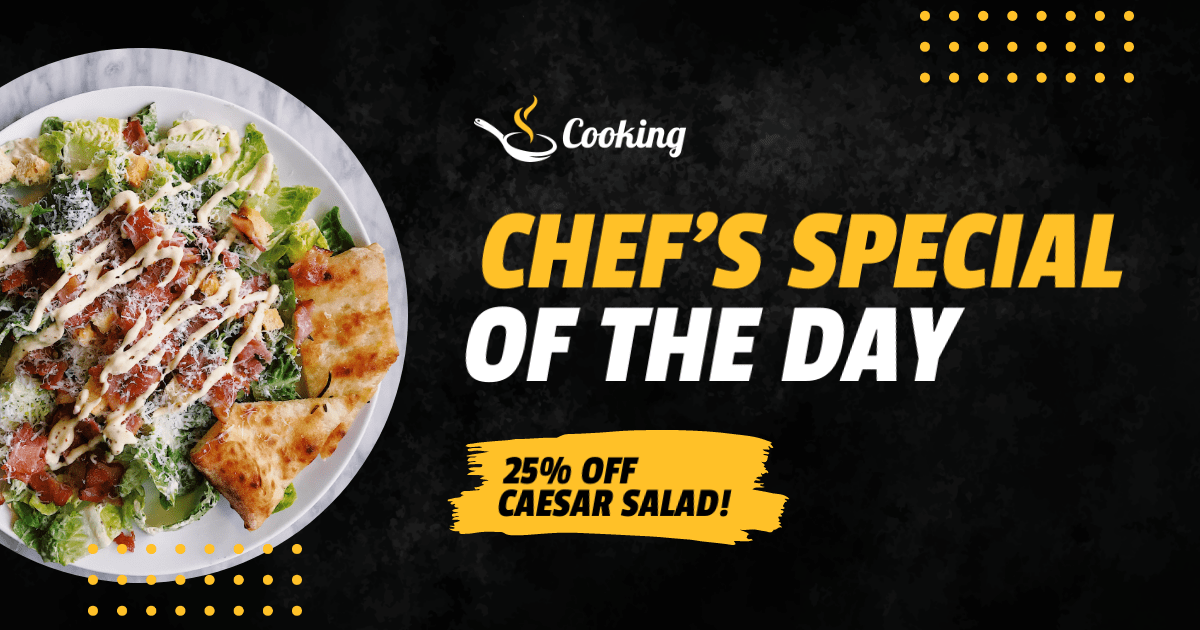
Let’s get started.
Customize Your Bannerbear Template
One well-designed template is enough to showcase a featured menu item each day. Use Bannerbear to create dynamic images optimized for your social media platforms of choice.
To start customizing your own template, log into your Bannerbear account and click the “Projects” tab. Click “Create another Project” and give it a suitable name.
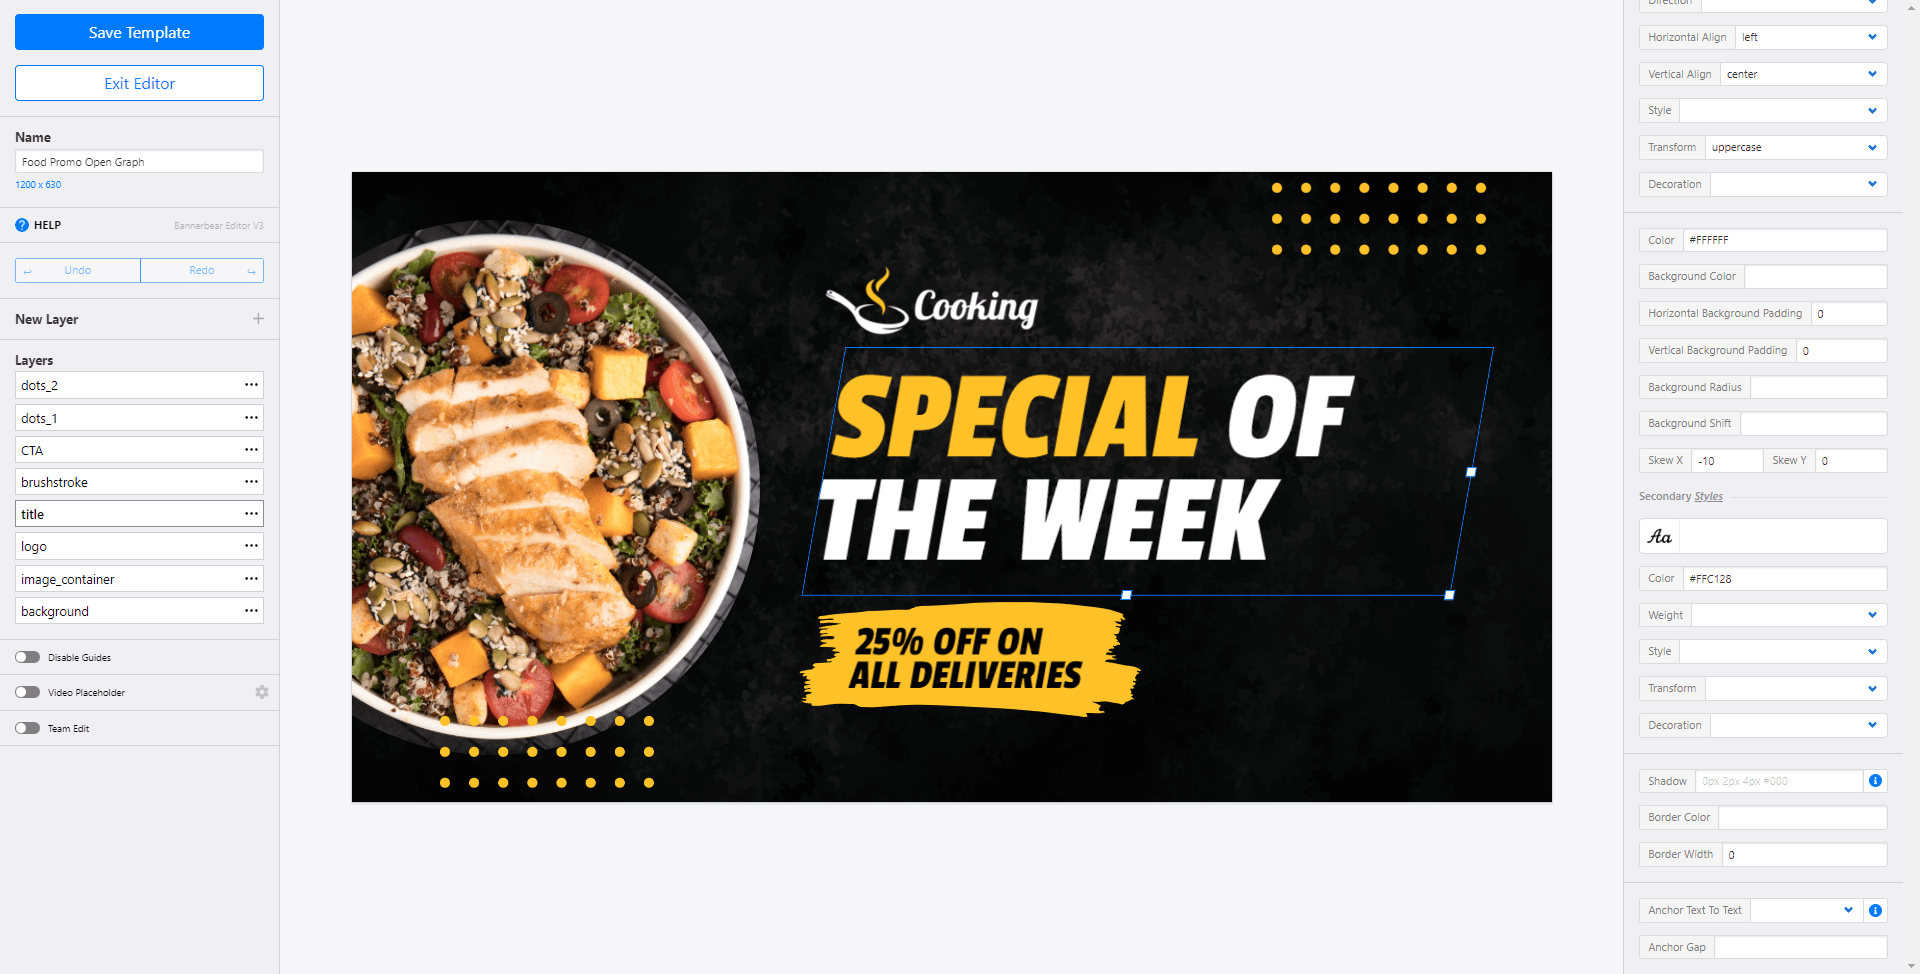
You can either start with a blank template or one of our own templates, such as this Food Promo Open Graph template:
Keep in mind that size matters. Use the dimensions that suit the distribution method, whether it be a certain social media platform, email, or digital signage within the restaurant.
Bear Tip 🐻: If you’ll be advertising via multiple platforms, use the Image Collections feature to create multiple image sizes and generate them all in one go!
Now, it’s time to start customizing.
The fields you include in your template will depend on your promotional strategy. Some restaurants offer Buy 1 Get 1 promotions, while others have a percentage off of a featured dish. You can even build a template that gives you space for a flexible call to action (CTA) so you don’t have to use the same type of offer every time.
While the exact layout may differ from one establishment to another, every daily special template should have the following:
- A high-definition photograph of the featured dish
- A promotional title (Special of the Day, Chef’s Pick, etc.)
- A clear CTA
- Your restaurant’s name and logo
Remember to also consider your restaurant’s branding. Cohesive fonts, colors, and styles will help guests associate marketing material with your overall brand.
Bear Tip 🐻: Add some contrast to your text by setting up a Secondary Style. Whenever you input text framed by asterisks, Bannerbear’s API will apply the characteristics of the Secondary Style, giving you another easy way to customize every image.
When you’re happy with your design, click “Save Template” and move on to the next step: setting up your database.
Build an Airtable Base
Airtable’s customizable database and extensive integrations make it possible for F&B businesses to track everything from the ingredients in a menu item to the suppliers they came from. You might even already have one in use that you can modify to include fields necessary for daily image generation.
Step 1. Add a Base
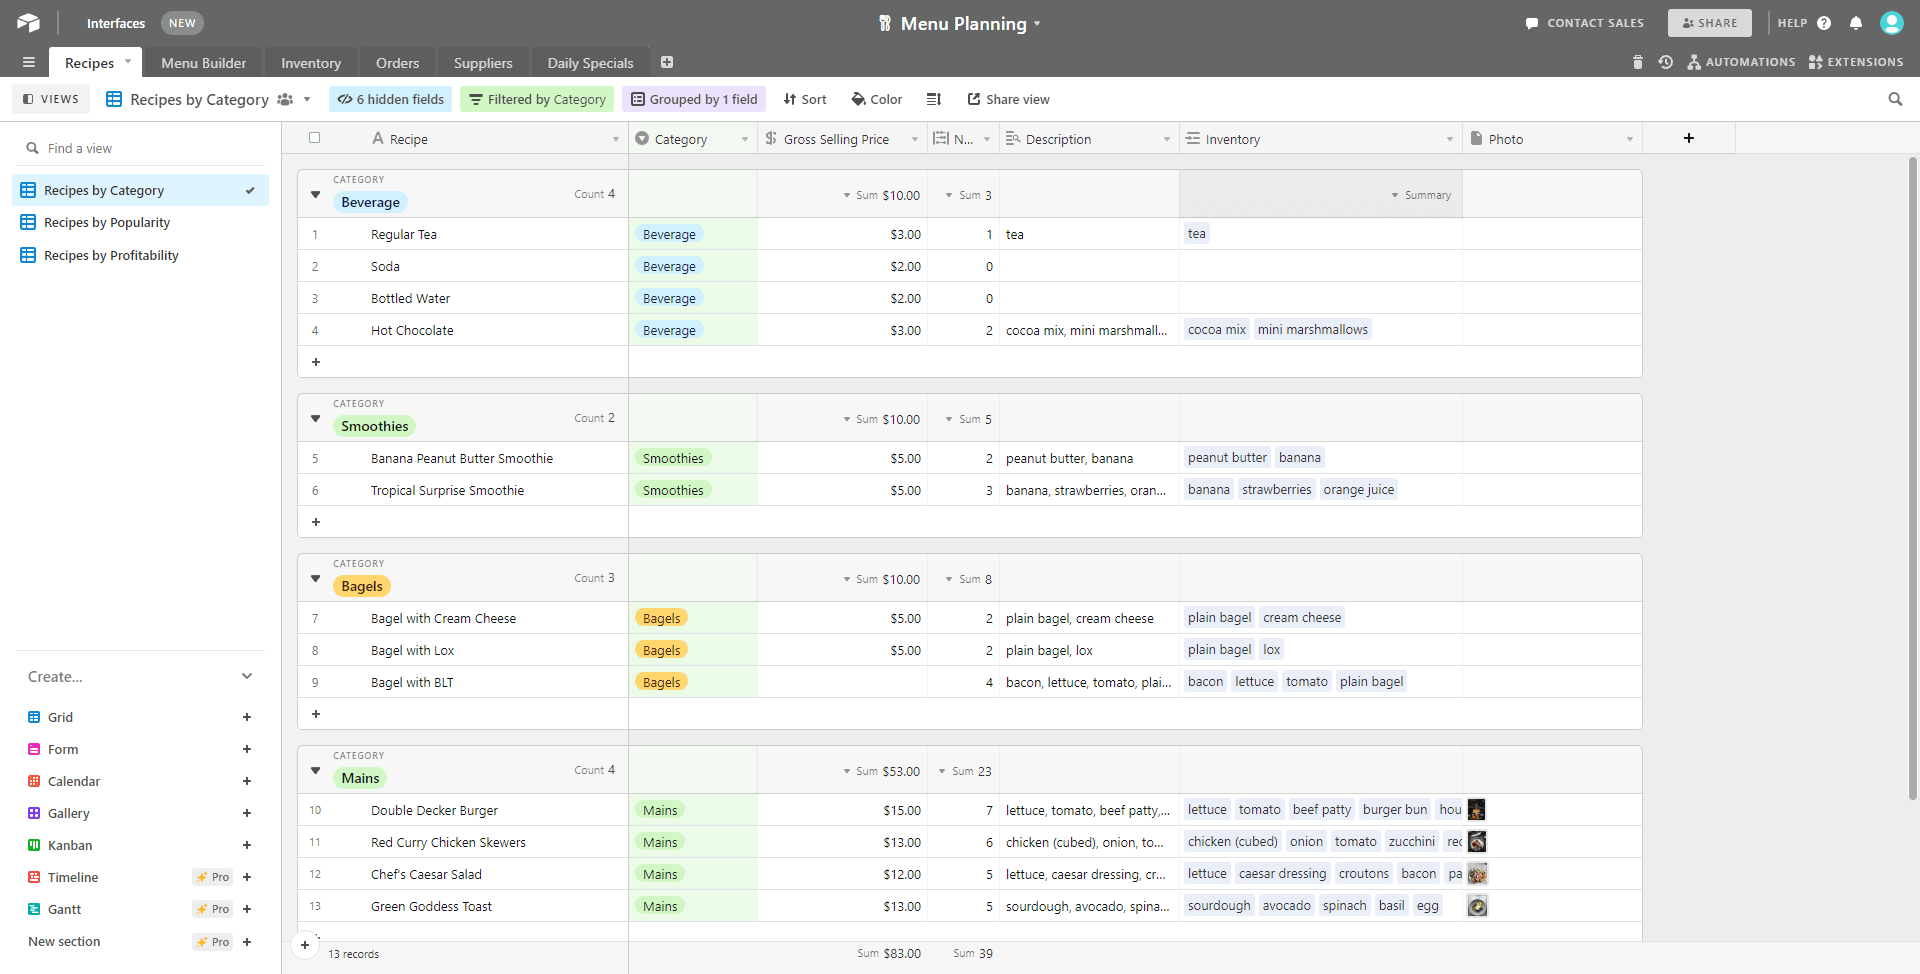
If you’ve yet to set up a database, start by logging into Airtable and clicking “Add a base.” You can start from scratch or from a template, such as the Menu Planning base.
Customize your base as you see fit. Having a way to track inventory is optional, but recommended as it will help your kitchen management team decide on a featured dish that uses ingredients before they go to waste.
Step 2. Set up the Necessary Tables and Fields
Most of your database can be set up according to your establishment's needs, but there are two necessary for this automation: Recipes and Daily Specials.
Create a table for your recipes, ensuring you have the following fields:
- Recipe Name
- Category
- Gross Selling Price
- Photo
You might also want to include fields for ingredients and stock.
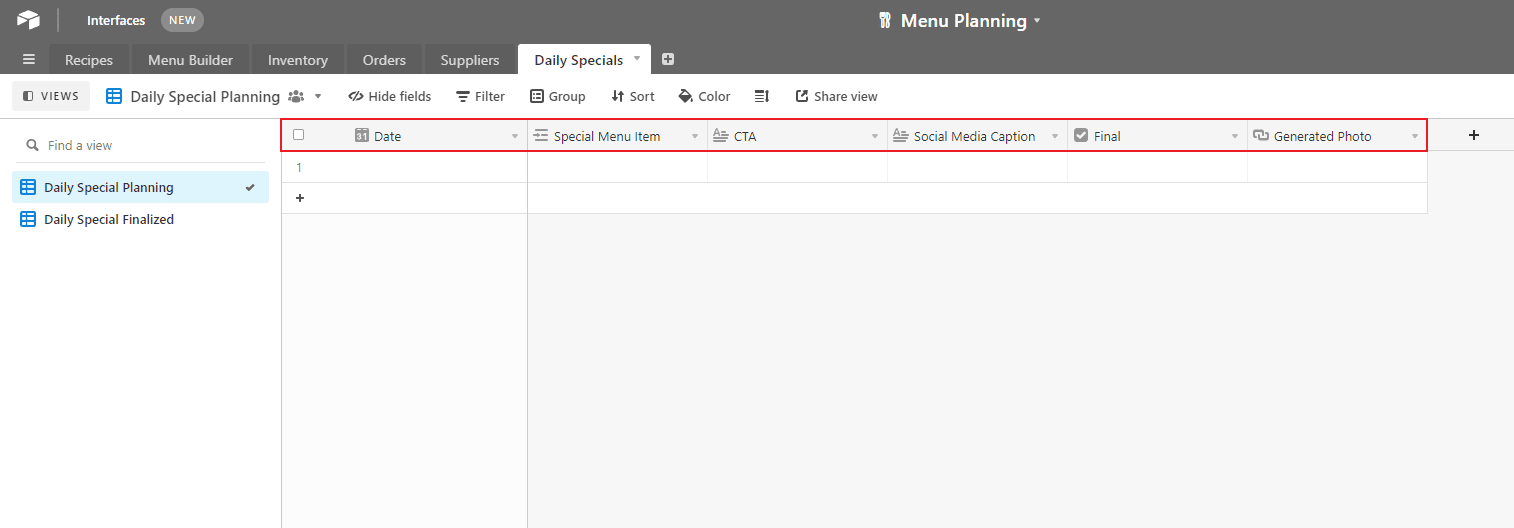
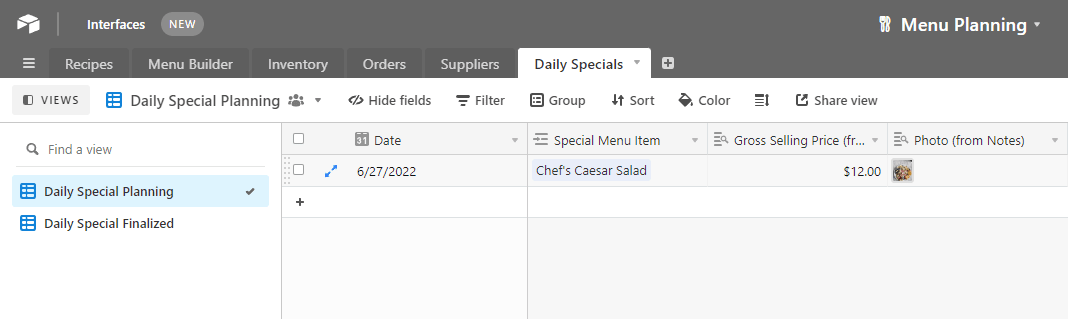
Now, create another table for planning your Daily Specials. Include the following fields:
- Date (& Time, if there is a particular time you want your image to be published)
- Special Menu Item
- CTA
- Social Media Caption
- Final (checkmark)
- Generated Photo URL
❗ _ Note : If you will be writing different captions for different social media platforms, separate the fields for each one._
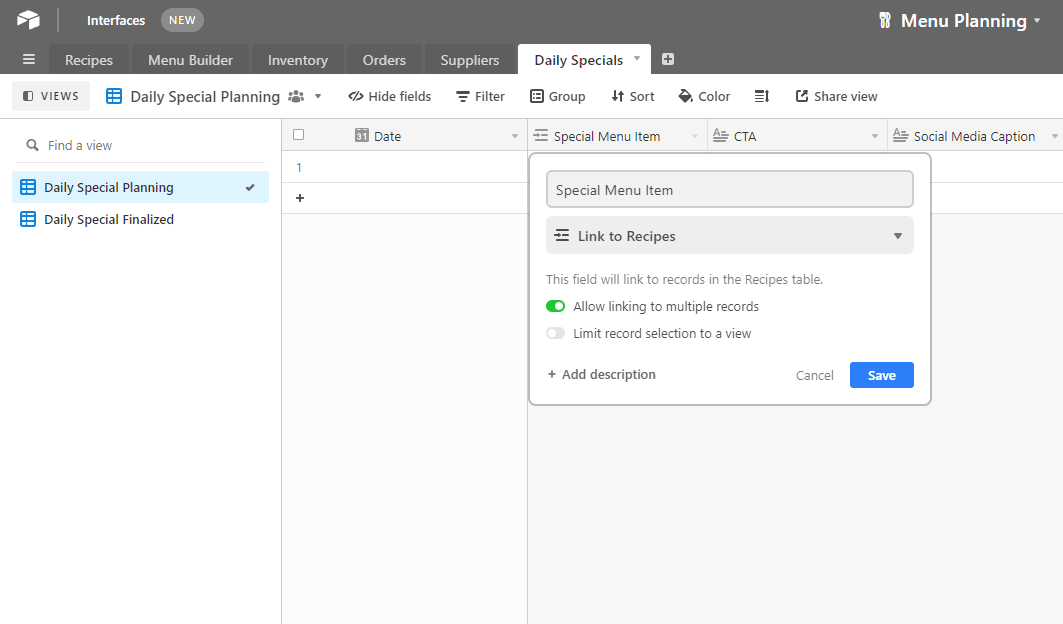
We will now link the Special Menu Item field to the Recipes table. Right-click the field, then click “Customize field type.” In the box, select “Link to Recipes,” then click “Save.”
Right-click the Special Menu Item field again, then click "Add lookup fields." Select “Gross Selling Price” and “Photo Attachment.”
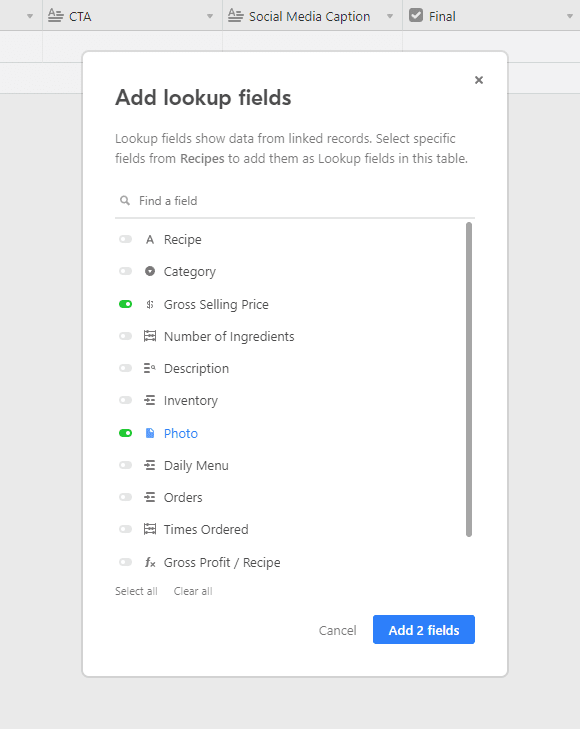
This step will allow you to pull data directly from the Recipes table without having to input it manually again.
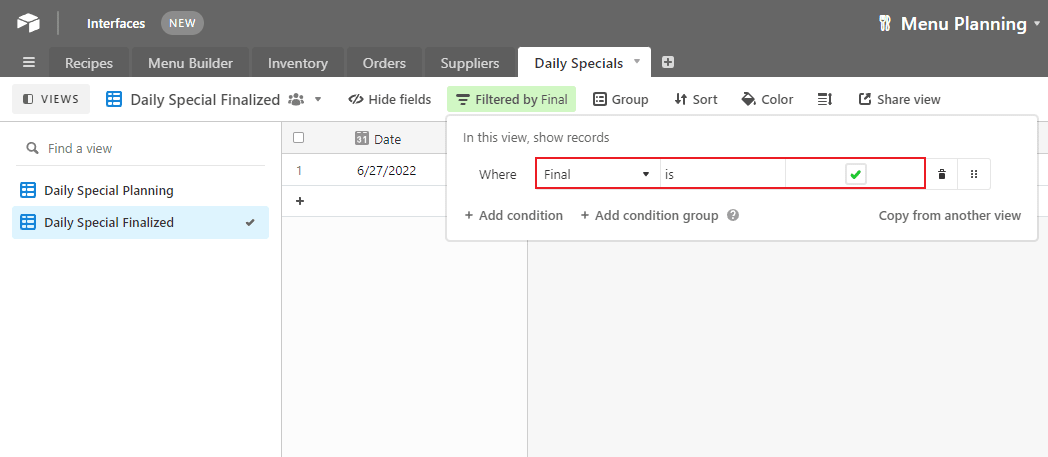
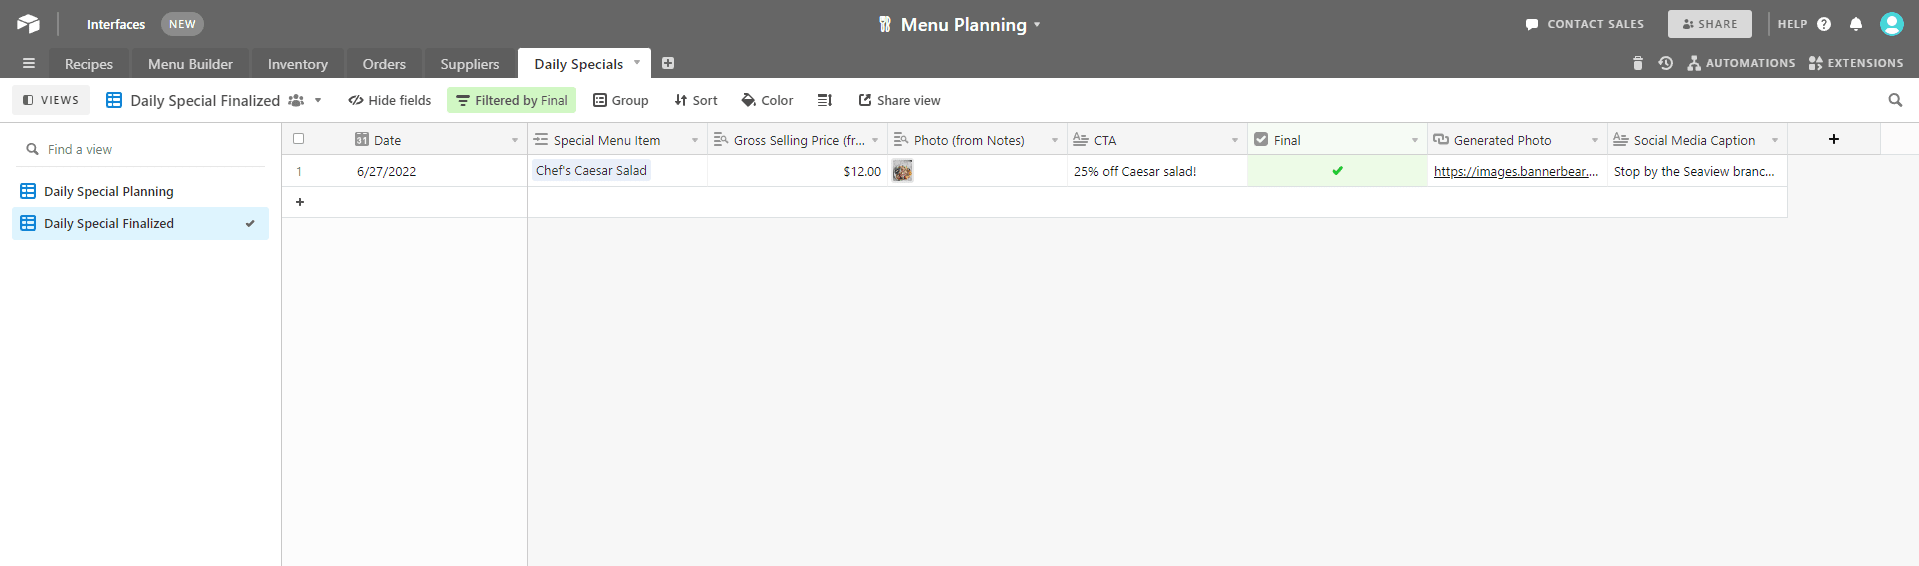
Now, create an additional view of your table by clicking the + button next to “Grid” on the bottom-left sidebar. This view will display your finalized data and act as the trigger for image generation.
Set up one condition using the “Filter” button: Where the “Final” field is checked ✅. This ensures images aren’t generated while you’re still planning your featured dish.
Hide any fields that aren’t essential to each view.
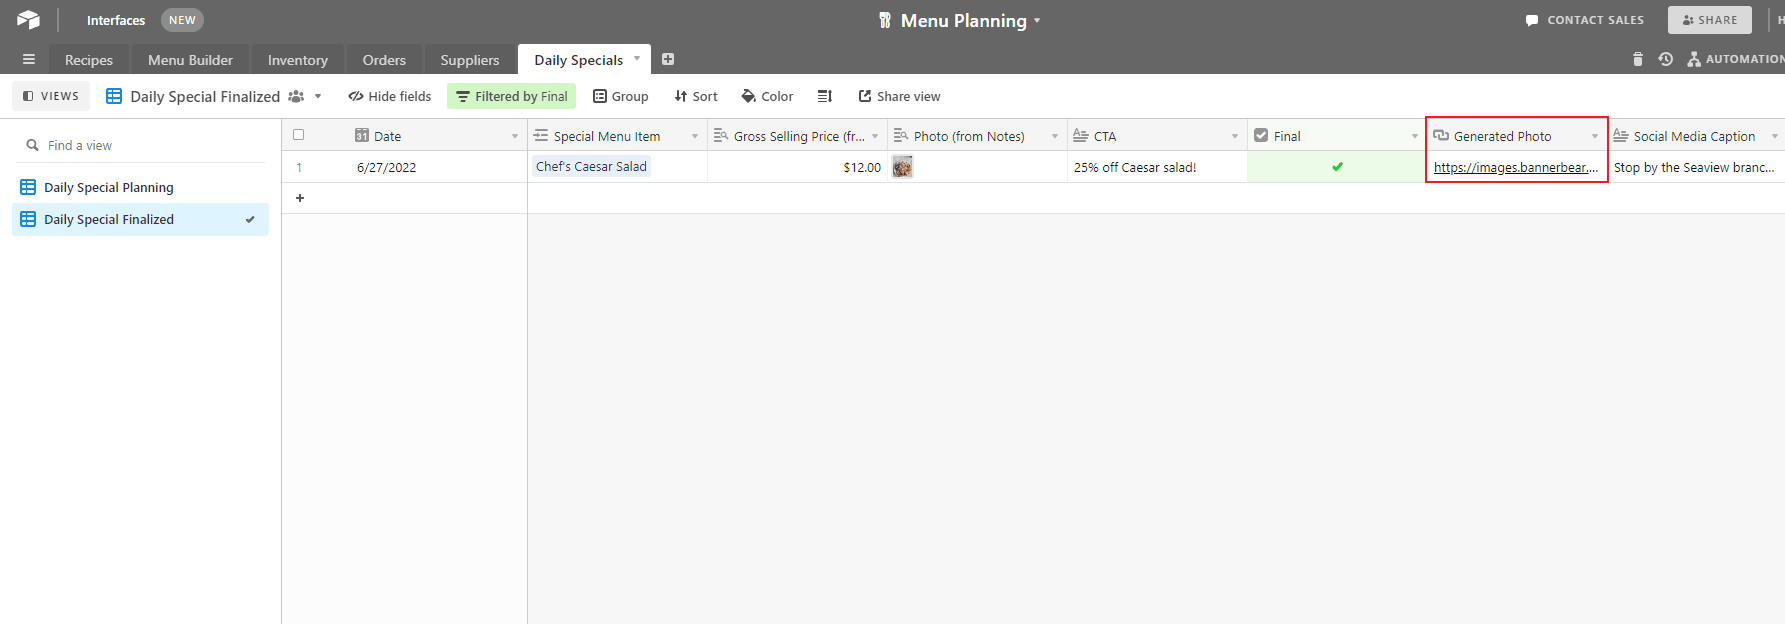
Step 3. Populate a Record
You will need some data to test your Zapier automation, so populate one record on the Daily Specials table. Insert the date, then pull a menu item from your Recipes table. The lookup fields (gross selling price and photo attachment) should show up automatically.
Write some test social media copy, and when you’re happy with all of the data, tick the checkbox in the “Final” field. The record should now automatically show up in your Finalized view.
Your Airtable menu planning base is ready for use. All that's left is setting up the Zapier trigger.
Connect Your Airtable, Bannerbear, and Buffer Accounts Using Zapier
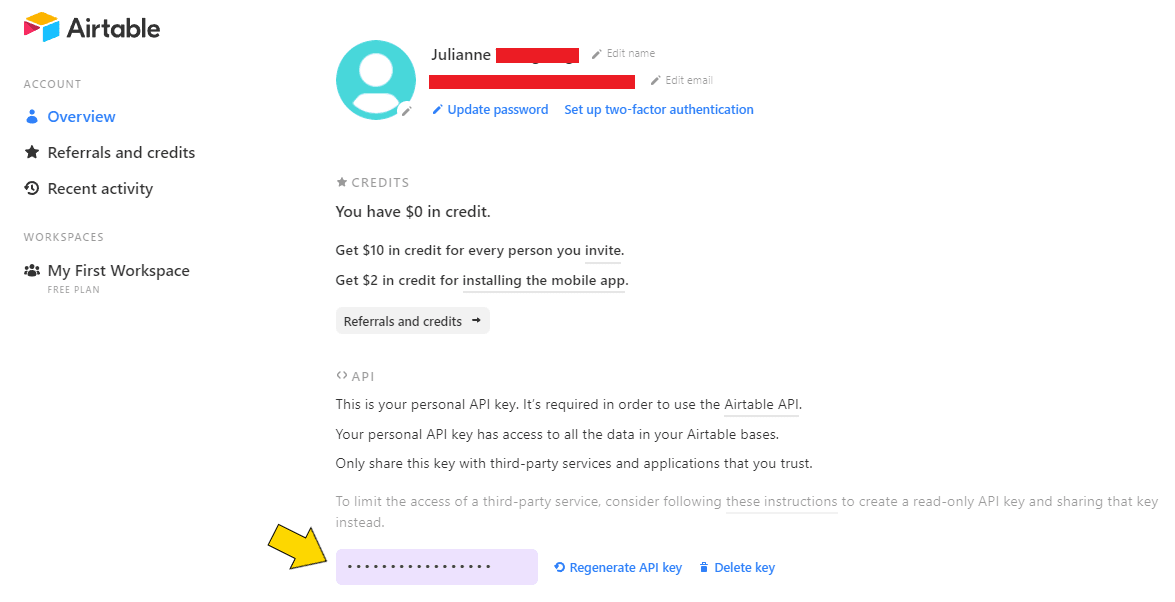
Zapier requires API keys to connect different apps to their services. To connect your Airtable account, log into Zapier and click “My Apps.” Click the “+ Add connection” button and select Airtable, then insert your personal API key which can be found on your Accounts page:
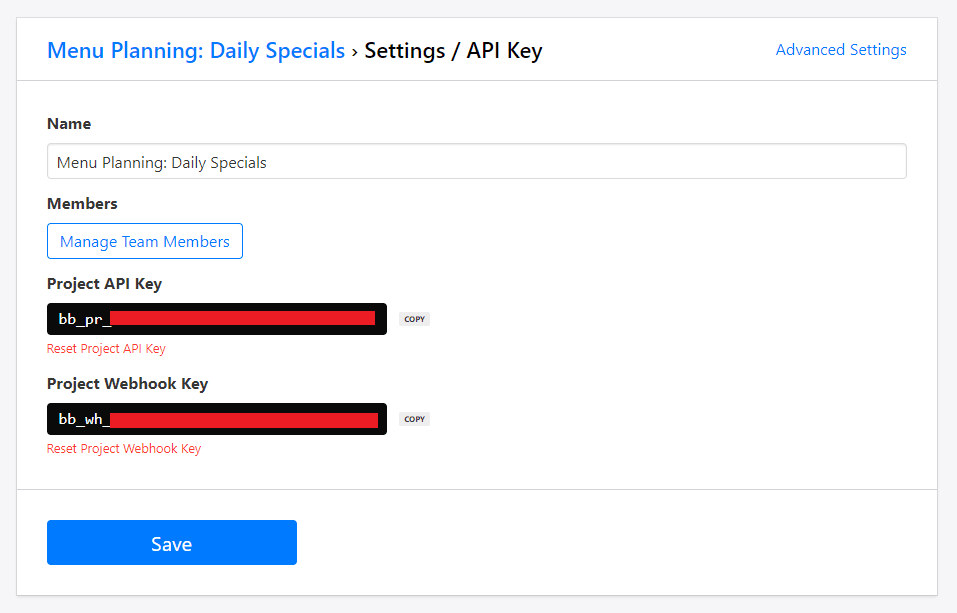
To connect your Bannerbear account, click the same “+ Add connection” button, select Bannerbear, then insert your project API key which can be found by clicking the “Settings/API Key” button of the specific project.
To connect your Buffer account, use the "+ Add connection" button and enter your login details in the new window that pops up.
Now, the correct Airtable base, Bannerbear project, and Buffer account should show up as options when you set up your zap.
Set up Zapier to Generate and Distribute Your Daily Special Images
A single zap can generate, retrieve, and distribute your daily special promotional material. Click “Create Zap” from your Zapier dashboard, then set up your trigger:
Trigger: New Record in Airtable
Select Airtable as your app and “New Record” as the trigger. Choose your Daily Specials table and the Finalized view.
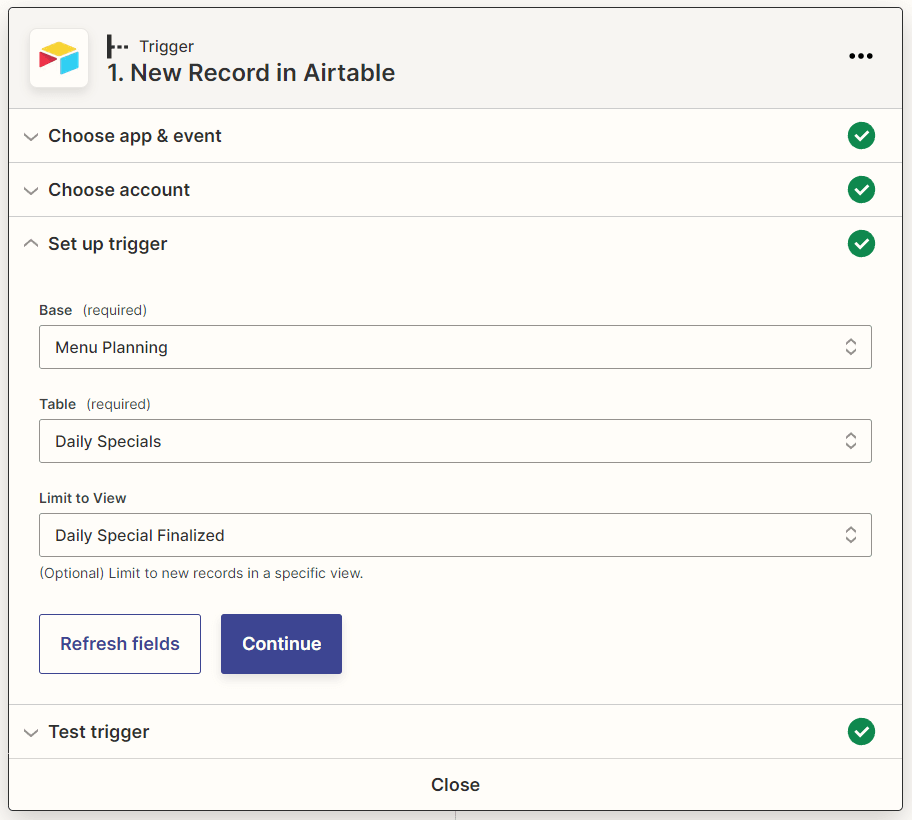
Test the trigger to ensure that Zapier is able to find a record, then continue.
Action: Create Image in Bannerbear
Choose Bannerbear as your app and “Create Image” as the event. Select the correct project and template. Specify modifications to the dynamic fields: CTA, Photo, and anything else you might have included in your design.
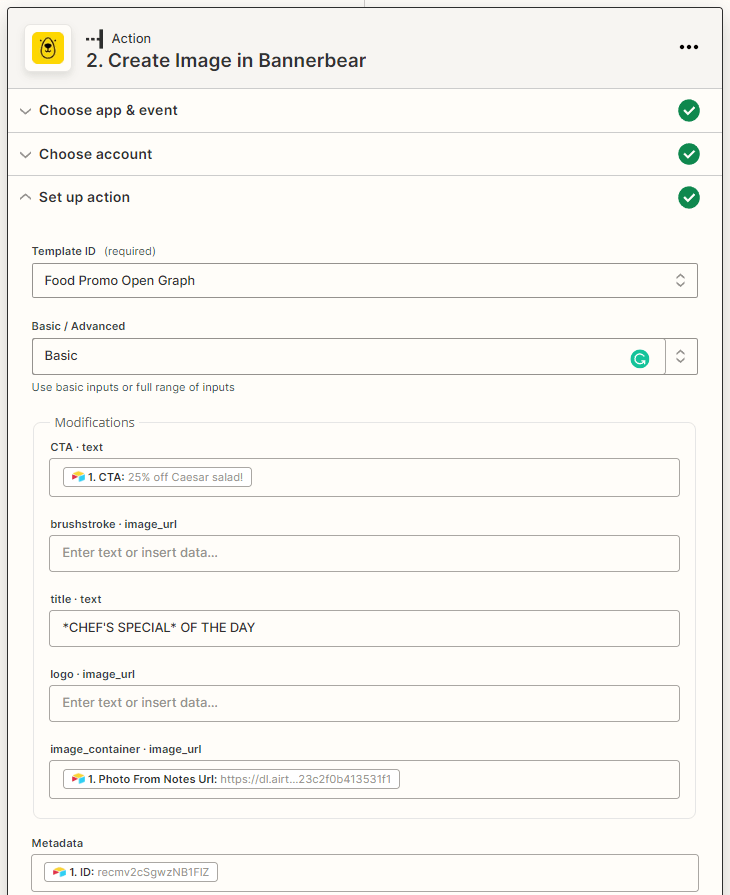
You will need to save metadata with your generated image to ensure Zapier can retrieve the URL and deposit it into Airtable. Insert the Airtable ID, then test.
Action: Update Record in Airtable
The retrieval step ensures you have the image URL on hand if you ever need it. Choose Airtable as your app and “Update Record” as the event. Select the correct base and table, then link the metadata (Airtable ID) in the Record field.

Look for the field you want the image URL to land in (Generated Photo URL), then add the Image URL link generated in the previous step.
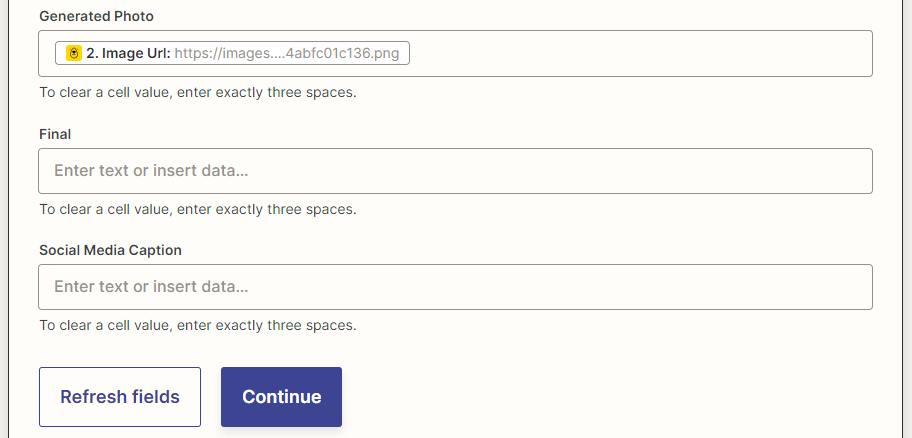
Test your action. You should see a working image URL deposited into your Airtable base.
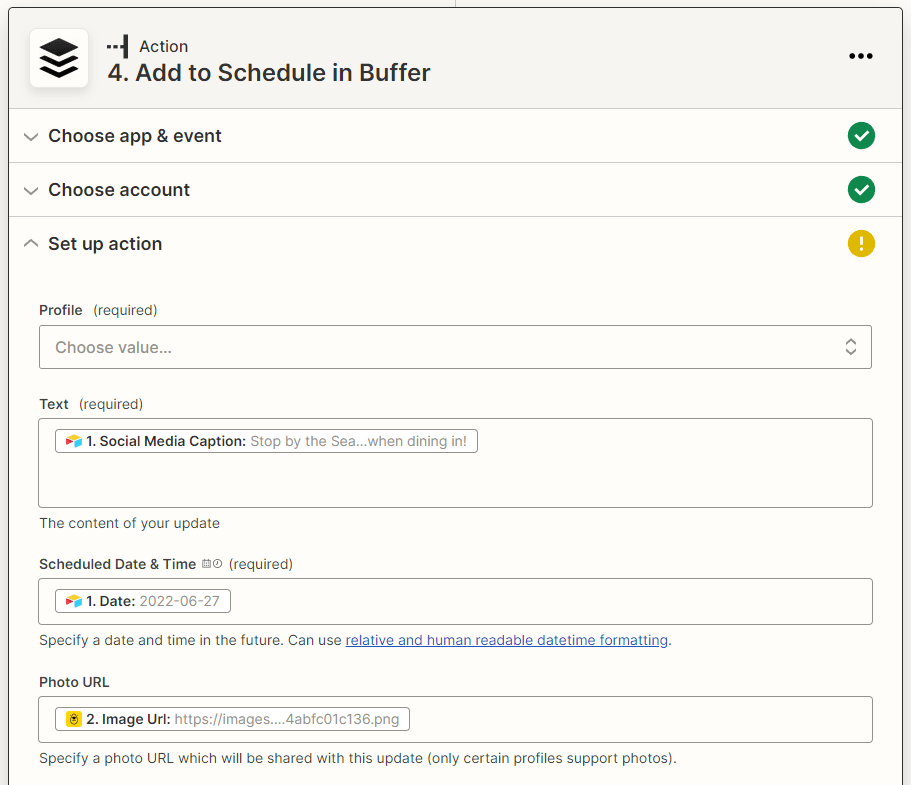
Action: Add to Schedule in Buffer
This final step automates publishing to social media. If you don’t use management software, you can also use Zapier to set up direct publishing to your restaurant’s social media accounts.
Select Buffer as your app and “Add to Schedule” as your action. Choose the associated account and your restaurant's profile.
Map the text field to your social media caption column and the scheduled date & time with your date column in Airtable. Then, link the image URL generated earlier in the zap.
That's it! Test your trigger, and if all is working as it should, click "Publish." Your kitchen management team should now be able to plan featured daily specials, write a CTA, and watch as their generated promo is published on social media.

Spend Less Time on Restaurant Marketing
Guests visit restaurants to dine, not to admire the marketing copy. Even so, marketing plays a crucial role in profitability and customer loyalty. Getting the word out about your daily specials helps you attract guests while minimizing waste.
But restaurant managers shouldn't spend too much time every day on manual administrative tasks. Instead, automate the production and distribution of marketing assets and spend your time creating an exceptional dining experience.
