
How to Create Business Cards with QR Codes Using Bannerbear (Node.js)
Contents
QR codes have become increasingly popular due to their versatility and convenience. In 2022, the usage of QR codes showed a remarkable increase of 238.06%) from the previous year, and this upward trend is expected to continue.
As QR codes provide access to different URL links with just a quick scan, many businesses utilize them to enhance their marketing strategies and improve customer engagement. Besides marketing, one effective way to use QR codes is by incorporating them into business cards. This way, the card owner can provide recipients with an easy way to access their website, portfolio, or any other online content, making the business card much more than just a piece of contact information.
If you're a developer creating tools for printing services, print-on-demand websites, business card generators, or HR systems, providing a feature that creates business cards with automatically generated QR codes on them will greatly benefit your users (especially for corporate users like HR)—saving them time from creating and adding a unique QR code to each business card manually. In this article, we’ll learn how to do it easily using Bannerbear in Node.js, creating results like the examples below:


What is Bannerbear
Bannerbear is a tool that helps you generate custom images, videos, and more using API. It has libraries in various popular programming languages like Nodes.js, Ruby, and PHP, making integrating image generation and other media manipulation functionalities into your application effortless.
The images and other media files are created based on a design template where you can add static and dynamic objects such as images, text, QR codes, and shapes. By passing different data to the template using the API, the values of the dynamic objects can be changed. As a result, different unique content can be created based on a single design template.
Now that you have an understanding of what Bannerbear does, let’s get started!
Creating a Bannerbear Project
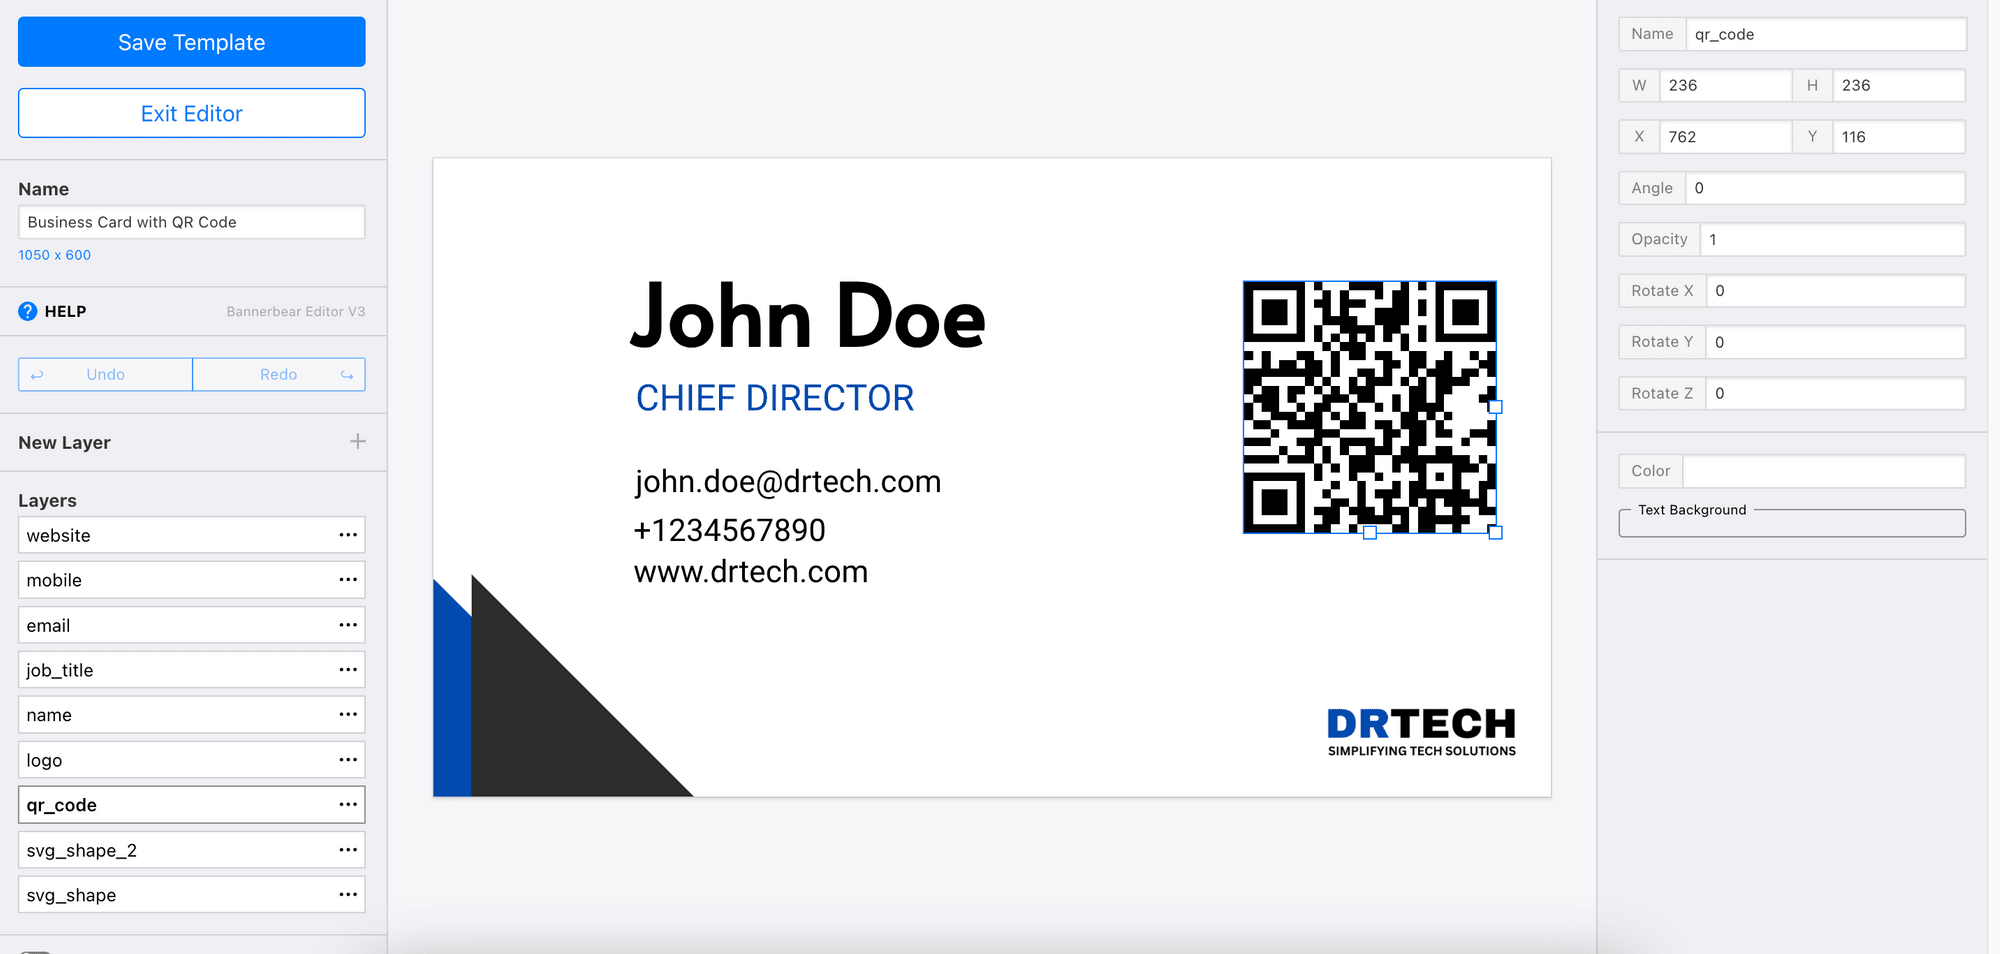
Sign up for a Bannerbear account and create a new project in your account. Then, duplicate this business card template to your project:

The template contains dynamic text objects like name, job_title, email, etc. where the values can be changed when making a request to the API (or calling the create_image method if you’re using the Bannerbear Node.js library ) to generate a new image. As for the QR code, it will be generated automatically based on the target URL you pass to the request/method.
You can modify the template using the template editor's drag-and-drop interface. Click “Save Template” when you’re done.
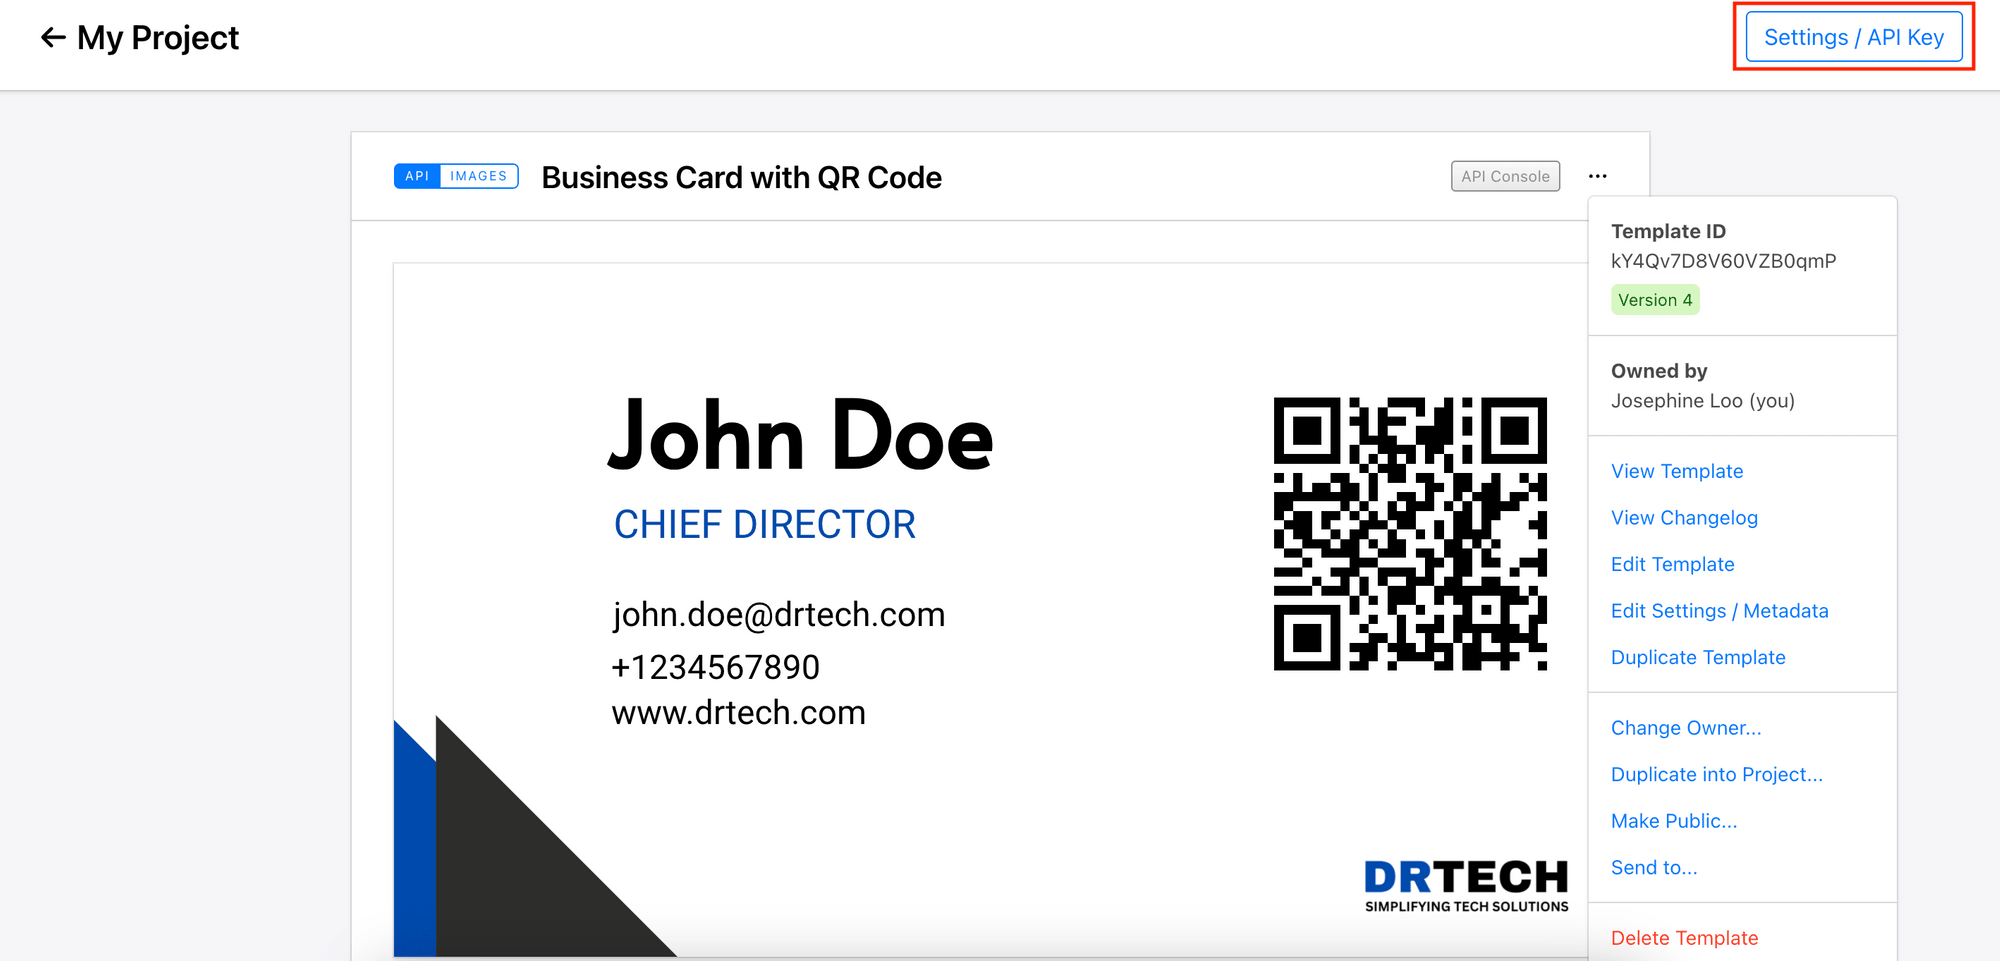
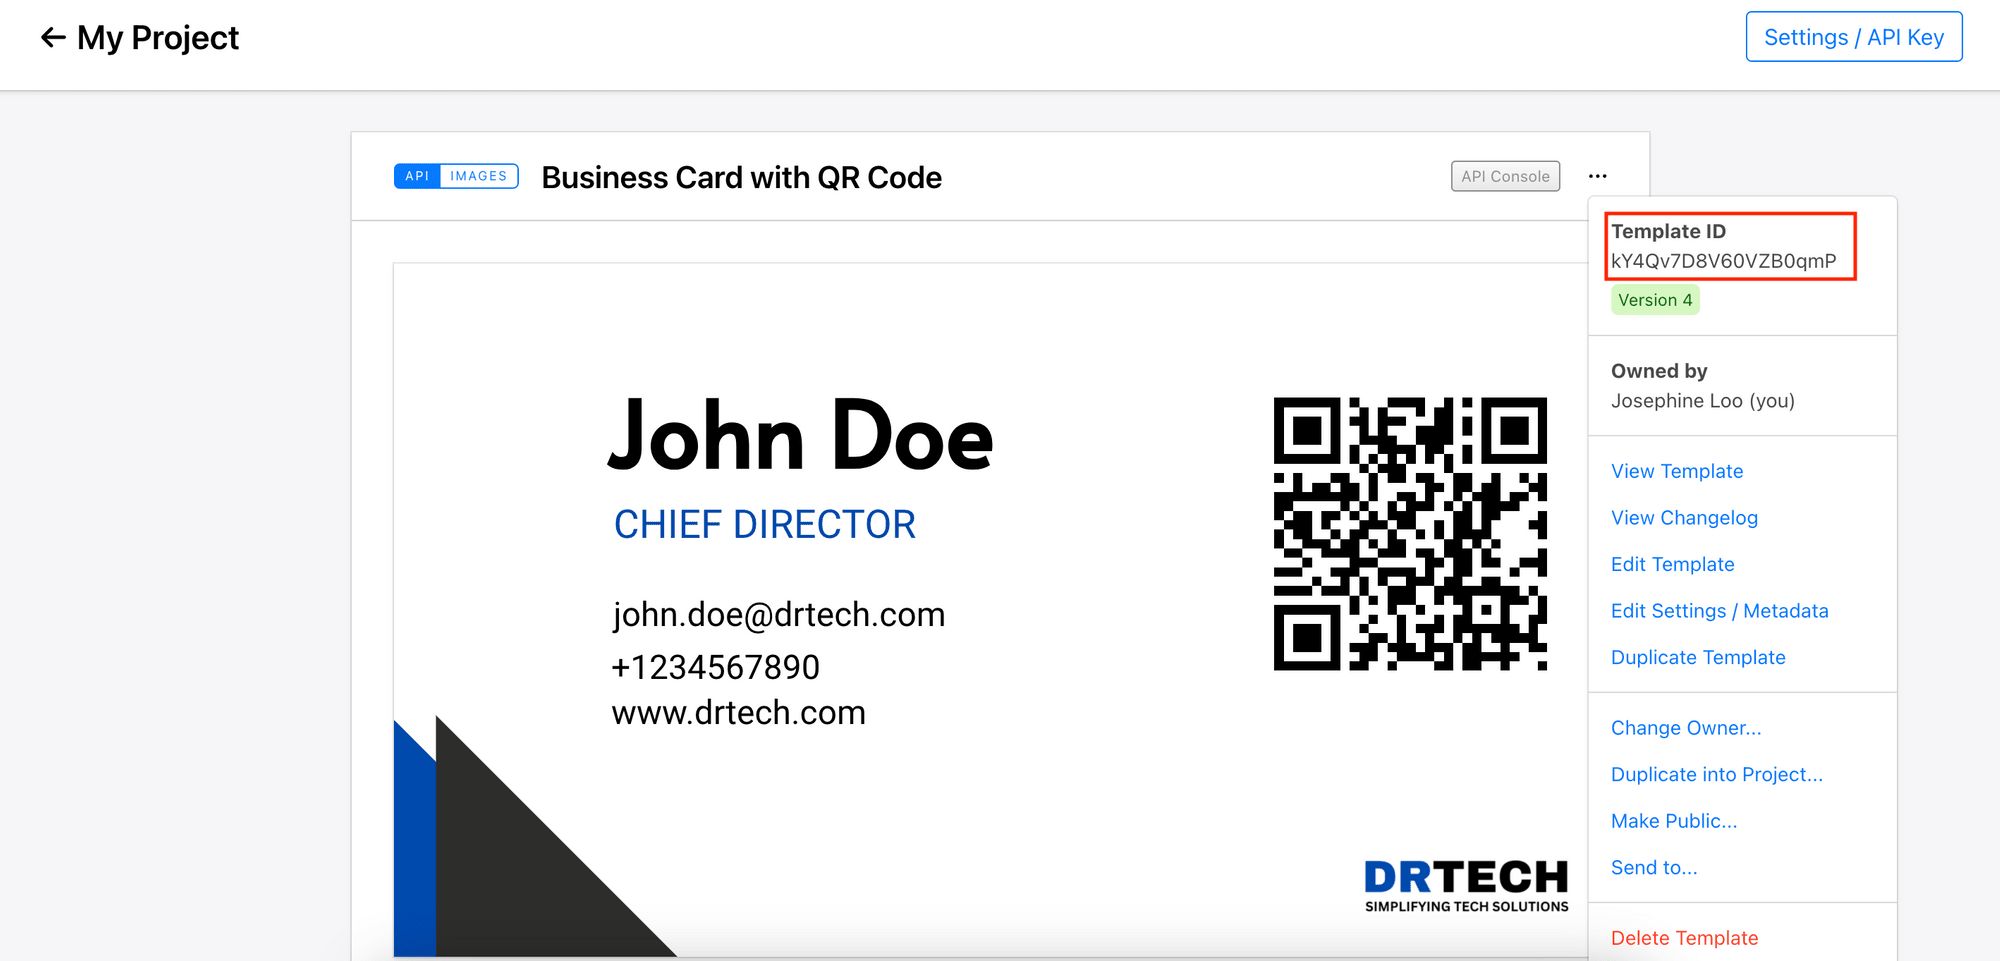
Next, get the project API key and template ID. We will need them in our code to access the project and design template.
🐻 Bear Tips : There are hundreds of free design templates for website banners, testimonials, certificates, etc. in the Template Library. Simply duplicate them to your project and start using it in a few clicks!
Creating Business Cards with QR Codes in Node.js
Create a new folder for the project and go to the project directory in the terminal/command prompt. Then, run npm init and touch index.js in the terminal/command prompt to create a new Node.js project and a JS file for writing the code.
Step 1. Install and Import the Bannerbear Library
Run the command below in the terminal/command prompt to install the Bannerbear library in your project:
npm i bannerbear
Then, import the library and create a new instance of Bannerbear with your API key in the index.js file:
const { Bannerbear } = require('bannerbear');
const bb = new *Bannerbear*('your_api_key');
Step 2. Create Data for Populating the Design Template
Create an array called staffs and add objects with properties like name, job_title, mobile, email, and qr_link into the array. The values will be used to populate the design template to generate a business card for each of the staff in the array:
const staffs = [
  {
    name: 'John Doe',
    job_title: 'Chief Director',
    mobile: '+1222222222',
    email: '[email protected]',
    qr_link: 'https://www.drtech.com/johndoe',
  },
  {
    name: 'Mary Jane',
    job_title: 'Creative Director',
    mobile: '+1233333333',
    email: '[email protected]',
    qr_link: 'https://www.drtech.com/maryjane',
  },
  {
    name: 'Walter White',
    job_title: 'Sales Director',
    mobile: '+1234444444',
    email: '[email protected]',
    qr_link: 'https://www.drtech.com/walterwhite',
  },
];
Step 3. Generate Business Cards with QR Codes Using Bannerbear
In a self-invoking function, call Bannerbear’s create_image() method with the template ID and data from the staffs array. This will start the image (business card) generation process:
(async () => {

  staffs.forEach(async (staff) => {
    const images = await bb.create_image(
      "your_template_id",
      {
        modifications: [
          {
            name: 'name',
            text: staff.name,
          },
          {
            name: 'job_title',
            text: staff.job_title,
          },
          {
            name: 'mobile',
            text: staff.mobile,
          },
          {
            name: 'email',
            text: staff.email,
          },
          {
            name: 'qr_code',
            target: staff.qr_link,
          },
        ],
      },
      true
    );

    console.log(images.image_url);
  });
})();
Run node index.js in the terminal/command prompt to execute the code and the image URLs should be returned in the response:
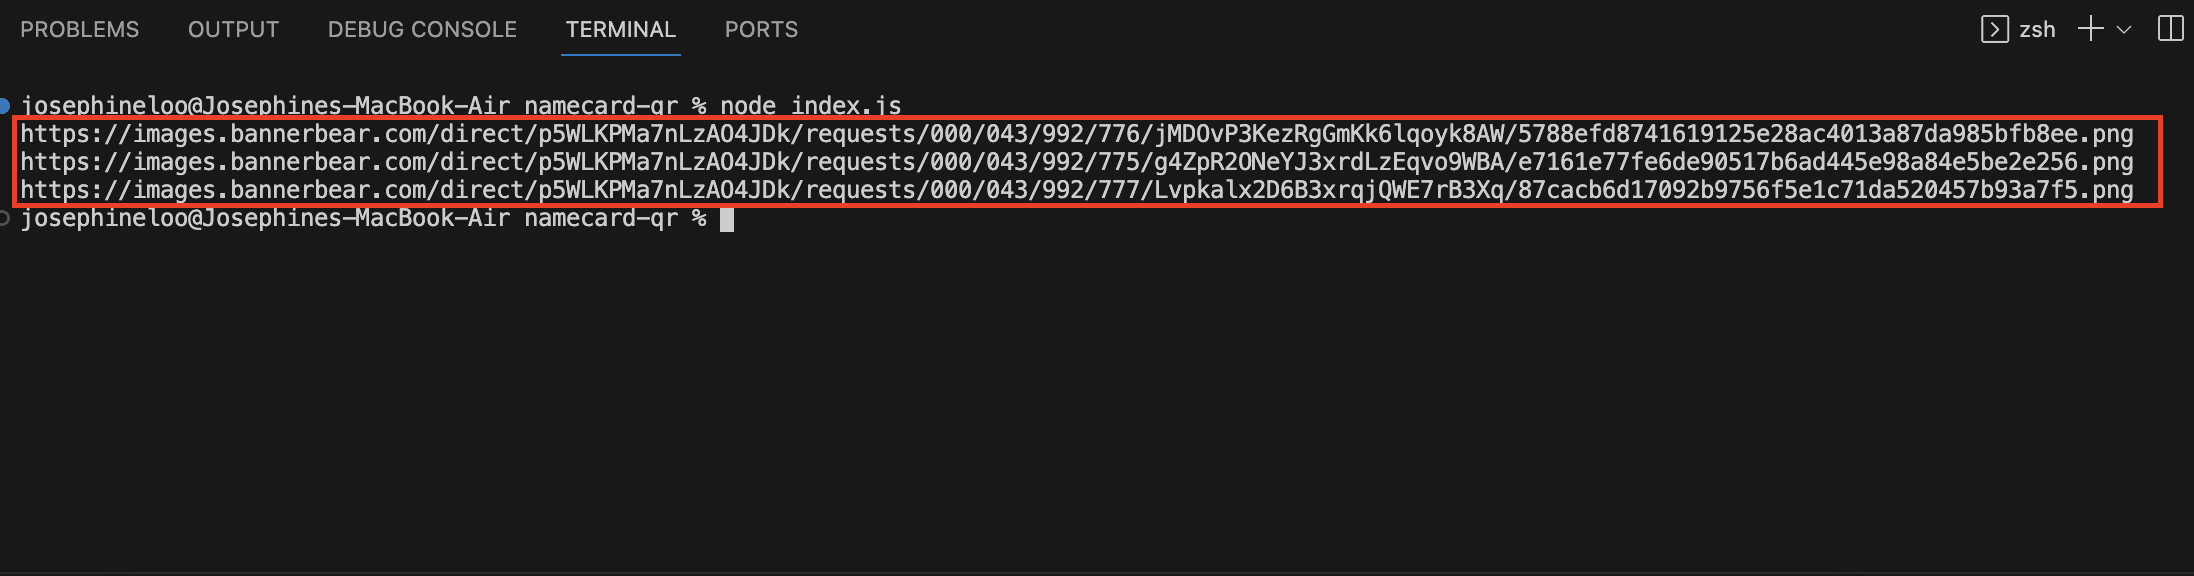
Each of the results will have a unique QR code that brings you to different destinations:


Reading Data from a CSV File
In real-life scenarios, it would be nice to give users the option to upload a CSV file to batch-generate the business cards. This could be helpful when they (eg. HR) have a large number of business cards to create:
We will use the fs and csv-parse modules to read data from a CSV file. In your project directory, run the command below to install csv-parse:
npm i csv-parse
As fs comes as a built-in module for Node.js, no installation is required.
After the installation is completed, import fs and csv-parse in your code:
const fs = require('fs');
const { parse } = require('csv-parse');
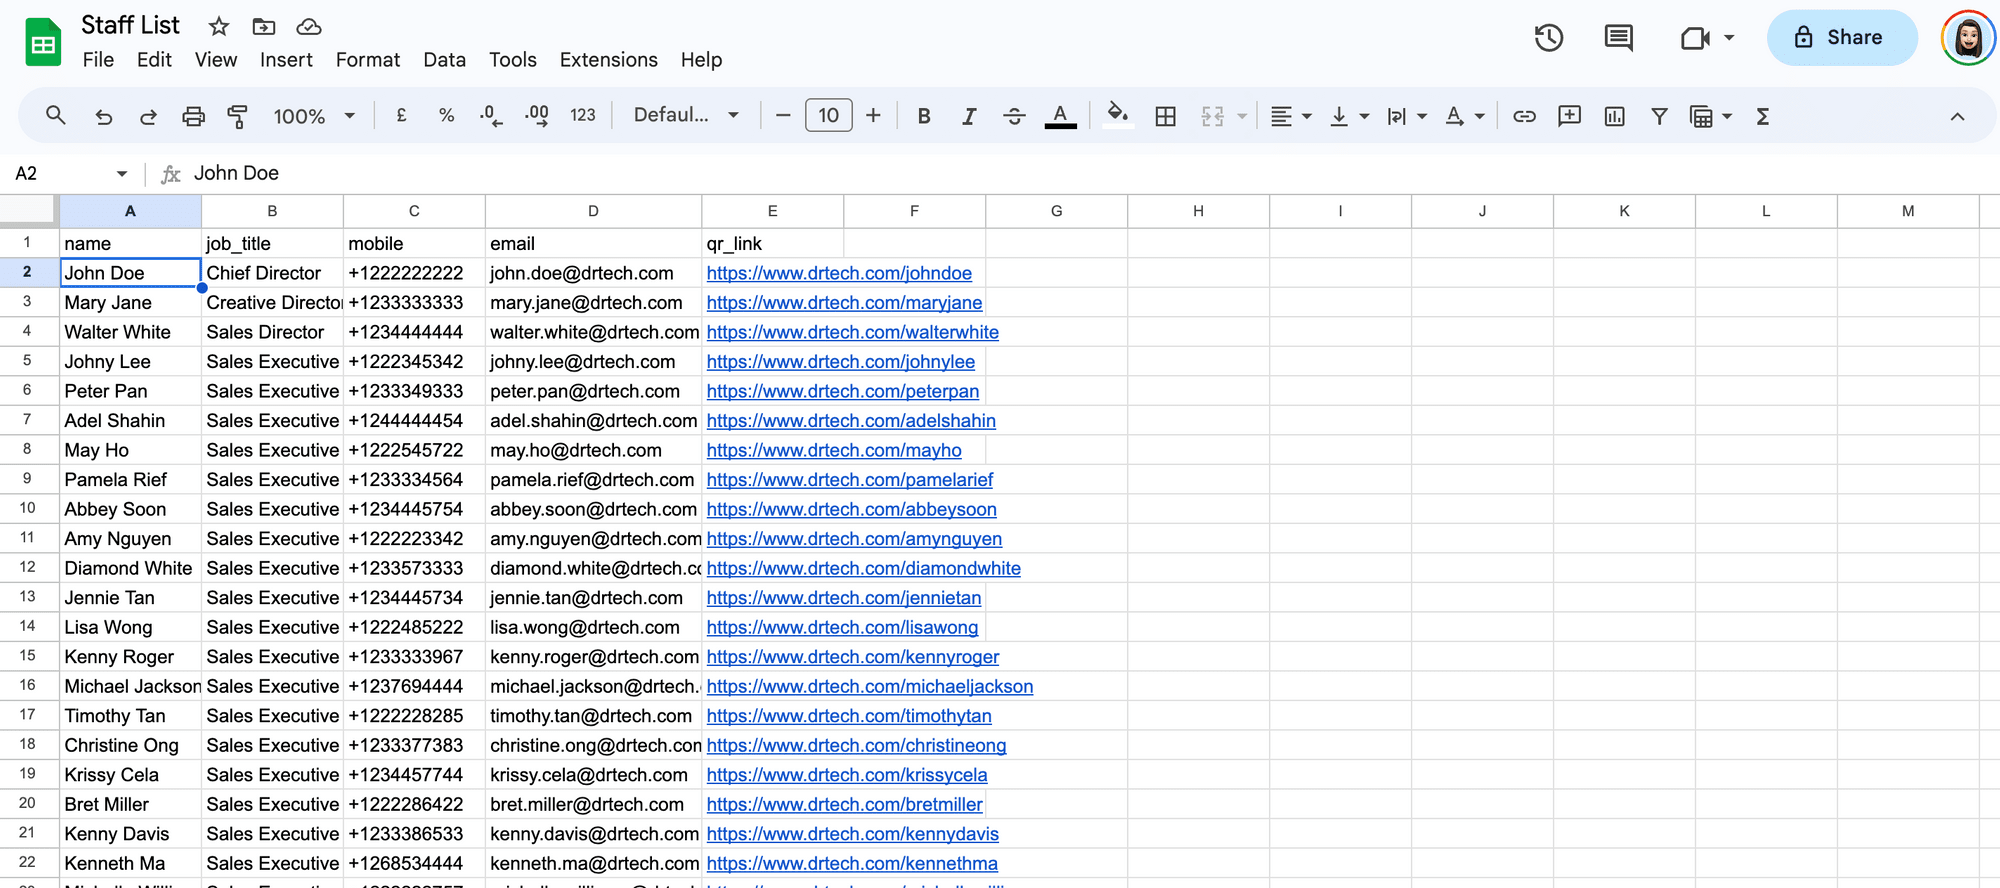
Next, we will modify the previous code to read data from a CSV file instead of an array constant. In the self-invoking function, create a read stream from the CSV file named “staff_list.csv” (you can duplicate the CSV file here) and push the data into an array. Then, pass the array to the generateImage() function:
(async () => {
  const data = [];

  fs.createReadStream('./staff_list.csv')
    .pipe(
      parse({
        delimiter: ',',
        columns: true,
        ltrim: true,
      })
    )
    .on('data', function (row) {
      data.push(row);
    })
    .on('error', function (error) {
      console.log(error.message);
    })
    .on('end', function () {
      console.log('parsed csv data:');
      console.log(data);
      generateImage(data);
    });
})();
The generateImage() function contains the original code from the previous self-invoking function for generating business cards using Bannerbear:
function generateImage(staffs) {
  staffs.forEach(async (staff) => {
    const images = await bb.create_image(
      process.env.TEMPLATE_UID,
      {
        modifications: [
          {
            name: 'name',
            text: staff.name,
          },
          {
            name: 'job_title',
            text: staff.job_title,
          },
          {
            name: 'mobile',
            text: staff.mobile,
          },
          {
            name: 'email',
            text: staff.email,
          },
          {
            name: 'qr_code',
            target: staff.qr_link,
          },
        ],
      },
      true
    );

    console.log(images.image_url);
  });
}
Voilà! When you run node index.js in the terminal/command prompt to execute the code, a business card with a unique QR code will be generated for every entry in the CSV file. That’s how easy and fast you can do it with Bannerbear.
View the full code on GitHub.
🐻 Bear Tips: If you're using Airtable, you can integrate Bannerbear directly from Bannerbear dashboard to produce similar results from a CSV file too! Refer to this no-code tutorial.
Conclusion
Integrating a third-party image generation service like Bannerbear into your application makes building a new feature of creating business cards with automatically generated QR codes easy. It reduces your time for developing the feature from scratch and helps you increase the value provided to your user in the shortest amount of time.
If you would like to integrate Bannerbear’s template editor into your application too, register a Bannerbear account and follow this guide to embed it on your website. Happy building!
