
How to Use Bannerbear with Zapier to Auto Generate Instagram Stories
Contents
Bannerbear has an official Zapier integration. You can use it to create #nocode workflows with thousands of other apps! This is a tutorial for an example use case.
What is Zapier?
Zapier is an amazing tool that acts as "glue" between 2000+ different apps. Think of it as an automated and highly configurable import/export tool. You can export data from one place, send it to another, and perform different actions on that data.
What is Bannerbear?
Bannerbear is an API for generating images and video. You design a template (or grab one from the library) and then feed in data using the API to generate images / videos based off that template e.g. with different texts, colors and background images.
What can I do with Zapier + Bannerbear?
Zapier + Bannerbear is a powerful way of using the Bannerbear API without writing code. Using the Bannerbear Zapier integration you can send data from thousands of different apps into Bannerbear, and you can also instantly perform actions when Bannerbear generates new images.
Sample image
In this tutorial we will connect the New York Times + Zapier + Bannerbear to automatically generate an Instagram Story-size article preview image, every time the NYT publishes a new article. Here is a sample of the end result:

Adding a Bannerbear template
In Bannerbear, create a new project and add the sample New York Times IG Story template to it.
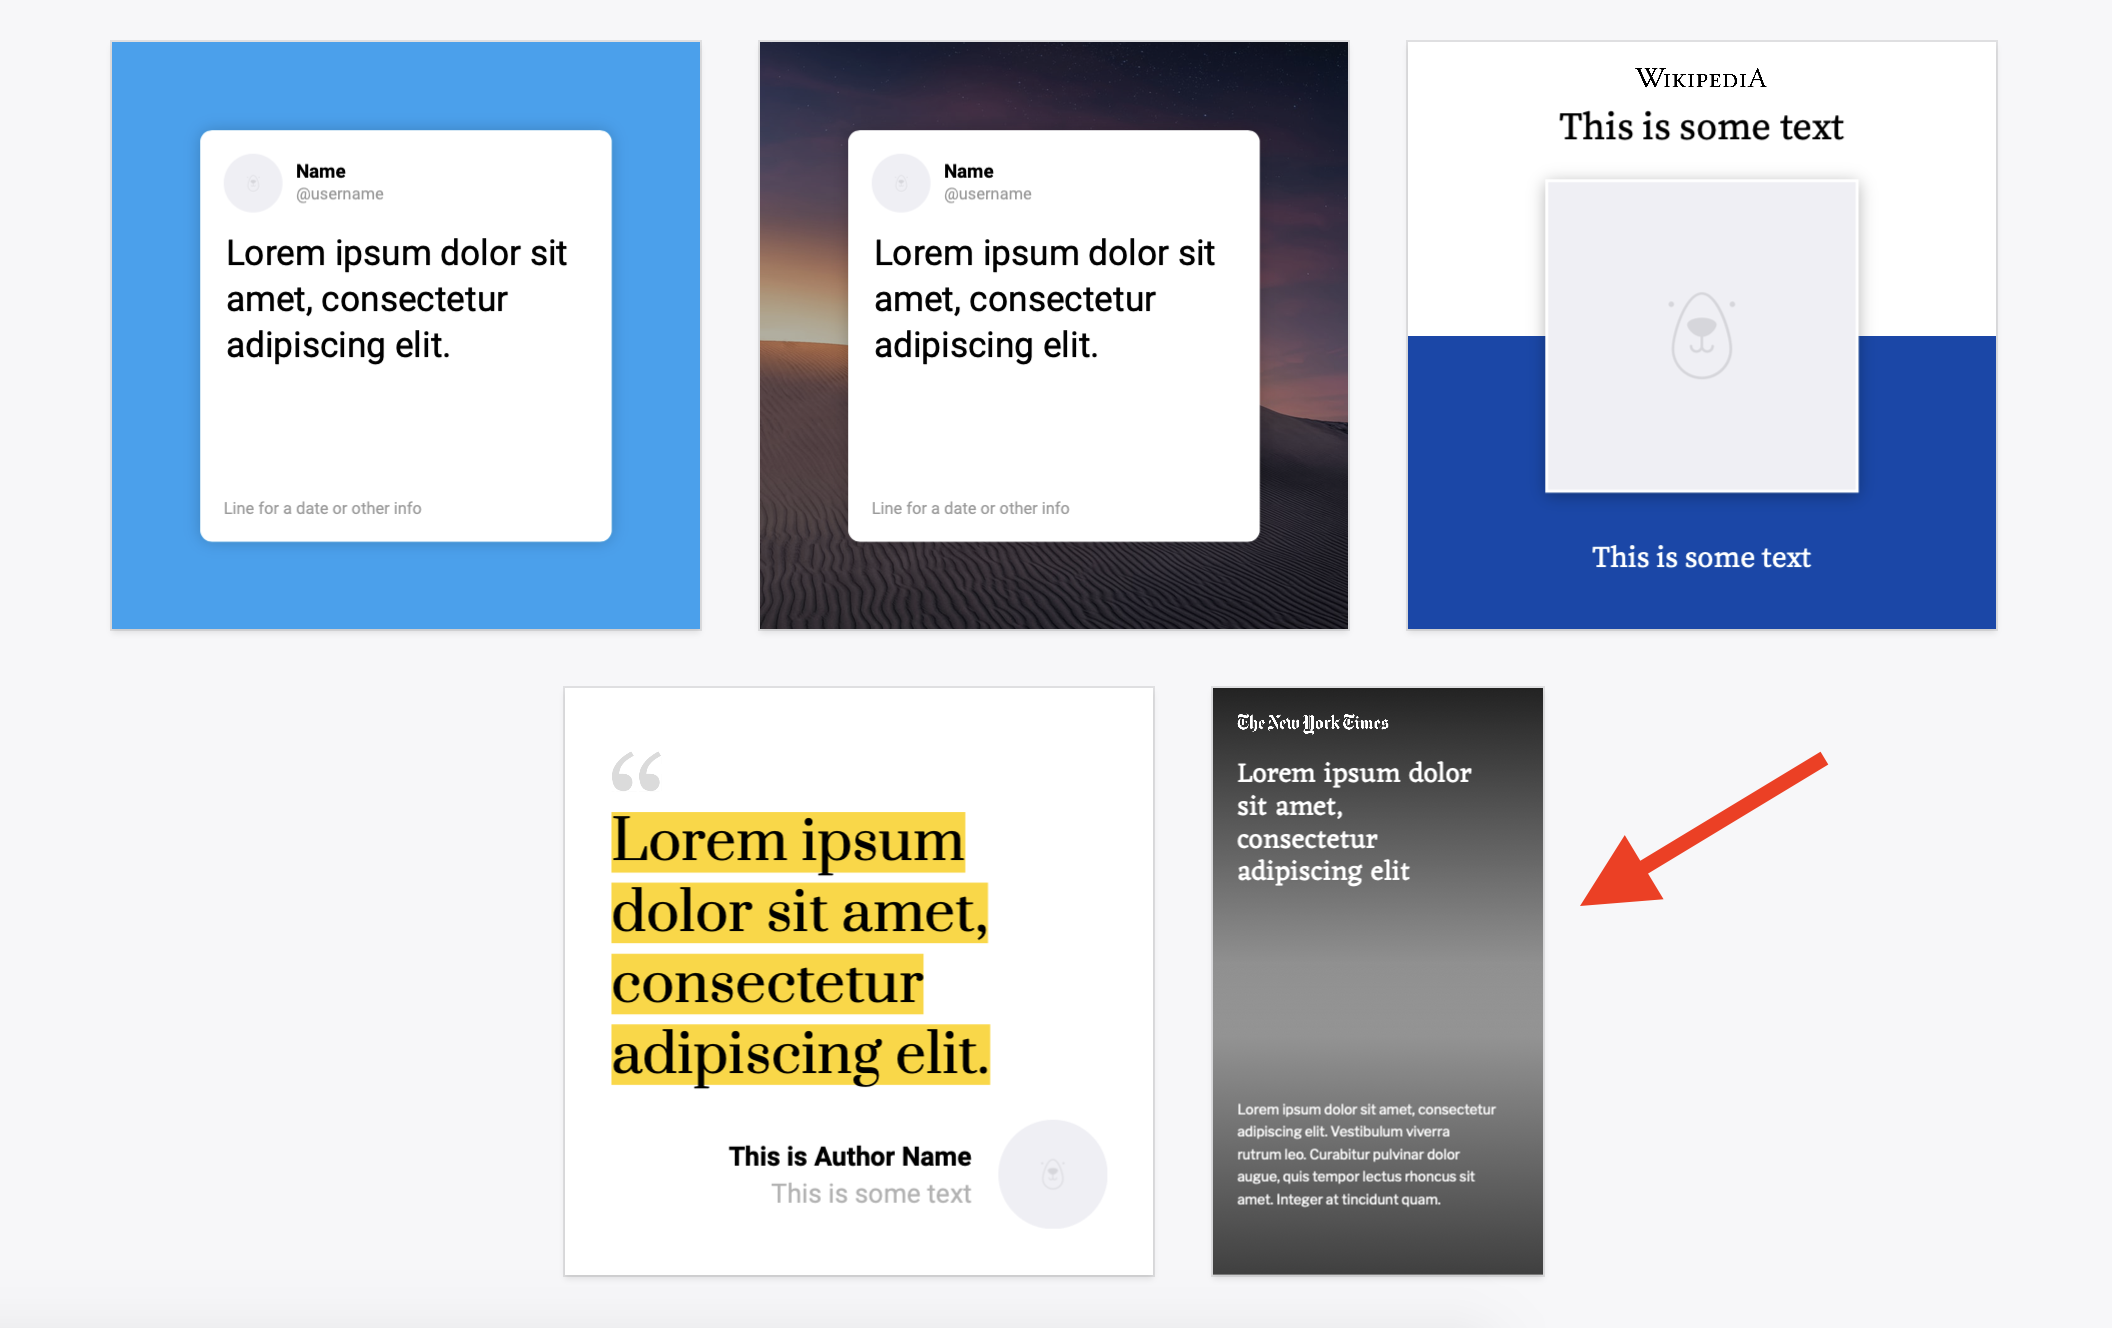
This is a simple template with basically 3 layers we can manipulate via the API:
- Title
- Abstract
- Background image
The next step is pushing data from Zapier into this template.
Connecting Zapier to Bannerbear
To authenticate with Zapier later you will need your Project API Key. This key is different for each project you create in Bannerbear, so bear that in mind (pun intended).
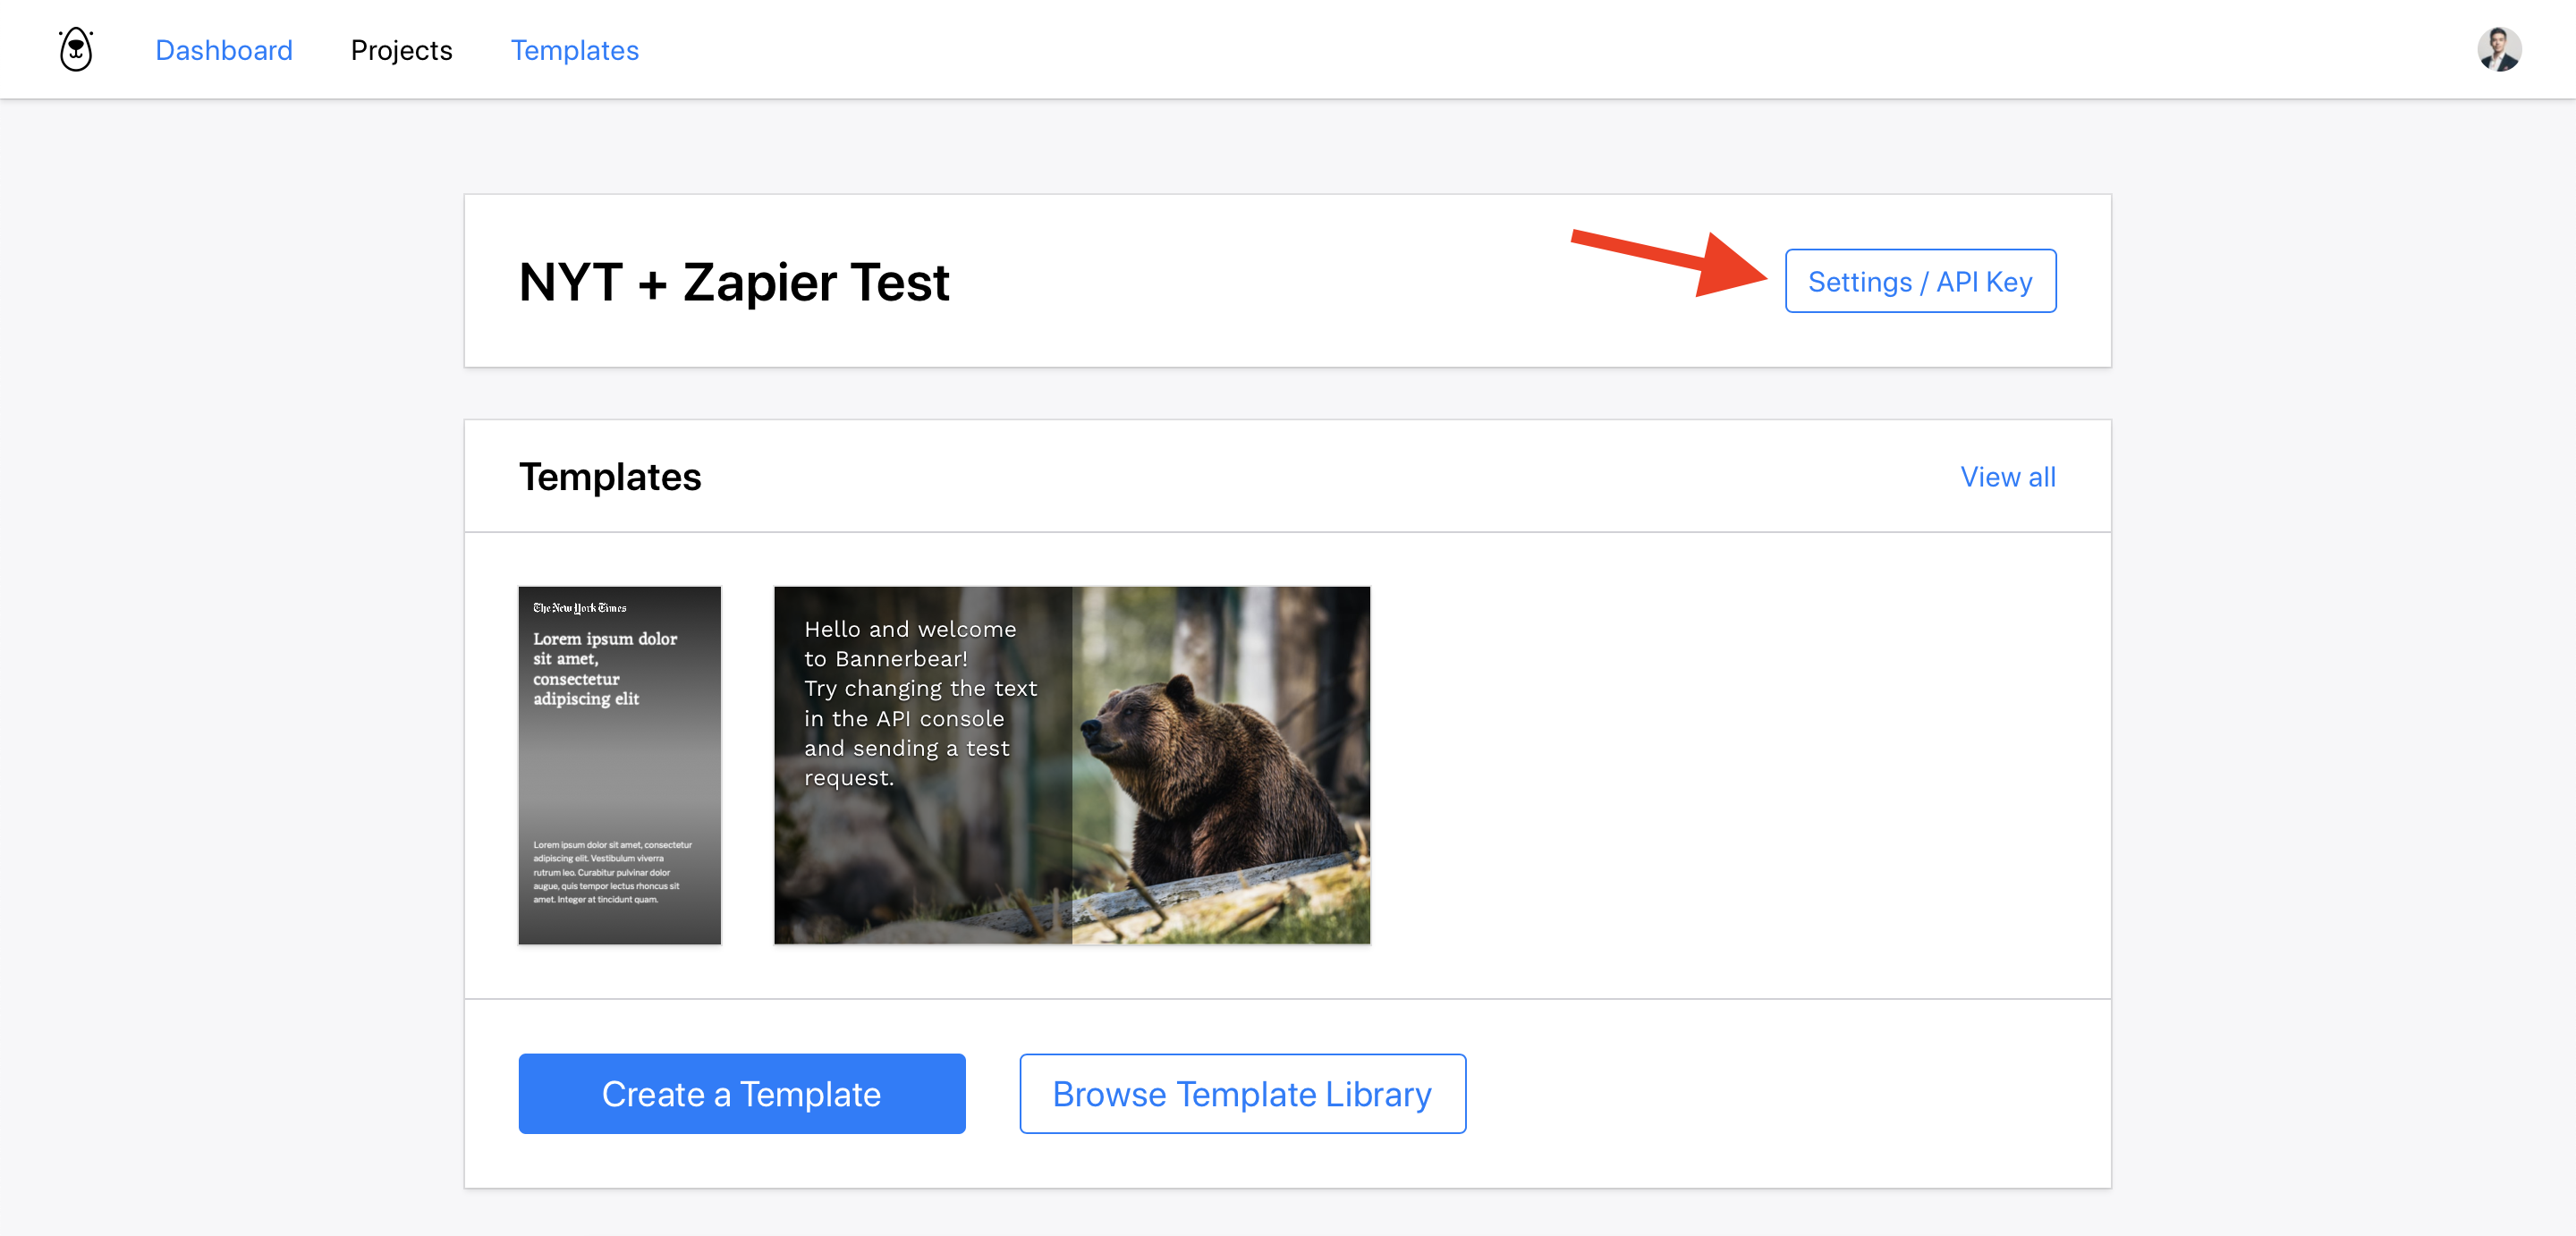
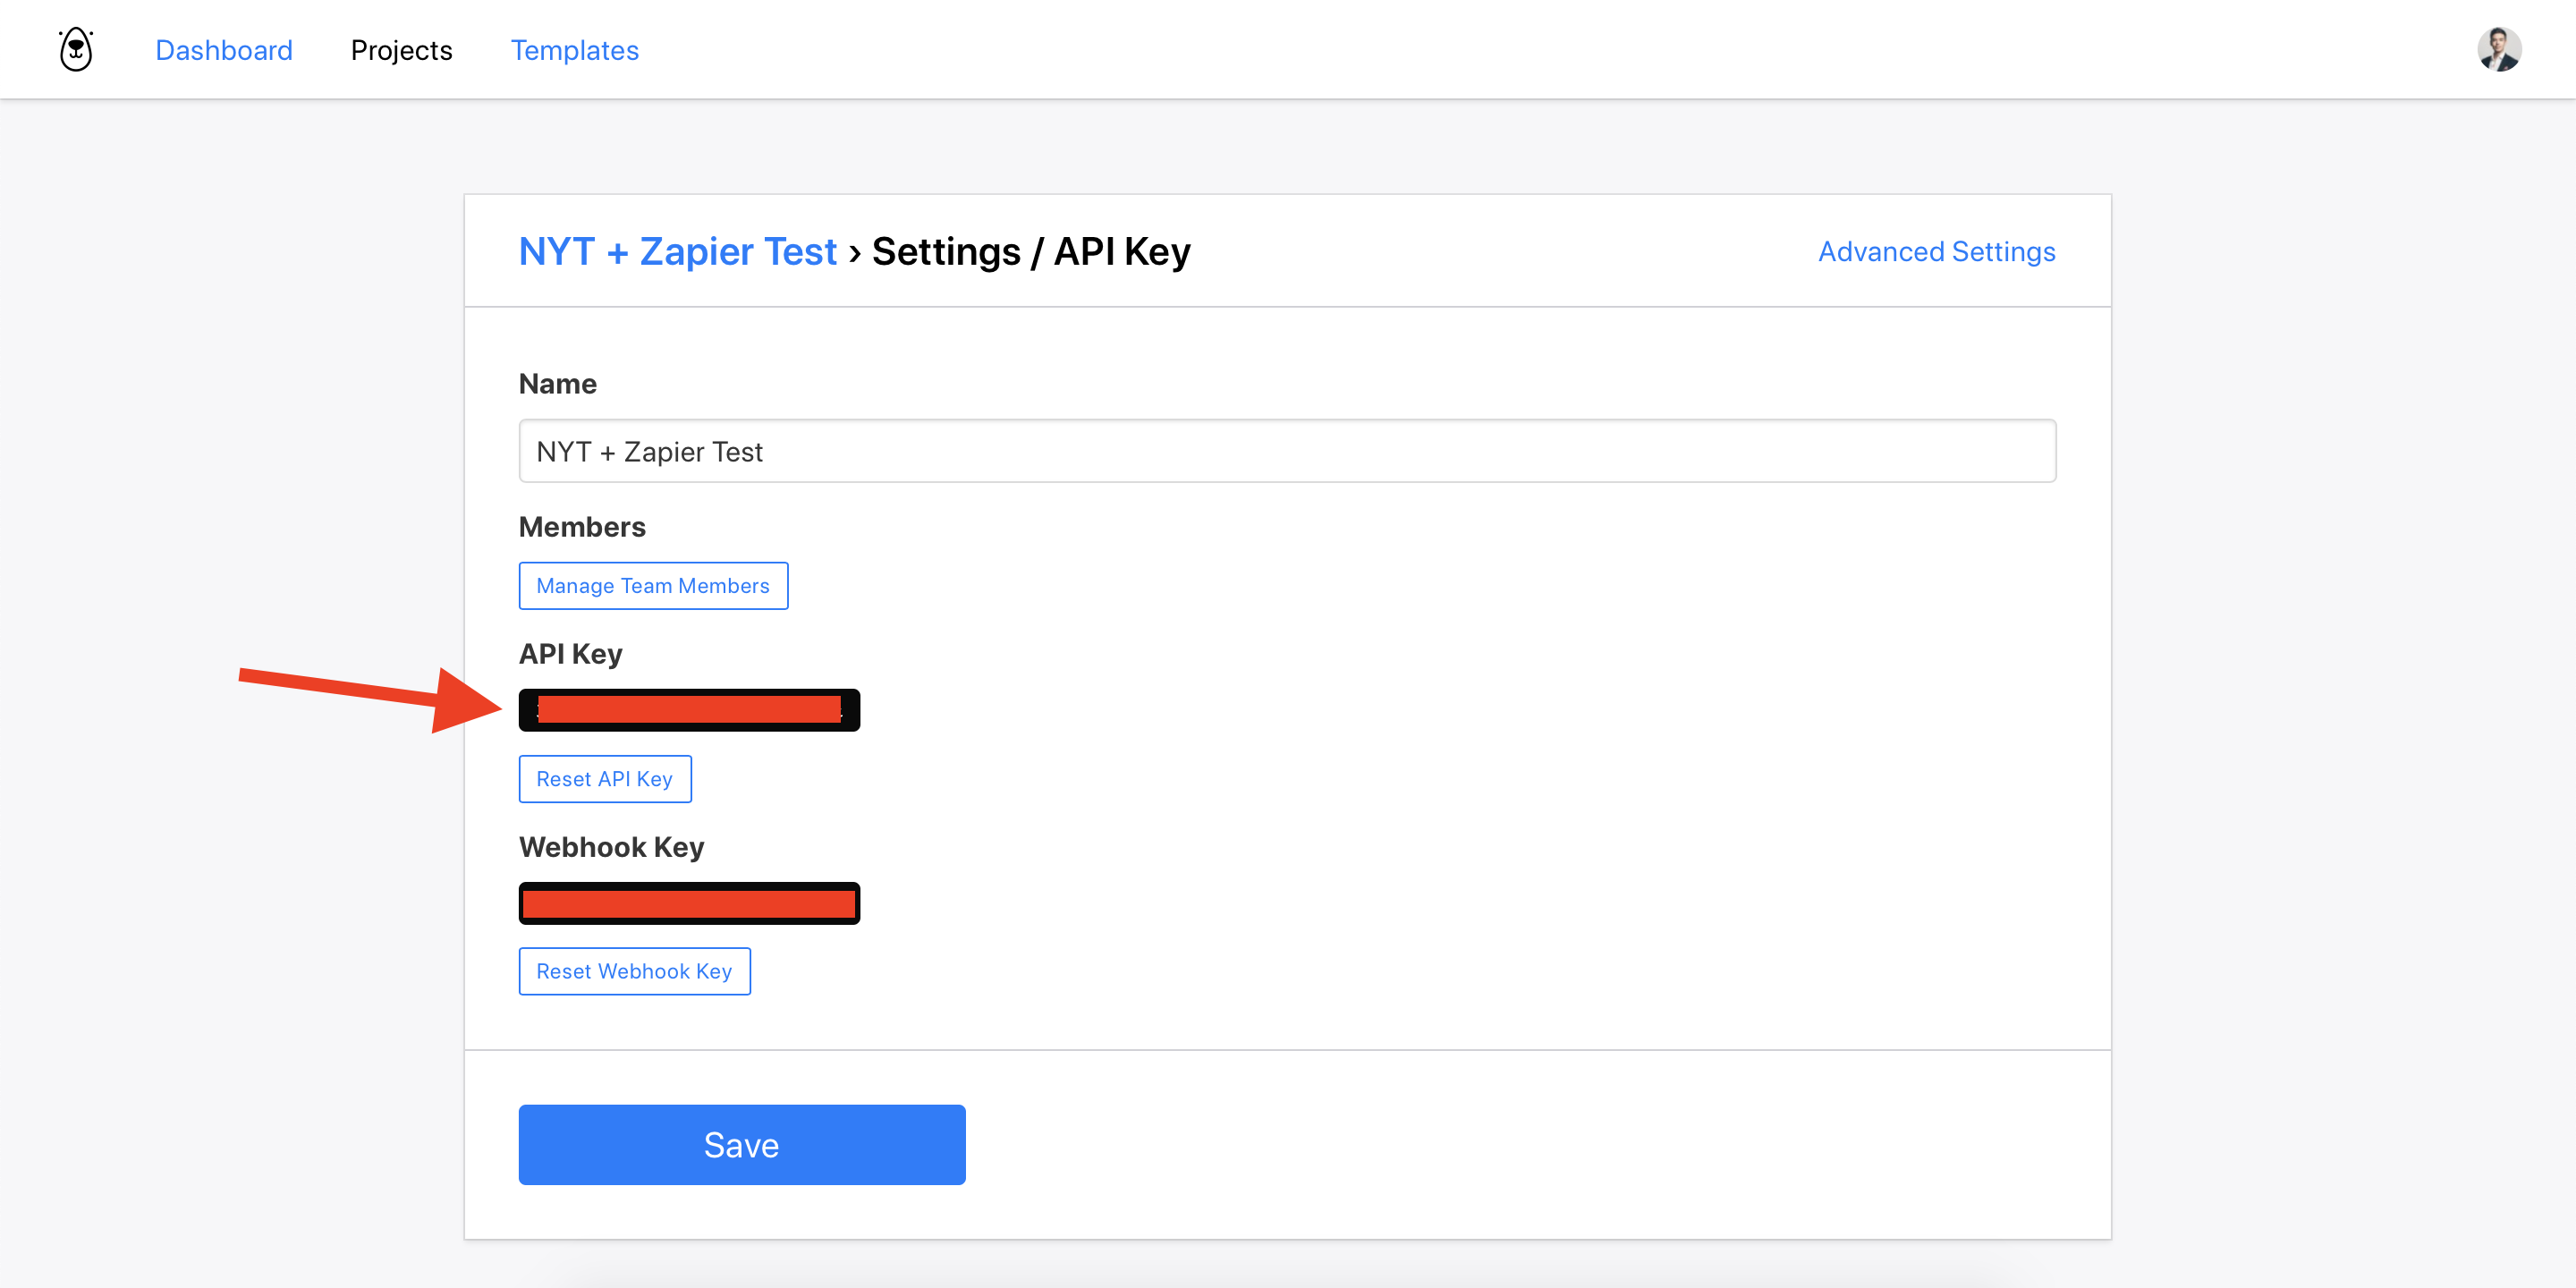
Copy the API key to your clipboard to use later.
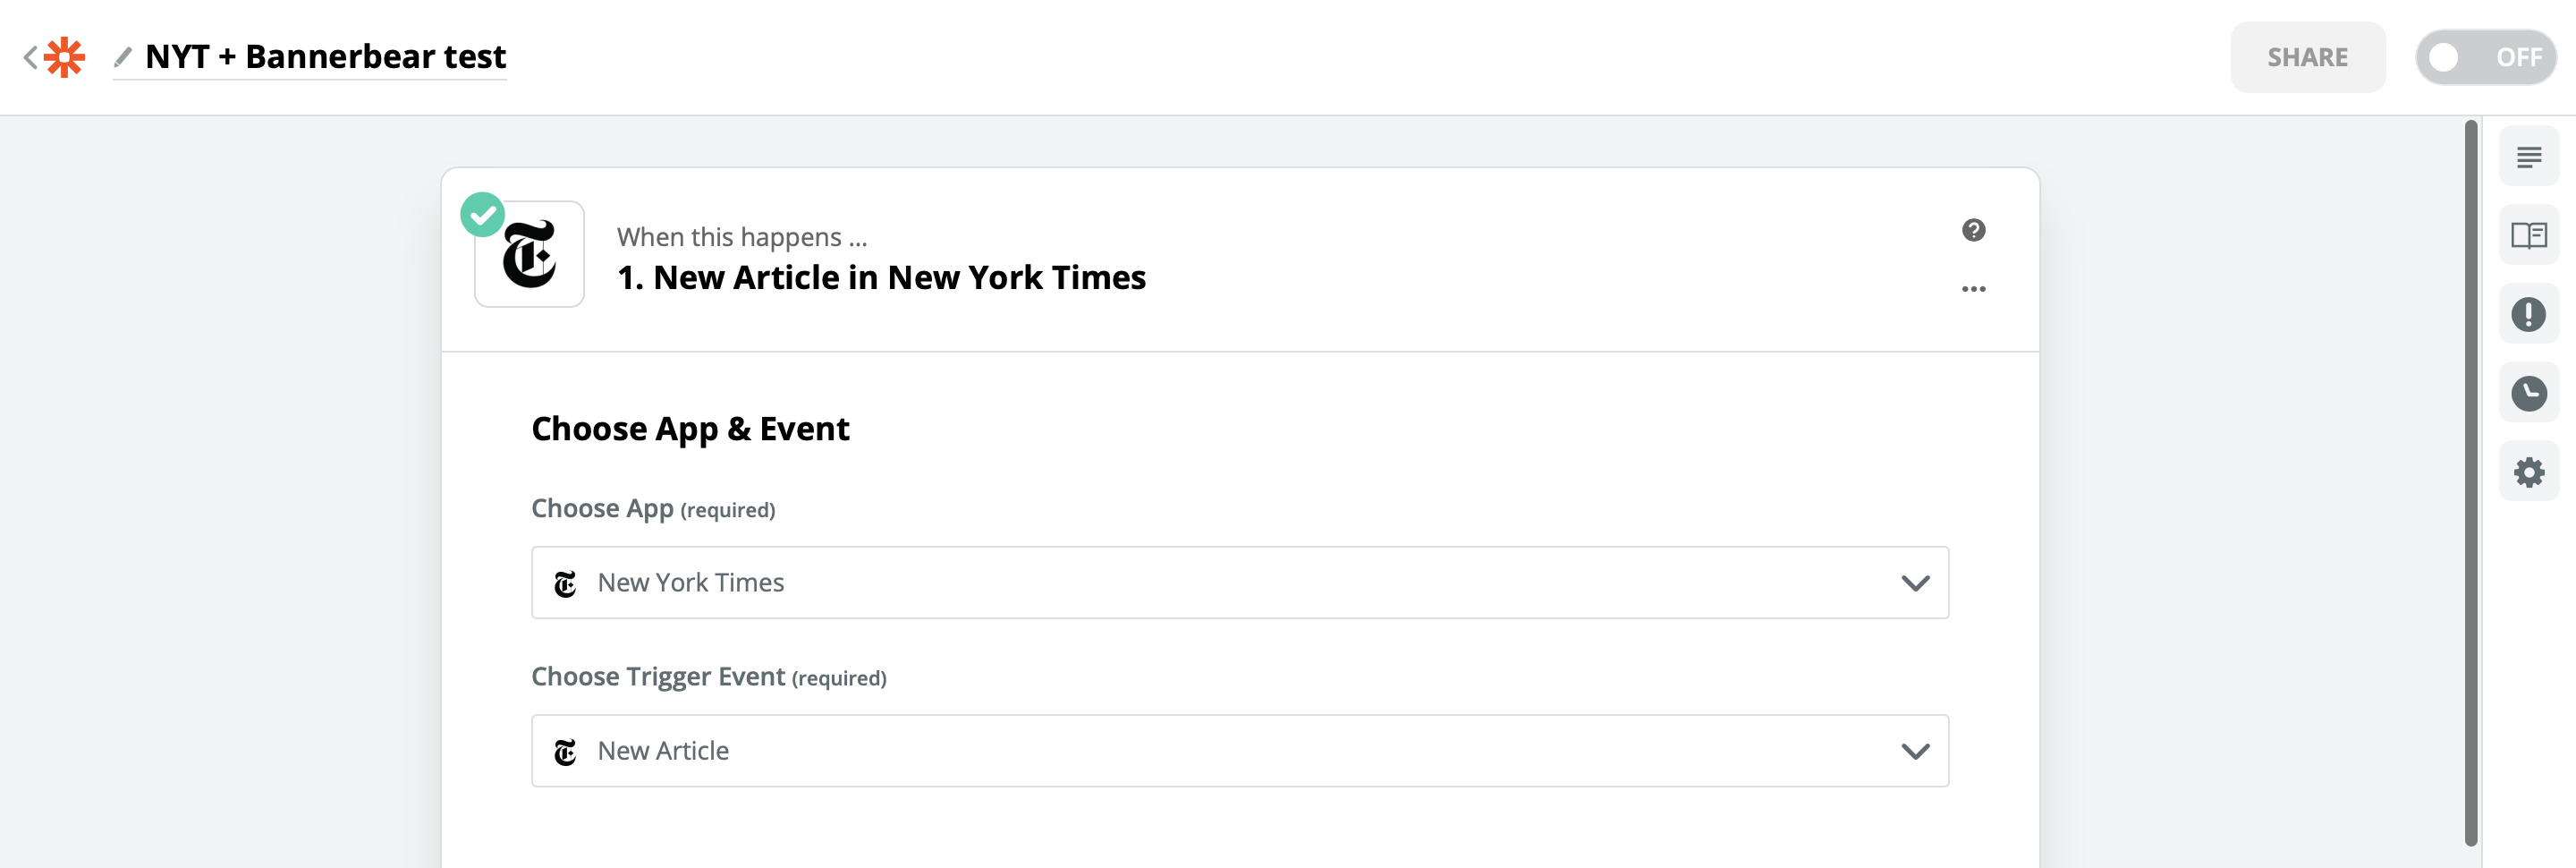
Creating a new Zap in Zapier
Now lets switch to the Zapier interface.
In your Zapier.com account, create a new Zap.
As the "trigger" or starting point for this Zap, choose New Article in New York Times.
After this, Zapier will ask which section of the newspaper to create the trigger for. You can choose anything here, such as "Front Page" or "Technology" etc.
Trimming the New York Times data
Often you will need to massage data before sending to API services like Bannerbear. The New York Times service is a good example. It gives multiple images in the data for every article, in the form of an array, but we actually only want to pick one image (the first one) and send it to Bannerbear.
Zapier has a powerful tool called Formatter that can help us here. It can perform various transformations on data - in this case, taking an array and returning just the first result.
Add Formatter as the next step in your Zap and choose the Utilities action:
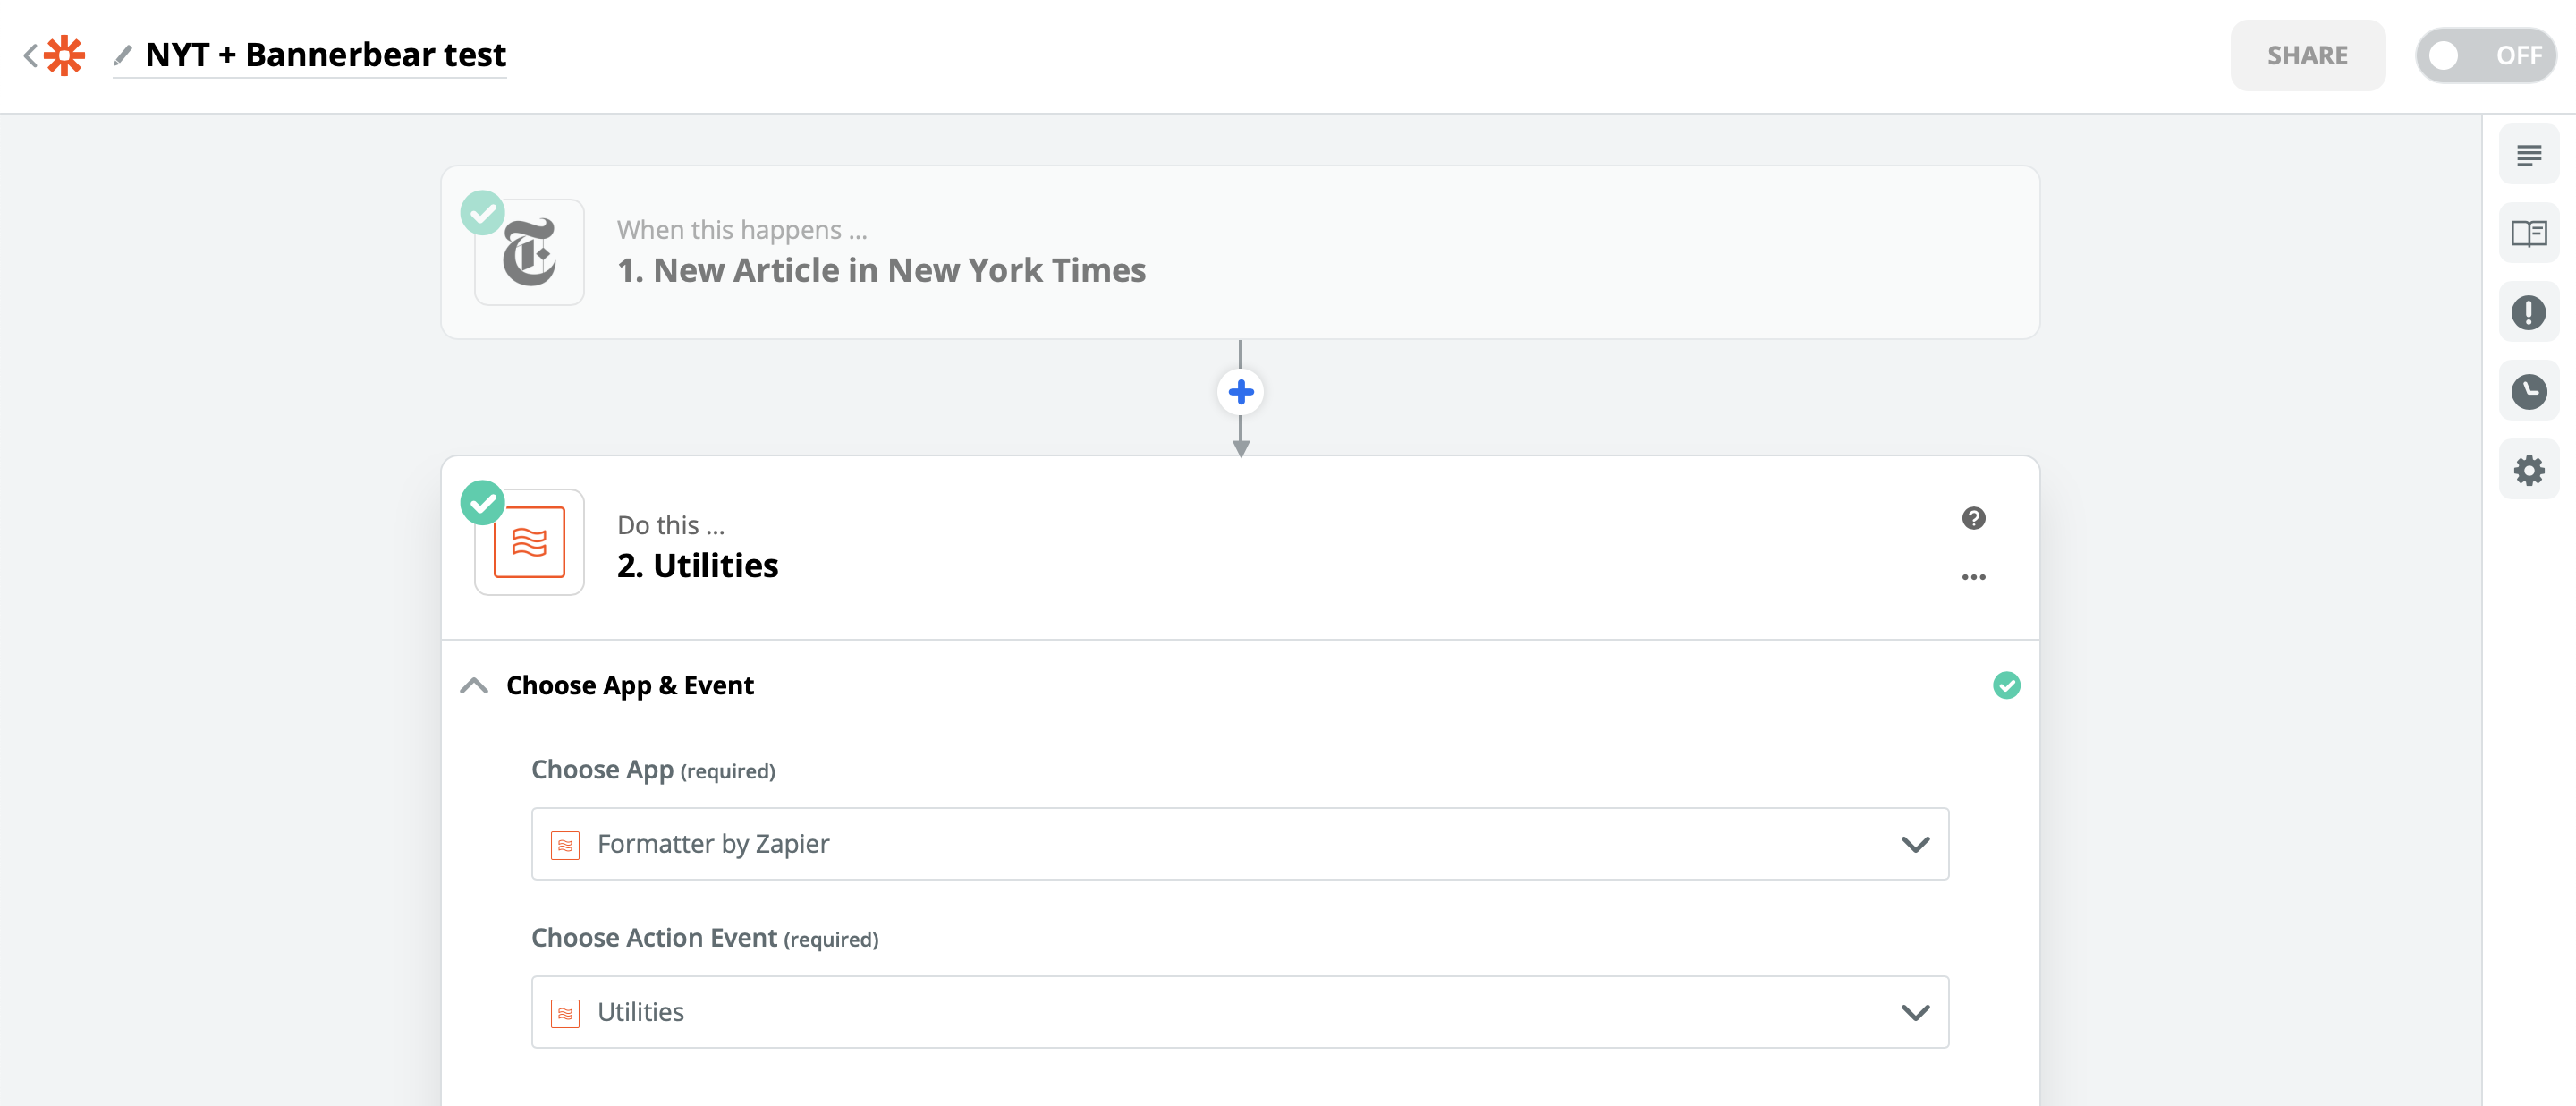
We want to configure this step to take the "Multimedia URL" array and return the first item. Set up Utilities like this:
- Transform: Pick from List
- Operation: Choose First
- Input: Multimedia URL
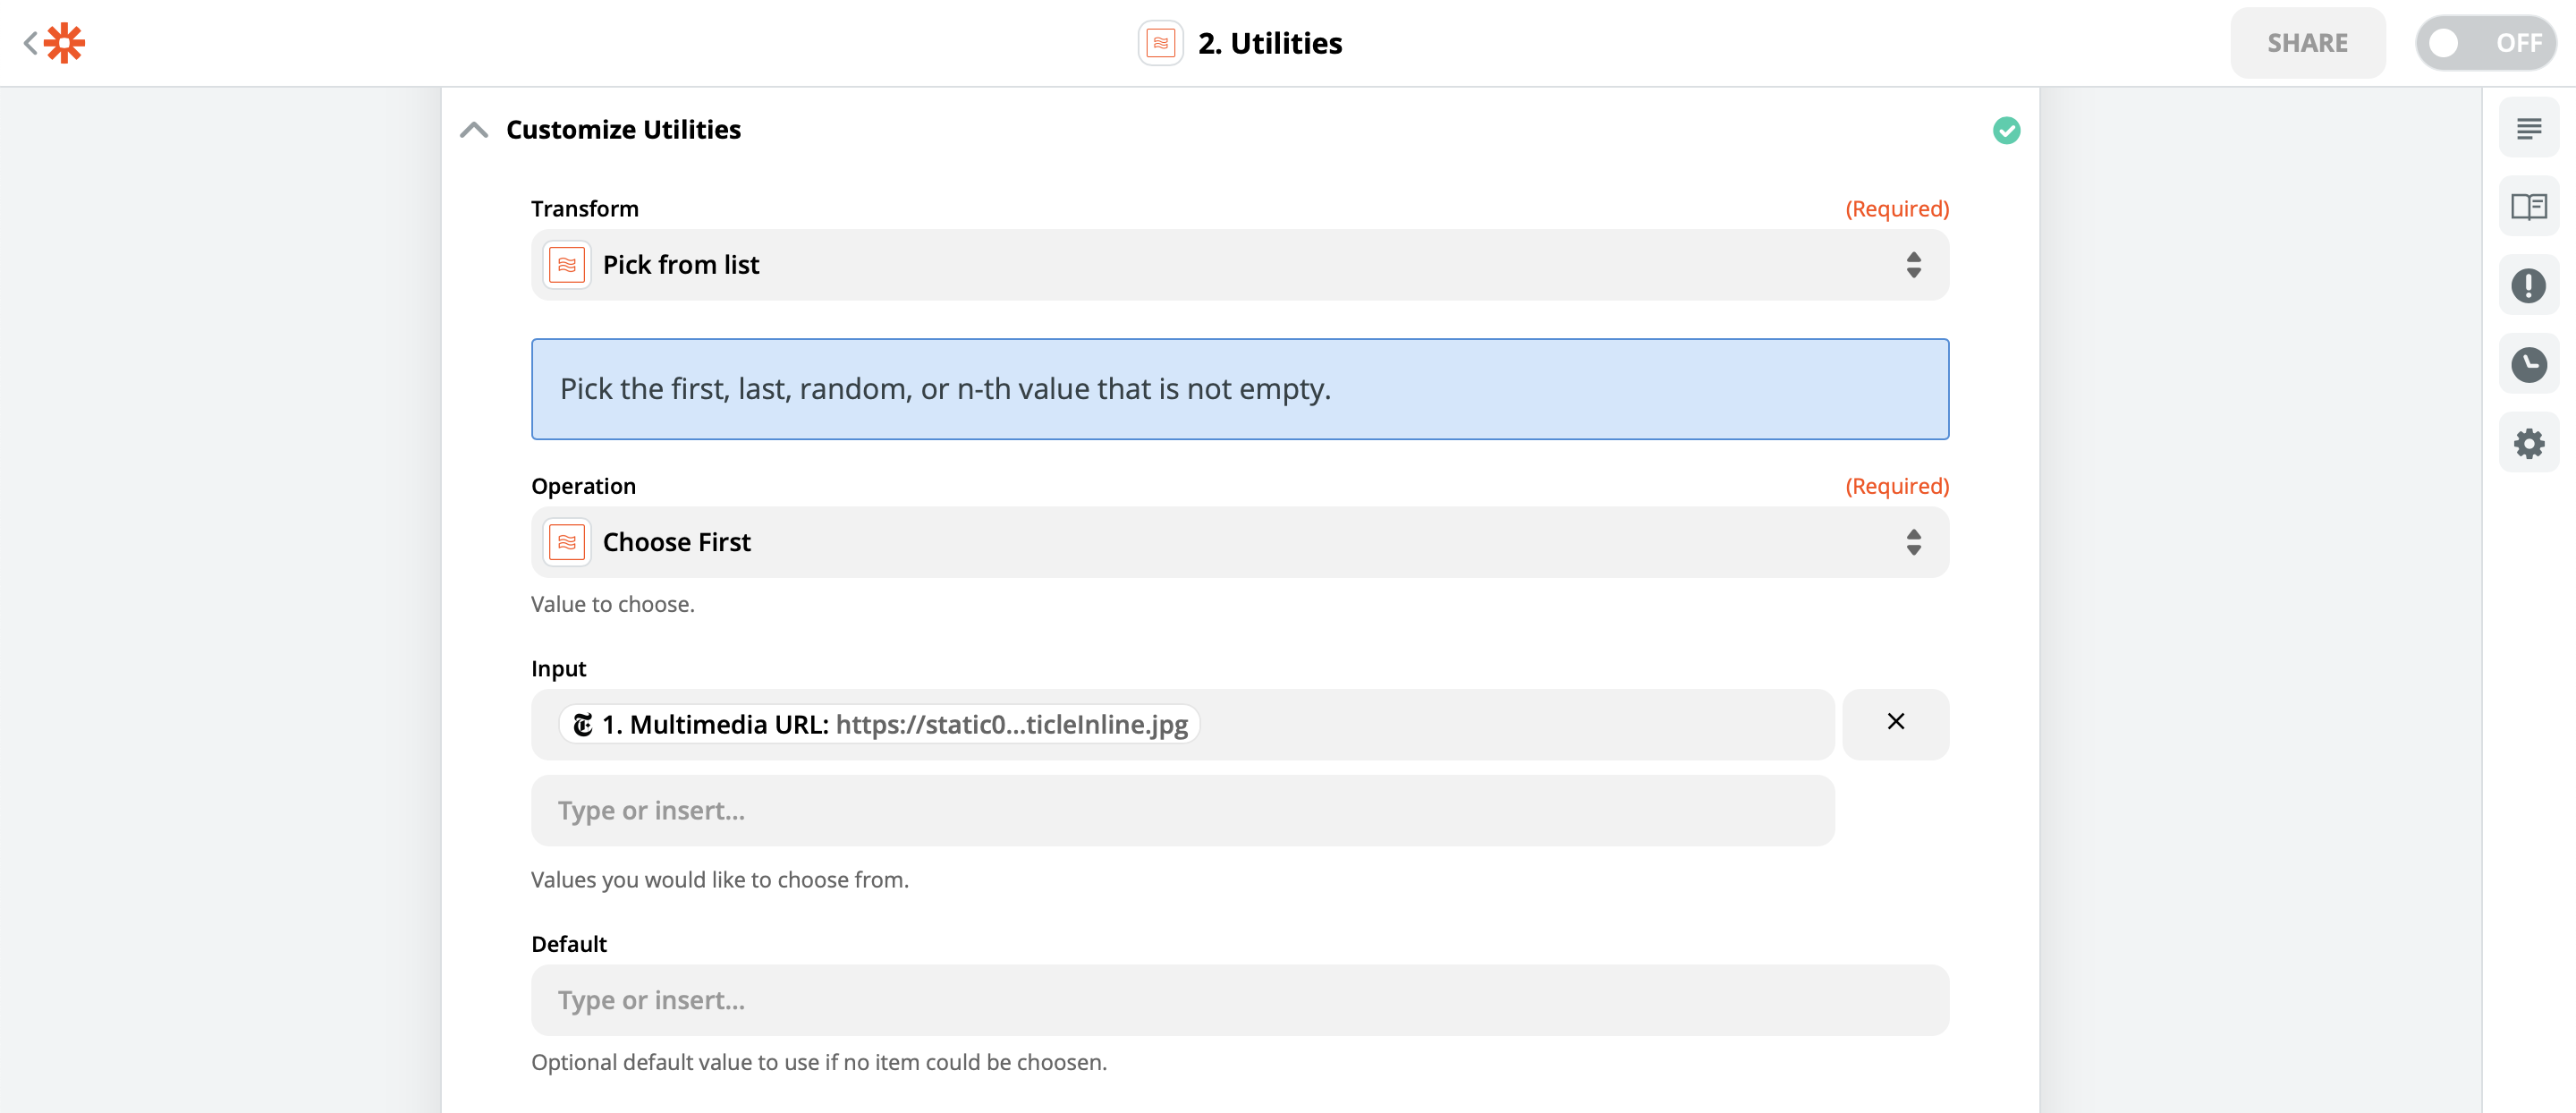
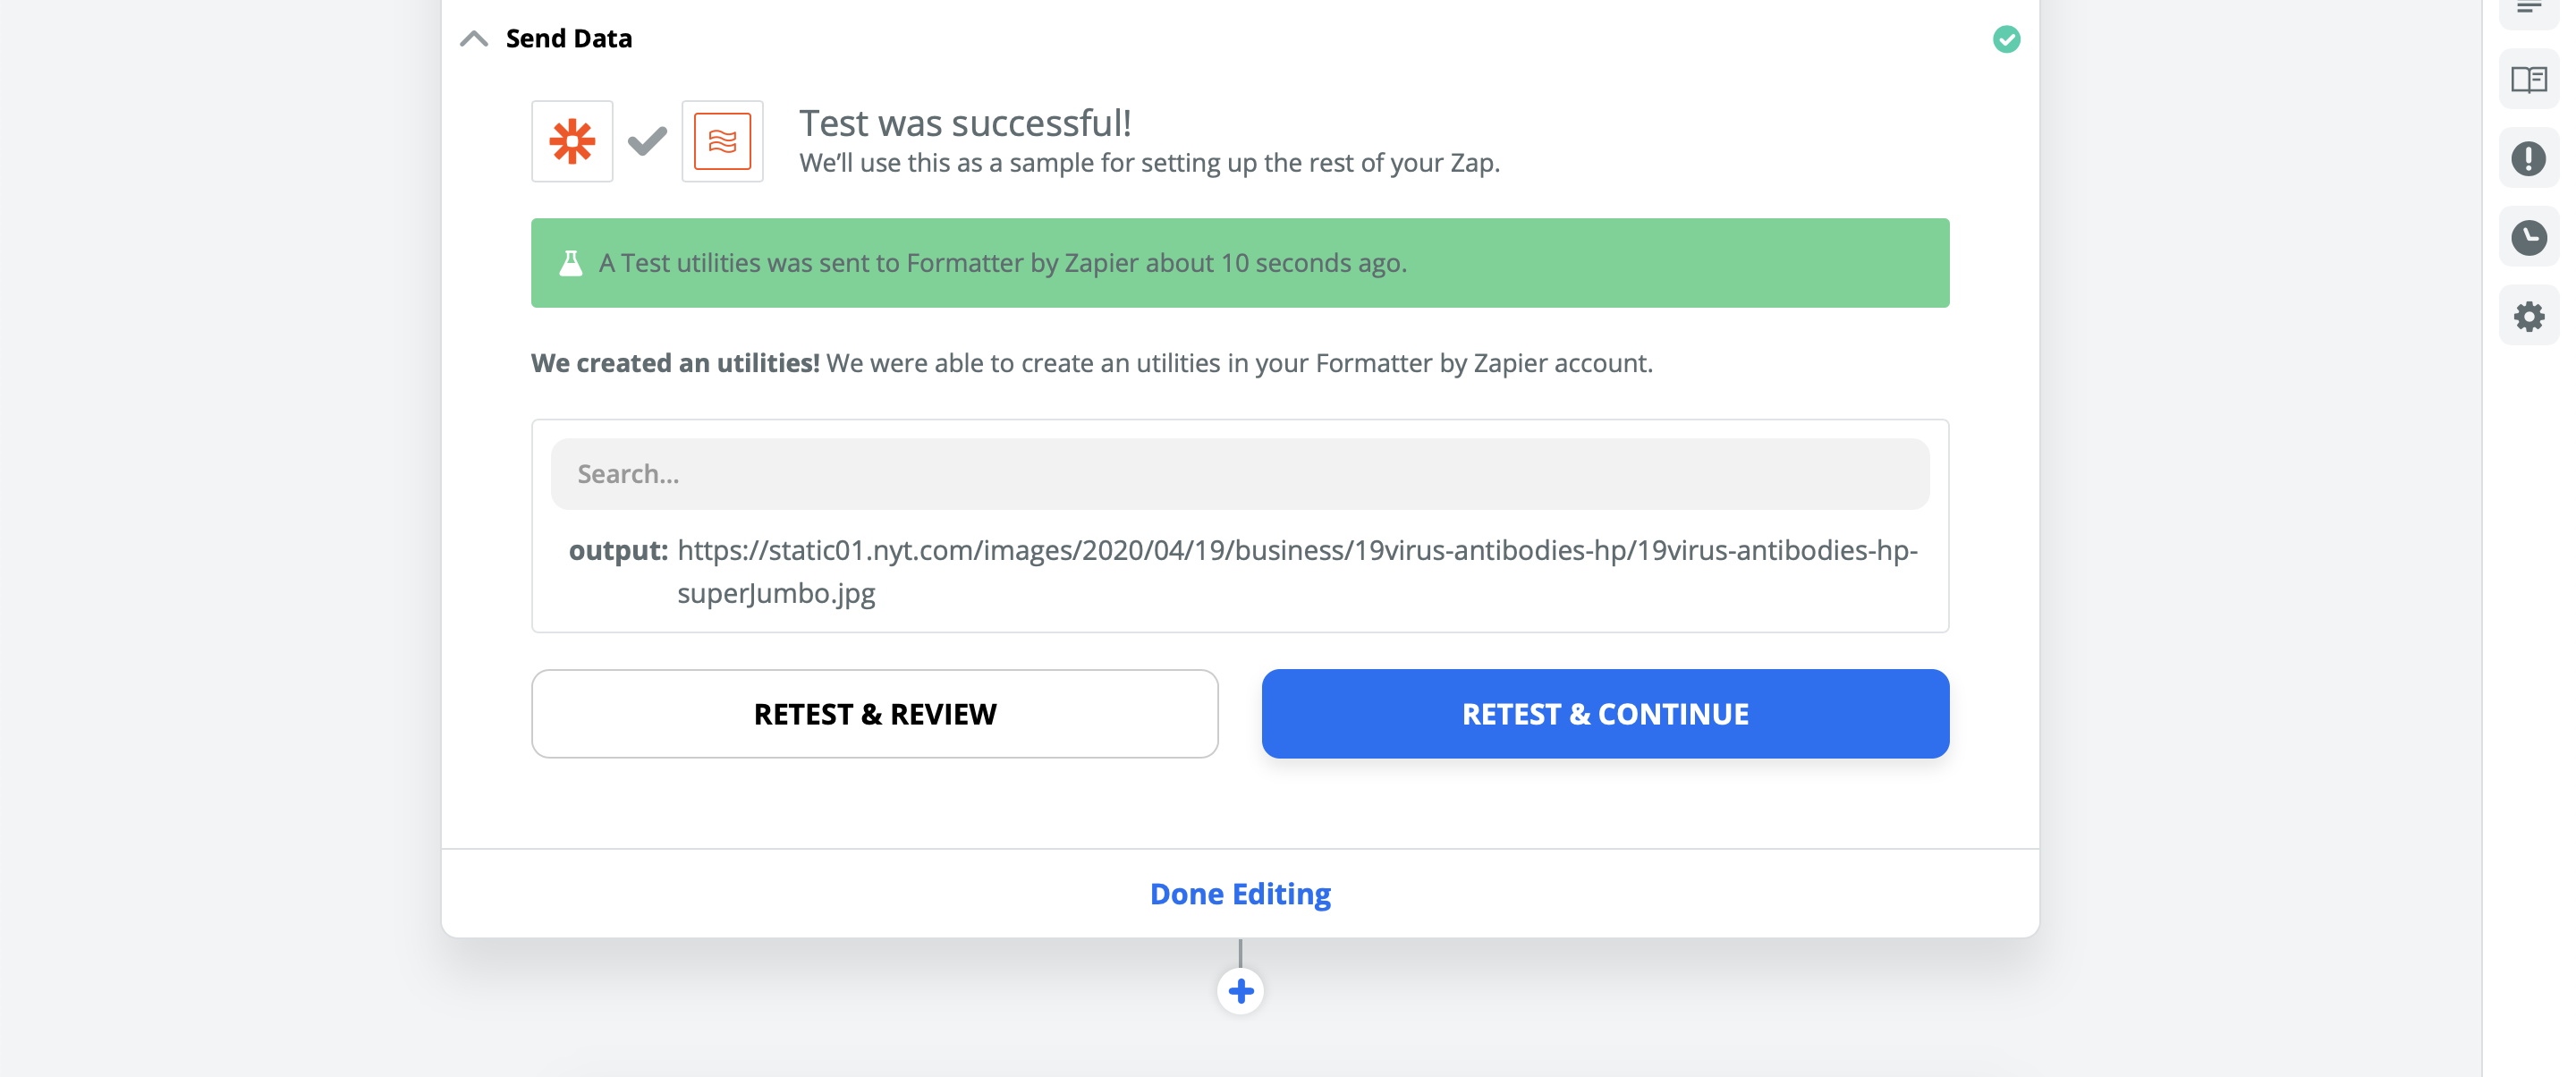
Test the output. What you are looking for is that "output" gives a single URL instead of a whole bunch of urls.
Connecting Zapier to Bannerbear
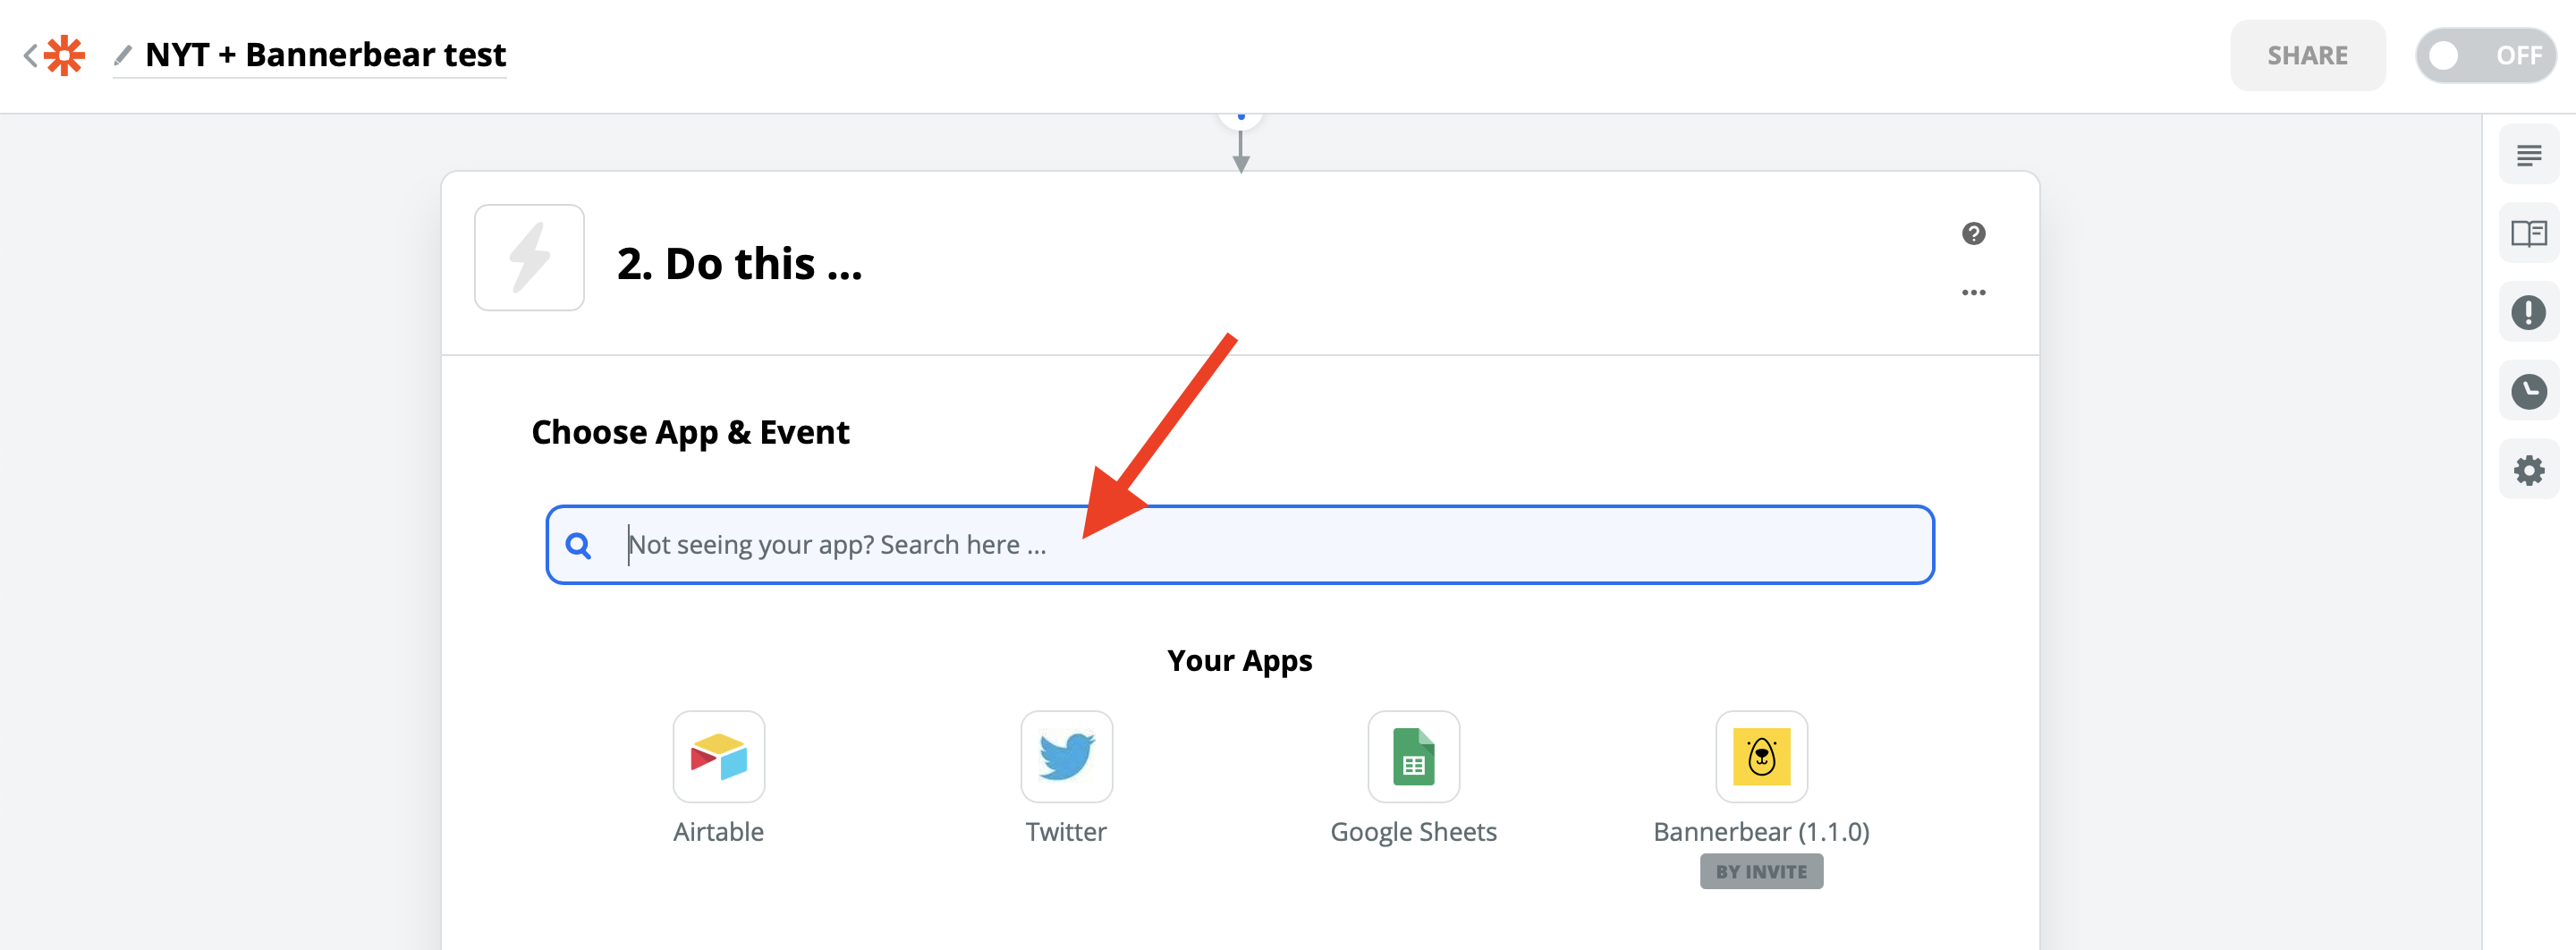
Add a next step to your Zap.
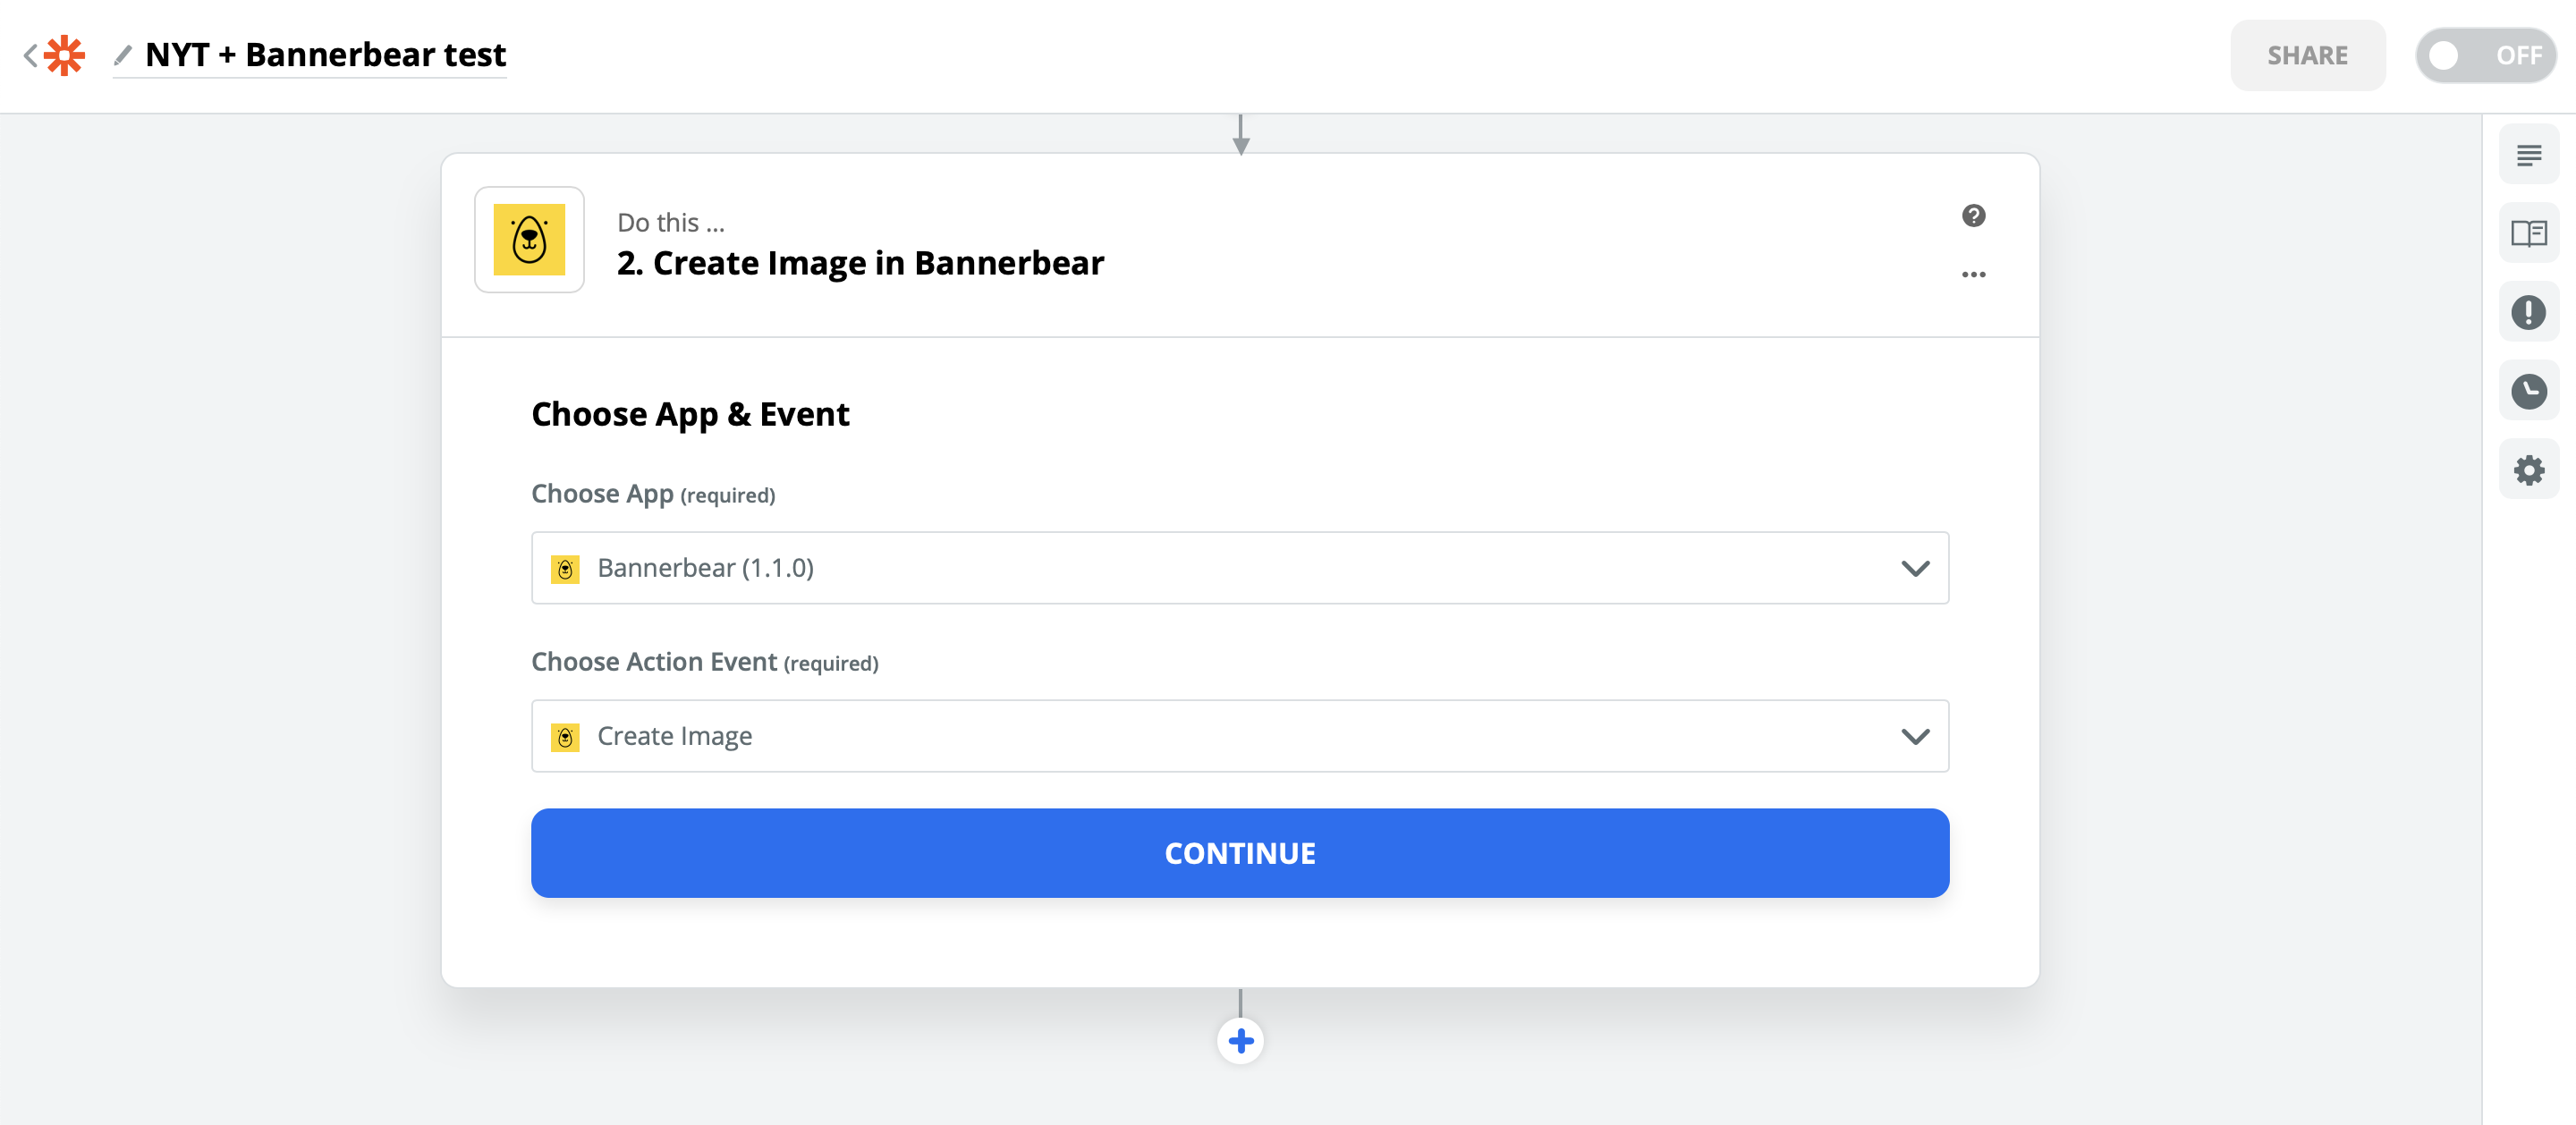
In the next step Zapier will ask what you want to do with the data gathered thus far. We want to push it to Bannerbear, so search for and choose Bannerbear from the menu:
Choose "Create Image" as the action:
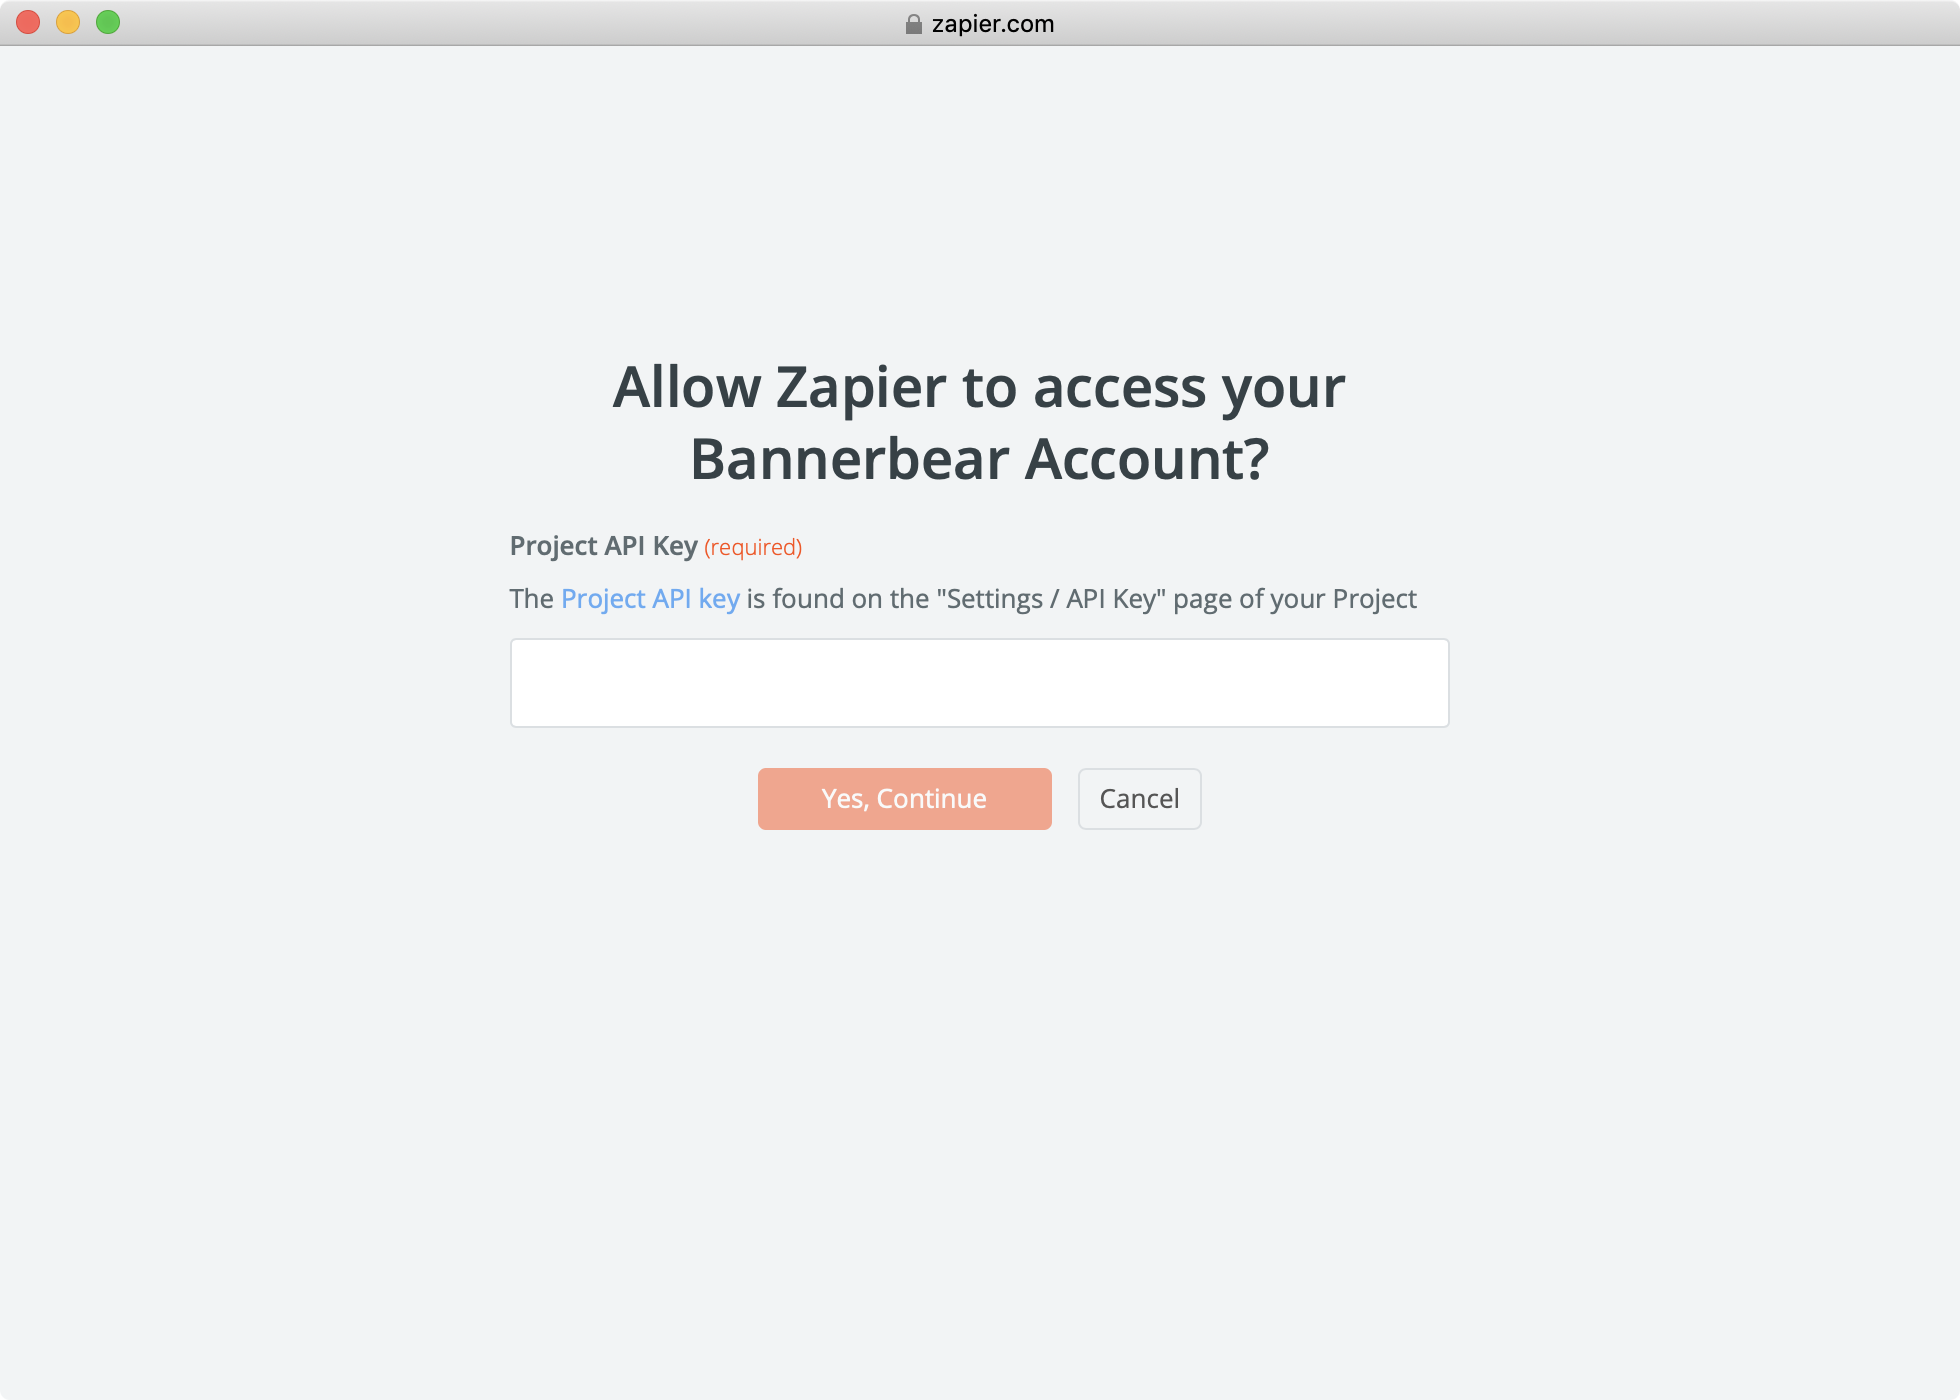
Next Zapier will ask you to authenticate with Bannerbear. This is where you use the Project API Key that you copied to your clipboard earlier.
Selecting NYT data to push to Bannerbear
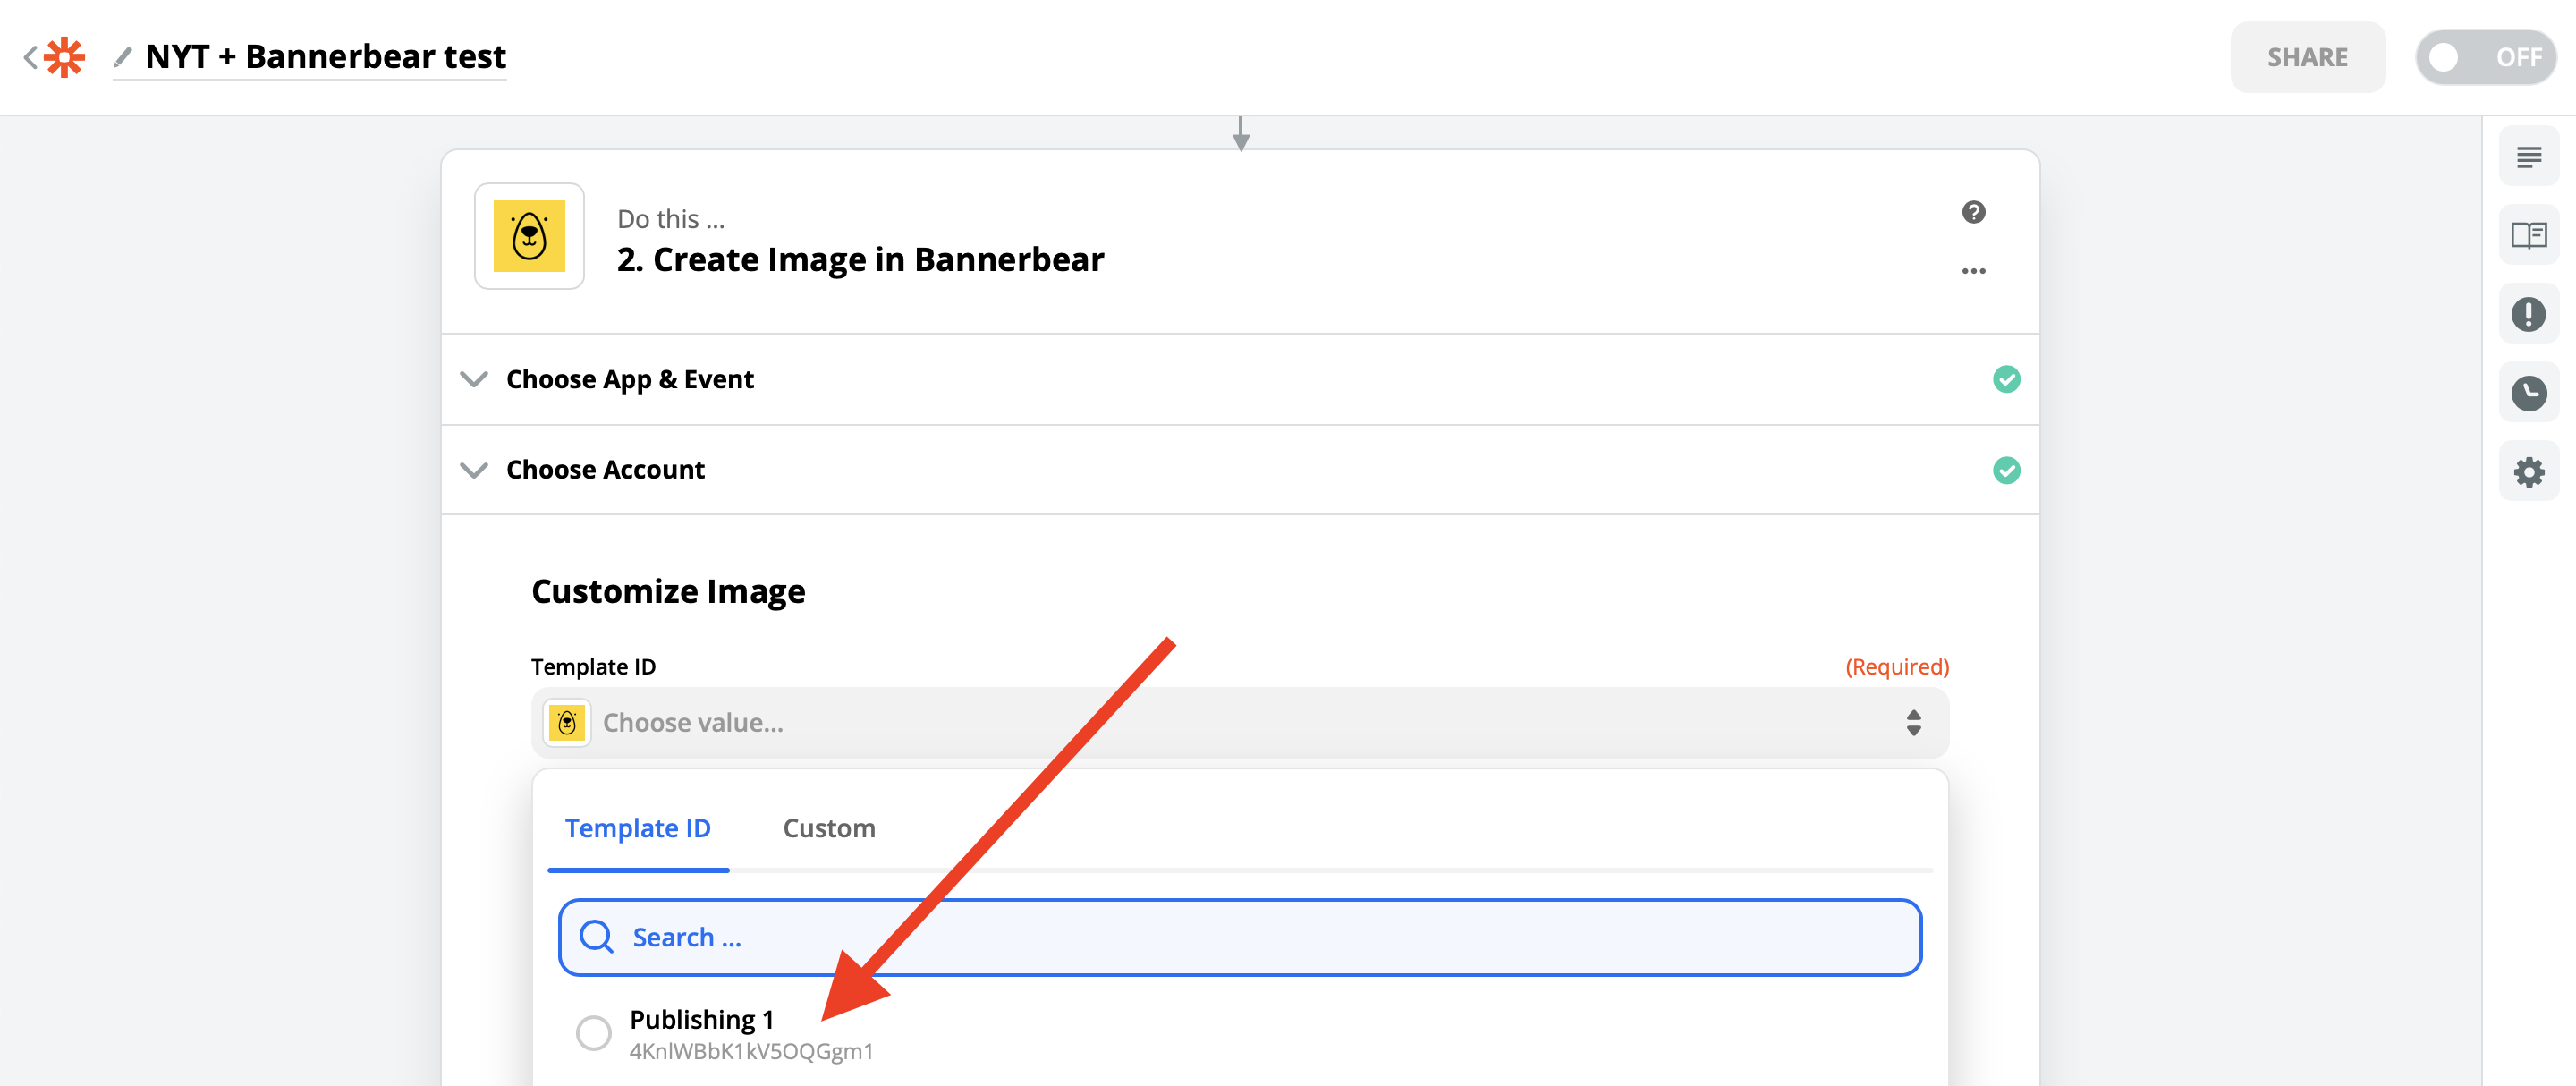
Once you have successfully authenticated, after clicking "Continue" in Zapier you will be asked to choose which Bannerbear template you want to use.
This dropdown list will show your project's current templates. Choose the NYT template that you added. If you just added the template in Bannerbear without editing it, the name will probably show up in Zapier as "Publishing 1".
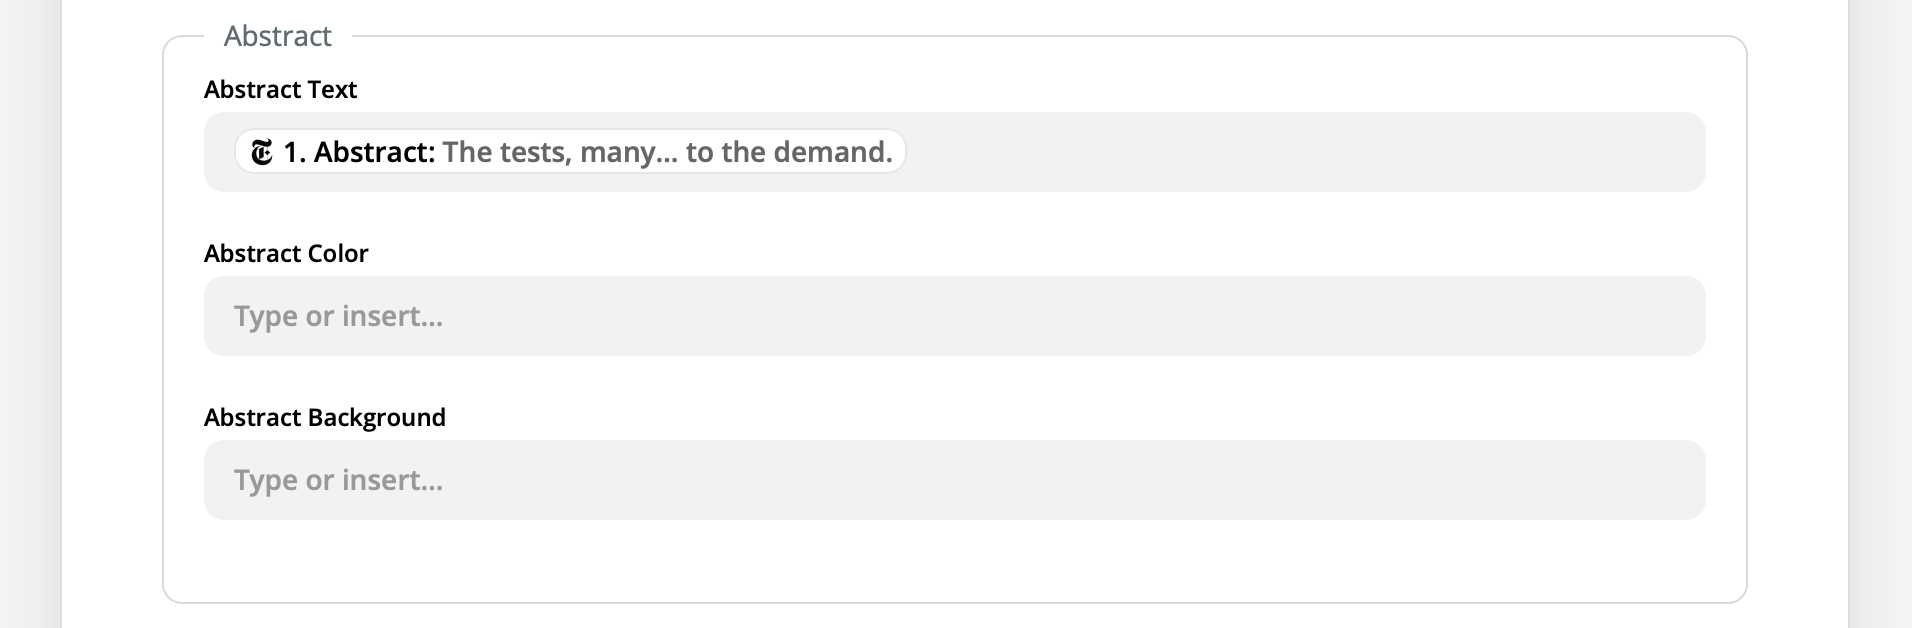
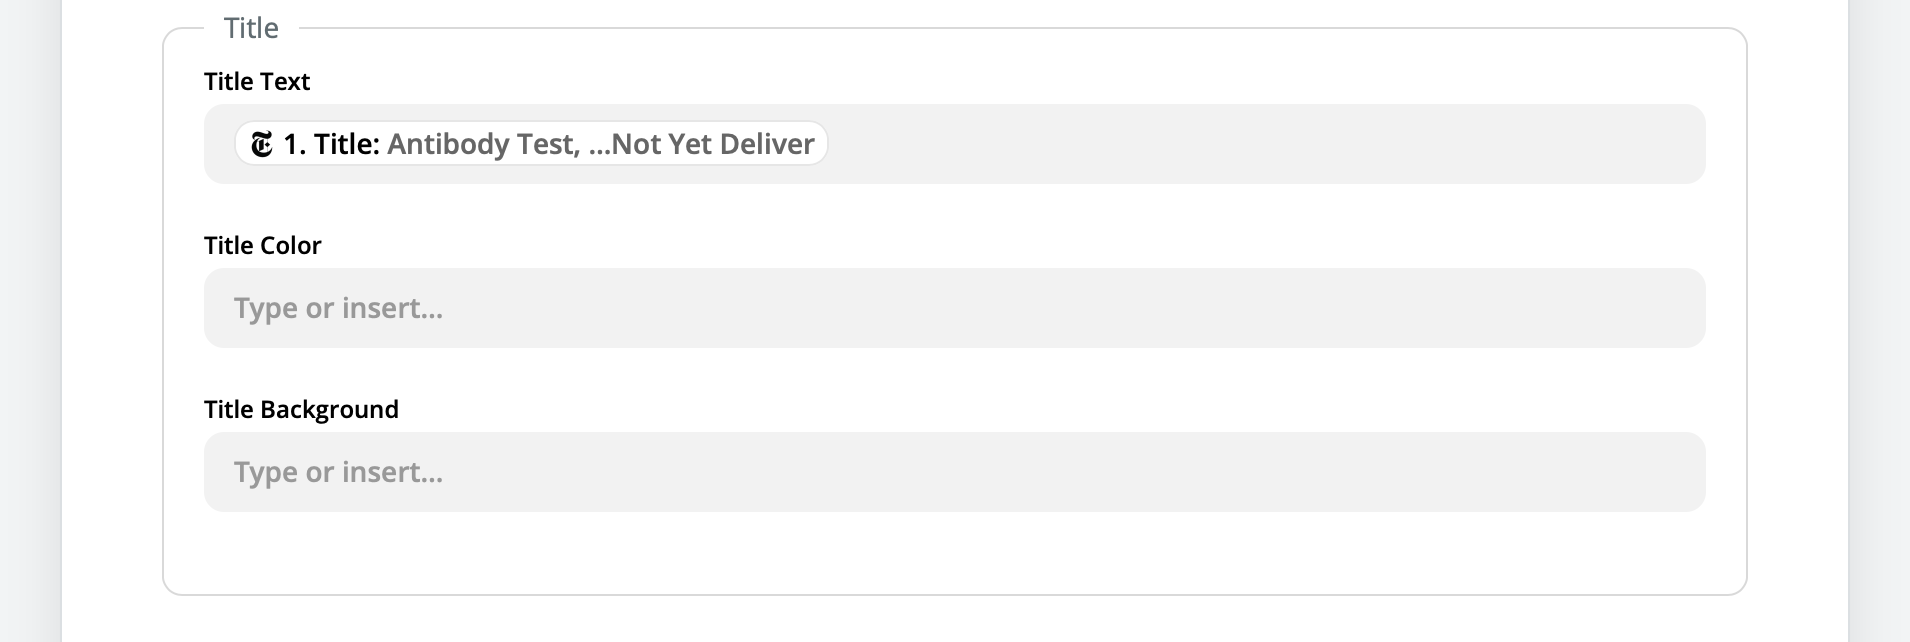
Next, Zapier will load all of the template layers that you can manipulate.
Earlier I mentioned that this template is pretty simple and there's really only 3 things we want to manipulate:
- Background image
- Abstract
- Title
Here's how to do that:
- Connect template Background Image URL to the Formatter Output
- Connect template Abstract Text to the NYT Abstract
- Connect template Title Text to the NYT Title

When you hit continue, Zapier will show you a confirmation screen before sending a test.
Data confirmation
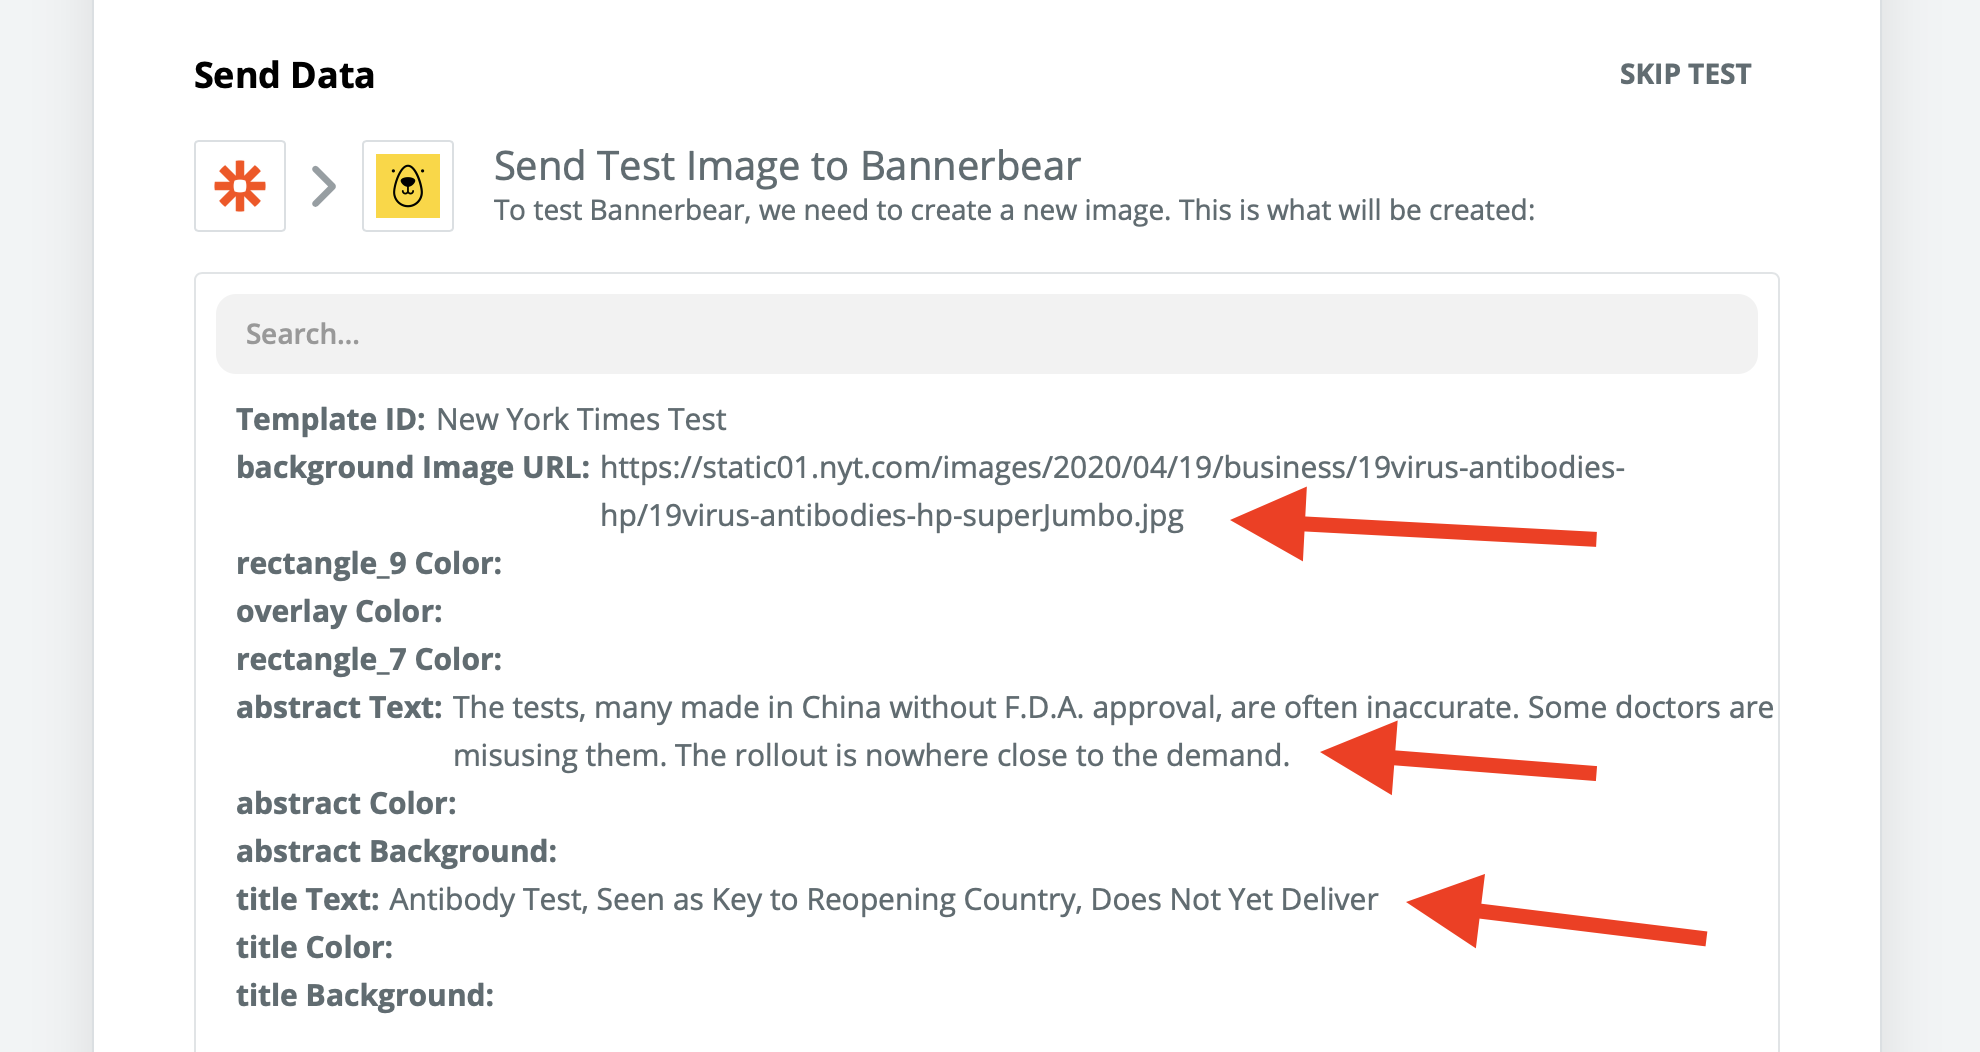
Here you should verify 3 things:
- That the background image url is a single url
- That the abstract text is populated with text
- That the title text is populated with text
If those 3 items look good, hit "Test and Review". If Bannerbear accepts the data you'll see a success message like this.
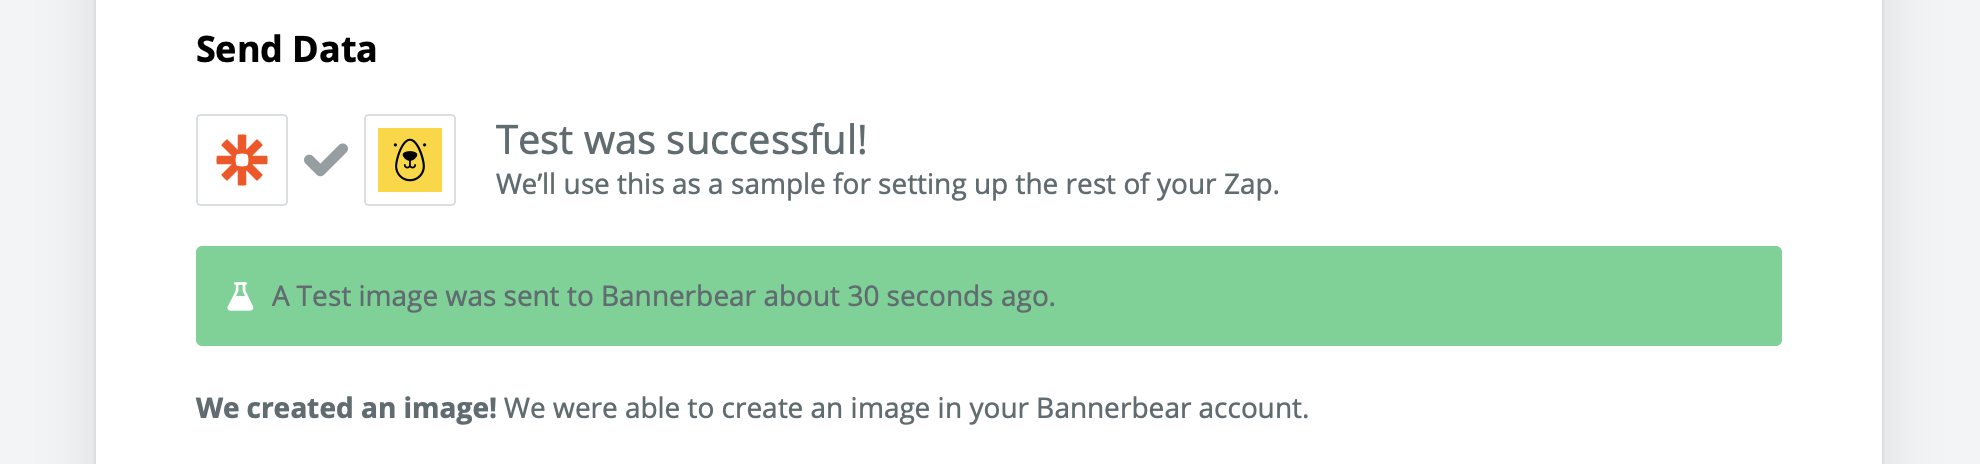
If you do not see this there is likely a problem with the data you are sending. Confirm the data confirmation step above.
Viewing the test image
Back in Bannerbear, go to your Project and view the images list. You should see your test image in the list.
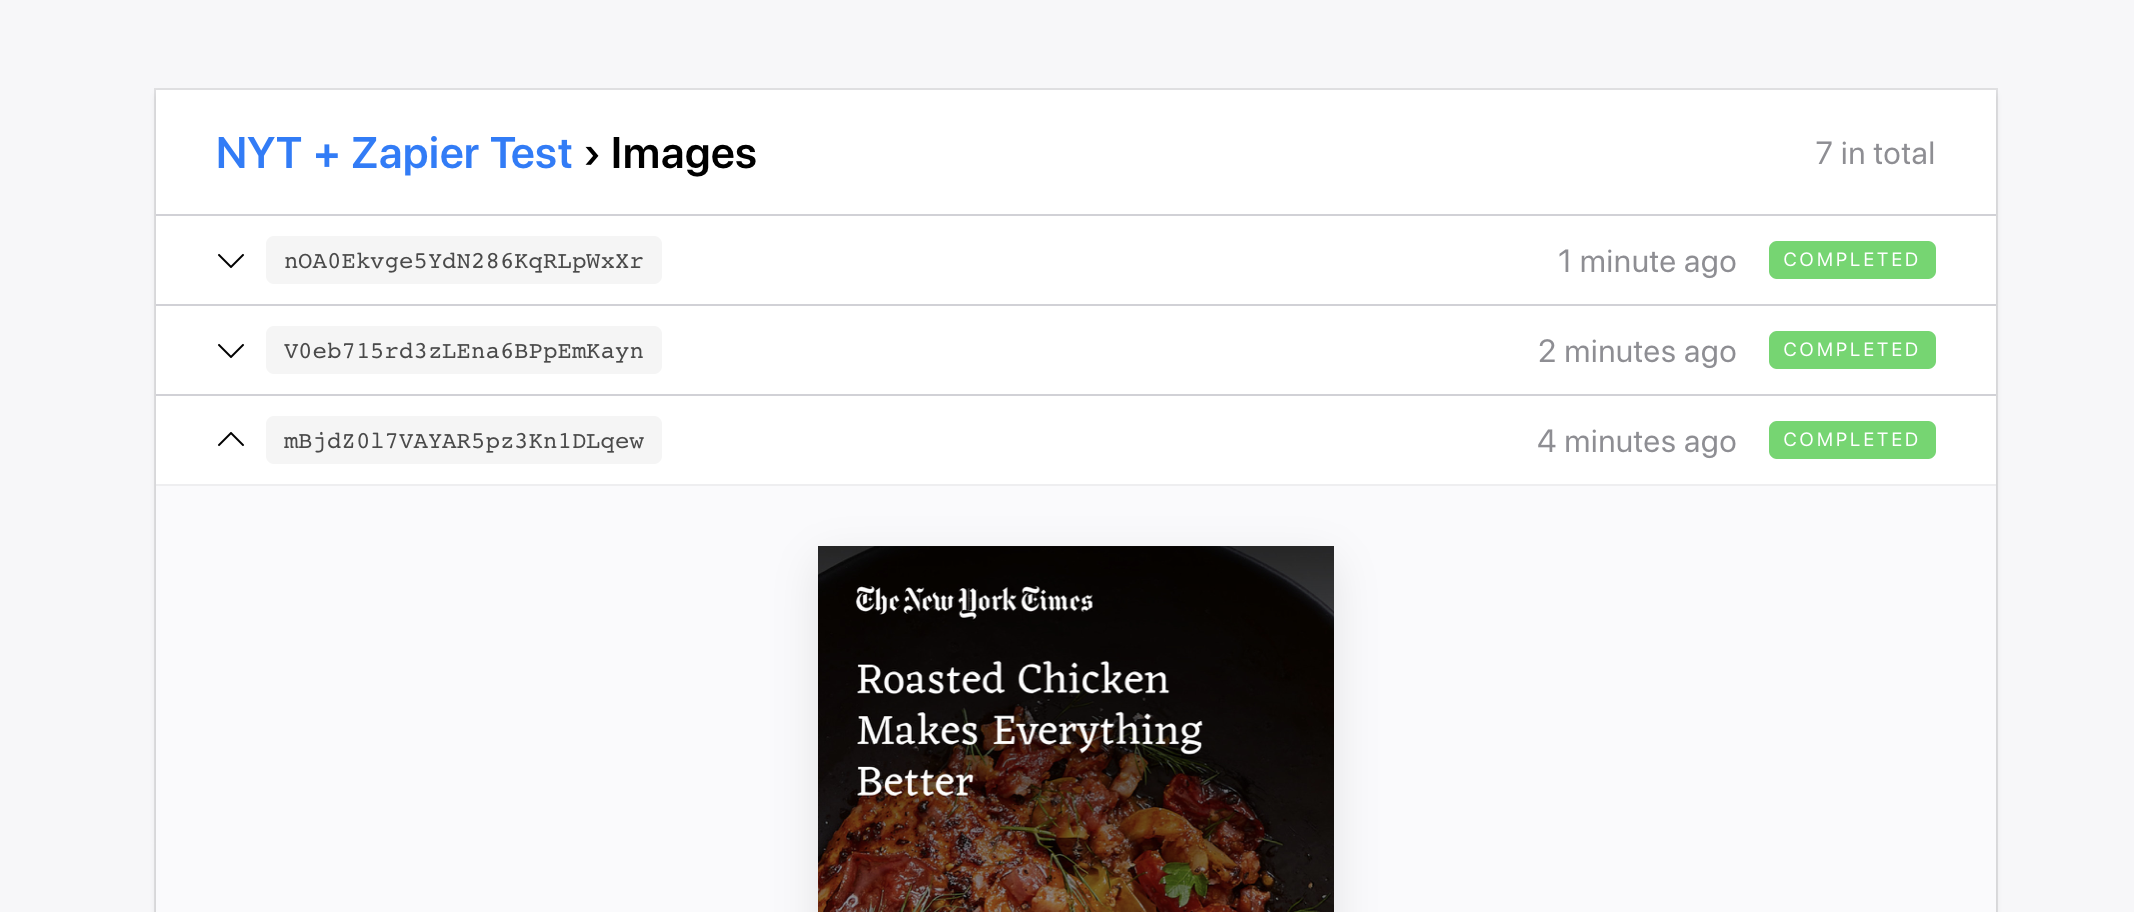
Full size view of the generated image:
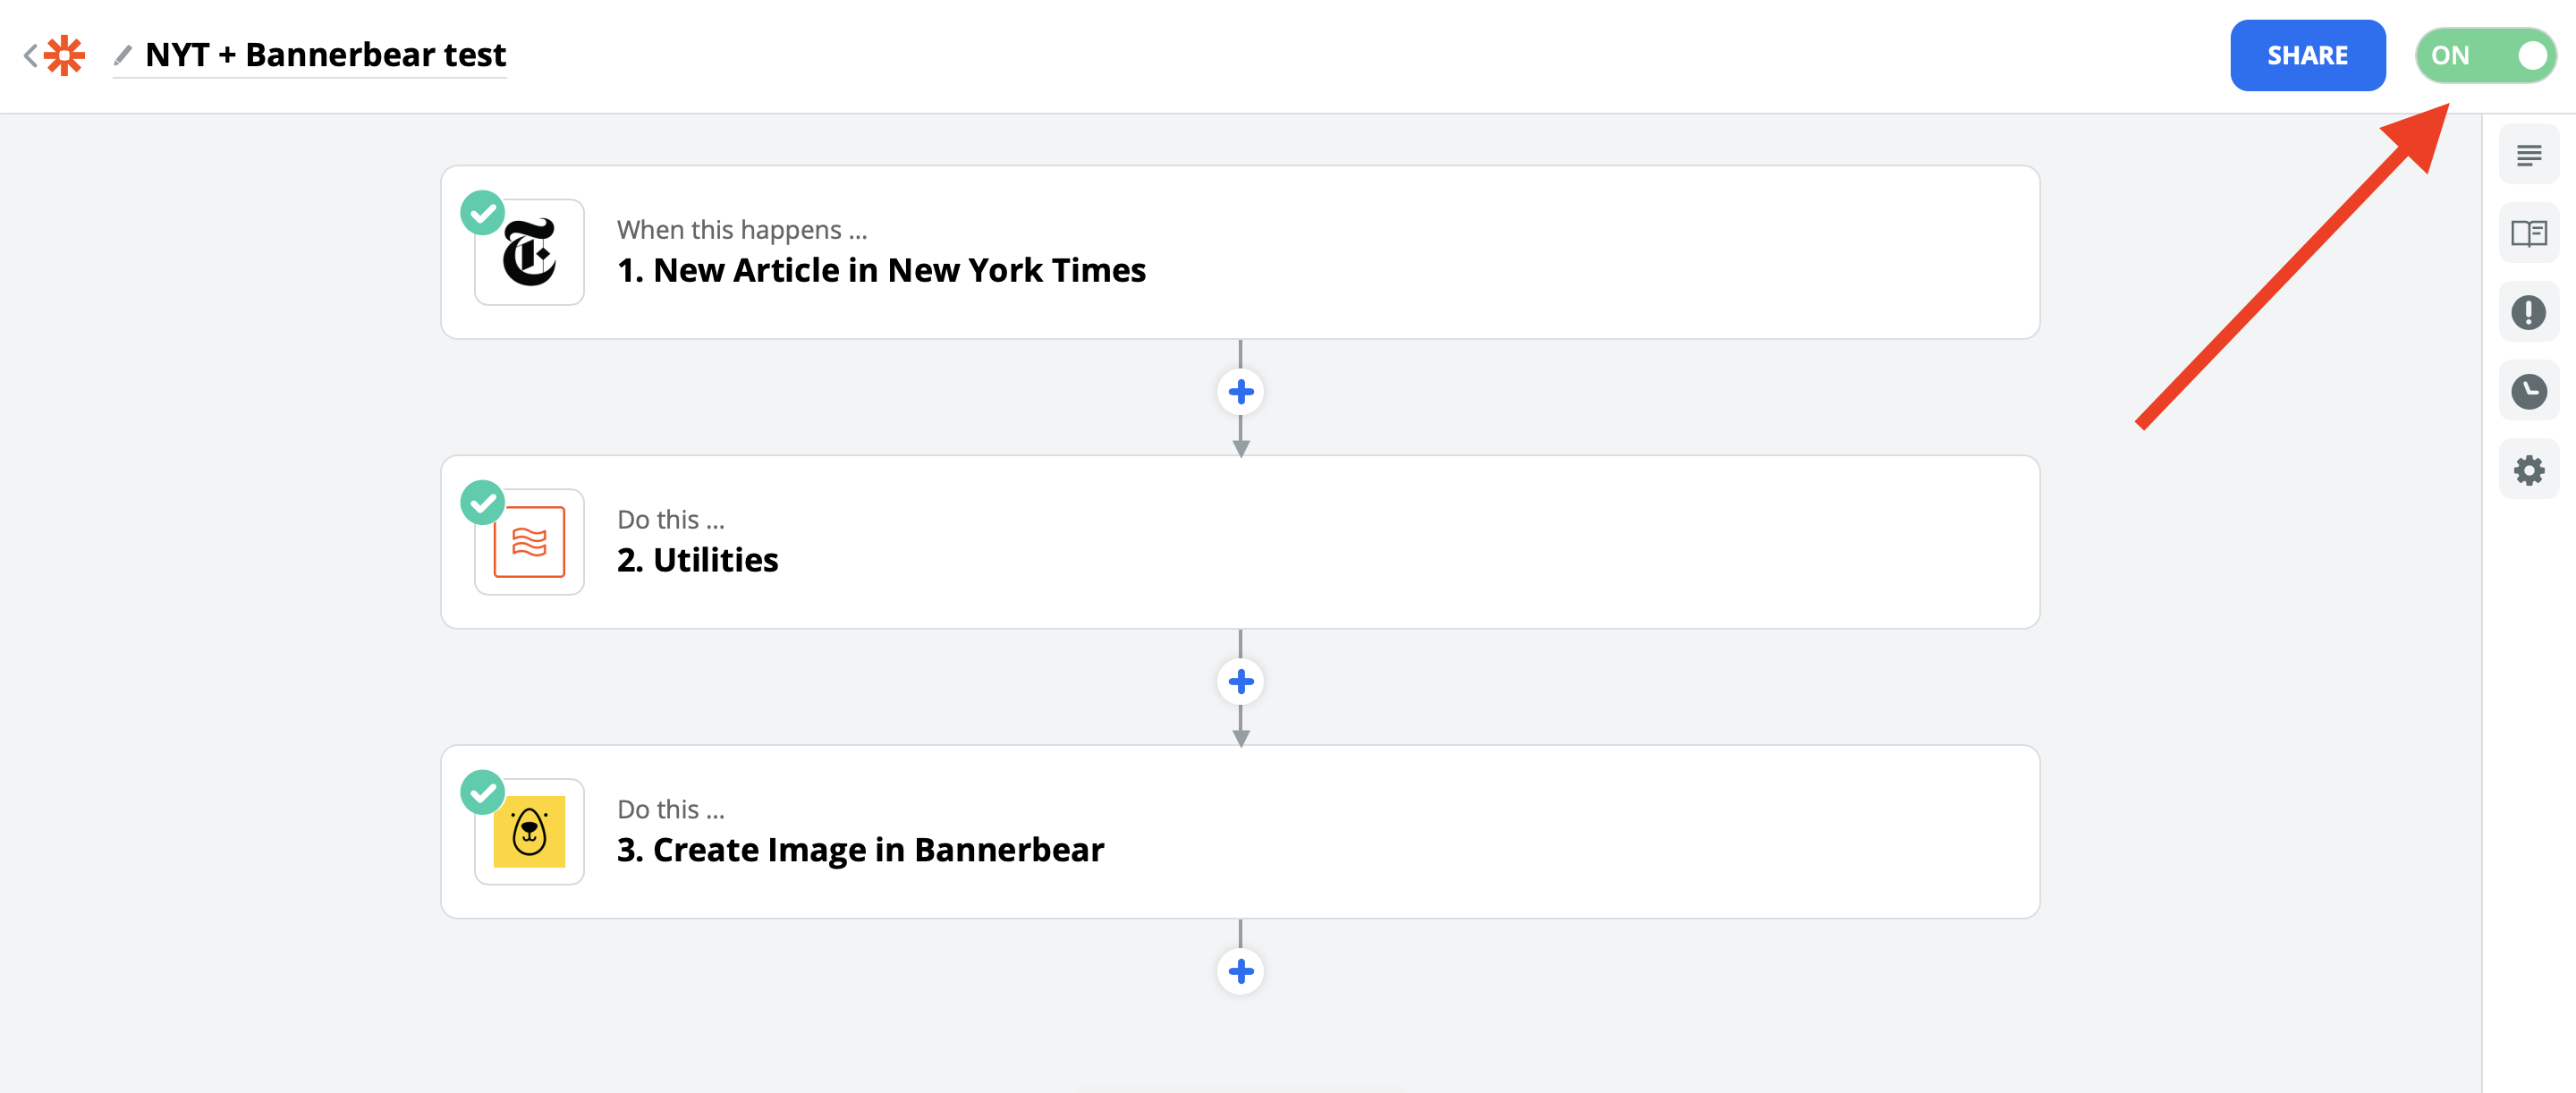
Turn on the Zap!
You have completed all the steps! The only thing left to do now is to "turn on the Zap". This will put everything into autopilot mode, so when new articles are posted on NYT, your Zapier wokflow gets activated and new images will show up in your Bannerbear account!
Congratulations! :)
Next Steps…
Why not try extending this tutorial with these ideas for next steps using Zapier?
- Add an auto email notification
- Import data from a different source
- Automatically add the final, generated image url to a spreadsheet
