
How to Use the Pexels API to Randomize Images with Bannerbear
Contents
⚠️ Warning: This is a low-code tutorial. A sample script is provided, but a fundamental understanding of JavaScript will help you modify it to suit your needs.
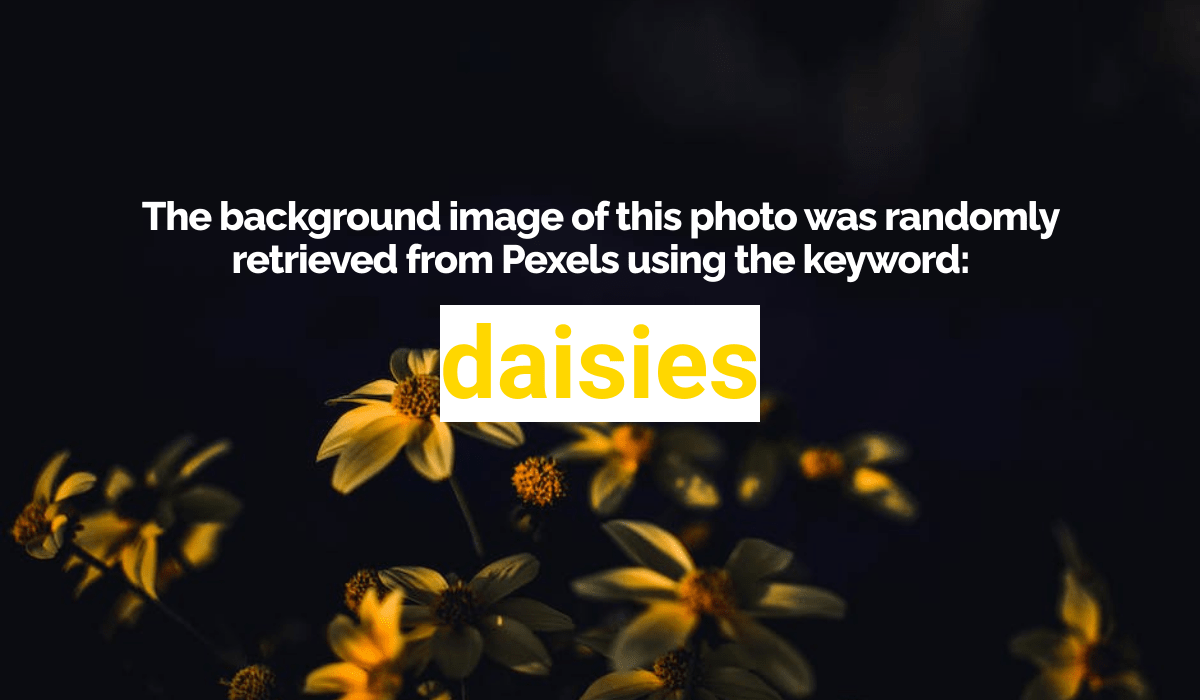
When generating images automatically, you often need them to match: identical background photos, exact formats, and so on. But sometimes, you just want to make sure your final product contains relevant elements while being unique. There’s just one caveat: you shouldn’t have to do it manually.
Incorporating a step that selects randomized images from a stock photo site, like Pexels, is a great solution. With the Pexels API, you can easily pull images and use them to create unique graphics with Bannerbear.


In this article, you’ll learn how to access the Pexels API and incorporate its capabilities into your Bannerbear nocode workflows. Let’s get started!
Automatically Sourcing Images for Bannerbear Workflows Online
Pexels' image API is a powerful tool for sourcing relevant images automatically. With it, you can easily access a vast library of high-quality images.
When you use Zapier to run a script that retrieves random relevant photos from Pexels, you can use them with Bannerbear in consecutive steps for things like:
- Automating event announcements
- Creating quick social media graphics
- Generating news summary videos
Overall, Pexels' API provides an efficient and cost-effective way to source and use images for various purposes—and you don’t need much technical ability to use it.
Here’s how you can start using the Pexels API with Bannerbear:
Get a Pexels API Key
To use the Pexels API, you’ll need access to an API key. This means signing up for an account, generating a key, and saving it for your project.
Sign Up for an Account
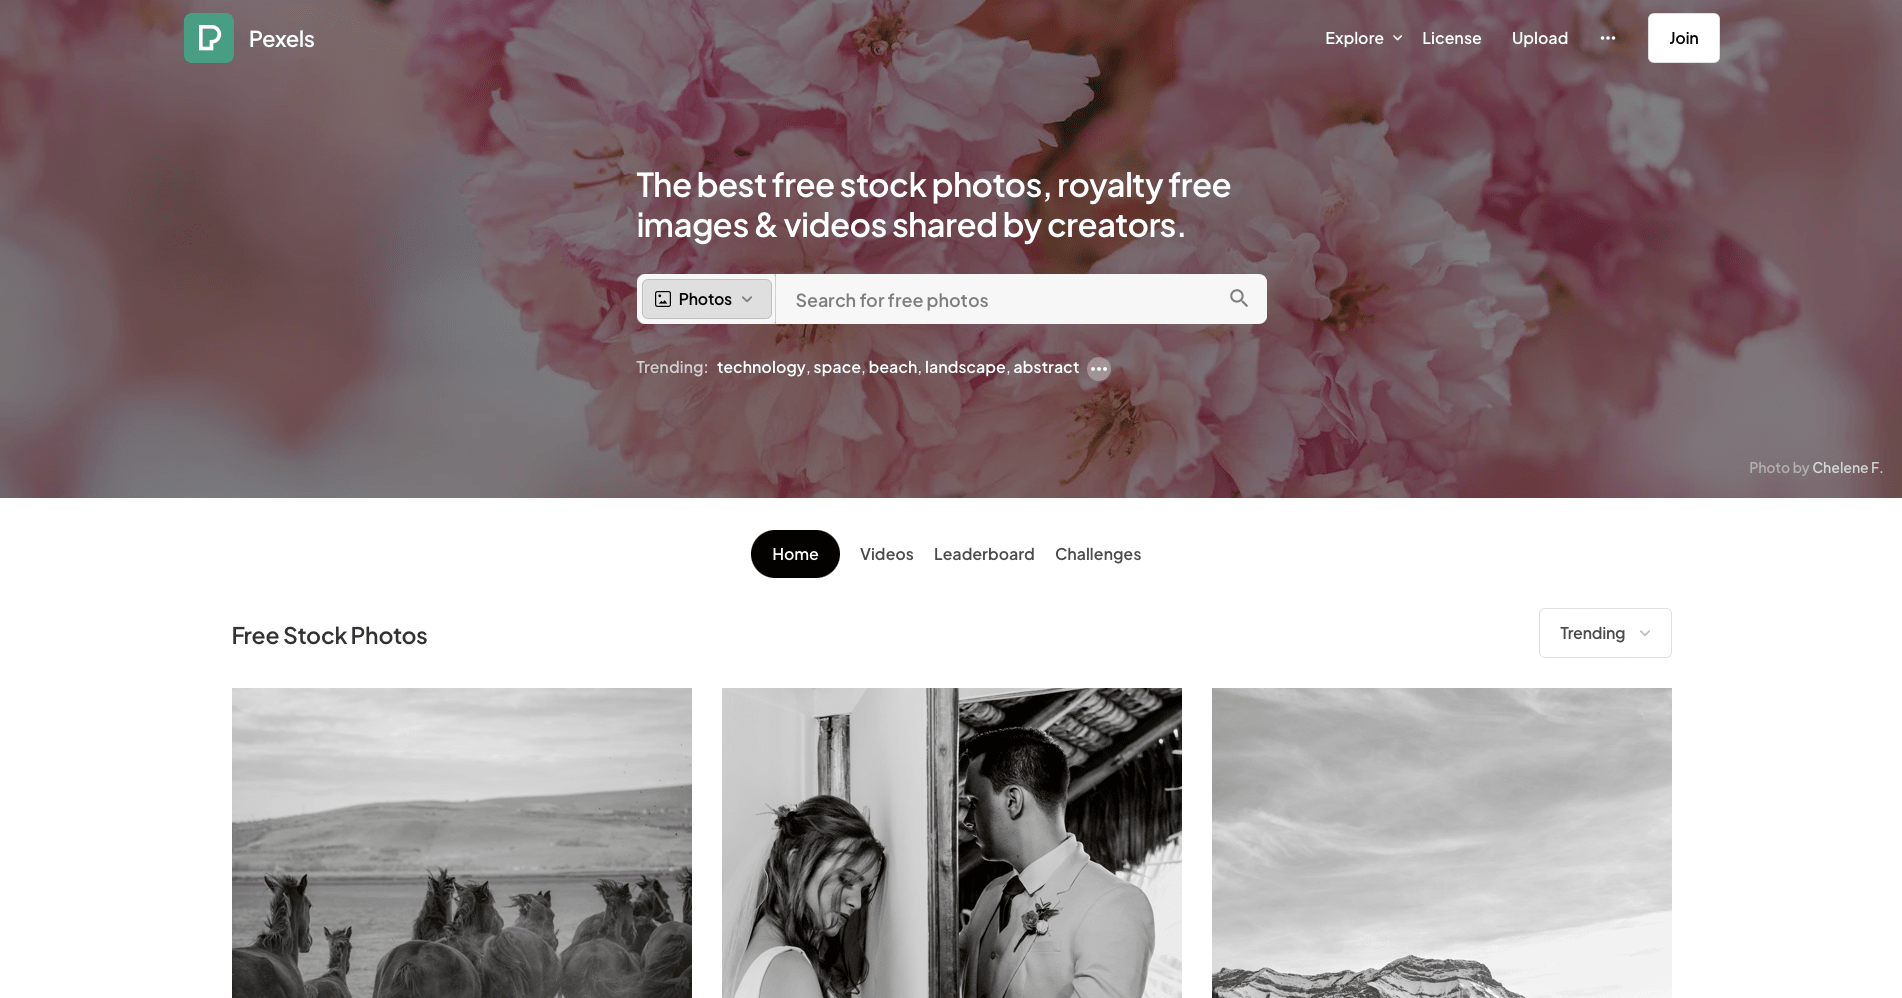
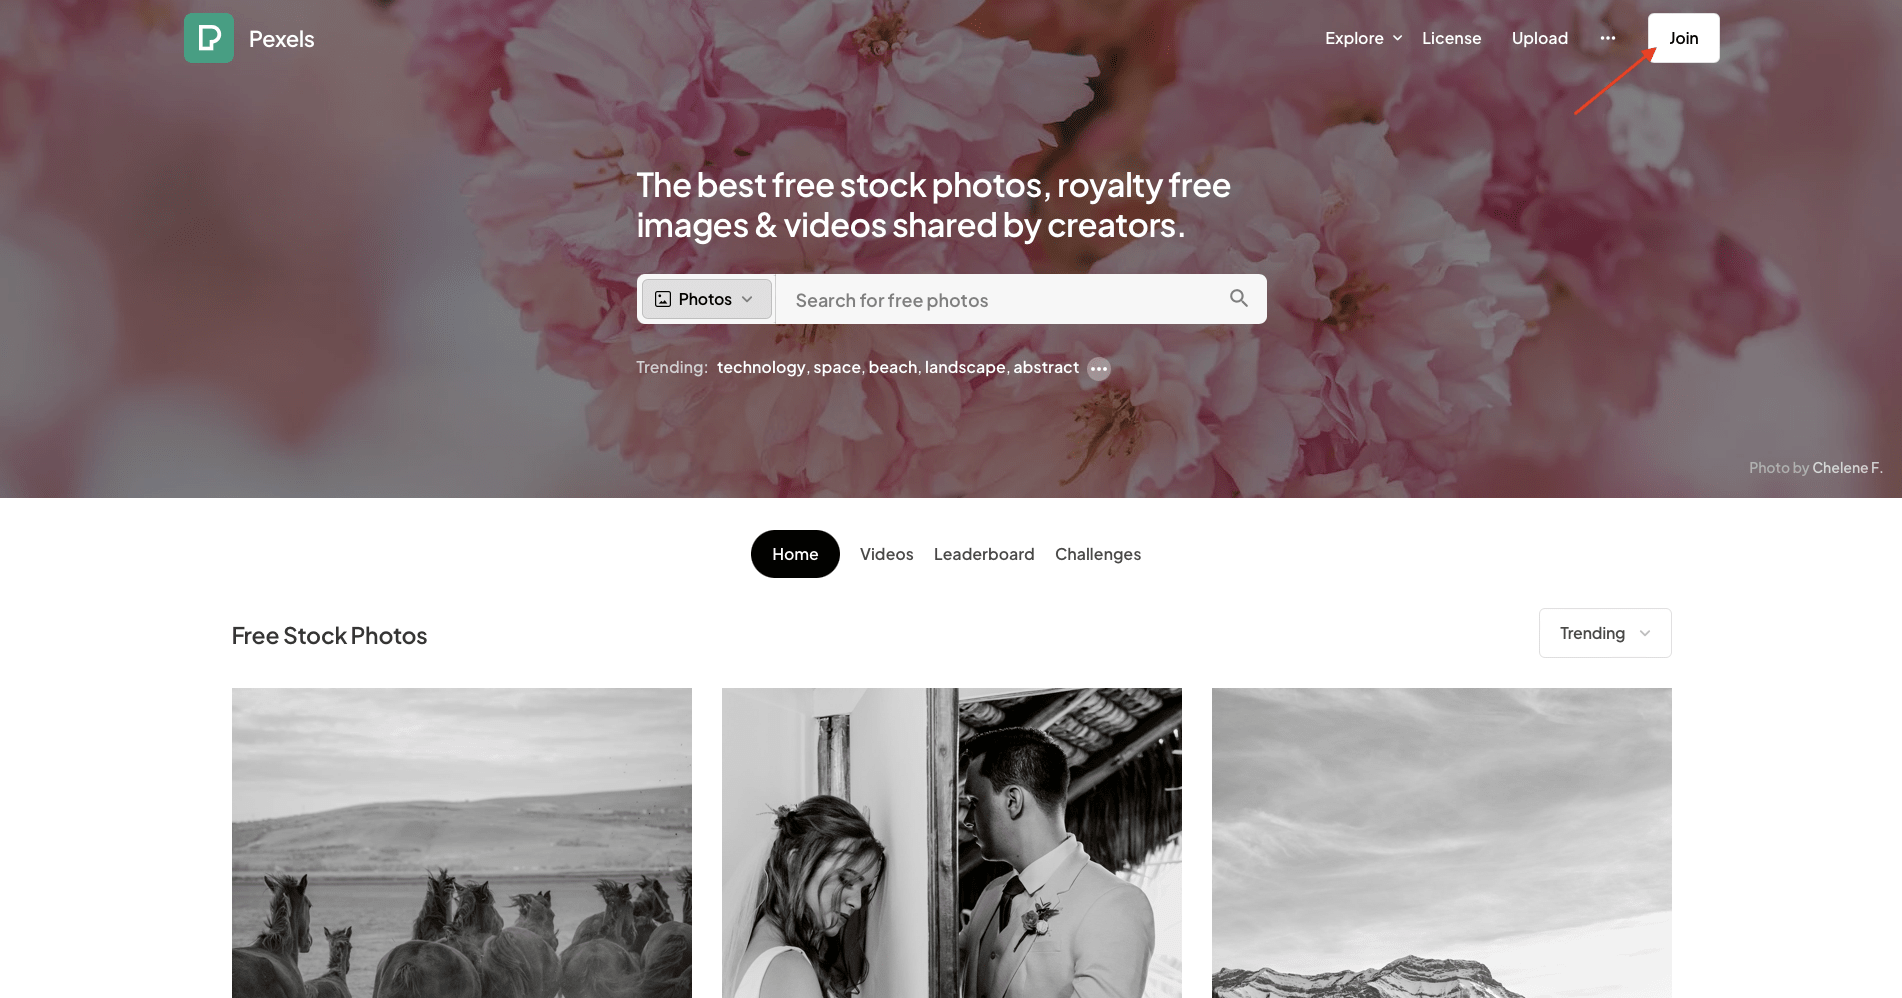
Go to the Pexels home page and log into your account. If you don’t have one yet, sign up by clicking Join.
Fill in the name, email, and password fields. You can also sign up using Facebook, Apple, or Google accounts.
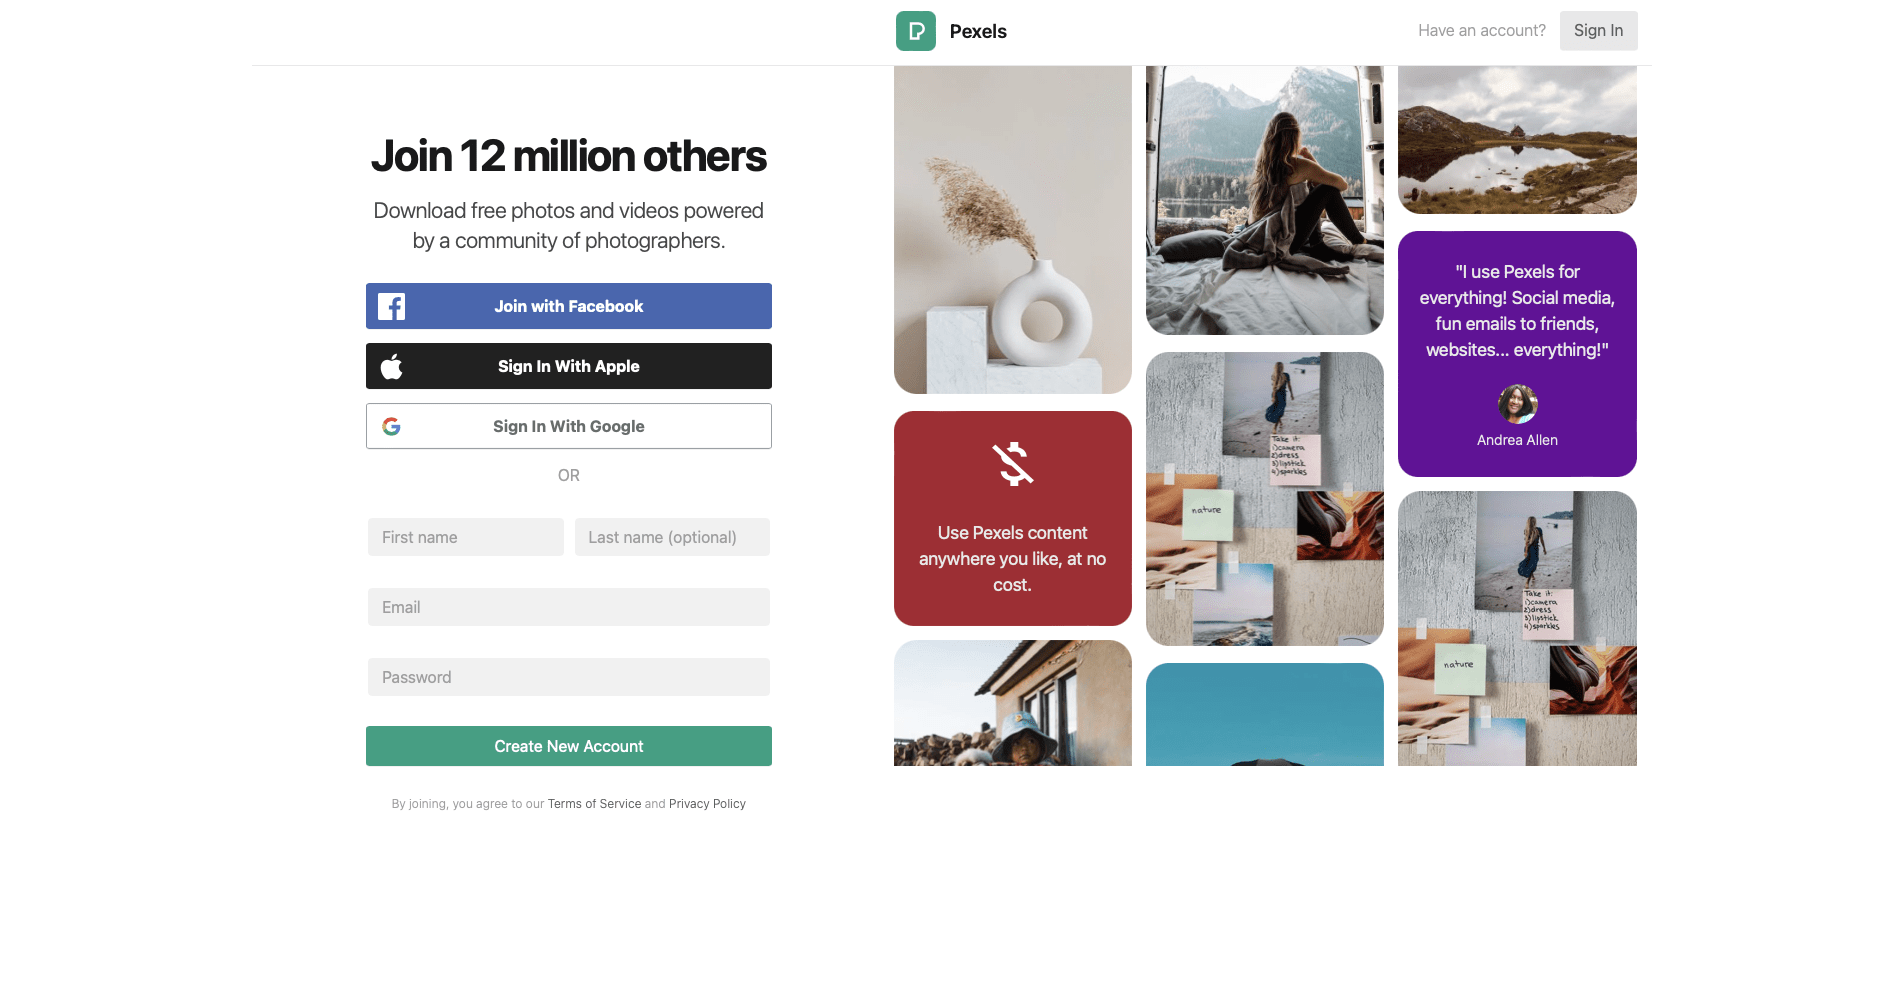
Click Create New Account when you’re done.
Generate an API Key
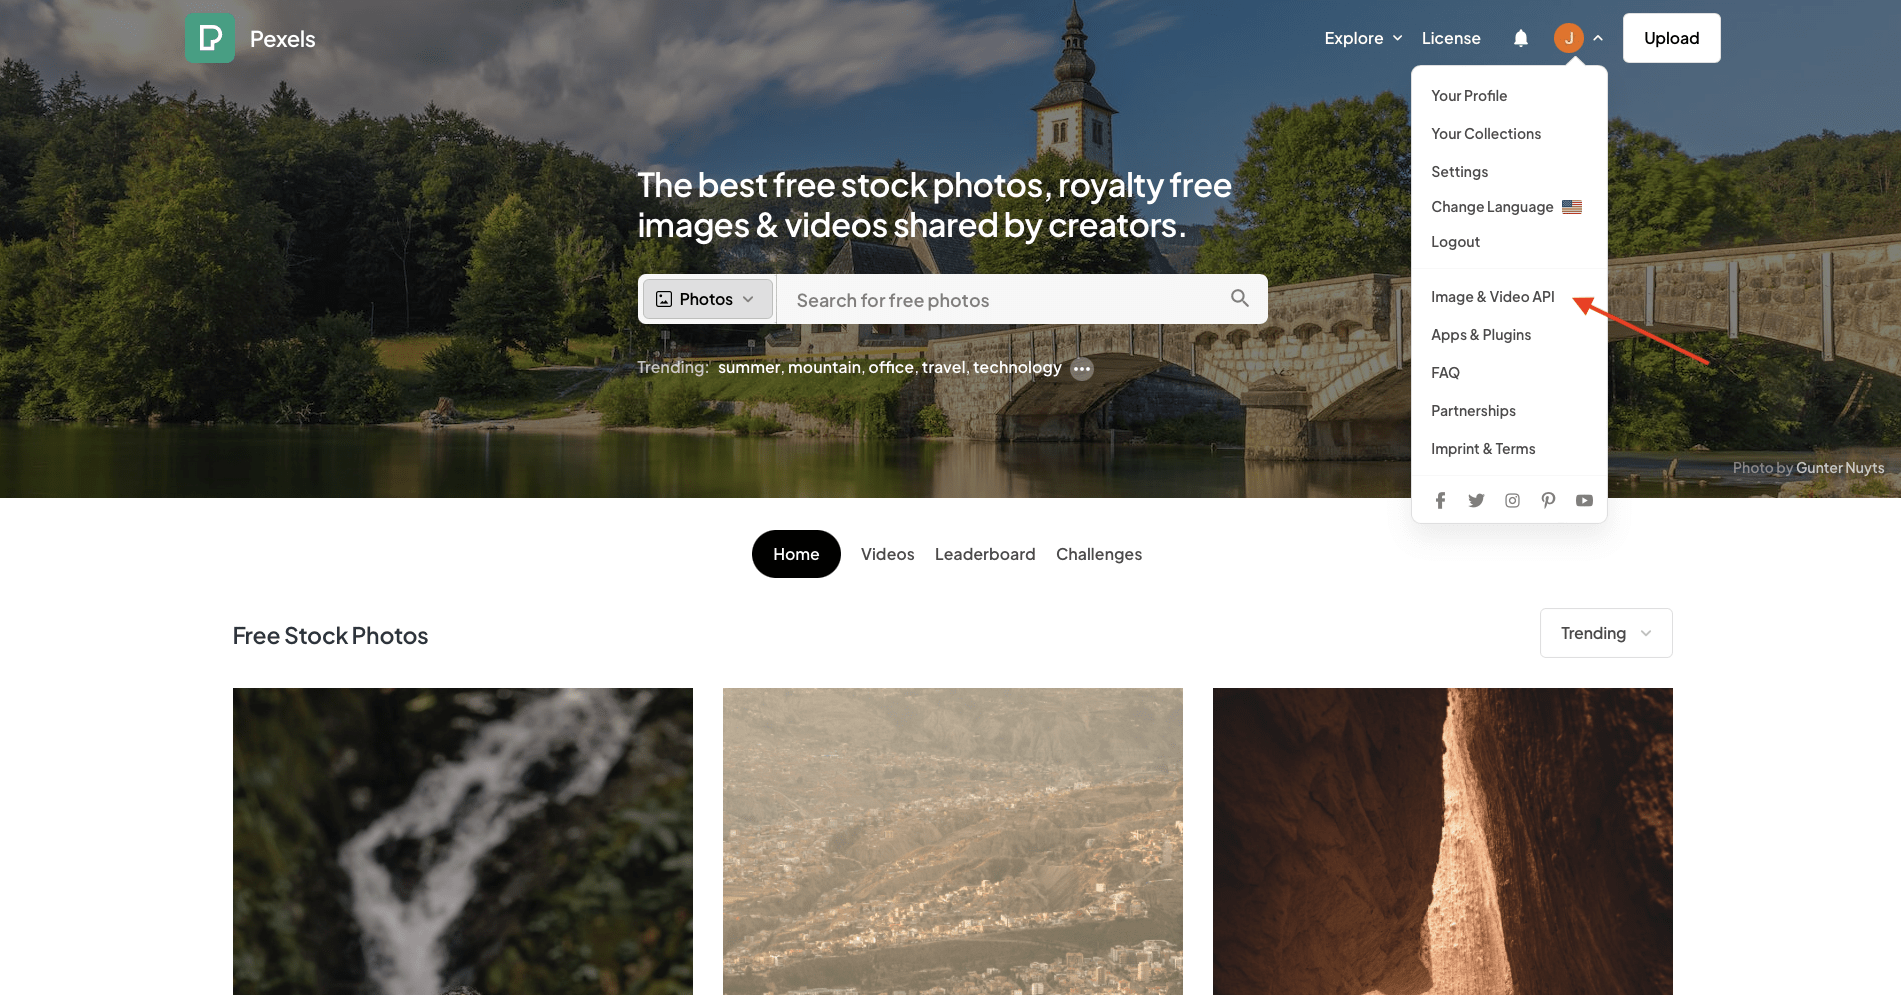
While logged into your account, hover over the profile icon in the top right corner. Click Image & Video API.
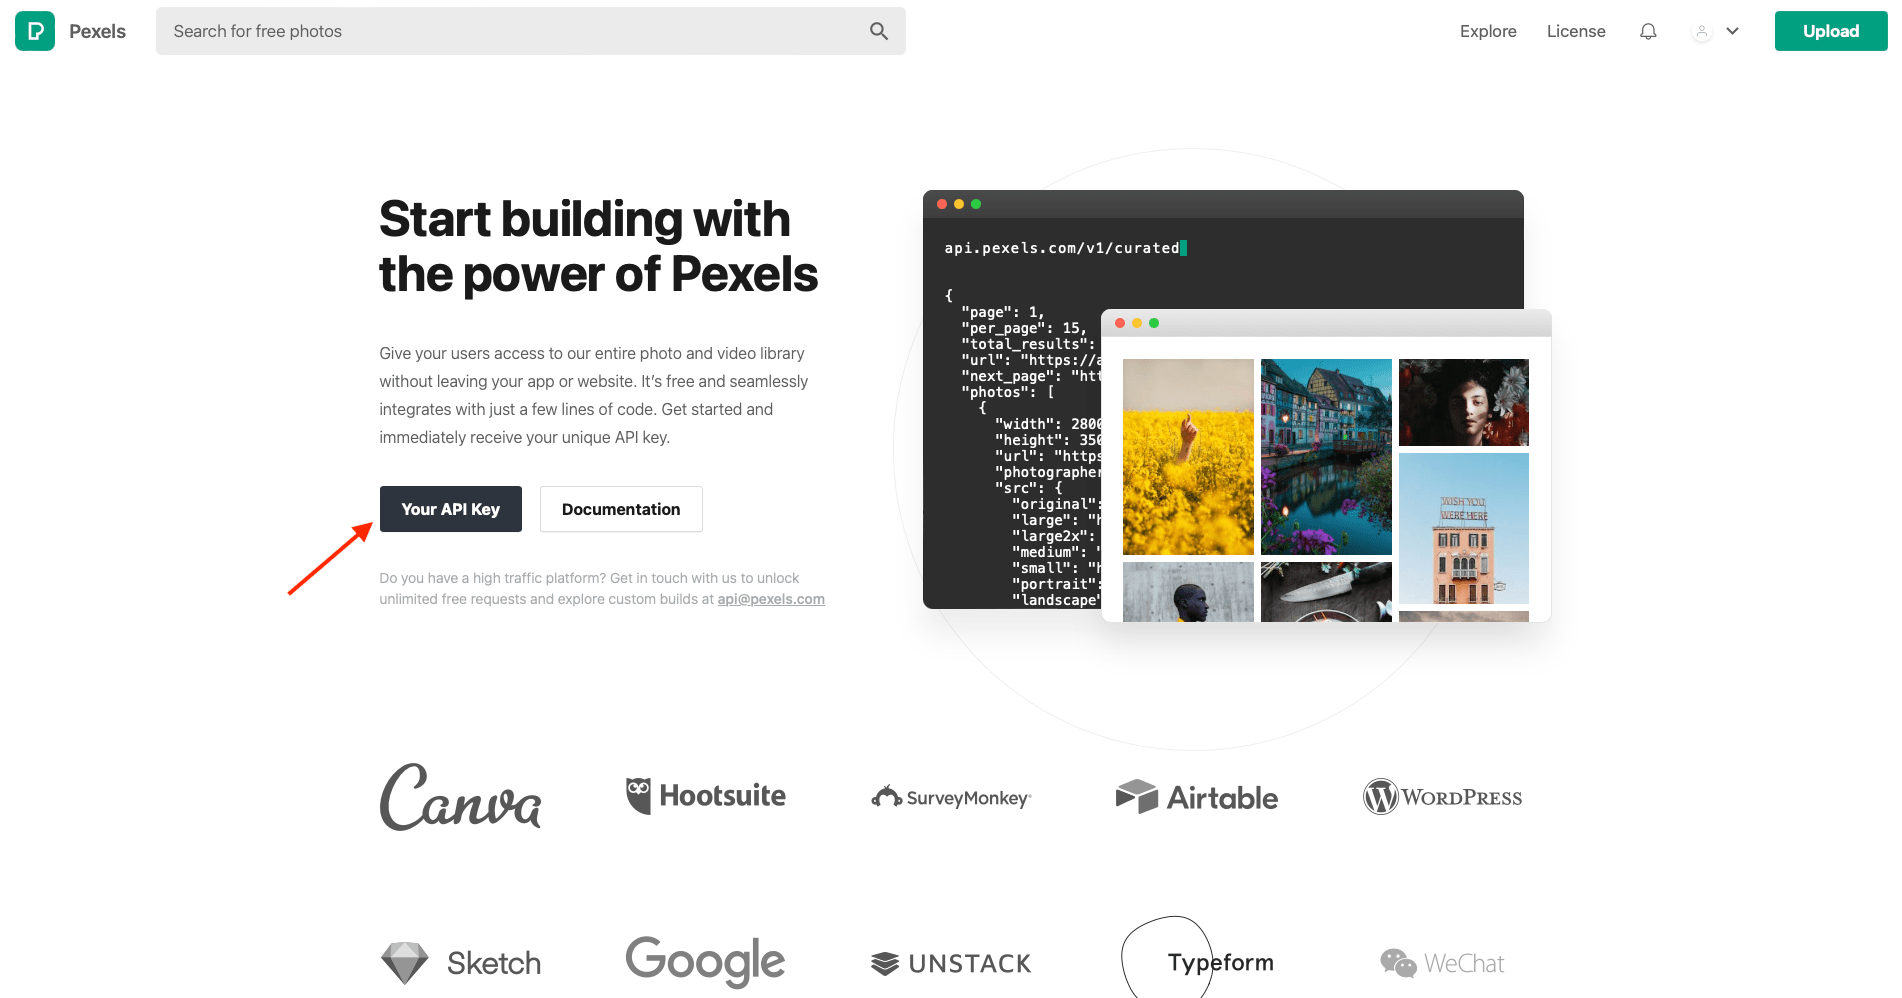
You should now load the API page. Click Your API Key.
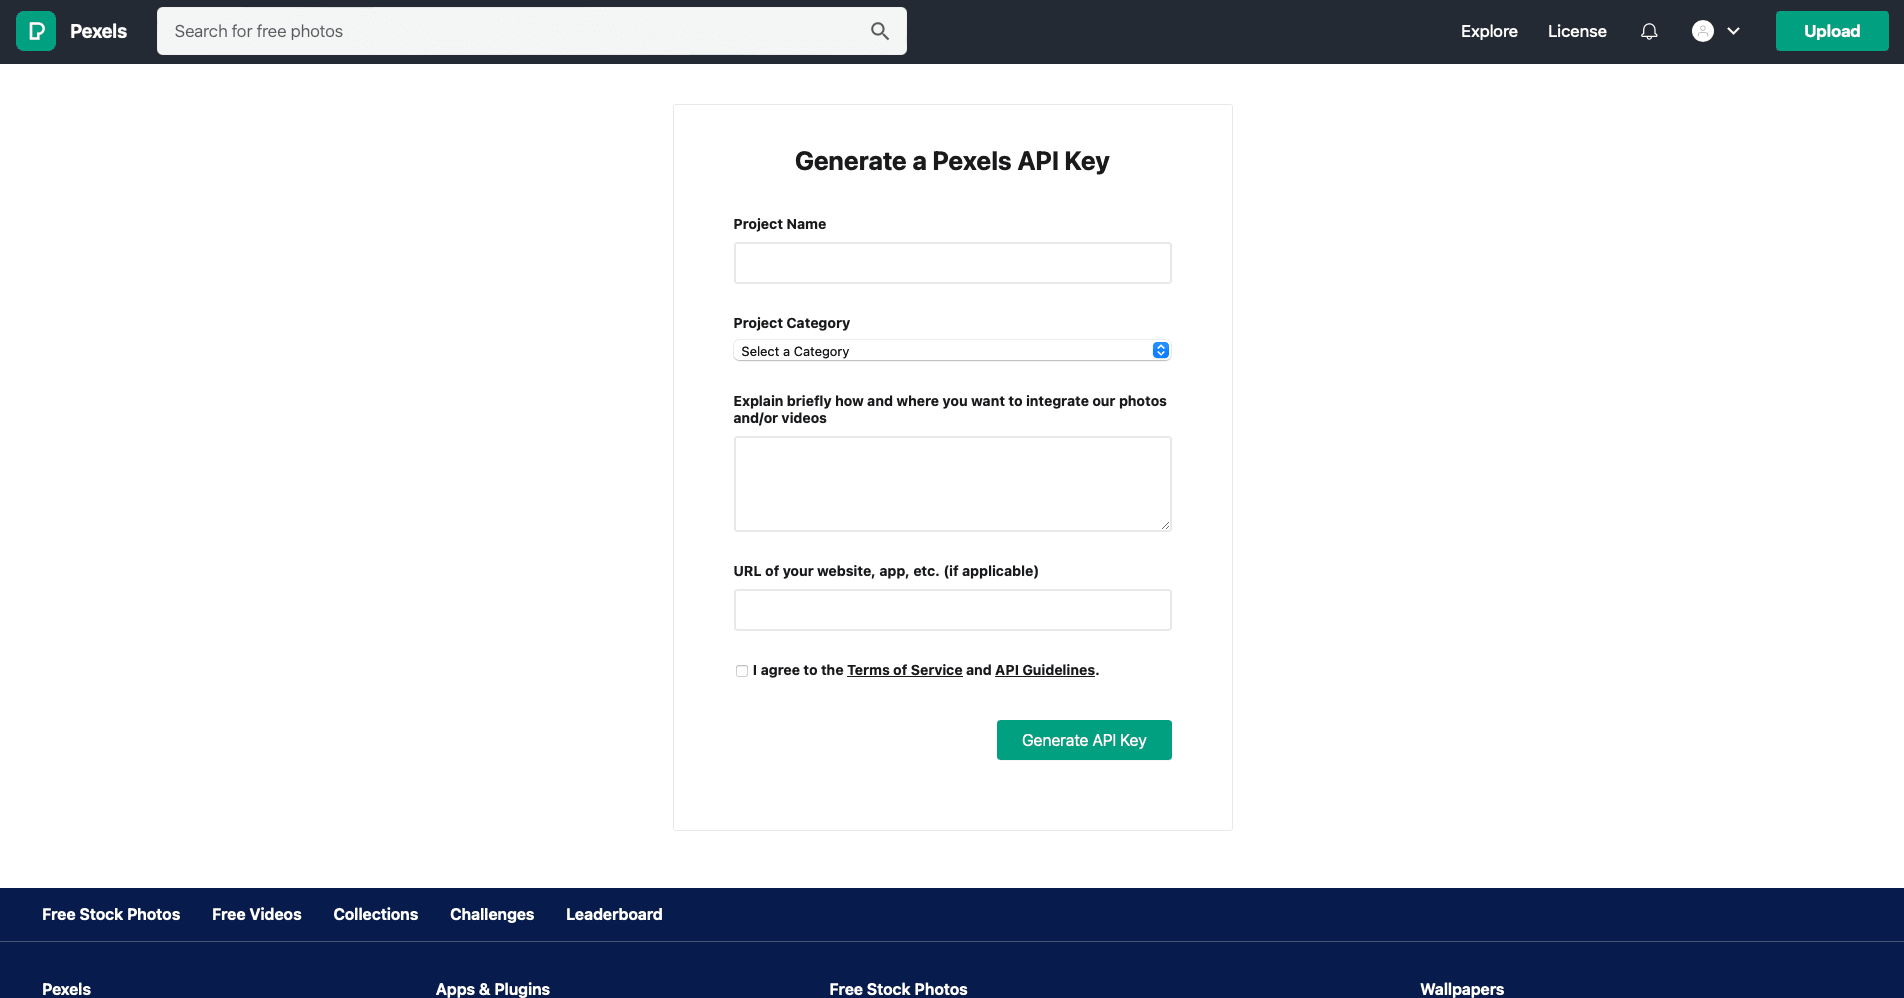
Pexels generates new API keys for every project, and you’ll have to fill in a form before getting a key.
Fill in your project details, including its name, category, description, and a website URL if applicable.
After agreeing to the terms and conditions, click Generate API Key.
You should now have access to an API key that you can save and use in your workflows.
Prepare the Script
Pexels has yet to release a built-in Zapier integration, but we can use a short script to choose a random image based on set requirements.
Bear Tip 🐻: Pexels has official client libraries for Ruby, JavaScript, and .net. We will be using JavaScript for the sake of this tutorial.
Pexels’ GET endpoint allows you to set parameters for:
- Query (keyword string)
- Orientation (landscape, portrait, or square)
- Size (small, medium, or large)
- Color (red, orange, yellow, etc.)
- Locale (‘en-US’, ‘pt-BR’, ‘es-ES’, etc.)
- Page (page number requested)
- Per Page (number of results requested per page)
Bear Tip 🐻: Read more about the Pexels API and parameters you can use for retrieving images in their documentation.
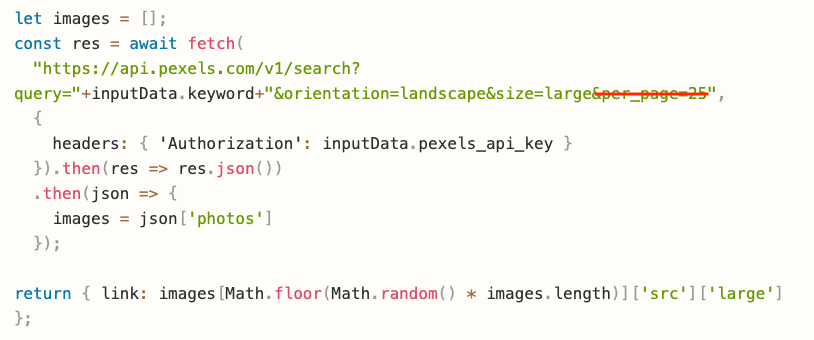
We have prepared a sample script you can use to set up image variables, fetch random images matching your parameters from Pexels, and return an object containing the link to the random image:
let images = [];
const res = await fetch(
  "https://api.pexels.com/v1/search?query="+inputData.keyword+"&orientation=landscape&size=large&per_page=25",
  {
    headers: { 'Authorization': inputData.pexels_api_key }
  }).then(res => res.json())
  .then(json => {
    images = json['photos']
  });

return { link: images[Math.floor(Math.random() * images.length)]['src']['large'] };
You’ll have to adjust the script to align with your needs. Do this by modifying the request in line 2 (eg. changing orientation=landscape to orientation=portrait), keeping the supported options described in the documentation in mind.
Make sure there is an ampersand (&) in betweeen every parameter.
Remove any unneeded parameters.
You should be left with a script that retrieves random images based on your needs.
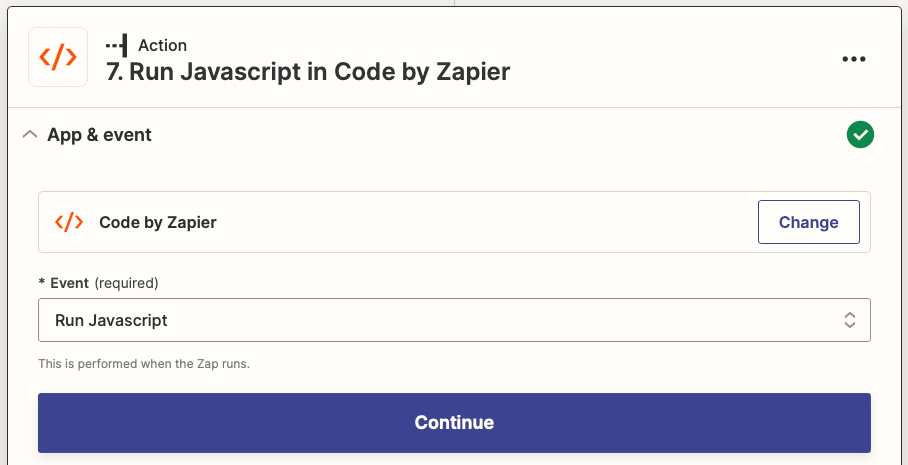
Add a Retrieve Images Action to Your Zap
Now that your script is ready, all that’s left to do is to add an action to your Zap that sets up image variables, fetches relevant images, and returns it as an object you can use in the following actions.
Log into your Zapier account, and load into the editor for your Zap.
Add a new action, choosing Code by Zapier as the app. Select Run JavaScript as the event.
Set up the action by adding two pieces of Input Data : keyword and pexels_api_key. Your keyword can be inserted as text or as a dynamic item from a previous step of the Zap.
Paste your modified script into the Code section.
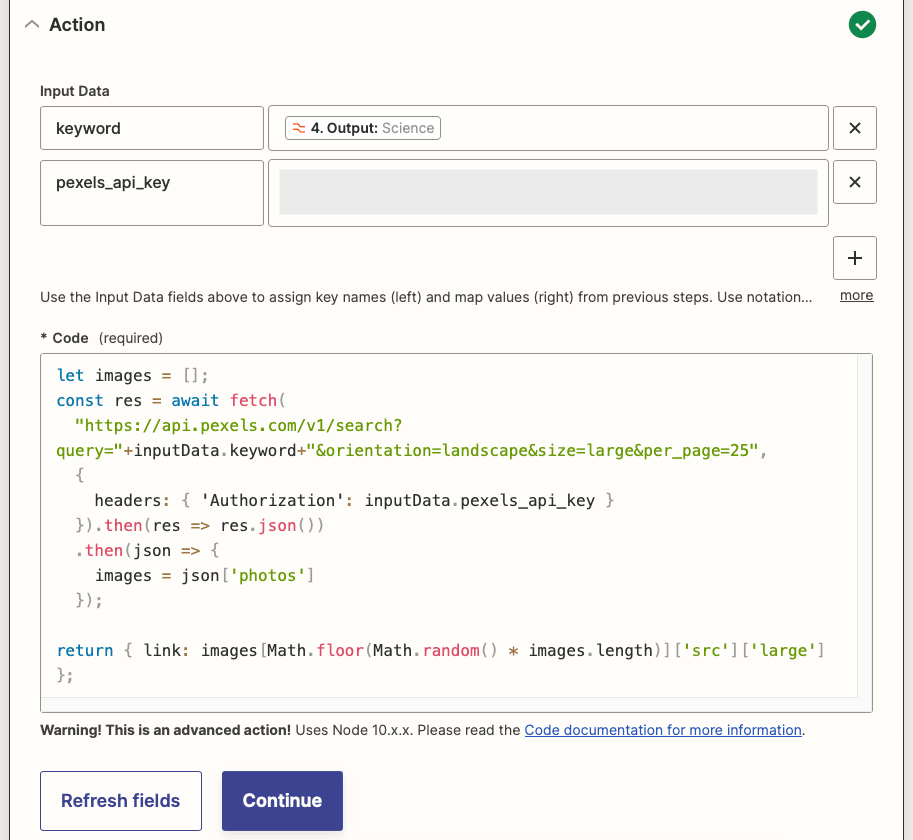
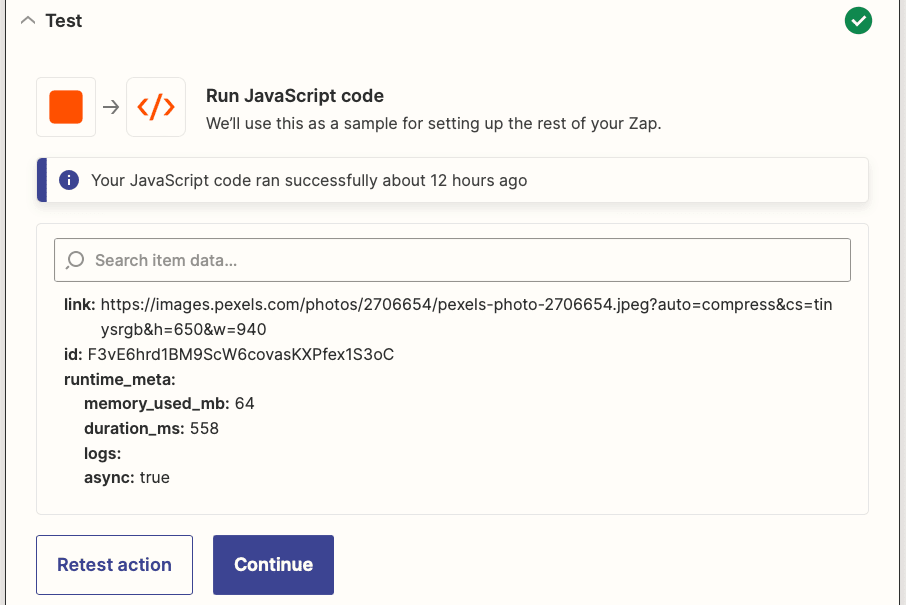
Click Continue and test the action. It should return a link to an image matching your set parameters.
Use Output in Consecutive Steps
All that’s left is to complete your Zap. If you’re producing images with Bannerbear, this usually means a Create Image with Bannerbear action. Simply set up an action as you normally would, then use the media link produced from the Run JavaScript in Code by Zapier action as the input data.
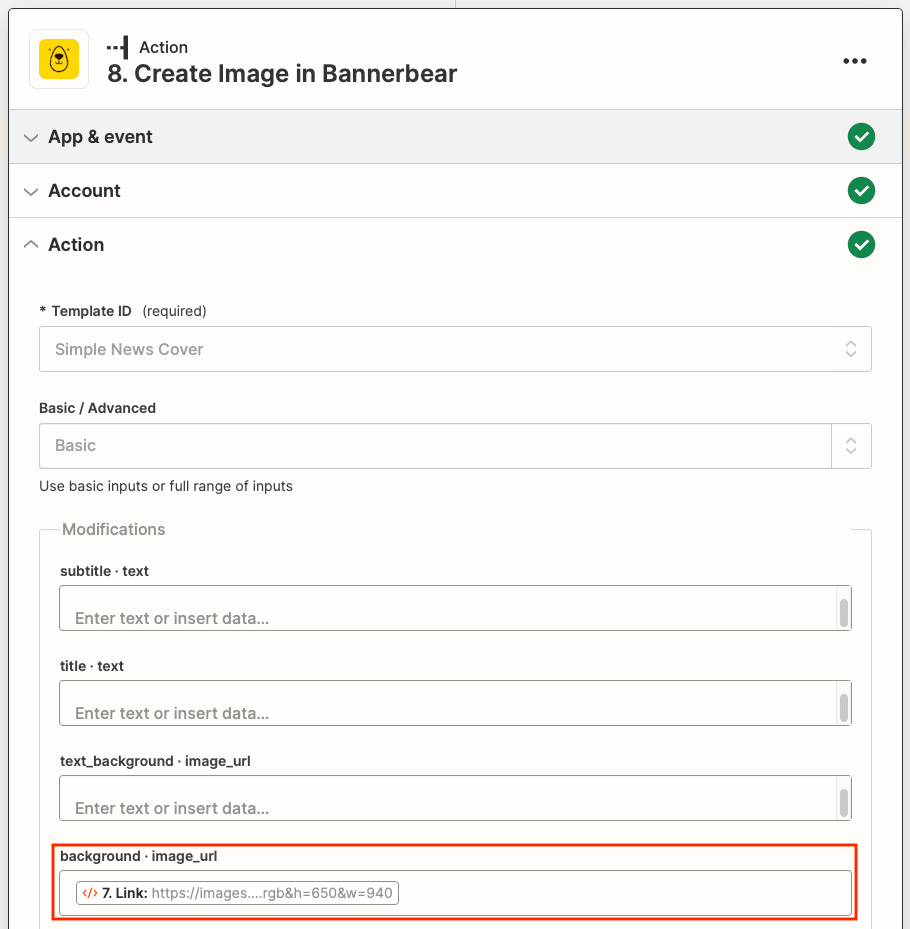
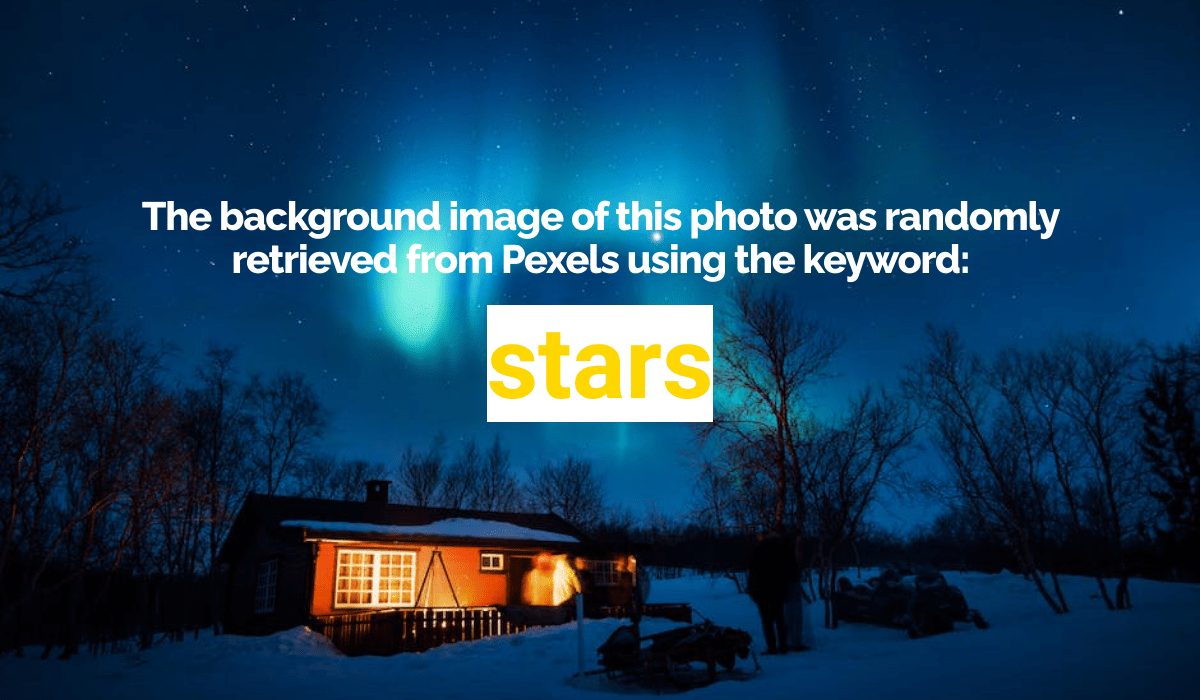
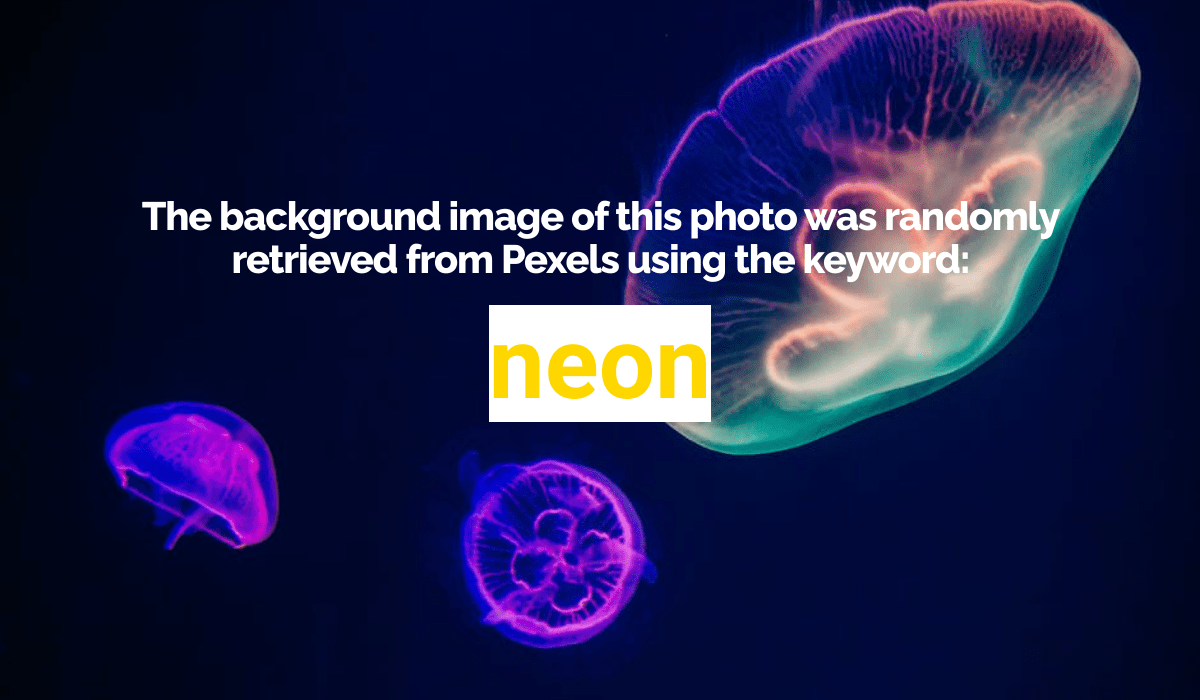
This dynamic link will produce a different relevant image every time the automation is run, allowing you to generate unique graphics.

Some other ways you can use the retrieved images from Pexels are:
- Automatically selecting stock graphics to match social media captions
- Generating videos or animated GIFs
- Storing photos for later use
The possibilities are endless!
Randomize Images with the Pexels API
Using the Pexels API to randomize images with Bannerbear is a powerful and easy-to-use solution for when you want to generate unique graphics without having to source materials manually. With the ability to access an ever-growing library of high-quality images and the flexibility to set various parameters, Pexels’ API is efficient and cost-effective.
By following the steps outlined in this article, you can quickly incorporate Pexels into your Bannerbear workflows and generate amazing graphics that will stand out from the rest. Try it out for yourself, and see how much easier and more enjoyable working with images can be!
