
How to Use FFMpeg in Python (with Examples)
Contents
Python is one of the most popular programming languages due to its simplicity and versatility. You can use it for various types of projects including web development, data analysis, web scraping, automation, and more. When it comes to editing or manipulating media files like videos, images, and audio files, you will need to use libraries that provide these functionalities as they don’t come with Python.
In this article, we are going to learn how to use FFmpeg, a popular media manipulation tool in Python to work with media files, showing some practical examples.
What is FFmpeg
FFmpeg is a complete, cross-platform solution to record, convert, and stream audio and video. It can decode, encode, transcode, mux, demux, stream, filter, and play media files in any format. It is also highly portable—it compiles and runs in a wide variety of build environments, machine architectures, and configurations like Linux, Mac OS X, Microsoft Windows, etc.
FFmpeg contains multiple tools for end-users to convert, play, and analyze media files and libraries for developers to use in different applications. Libraries like libavcodec, libavutil, libavformat, libavfilter, libavdevice, libswscale, and libswresample will be downloaded automatically when you download FFmpeg to your machine.
Although FFmpeg is a command-line tool, you can use it in your Python project with the Python library ffmpeg-python.
Pre-requisite
You need to have the tools below installed and the versions used in this tutorial are included as a reference:
The ffmpeg-python library is only a Python wrapper for the FFmpeg installed on your machine and does not work independently. Therefore, you must have FFmpeg installed before using ffmpeg-python in your Python project.
Installing/Adding the FFmpeg Libary in Python
Once you have the tools above installed, open up the terminal/command prompt and run the command below in your working directory to install ffmpeg-python in your Python project using pip:
pip install ffmpeg-python
Then, create a Python file (eg. index.py), import ffmpeg in the code, and use it to perform various operations on media files.
import ffmpeg

// use ffmpeg here to perform various operations here
Let’s look at some examples…
Using ffmpeg-python
Basic Usage (Convert Video Format)
Using the ffmpeg-python library typically includes specifying the input video file using the ffmpeg.input() function, output file using the output() function, and executing the command using run() function:
import ffmpeg

(
	ffmpeg.input("input.mp4")
	.output("output.wmv")
	.run()
)
The basic command above will convert the input MP4 video into a WMV video. To do more with FFmpeg, we can apply various filters to the input file after the input() function and also pass different parameters like ss, to, acodec, etc. to the input() and output() functions.
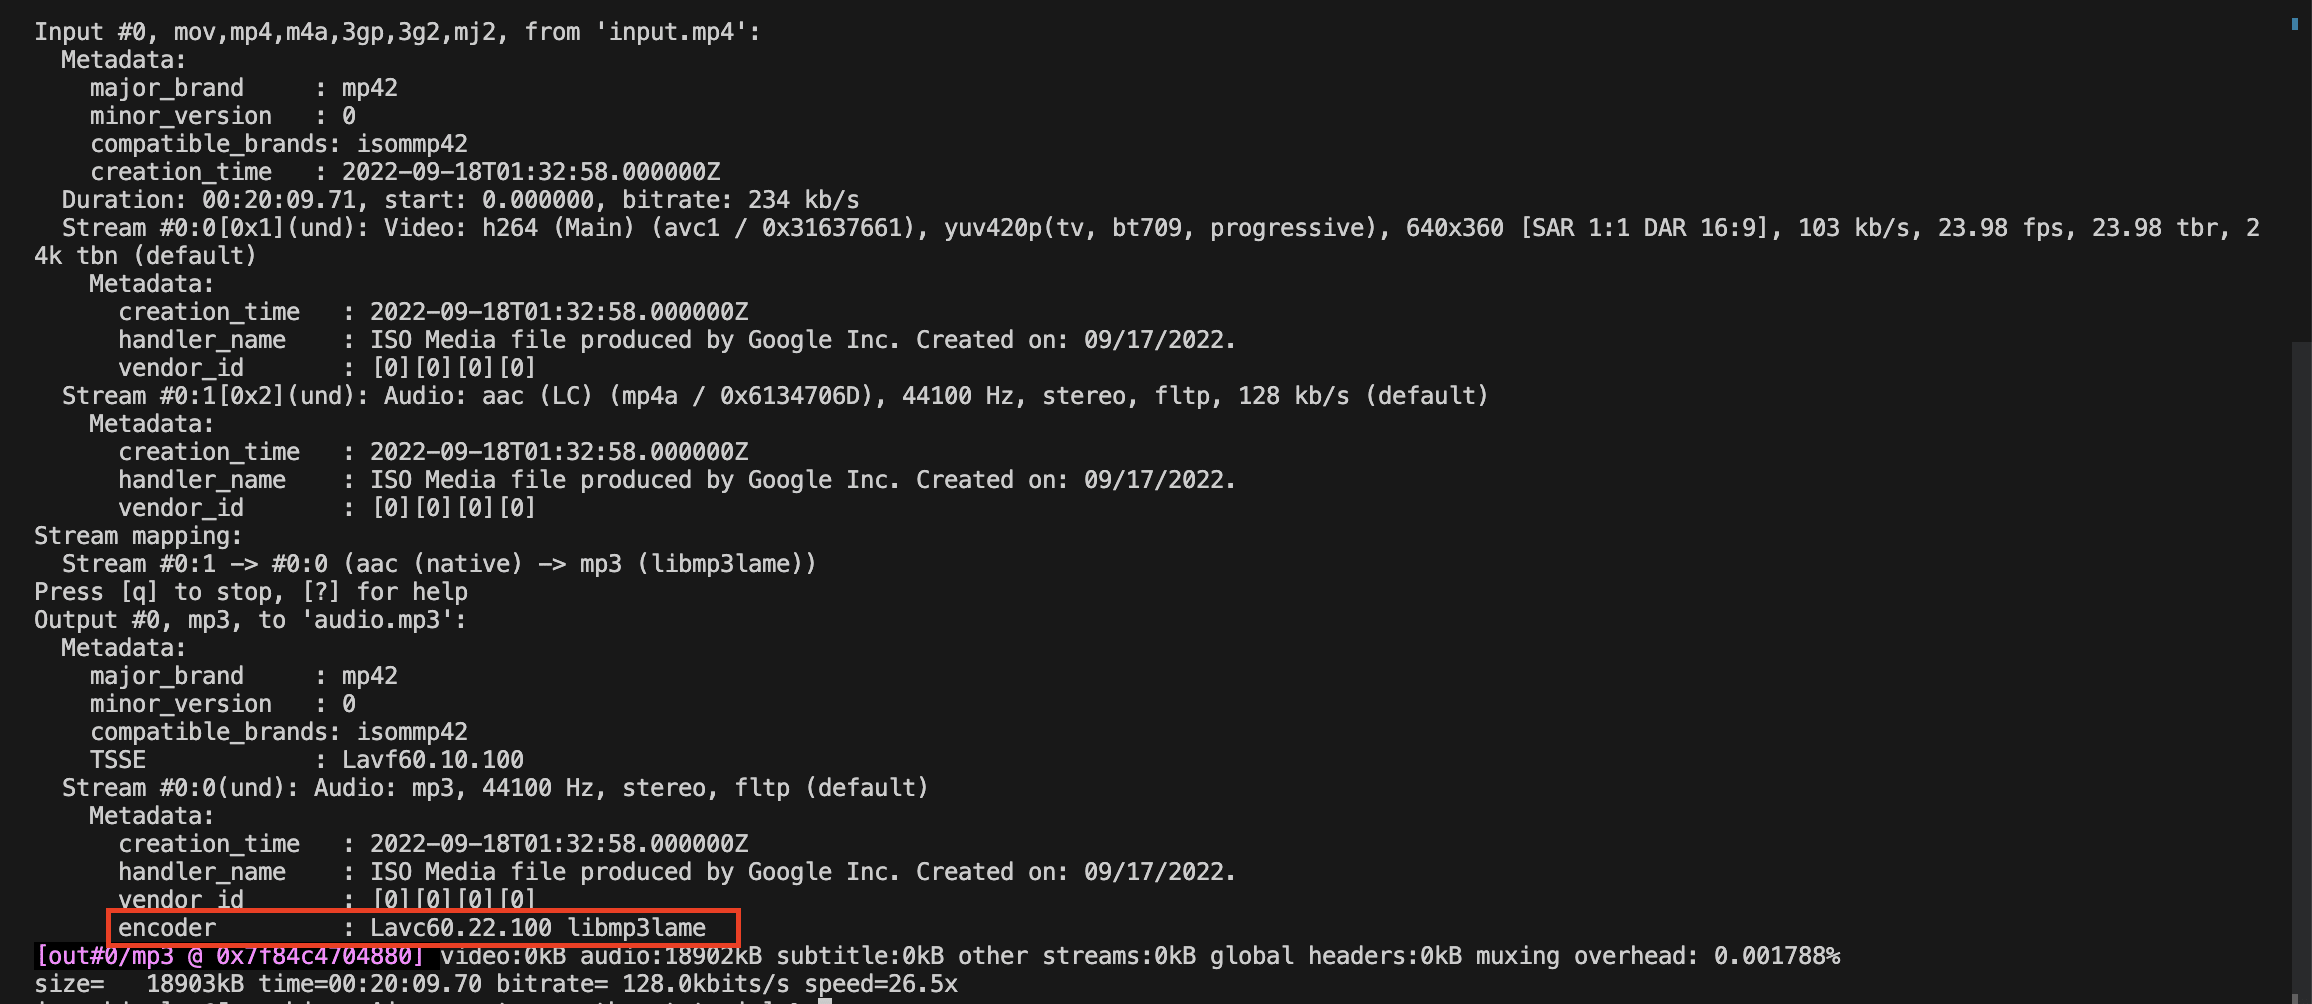
Convert MP4 to MP3/Extract Audio from Videos
Converting an MP4 video to an MP3 audio or extracting audio from a video is simple. It works similarly to converting the format of a video as shown in the previous example. Instead of naming the output file in a video file extension, name it in an audio file extension like “.mp3”. It will convert the video to MP3 automatically using the default audio codec (libmp3lame):
Here’s the code:
import ffmpeg

(
	ffmpeg.input("input.mp4")
	.output('audio.mp3')
	.run()
)
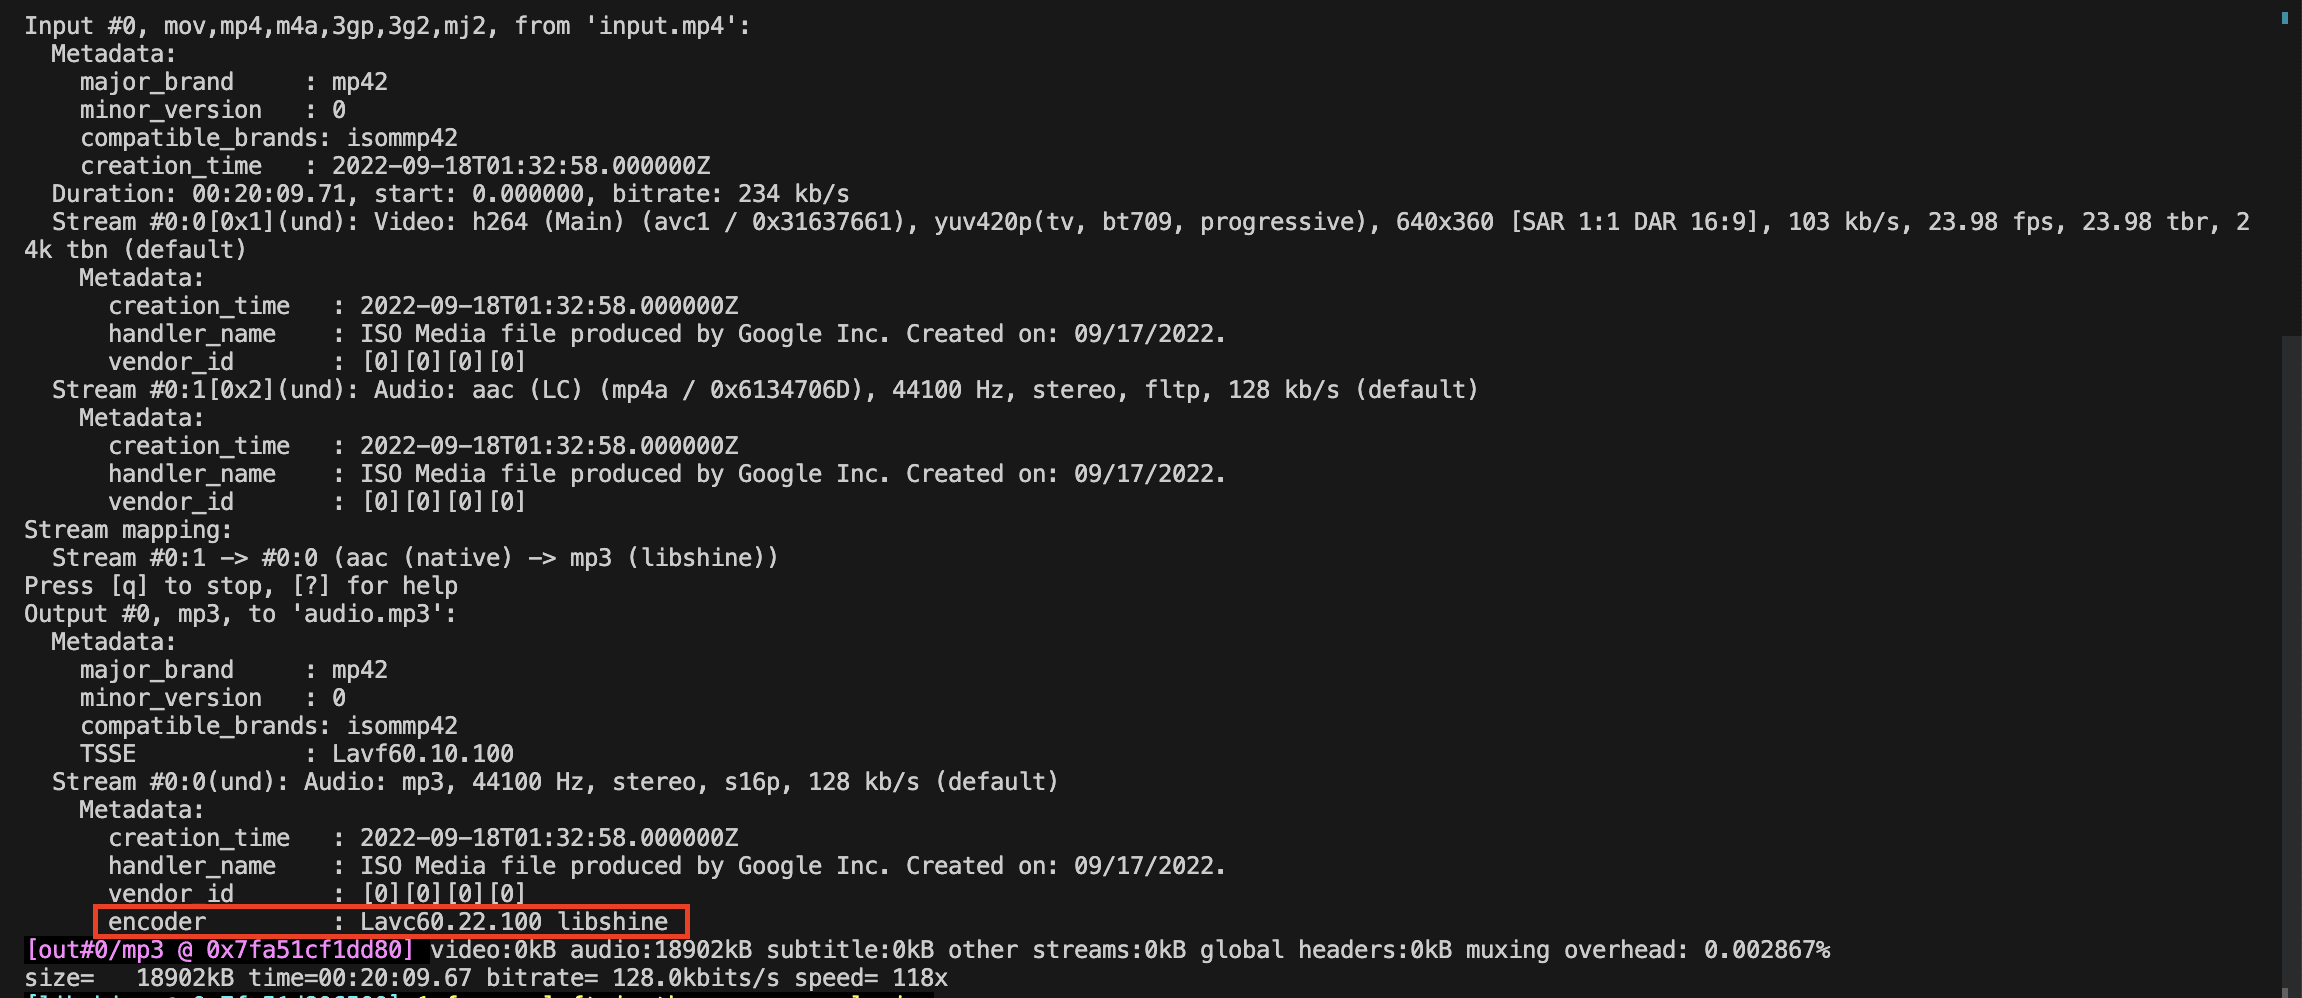
You can also use a custom audio codec by specifying it in the acodec parameter of the output() function:
import ffmpeg

(
	ffmpeg.input("input.mp4")
	.output('audio.mp3', acodec='libshine')
	.run()
)
This will use the libshine encoder to encode the output file:
🐻 Bear Tips: Check the FFMpeg doc for the complete list of supported codecs.
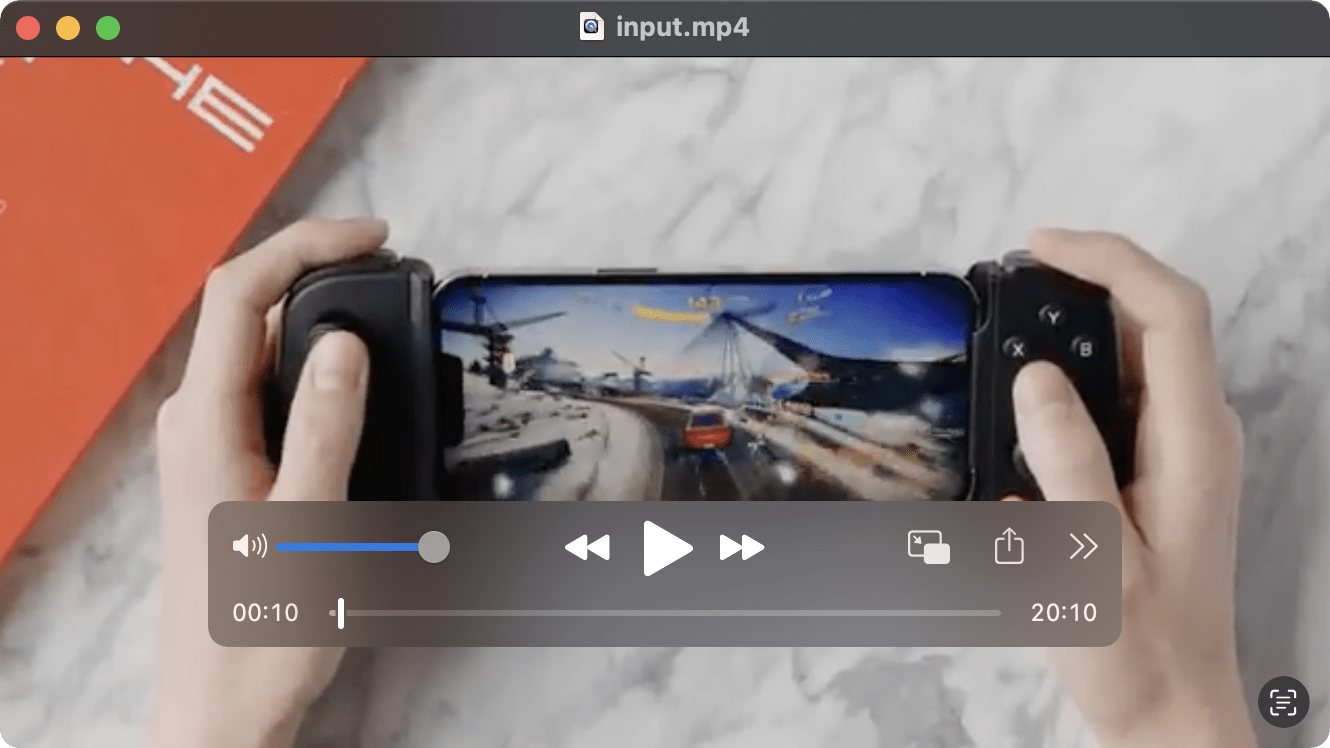
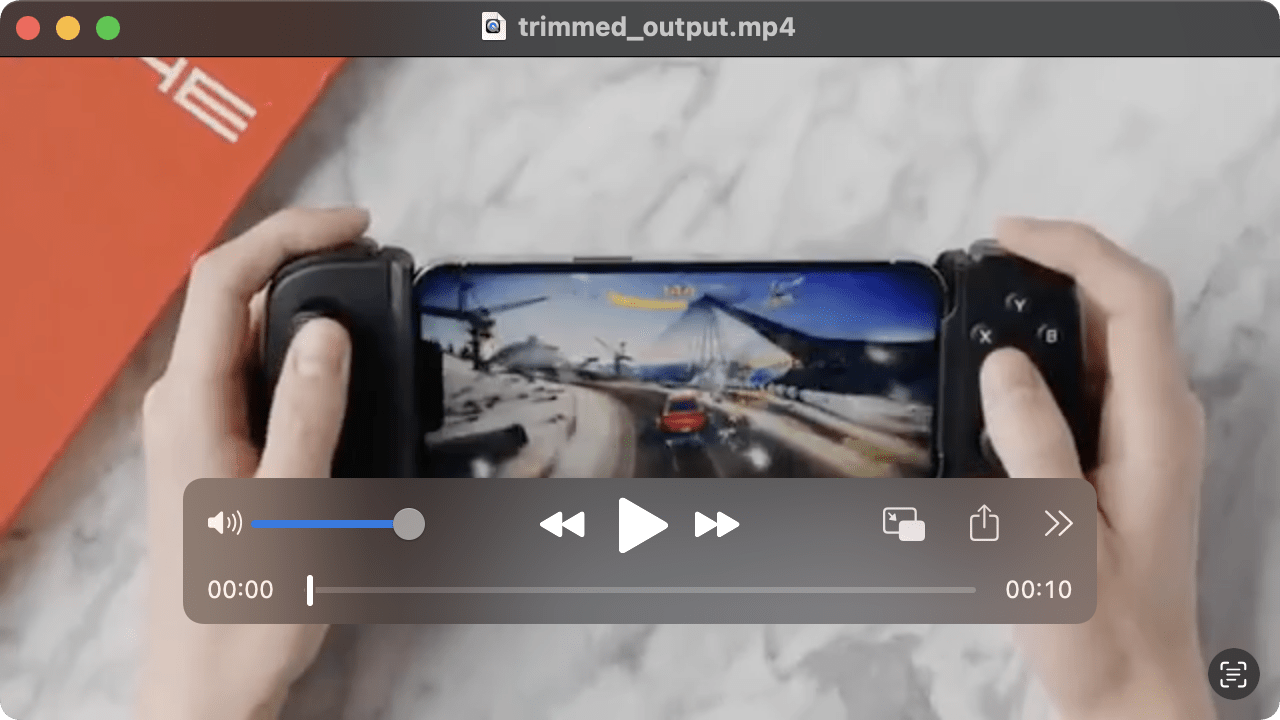
Trim Video
Trimming a video using ffmpeg-python only requires adding some parameters in the input() function. In the input() function, specify the start time in the ss parameter and the end time in the to parameter.
This will trim the input video from 00:00:10 to 00:00:20 and save it as a new “output.mp4” video:
import ffmpeg

start_time = '00:00:10' # Start time for trimming (HH:MM:SS)
end_time = '00:00:20' # End time for trimming (HH:MM:SS)

(
	ffmpeg.input("input.mp4", ss=start_time, to=end_time)
	.output("trimmed_output.mp4")
	.run()
)
Here’s a screenshot of the input video at the 00:00:10 timestamp:
And this is the result of the output video:
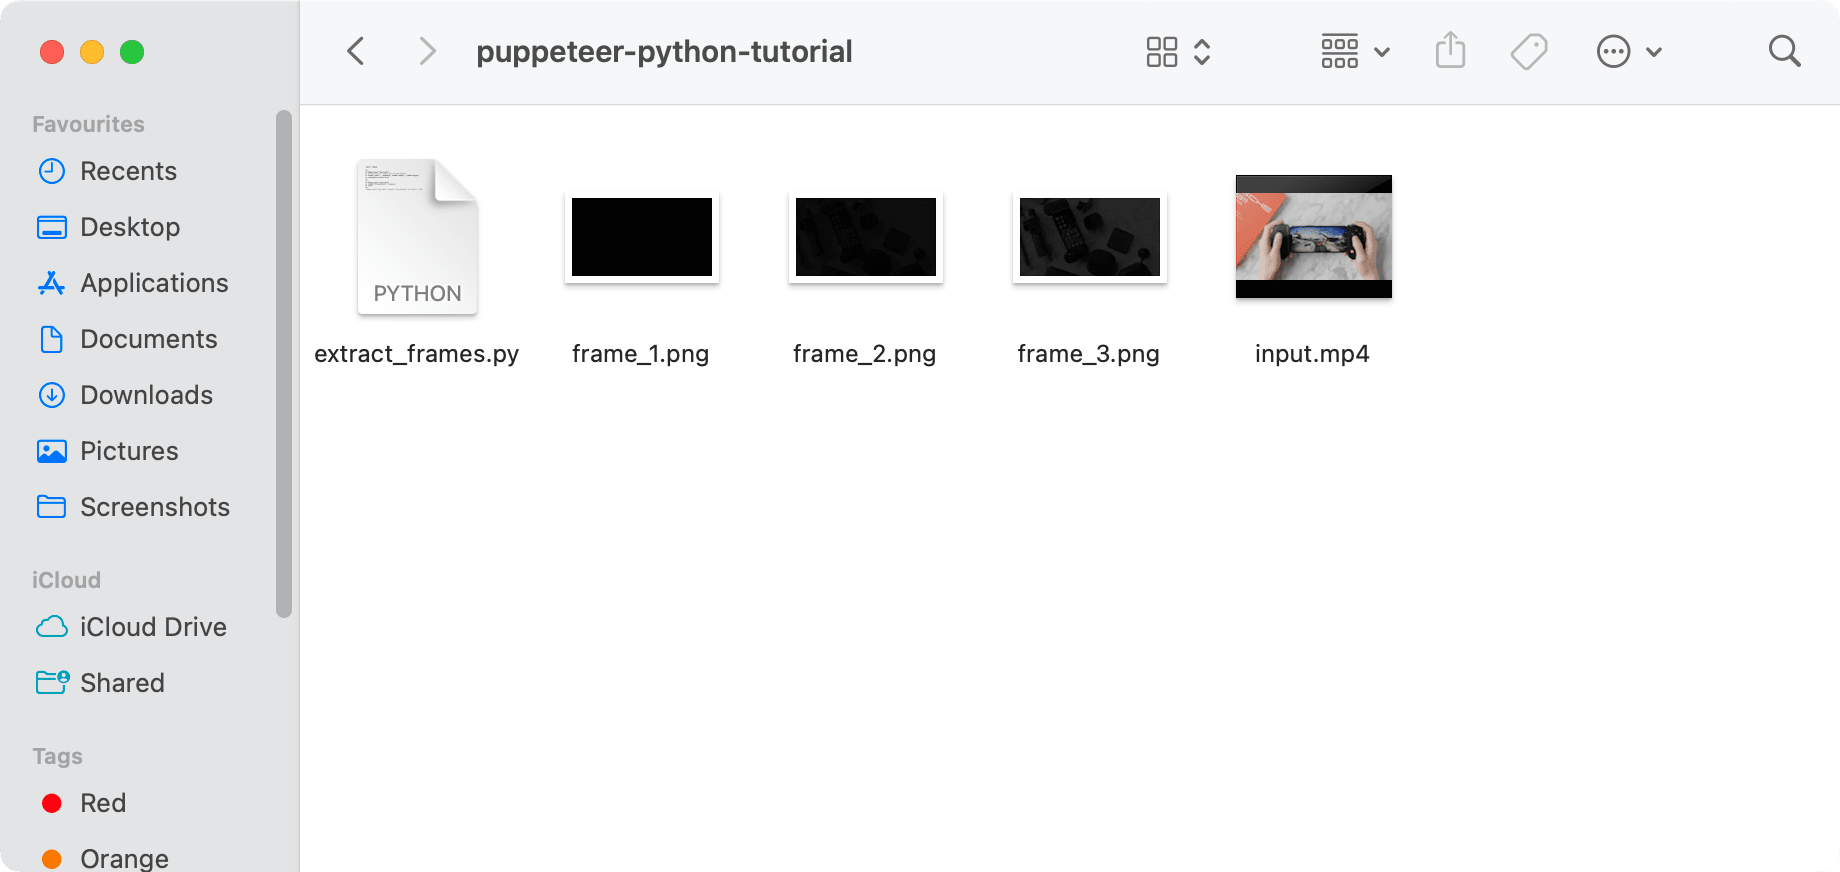
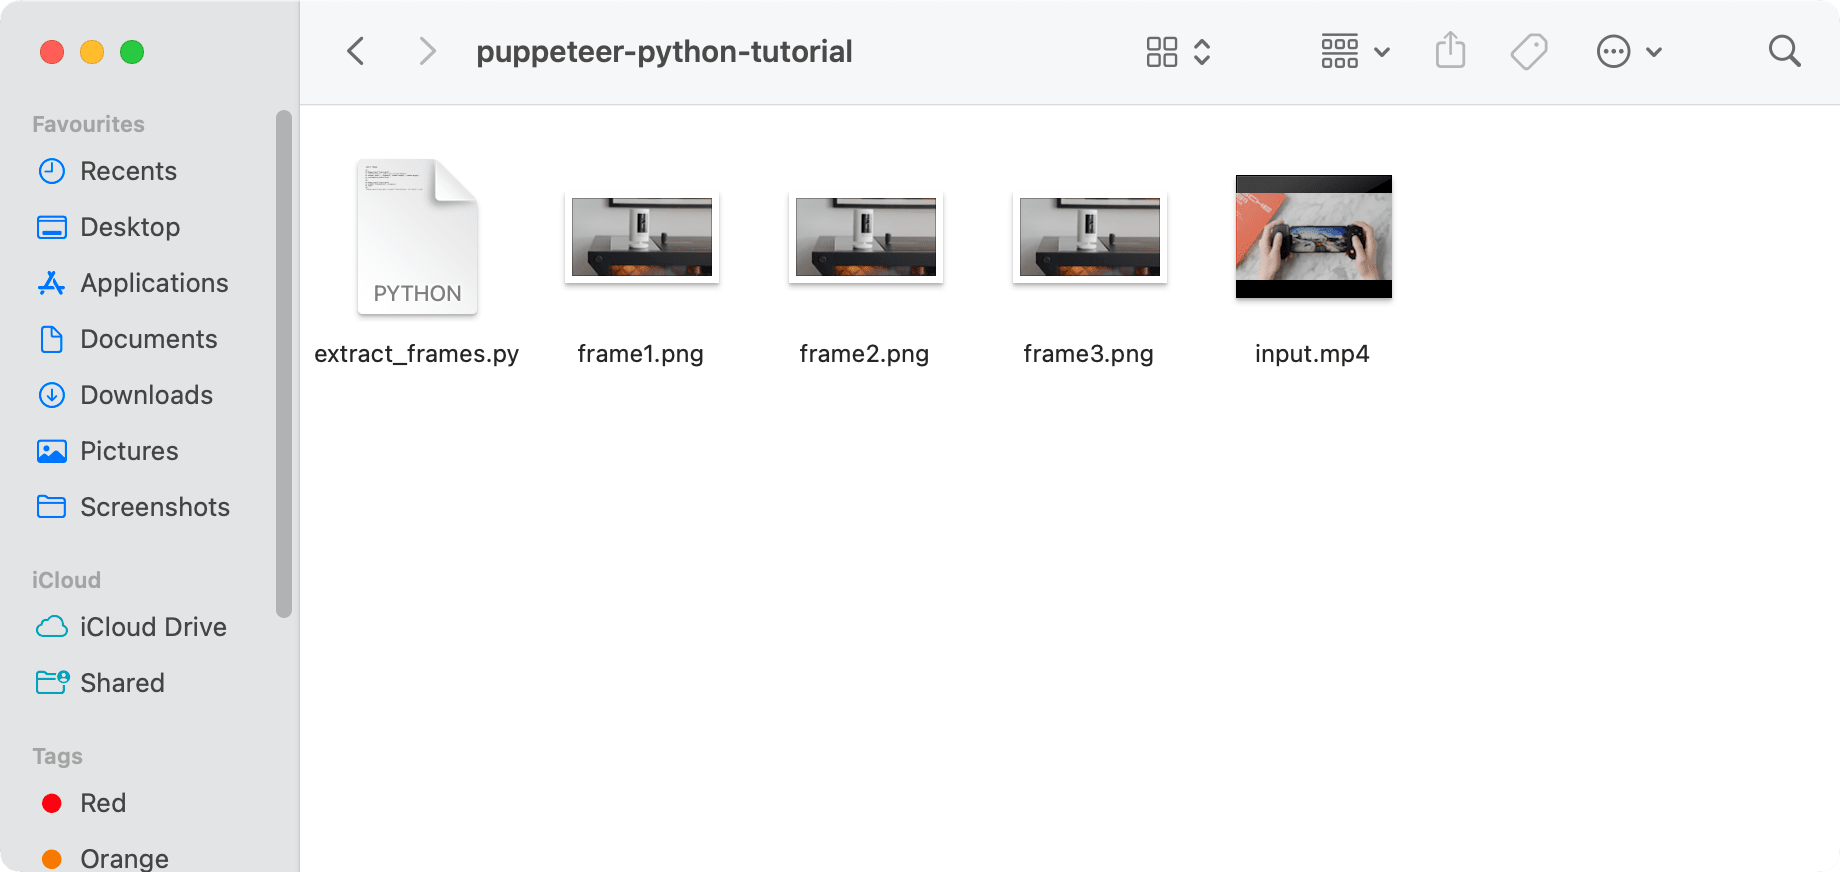
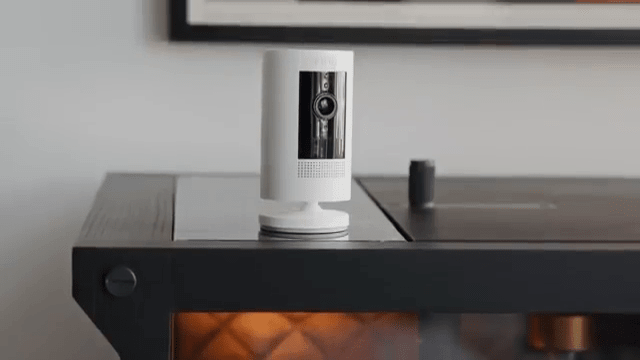
Extract Frames from Videos
Another thing you can do with FFmpeg by adding parameters to the functions is to extract frames from the input video. You can specify the number of frames that you want to extract using the parameter vframes:
import ffmpeg

(
	ffmpeg.input("input.mp4")
	.output('frame_%d.png', vframes=3)
	.run()
)
It will extract the first three frames from the input video at 25fps, which is the default frame rate:
You can also use the fps filter to change the frame rate of the video. The code below will extract frames from the whole video (since vframes is not specified) at 1fps instead of 25fps:
import ffmpeg

(
	ffmpeg.input("input.mp4")
	.output('frame%d.png', vf='fps=1')
	.run()
)
Here’s a screenshot of the output frames:
For both methods, you use the ss parameter to specify the start time:
import ffmpeg

(
	ffmpeg.input("input.mp4", ss="00:00:15")
	.output('frame%d.png', vframes=3)
	.run()
)
The code above will extract the first three frames starting from 00:00:15:
Create Video Thumbnails
Creating a thumbnail image from the input video is technically the same as extracting frames from the video, but only a single frame:
import ffmpeg

(
	ffmpeg.input("input.mp4", ss="00:00:15")
	.output("thumbnail.png", vframes=1)
	.run()
)
Here’s the thumbnail created from the executing the code above:
Besides using the ss parameter to select a particular frame from the video, you can also use a filter. The “Thumbnail” filter selects the most representative frame in a given sequence of consecutive frames automatically from the video and saves it as the thumbnail image.
You can use the “Thumbnail” filter by specifying the filter name in the filter() function following input():
import ffmpeg

(
	ffmpeg.input("input.mp4")
	.filter('thumbnail')
	.output("thumbnail_filter.png")
	.run()
)
By default, FFmpeg analyzes the frames in a batch of 100 and picks the most representative frame out of them. The process continues until the end of the video and we will get the best frame among all the batches.
Here’s the thumbnail selected automatically using the “Thumbnail” filter in the default batch size:

You can also change the batch size by using the parameter n:
import ffmpeg

(
	ffmpeg.input("input.mp4")
	.filter('thumbnail', n=300)
	.output("thumbnail_filter_2.png")
	.run()
)
Using Bannerbear API
If you’re using FFmpeg in Python to automate the video editing process like adding subtitles, logos, or other elements to them, you should try an alternative tool, which is Bannerbear. It provides a simple REST API that offers easy integration into any existing platform or app to generate designed visual content including images and videos automatically.
It’s easy to add it to your Python project to automate the video editing process. Firstly, you need a design template in your Bannerbear account like the one in the screenshot below:
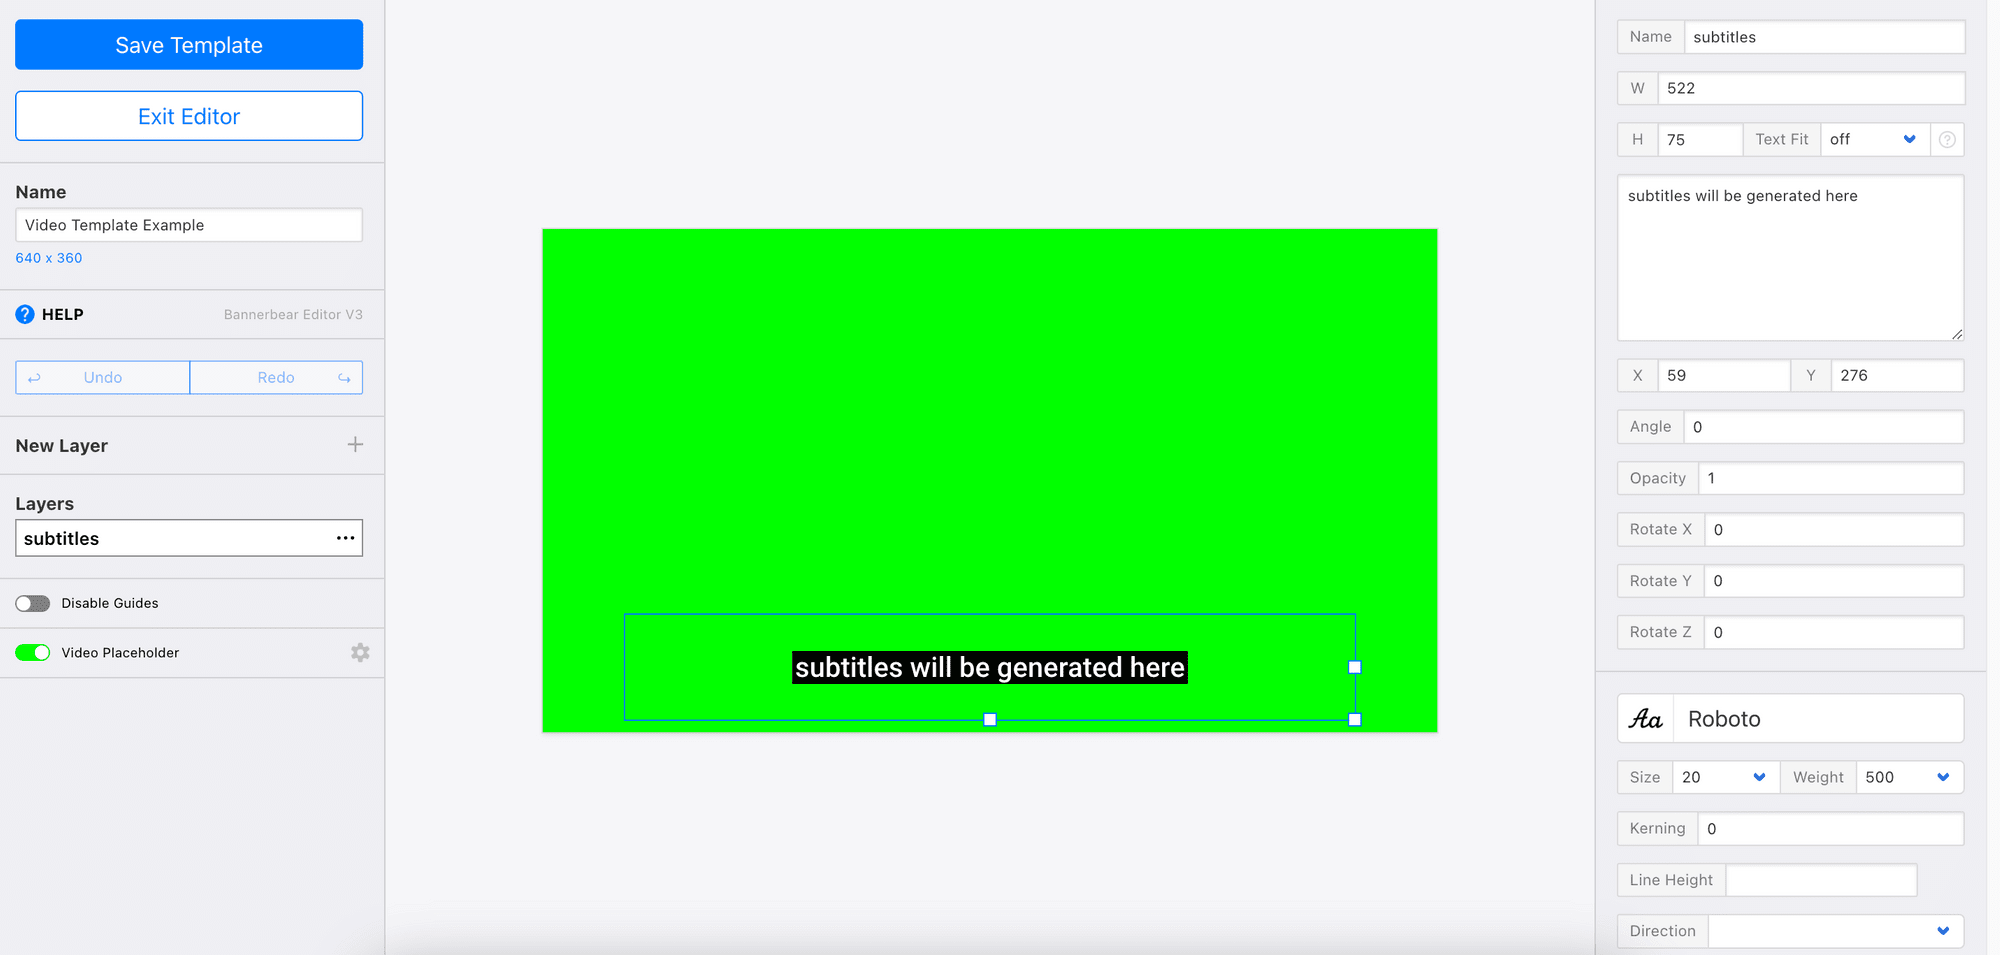
🐻 Bear Tips: Duplicate one from the Template Library in seconds!
Then, make an HTTP request in your Python code to call the Bannerbear API and trigger the video generation process. You will get the URL of the resulting video in the response and here’s a screenshot of the video:
You can refer to this tutorial and the API Reference to learn how to do it in detail.
Conclusion
The ffmpeg-library enables you to use FFmpeg in Python to manipulate various media files for different purposes like building comprehensive multimedia applications, preprocessing media files for machine learning projects, etc. However, learning the FFmpeg commands has a learning curve. If you prefer a tool that is more visual and with a user-friendly UI, use Bannerbear. Signing up for an account is free and you can choose a design from the Template Library to start immediately!
