Bannerbear's MCP is out, and it opens up entirely new ways to access our features—whether you're creating templates, generating with different data sets, or managing existing designs. One particularly exciting possibility: you can now connect Bannerbear directly to ChatGPT, combining the power of LLMs with image generation.
Let’s take a look at some things you can do:
- Generate reusable templates based on your design briefs
- Kick off generation runs
- Tweak templates using a text description
- Set up more complex workflows
- Create batches of content
- Manage your workspace and assets
…and much more, all from the convenience of your chat.
We'll explore creative applications later. But first, let's walk through the basics of setting up the Bannerbear MCP.
If you aren't a technical person, the prospect of navigating OpenAI's confusing interface or learning the CLI might feel overwhelming. But we’ve got good news: it's simpler than you think. This tutorial walks you through it step-by-step using our remote URL—you can be set up in minutes.
Let’s get started!
How Do I Connect Bannerbear to ChatGPT?
In the ChatGPT web interface, you connect an MCP in the same way as you would a custom plugin. You'll first need to have Developer Mode enabled.
Enabling Developer Mode
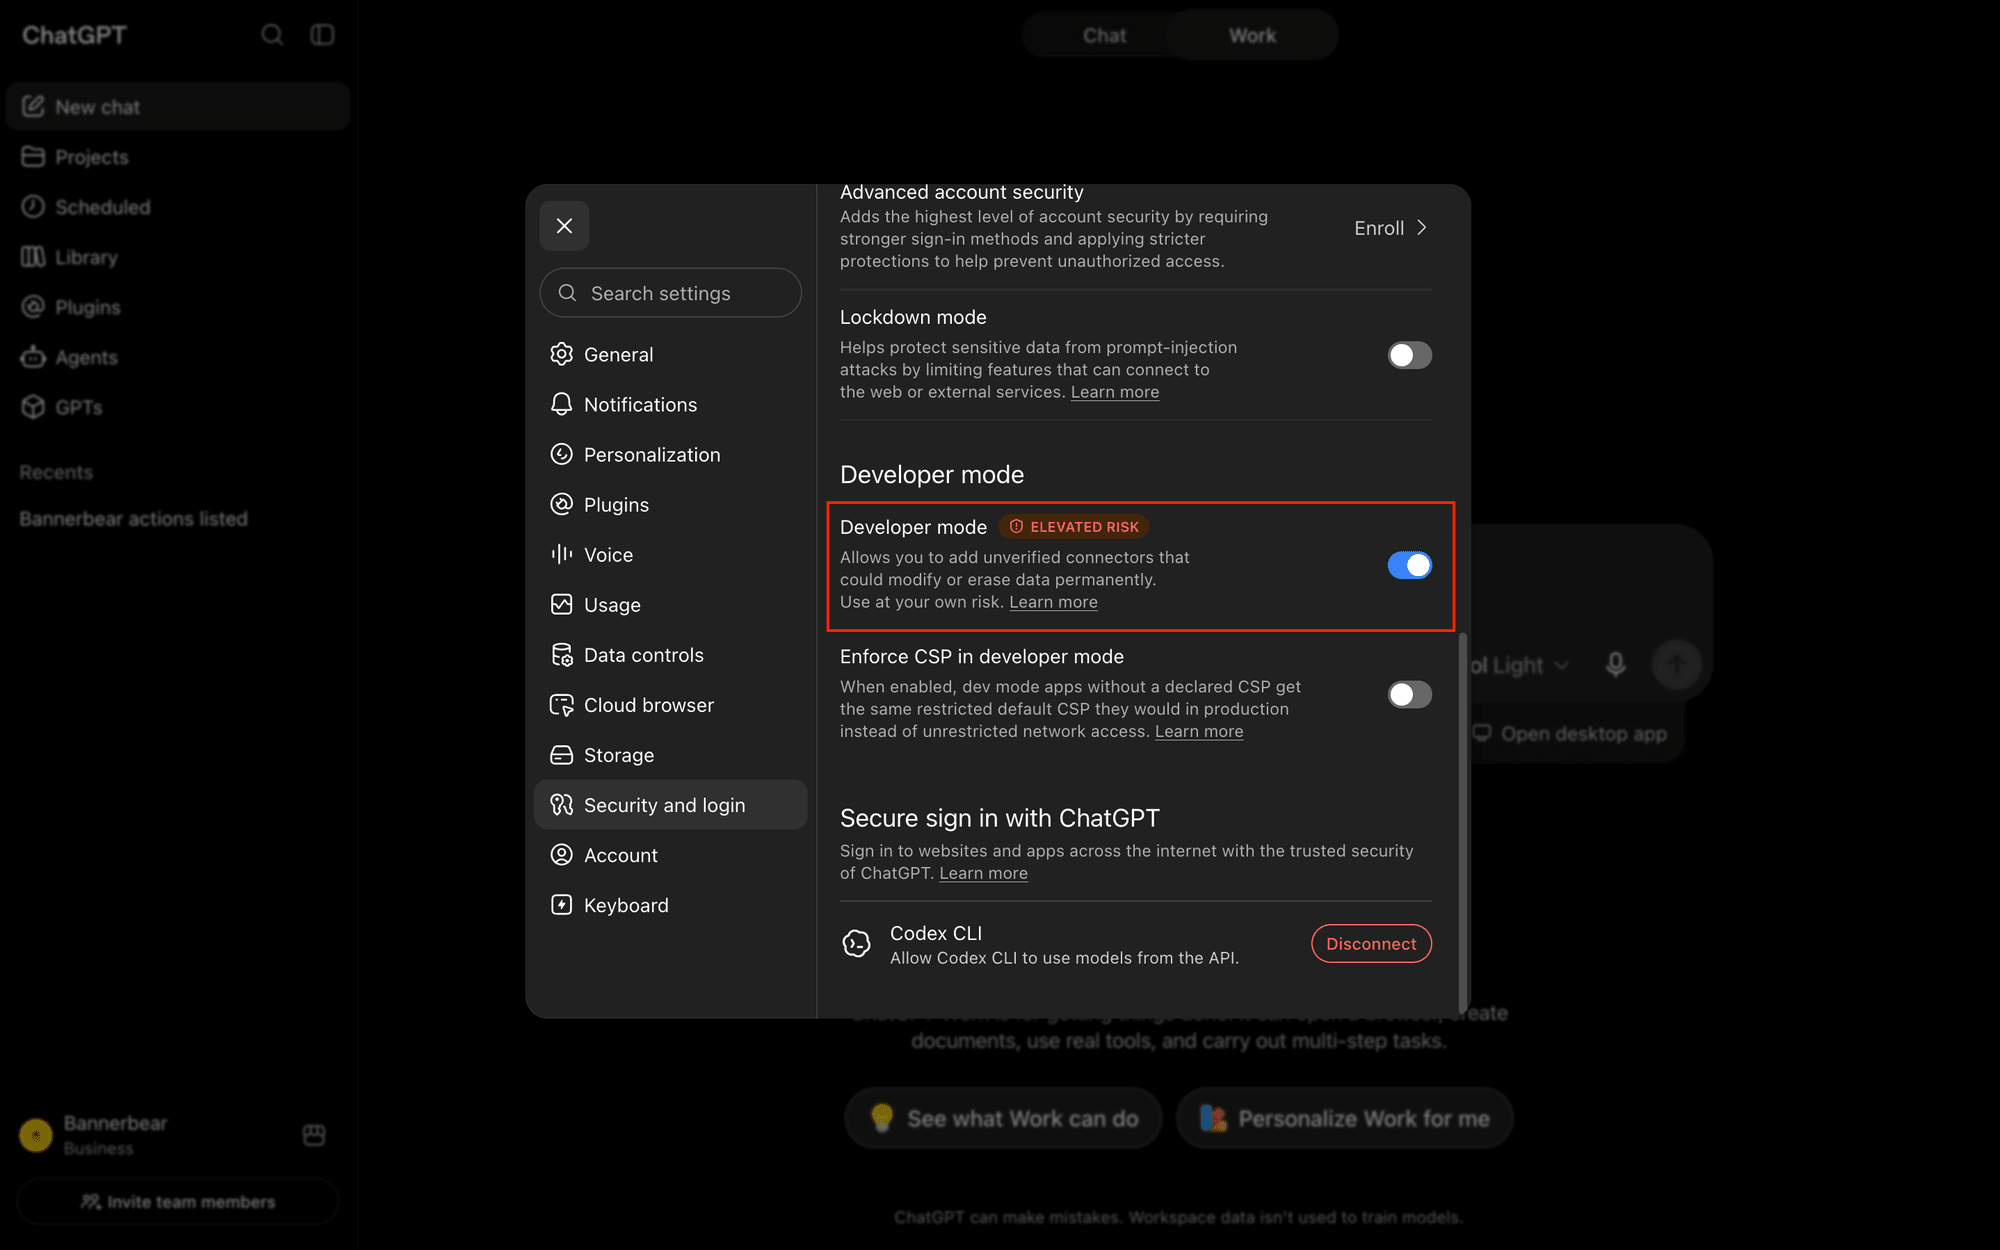
Click the profile button on the bottom left of the web interface, then go to the Settings menu.
Go to Security and login , and scroll down until you find Developer mode. Toggle it on.
Adding the Bannerbear Plugin
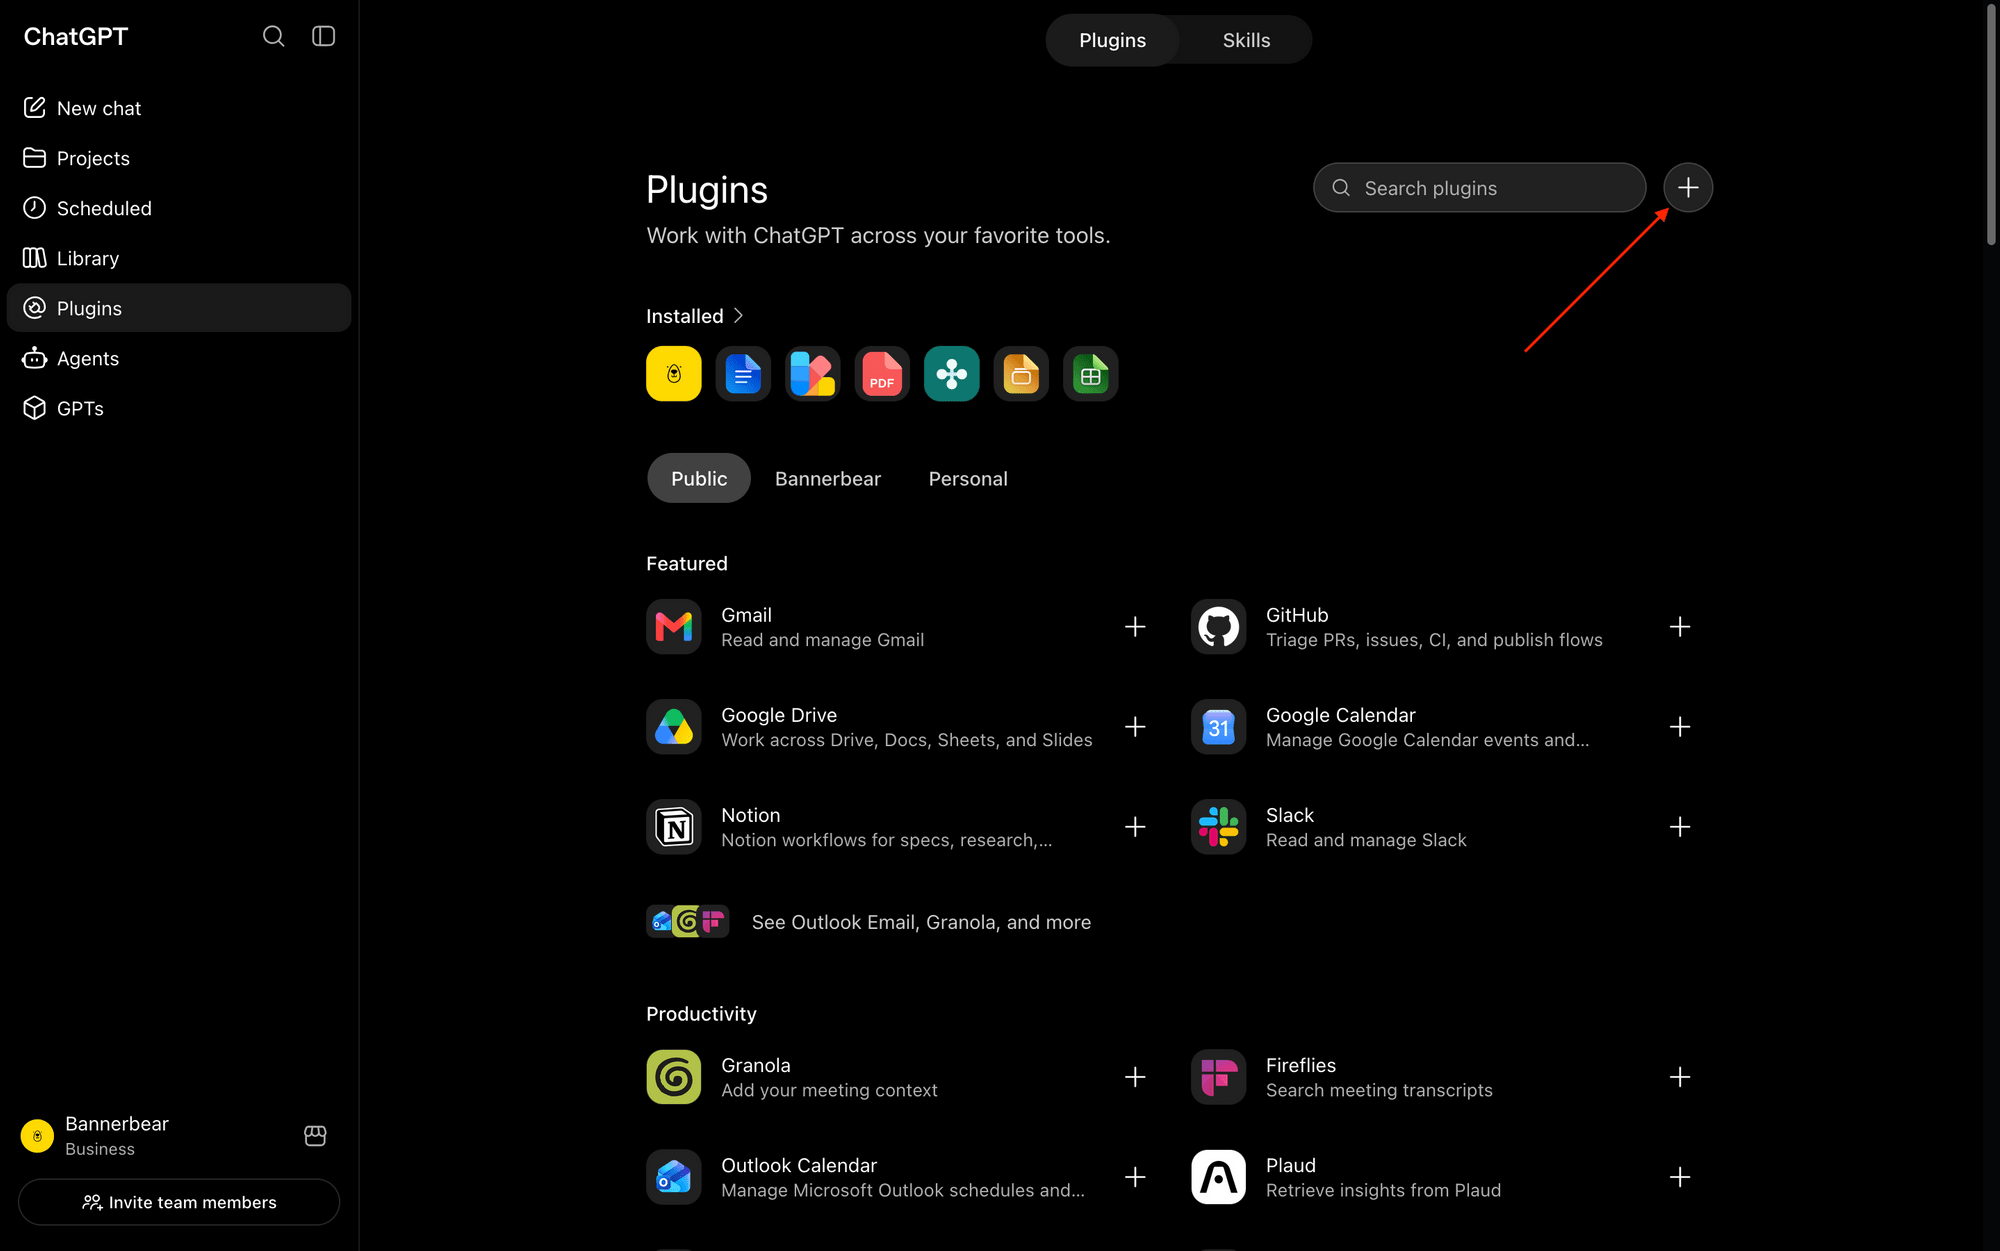
Now that you have Developer Mode enabled, look for the Plugins button on the left sidebar and click to view all available plugins.
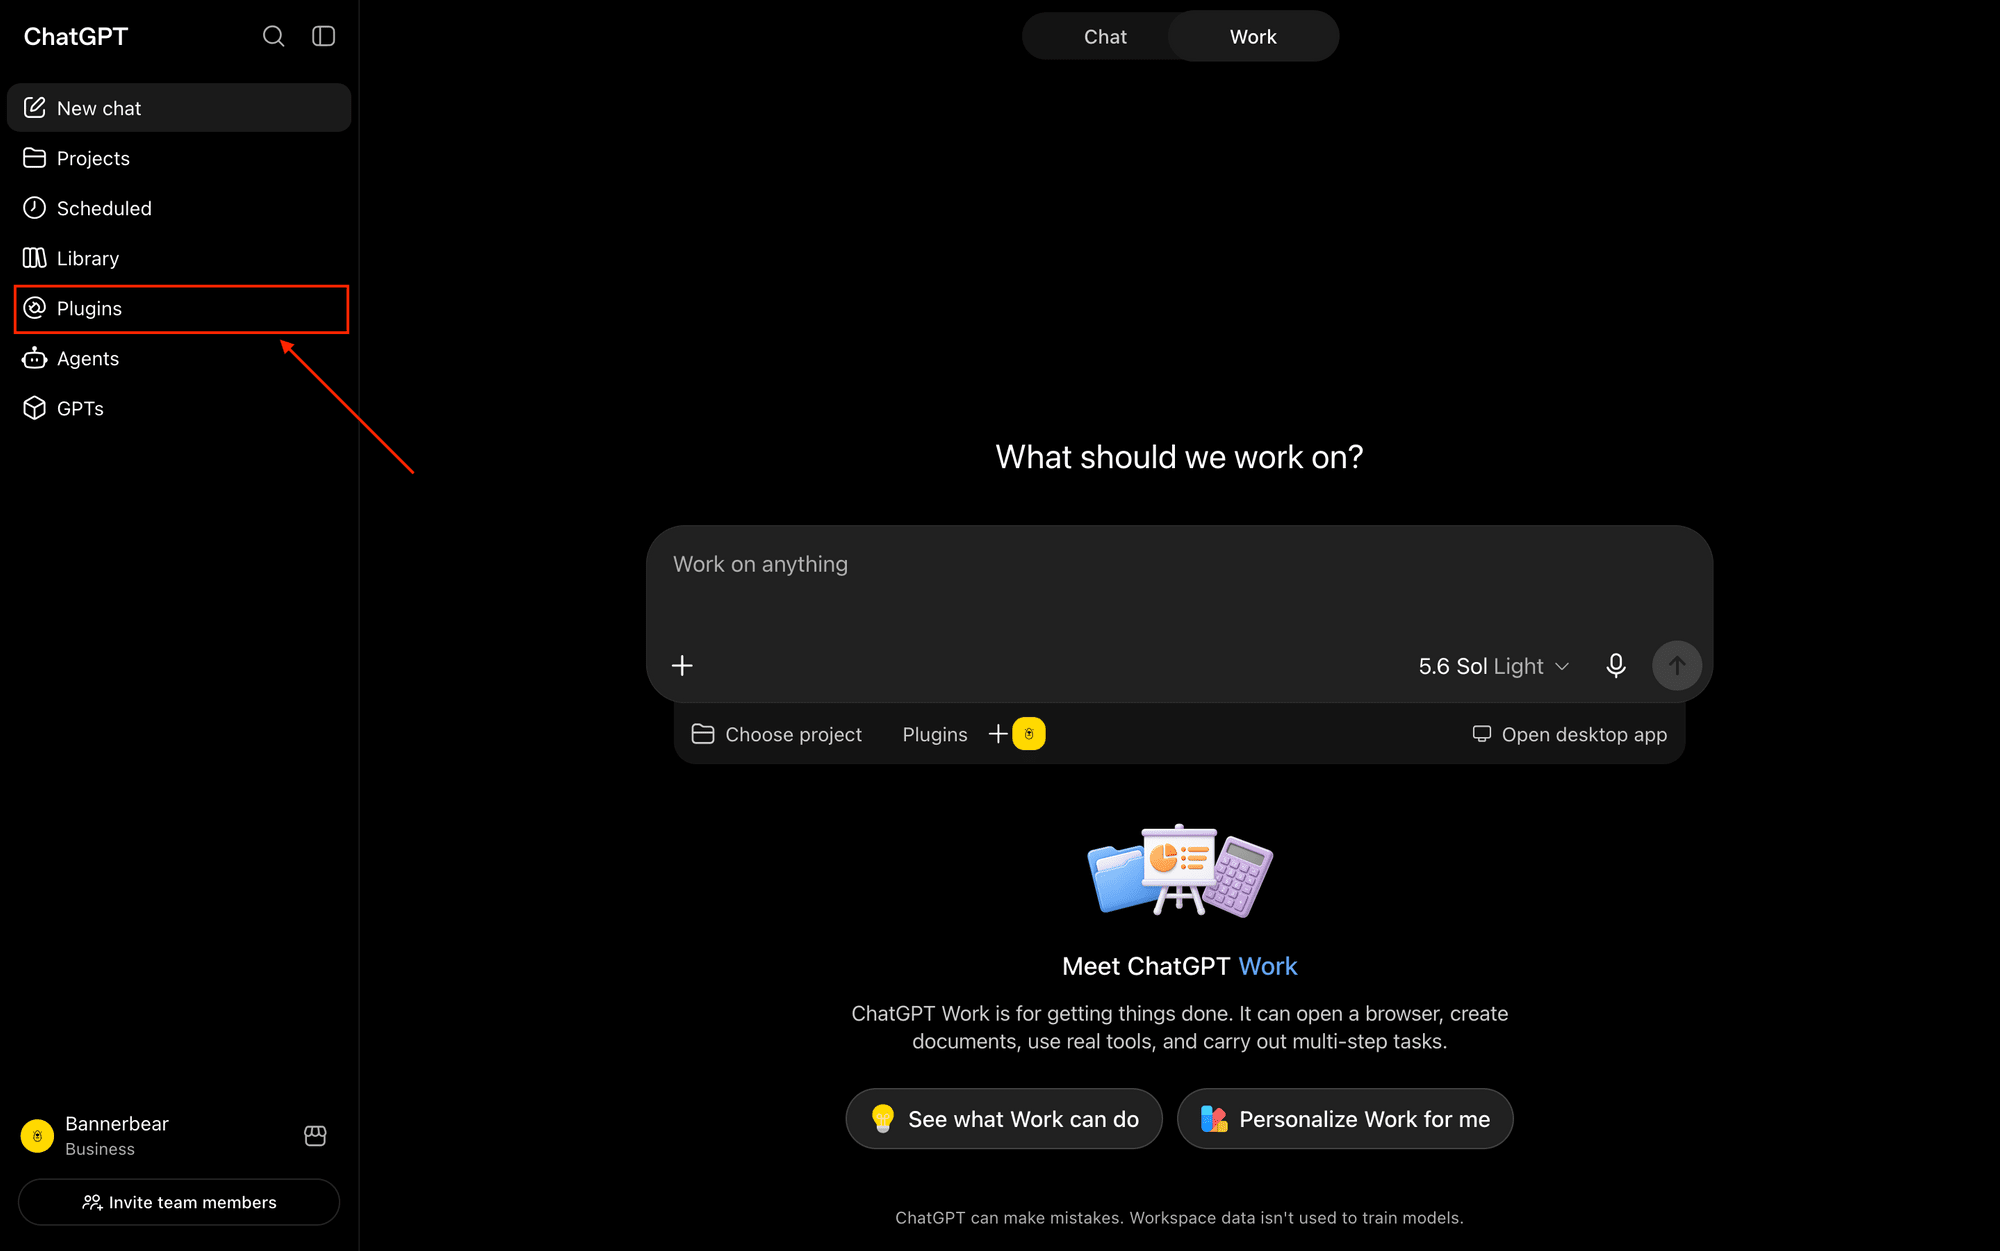
Click the + button on the top right to add a new plugin.
Fill out the required information: a name, description, server URL, authentication type, and icon. For the server URL, enter: https://mcp.bannerbear.com/
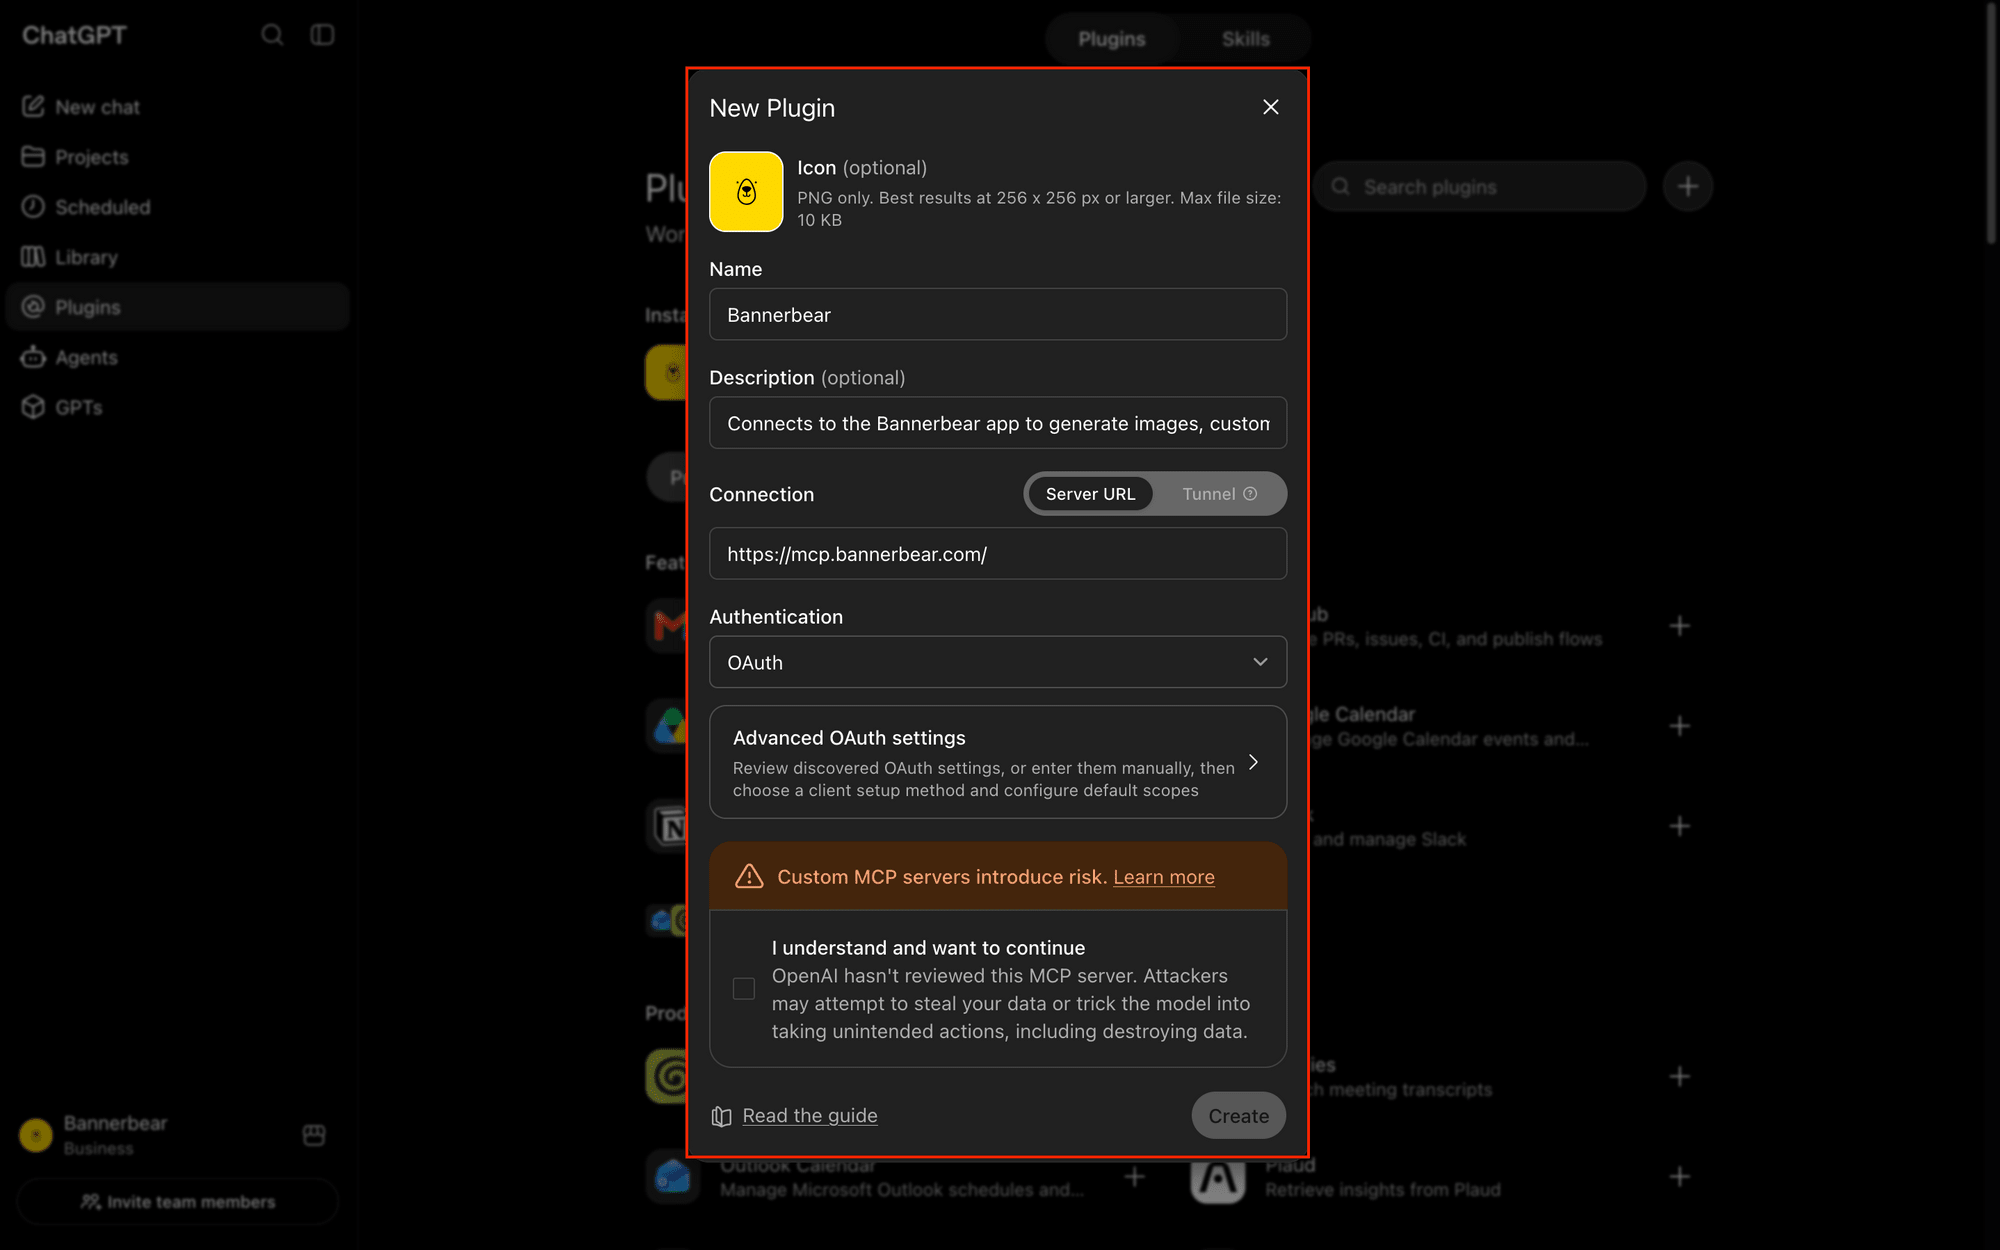
Bannerbear supports OAuth authentication (so you only need to login to Bannerbear and approve the connection), but you can also use an access token. We'll use OAuth in this guide.
Completing Authentication
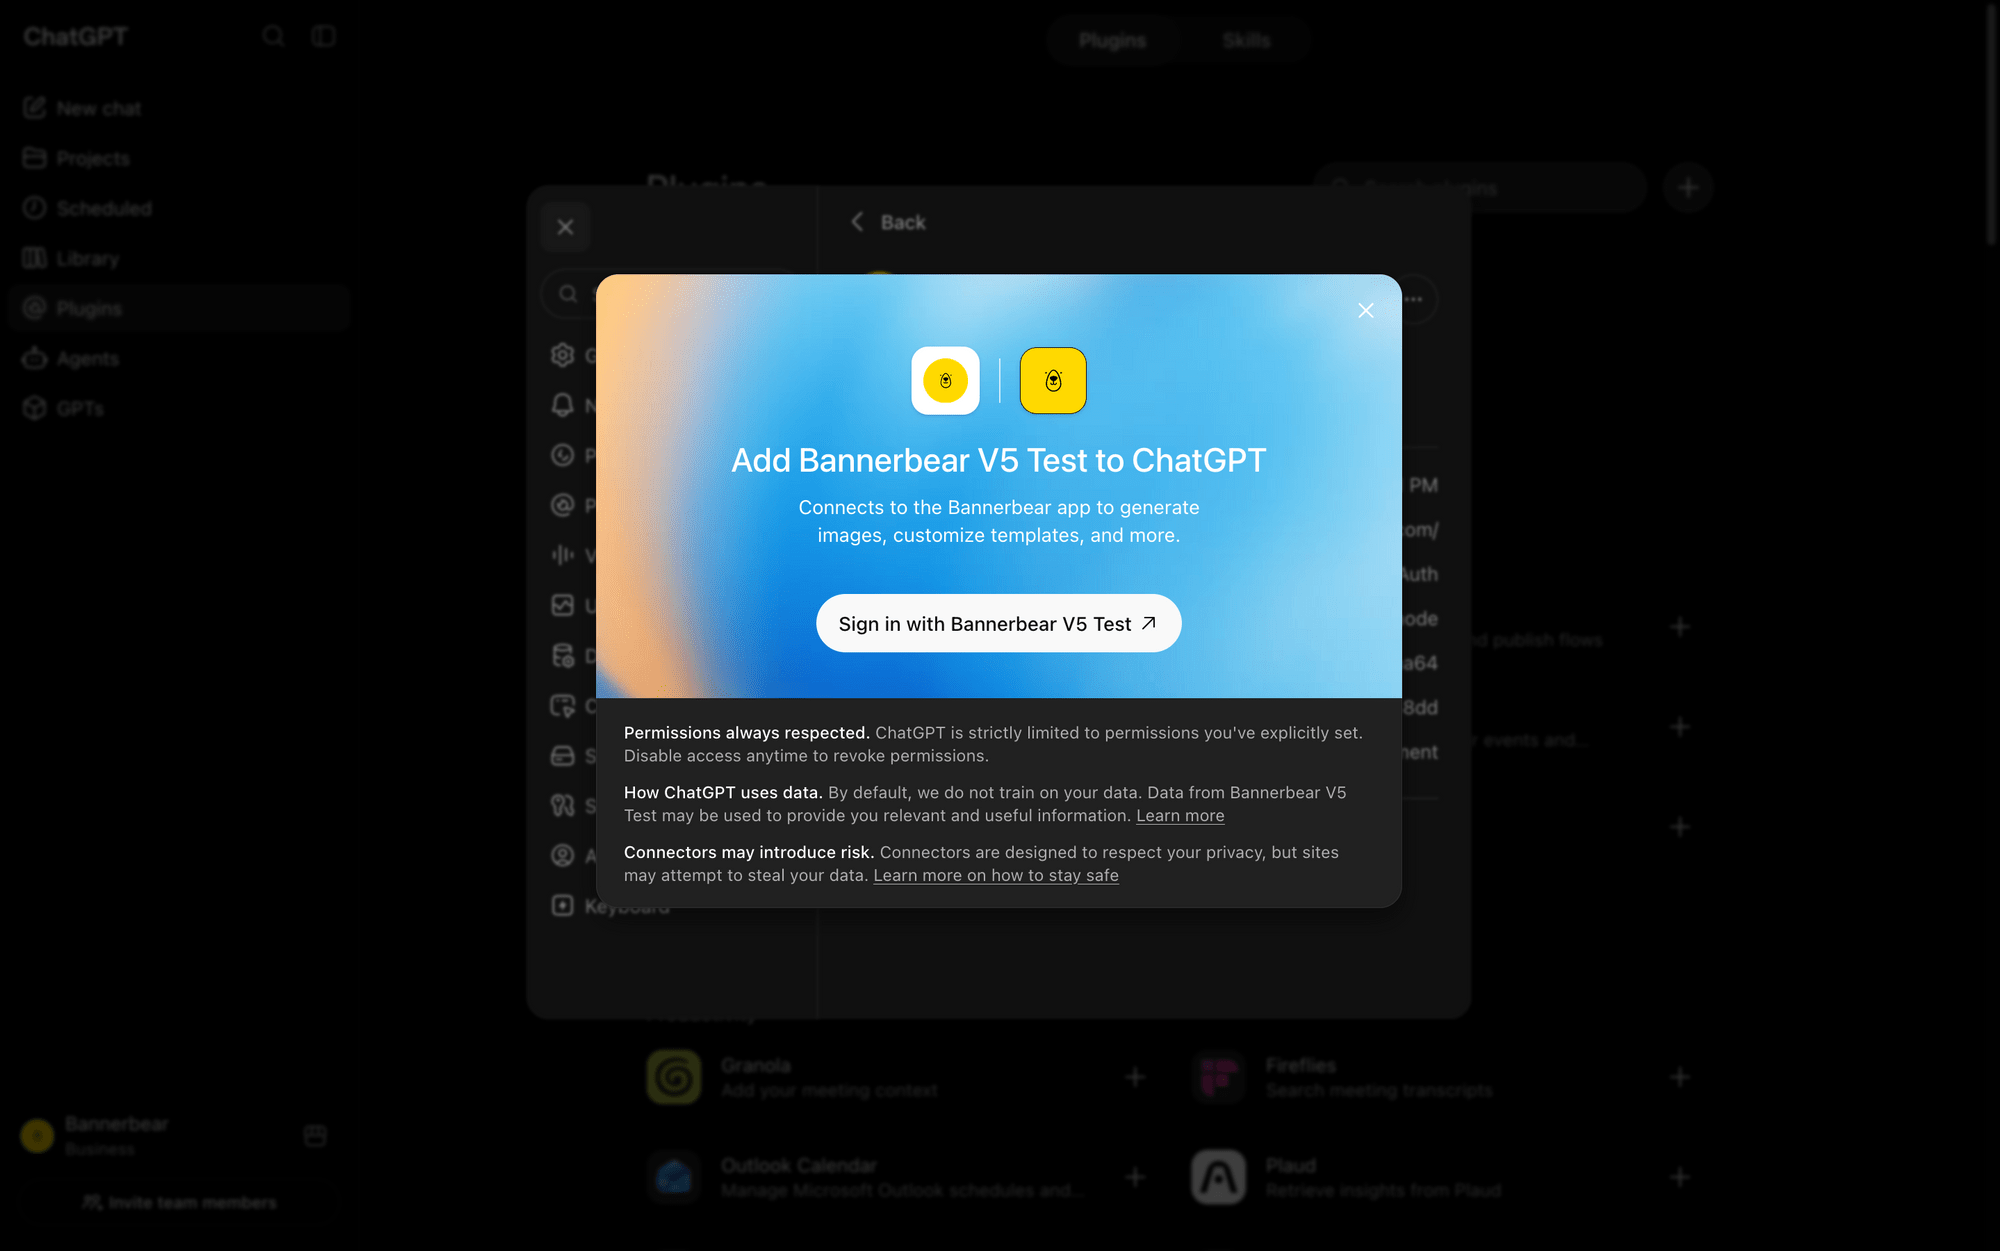
Create the plugin. You'll then be prompted to sign into Bannerbear.
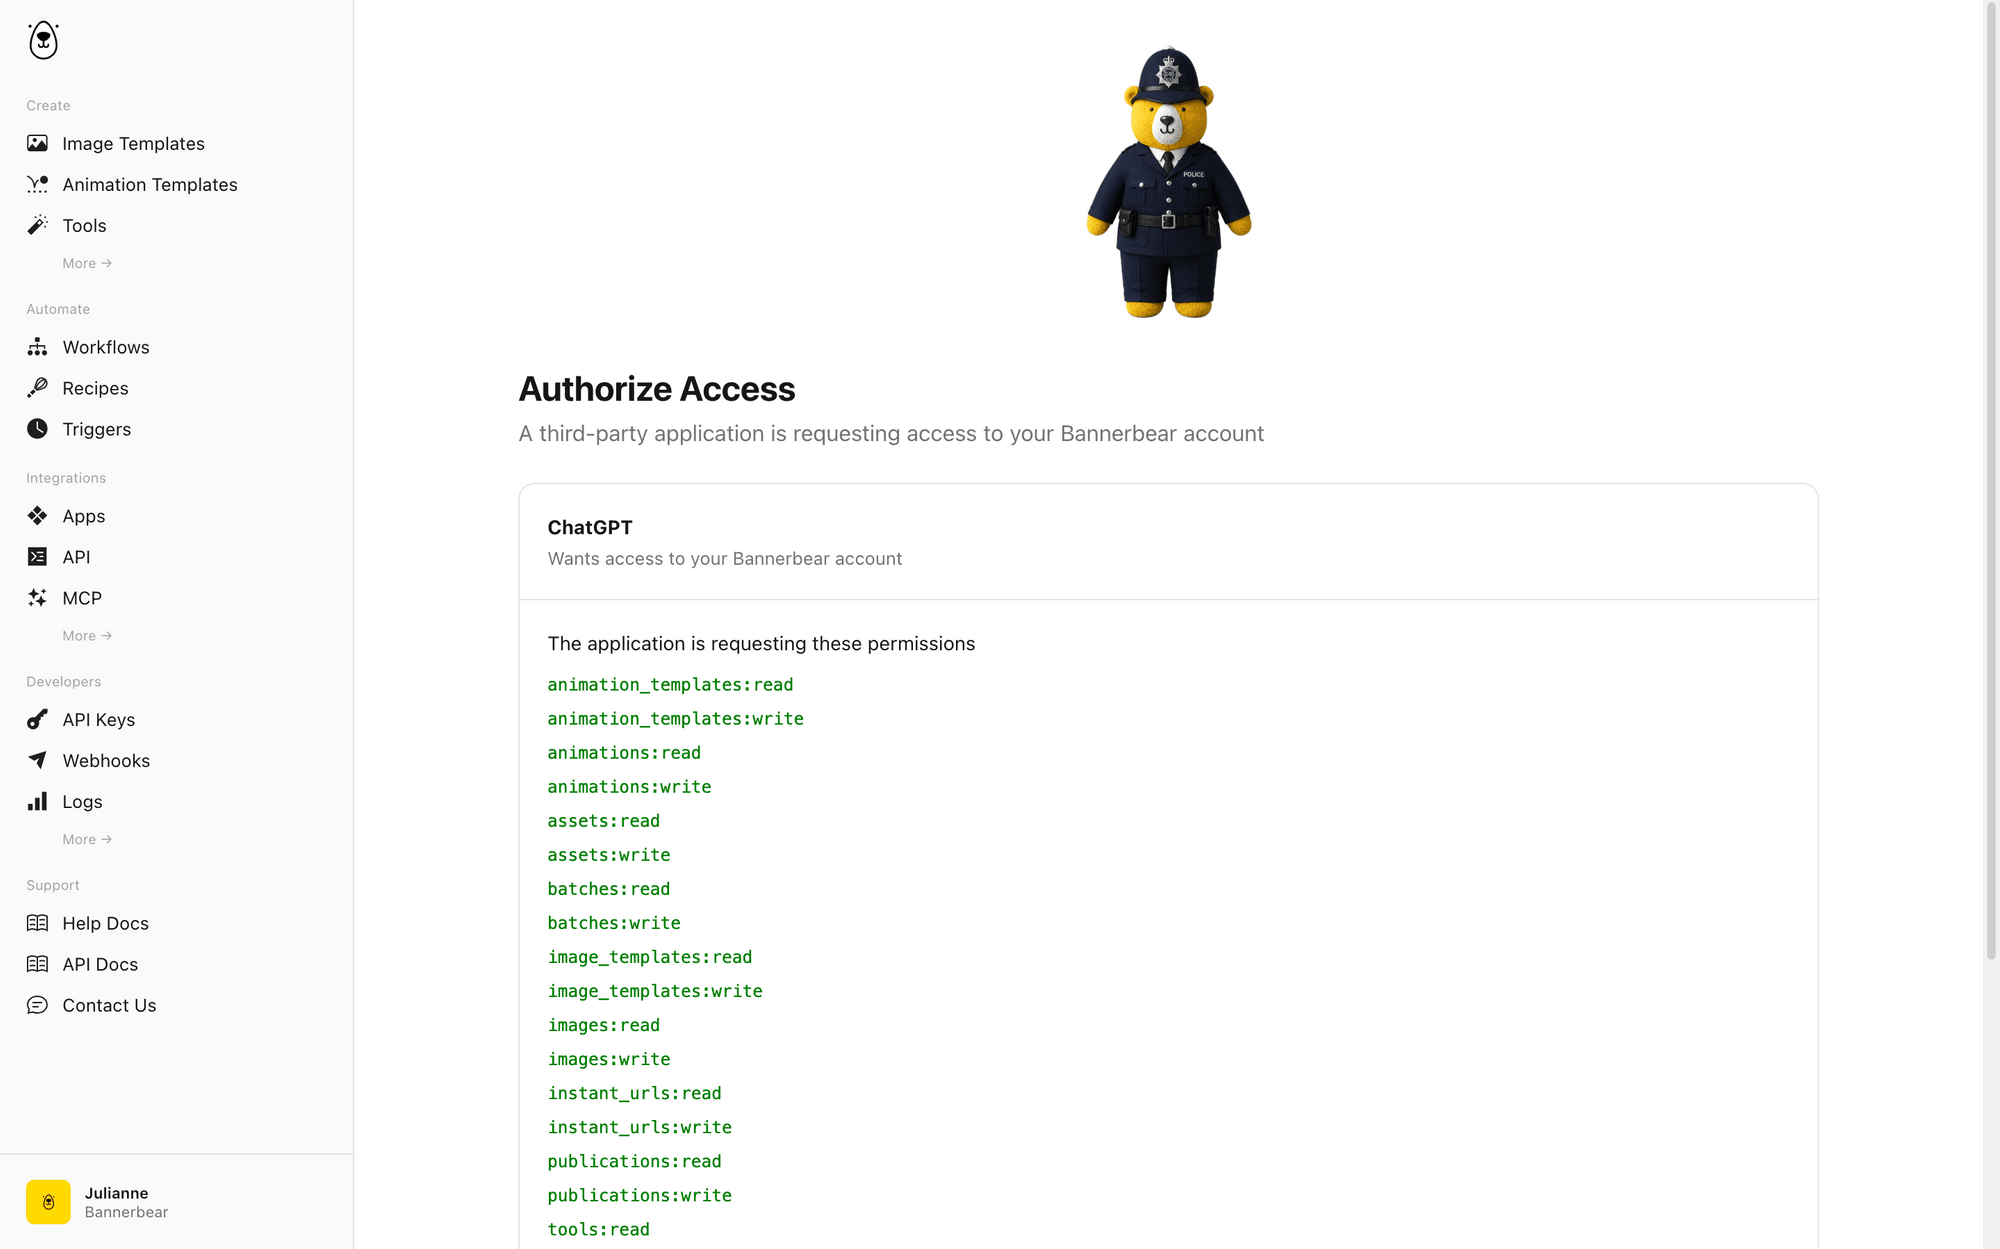
Scroll down the authorization list, and click Allow.
Testing the Connection
Your Bannerbear plugin is now ready to go! Start a new chat and tag your plugin with an @ , or find it from the + drop-down menu.
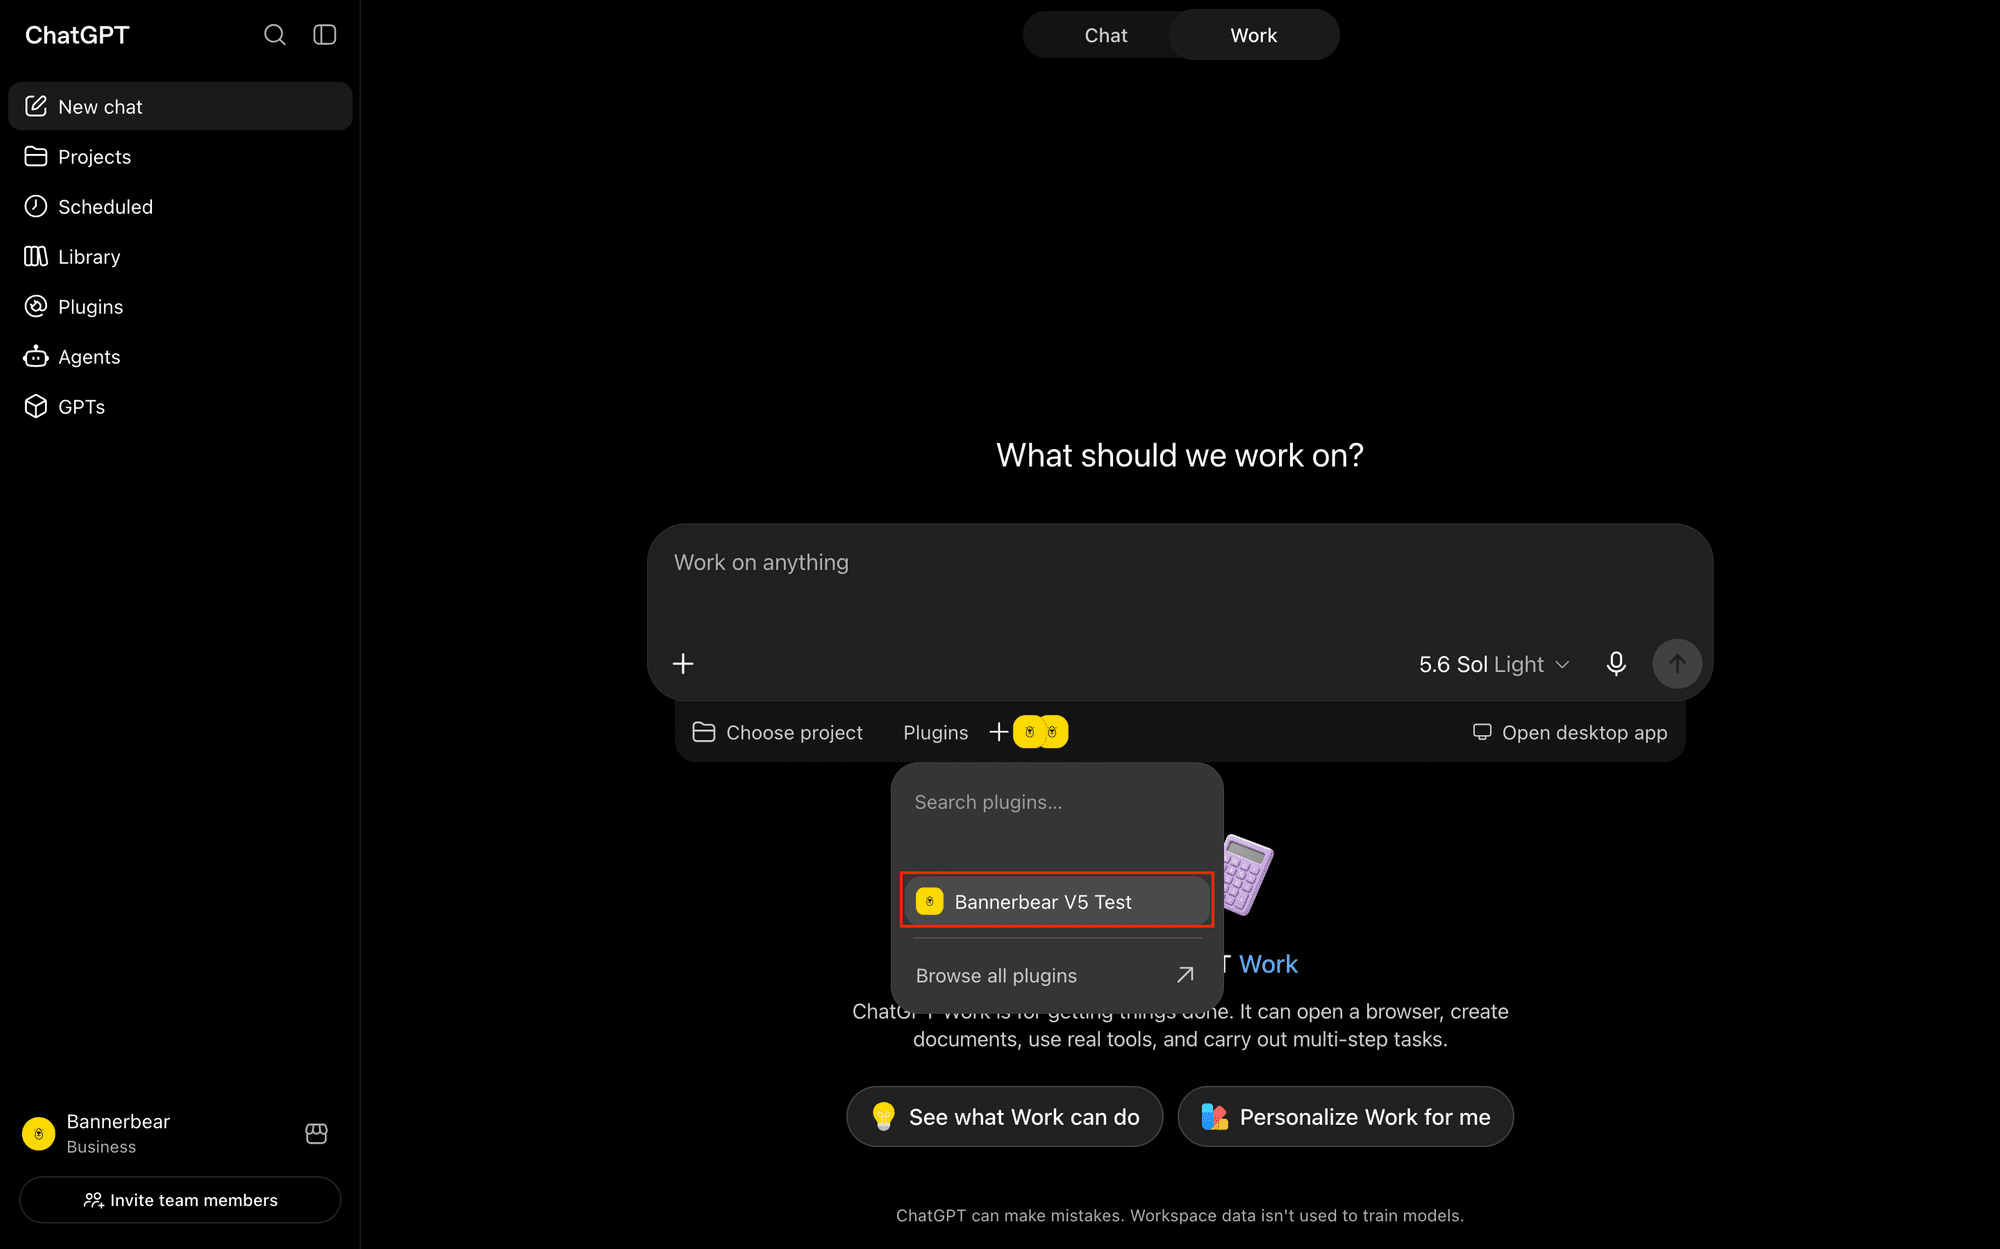
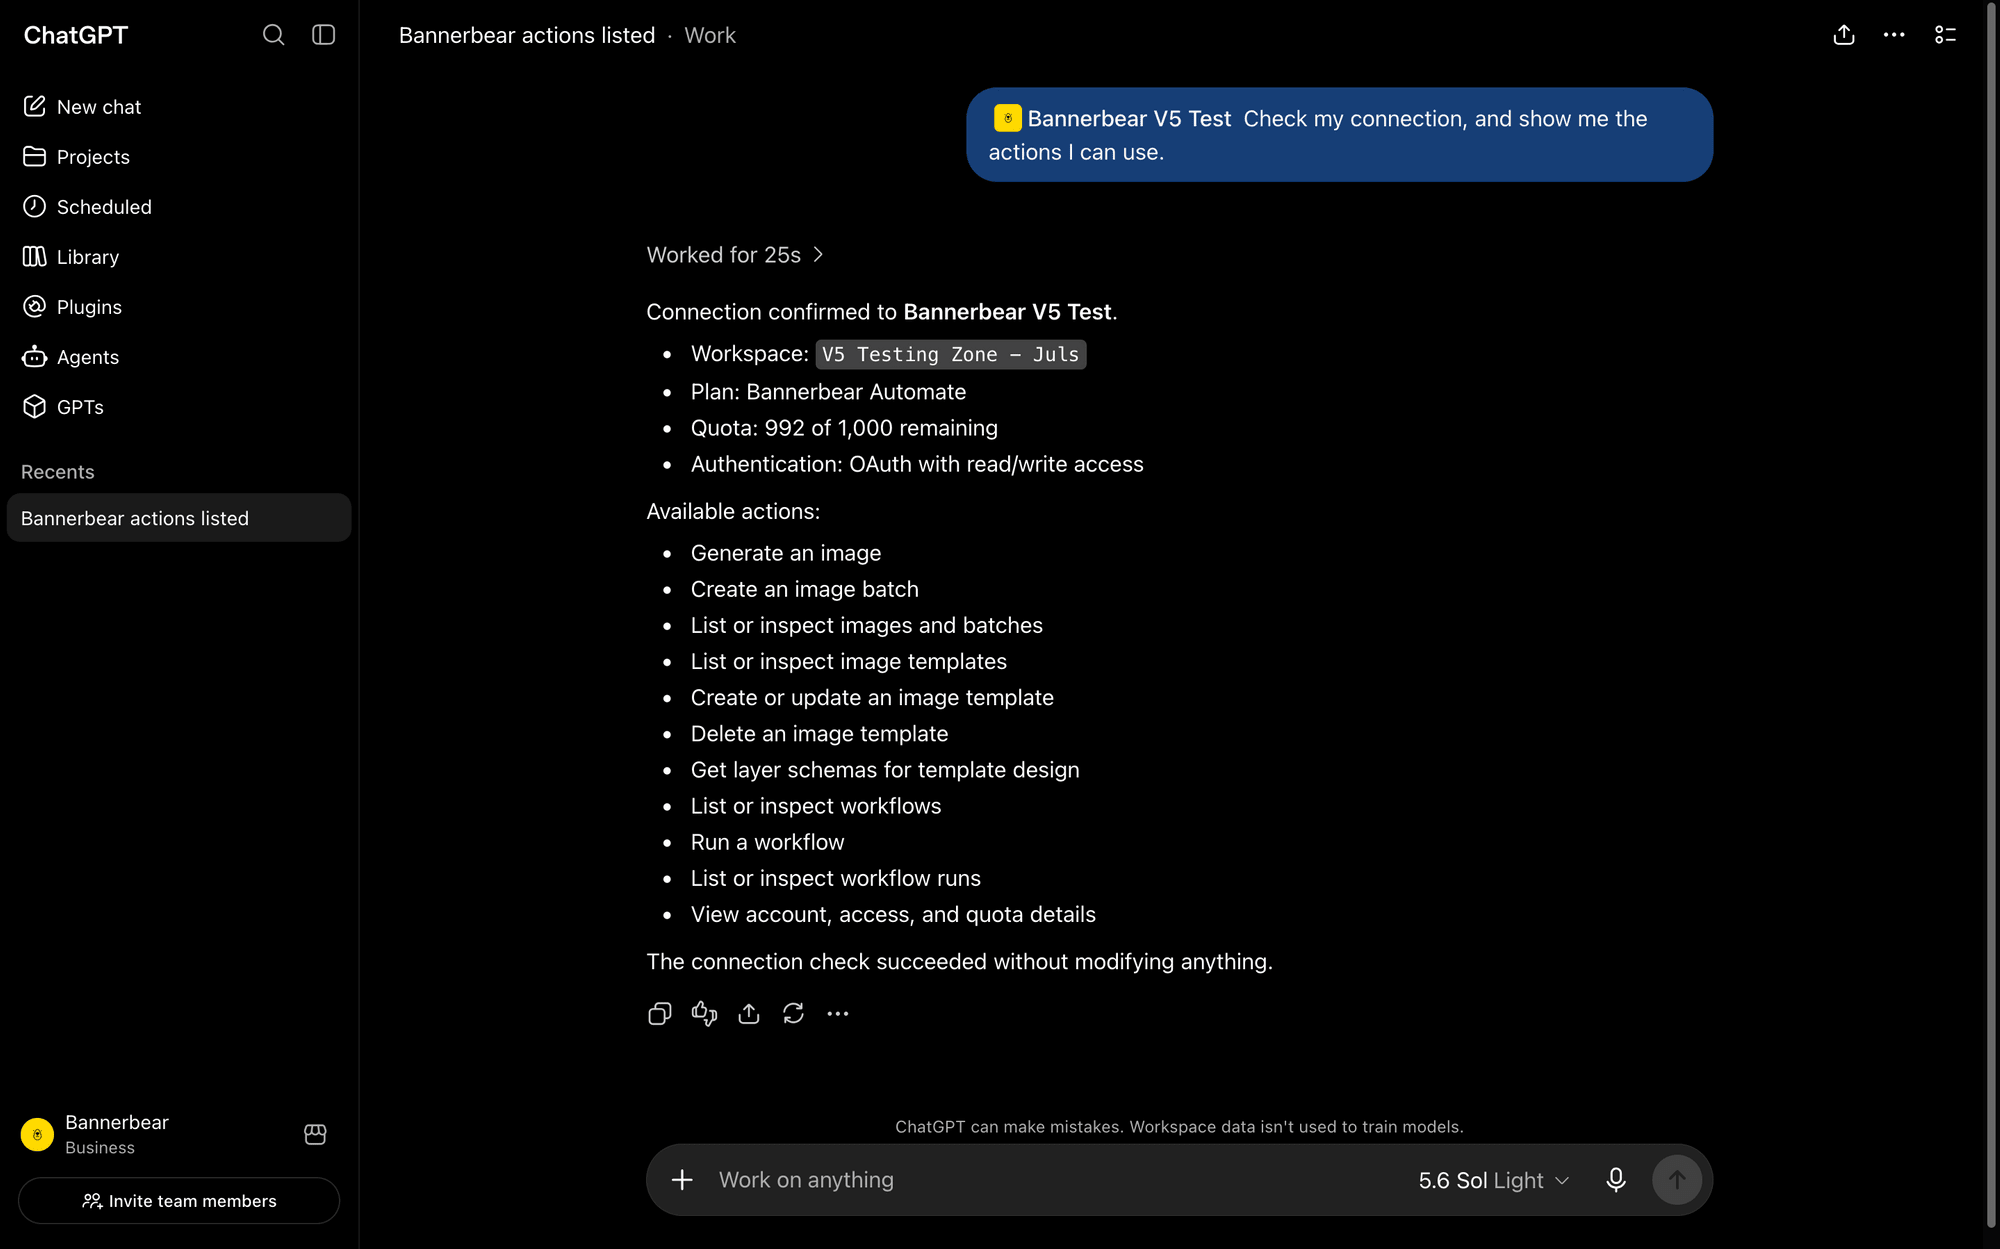
Type a connection confirmation message, and wait for the reply.
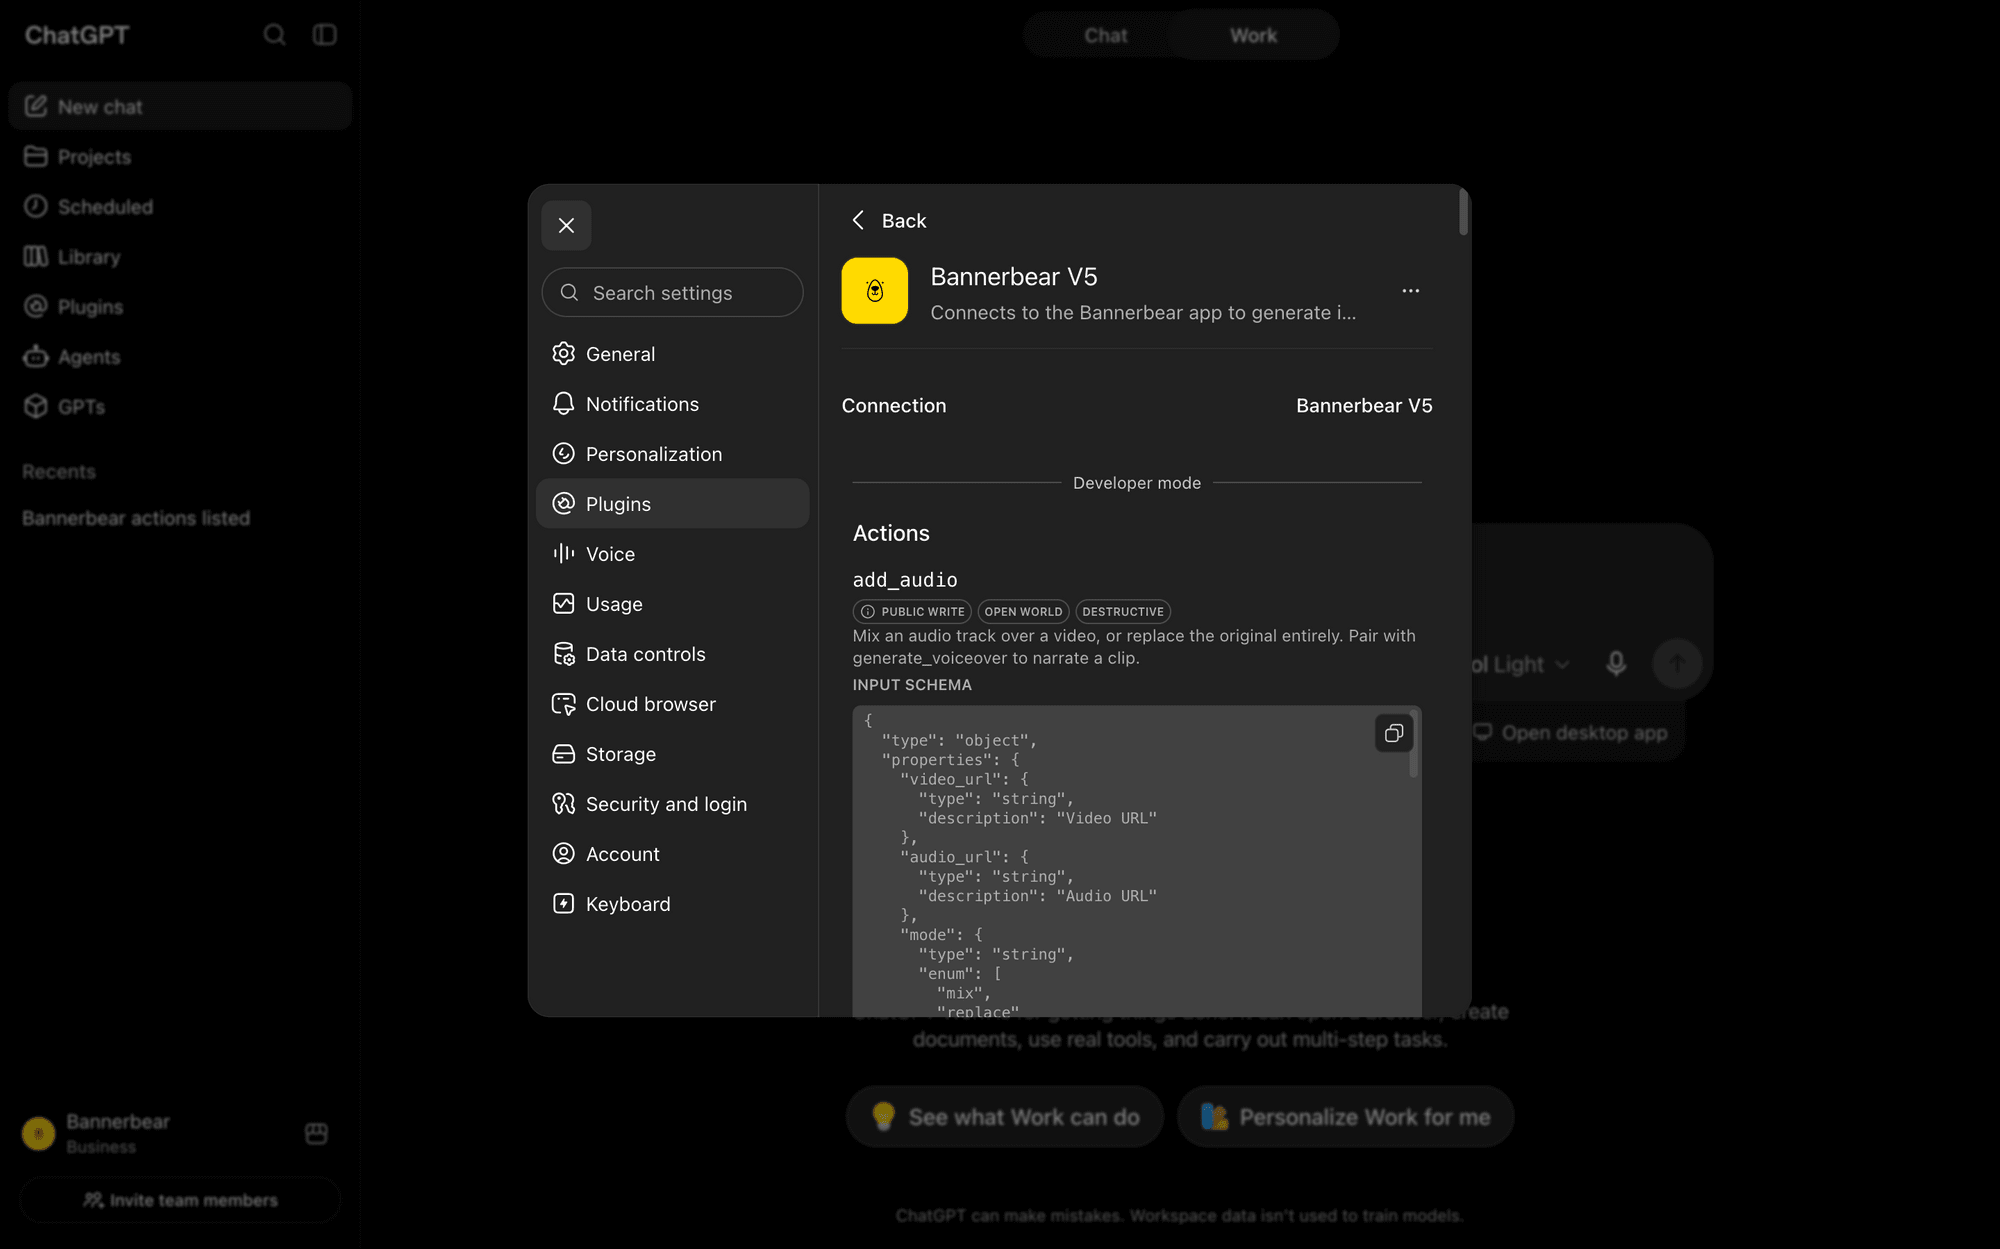
You can also view available actions by going to Settings > Plugins , where you can click through to see everything each plugin can do.
Your custom connection to Bannerbear's MCP is all set up! You're ready to start designing and generating.
ChatGPT x Bannerbear MCP Use Case Examples
Let’s take a look at some real ways you can supercharge Bannerbear’s features by combining it with ChatGPT.
Designing New Reusable Templates
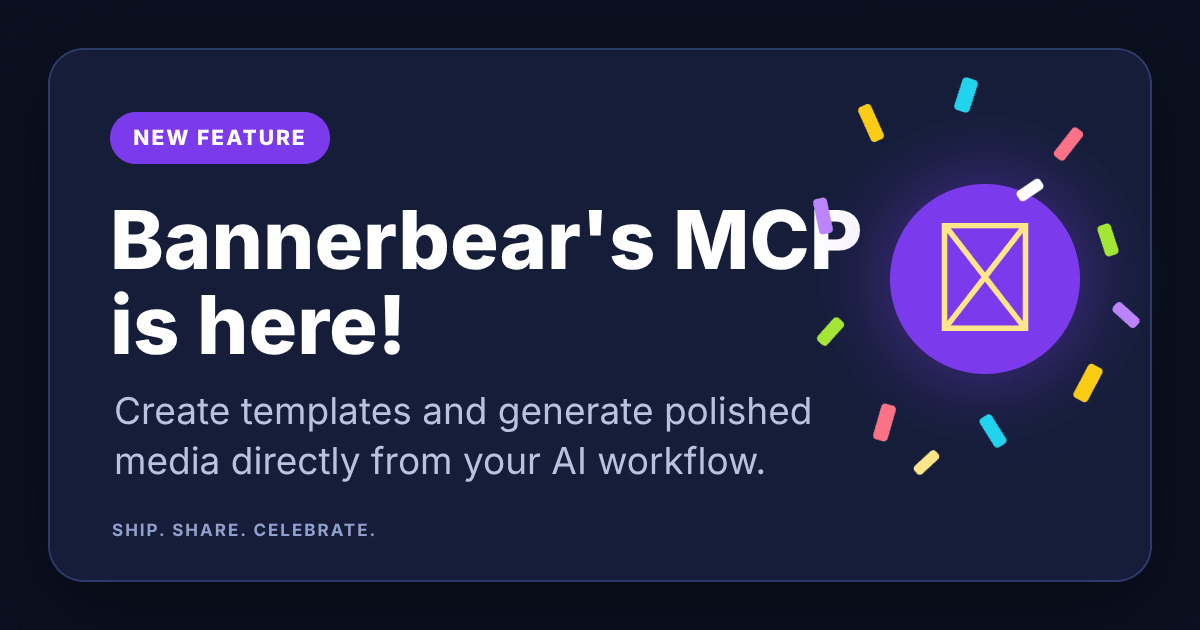
You can instruct Bannerbear to create a new reusable templates simply by describing what you want to make, giving it some design prompts, and including the dynamic fields you want to include.
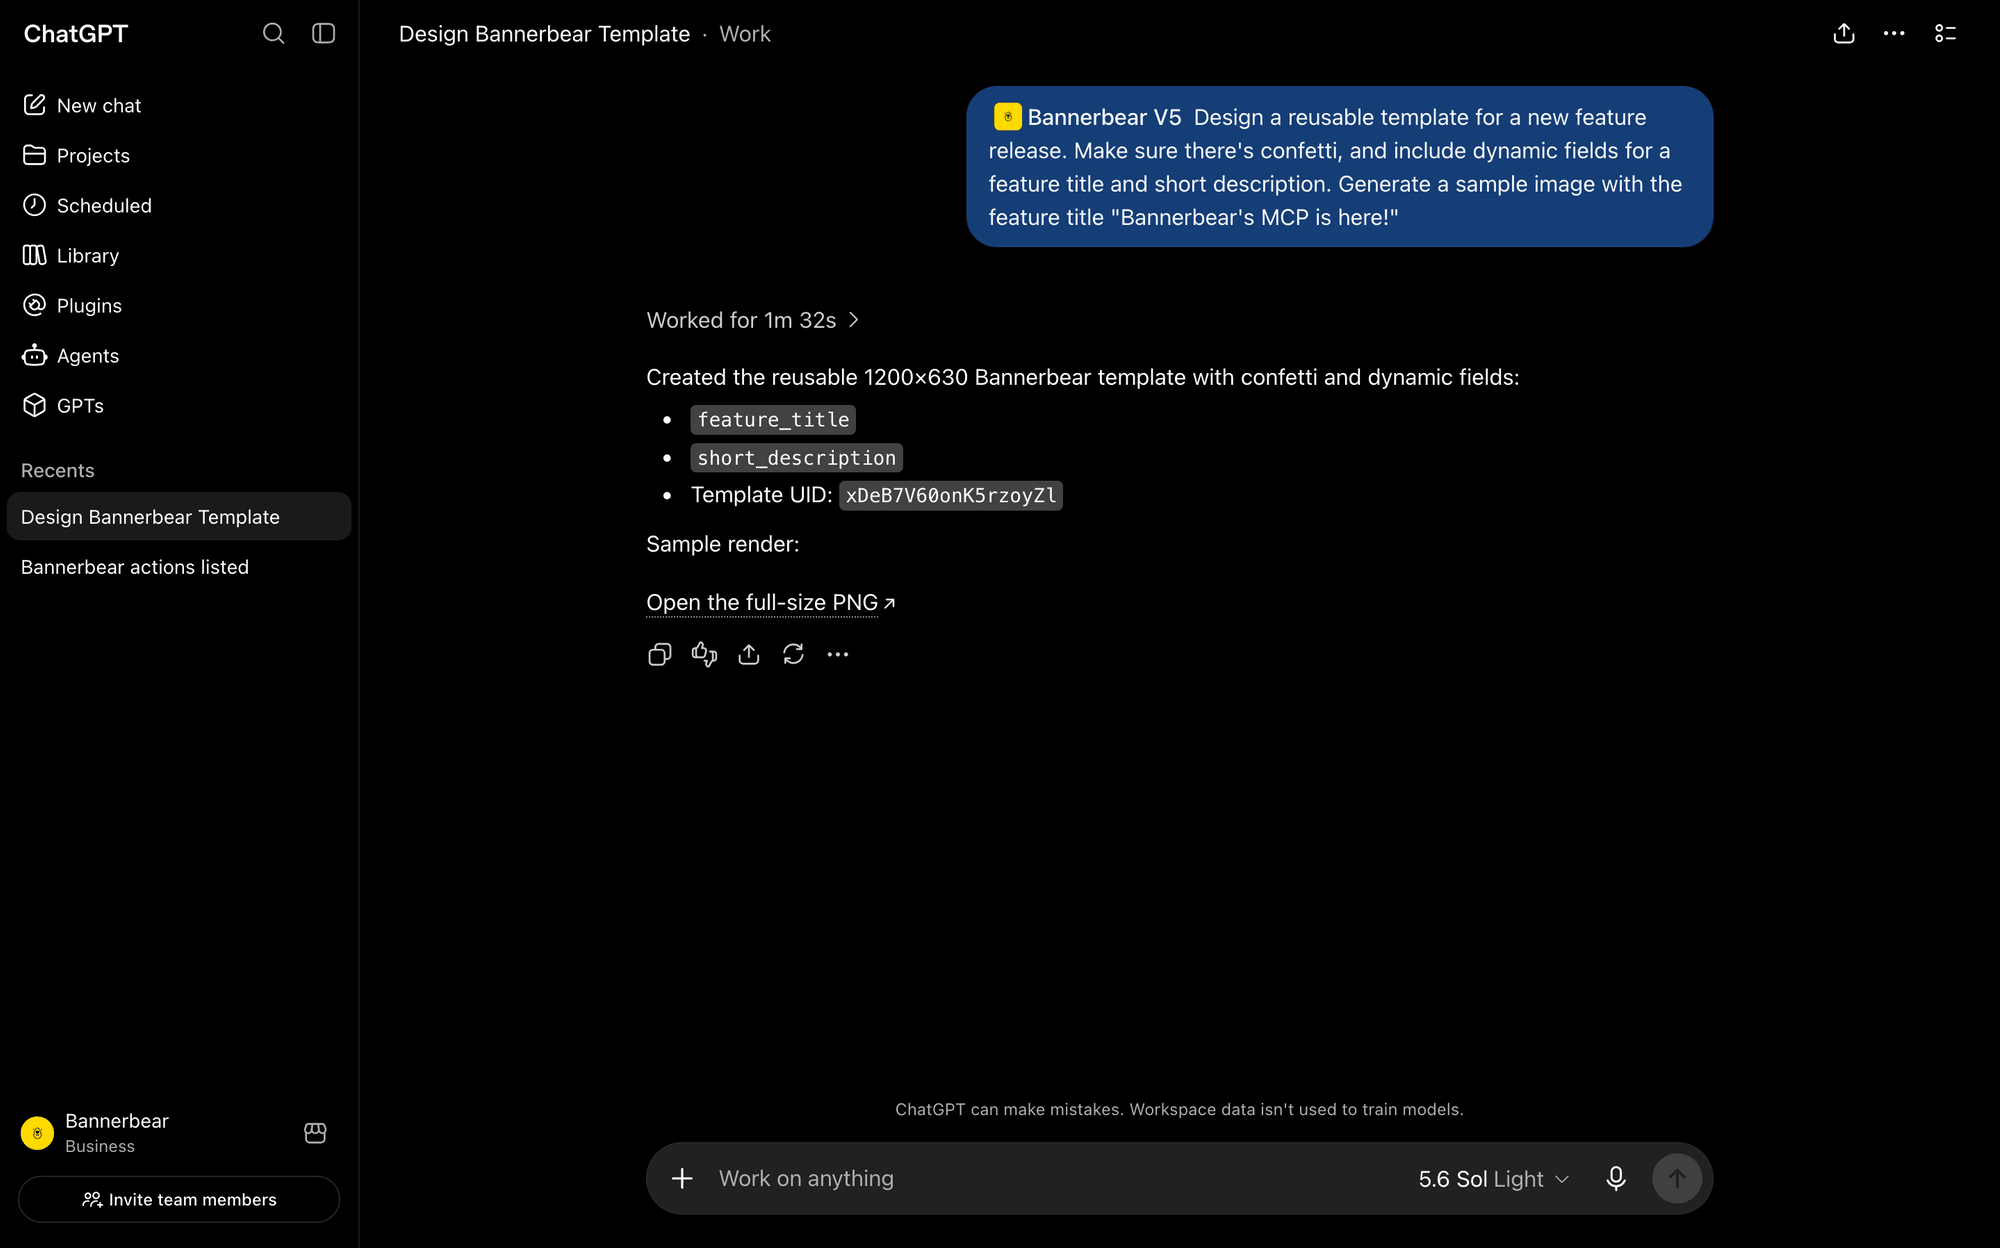
Here’s the output:
Modifying the Design of Existing Templates
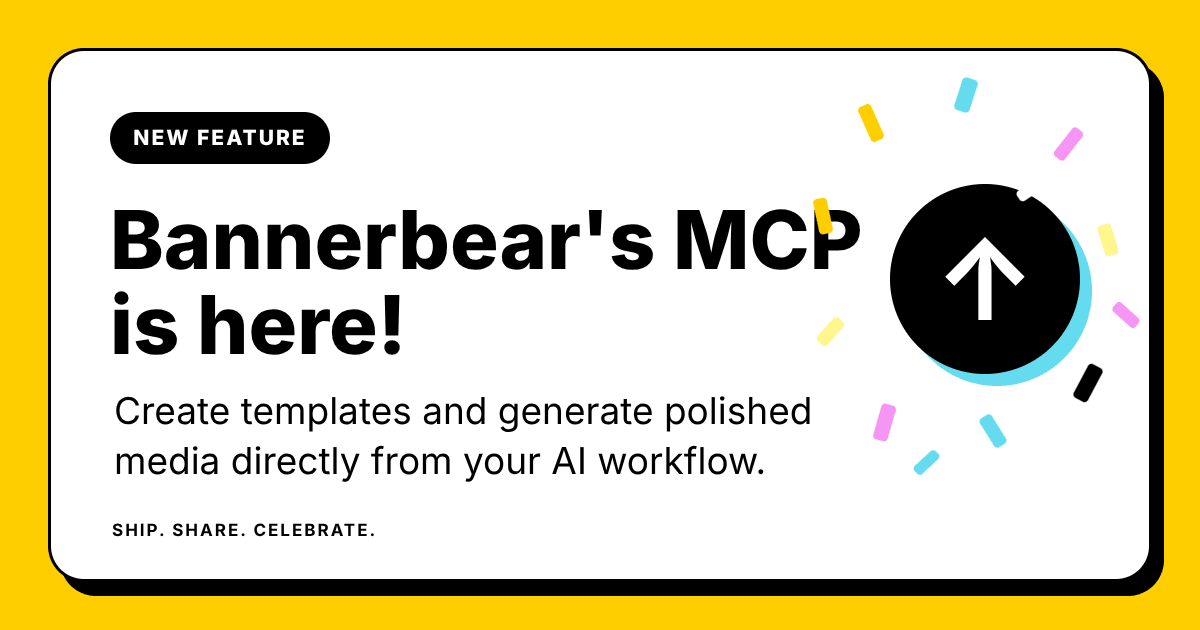
Now, let’s say you aren’t happy with the way the design looks, and you want to adjust it a little bit further. You can ask ChatGPT to modify the template while keeping what you like intact.
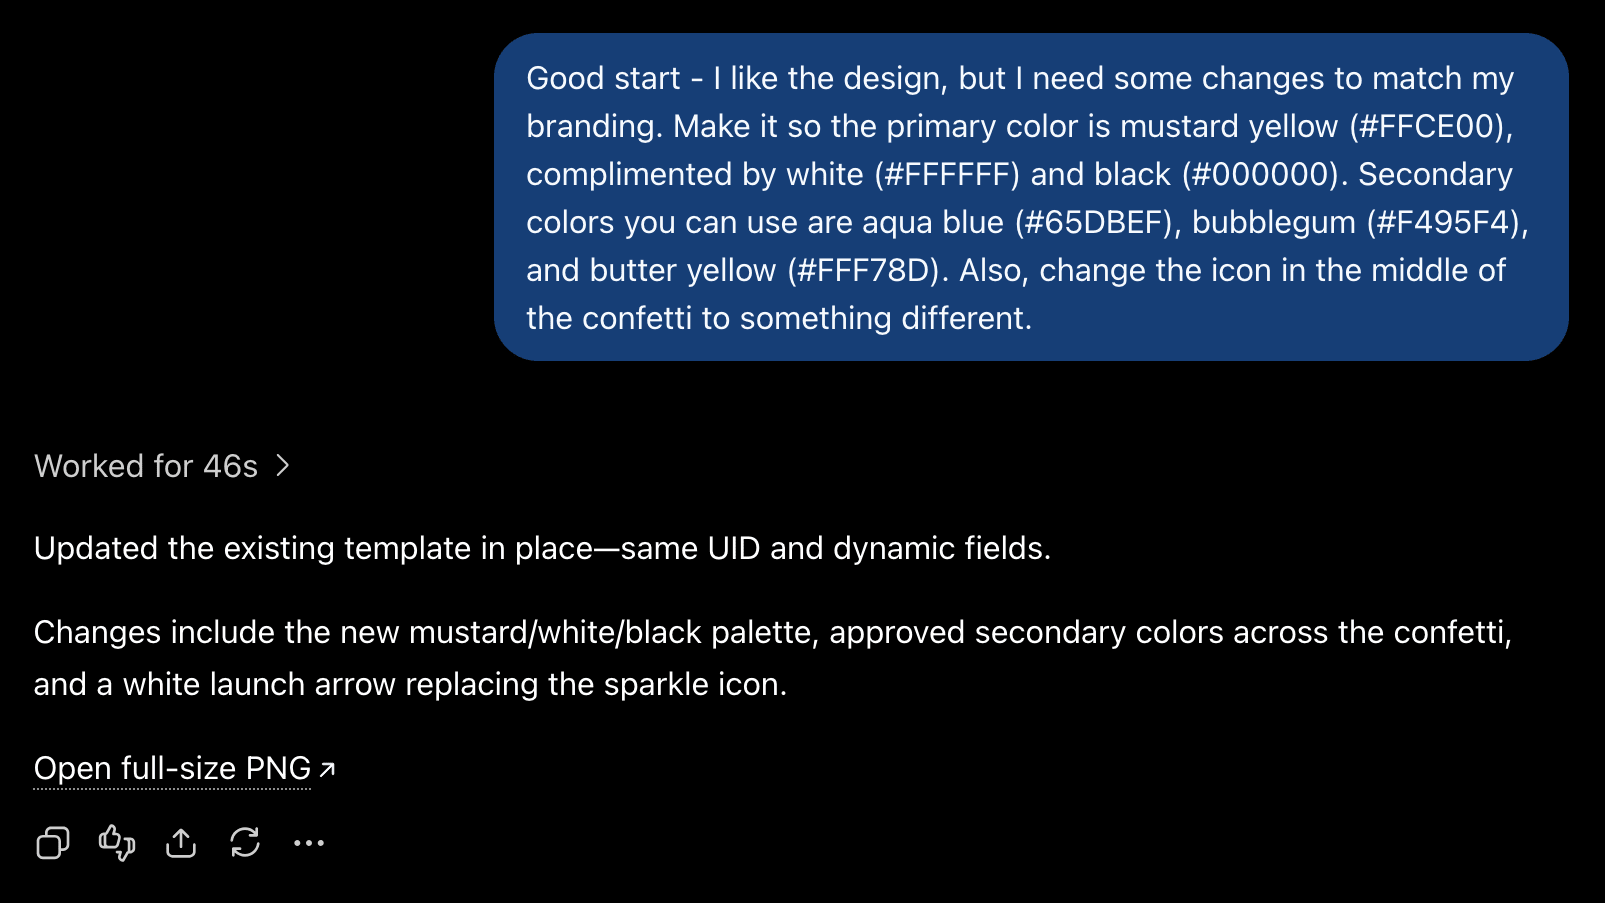
Here’s the output:
Generating with Different Input Data
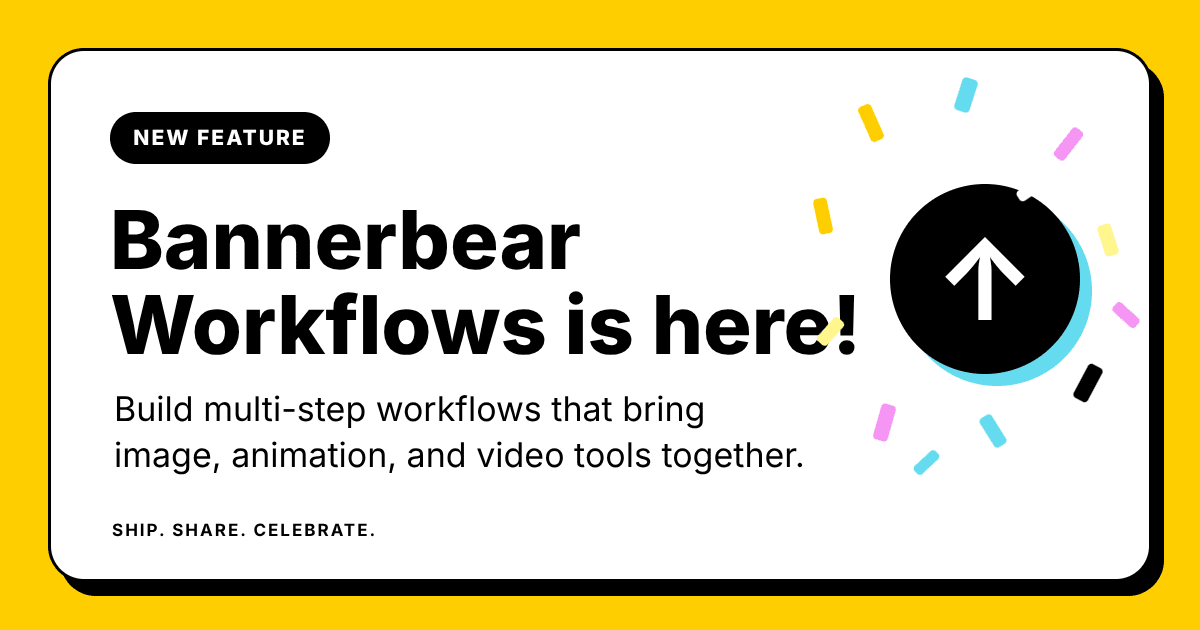
You can also generate an image with the same template, but with different data. Give the exact text you want, or just describe it and let the LLM take care of the rest.
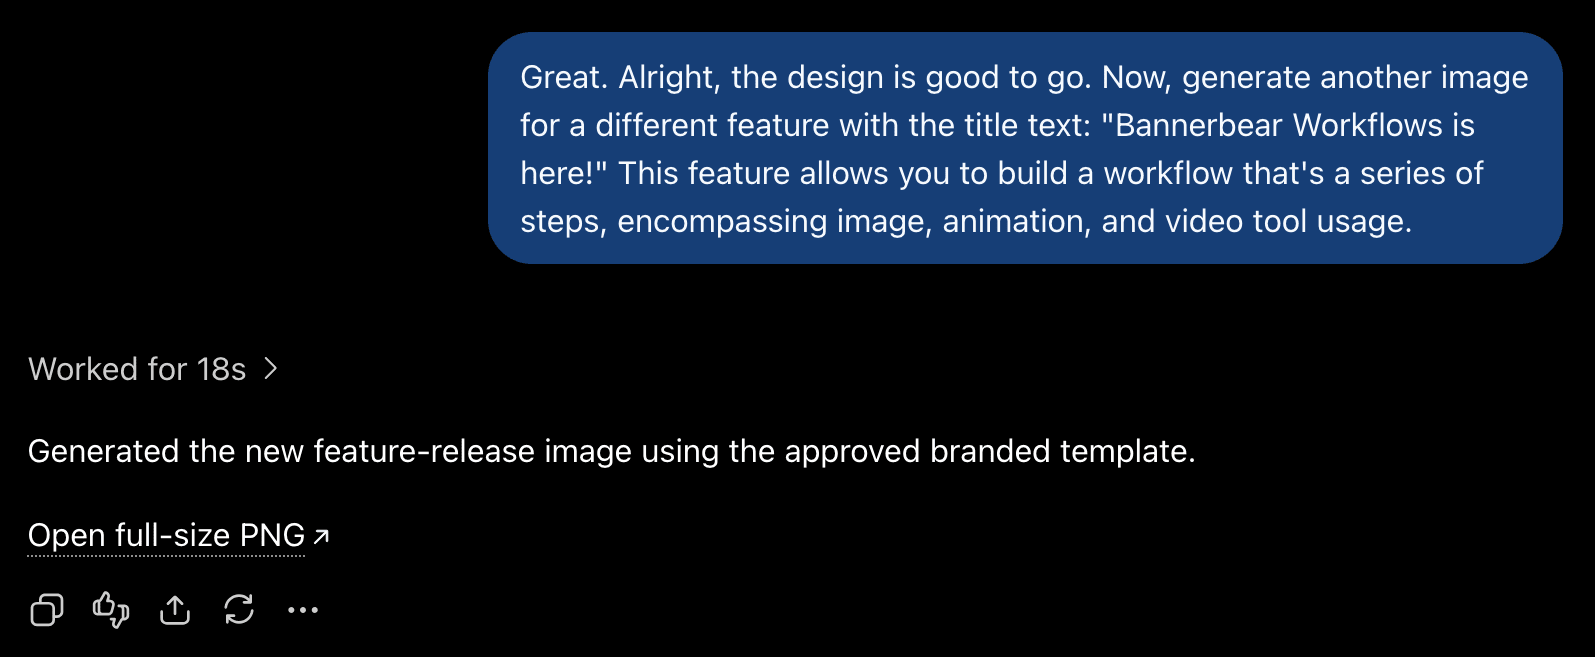
Here’s the output:
Producing Batches of Images
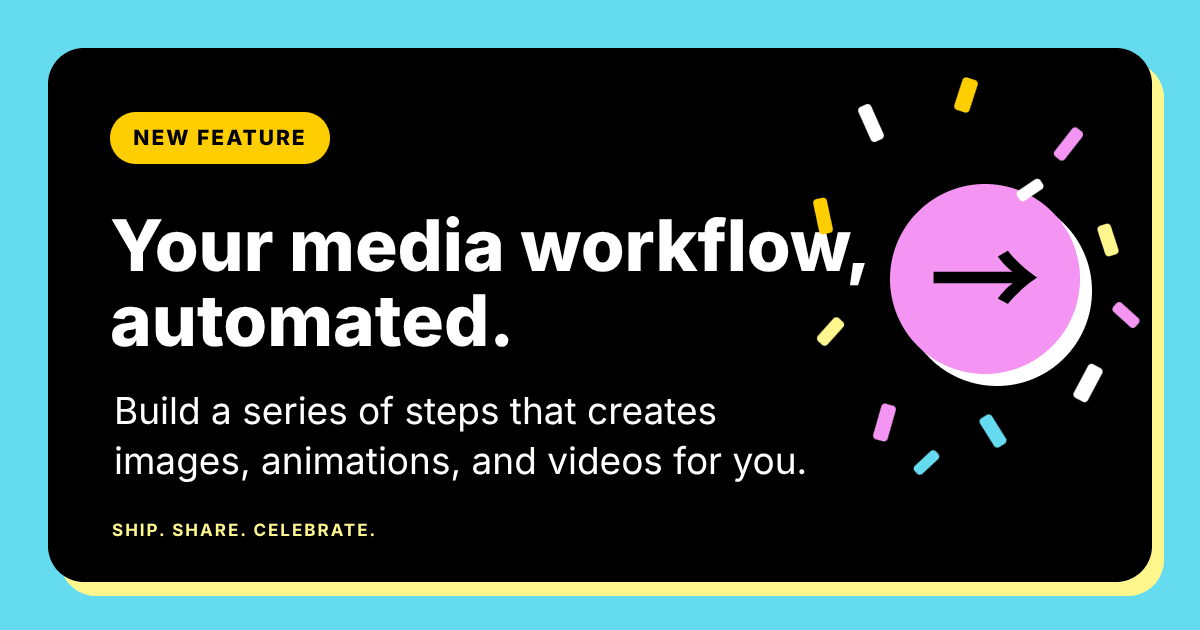
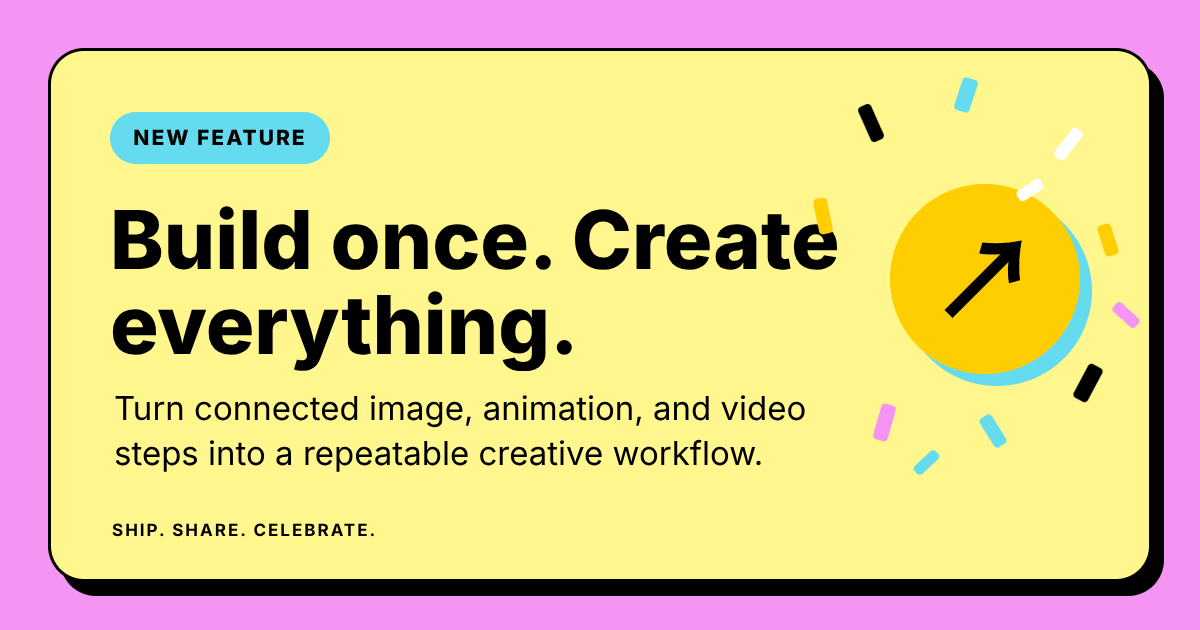
Say you want multiple images, or even variations of the same template with slightly different coloring, design, or text. This is something your chat assistant can help you with in minutes instead of having to design from scratch every time.
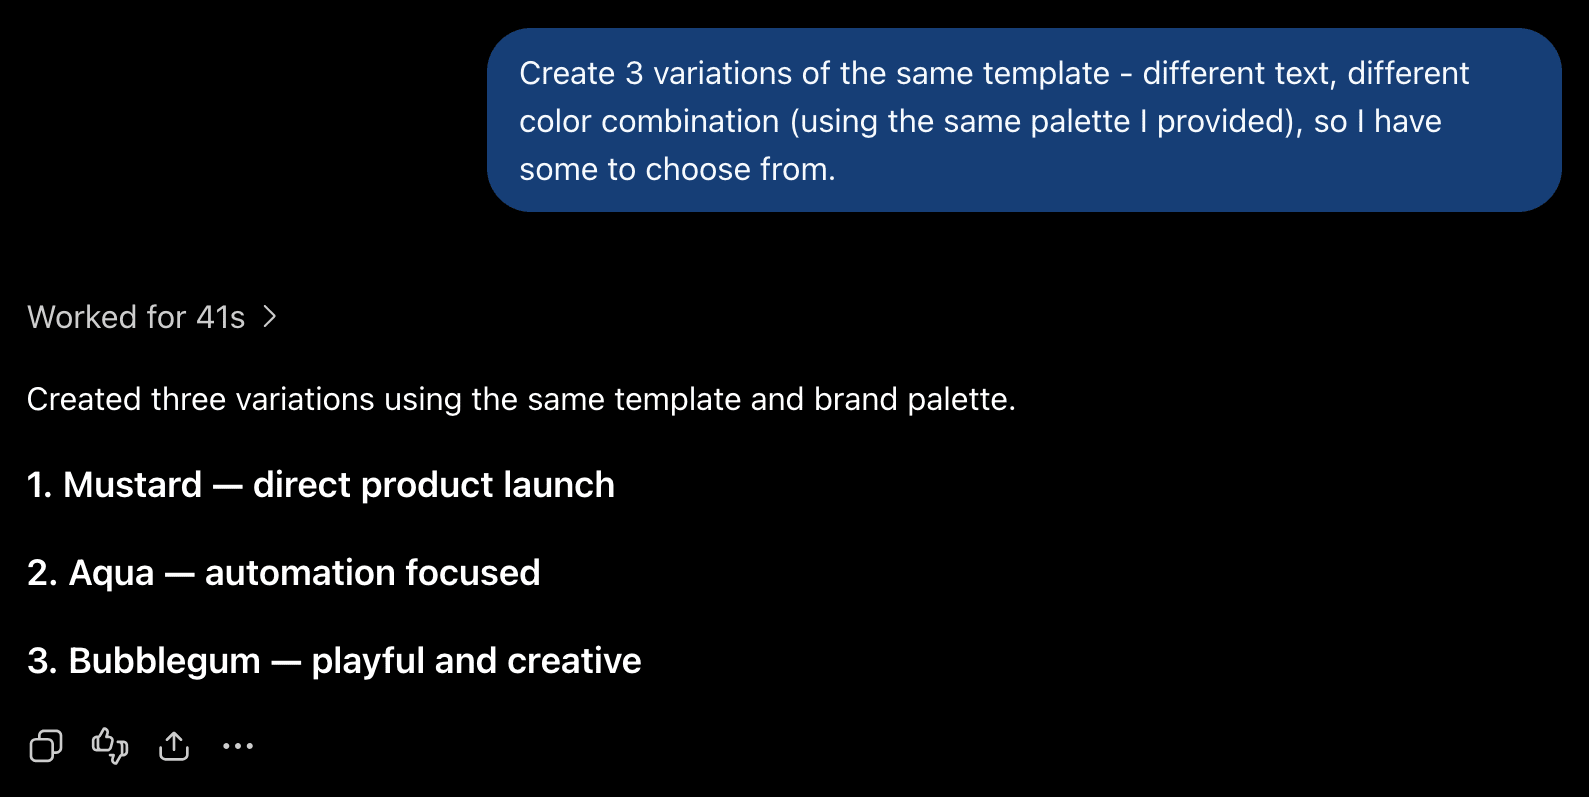
Here’s the output:
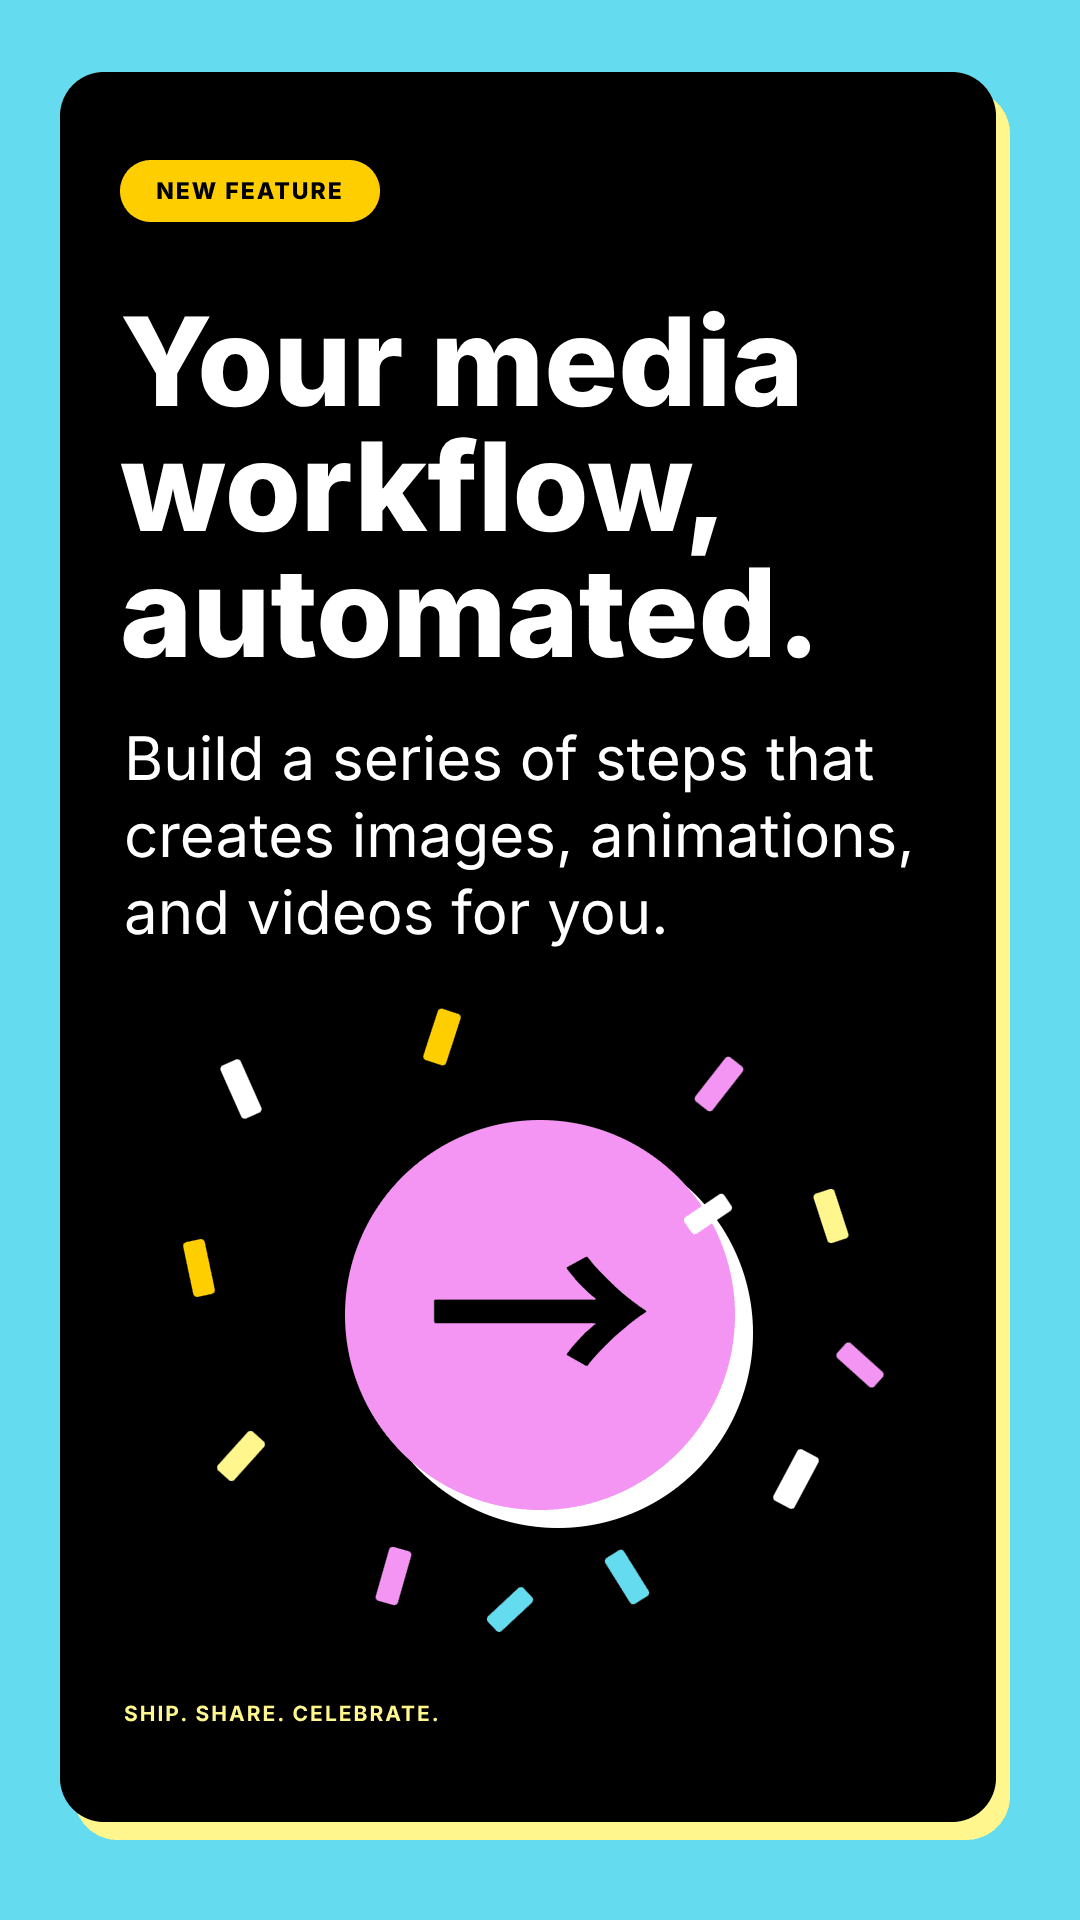
Resizing Images with the Same Template
Bannerbear’s responsive sizing feature makes it possible to adjust your template and elements to different ratios and sizes in a single command. This saves you time and allows you to easily produce one-offs if you don’t need a whole new template in a fixed size.
Here’s the output:
FAQ
What Are MCPs in ChatGPT?
An MCP—or Model Context Protocol—is a framework that enables LLMs to communicate with external data sources and tools. It works a lot like a plugin—you connect a program to your assistant so you can call its functions right in the chat box in simple conversational language, rather than a series of technical commands.
MCPs can live locally or be hosted remotely, and while Codex can handle both, ChatGPT currently only supports remote MCP servers. This means for setup, you’ll need a URL that looks like this: https://mcp.bannerbear.com/
Do I Need a Paid Plan to Connect Bannerbear to ChatGPT?
Custom plugins are currently supported on Free, Go, Plus, Pro, Business, Edu, and Enterprise ChatGPT plans. That said, plans and availability are often changing—check OpenAI's pricing page to confirm your plan supports custom plugins before proceeding.
What Can I Do With Bannerbear MCPs That I Couldn’t Do Before?
With Bannerbear directly enabled in ChatGPT, you can mock up images and templates more quickly than ever before. You can make changes to multiple templates at once, or churn out a large batch of images with information you’ve just retrieved. If you’re plugged into other external tools (like databases), you can also connect everything together with a simple conversational command.
The core functionality of Bannerbear hasn’t changed—but the way you interact with it has become much more powerful and convenient.
Conclusion
That's all there is to it. You now have a direct line between ChatGPT and Bannerbear, which means faster design workflows, smarter content generation, and less context-switching between tools. Start experimenting, and see what creative possibilities open up.