For years, if you wanted to access a tool programmatically, you had two options: call its API directly, or use one of its client libraries. But with AI adoption picking up everywhere, more and more SaaS products and tools are now shipping MCP servers too. This allows you to access their products in plain English straight from an AI assistant or agent like Claude Code, Codex, and OpenClaw, instead of using their APIs or libraries.
With the Bannerbear MCP, instead of writing API calls to generate images from templates, you can now just ask Claude Code to do it for you. In this article, we'll set up Bannerbear MCP in Claude Code, and make your first generation request straight from it!
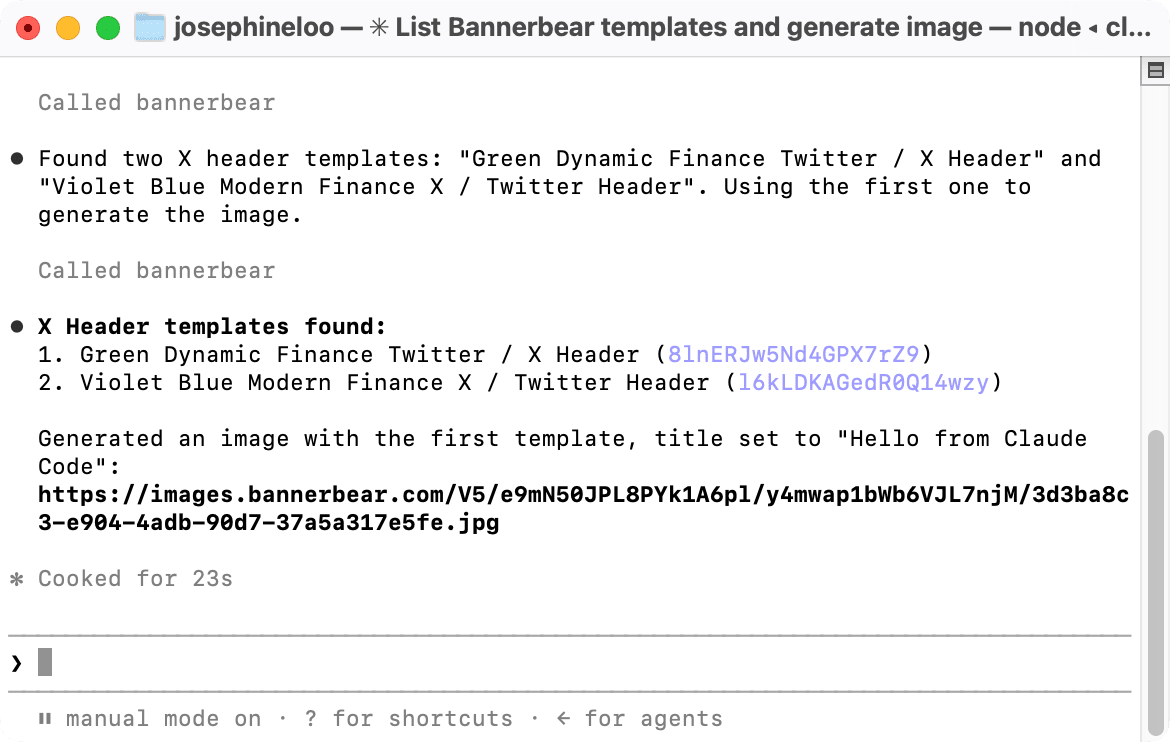
Here’s a sneak peek…
If you don’t have Claude Code installed yet, check out How to Install Claude Code: Terminal, IDE, Web & Desktop Setup before continuing. Otherwise, let’s get started!
🐻 Bear Tip: The Bannerbear MCP works with the v5 API only, so make sure you’ve switched to the correct version from your dashboard.
What is Bannerbear?
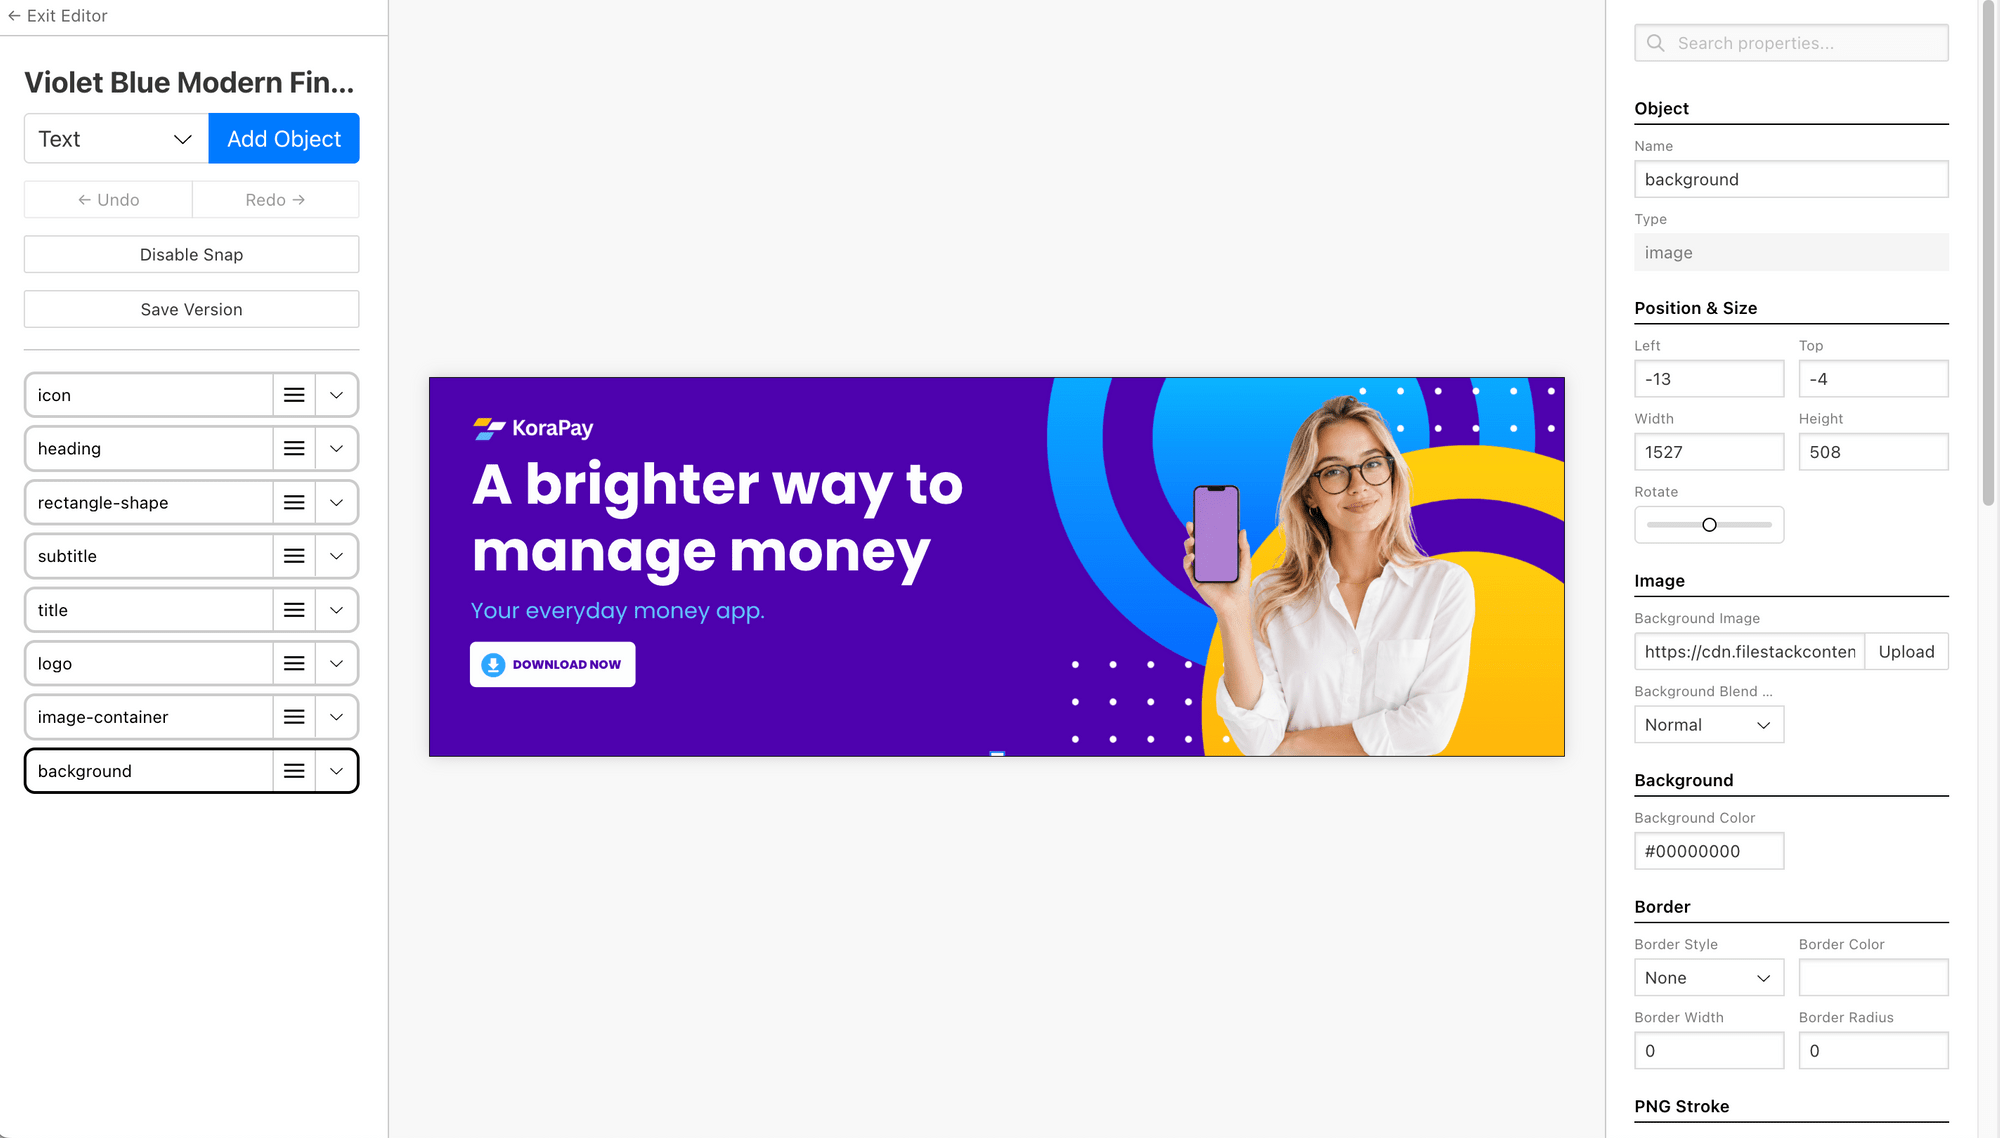
Bannerbear is a tool that allows you to automatically generate custom images, videos, and more from templates. A design template can consist of:
- Static objects - These remain the same in every generated image (e.g., a company logo)
- Dynamic objects - These change based on data you provide (e.g., text, images)
Here’s an example:
Bannerbear offers APIs and libraries in various popular programming languages, including Node.js, Ruby, and PHP, to make integrating image generation and other media manipulation functionalities into your application/project effortless.
And with the Bannerbear MCP, you can now generate images directly using text prompts within your AI assistant or coding agent like Claude Code, Codex, and OpenClaw, instead of going through raw HTTP requests.
What Can You Do with Bannerbear MCP?
In short, the Bannerbear MCP lets you chat with Bannerbear to generate images from templates. Instead of looking up endpoints or writing a script, just ask your AI assistant in plain English, and it figures out which tools to call.
For example, you can ask things like:
- "Which template is suitable for Instagram?"
- "Generate an image from this template using this text."
- "Pass data from this CSV to Bannerbear using the batch feature."
Your AI assistant should handle everything from pulling the template details, validating your layers, to calling the right endpoint. All you need to do is to wait for the result to be returned.
Getting Started
These are what you need to set up your Bannerbear MCP in Claude Code:
- Claude Code installed and working in your terminal
- Node.js and npm (since the MCP server runs via
npx) - A Bannerbear account (sign up for free here!)
Setting Up Bannerbear MCP in Claude Code
Step 1. Get Your Bannerbear API Key
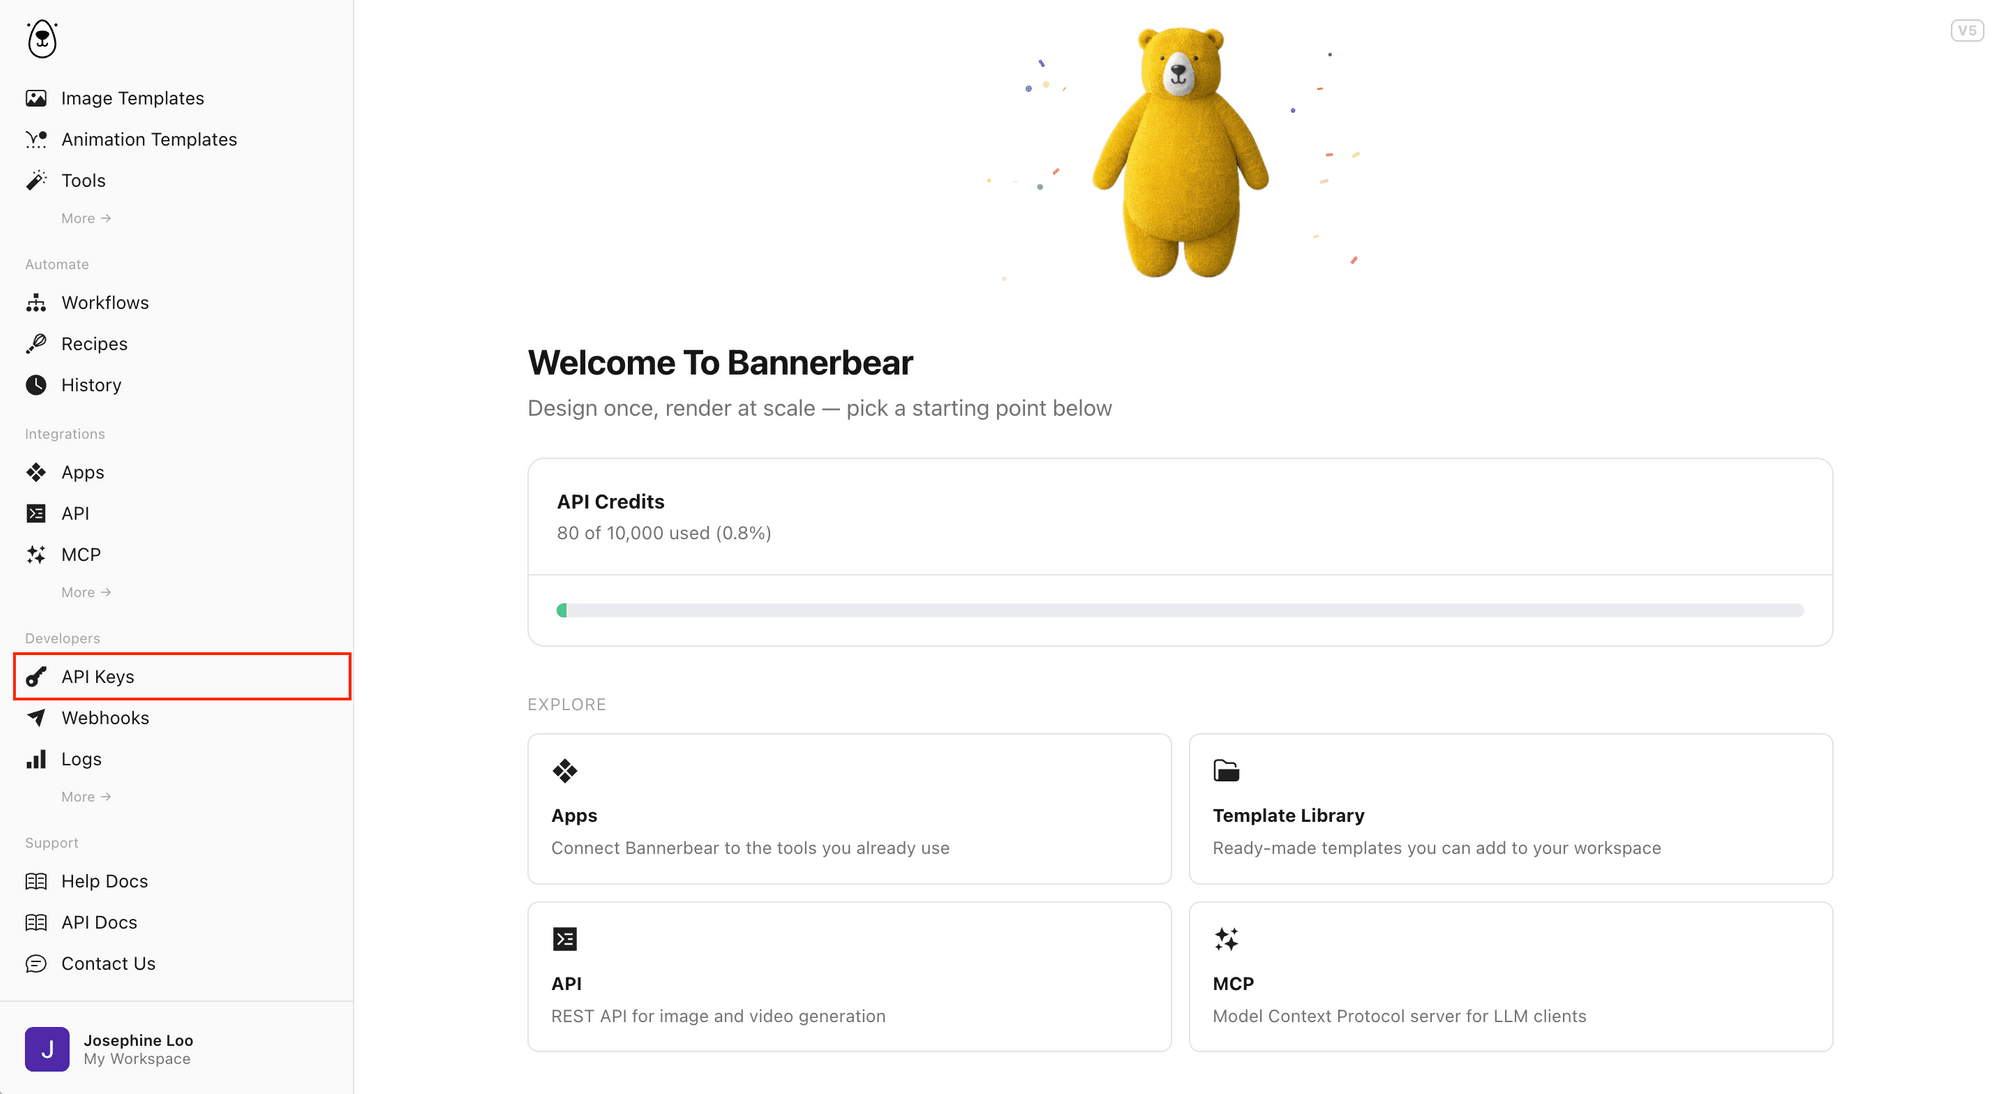
Log in to your Bannerbear dashboard and go to Developers → API Keys. Create a new API key or grab your existing one, and make sure that the correct permission is set to access your templates.
Copy it somewhere safe. We'll use it in the next step.
🐻 Bear Tip: Your API key should start with
bb_ak_v5_.
Step 2. Add the Bannerbear MCP Server to Claude Code
There are two ways to connect the Bannerbear MCP—running the server locally via npx, or adding it from the Claude directory.
Option 1: Run the Server Locally via npx
Now let's register the server with Claude Code. In your terminal, run this command:
claude mcp add bannerbear -e BANNERBEAR_API_KEY=your_actual_api_key -- npx -y @bannerbear/mcp
You can also reference your Bannerbear API key from an environment variable instead of typing it straight into the command. Export it in your terminal first:
export BANNERBEAR_API_KEY=your_actual_api_key
Then, pass it through by reference:
claude mcp add bannerbear -e BANNERBEAR_API_KEY=$BANNERBEAR_API_KEY -- npx -y @bannerbear/mcp
This keeps the actual key out of your shell history.
🐻 Bear Tip: After following the steps above, the Bannerbear MCP will bee accessible via your Claude Code VS Code extension too.
Option 2: Add from The Directory
If you're using the Claude Desktop app instead of Claude Code in the CLI, you can add it from the Claude Directory following this link:
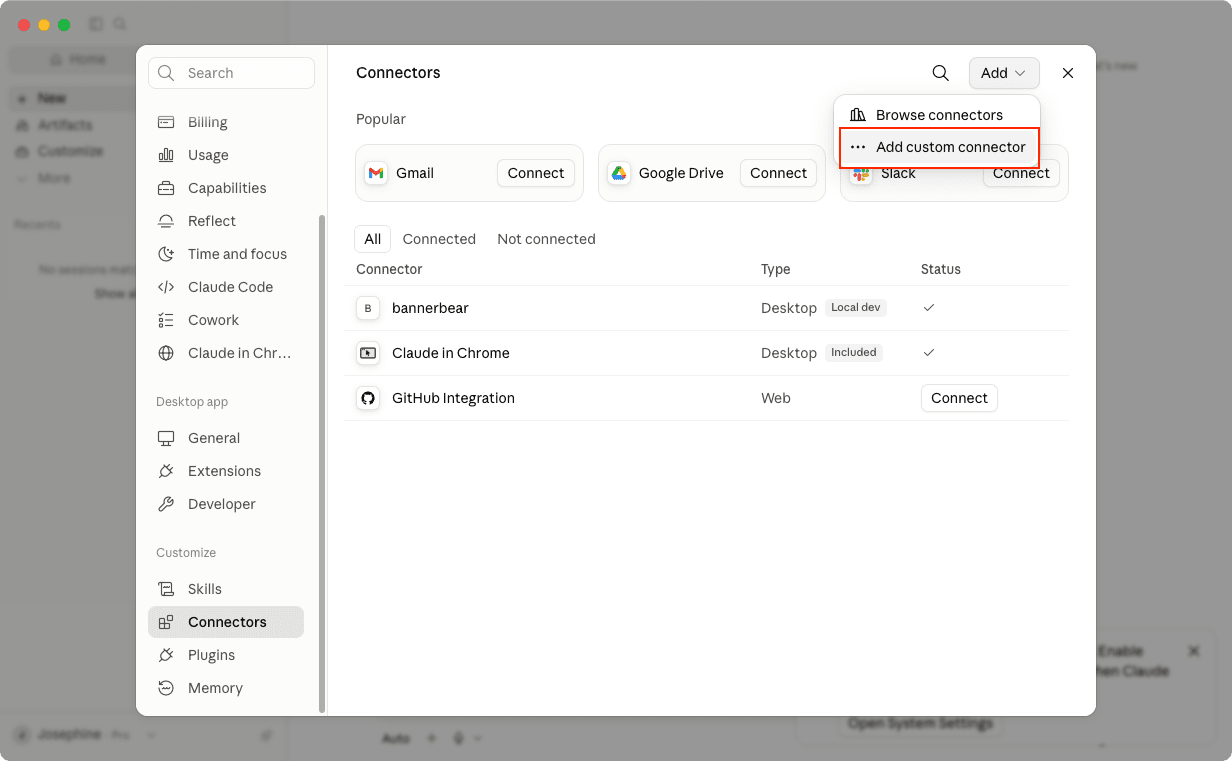
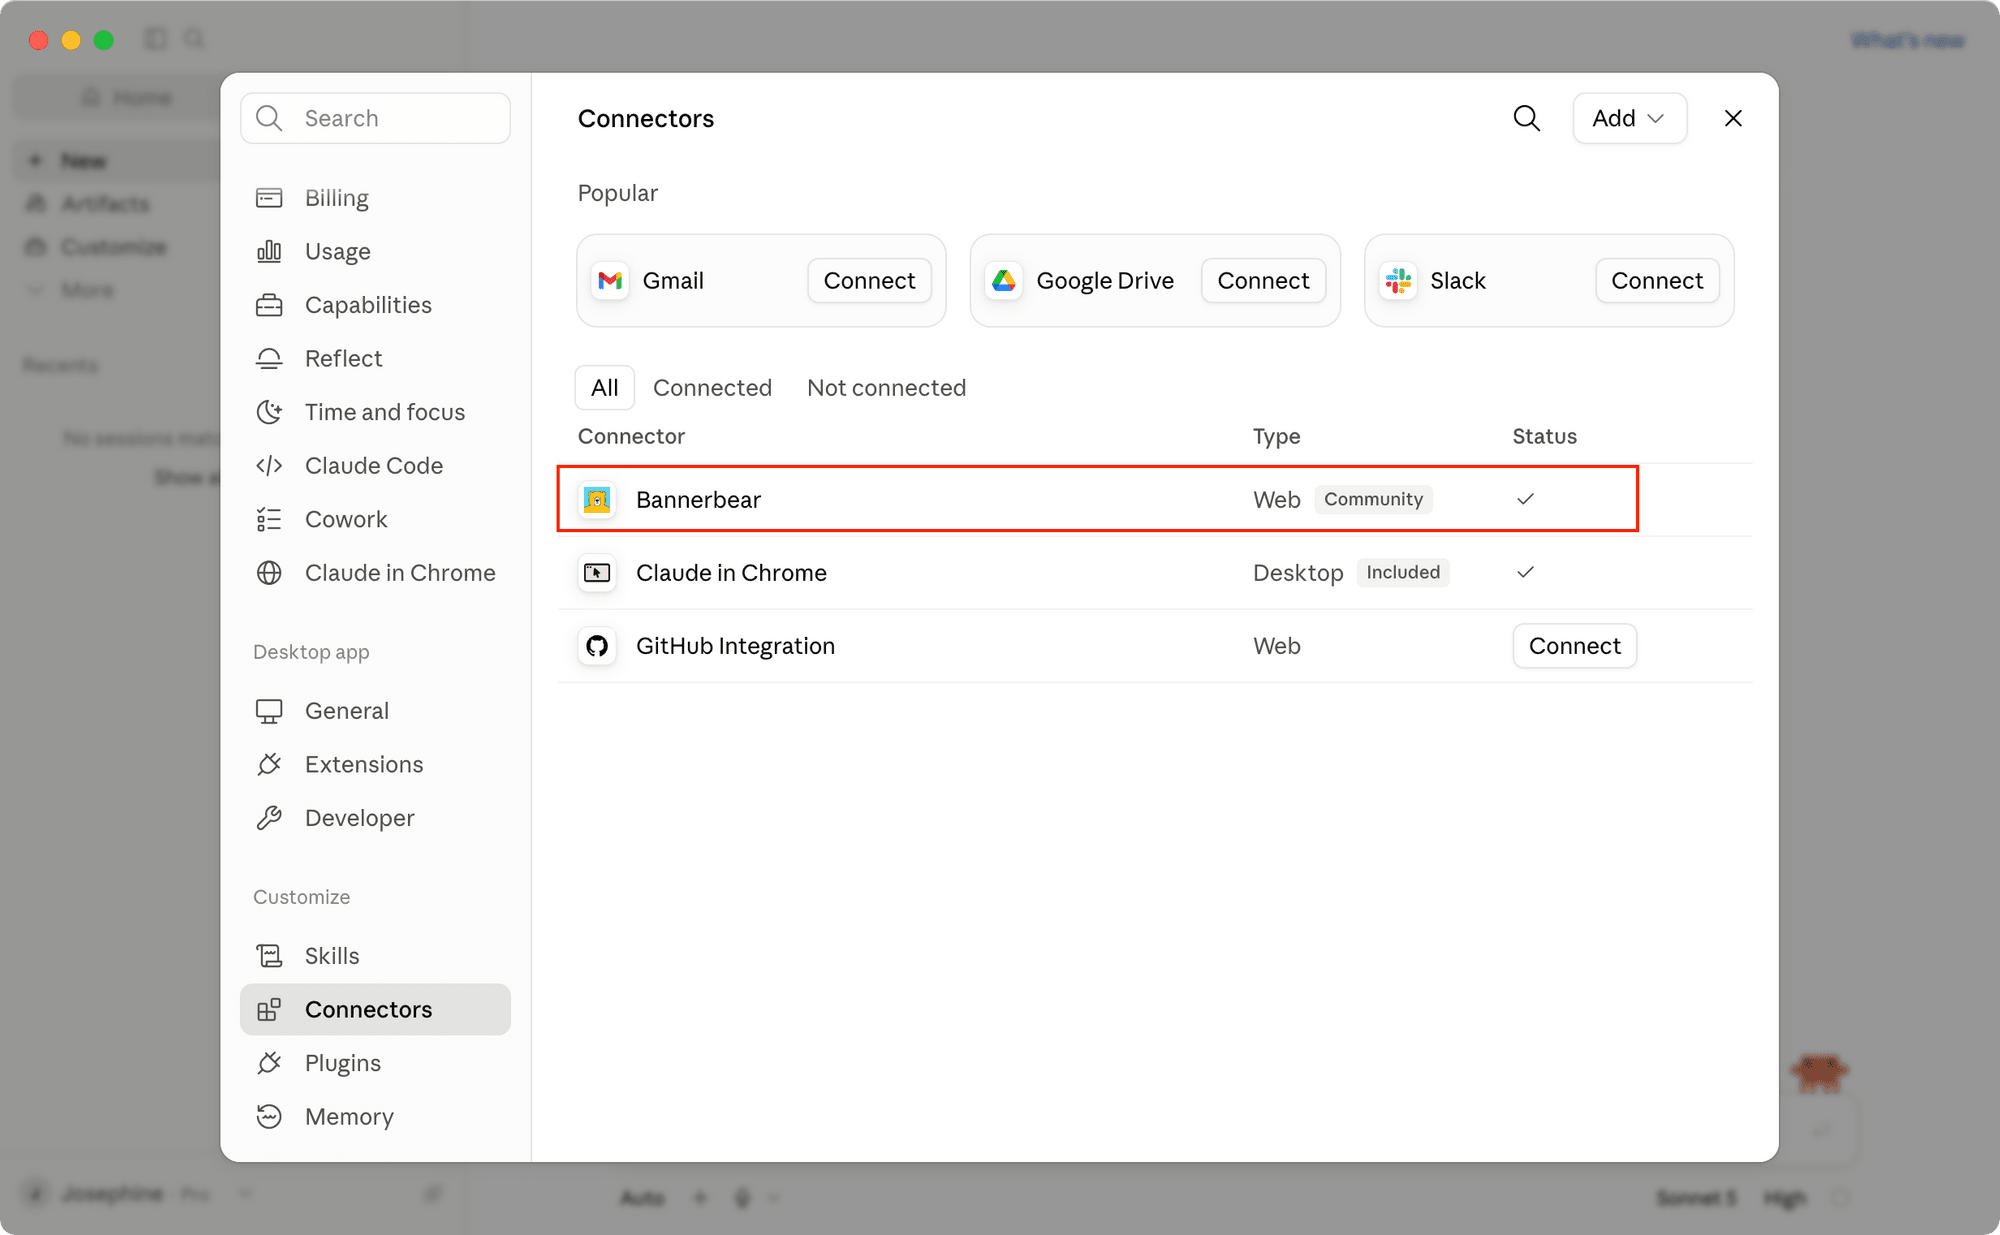
Or go to Claude’s Settings → Connectors , and click "Browse connectors” :
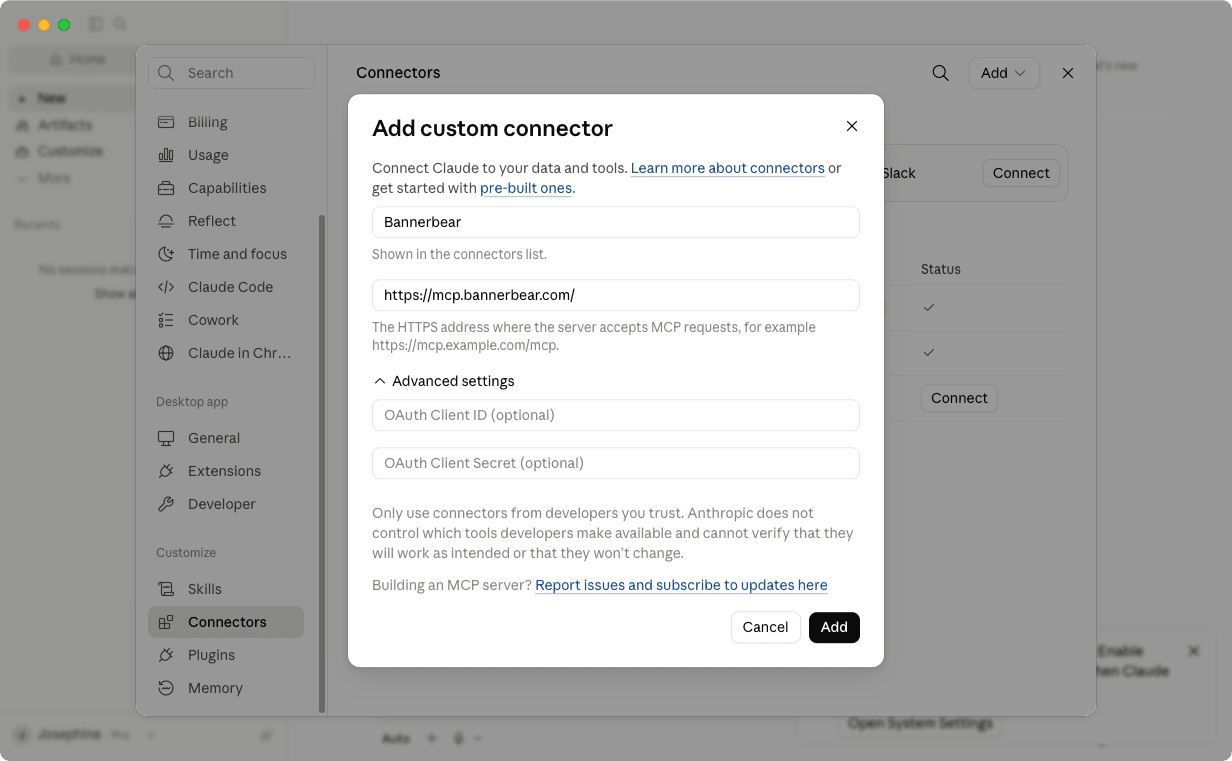
Type “bannerbear” in the search input:
And click “Connect to Claude” to add Bannerbear MCP to your Claude:
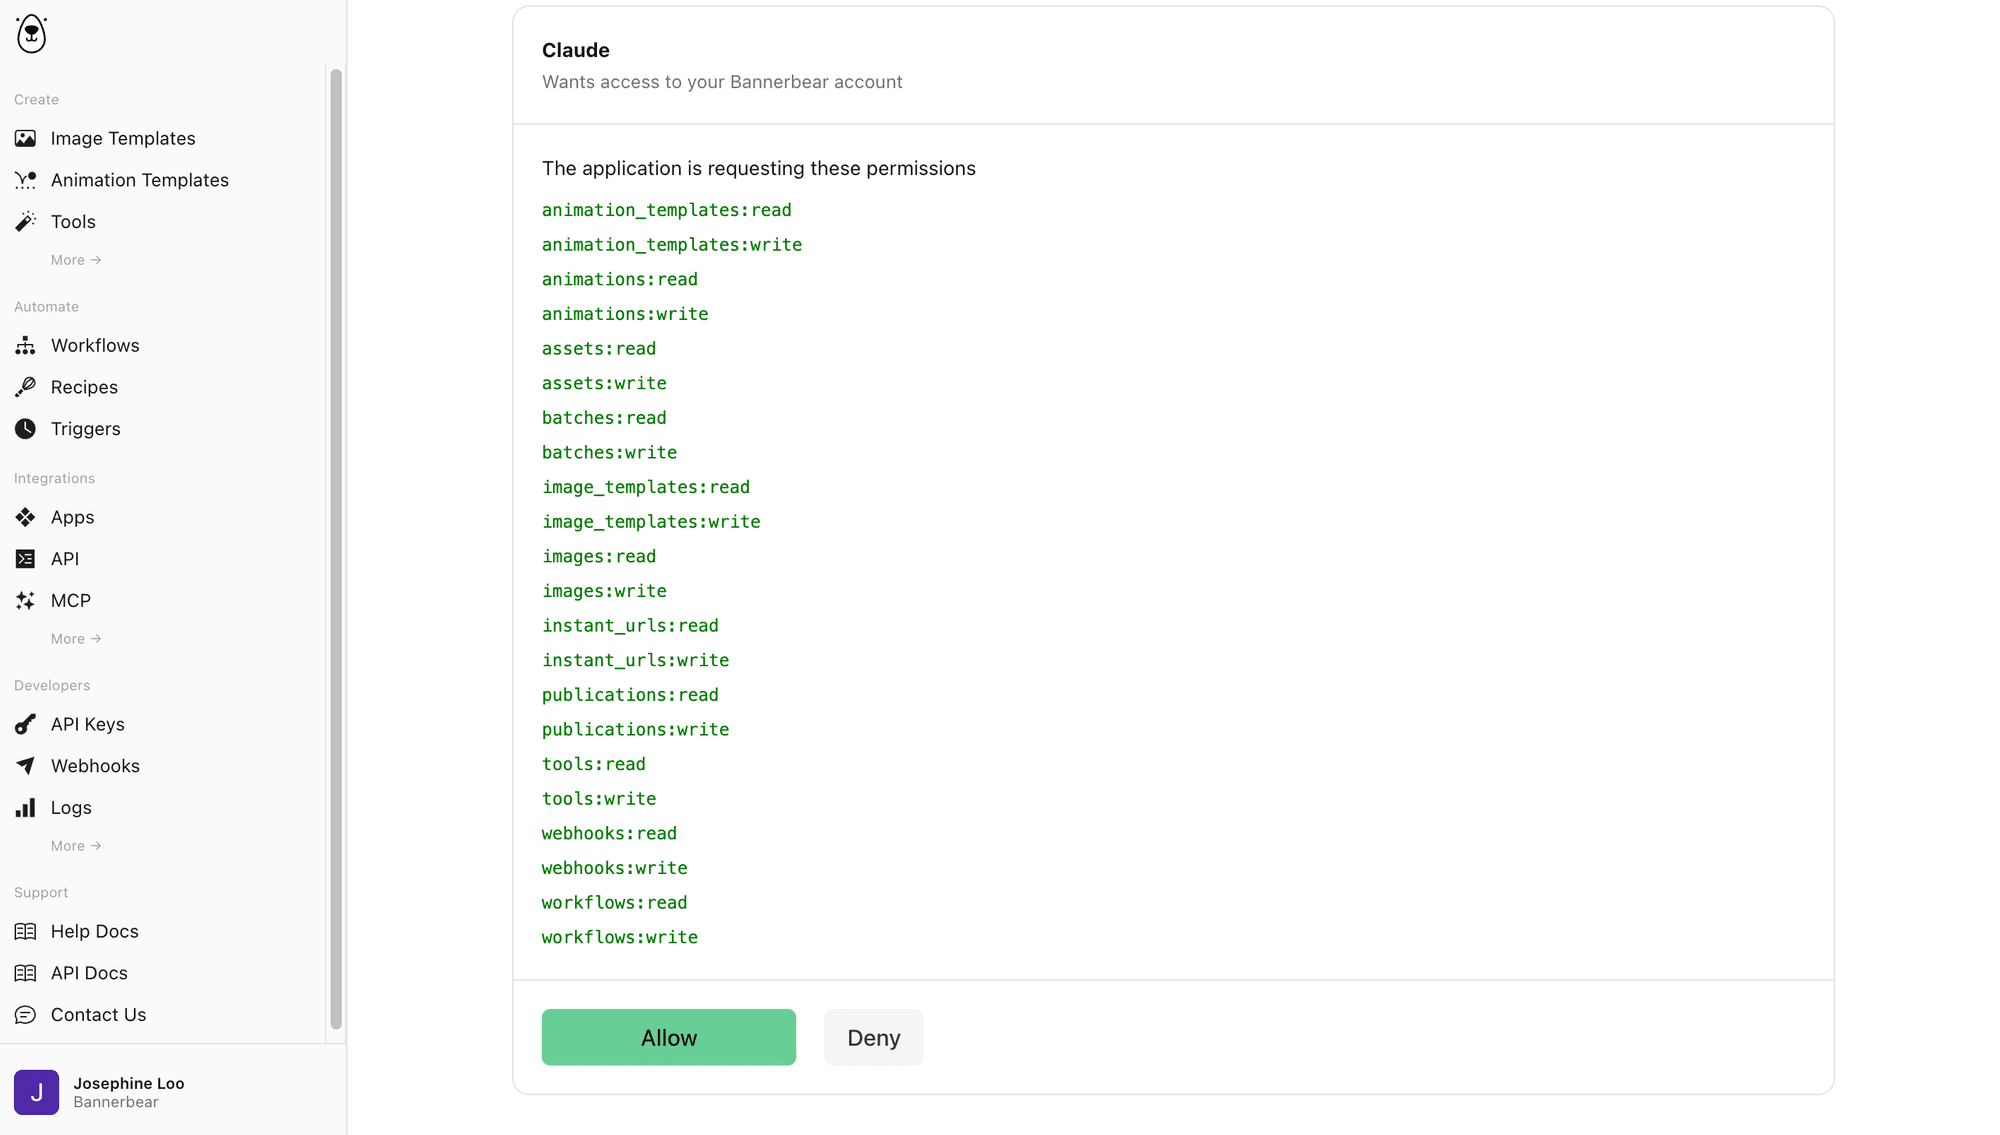
You should be redirected to login to your Bannerbear account and requested to allow permissions. Click "Allow" to continue:
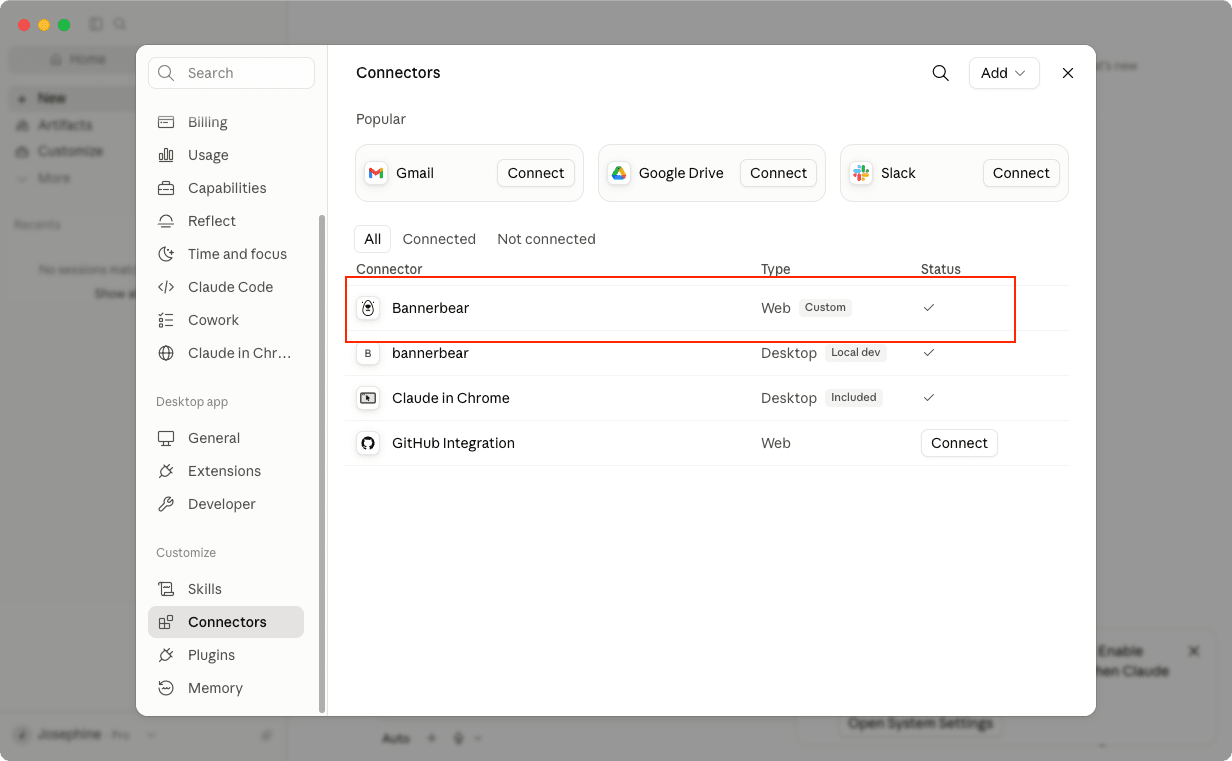
If you’re authenticated successfully, you should see Bannerbear added to the Connectors list:
You can also add it manually to claude_desktop_config.json, accessible from Settings → Developer → Edit Config :
{
  "mcpServers": {
    "bannerbear": {
      "command": "npx",
      "args": ["-y", "@bannerbear/mcp"],
      "env": { "BANNERBEAR_API_KEY": "your_actual_api_key" }
    }
  }
}
Step 3. Verify the Connection
Start (or restart) Claude Code, then run:
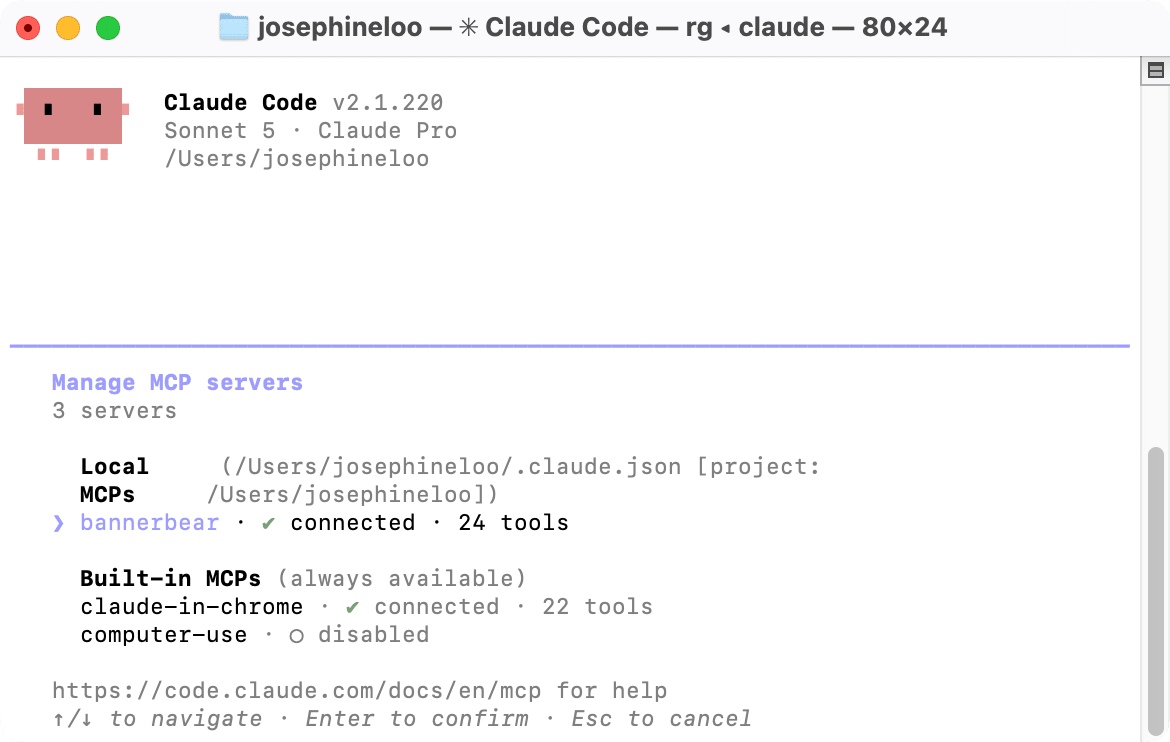
/mcp
You should see bannerbear listed as a connected server:
🐻 Bear Tip: If it's not connecting, double-check your key was typed correctly by running
claude mcp get bannerbearto see the config Claude Code has stored for it.
Step 4. Try It Out
With the MCP server connected, you can ask Claude Code to do things with Bannerbear simply in plain English. For example:
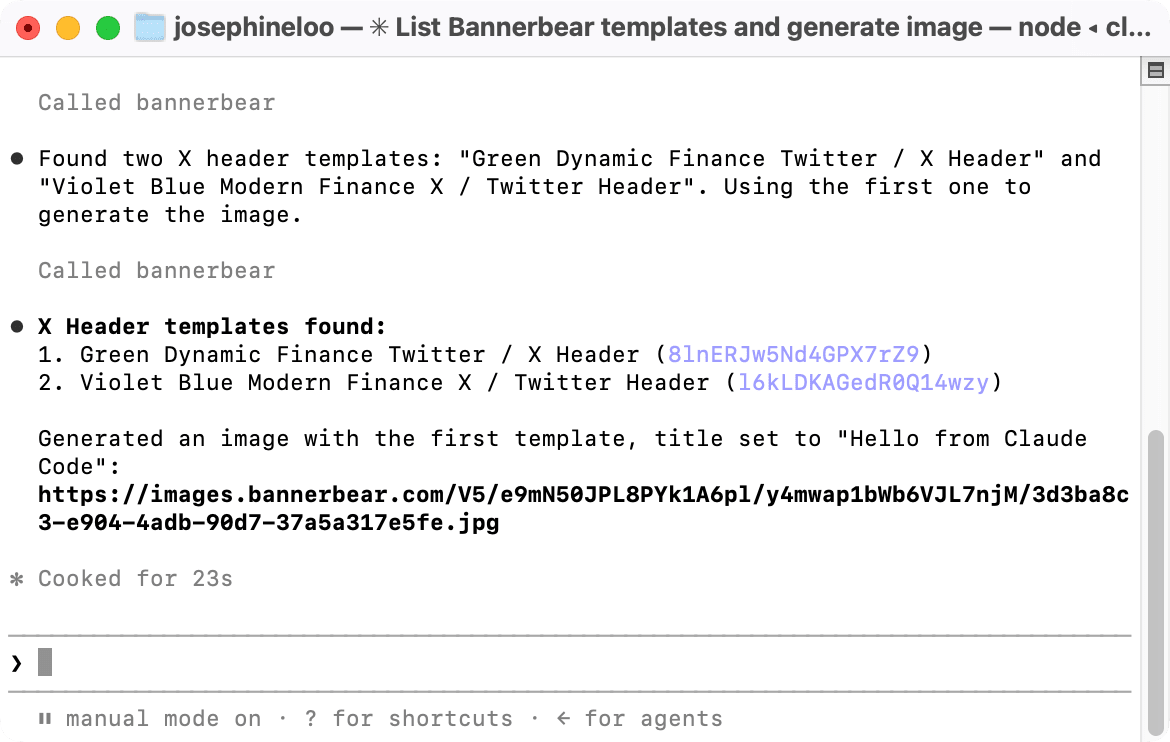
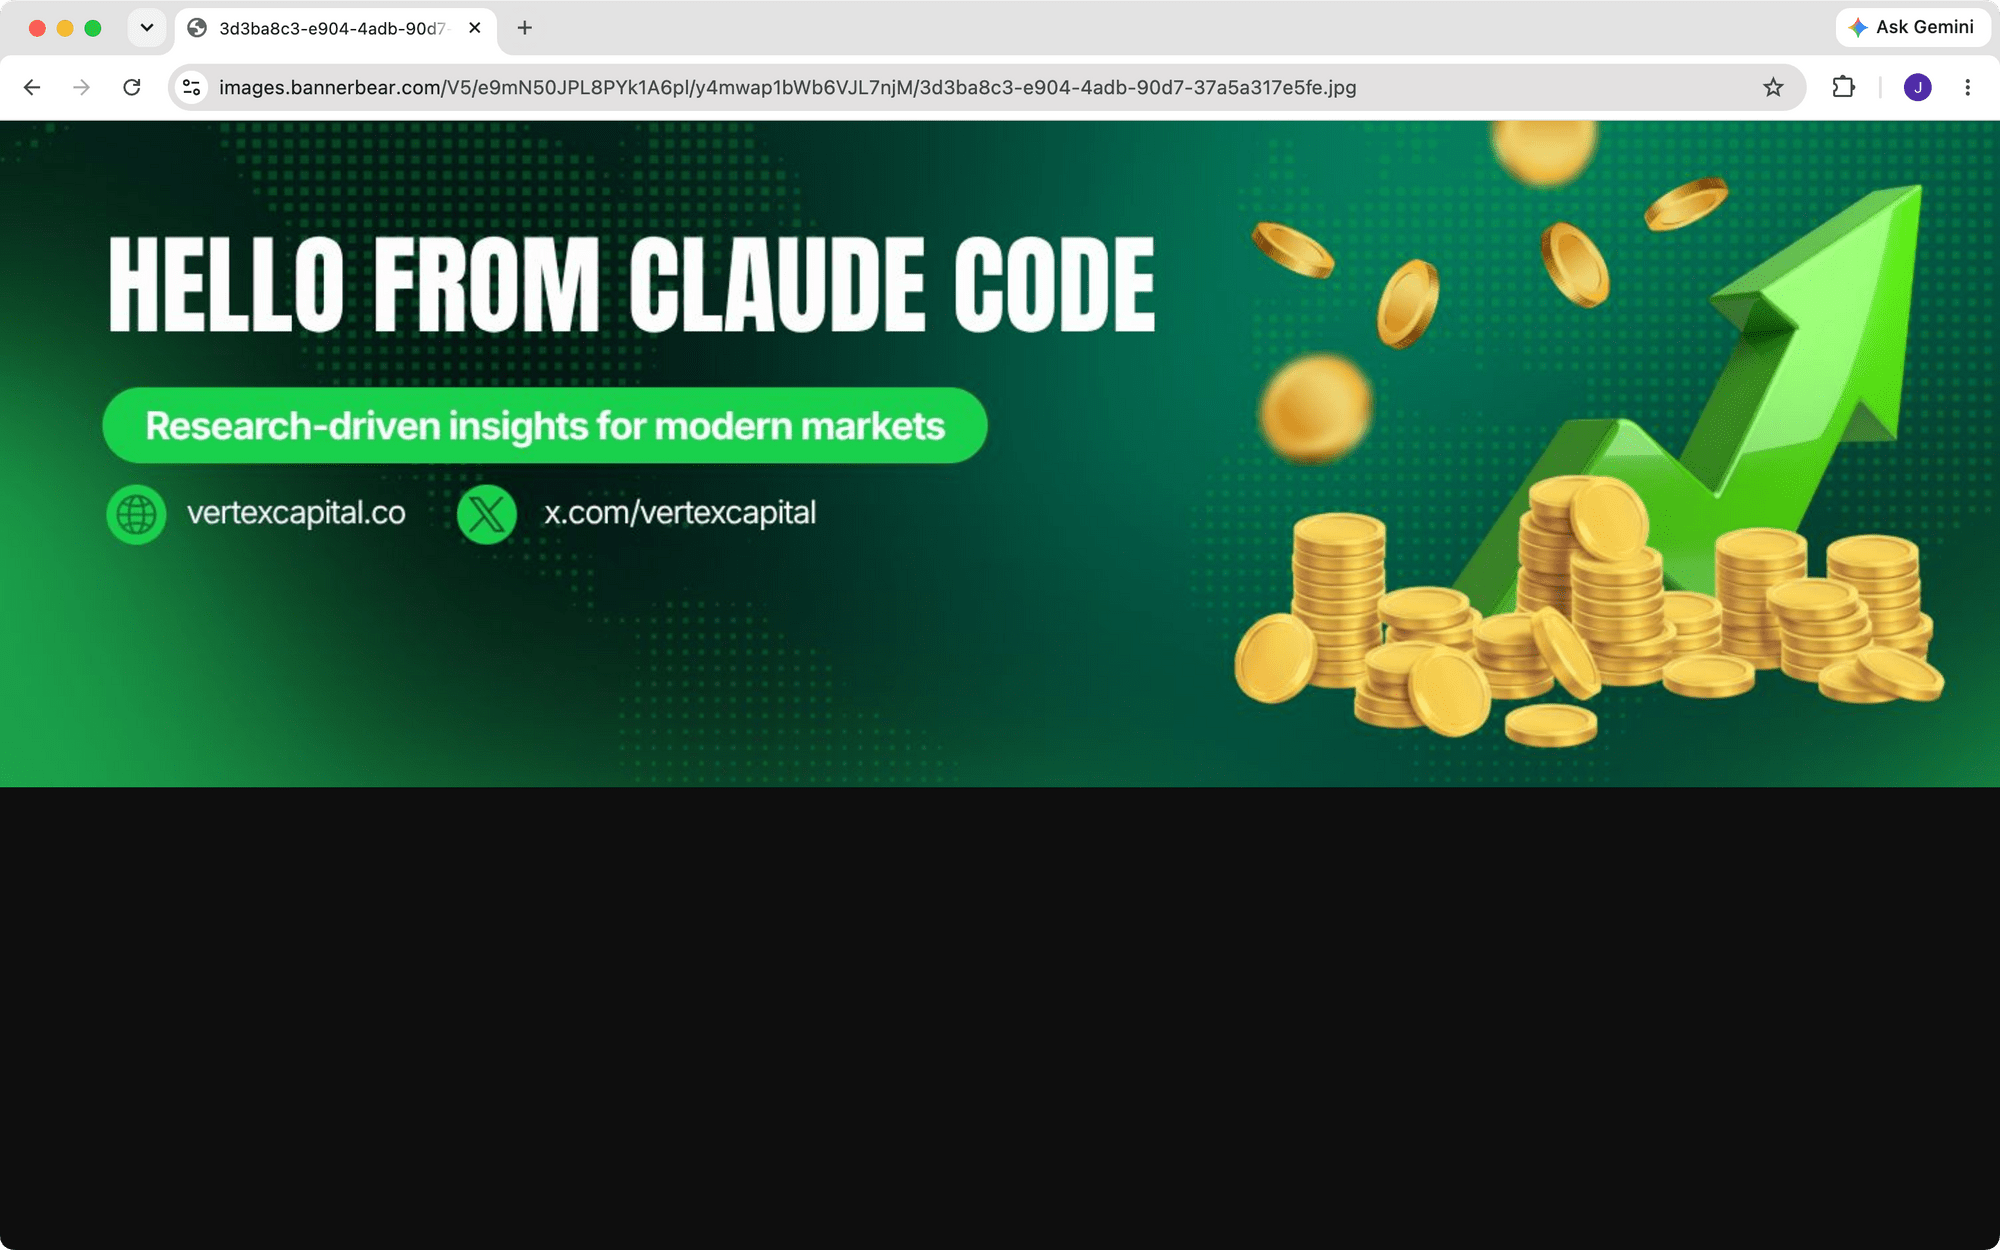
List my Bannerbear templates for X header, then generate an image using the first one with the title "Hello from Claude Code".
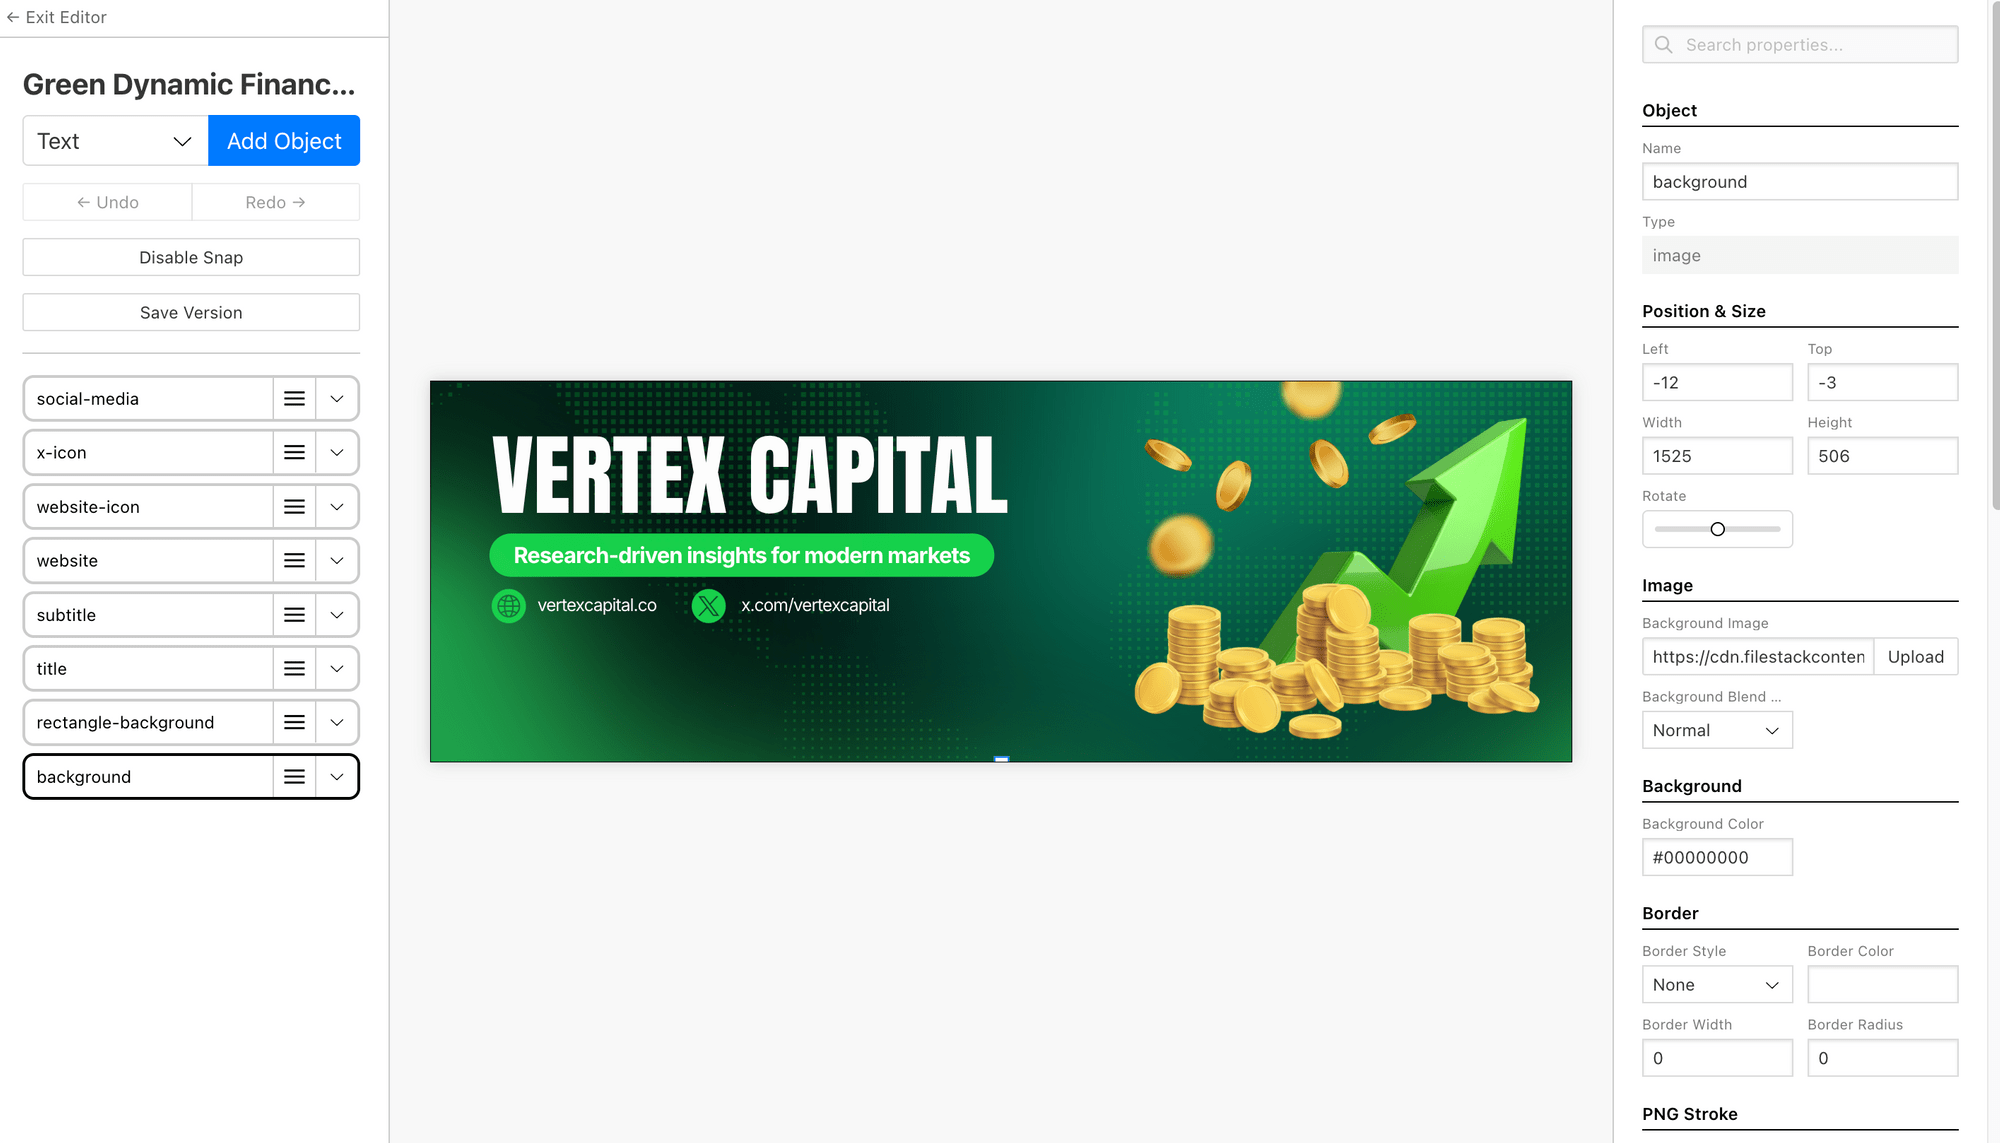
Claude Code will call list_templates to see what's available, get_template to check the layer structure, generate_image to produce the image, and return the final result:
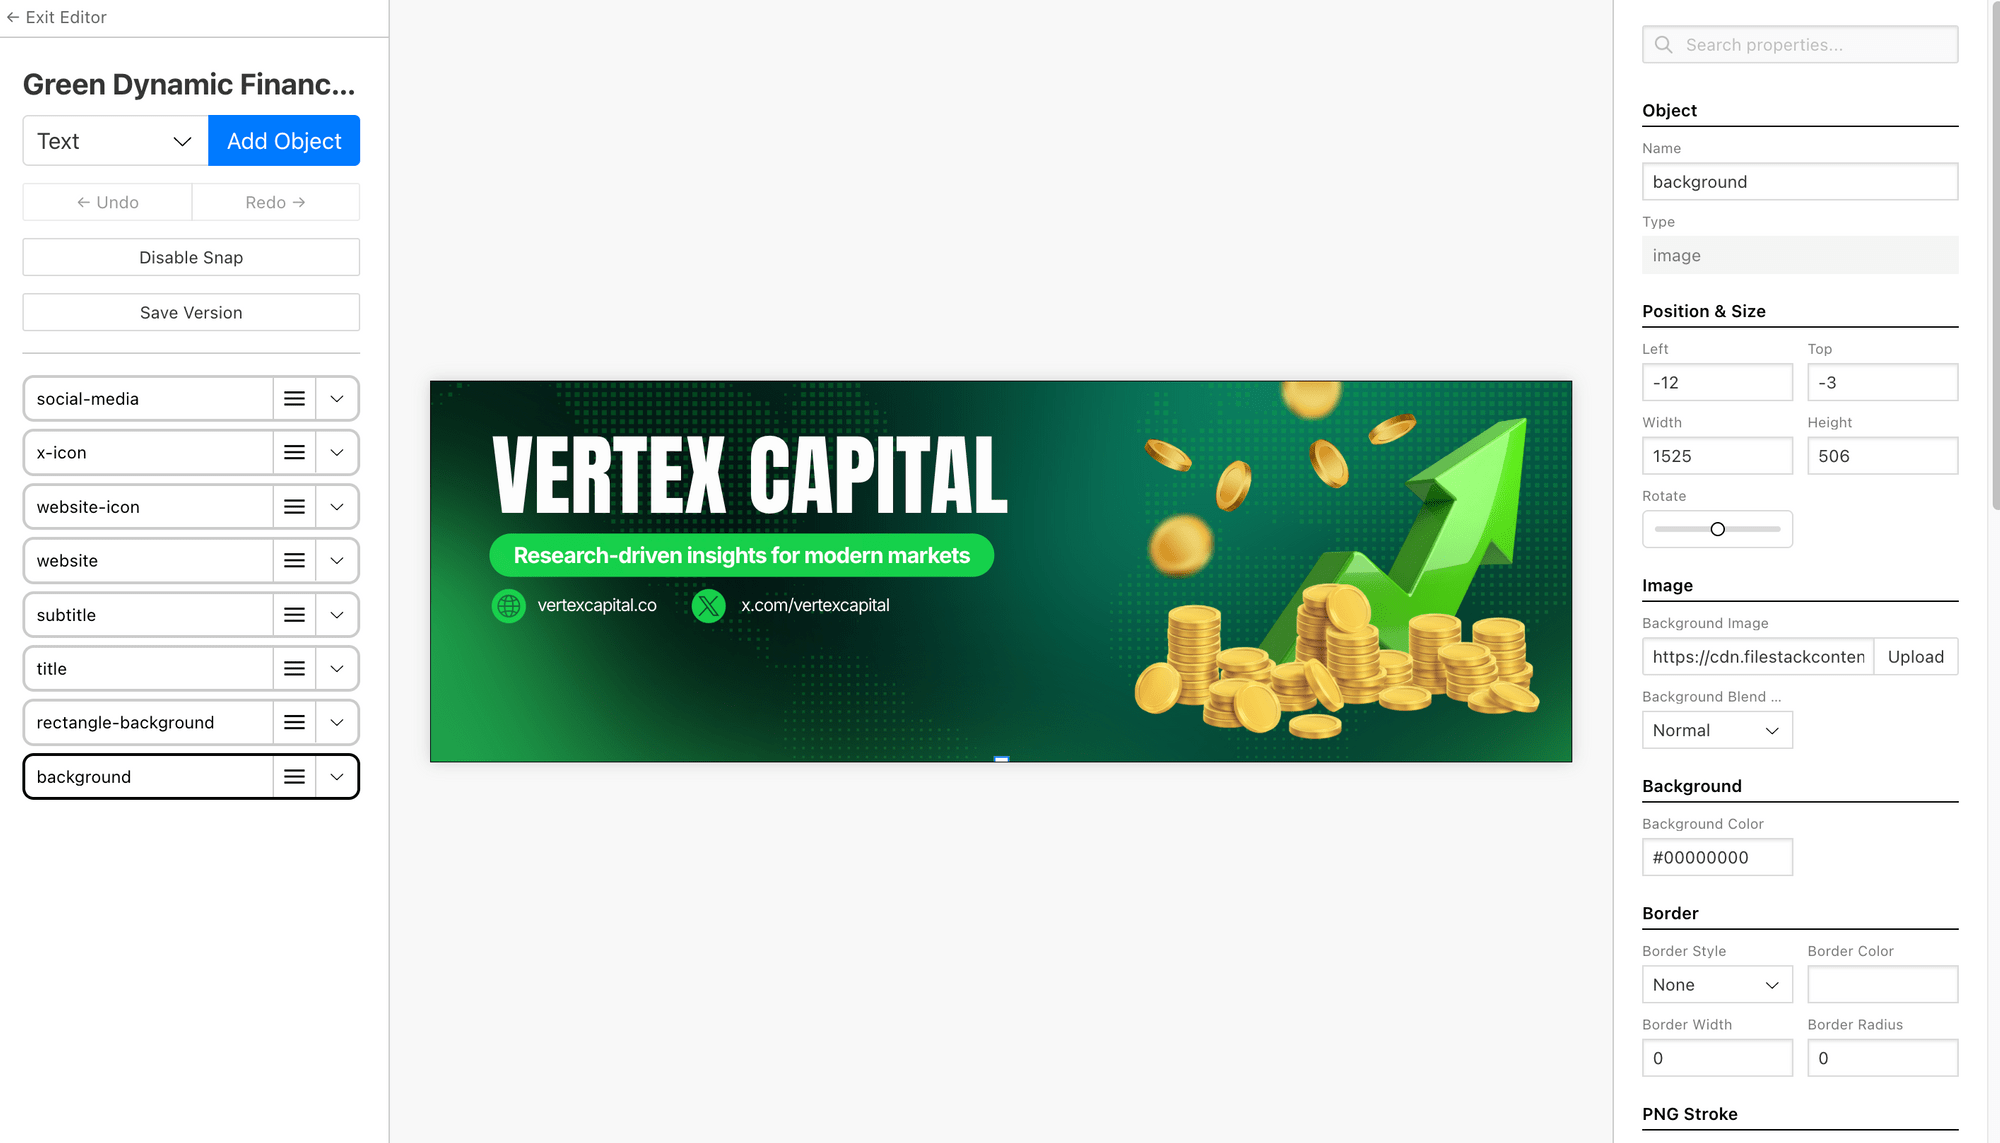
Here’s the template it picked:
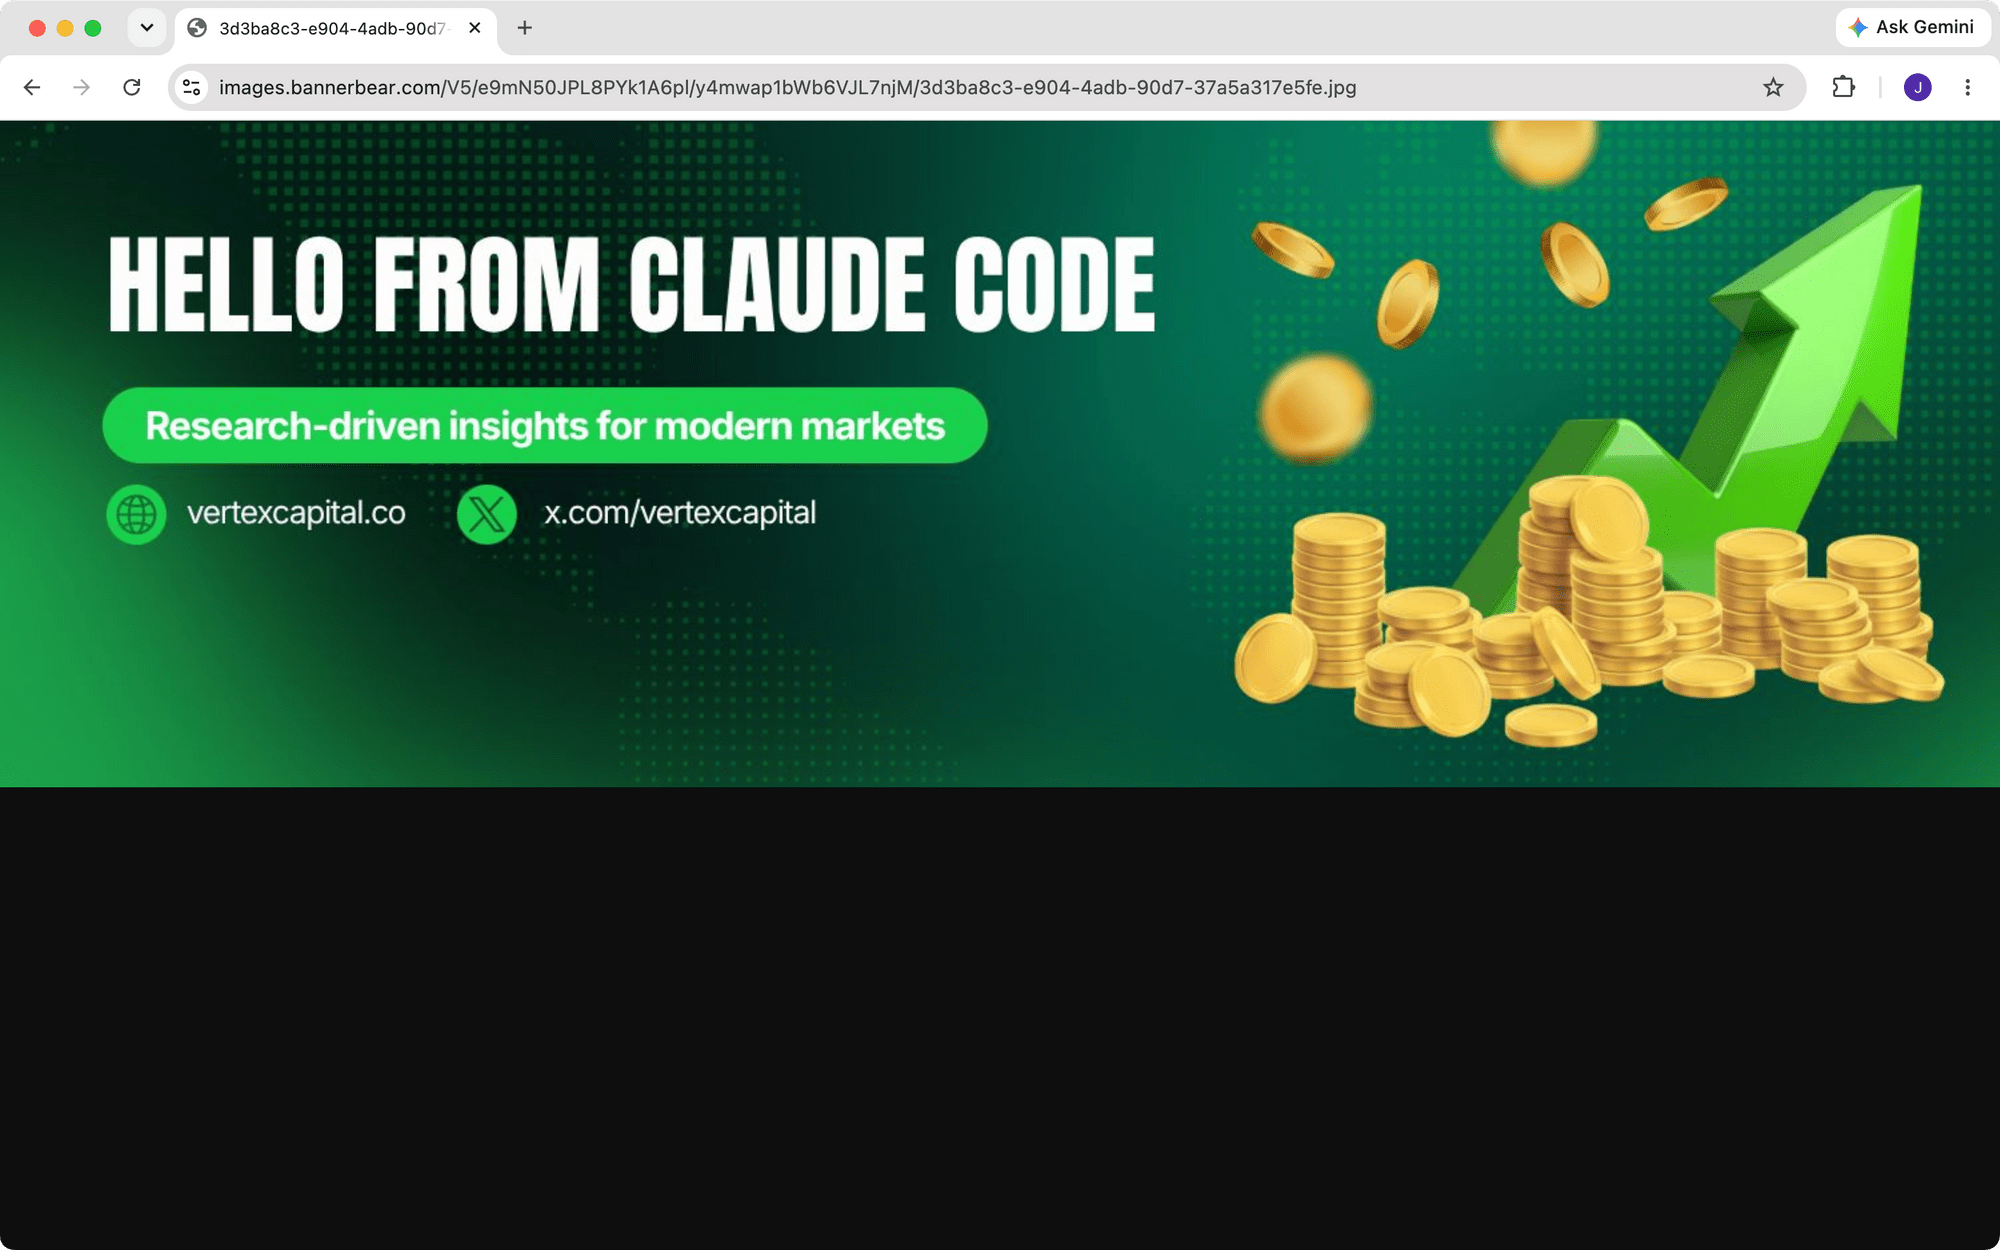
And here’s the generated image:
More Bannerbear MCP Examples in Claude Code
Besides the example above, there are more things you can do with Bannerbear MCP in your Claude Code. Here are a few more prompts to try:
Generate a Batch of Images
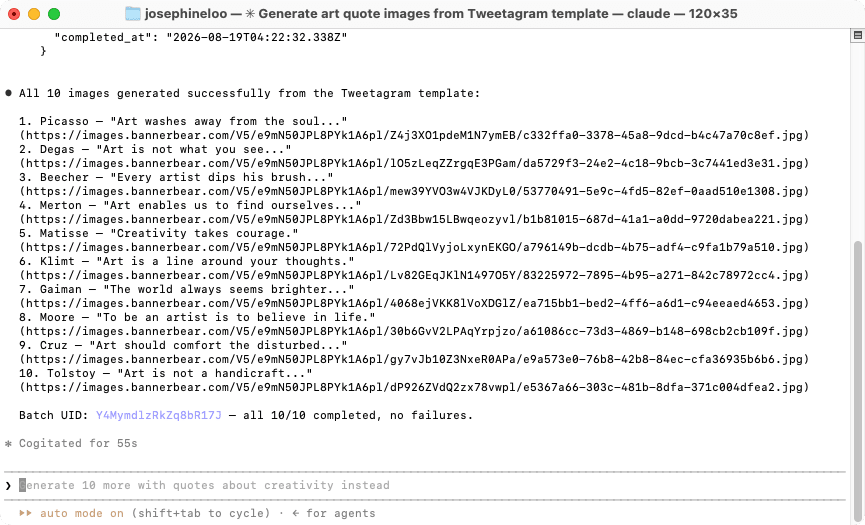
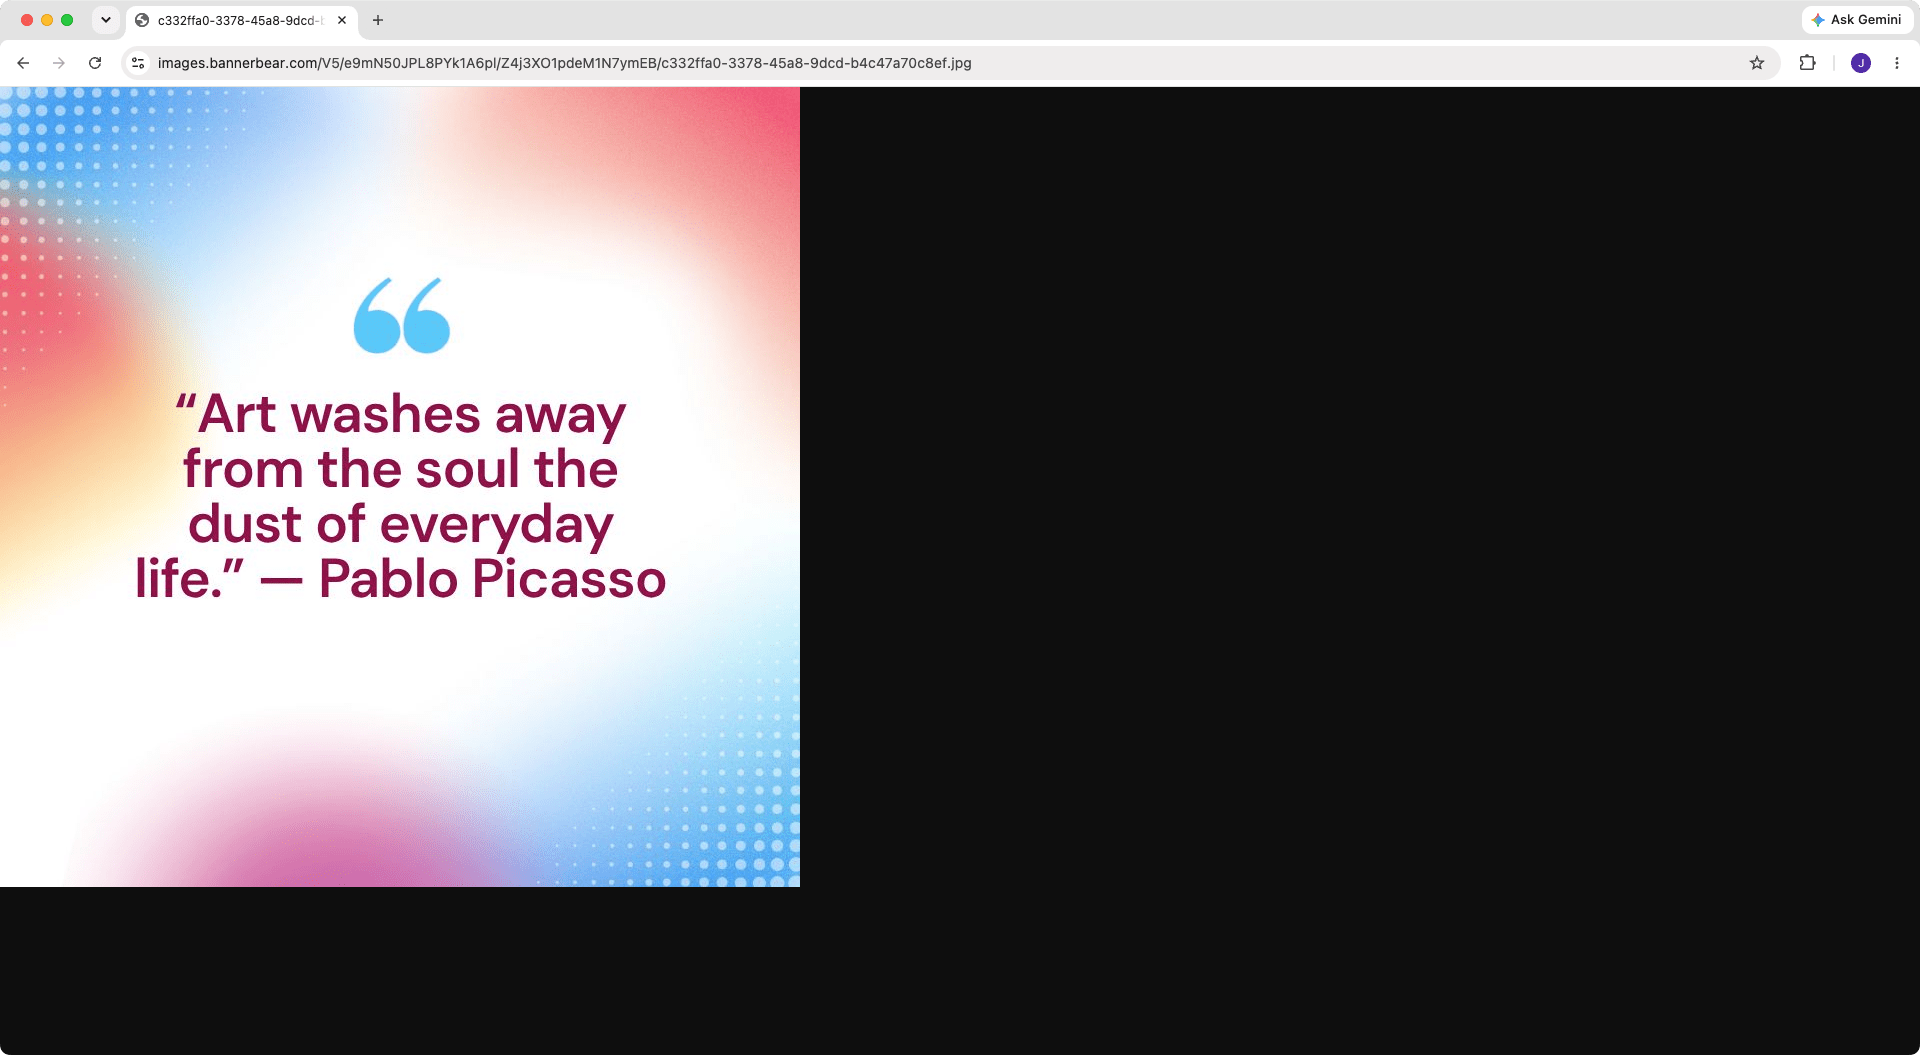
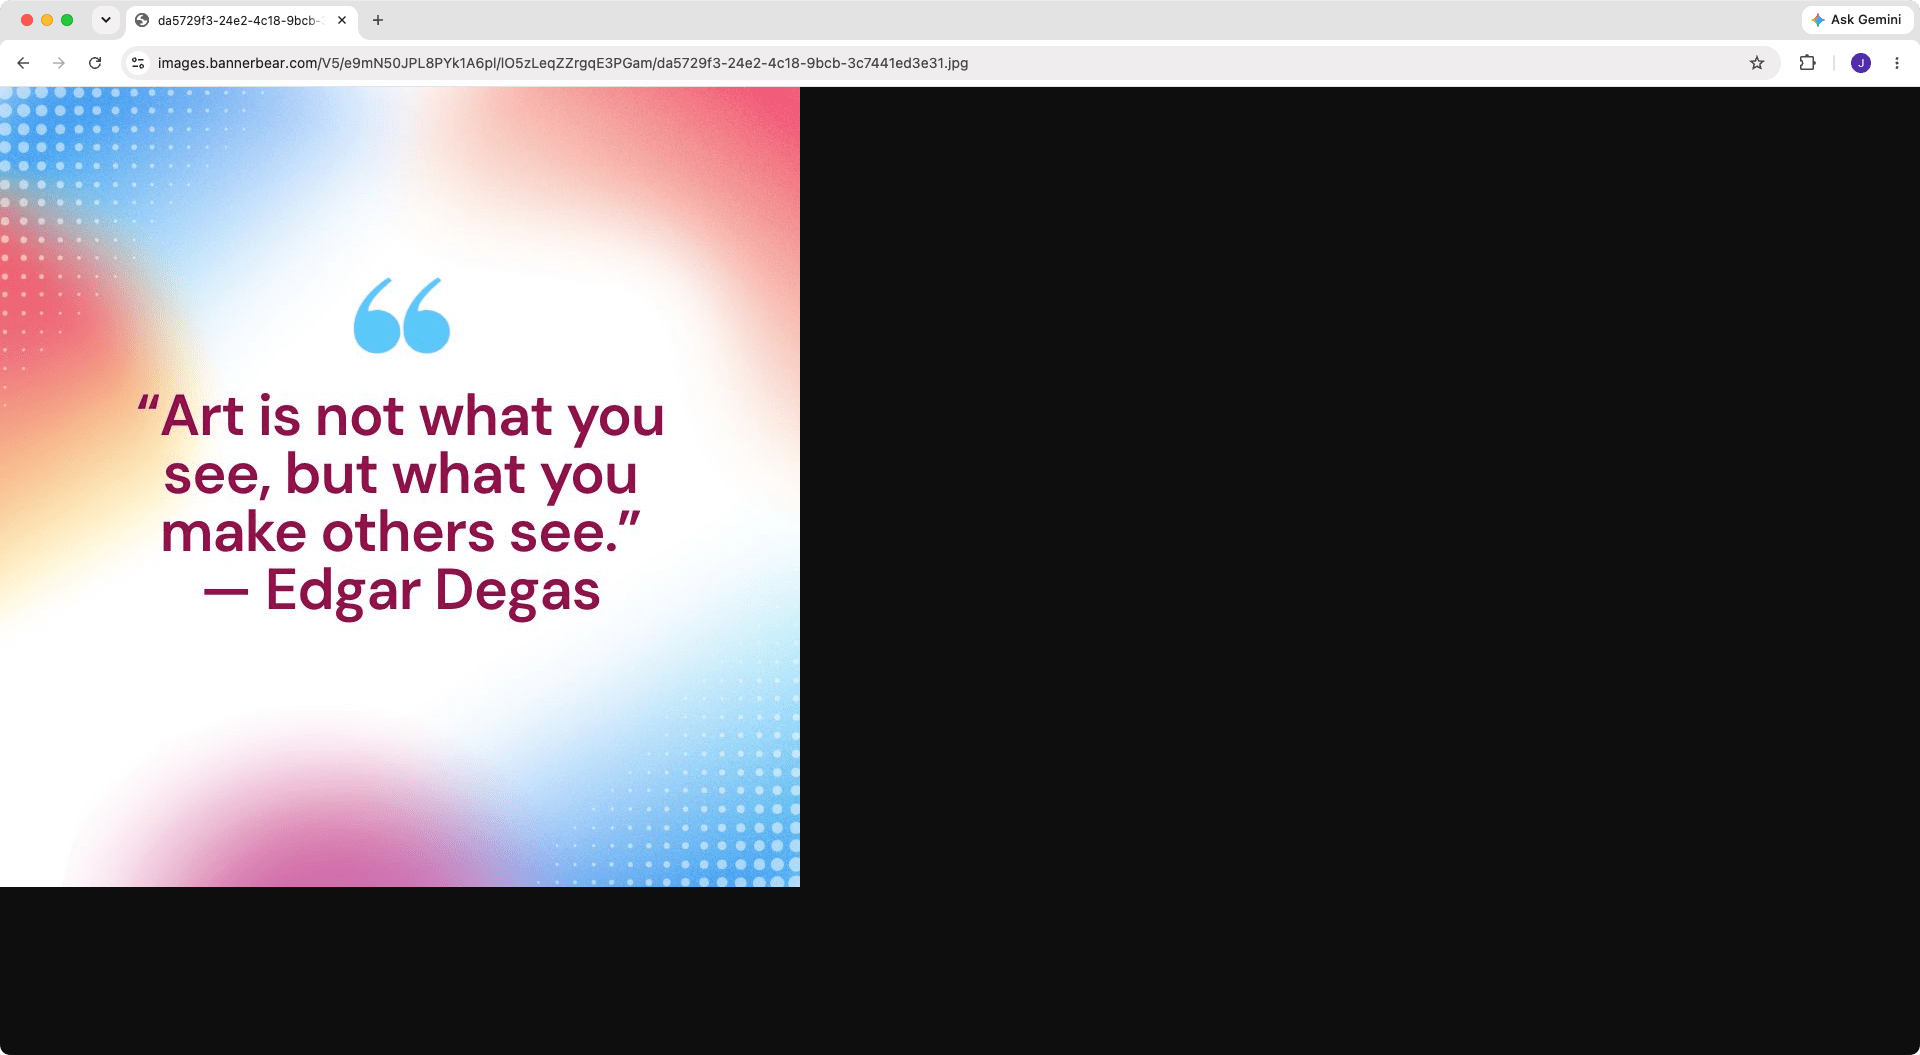
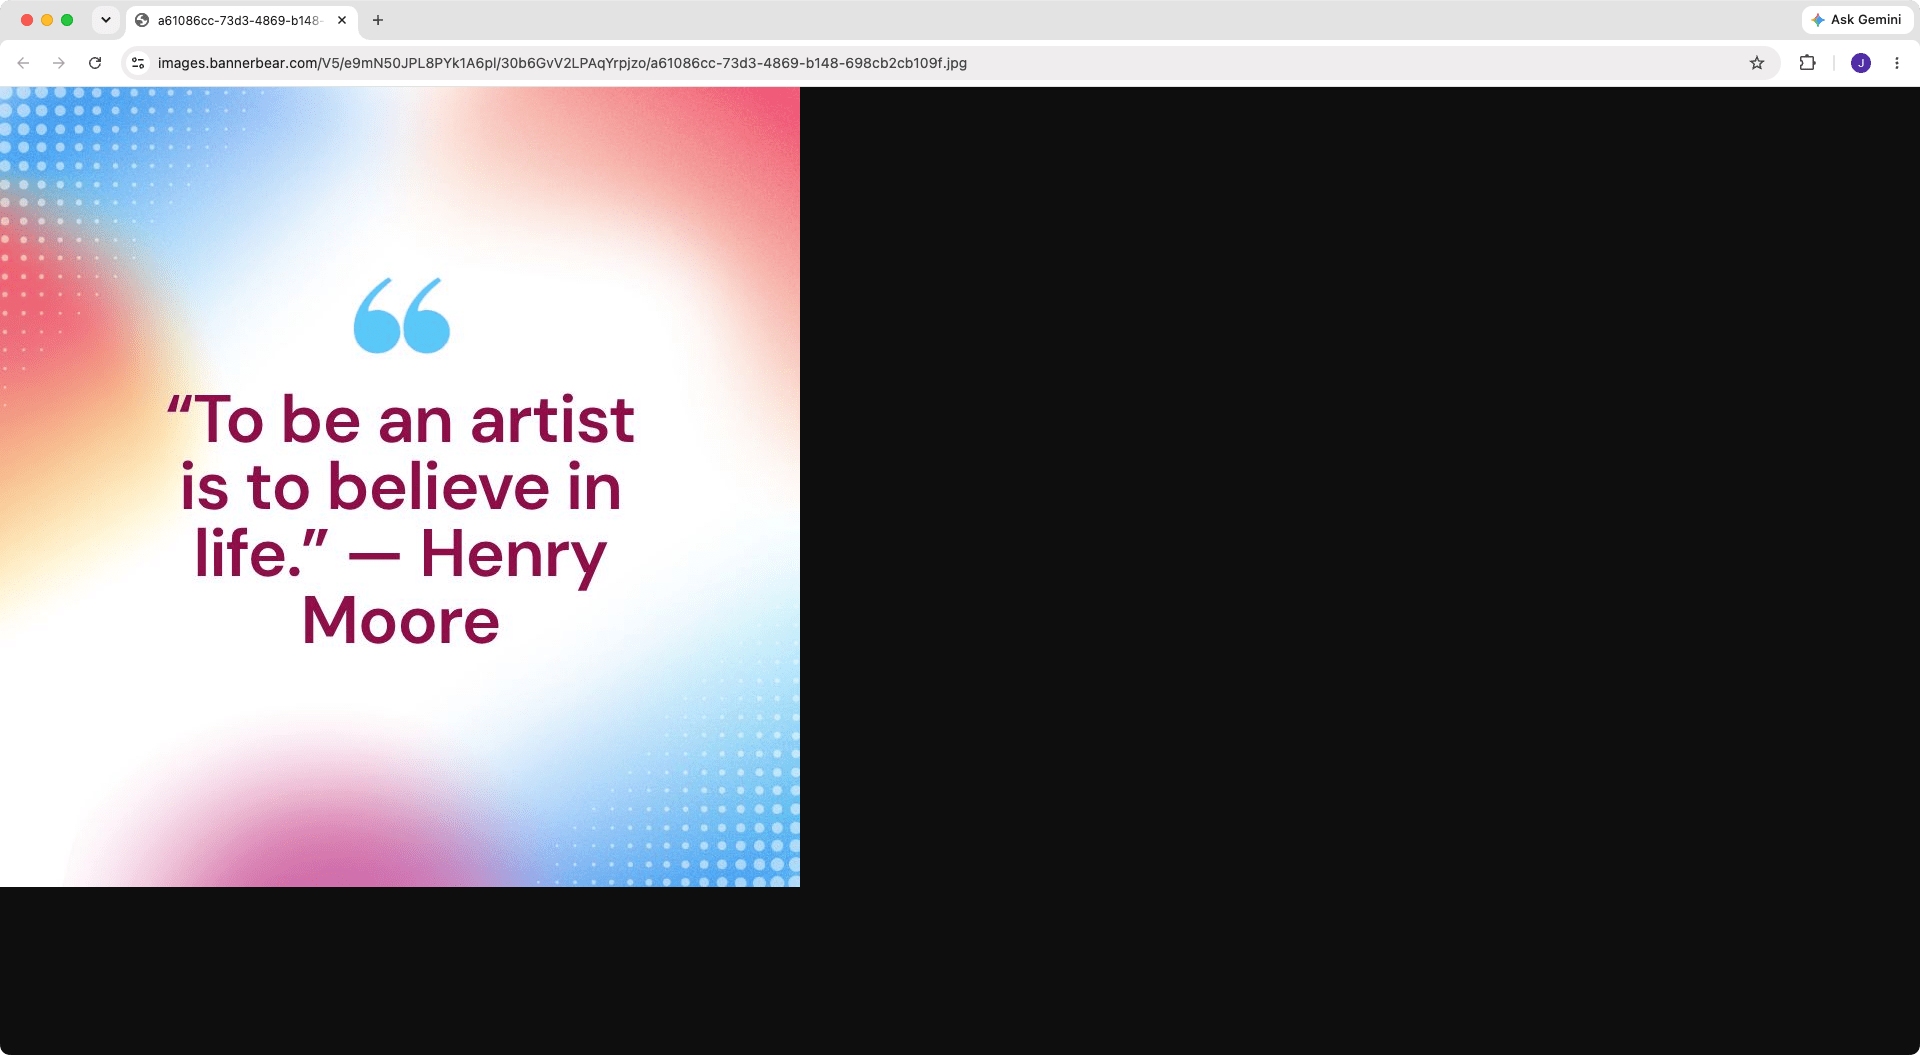
"Generate a batch of 10 images from the Tweetagram template, using different quotes about art for each."
Claude Code will find the template, build the batch payload, and hand it off to create_batch. All 10 variations will get generated in one go instead of 10 separate requests:
Here are some of the images returned:
Check a Template's Details
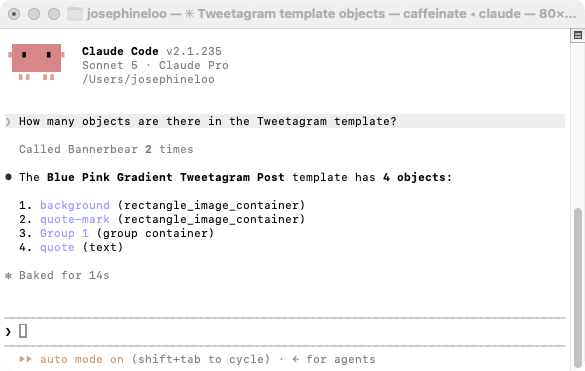
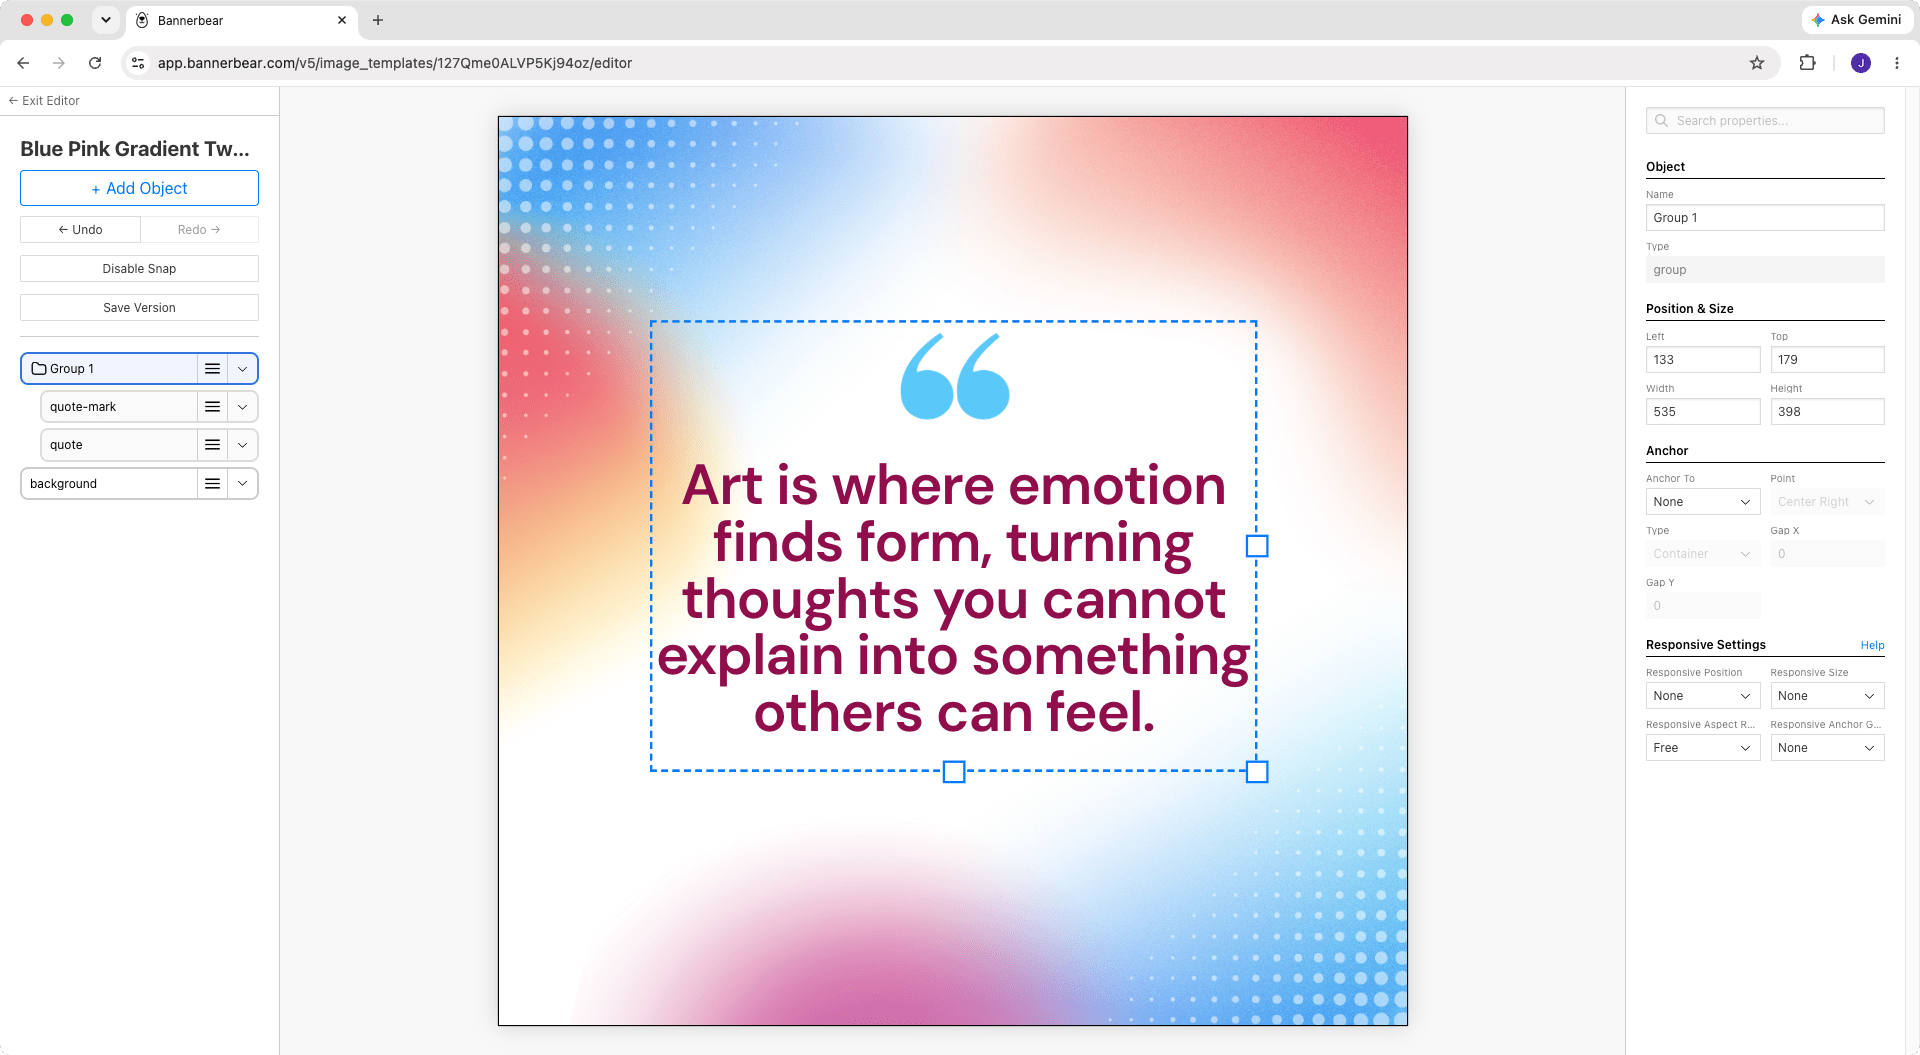
"How many objects are there in the Tweetagram template?"
Claude Code will fetch the template's config with get_template and return the answer to your query:
Here’s the same template opened in the template editor for comparison:
Edit a Template
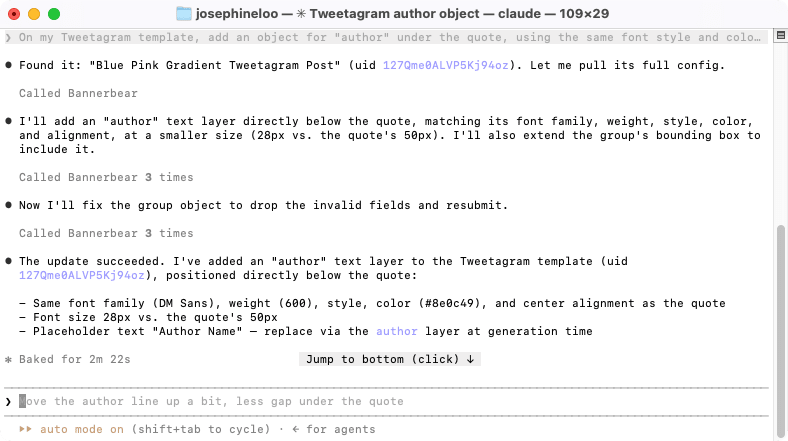
"On my Tweetagram template, add an object for "author" under the quote, using the same font style and color but smaller font size."
Claude Code will pull the current config with get_template, updates the template following your request, and sends the full config back through upsert_image_template:
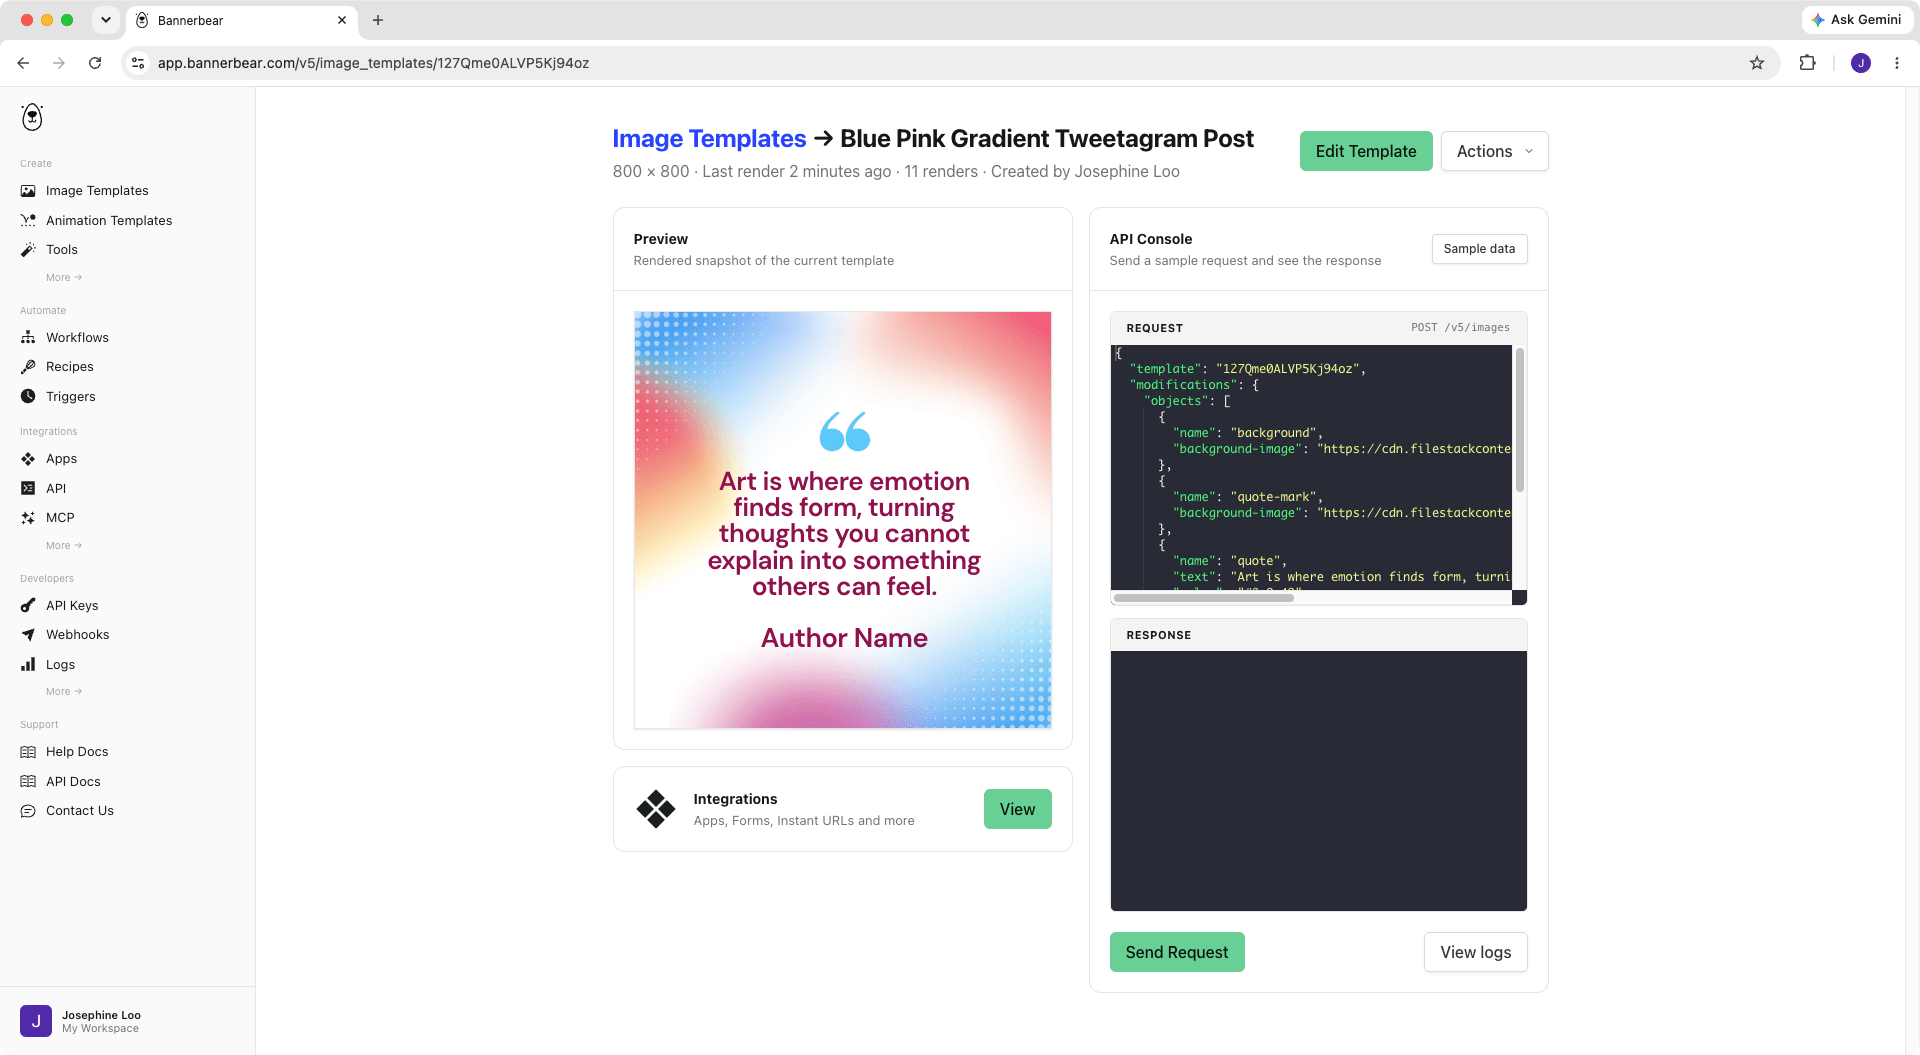
Without touching the template editor at all, the template is updated:
List Recent Generations
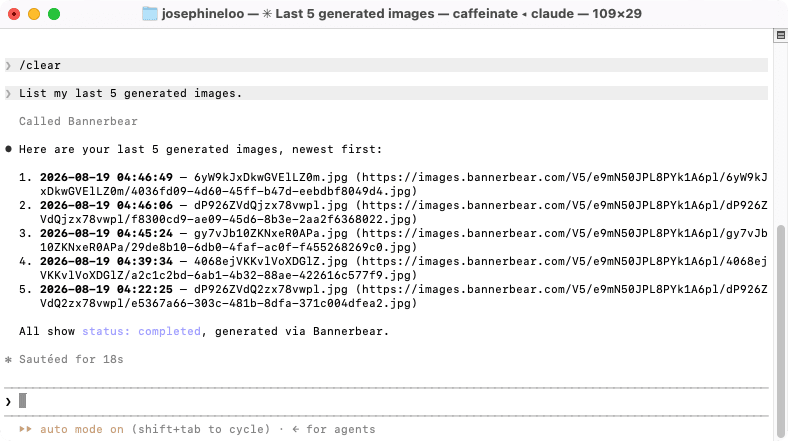
"List my last 5 generated images."
Claude Code will call list_media and return the last 5 generated images, with the newest being the first:
Run a Workflow
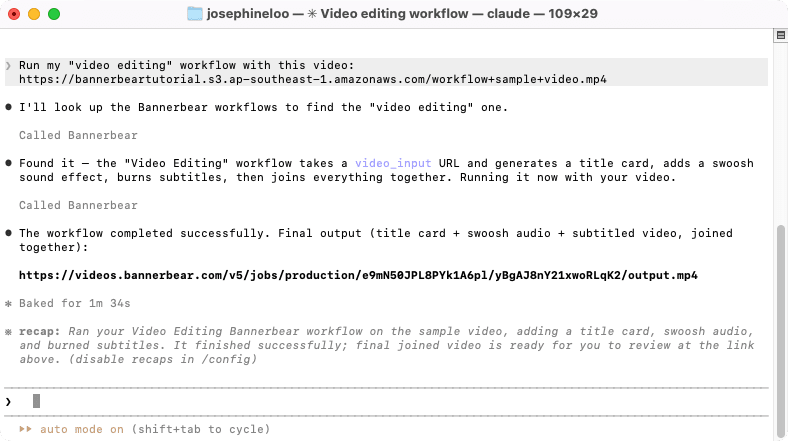
"Run my "video editing" workflow with this video: https://bannerbeartutorial.s3.ap-southeast-1.amazonaws.com/workflow+sample+video.mp4"
Claude Code will look up the specific workflow with list_workflows, then triggers it with run_workflow, and return the result:
🐻 Bear Tip: Workflows let you chain multiple steps—tools, image and animation renders into a single automation.
What’s Next?
That's it! You've got the Bannerbear MCP server running in your Claude Code. Play around and see what you can do with Bannerbear straight from Claude Code. If you’d like to check out what other tools are available, you can run /mcp, select bannerbear, and then select View tools to see the list of all tools available.
If you need more ideas for what to do with Bannerbear, check out:
- How to Vibe-Code a Certificate Maker with Claude Code and Bannerbear
- How to Automatically Remove Image Backgrounds of Product Photos with the Bannerbear V5
- How to Generate Event Marketing Graphics in Any Size from a Single Template Using Bannerbear (Node.js Tutorial)