
How to Generate Open Graph Images From Google Docs
Contents
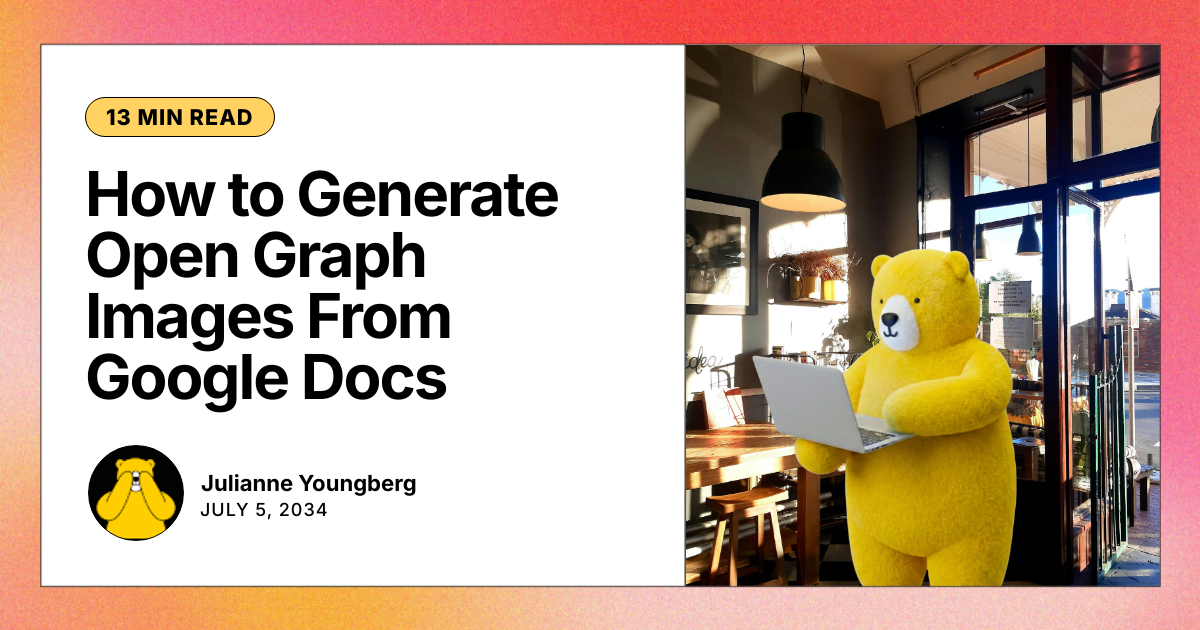
Open graph images are thumbnails that appear when you share content on social platforms, messaging apps, and sometimes search engine results. They display key information—titles, descriptions, images, and content types—that help viewers decide if your content is worth their time. Priming these images for attention can significantly boost your click-through rates.
Custom open graph designs let you reinforce your brand and visual identity. Better yet, programmatic image generation tools like Bannerbear let you create professional designs without starting from scratch each time.
In this tutorial, you'll learn how to generate open graph images automatically in Bannerbear using data directly from Google Docs. You'll ensure every article gets a unique, on-brand graphic the moment it's ready to publish—and you'll do it all without writing a single line of code, thanks to Zapier.
What You Will Need
Custom open graph images reinforce your branding every time your content appears on social platforms and search results. When you automate their generation each time a Docs file is finalized, your publishing process becomes seamless and efficient.
To set up this workflow, you'll need:
- Bannerbear: To design templates and generate open graph images programmatically
- Google Docs : To write, edit, and manage blog articles
- Google Drive: To store and organize Docs files and open graph images
- Zapier: To trigger actions in different programs based on predesigned instructions
By the end of this tutorial, you'll have beautiful open graph images that are generated automatically each time an article is ready for publishing.
How to Generate Open Graph Images For Google Docs Articles
Google Docs is a web-based document editor used by students and professionals alike. You might choose to generate open graph images directly from your Google Docs files if you:
- Plan to upload custom open graph images elsewhere
- Publish using a non-traditional CMS without open graph generation plugins
- Want to produce images with the same input data (eg. for social media) but different template designs
If this workflow fits your needs, we'll walk you through setting up an automated process that generates images once you finalize your documents and stores them for easy access. Let's get started!
Step 1 - Design a Bannerbear Template
With Bannerbear’s template editor, you can design an open graph image that reflects your brand while complying with recommended specifications.
Log into your Bannerbear account (or create a free account if you don’t have one yet—no credit card required! 🥳), and create a new project.
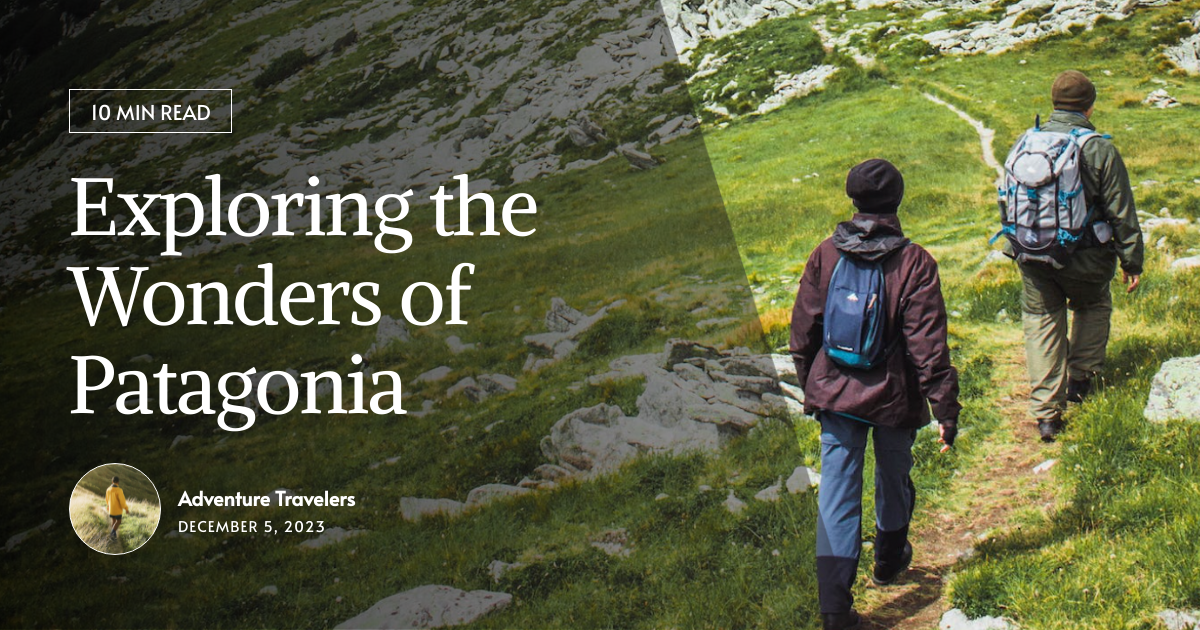
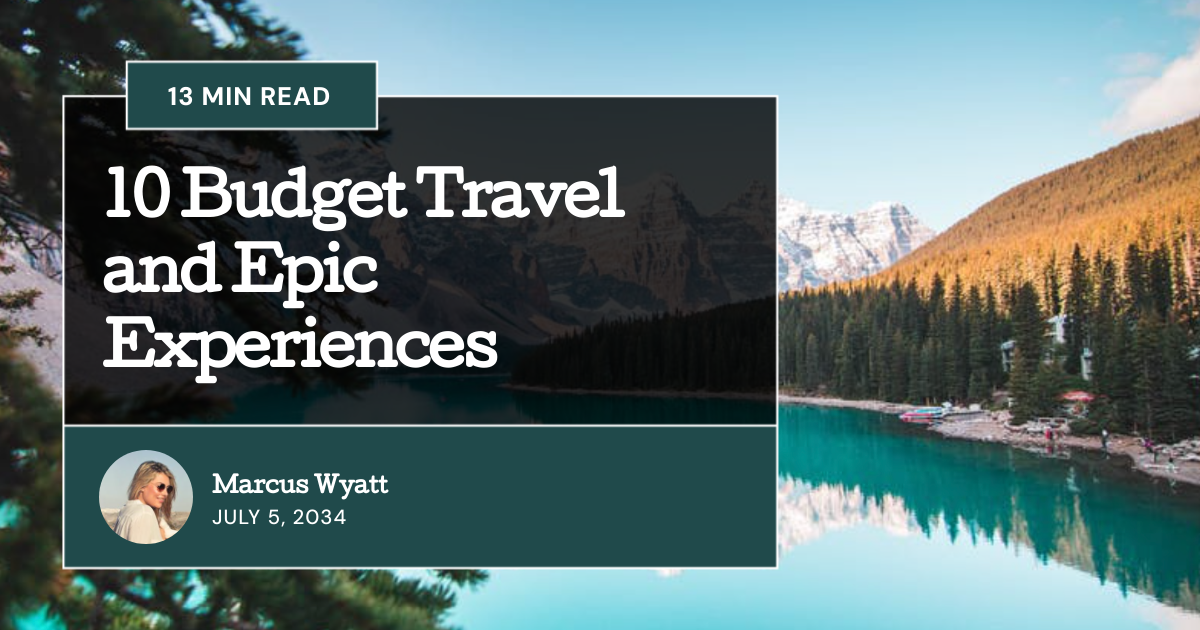
You can start from scratch with custom dimensions and unique elements. Alternatively, start with one of our pre-designed templates:

Make sure you have fields for all of the essential open graph image details, such as:
- Title
- Author
- Publishing Date
- Avatar
- Cover Image
You can certainly add or remove fields based on what you believe to be most important for your readers.
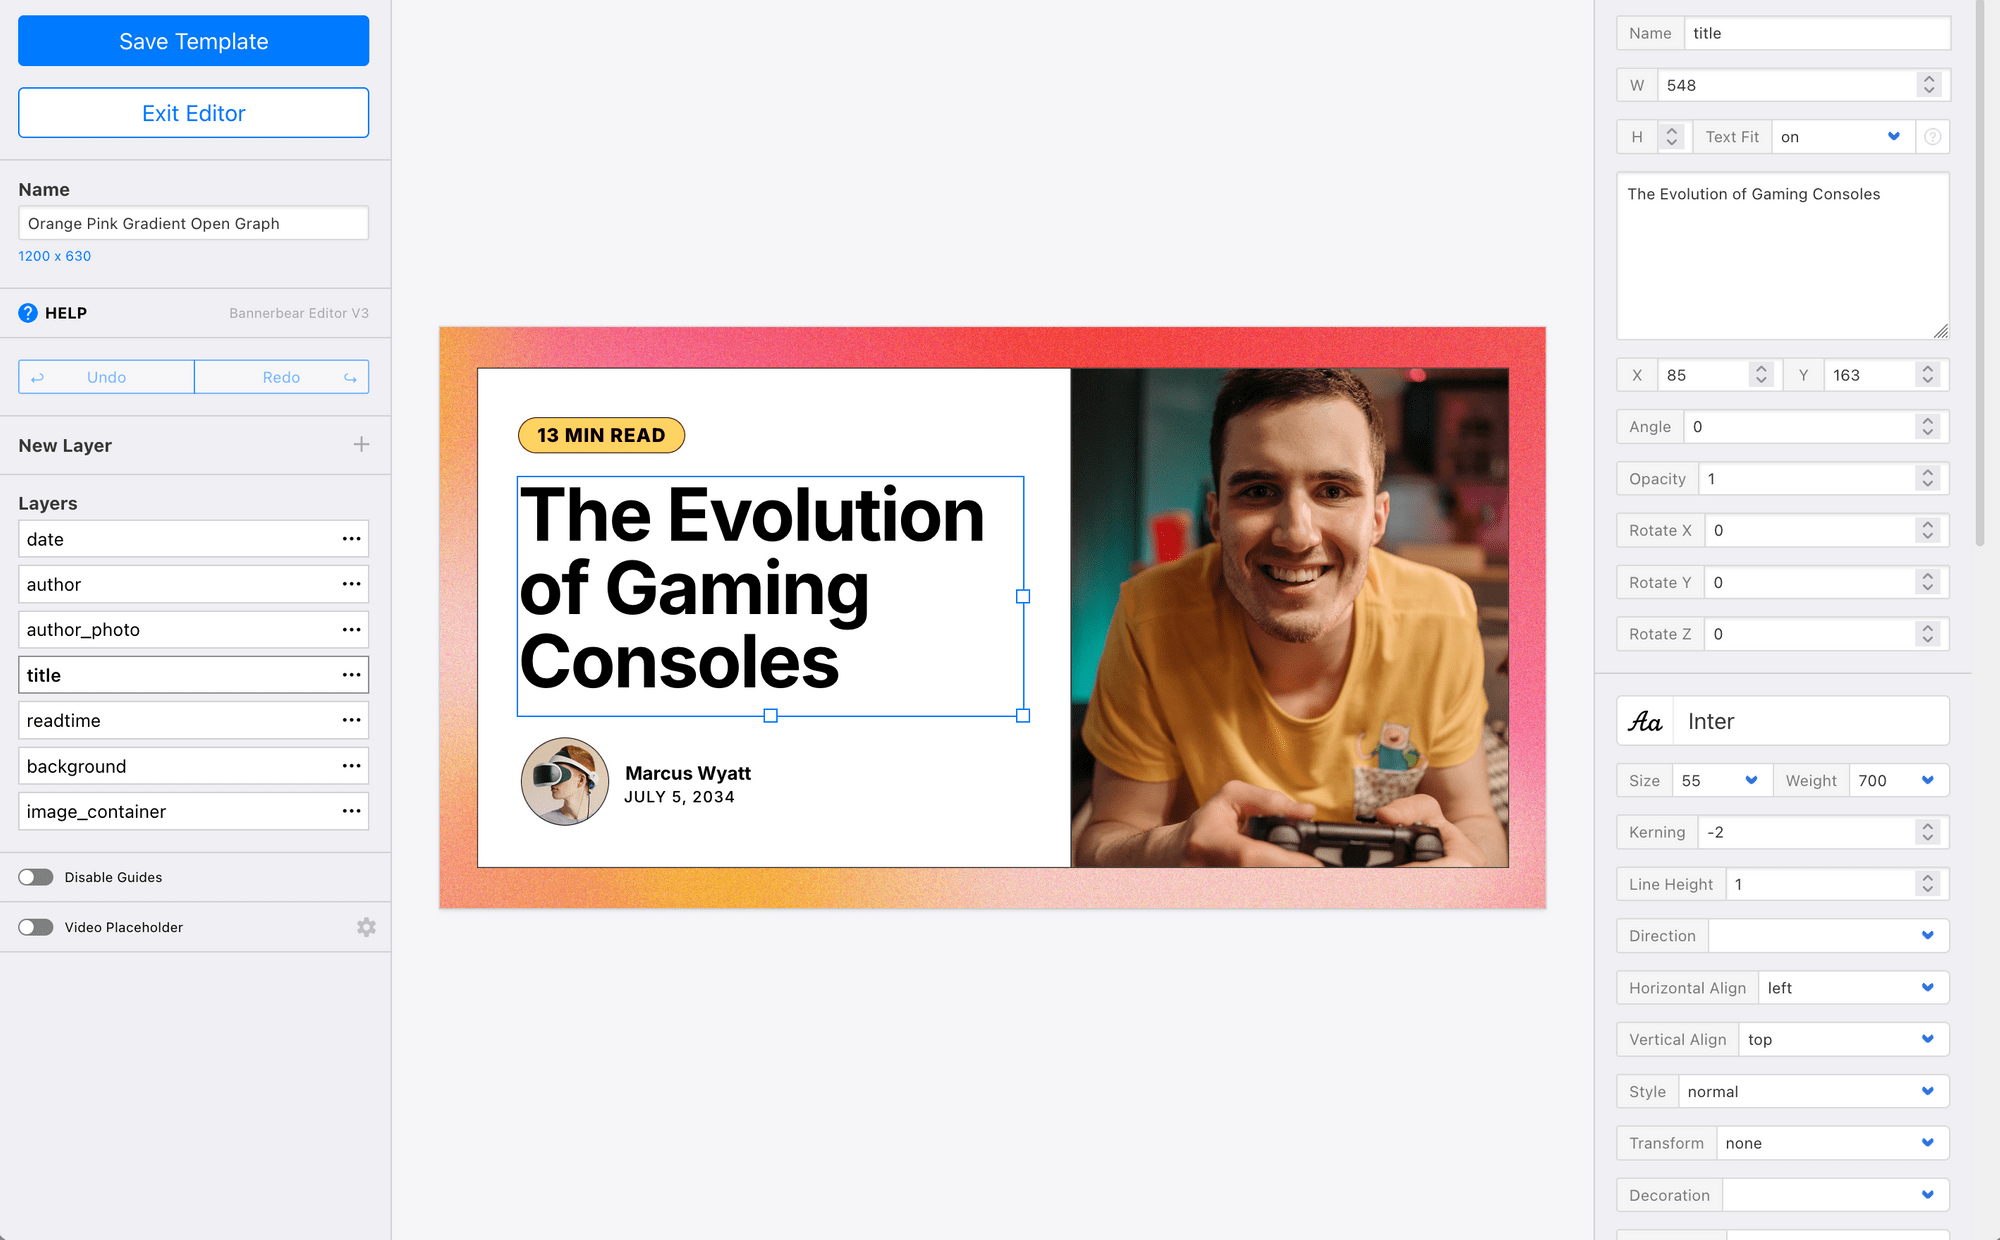
Add and modify fields until you're happy with your design, then click Save Template.
Bear Tip 🐻: Make sure you follow the technical recommendations for open graph images for the platforms you’re posting on. This will ensure the details remain crisp and legible, without any awkward crops or compression issues.
Step 2 - Prepare Docs Folders and Essential Data
There are a few things you'll have to prepare in your Google Docs and Drive apps before setting up the automation:
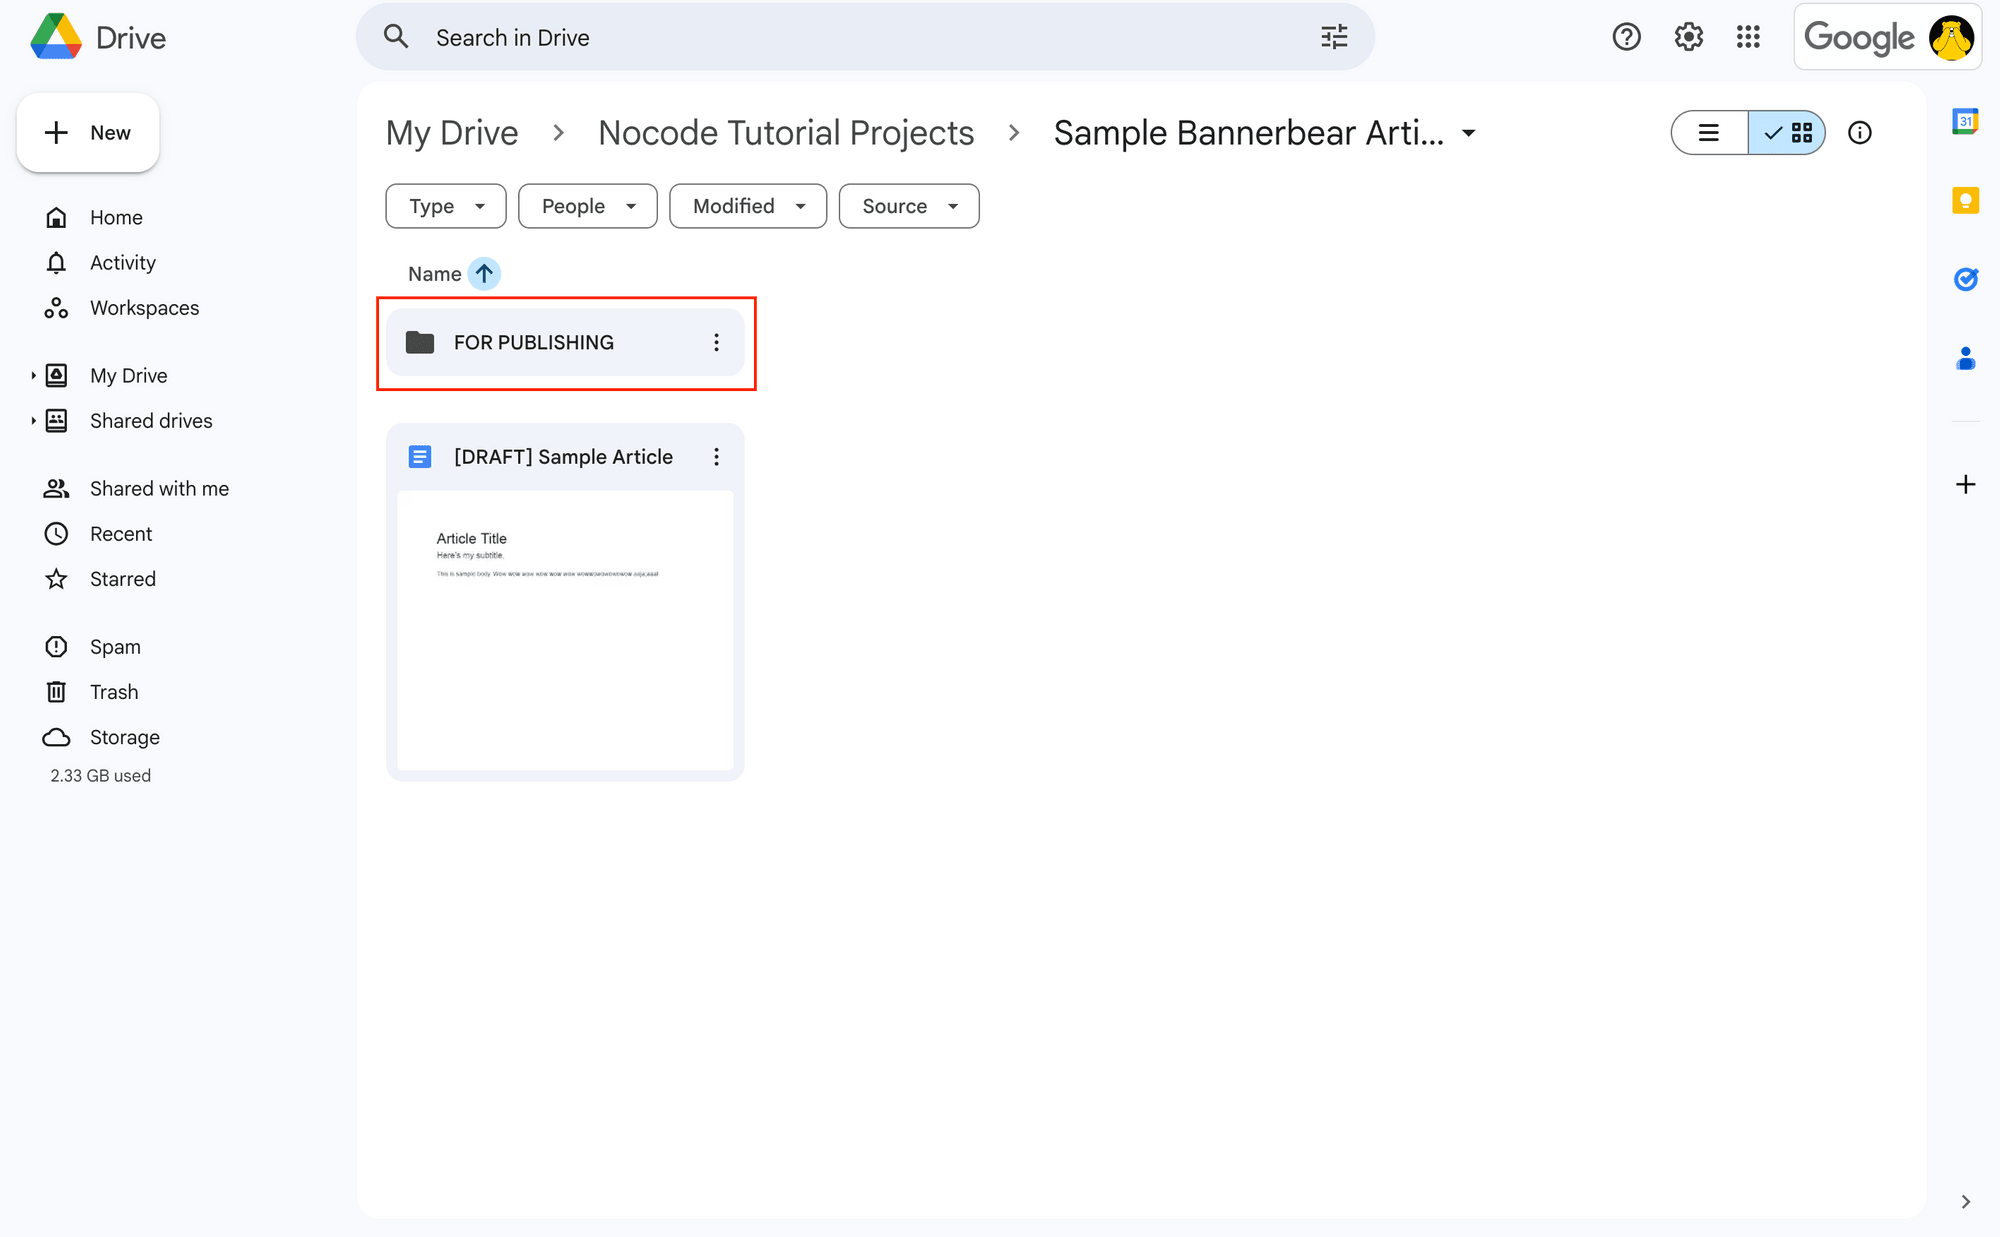
First, create a folder for finalized articles. This folder will trigger your automation, so keep it dedicated to docs that are ready to publish.
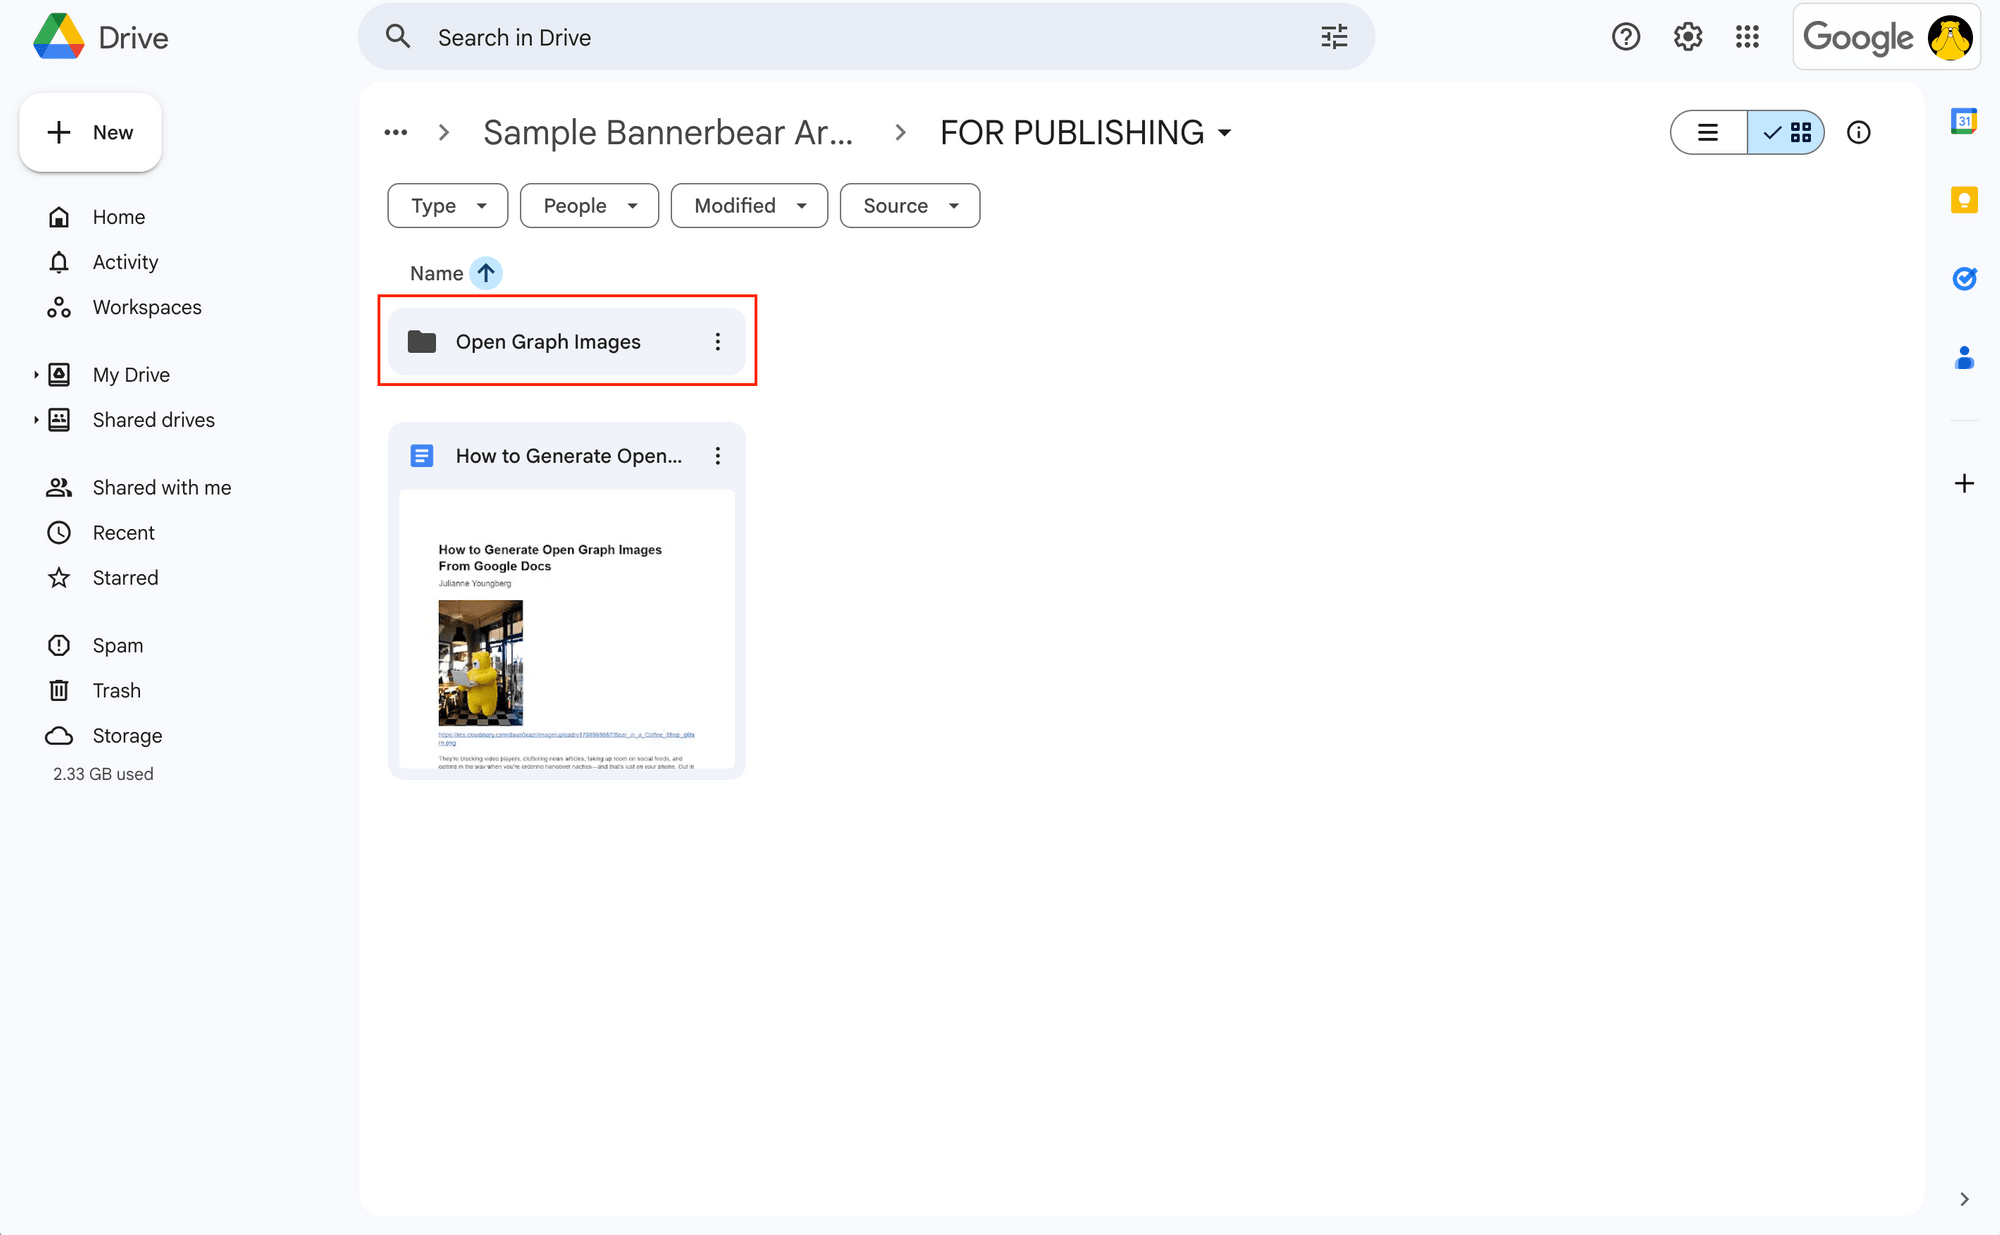
Next, create a separate folder for open graph images where generated images will automatically land for easy access.
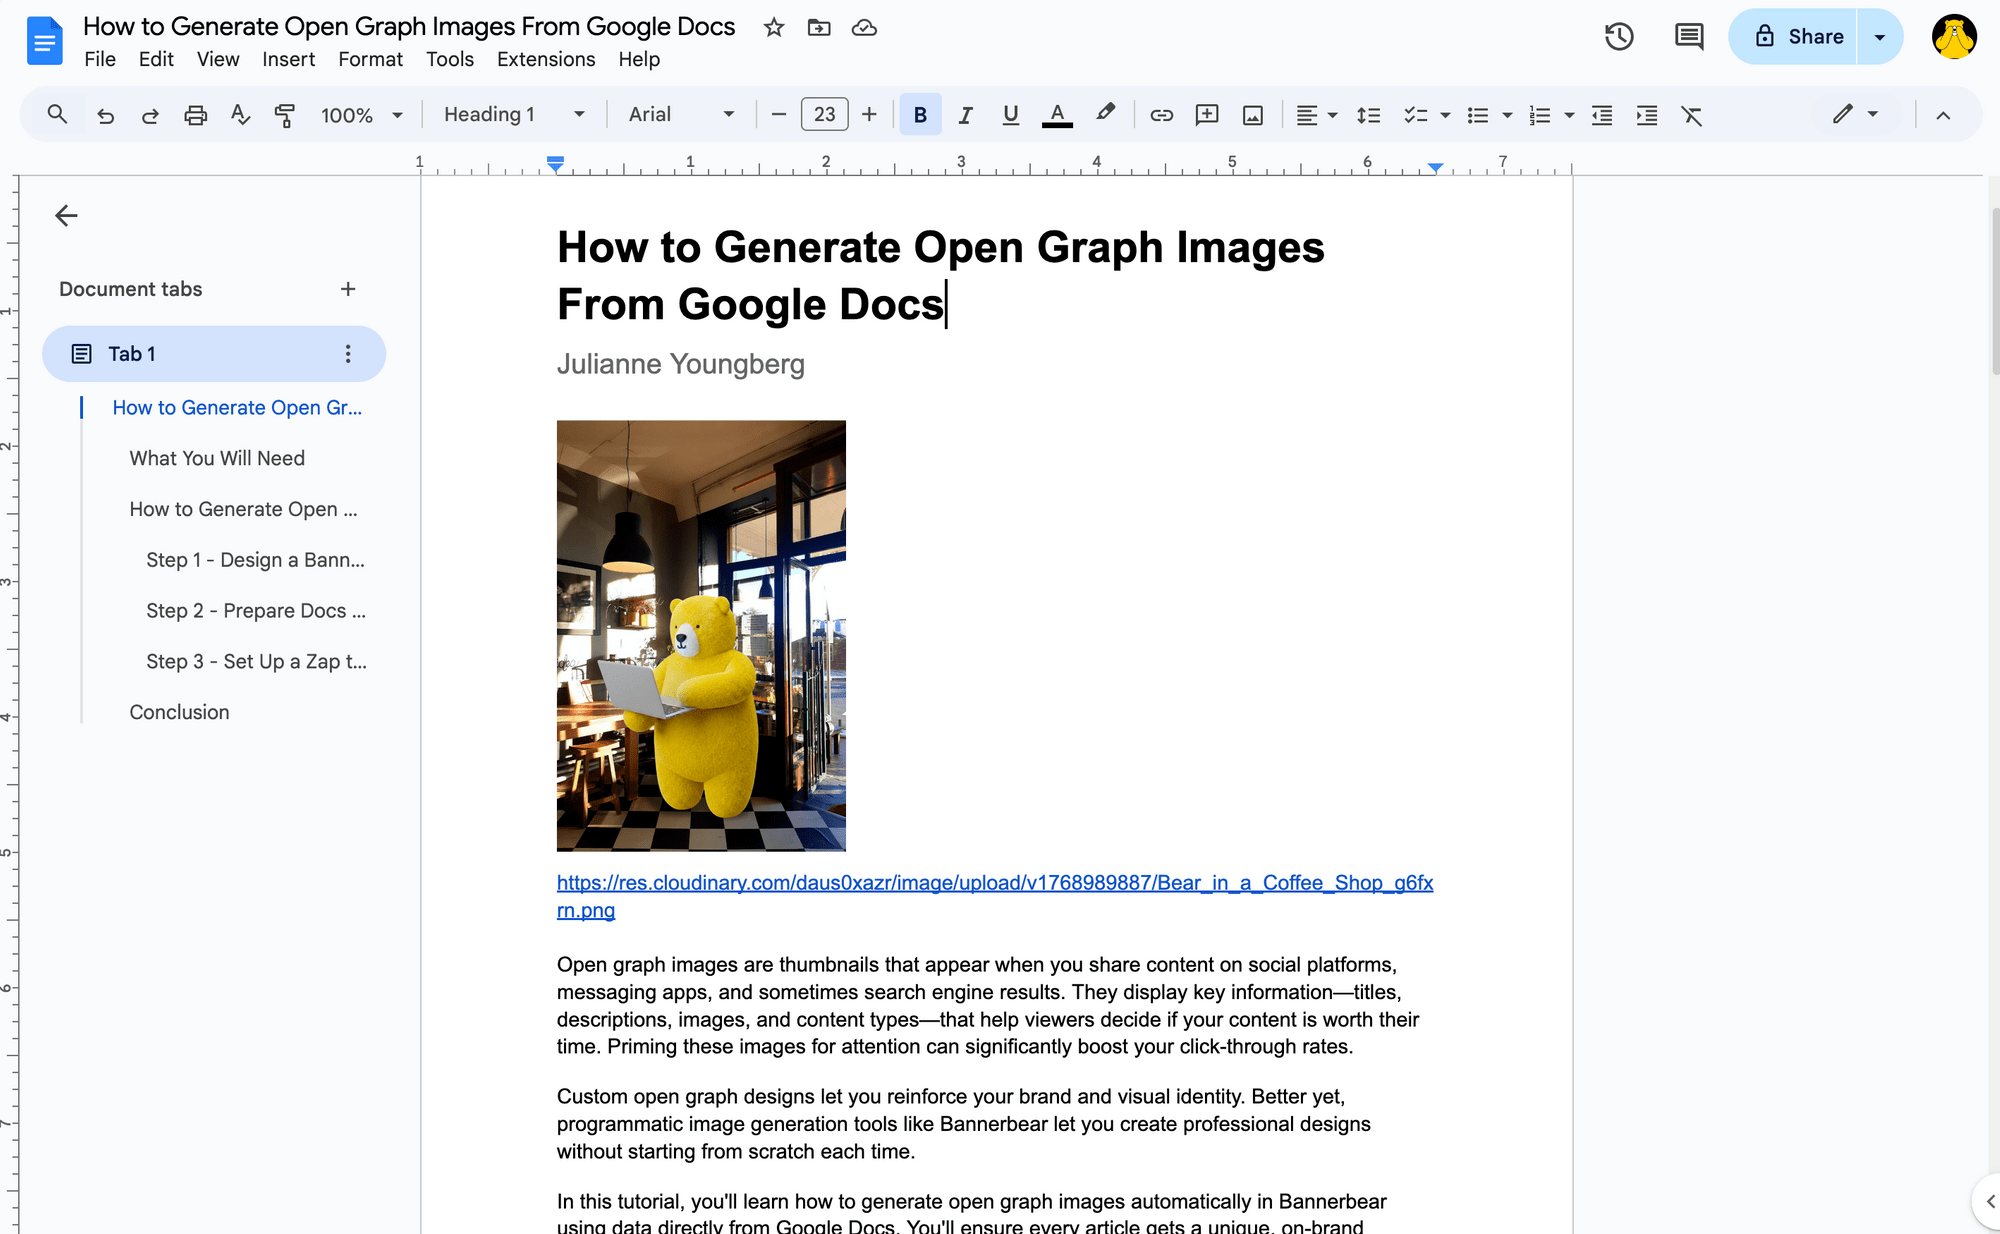
Then, make sure your Docs files contain all the information your template needs. This includes titles, author names, dates, avatars, and cover images—remember that any images must be linked URLs, not embedded files.
Some pieces of information—like authors, dates, and user avatars—can be pulled from your Google account. These do not have to be included on the document itself.
Once you've prepared everything, move a test Docs file to your finalized articles folder so you're ready for the next step.
Step 3 - Set Up a Zap to Autogenerate Open Graph Images
Now that your design and data are ready, all that’s left is to set up a workflow that retrieves the information, then uses it to generate an image using your template.
Log into your Zapier account, create a new zap, and then set up the following steps:
Trigger: New Documents in Google Docs
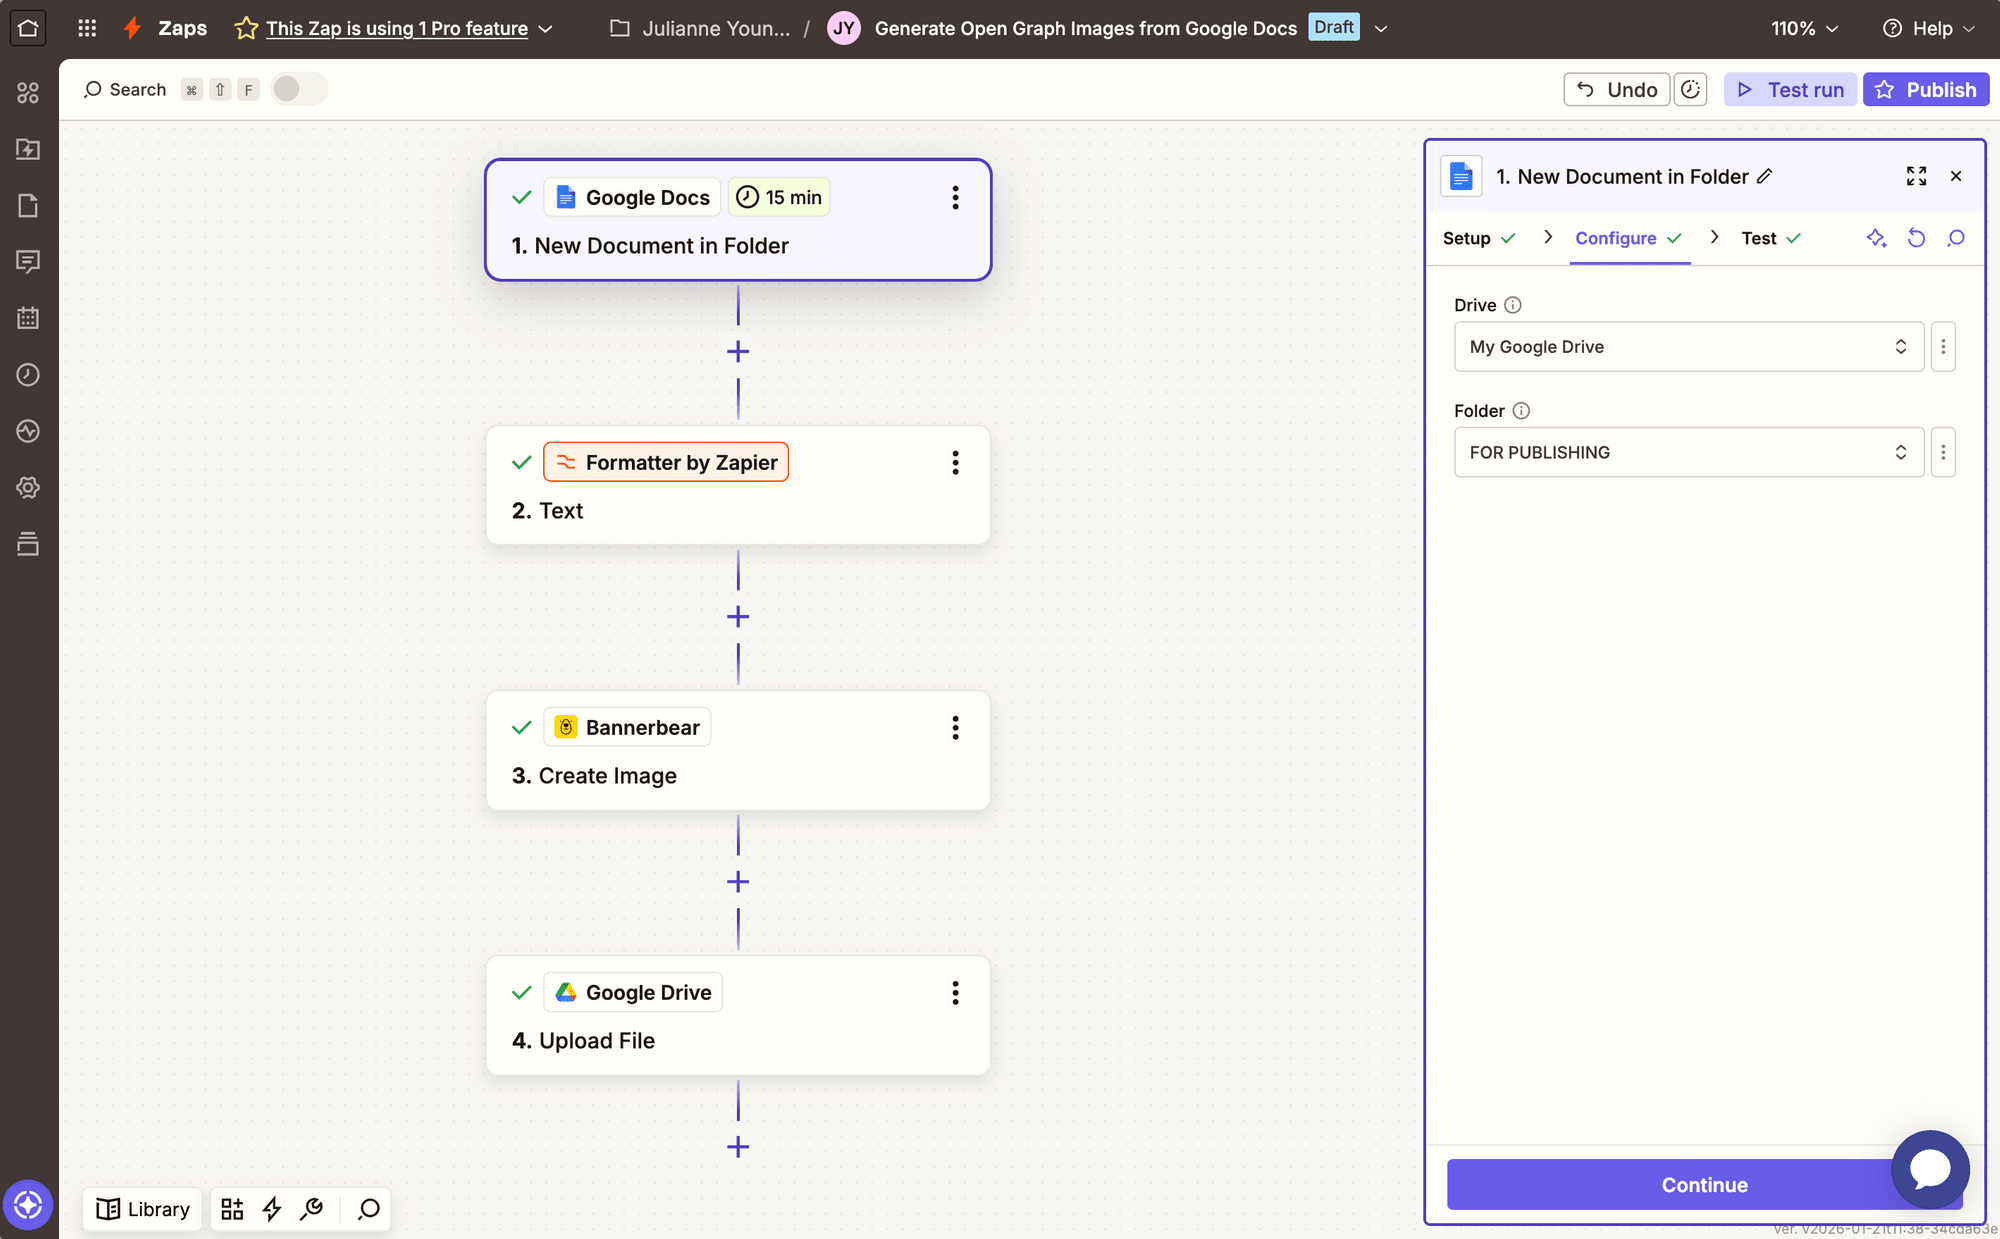
Choose Google Docs as the app and New Document in Folder as the action. If you haven’t connected your account yet, you will be prompted to do so.
Set up the trigger by selecting the drive and folder you’ll be storing your finalized documents in.
Test the trigger to ensure Zapier is able to retrieve test data.
Action: Text in Formatter by Zapier
Choose Formatter by Zapier as the app and Text as the action.
Configure the event by selecting Extract URL as the Transform type, then use the Docs plaintext content as the input.
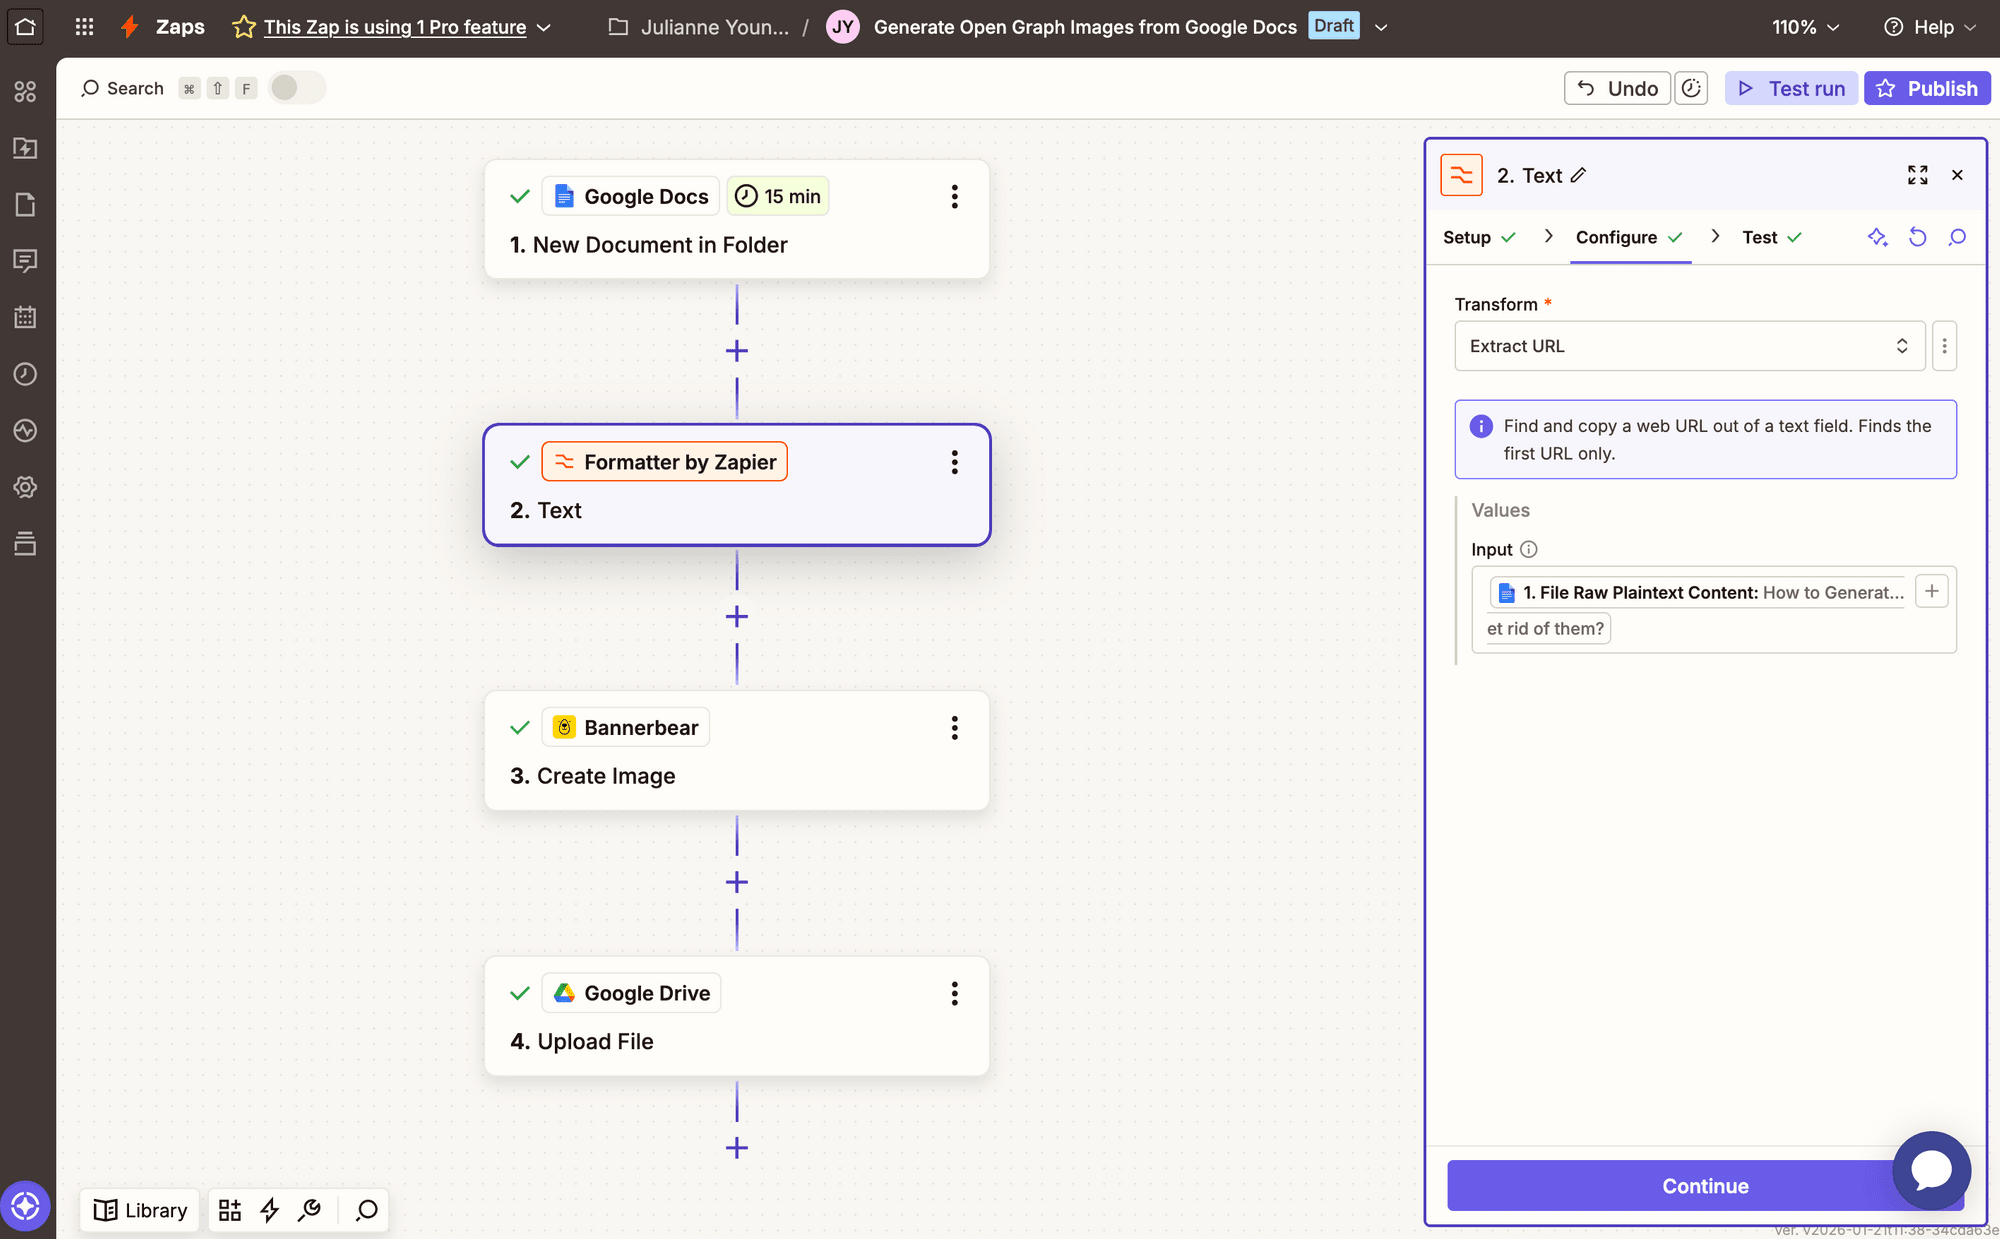
Test the action to ensure the image URL can be found.
Bear Tip 🐻: Skip this action if you don’t have image URLs to insert into your open graph designs.
Action: Create an Image in Bannerbear
Choose Bannerbear as the app and Create Image as the action. If you haven’t connected your template yet, you’ll have to do so using the API key in the Settings / API Key section of your project.
Set the event up by selecting the template you designed, then map any modifications into their matching fields.
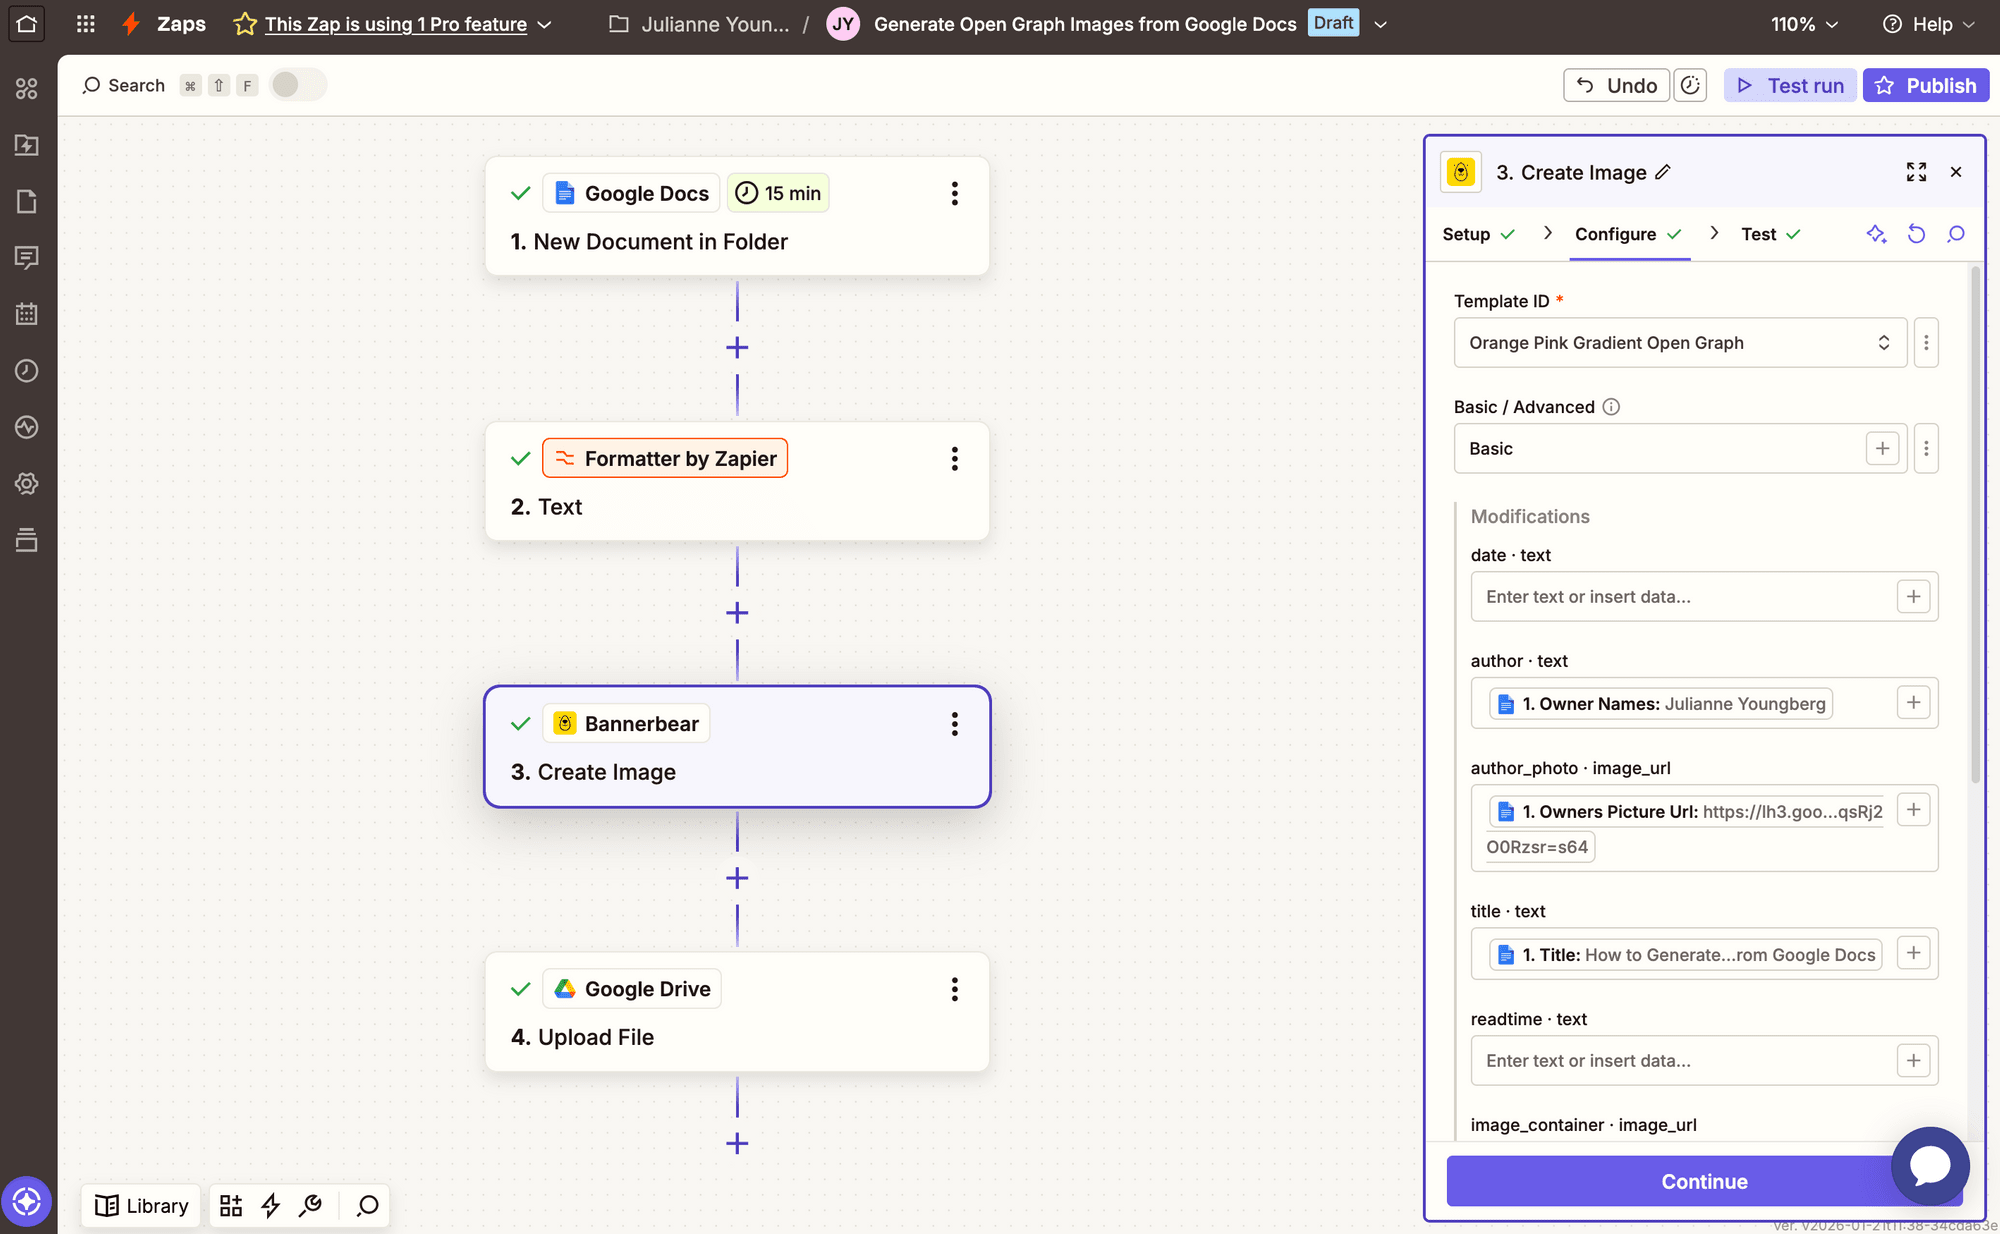
Test the step; you should see a generated image with unique information in the output section, or in your Bannerbear Logs.
Bear Tip 🐻: Want to generate multiple images with the same input data? Use the Create Collection action instead.
Action: Upload File to Google Drive
Choose Google Drive as the app and Upload File as the action.
Configure the action by selecting the folder you want images to be uploaded in, and mapping the generated open graph image to the File field. You can also add a file name and extension, if desired.
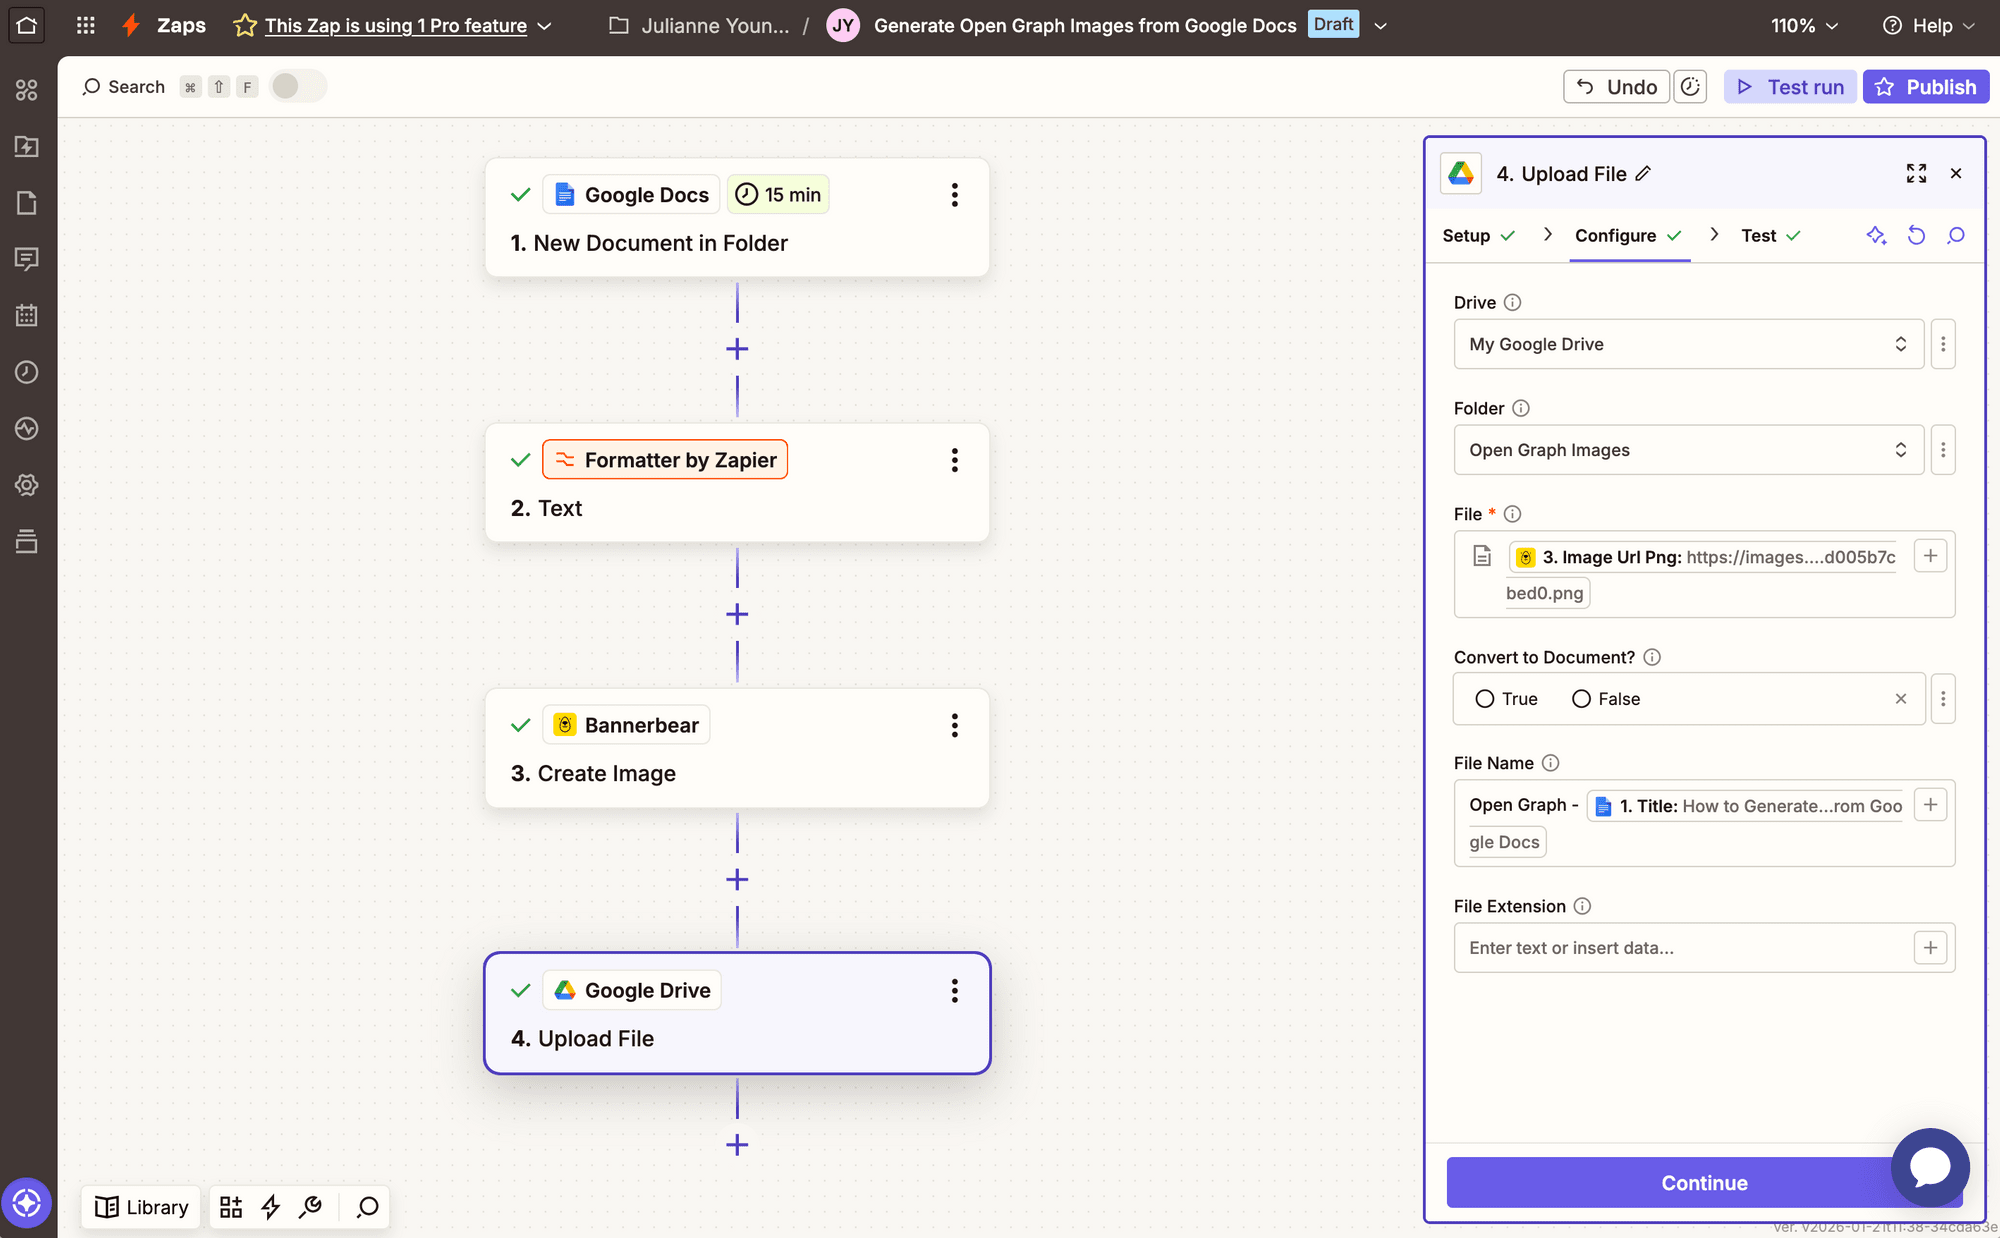
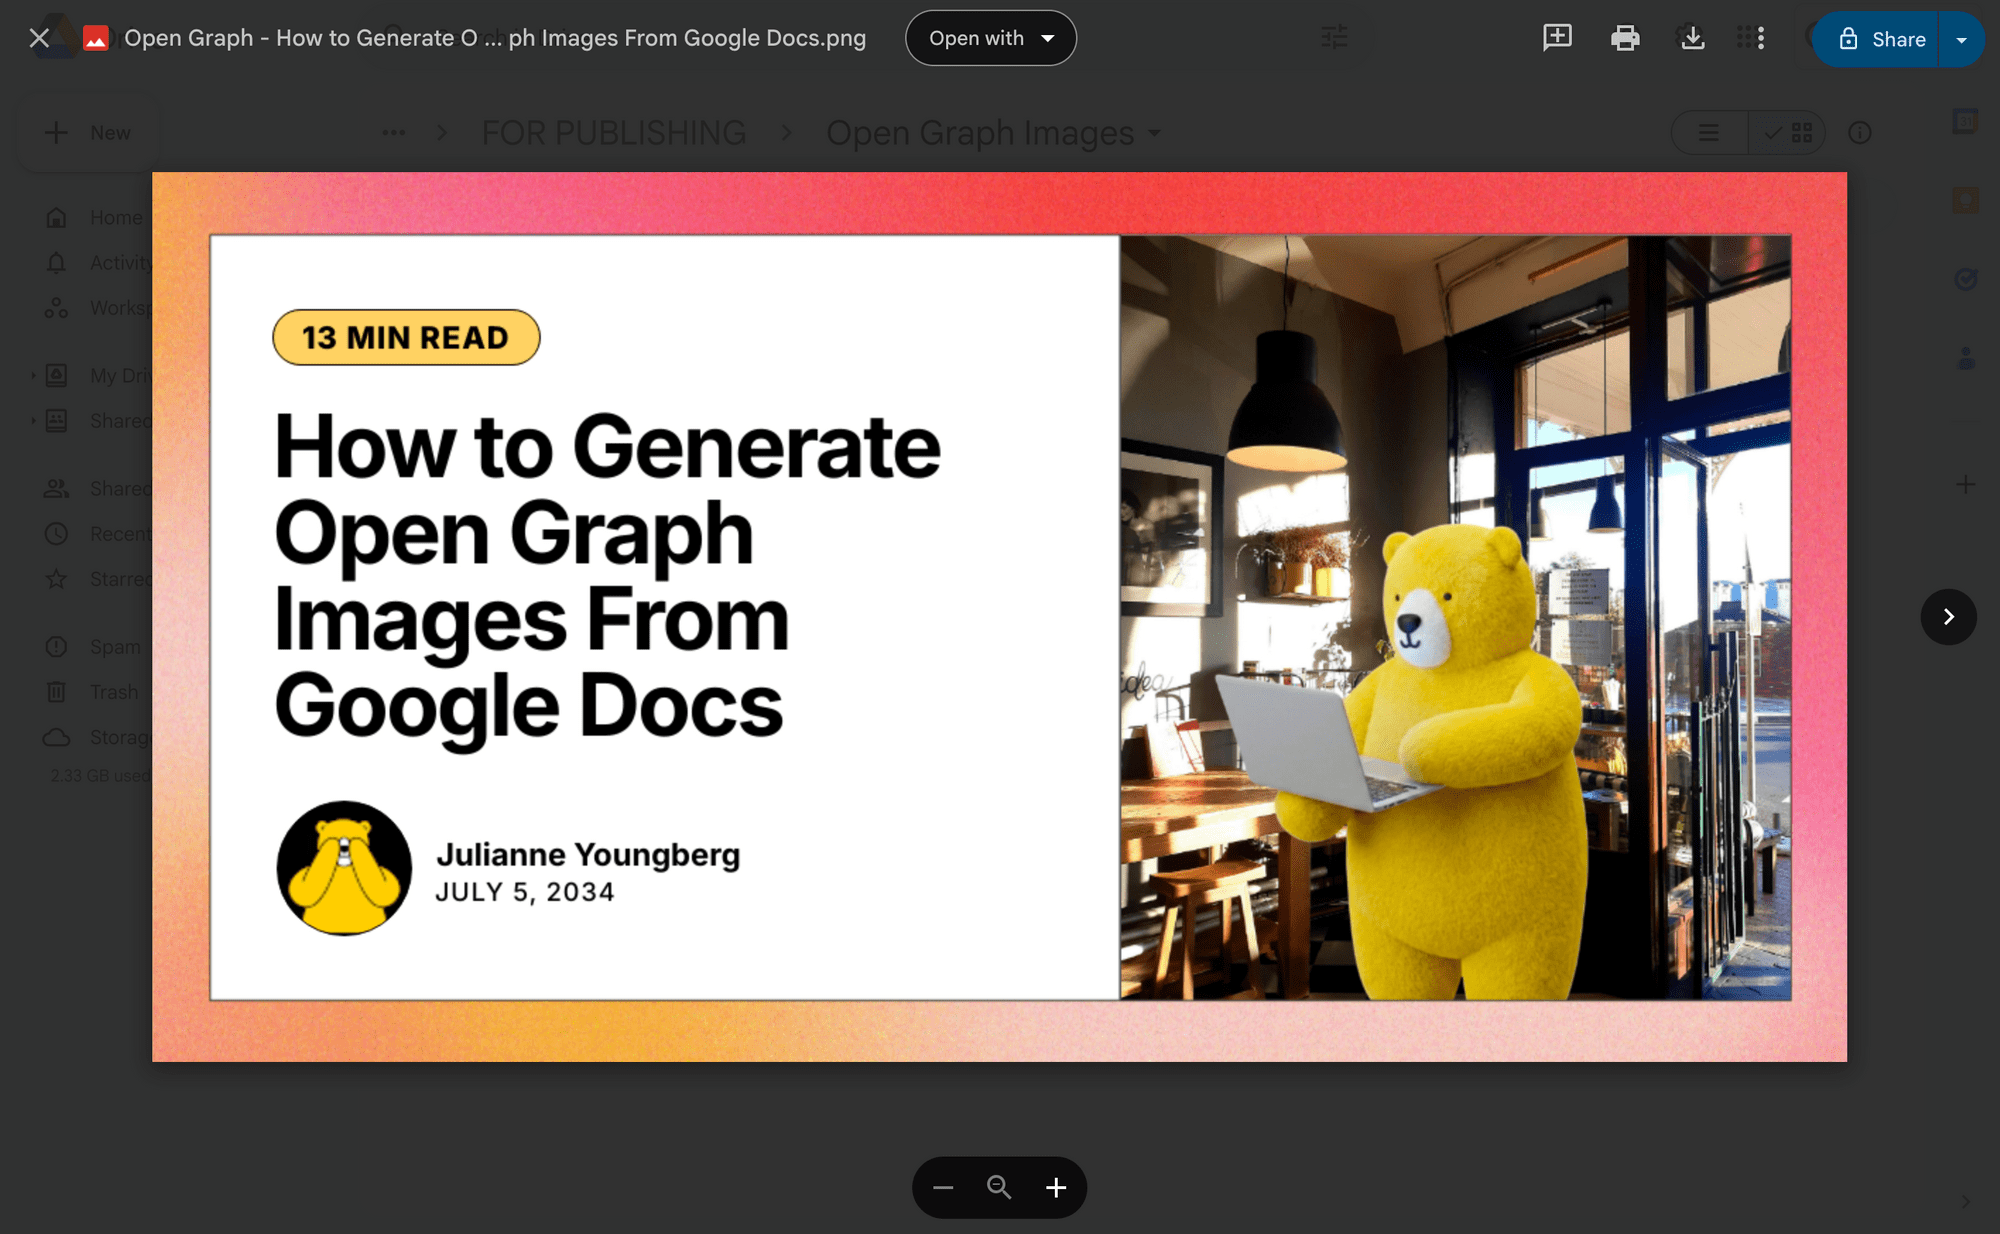
Testing the step should reveal your brand new open graph image uploaded to Google Drive, ready to use!
We chose to store images in Google Drive in this workflow, but you can continue it however you see most appropriate for your use, such as:
- Adding the images to your Google Docs file for easy access
- Uploading the images directly to your CMS of choice
If you’re generating collections of images for social, you can also publish these directly on your platforms of choice or add them to a scheduling calendar.
Conclusion
You now have a seamless workflow for generating custom open graph images directly from your Google Docs files. Every time you move a finalized article to your designated folder, Zapier automatically triggers Bannerbear to create a branded, professional image tailored to that specific content—no manual work required.
This automation saves you time, ensures consistency across your publishing pipeline, and helps your content stand out when shared on social platforms and search results. Your audience will see polished, on-brand visuals that make them more likely to click through to your articles.
To learn more about adding open graph images to different platforms, check out some of our other articles:
👉🏽 How to Add Auto-Generated Custom Open Graph Images to Webflow Using Bannerbear
👉🏽 How to Add Auto-Generated Custom Open Graph Images to WordPress Using Bannerbear
And read more about other methods of open graph image generation here!
👉🏽 3 Ways to Generate Open Graph Images Automatically
👉🏽 How to Use the Bannerbear WordPress Plugin to Generate Dynamic Open Graph Images
👉🏽 How to Generate Dynamic Open Graph Images in Next.js Using Bannerbear (Complete Guide)
