
How to Generate Images with Bannerbear Forms
Contents
Bannerbear’s Forms feature offers a dynamic and versatile solution for creating customized visuals on demand. While automatic generation streamlines repetitive tasks, being able to produce an image as you need gives you the freedom to tailor each item to your unique needs.
When you need to produce an image on-demand, there are a few options you might take:
- Designing a graphic from scratch
- Customizing your request for each dynamic layer using the Bannerbear API console
- Setting up a workflow with third-party tools that generates images when information is entered into a database
However, all of these options are time-consuming and not always necessary. Using Forms can quickly and efficiently create images from a template without excessive processes or input data storage. This is ideal when you want customization without the rest of the stress.
This article introduces Bannerbear’s Forms feature and the best use cases for it. Additionally, we will guide you through the step-by-step process of creating your first image using Forms.
Forms by Bannerbear: Feature Overview
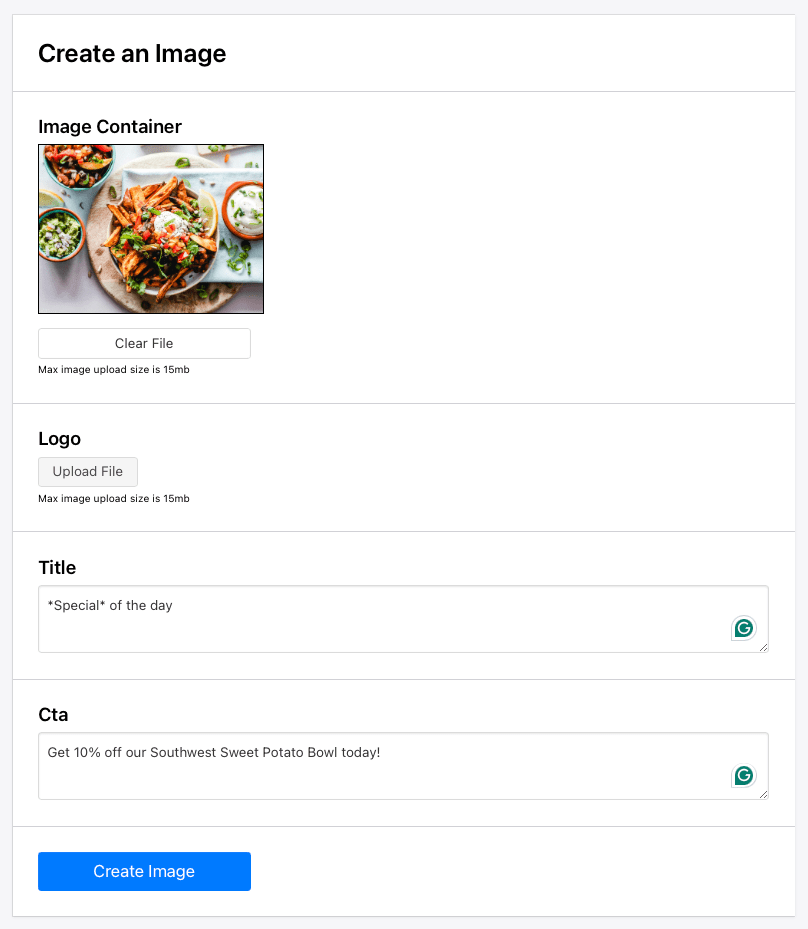
Forms is an integration option used to generate on-demand images from templates. It makes it easier to modify dynamic layers without having to edit a request using the API console. You edit a form like this…
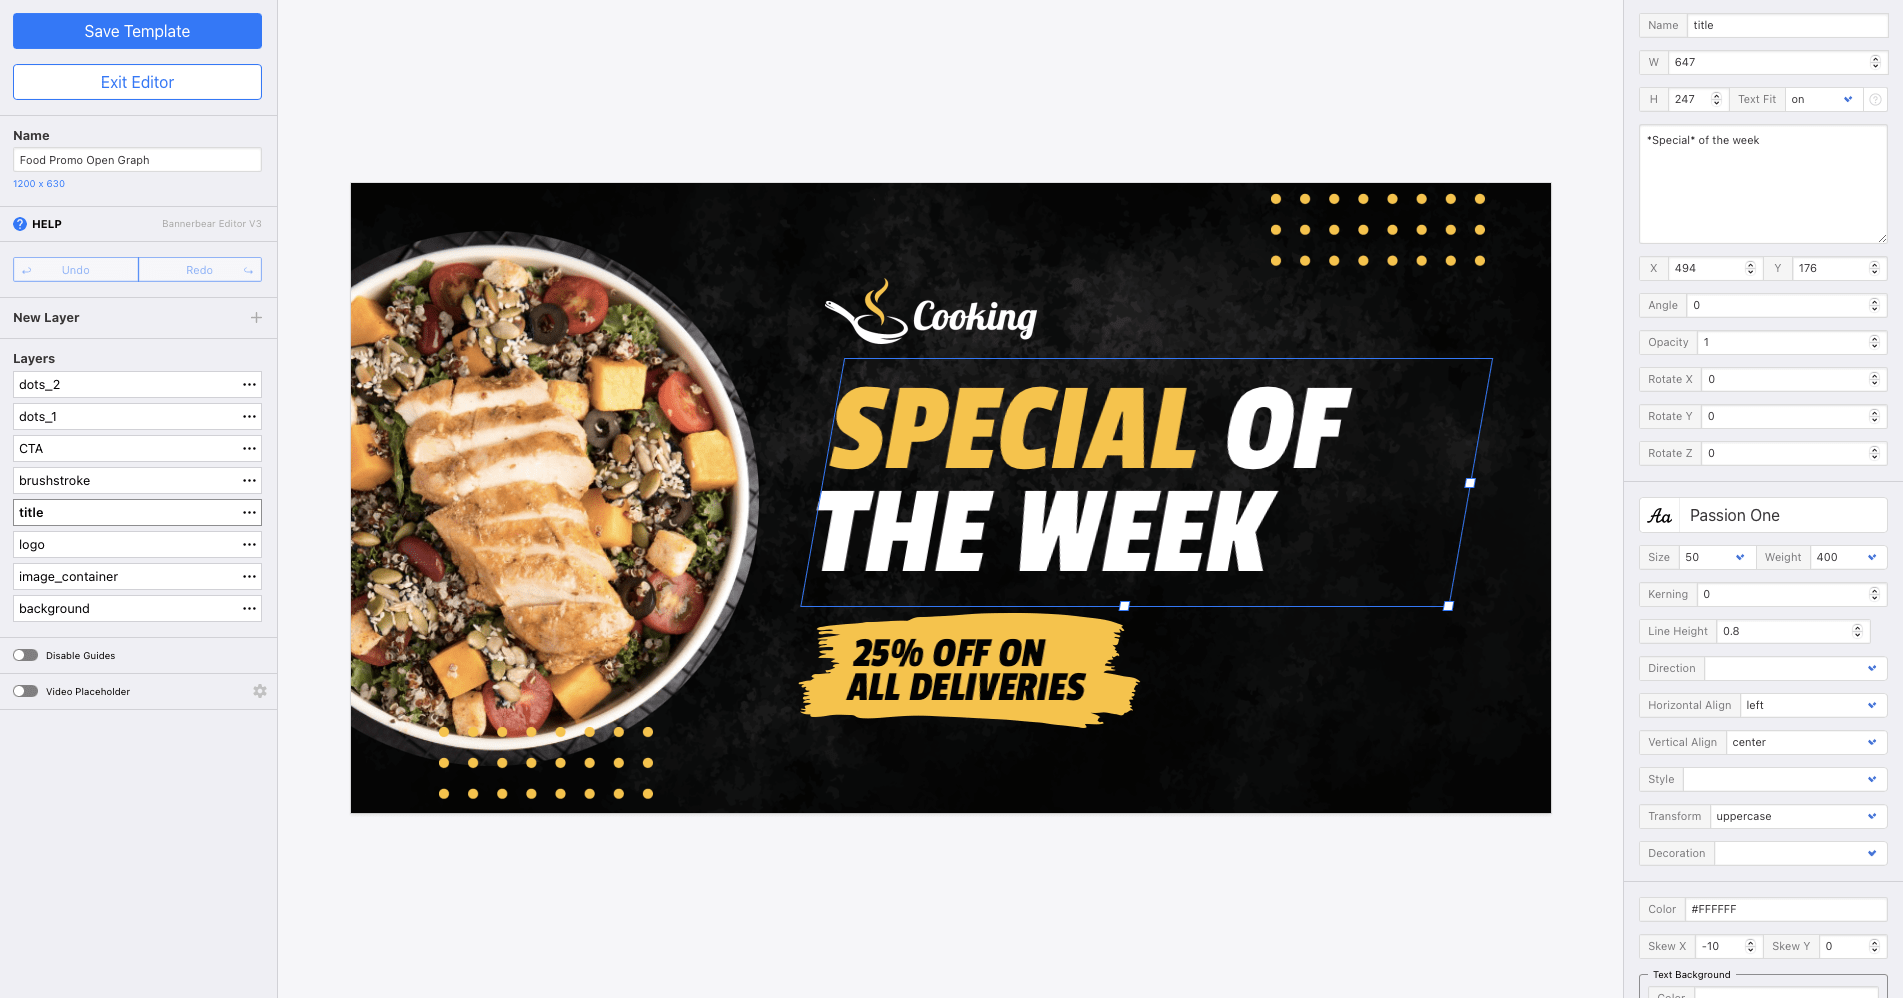
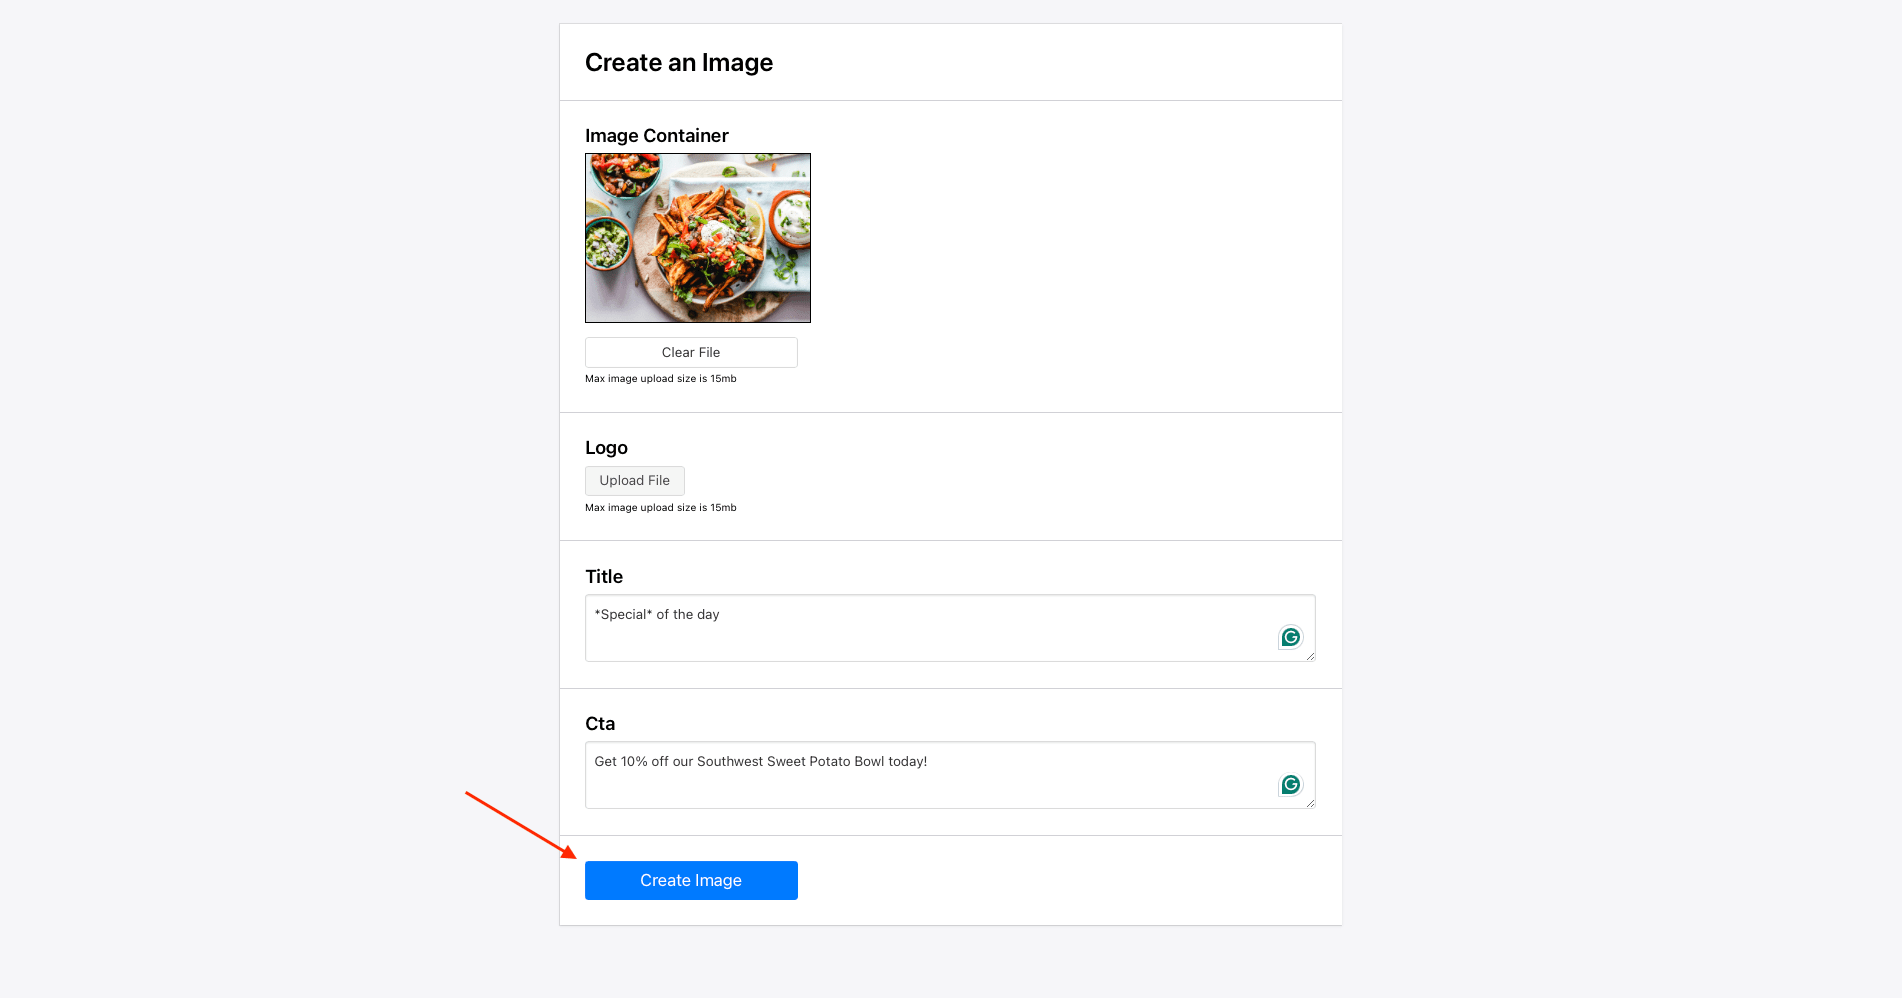
…to produce a downloadable image like this:

When there are multiple people involved in the process, Forms is a great option as it allows other users to generate images using a shared template. By embedding the form on your website or granting access through a team account on Bannerbear, you can ensure consistent branding while enabling easy image creation by team members and clients.
Bear Tip 🐻: If your on-demand images need even more customization, another option to consider is embedding a Bannerbear template editor into your site.
You can still control the appearance and features of your Form with options like:
- Hiding title bars
- Toggling transparency
- Including image previews
- Showing or hiding template layers
- Inserting default text
You can also limit the number of generations to more easily manage your API quota.
Since it’s a built-in integration that doesn’t need to be used with other third-party tools, Forms can be used to generate on-demand images within your Bannerbear account at no additional cost.
When to Use Forms to Generate Graphics
Several approaches can be used to produce images on an as-needed basis, including a manual API request or automated workflow. But there are times when these options consume more time than they save, such as in situations where:
- You need to generate images on demand
- Your input data isn’t readily available in batches
- You don’t need high volumes of generated images at once
- Your input data doesn’t need to be saved
- You would like more than one person to provide input data
If all or most of these resonate with your use case, you might have a strong reason to try Forms.
Using this dynamic approach for image generation not only saves time but also allows for greater engagement and creativity in various applications. Here are some examples of great Forms use cases:
Personalized graphics - Perhaps it’s a customized going-away message for a team member or an event ID card with your nickname—Forms is a great use case for personalized graphics.
Limited offer graphics - Flash sales, daily specials, and other limited offers that aren’t set to a schedule and don’t need to be saved can be easily generated with Forms.
Time-sensitive announcements - Forms can help you produce announcement graphics in just a few moments. Since the messages are placed on a template, you can maintain consistent branding without having to design from scratch.
By leveraging on-demand image generation, businesses can streamline their asset production and deliver highly tailored visuals in a matter of minutes.
How to Generate an Image with Forms
Now that you know when to use this integration feature, it’s time to go over how to do it.
To get started on creating an image via Forms, you will need a Bannerbear account. Log in (or get started for free! 🎉) and follow these steps:
Set Up a Project and Template
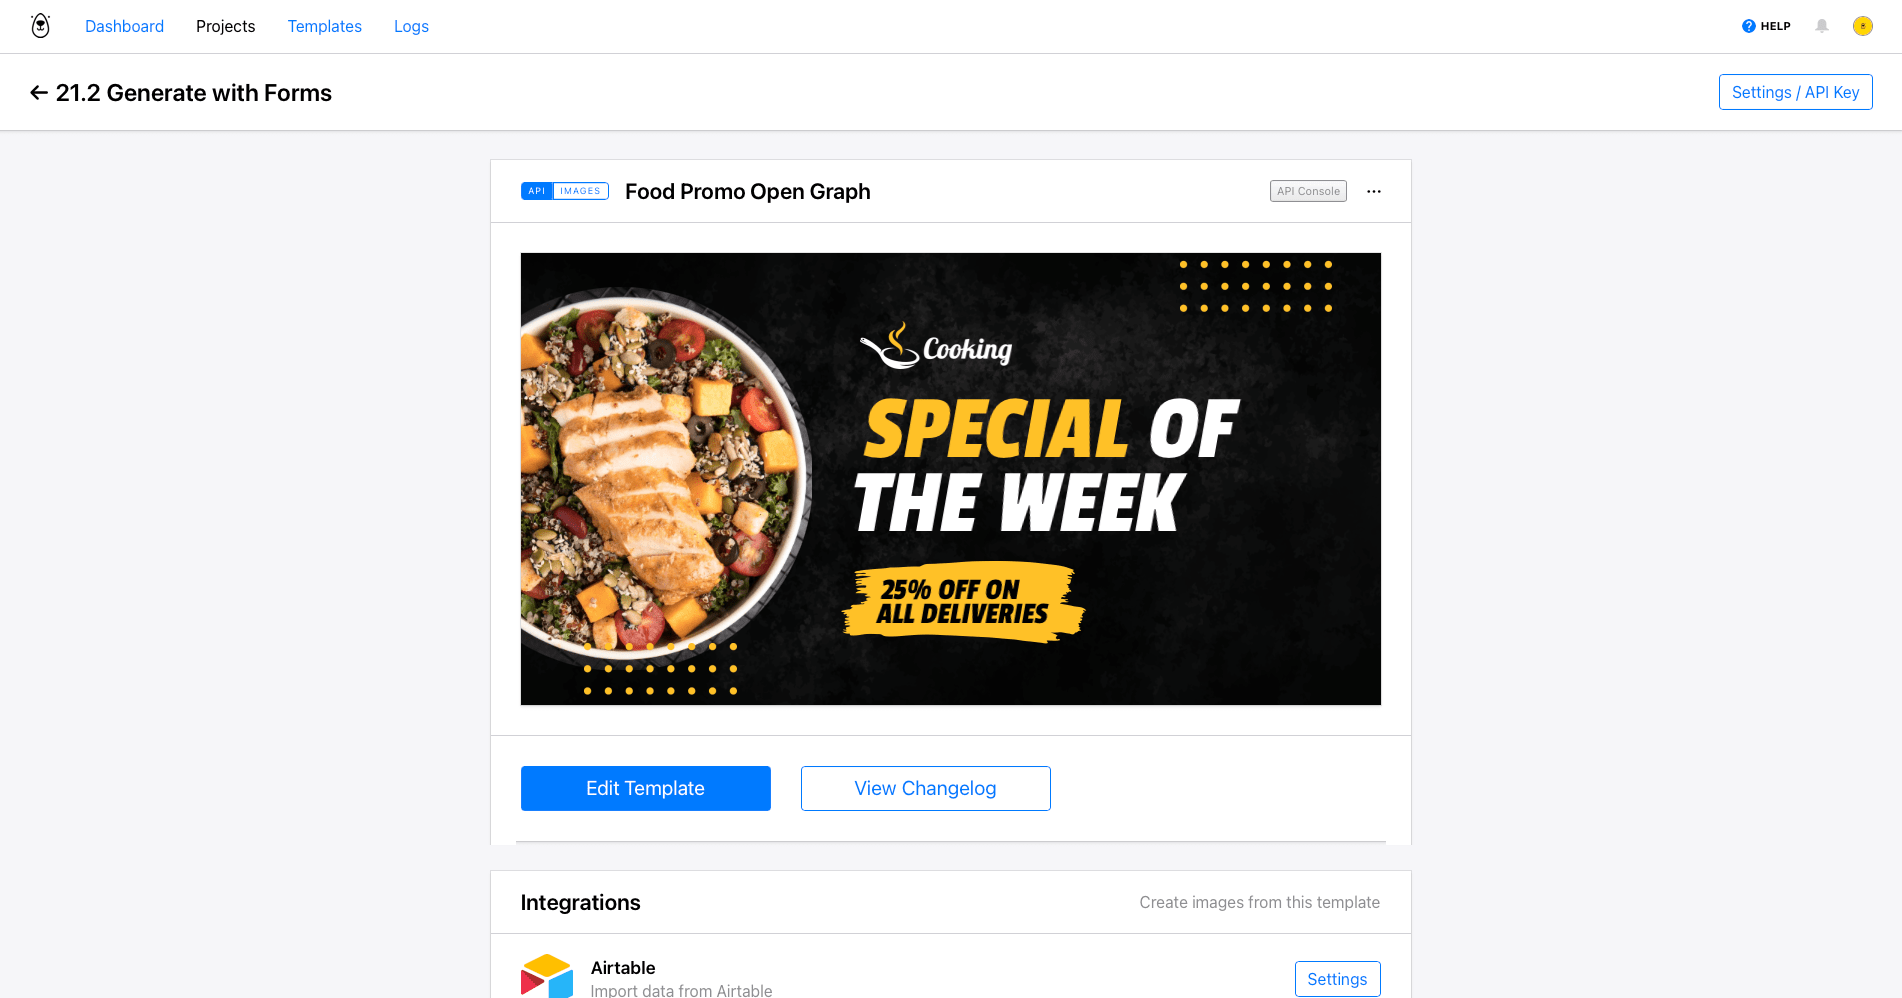
Once you’re logged into your account, create a project and template by going to the Projects tab. Customize the template however you’d like, taking care to ensure your dynamic layers are properly labelled.
Save your template, then exit the editor. You will now be on the template page.
Create and Customize a New Form
Forms by Bannerbear can be configured under each template’s integration section. Scroll down to Integrations , then click the Settings button on the Forms option.
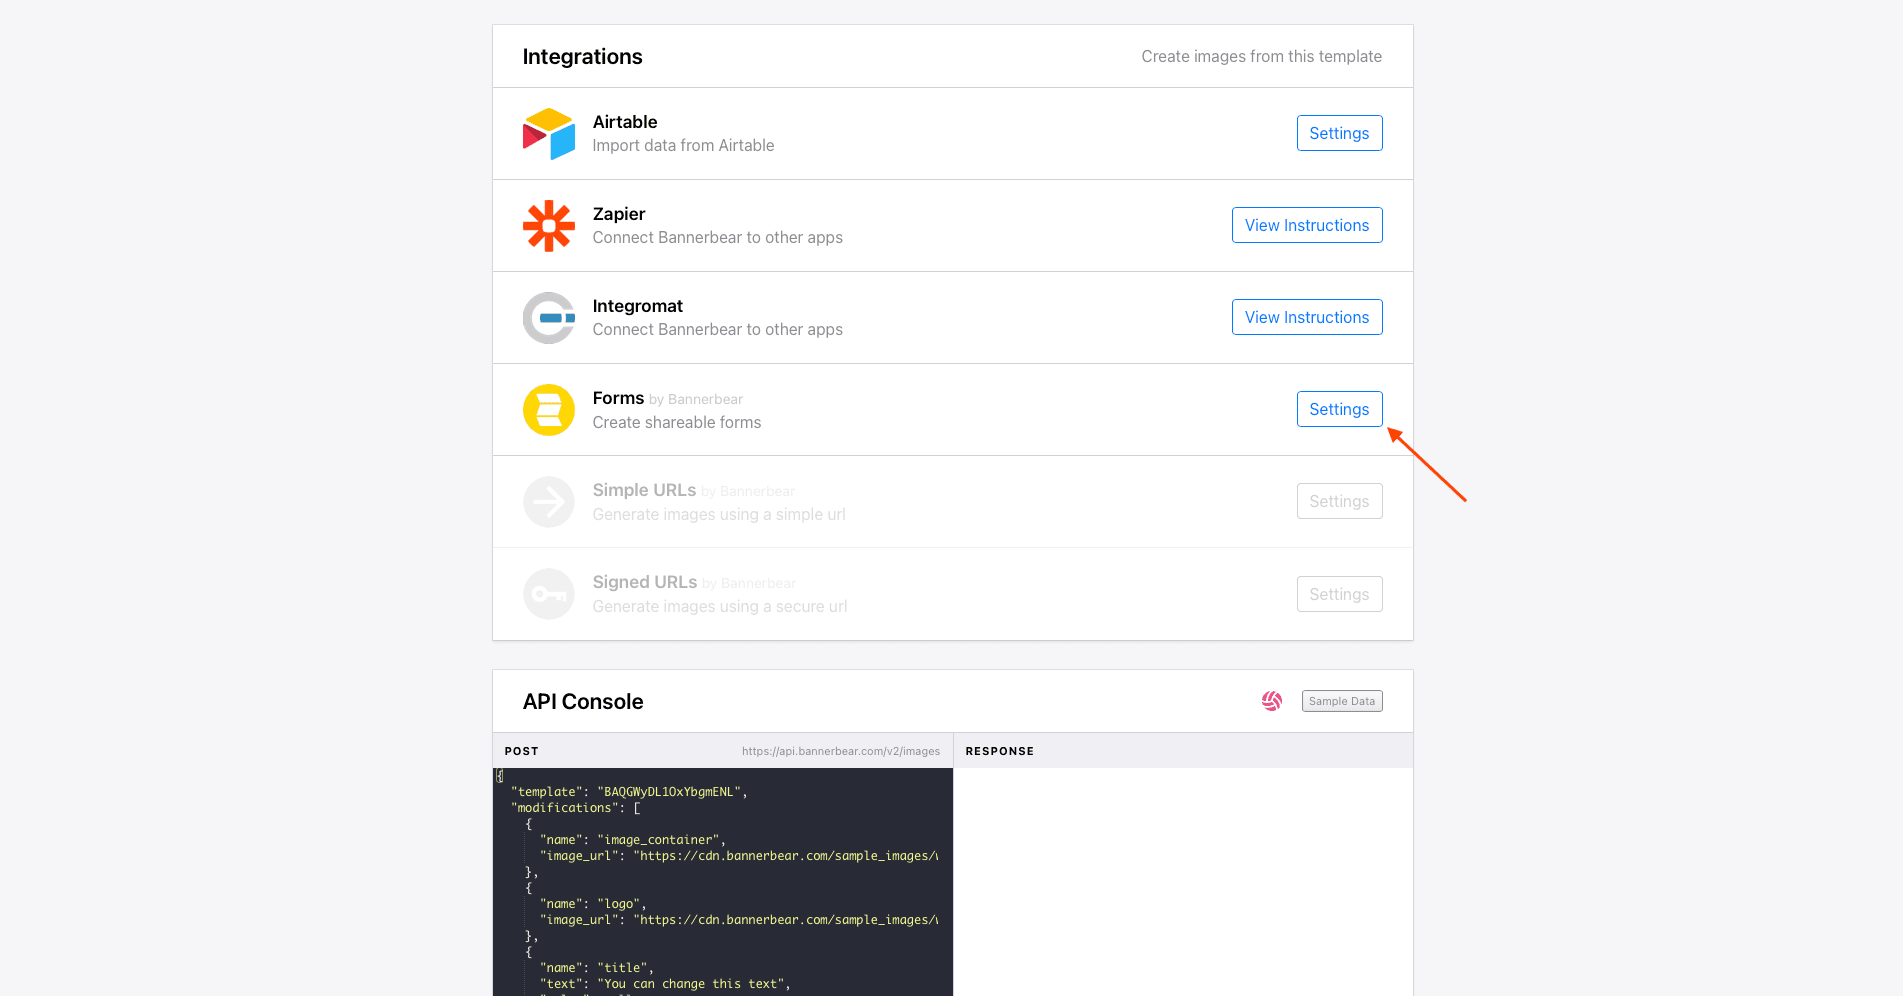
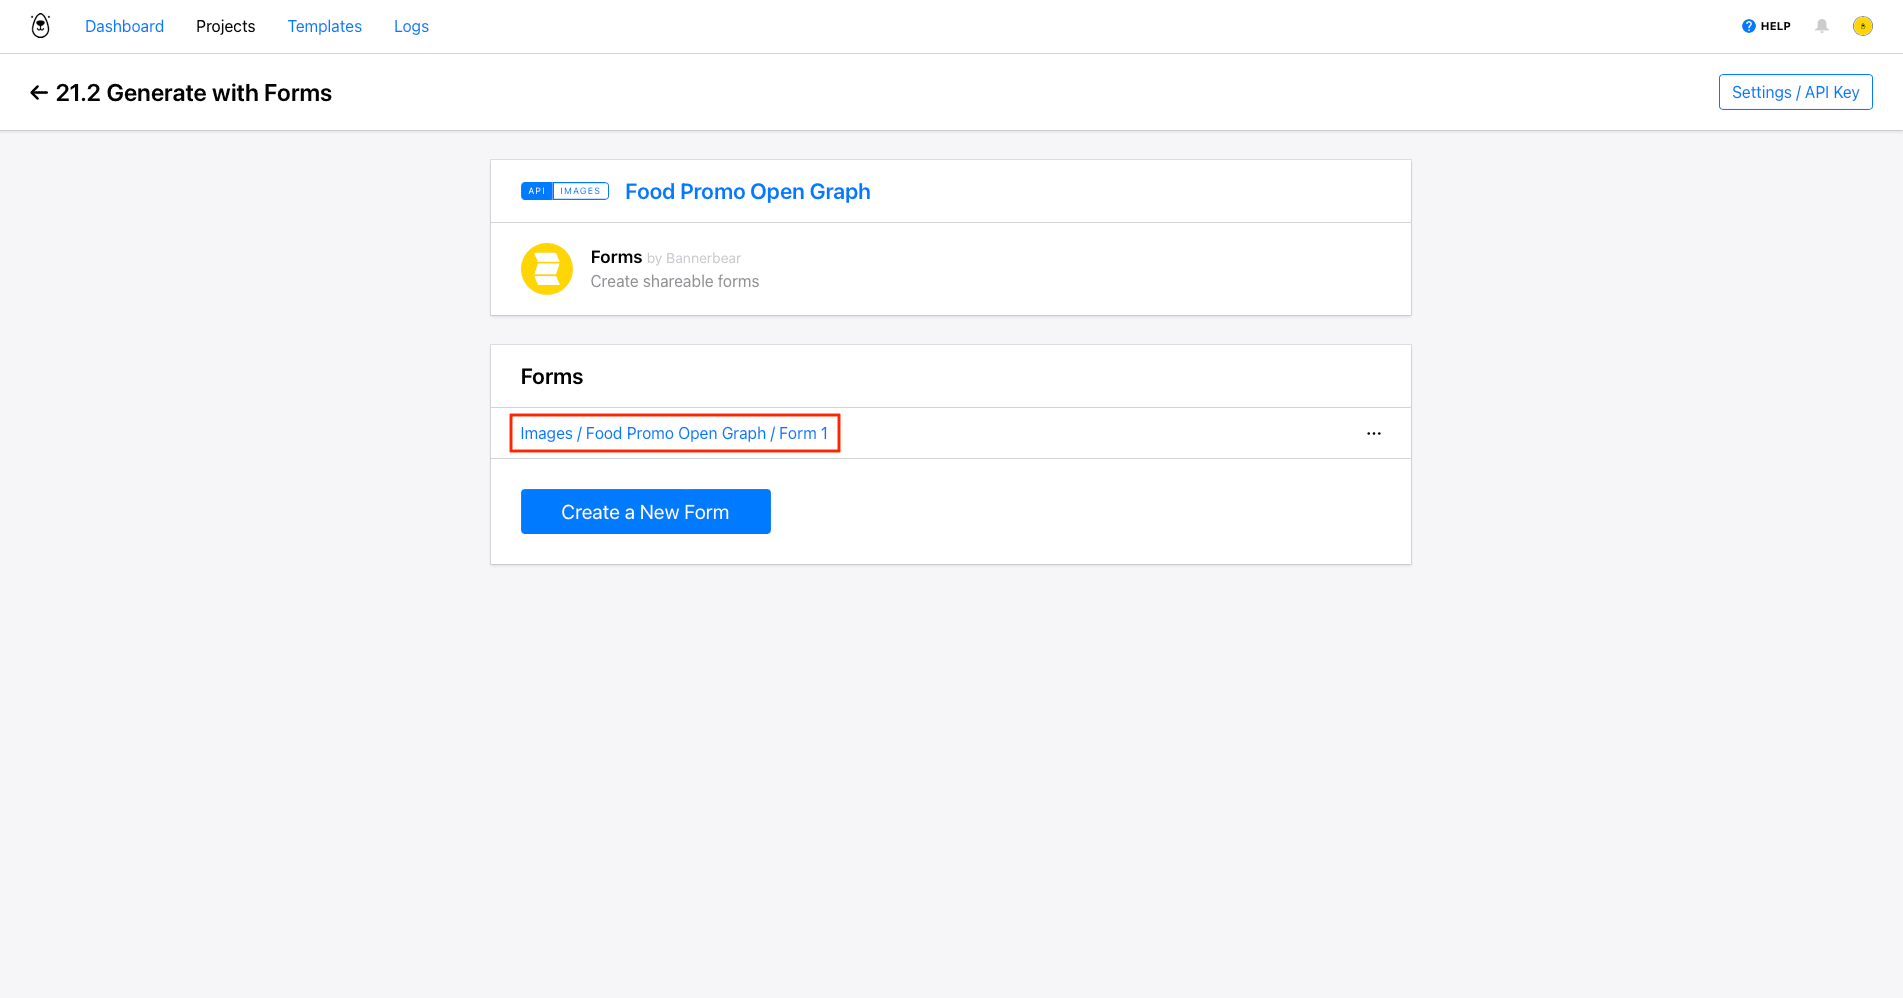
The next page lists all the forms associated with this specific template. Click Create a New Form.
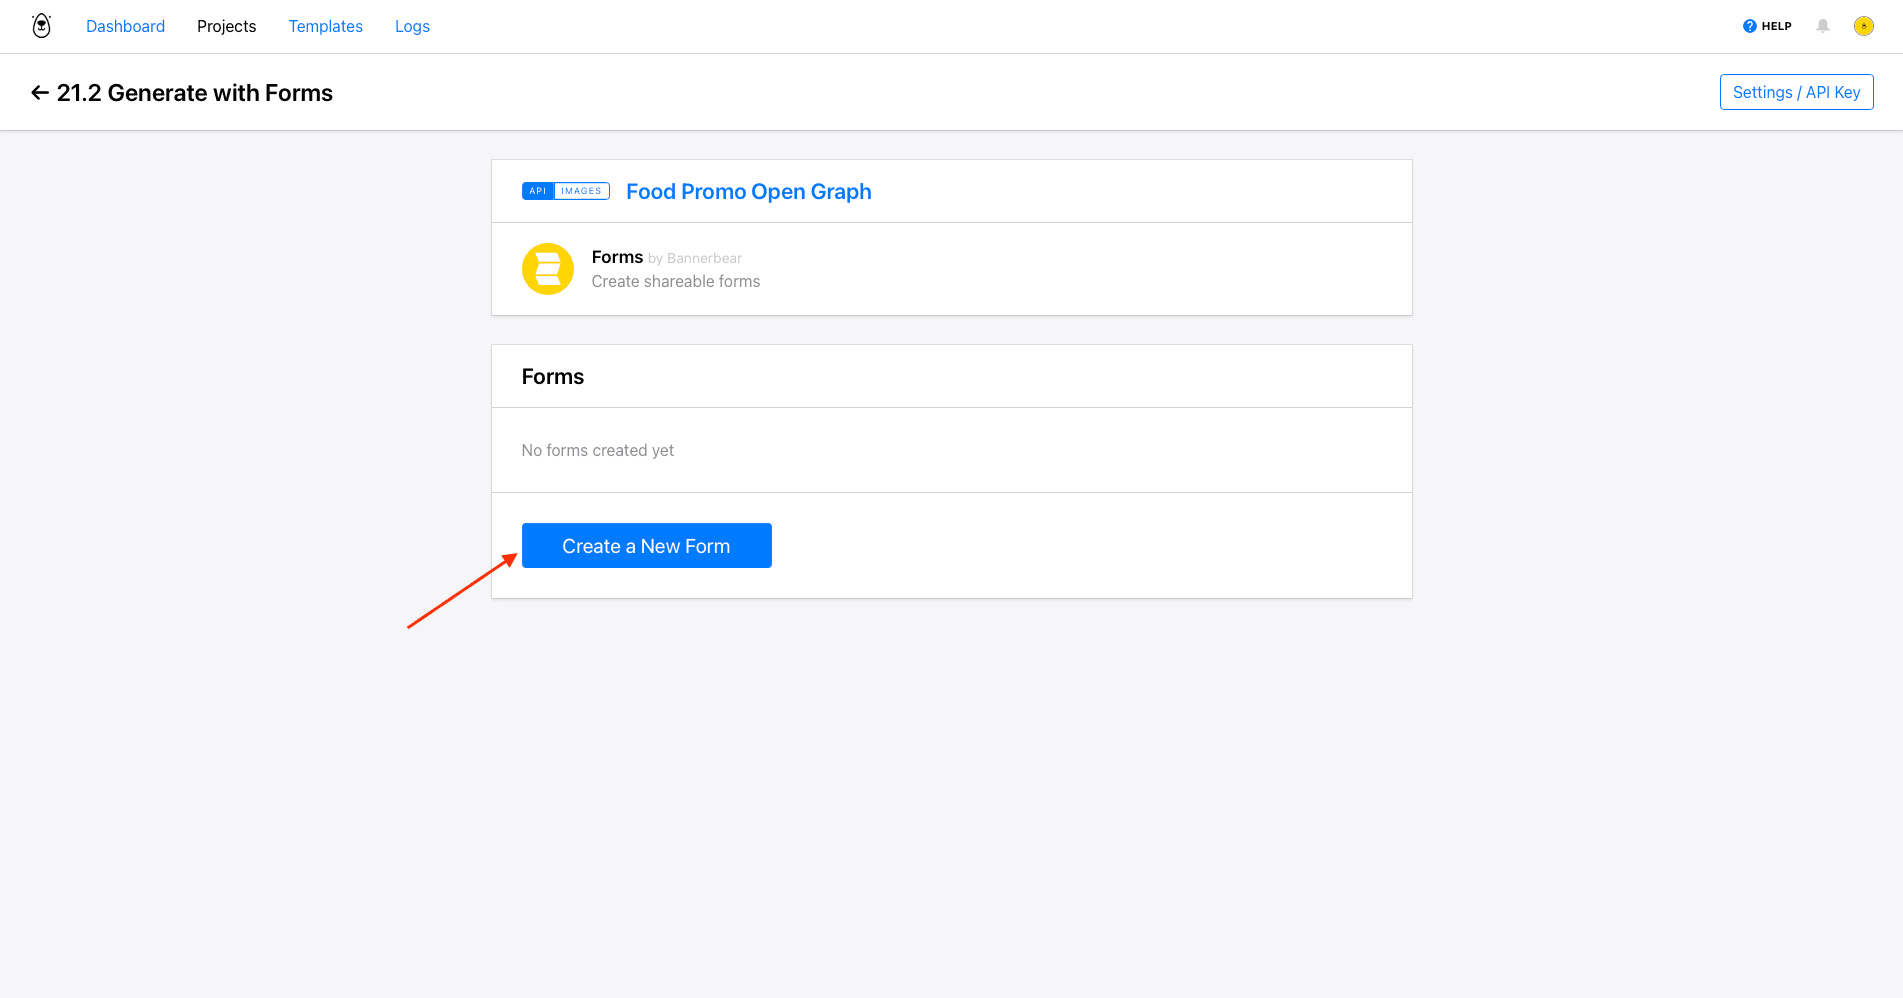
Your first form will appear on the list.
To customize your form, open the three-dot meatball menu next to it and click Edit Form.
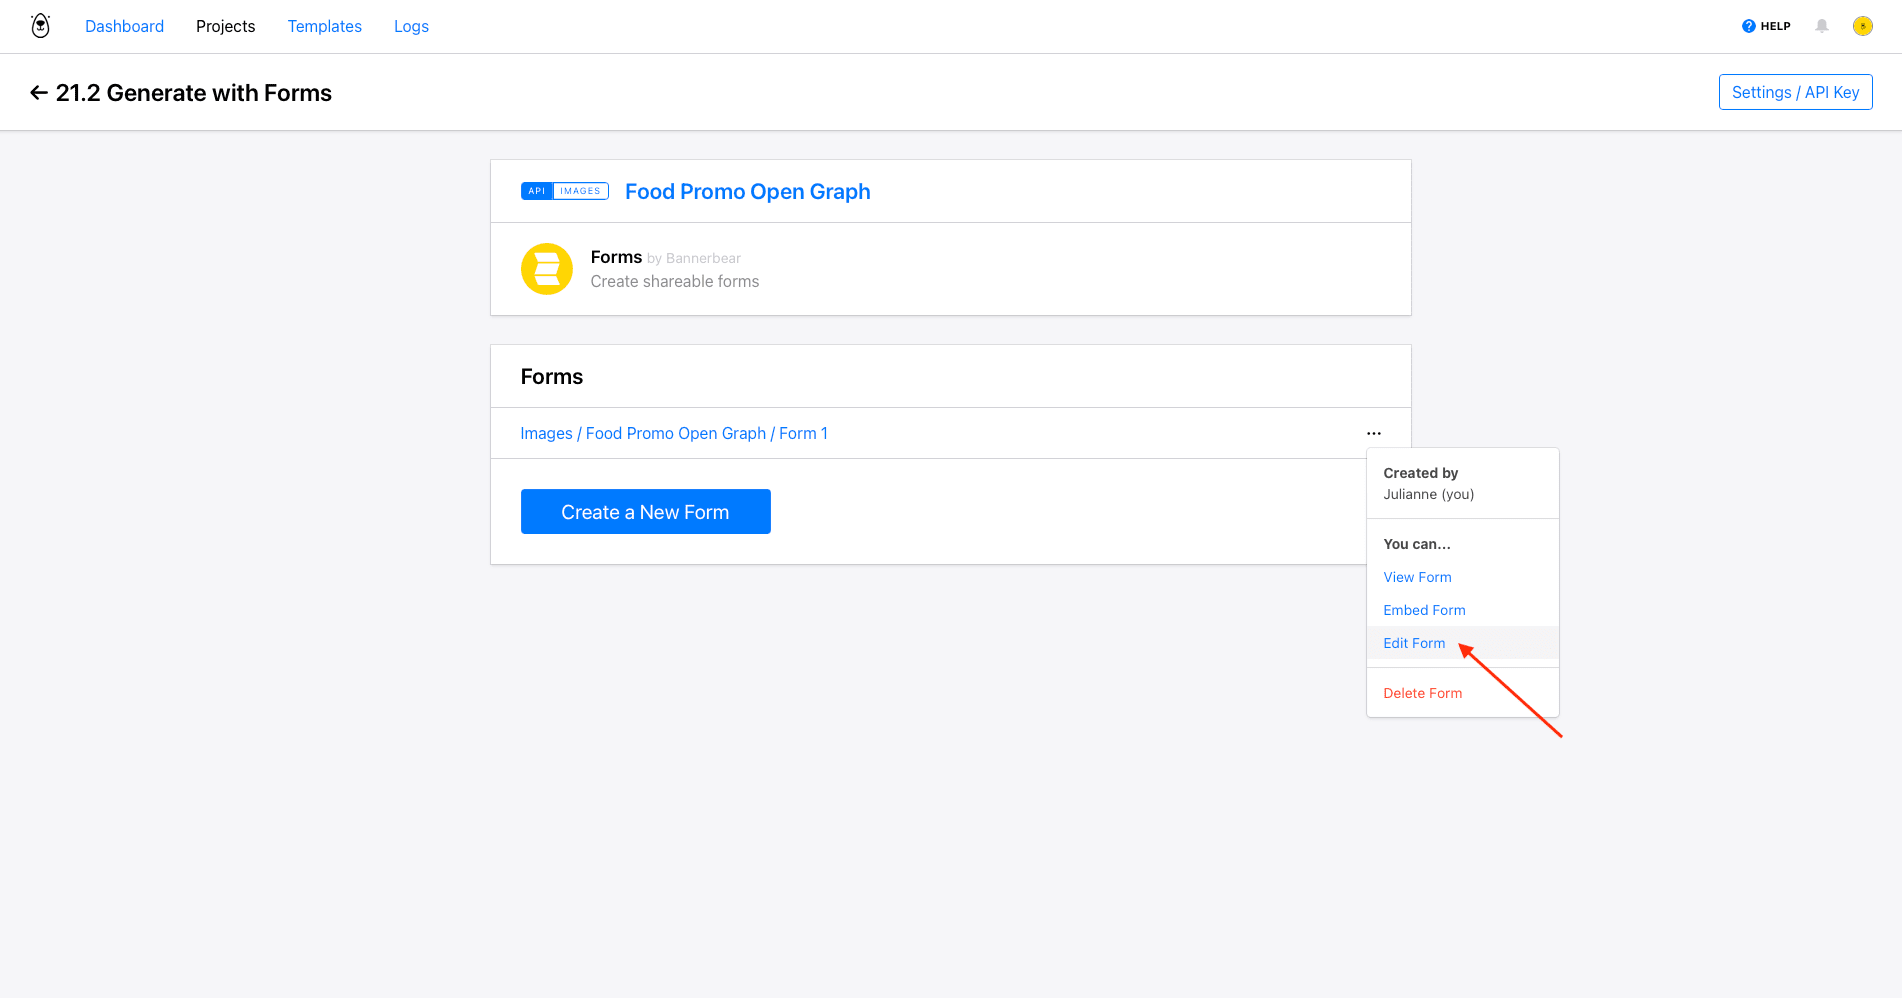
Here, you will have options to adjust the form’s name and title, add an image preview, show or hide layers, and more.
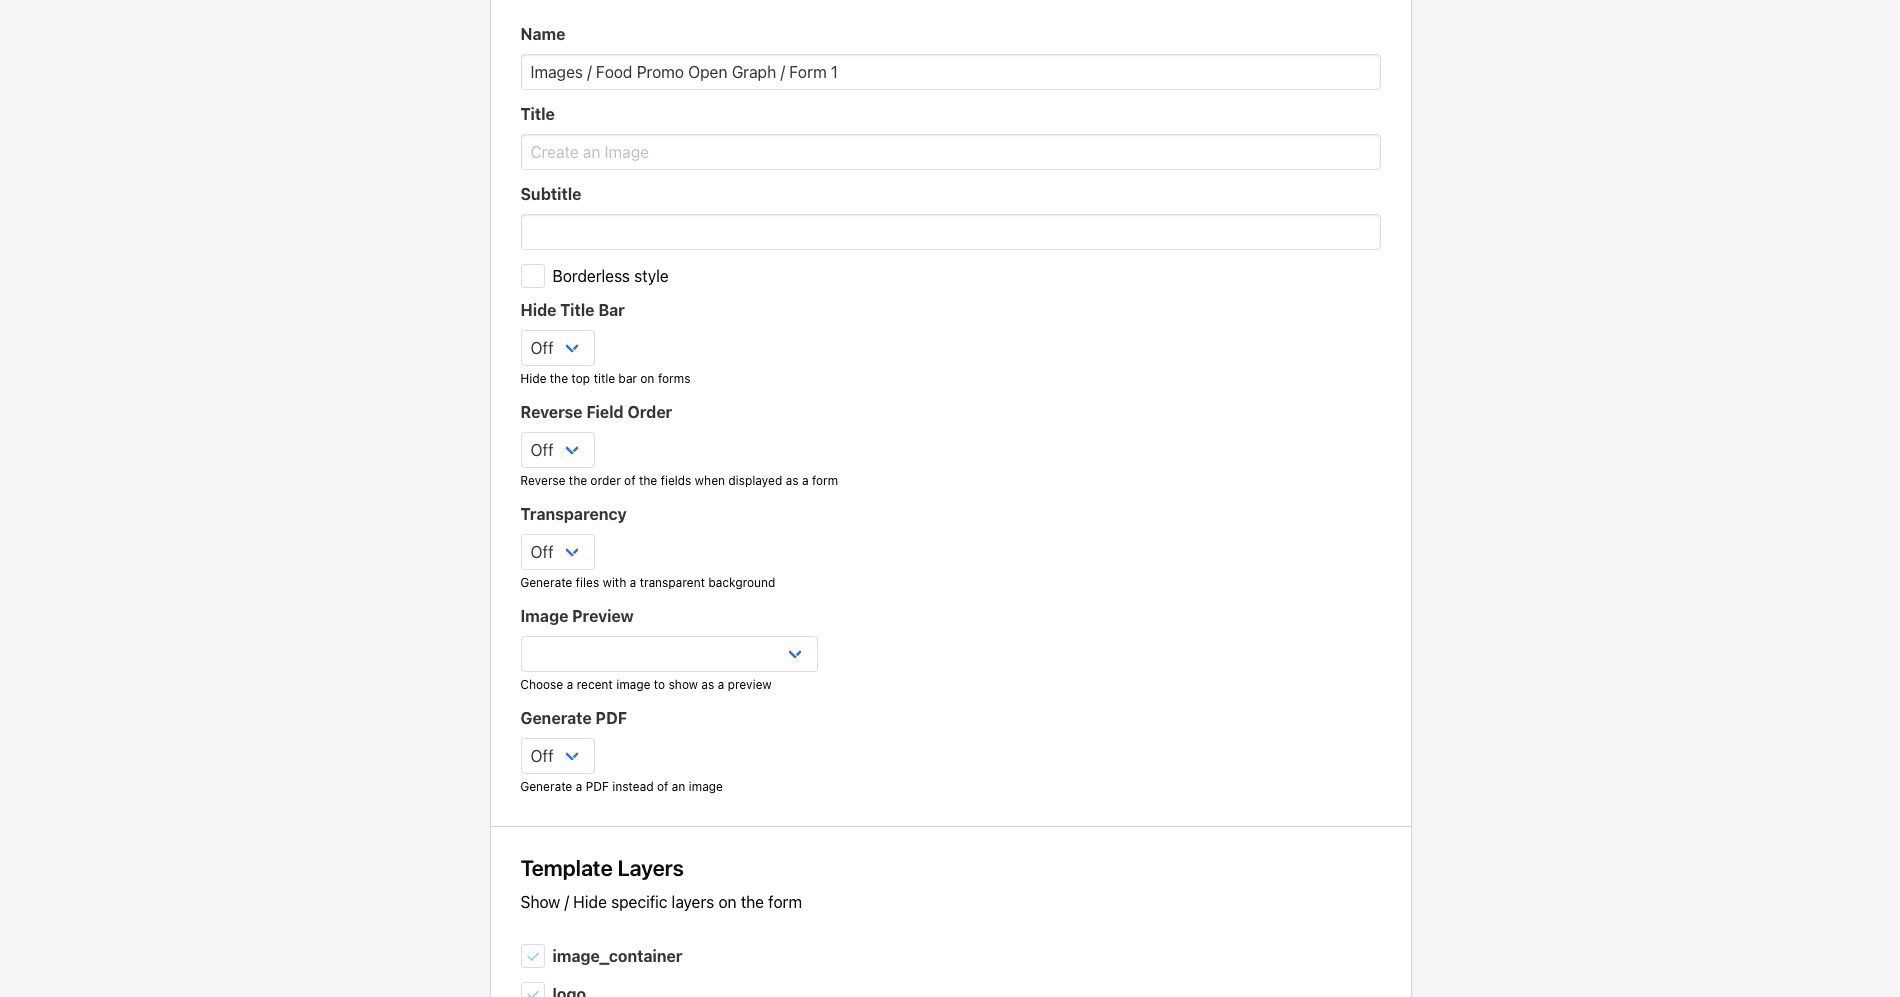
When you’re done customizing your form, click Save.
Generate an Image with New Input Data
To generate an image, return to the Forms page and click the one you want to use. You will now see a form where you can add new input data to the dynamic layers you set up.
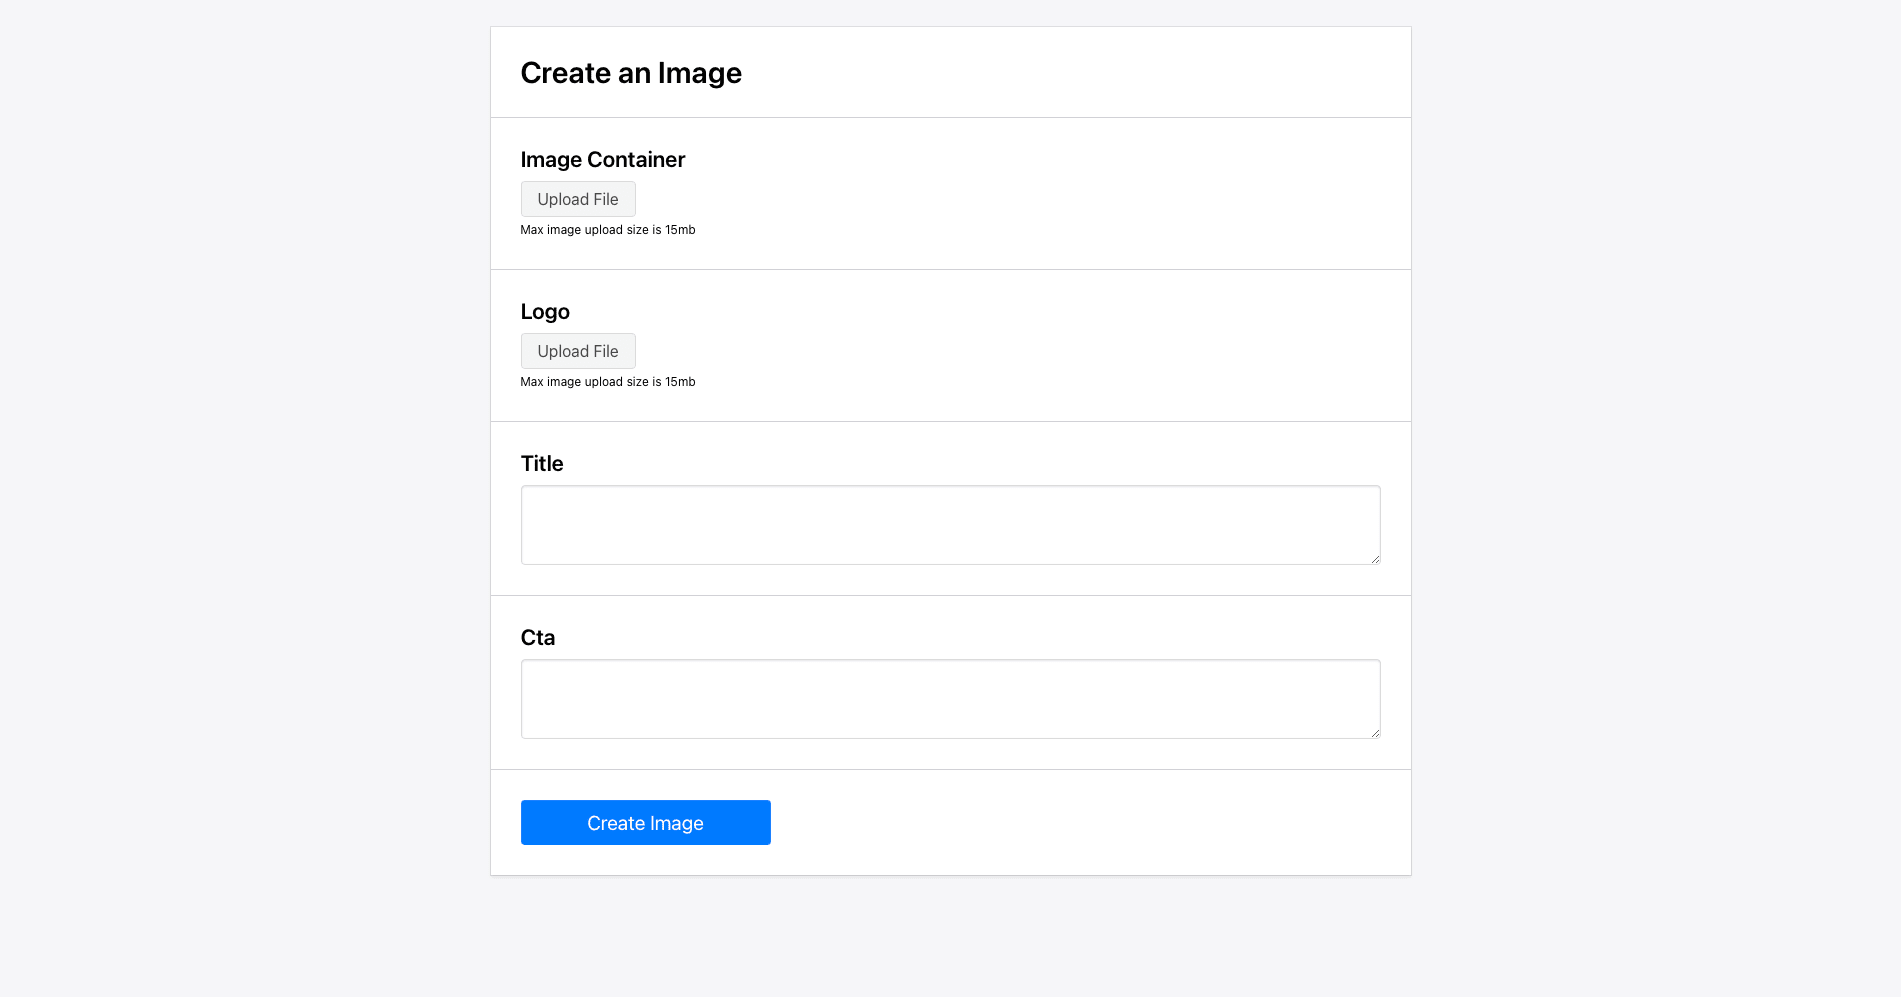
Edit the fields until you’re happy with your modifications. Click Create Image.
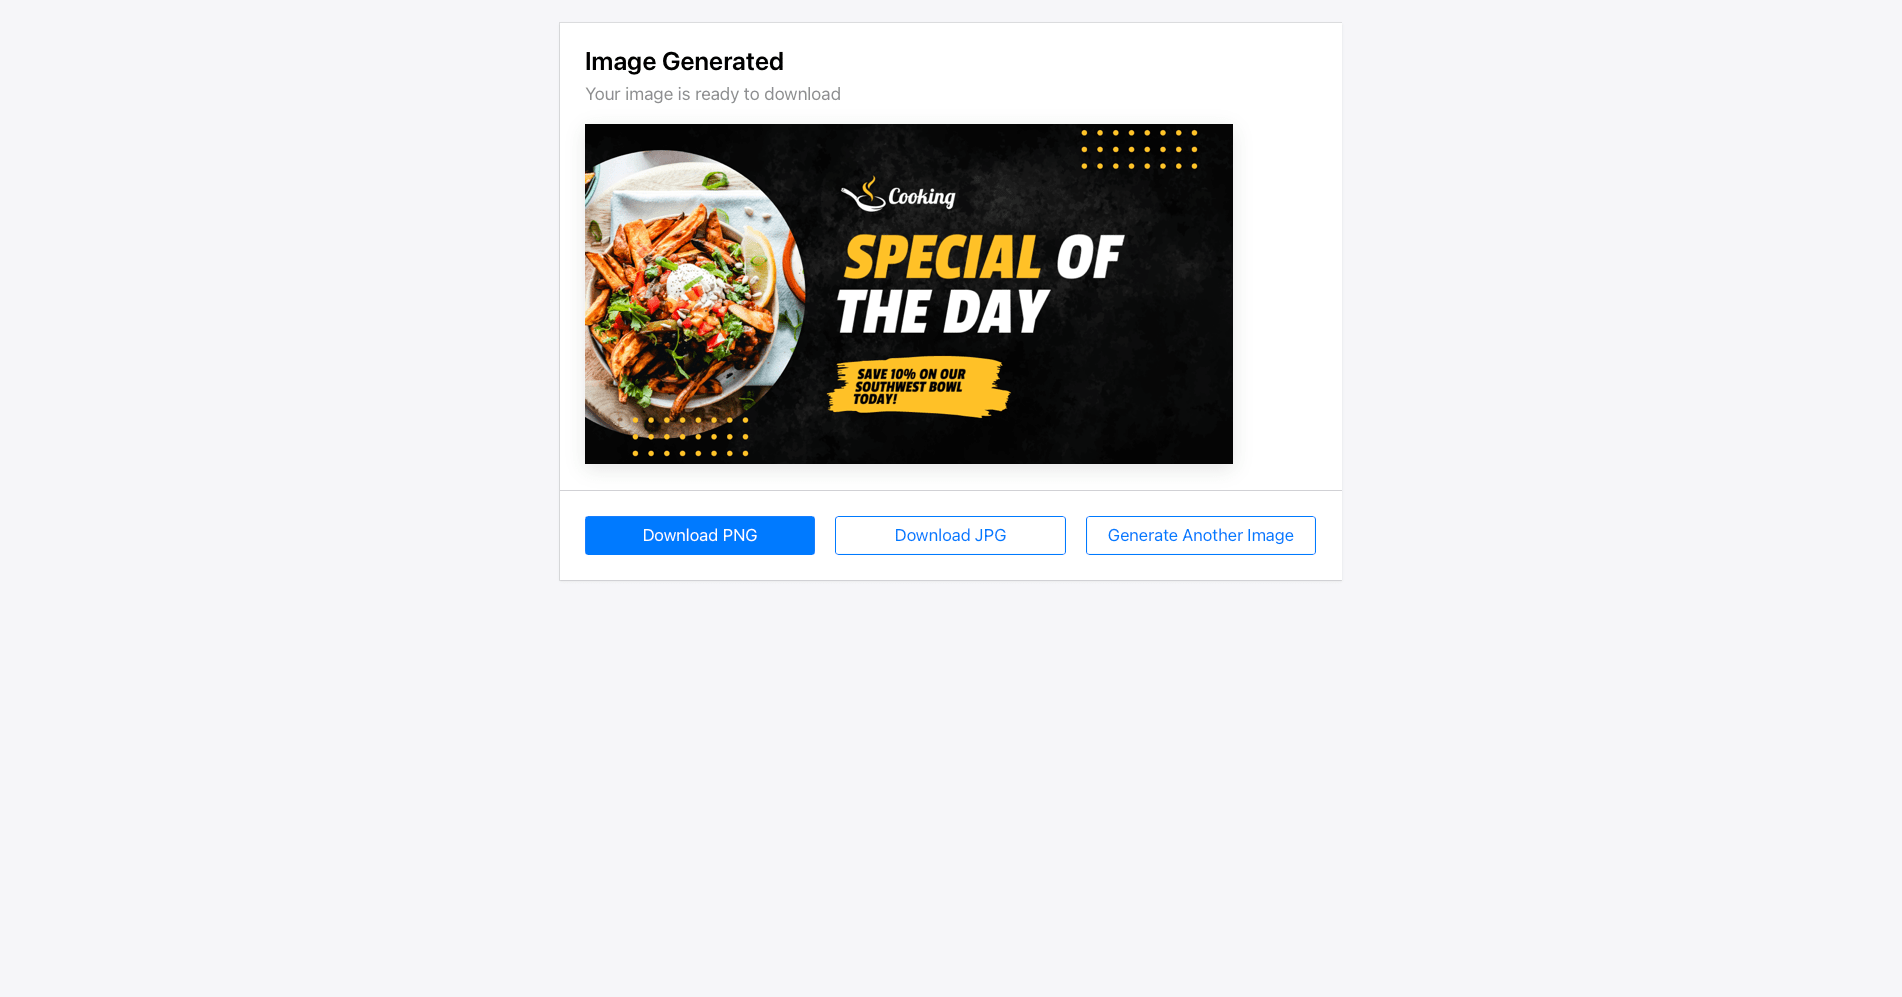
Your image is ready! The next page shows a preview and gives you options to download them in PNG or JPG formats. You can also generate a new image.
Repeat the process as many times as needed.
Bear Tip 🐻: Want to use the same input data for multiple images? Apply the same steps to a Template Set.
Share the Form with Other Stakeholders
Collaborating with others to generate images via Forms is possible in two ways: sharing template access with team members and embedding a form into your site.
Any team members sharing your project can access templates and forms created. Following the same steps above will allow them to generate images using forms you have set up.
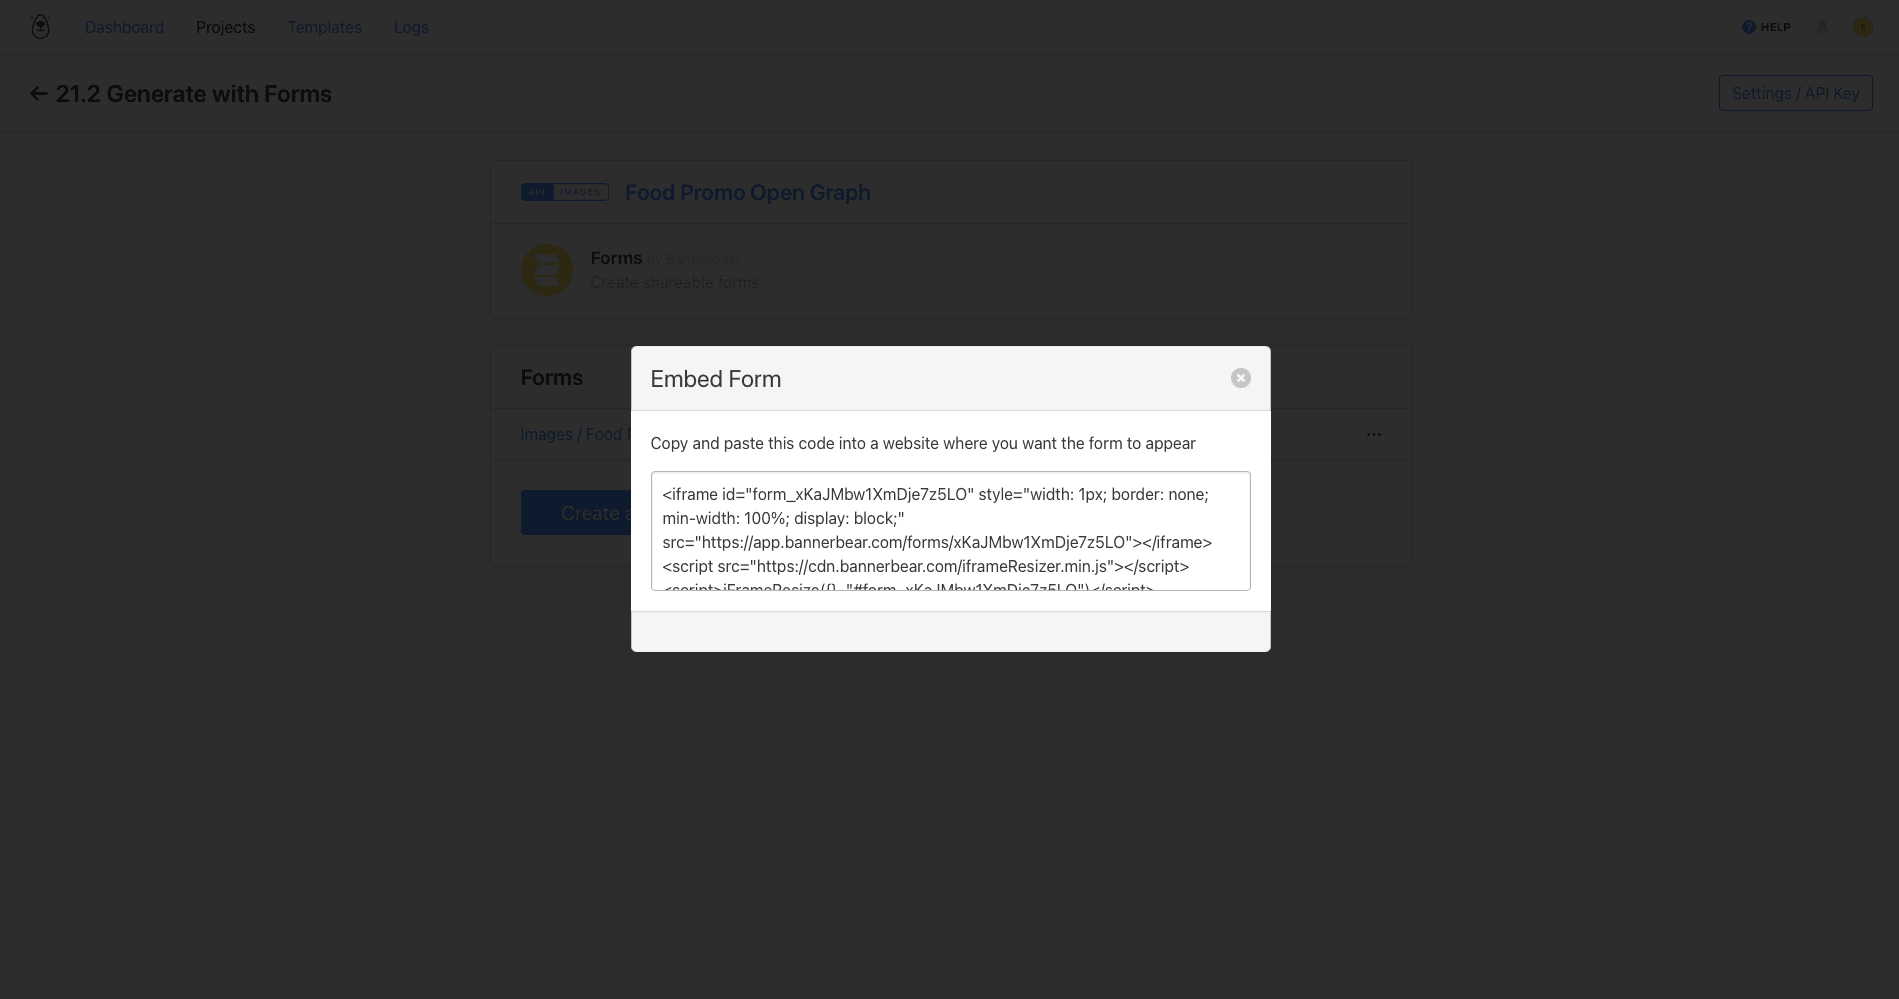
Embedding forms you create into your site will extend image generation capabilities to others. Open the three-dot meatball menu next to the form you want to share, then click Embed Form.
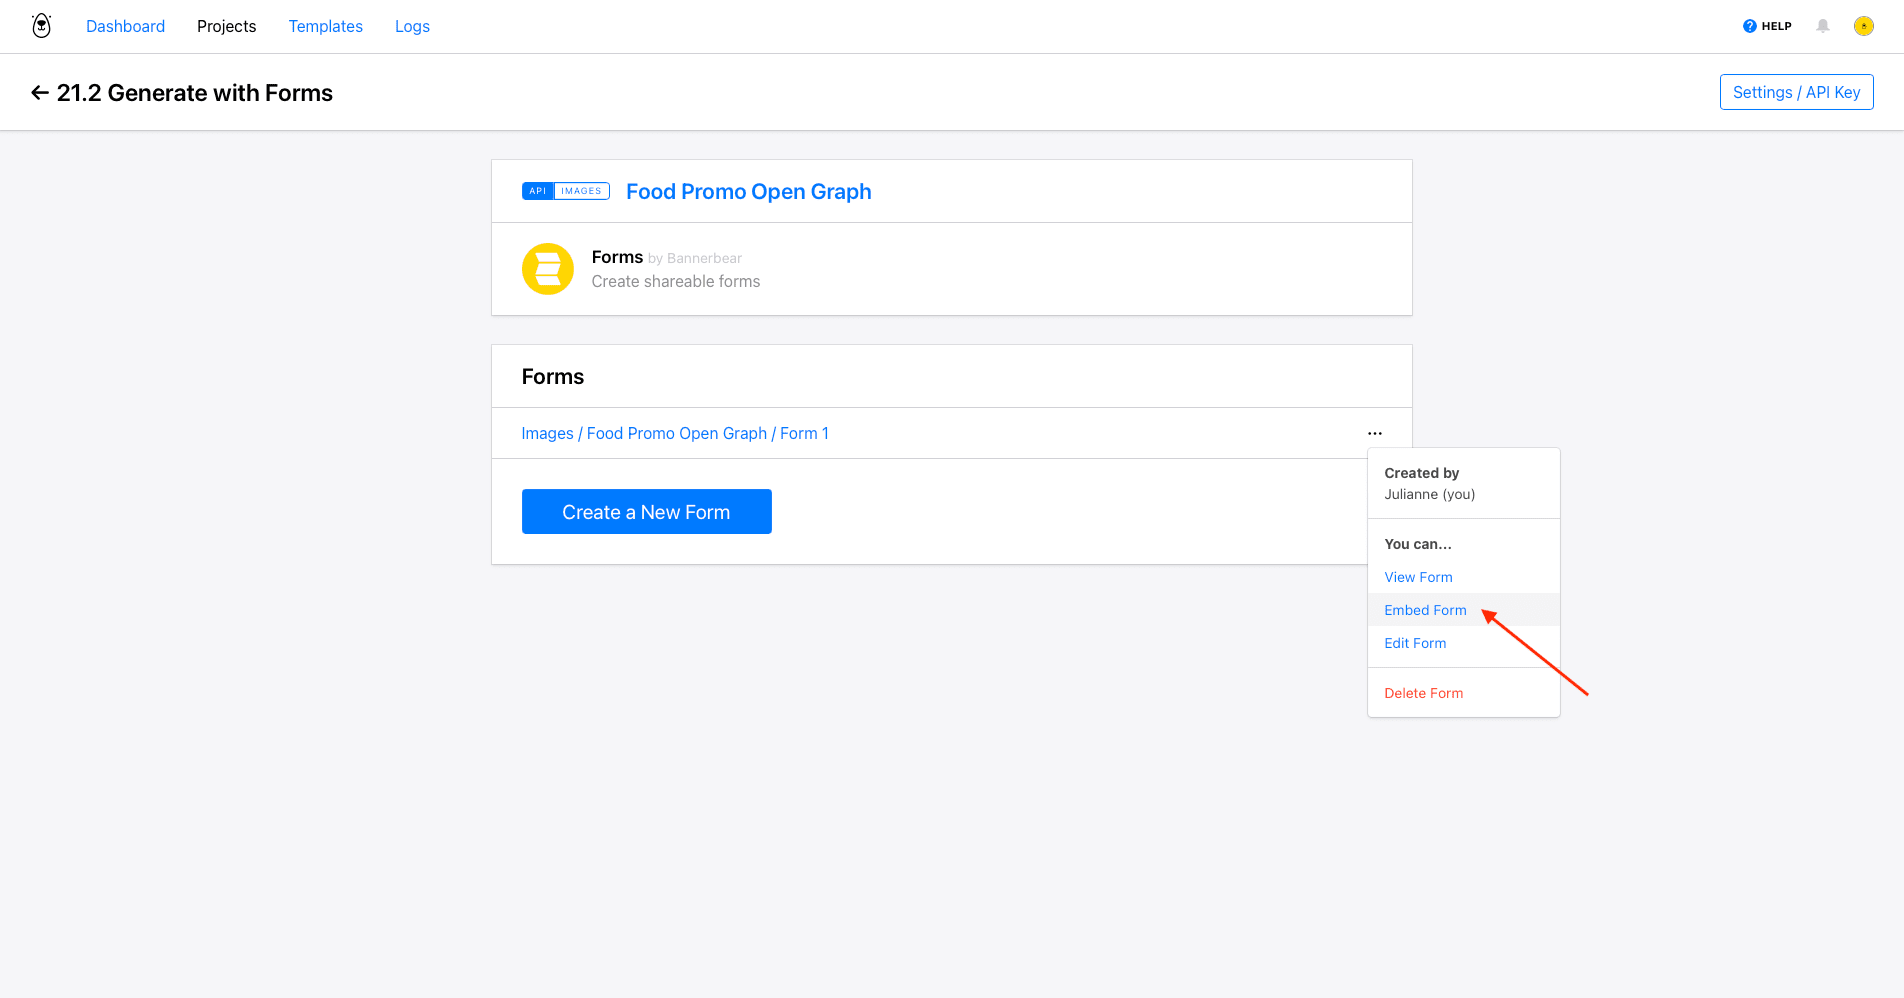
This will give you embed code that you can insert into your site, making it easy for other team members or clients to produce images following your template.
And that’s it!
Create Branded Graphics On Demand
Bannerbear’s Forms feature provides a convenient and efficient way to create customized images on demand. The user-friendly interface reduces manual input and allows users to create tailored images that still follow a template design.
Whether it’s for personalized graphics, limited offers, or time-sensitive announcements, Forms equips brands with the tools to quickly and easily produce branded graphics whenever they are needed. They can be shared with team members or embedded into a site, extending these capabilities to other people.
Want to get even more out of on-demand image production with Bannerbear? Read these articles:
👉 A Basic Guide to Simple and Signed URLs for Image Generation
👉 3 Ways to Generate Open Graph Images Automatically
👉 How to Embed a Bannerbear Template Editor on Your Website to Generate Images Automatically
