
Pyppeteer: How To Use Puppeteer in Python (Installation Guide and Examples)
Contents
The advancements in technology and the need for increased efficiency and productivity have contributed to the rising popularity of automation. People are looking for solutions to automate monotonous tasks. Among all programming languages, Python is one of the most popular ones for automation. As it offers a simple syntax and extensive libraries that make coding easier, it is widely used to create automated tasks.
One of the most popular browser automation libraries is Puppeteer. Although it doesn’t have official support for the Python language, the Python community has developed a library for it—Pyppeteer. In this article, we’ll learn how to use this popular browser automation library in Python, with some simple examples.
What is Puppeteer
Puppeteer is a Node.js library that is open-source and maintained by Google. It is developed to provide a high-level API to control Chrome/Chromium over the Chrome DevTools Protocol. Although Puppeteer is developed to run on Chromium, their collaboration with Mozilla has made cross-browser testing on Firefox available from version 2.1.0 onwards.
Puppeteer can automate tasks that are typically performed manually by humans in a web browser. It is commonly used by developers to run website tests, generate website screenshots and PDFs, scrape web pages, automate form submissions, etc.
While Selenium is the primary browser automation library for Python, it focuses on cross-browser automation. On the other hand, Puppeteer focuses solely on Chrome/Chromium and supports richer functionalities for this particular browser. Therefore, if you need to perform tasks that are specific to Chrome/Chromium, consider using Puppeteer instead.
Installation
Note: The Pyppeteer library can only be used with Python v3.6 and above. Check your Python version by running python –v or python3 -v in the terminal/command prompt. If it's below that, you will need to upgrade it.
Open a terminal/command prompt and run the command below to install Pyppeteer:
pip3 install pyppeteer
A recent version of Chromium will be downloaded automatically when you run Pyppeteer for the first time and it might take a while. If you would like to install it manually and execute your first Pyppeteer automation faster, run the command below after the Pyppeteer installation command:
pyppeteer-install
That’s it, Pyppeteer has been installed and we can start using it to automate Chrome/Chromium in Python!
Getting Started with Pyppeteer
Let’s start with a simple example that launches the browser. To begin using Pyppeteer, we need to import the necessary modules (asyncio and launch) and initialize a new browser instance.
import asyncio
from pyppeteer import launch
Then, define an async function to launch the browser and perform different actions (which we will implement later). After performing the actions, close the browser to end the automation.
async def main():
    browser = await launch()
    page = await browser.newPage()

    # Perform actions on the page

    await browser.close()
Finally, run the function.
asyncio.get_event_loop().run_until_complete(main())
As no action is performed, the browser is launched and then closed immediately and you won't see what is going on even if you launch it in the headful mode (launch(headless=True)). Next, we’ll add actions to the code to perform the tasks below:
- Taking screenshots of a web page
- Downloading images from a web page
- Scraping data from a web page
Performing Actions with Pyppeteer
Pyppeteer provides an extensive API for performing various actions in the Chrome/Chromium browser. For the sake of simplicity, we’ll only include the code for performing actions in the following code snippets. Simply insert them into the code above to complete your script.
Taking Screenshots of a Web Page
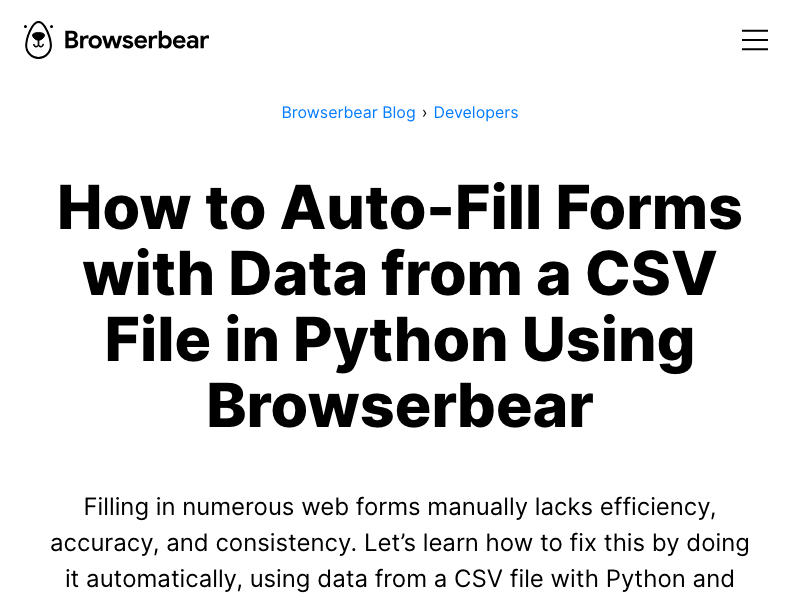
Taking screenshots of a web page with Pyppeteer is easy. First, navigate to the target web page using the goto() method and then capture a screenshot of the page using screenshot(), with the file name (screenshot.png) specified.
await page.goto('https://www.browserbear.com/blog/how-to-auto-fill-forms-with-data-from-a-csv-file-in-python-using-browserbear/')
await page.screenshot({'path': 'screenshot.png'})
Execute the script and you will find the screenshot in your project folder. Here’s what the screenshot looks like:
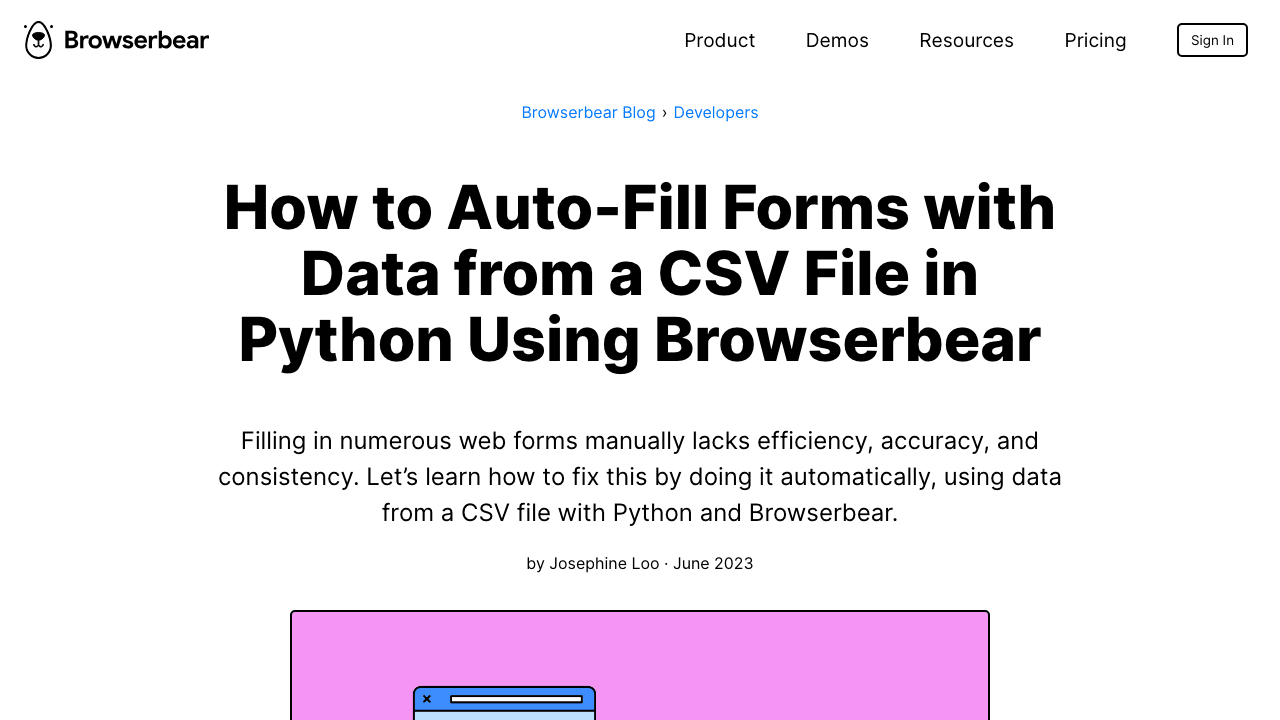
You can also set a specific dimension for the viewport:
await page.setViewport({ 'width': 1280, 'height': 720 })
await page.goto('https://www.browserbear.com/blog/how-to-auto-fill-forms-with-data-from-a-csv-file-in-python-using-browserbear/')
await page.screenshot({'path': 'screenshot.png'})
The screenshot will be taken in the dimension specified.
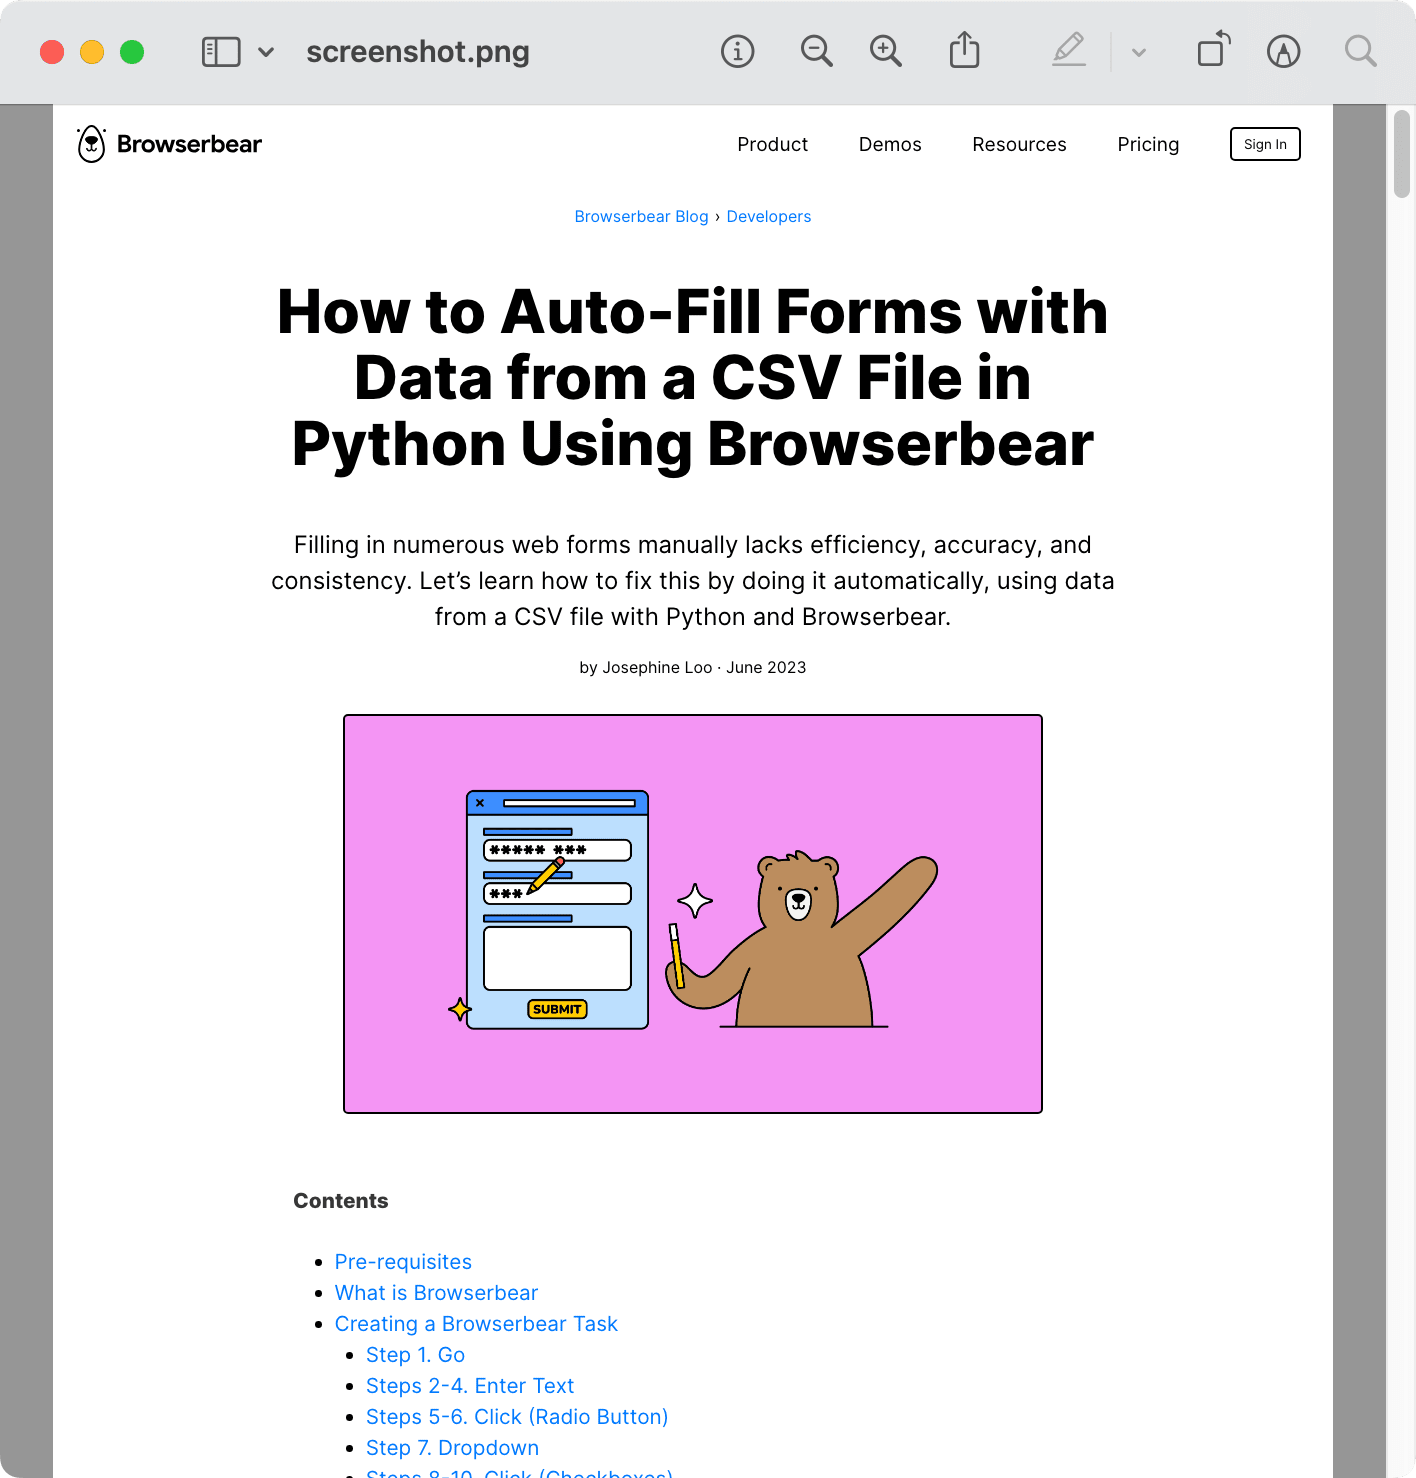
To take a full-page screenshot, set fullPage to True in the screenshot() method.
await page.setViewport({ 'width': 1280, 'height': 720 })
await page.goto('https://www.browserbear.com/blog/how-to-auto-fill-forms-with-data-from-a-csv-file-in-python-using-browserbear/')
await page.screenshot({'path': 'screenshot.png'}, 'fullPage': True })
The full page will be captured:
Downloading Images from a Web Page
Downloading images manually is unfeasible and inefficient if you’re trying to scrape them from a website that has hundreds or even ten of thousands of images, like e-commerce stores, e-commerce platforms, social media platforms, news sites, etc.
Instead of doing it manually, use Pypetteer to automate the process. We’ll locate the images using a query selector to retrieve their URLs and then download them into a folder.
For this task, we’ll need the requests and os modules. Import them in your code:
import requests
import os
Then, create a function that saves an image from its URL:
def save_image_from_url(url, file_path):
    response = requests.get(url)
    if response.status_code == 200:
        print(file_path)
        os.makedirs(os.path.dirname(file_path), exist_ok=True)
        with open(file_path, 'wb') as file:
            file.write(response.content)
            print("Image saved successfully.")
    else:
        print(f"Failed to save image. Status code: {response.status_code}")
Lastly, in your code where the action is performed, add the code below:
await page.goto('https://www.browserbear.com/blog/how-to-auto-fill-forms-with-data-from-a-csv-file-in-python-using-browserbear/')

image_urls = await page.evaluate('''() => {return Array.from(document.querySelectorAll('img')).map(img => img.src)}''')

for i, url in enumerate(image_urls):
    save_image_from_url(url, "images/" + url.split("/")[-1])
This will go to the target web page, locate elements with the <img> tag, and extract their URLs. When the script is executed, all images on that web page will be downloaded into the images folder.

Scraping Data from a Web Page
Scraping data from a web page works similarly to downloading images. First, we’ll locate the target HTML element using a query selector or the evaluate() function. After the elements have been located, extract text or other attributes from them.
Let’s scrape the job titles from this job board. On the web page, identify the query selector that you need to use to retrieve the target HTML element. In this case, it’s the <a> tag.
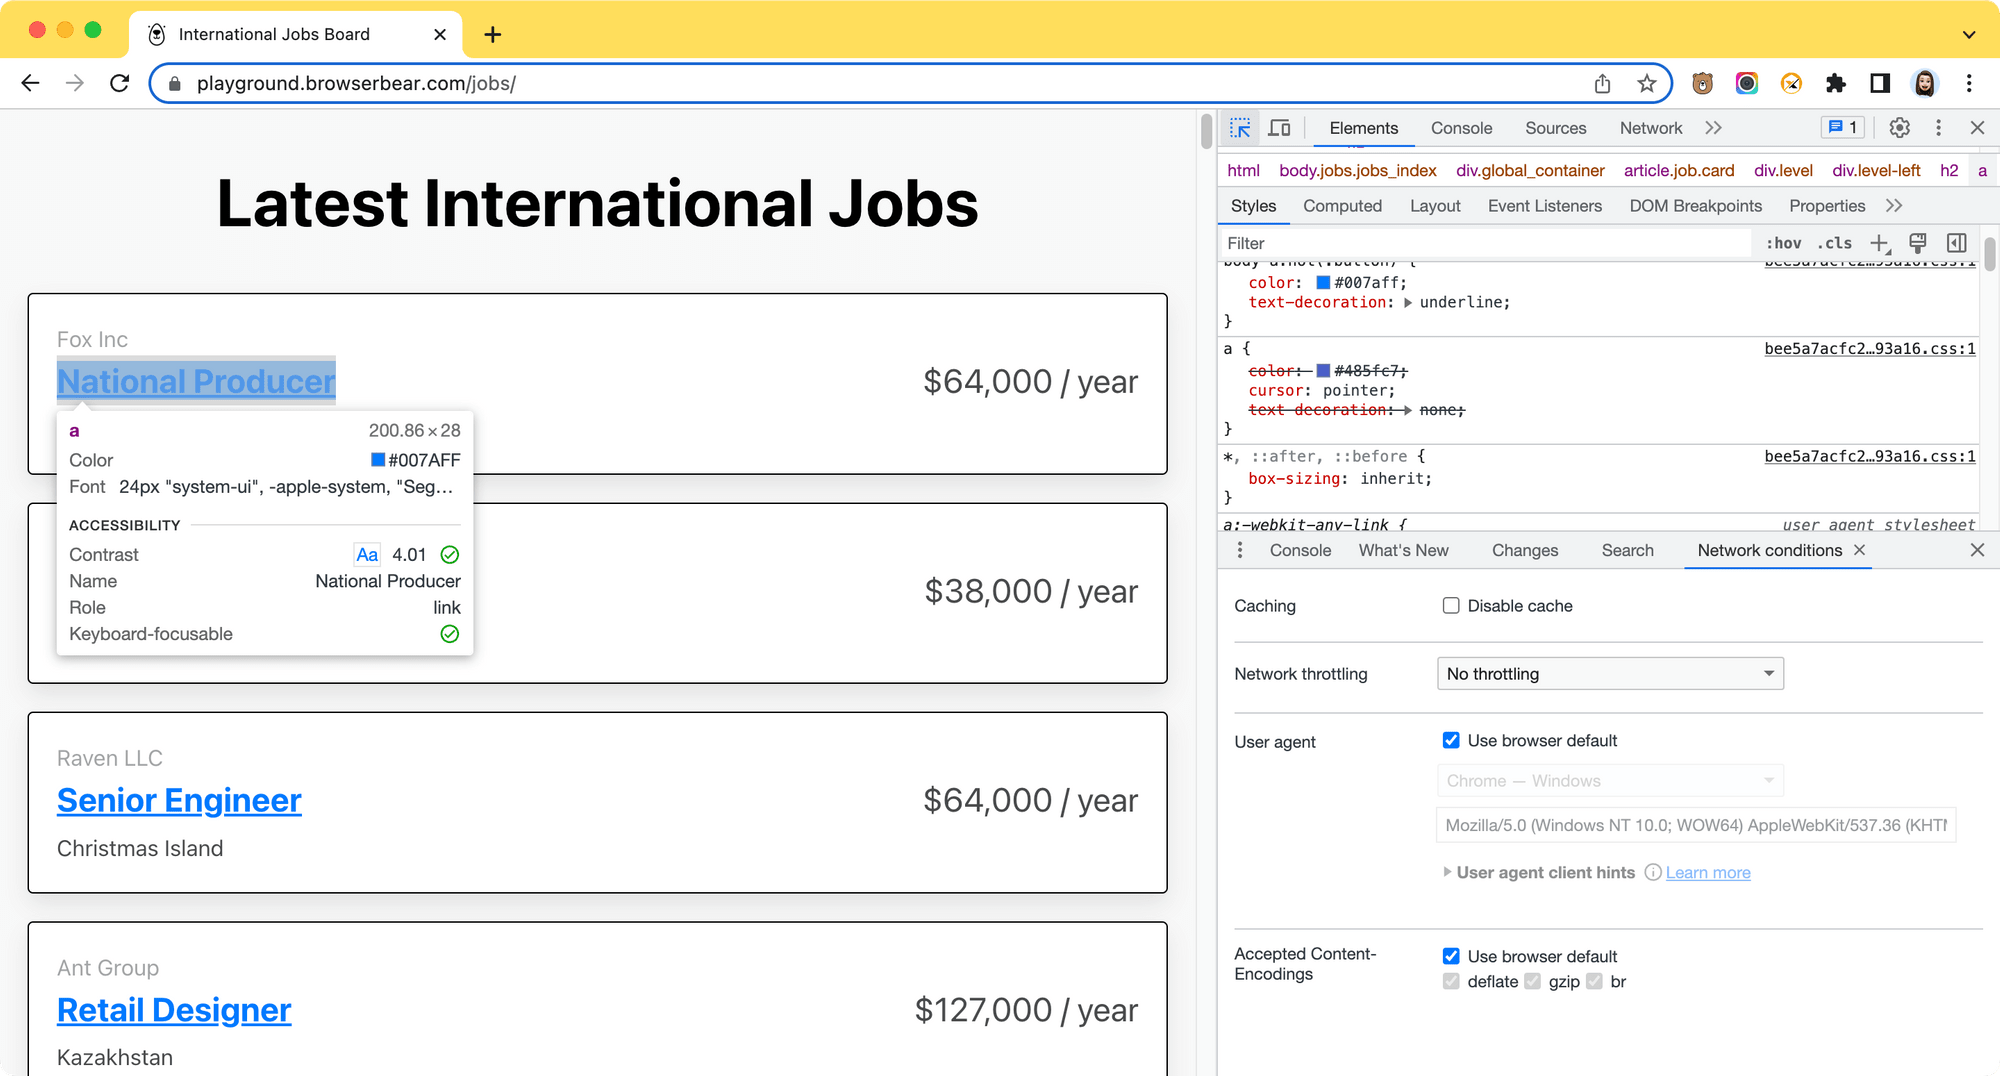
Then, add the code below to your script to retrieve the text of the <a> elements:
await page.goto('https://playground.browserbear.com/jobs/')
jobs = await page.evaluate('''() => {return Array.from(document.querySelectorAll('a')).map(job => job.innerHTML)}''')
for i, job in enumerate(jobs):
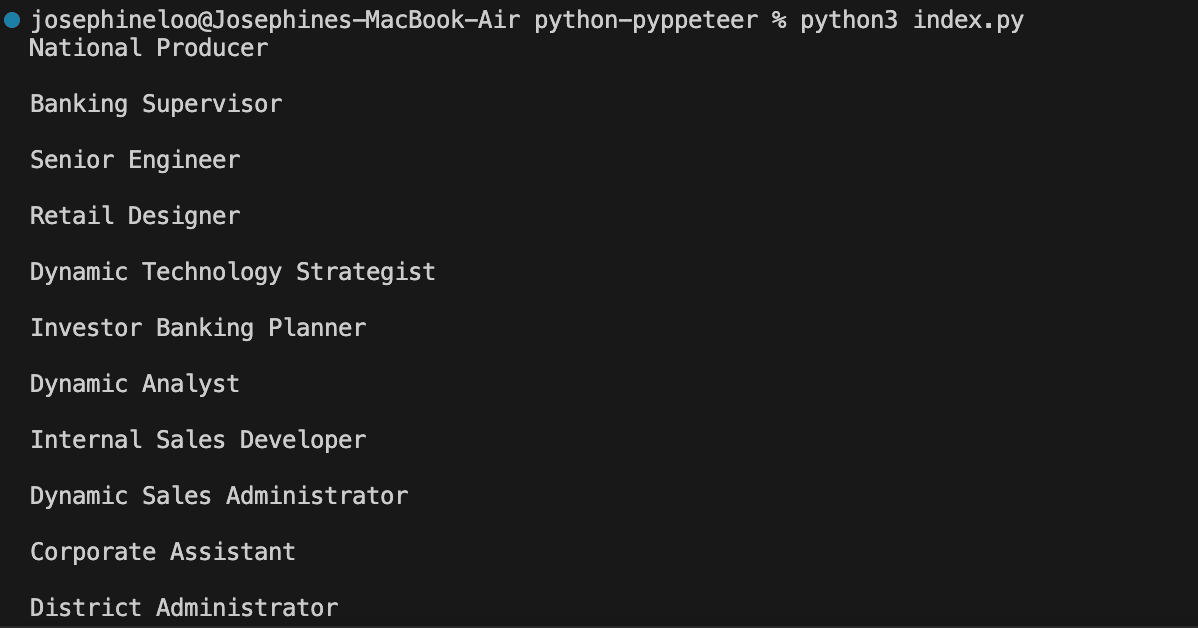
print(job + "\\n")
This will scrape all job titles from the web page:
Conclusion
Using Pyppeteer, you can utilize the powerful browser automation capabilities of Puppeteer in Python to perform various tasks. In this article, we have learned how to install and use it to automate tasks on the browser such as taking screenshots of a web page, downloading images, and extracting data from it.
These are just some simple usages of Pyppeteer for automating tasks on the browser. Depending on the project requirement and how the website is coded, it could be more complex. For example, a website could implement security measures like CAPTCHA, rate limiting, etc. to prevent being scraped. In this case, using a browser automation tool like Browserbear that has built-in features to help you avoid getting blocked would be easier.
If you're interested to find out how, you can register a free trial and follow these video or written tutorials to get started.
