
Part 2: Generate Dynamic Open Graph Images (with Live Page Screenshots) in Next.js Using Bannerbear
Contents
Did you know it takes less than two seconds for someone to scroll past a post on social media? When someone shares your website on platforms like Facebook, X, or WhatsApp, your Open Graph (OG) image matters more than you thought. It represents your page and heavily influences whether people click on your link or scroll past it.
In How to Generate Dynamic Open Graph Images in Next.js Using Bannerbear (Complete Guide), we learned how to automatically create branded OG images with the post title and author name for every page using Bannerbear’s API.
In this tutorial, we’ll take things a step further—we’re going to add a live screenshot of your webpage to the OG image, giving it a more dynamic and real-time preview.
Let’s turn your boring OG image from this…
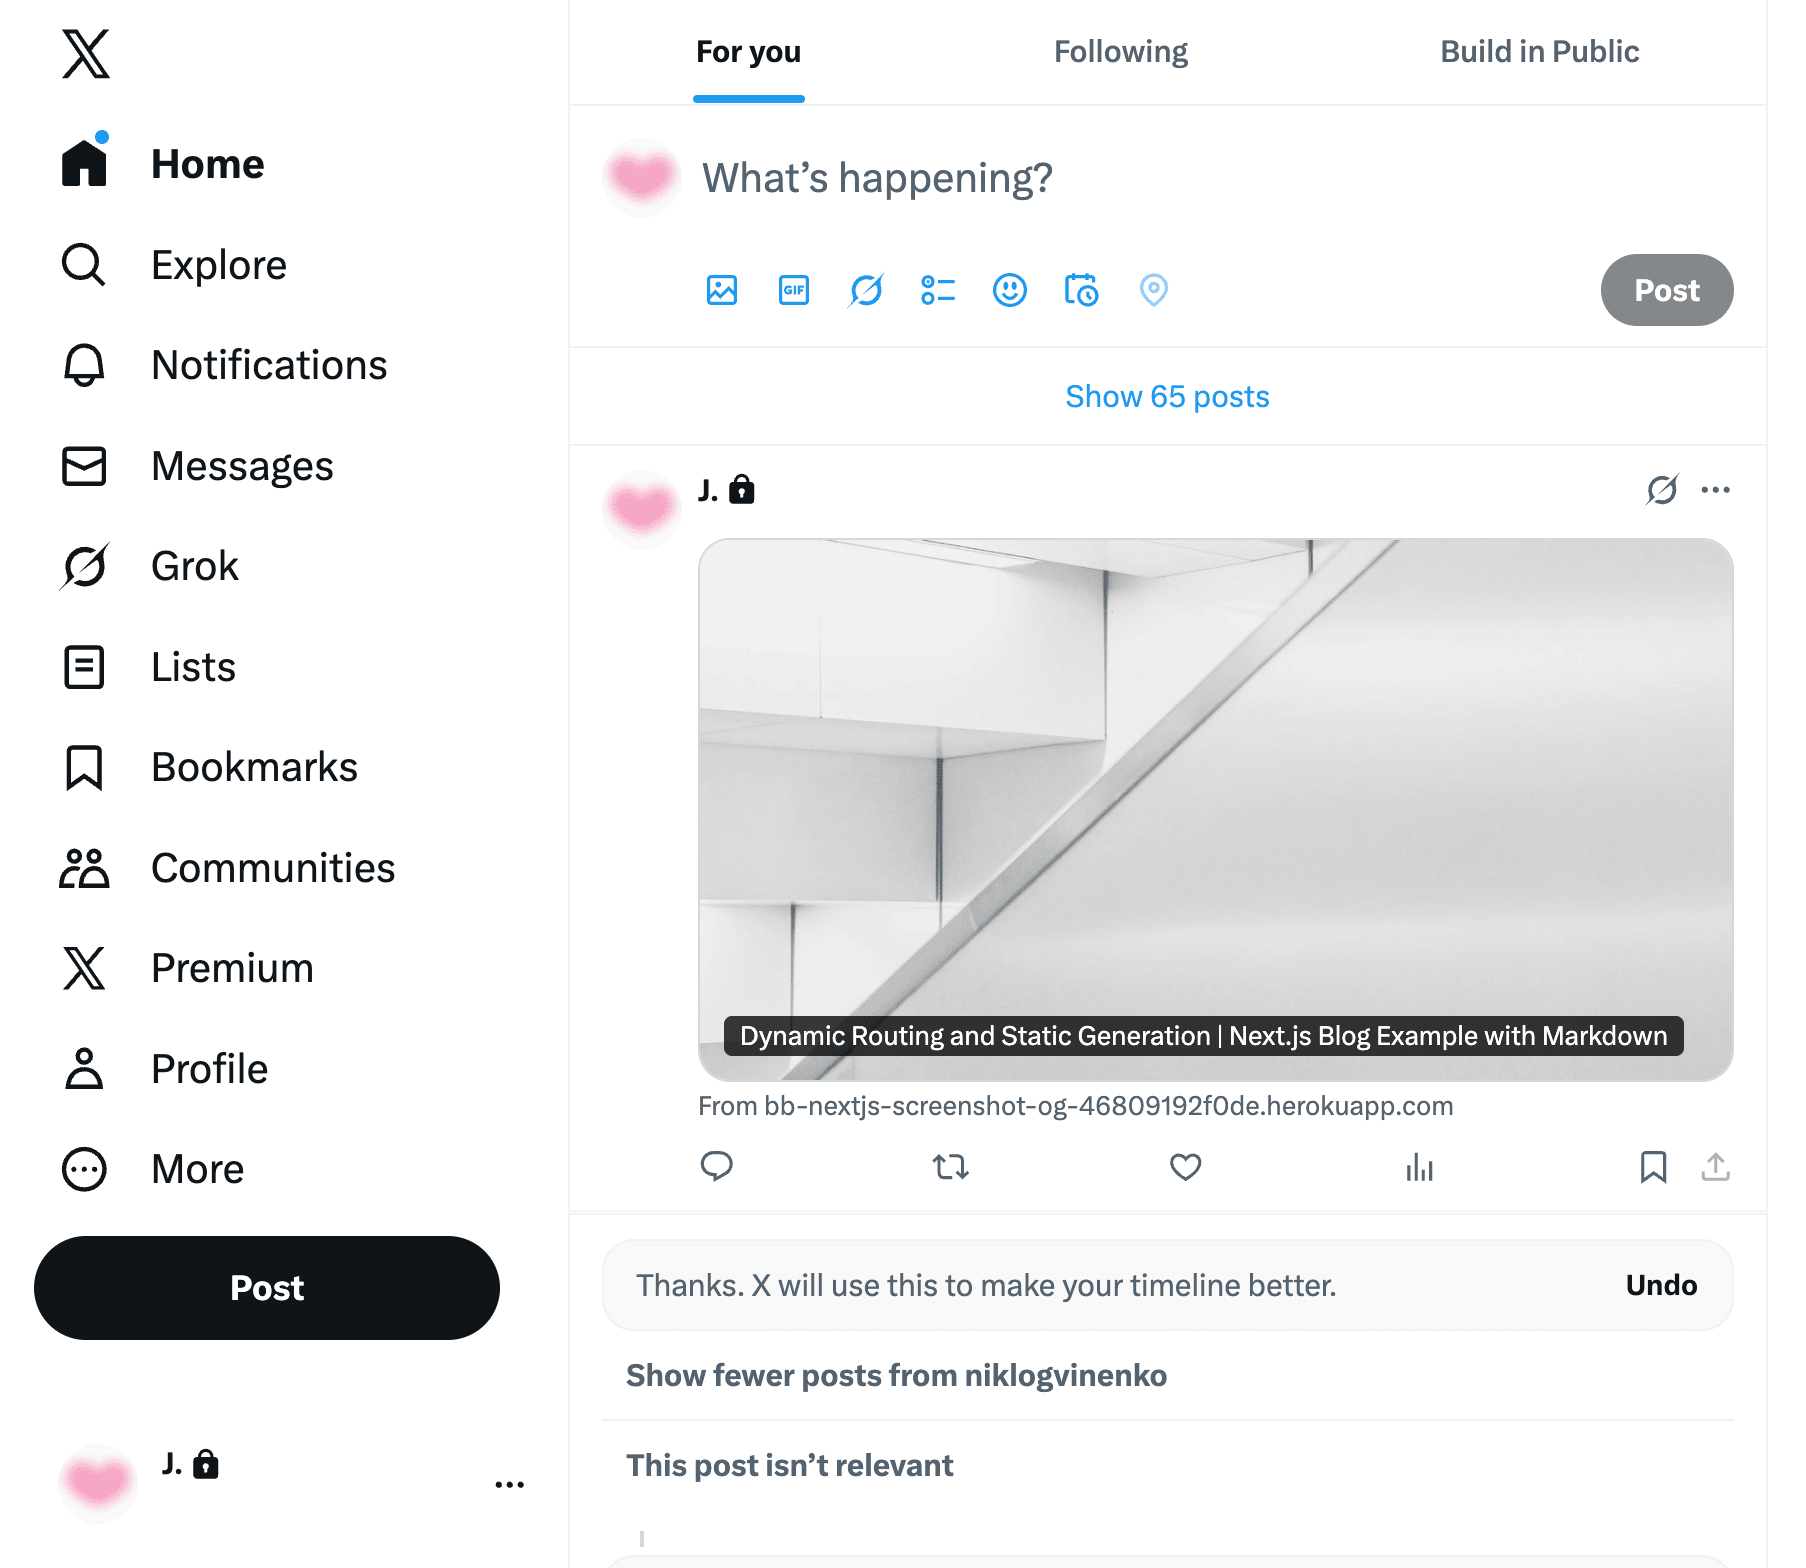
to this:

This guide works perfectly whether you’re continuing from the previous tutorial or starting from scratch. By the end of it, you’ll have a complete setup that:
- Captures a live screenshot of any page on your website using Bannerbear’s Screenshot API
- Insert the screenshot into your design template
- Automatically sets it as the OG image for every page in your Next.js app
🐻 Bear Tip: If you’ve completed the previous tutorial, you can skip ahead to duplicating the template in this guide and jump straight to Step 2: Create a Function to Take a Screenshot.
Why Add Live Screenshots to Your OG Images
Most websites use a generic OG image, usually the same as their thumbnail or cover photo, which doesn’t really tell people anything useful when the link is shared on social media or messaging apps.
Why waste the opportunity to show people what your website offers? With an OG image that features a live snapshot of your page, you can make your link previews far more interesting:
- Blogs - Display the post content directly from your site.
- Product pages - Feature real product information and images.
- Portfolios - Showcase the actual design of each project page.
Pre-requisites
If you’re following along from scratch, here’s what you’ll need:
- Node.js and npm/yarn installed
- A Next.js project
- A Bannerbear account (sign up for 30 free API credits here!)
What is Bannerbear
Bannerbear is an API that lets you automatically generate custom images, videos, and more from templates. It provides SDKs for Node.js, Ruby, and PHP, making it easy to integrate automated image generation into any project, including your Next.js project.
To generate images automatically, you need to create a design template that serves as a blueprint for creating the images in Bannerbear. A design template can consist of:
- Static objects - These remain the same in every generated image (e.g., a logo)
- Dynamic objects - These change based on data you provide (e.g., names, images)
Here’s an example of a Bannerbear design template:
By passing different data to the API, you can alter the values of the dynamic objects and automatically create dynamic OG images for different pages or posts.
🐻 Bear Tips: The Bannerbear API includes a screenshot tool too, and we’ll use it for this tutorial.
Creating a Bannerbear Template
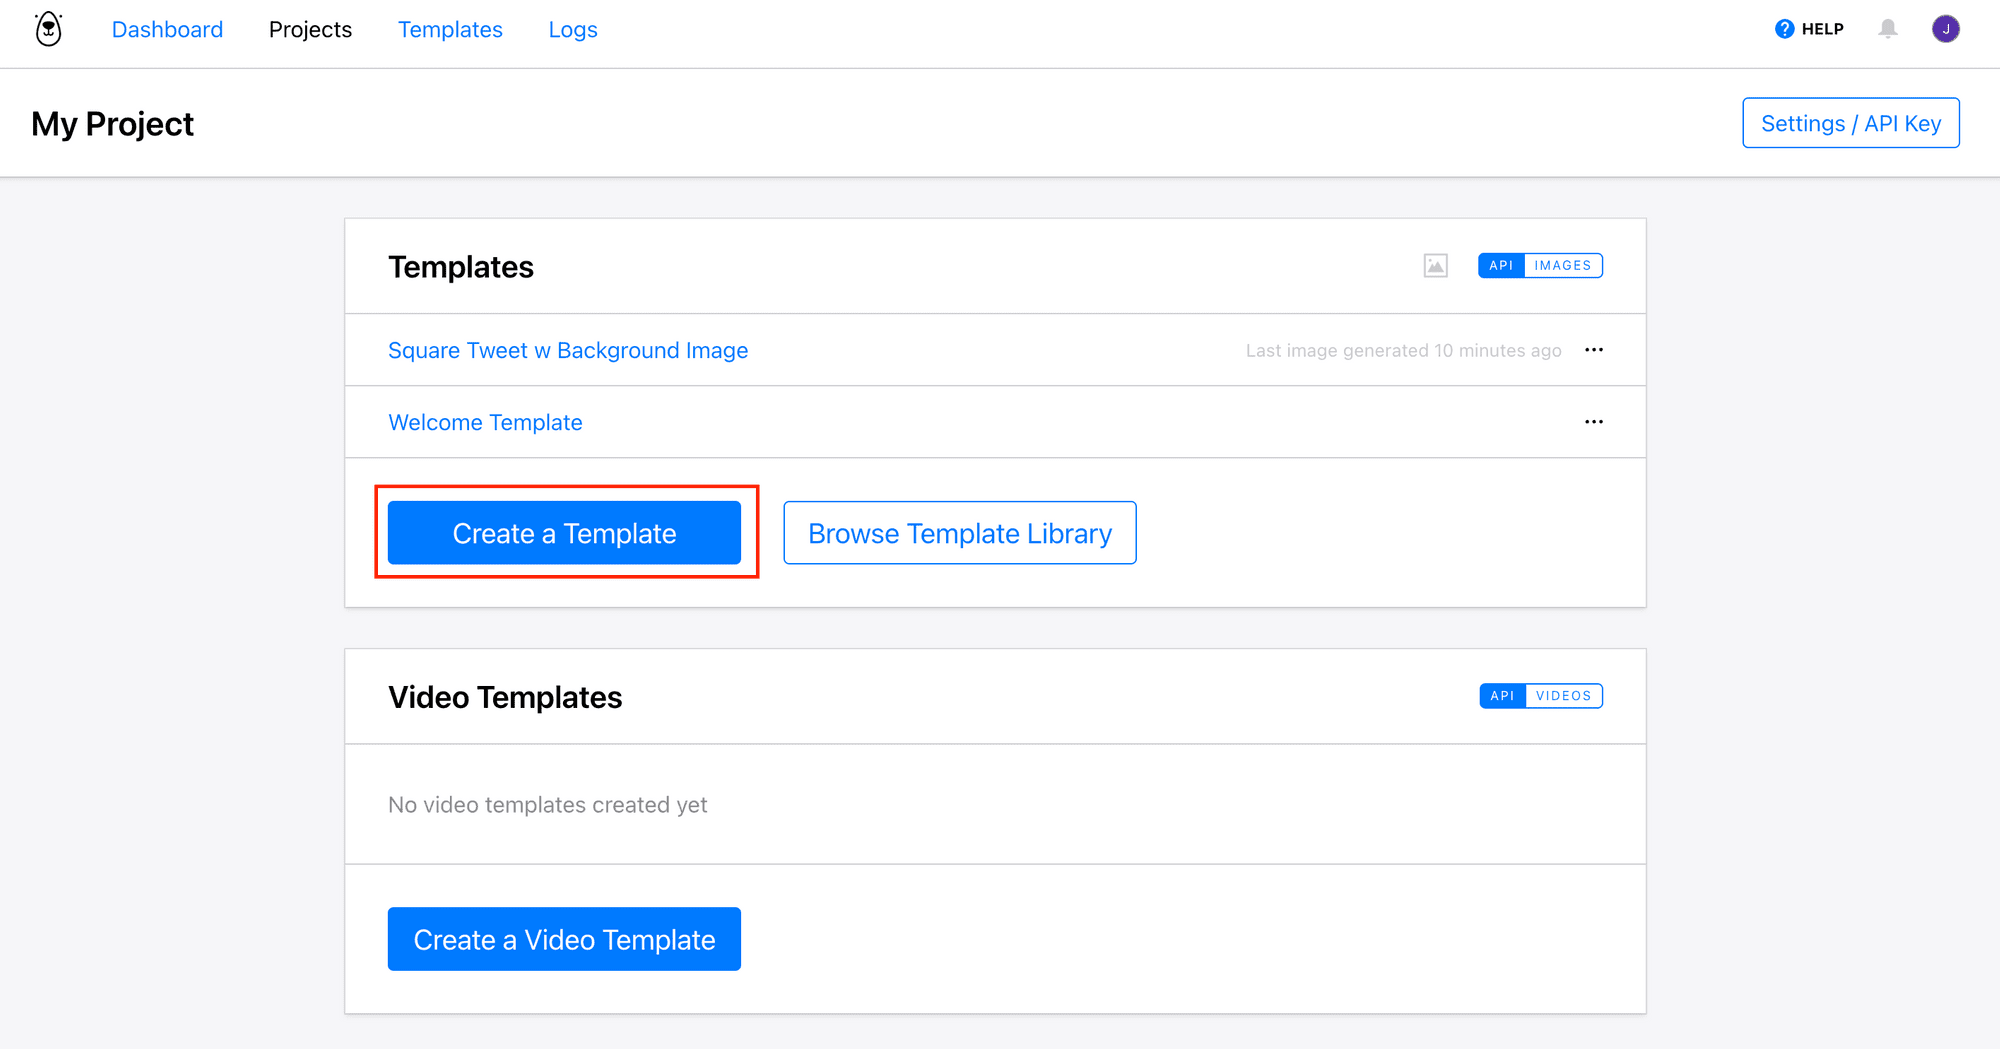
Head to your Bannerbear dashboard and create a new template. You can create one from scratch by clicking “Create a Template” from your project page:
You can also use a pre-made template from Bannerbear’s Template Library, like this one (click on it to duplicate to your project):
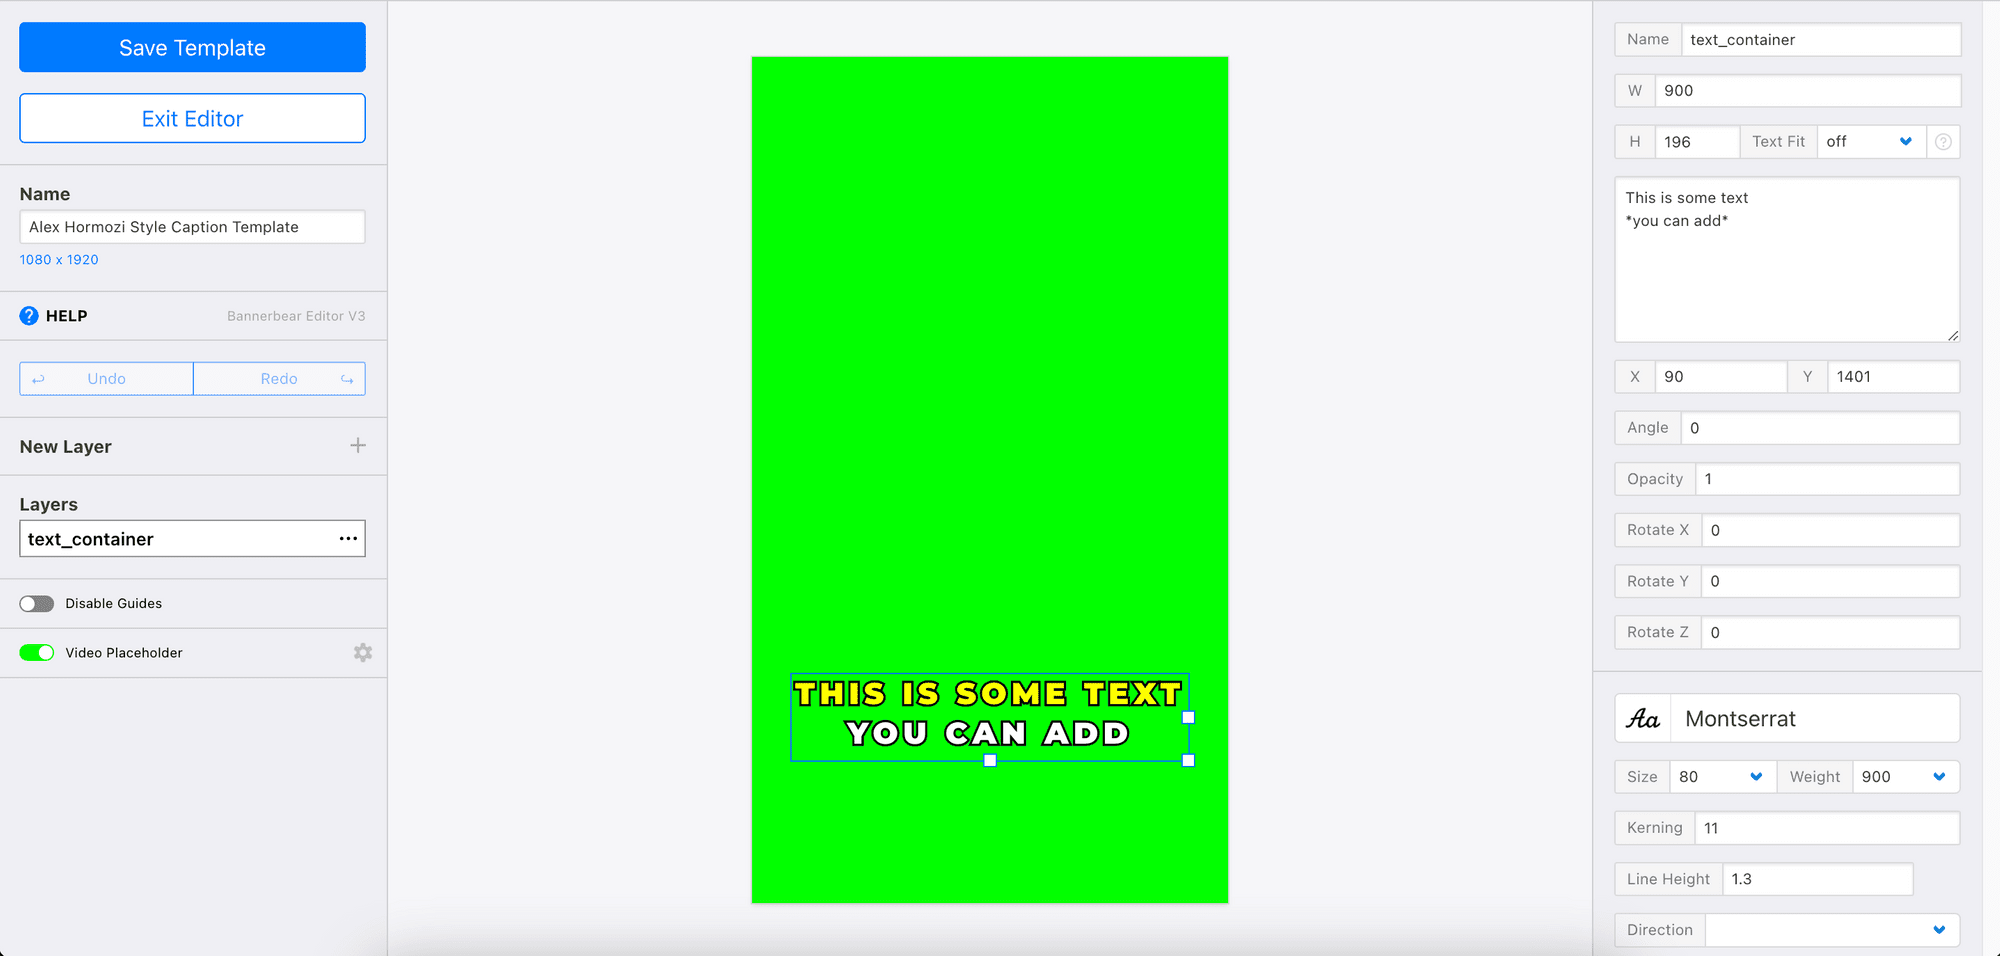
The template contains dynamic objects like title, author, date, image_container…
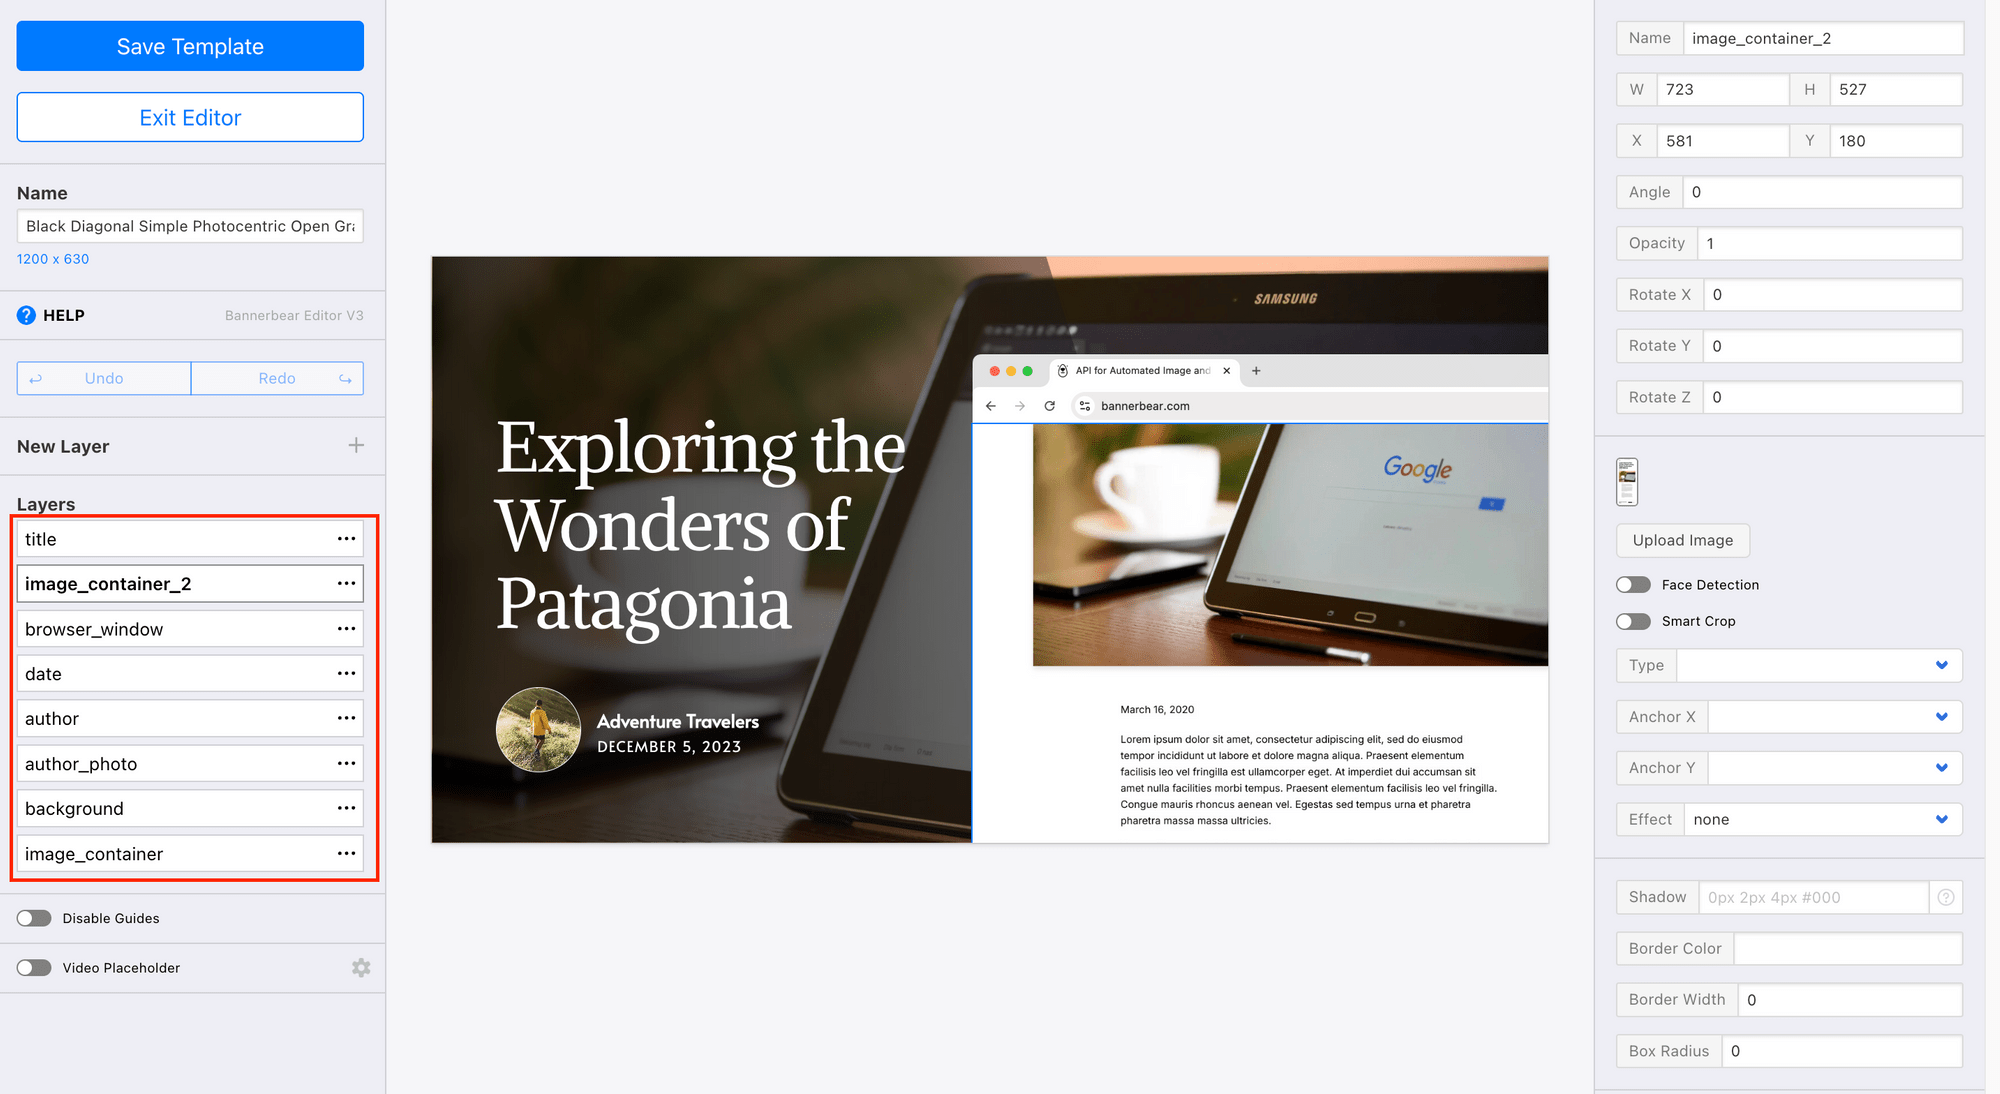
…and image_container_2, which will be used to display the screenshot of your webpage:
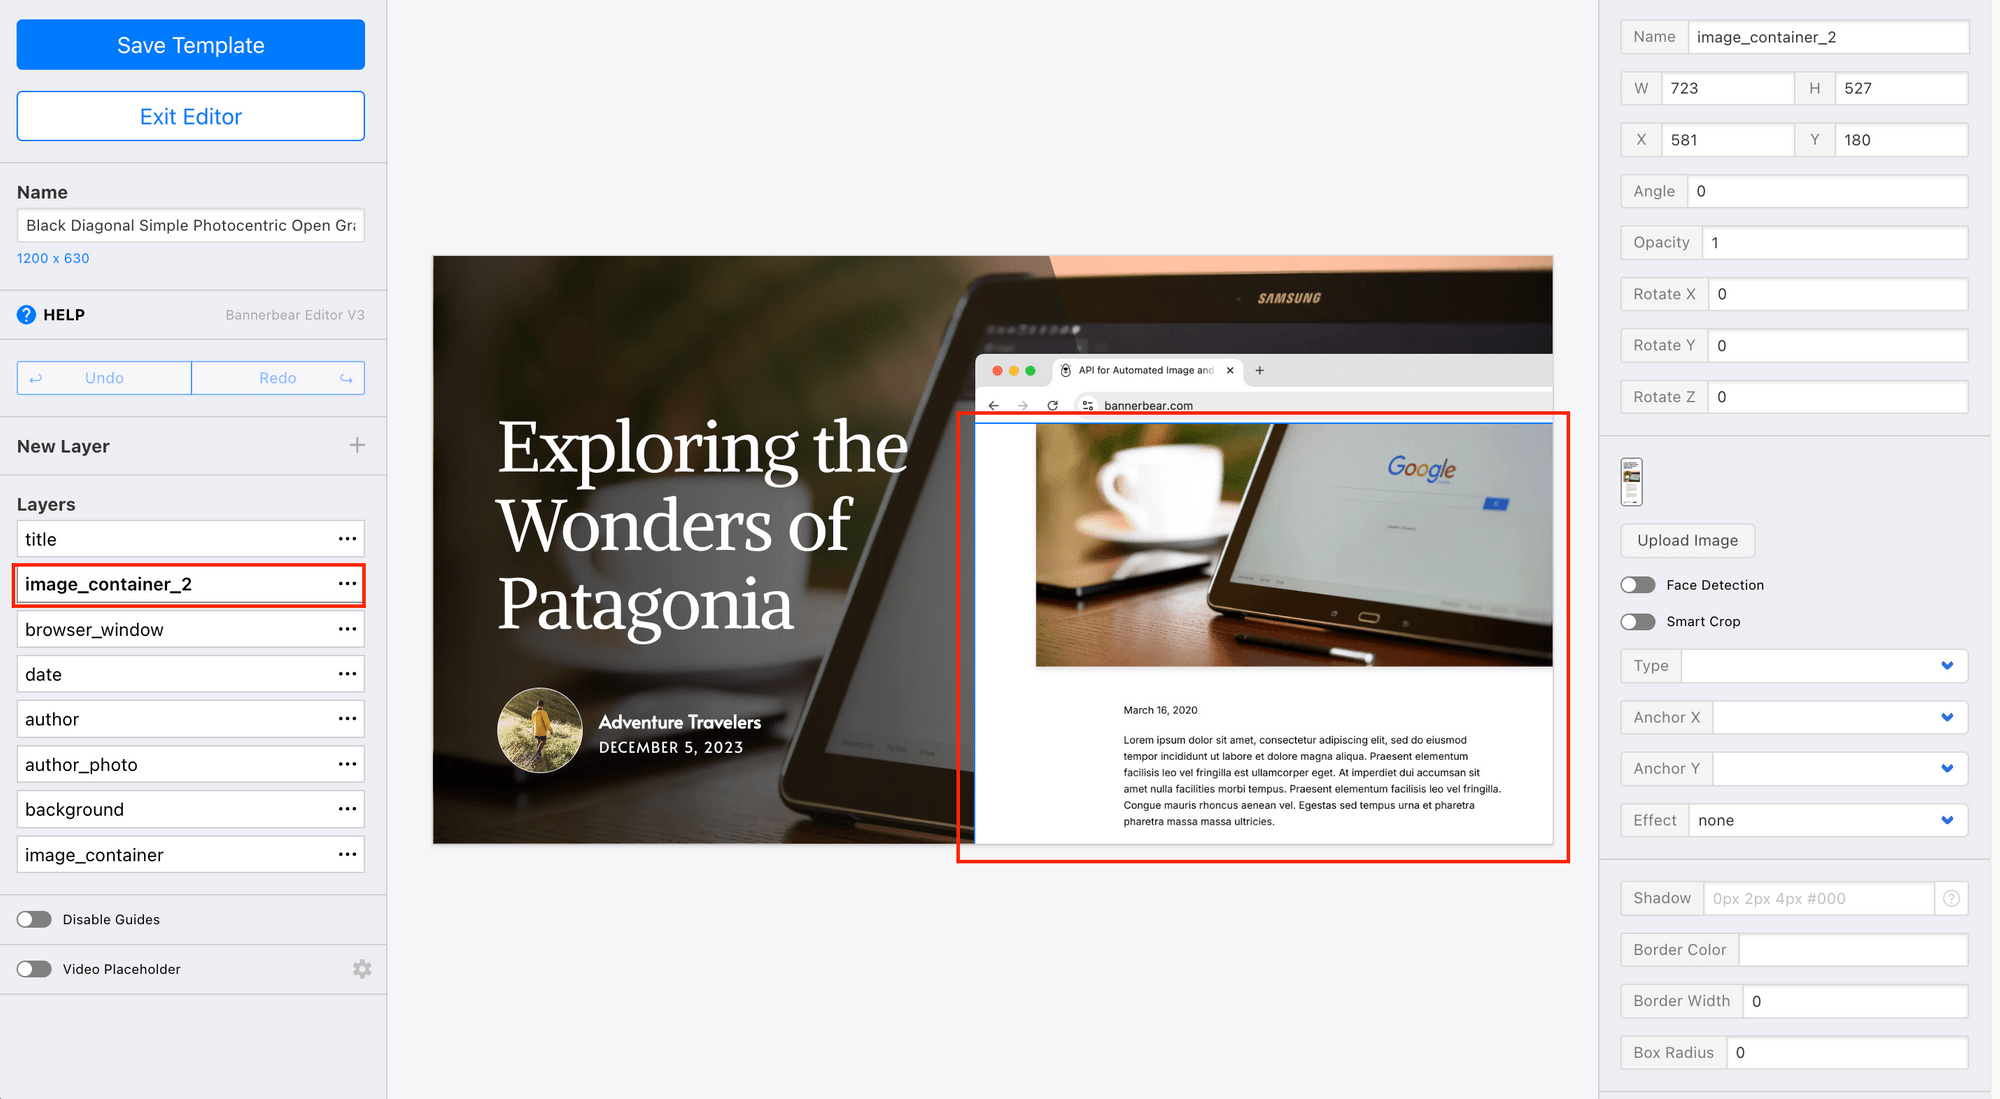
The values of these objects can be changed using Bannerbear’s API to generate different OG images.
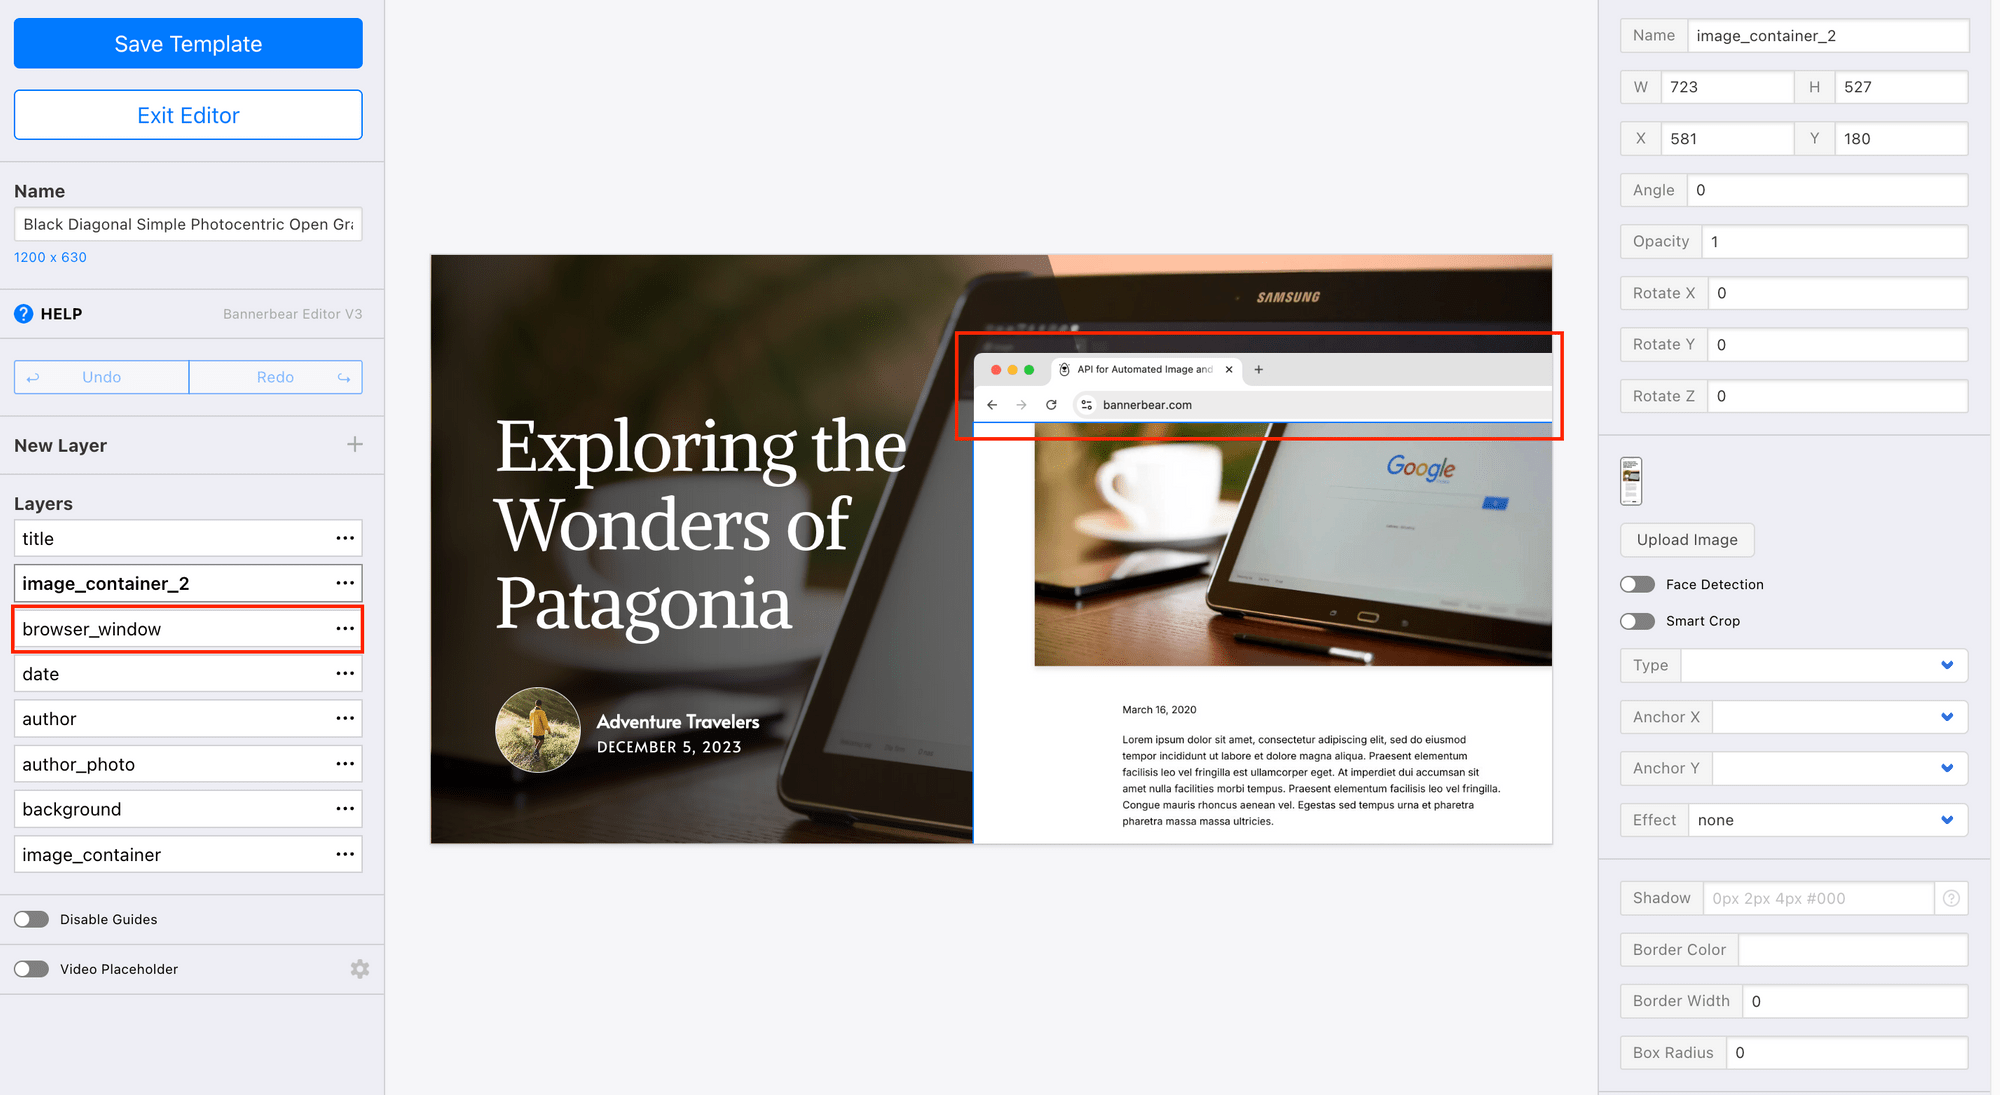
For the browser window in the template, you can swap it with a screenshot of your own browser that shows your website’s URL:
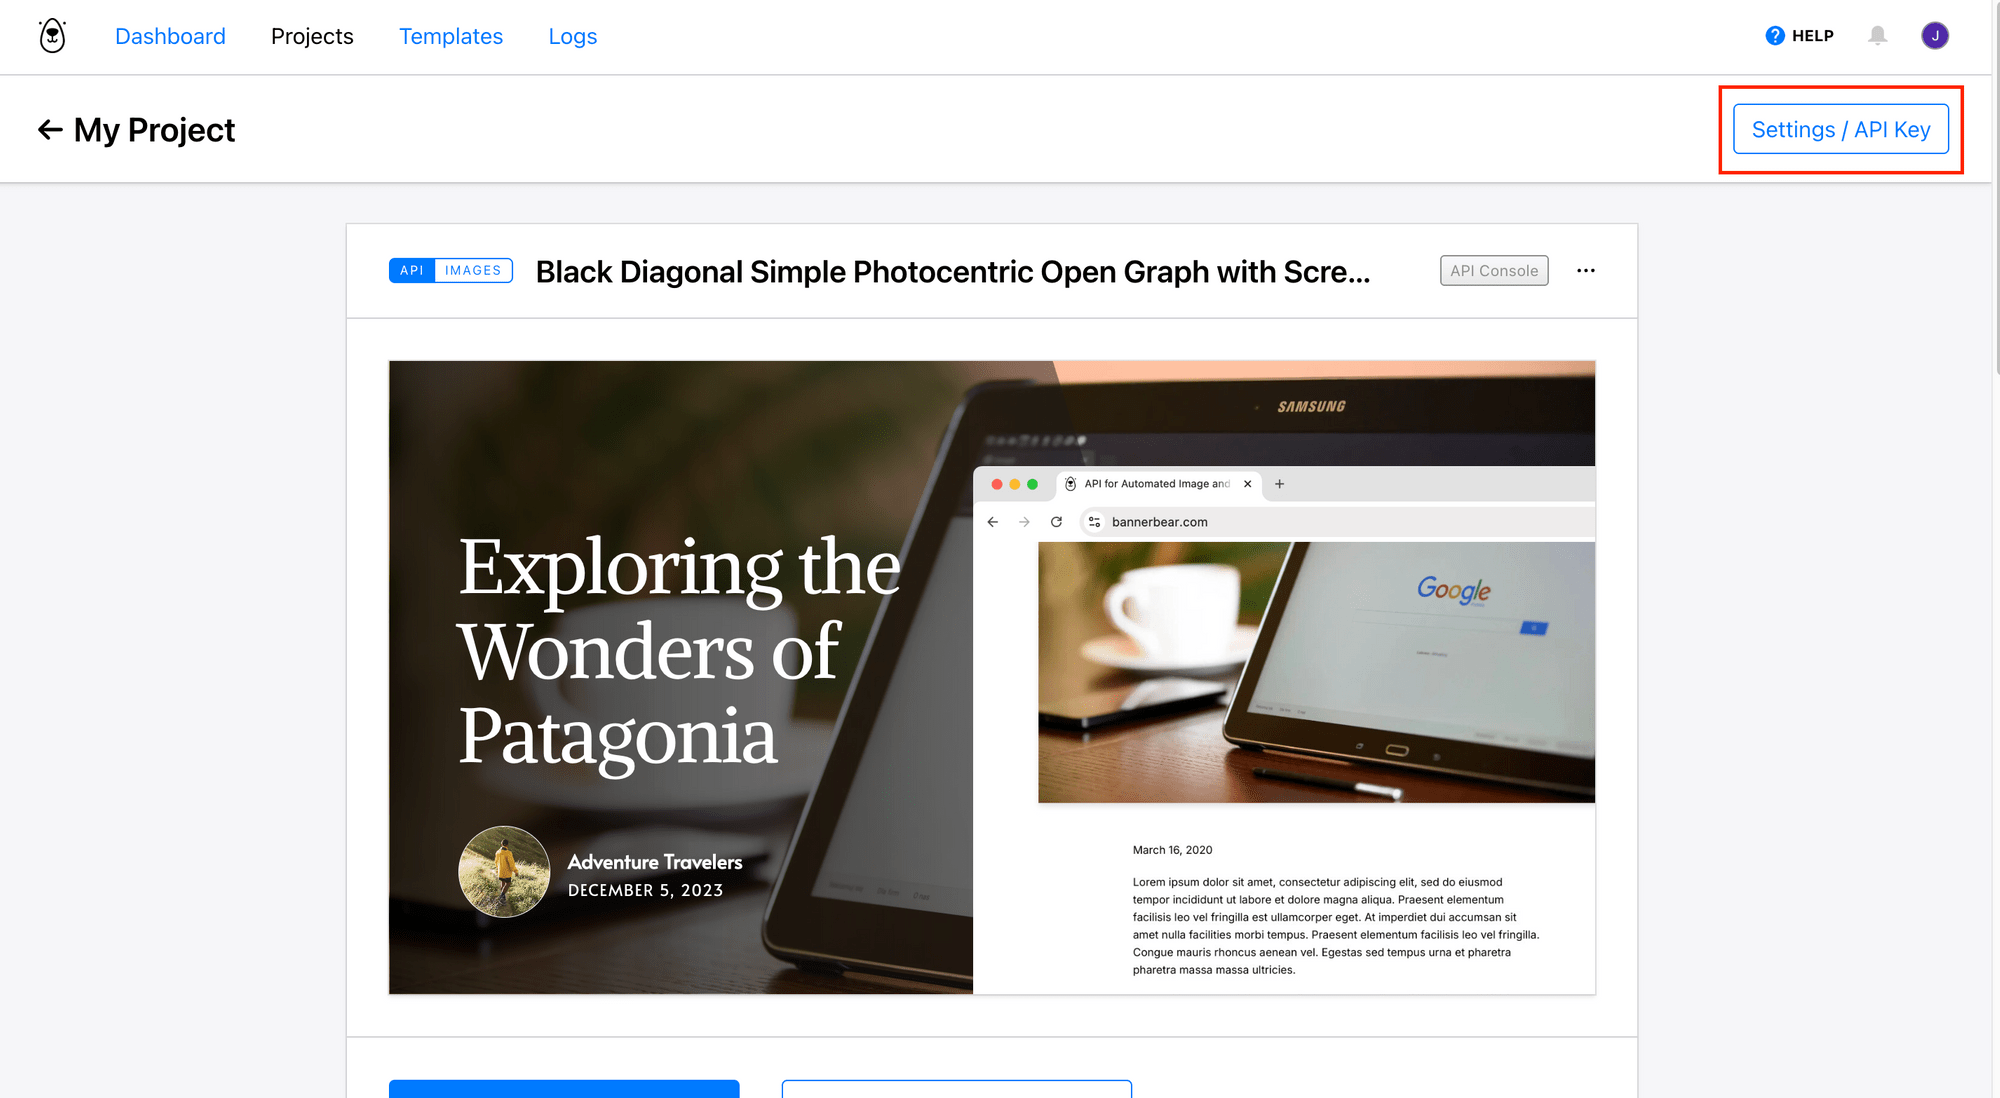
Once you’ve created your template, click on the three dots at the top right corner to see your template ID:
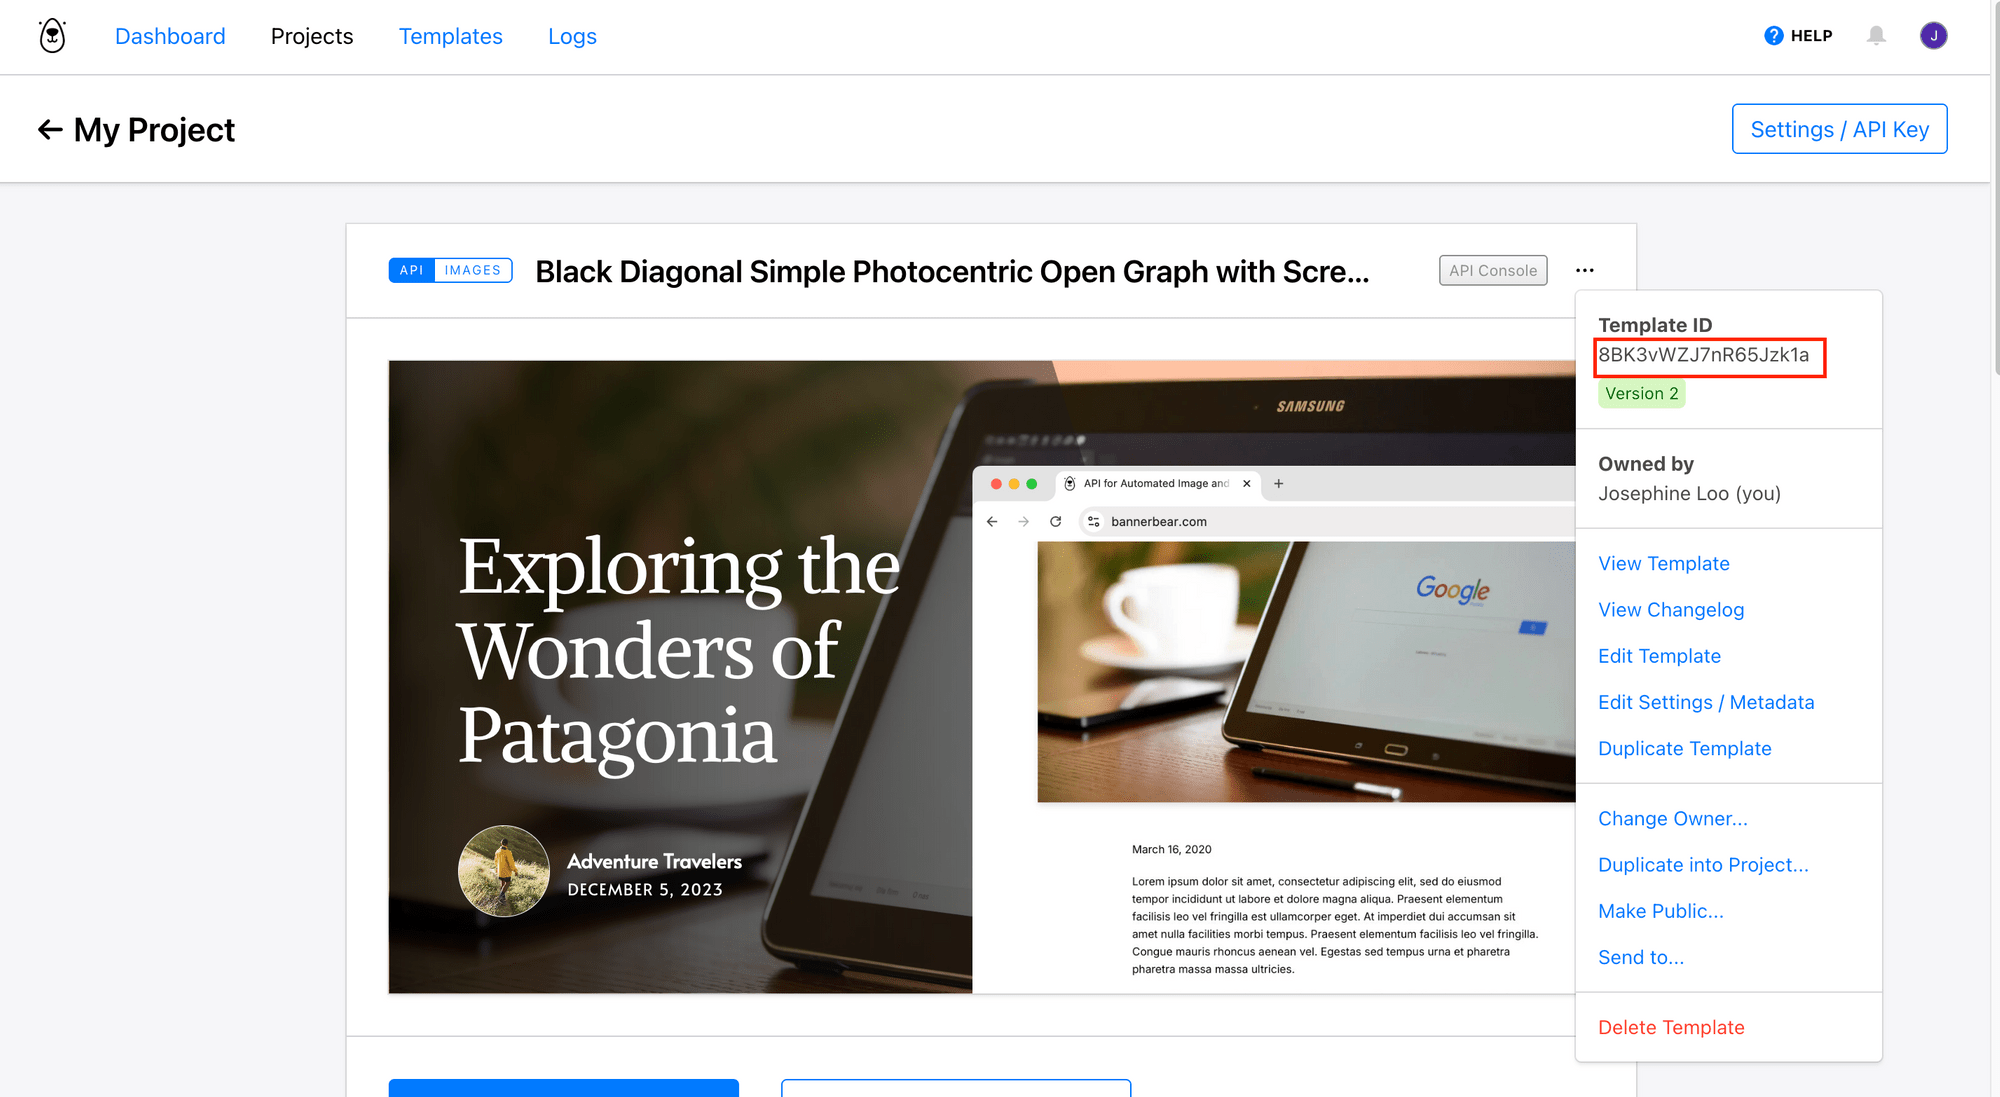
Copy and keep it somewhere safe.
Do the same for your API key:
How to Integrate Bannerbear with Next.js
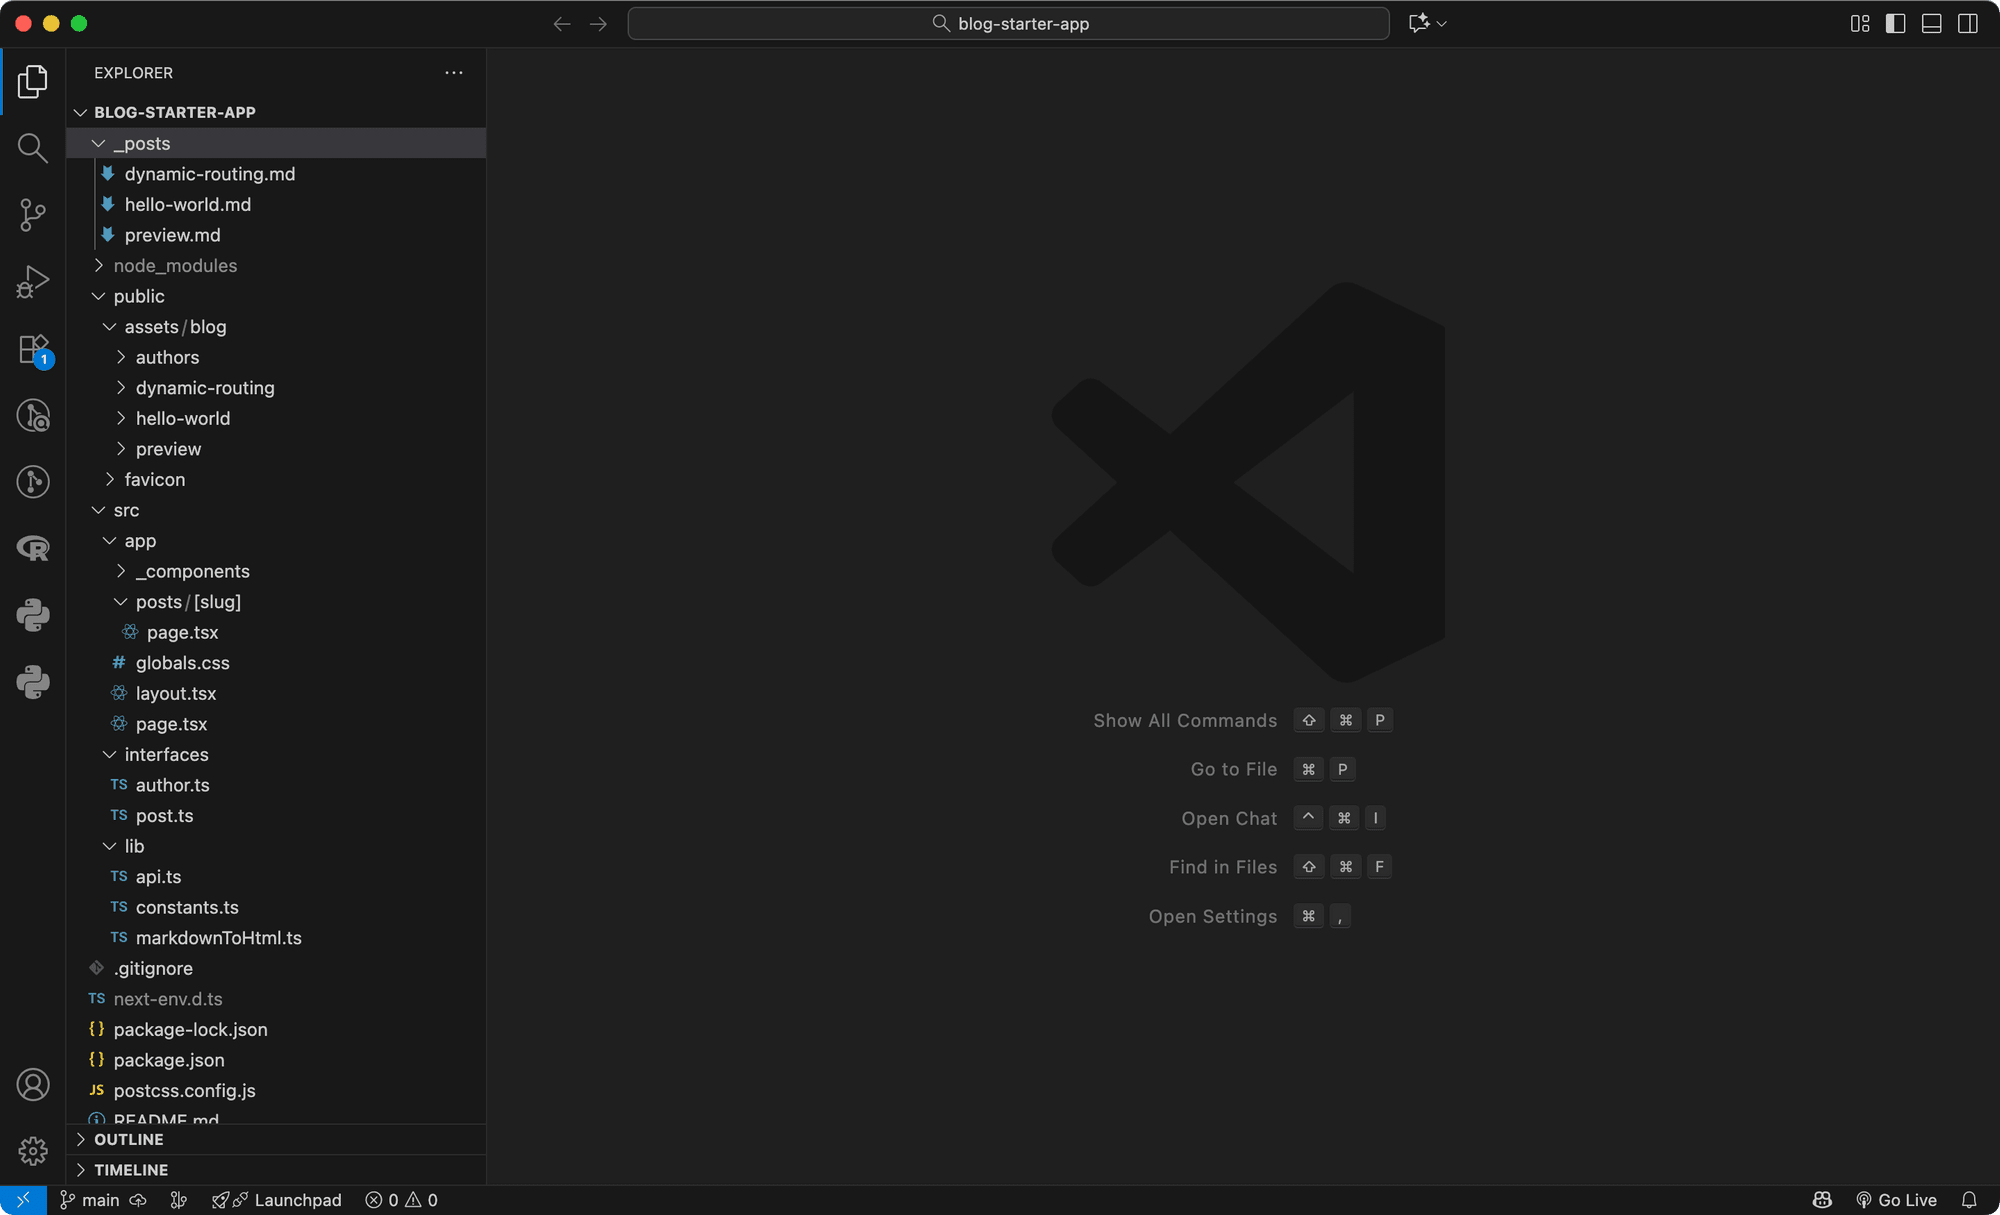
To keep things simple, we’ll be using a website built with this template as a demonstration. Its file structure is as follows:
🐻 Bear Tip : If you already have your own project, just follow along and apply the same steps to yours.
Step 1. Install the Bannerbear SDK
In your terminal/command prompt, run the command below:
npm install bannerbear
Then, add your Bannerbear credentials to your .env file:
BANNERBEAR_API_KEY=your_api_key
BANNERBEAR_TEMPLATE_ID=your_template_id
🐻 Bear Tip: Don’t forget to set up the environment variables for your server, depending on where you’re hosting your Next.js project.
Step 2. Create a Function to Take a Screenshot
In lib/api.js, create a function that takes your webpage’s slug as a parameter, and use Bannerbear to take a screenshot of that page:
import { Bannerbear } from 'bannerbear';
...
export async function screenshotPage(slug: string) {
  const bb = new Bannerbear(process.env.BANNERBEAR_API_KEY);
  const image = await bb.create_screenshot(
  `${process.env.DOMAIN}/posts/${slug}`,
  {
  },
  true
);
  return image.screenshot_image_url;
}
It captures a full-page screenshot of your webpage and returns an image URL.
Step 3. Create a Function to Generate OG Image
Next, create another function to generate a custom OG image using the design template you created in your Bannerbear dashboard. This function takes the Post object and the screenshot’s URL as parameters, and then sends the data to Bannerbear to generate the OG image:
export async function generateOgImage(post: Post, screenshotUrl: string) {
  const bb = new Bannerbear(process.env.BANNERBEAR_API_KEY);
  const formattedDate = new Date(post.date).toLocaleDateString('en-GB', {
    day: 'numeric',
    month: 'long',
    year: 'numeric',
  });

  const images = await bb.create_image(
    process.env.BANNERBEAR_TEMPLATE_ID as string,
    {
      modifications: [
        { name: 'title', text: post.title },
        { name: 'author', text: post.author.name },
        { name: 'date', text: formattedDate },
        { name: 'author_photo', image_url: `${process.env.DOMAIN}/${post.author.picture}` },
        { name: 'image_container', image_url: `${process.env.DOMAIN}/${post.coverImage}` },
        { name: 'image_container_2', image_url: screenshotUrl },
      ],
    },
    true
  );

  return images.image_url;
}
This will return an image URL that you can inject into your page metadata.
Step 4. Adding Dynamic OG Image Metadata in Next.js
Next.js App Router provides a built-in way to define metadata for each page using generateMetadata() located in posts/[slug]/page.tsx:
export async function generateMetadata(props: Params): Promise<Metadata> {
  const params = await props.params;
  const post = getPostBySlug(params.slug);

  if (!post) {
    return notFound();
  }

  const title = `${post.title} | Next.js Blog Example with ${CMS_NAME}`;

  return {
    title,
    openGraph: {
      title,
      images: [post.ogImage.url],
    },
  };
}
To use a dynamically generated OG image that includes your webpage’s screenshot, call the screenshotPage() function to capture the page, then use the generateOgImage() function to create the OG image. Finally, update the value of openGraph.images with the result returned:
import { generateOgImage, screenshotPage } from "@/lib/api";

export async function generateMetadata(props: Params): Promise<Metadata> {
  const params = await props.params;
  const post = getPostBySlug(params.slug);
  const screenshotUrl = await screenshotPage(params.slug); // add this
  const ogImage = await generateOgImage(post, screenshotUrl); // add this

  if (!post) {
    return notFound();
  }

  const title = `${post.title} | Next.js Blog Example with ${CMS_NAME}`;

  return {
    title,
    openGraph: {
      title,
      images: ogImage, // change this
    },
  };
}
Step 5. Test Your Setup
In your terminal/command prompt, execute the command below to run your app locally:
npm run dev
Visit one of the posts and view the page source. You should see meta tags like this:
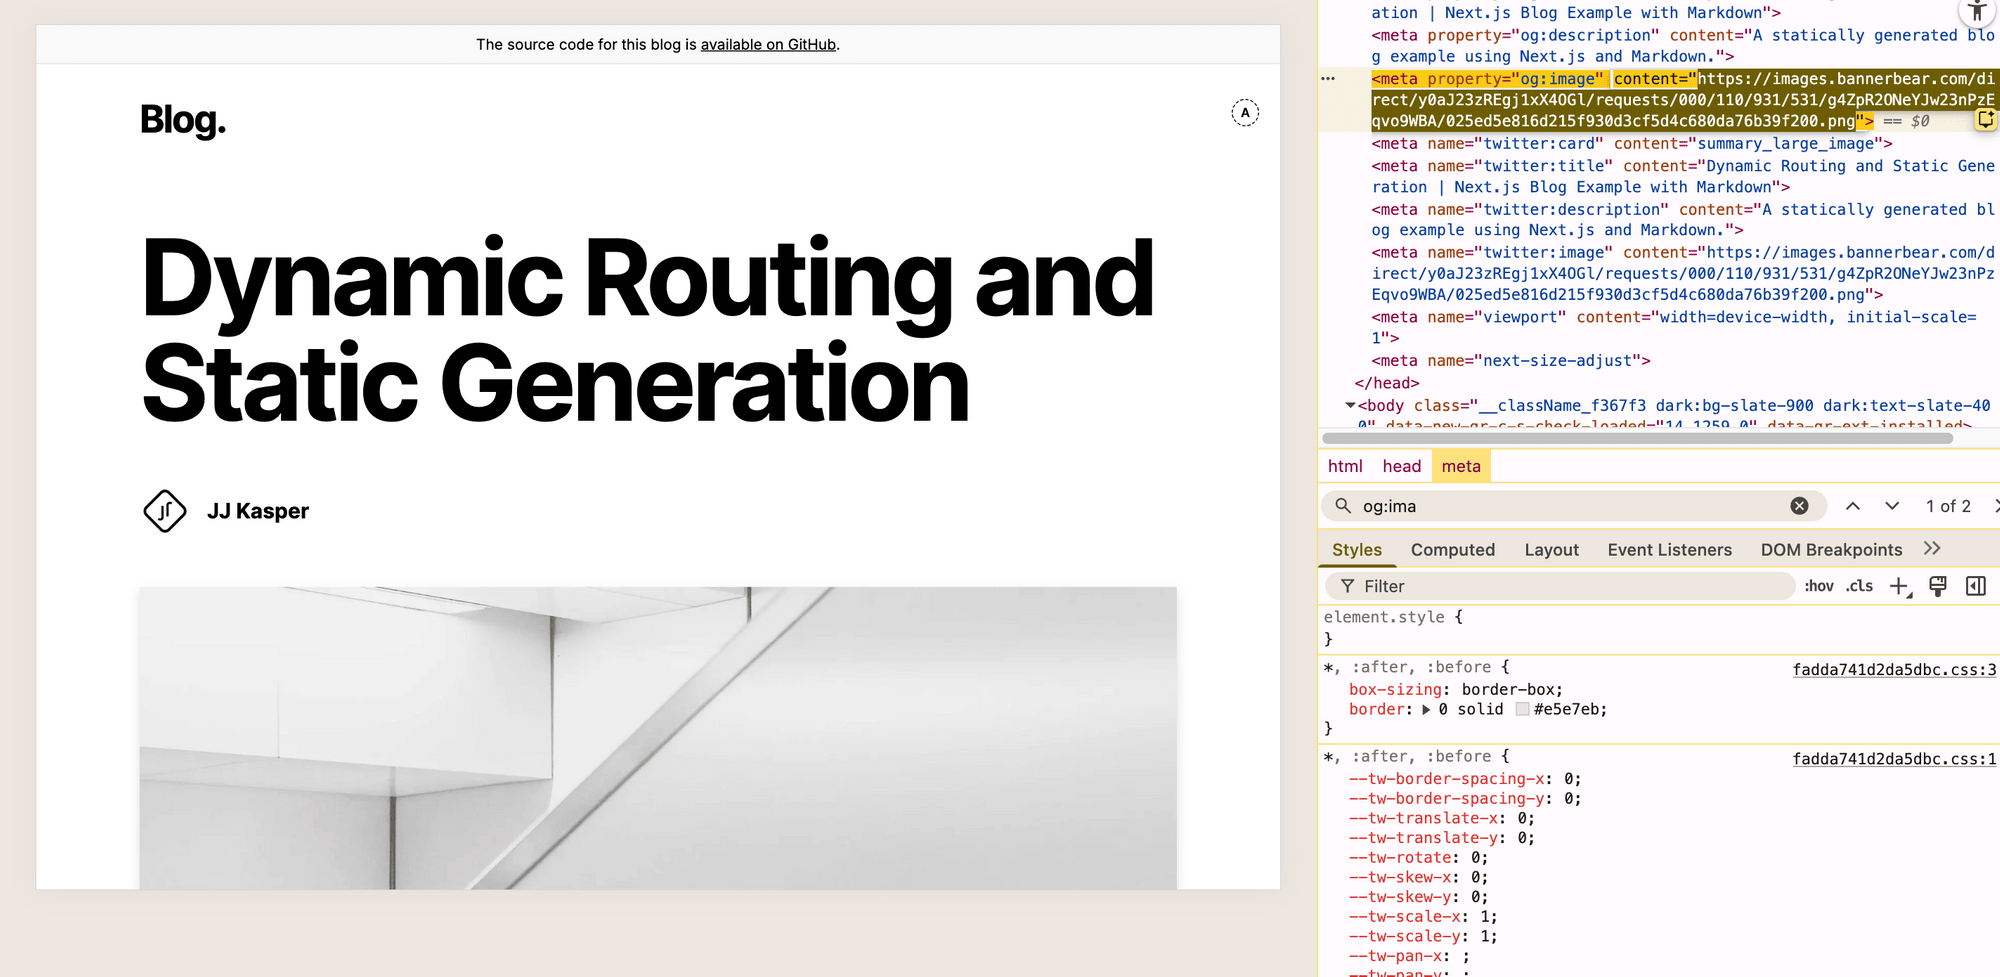
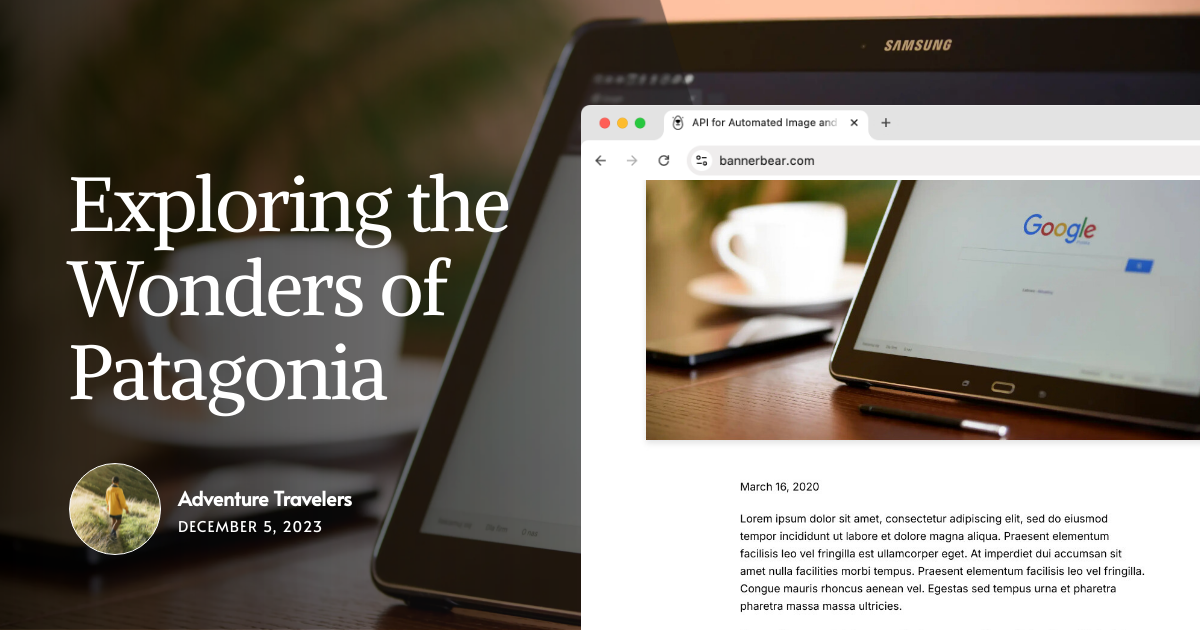
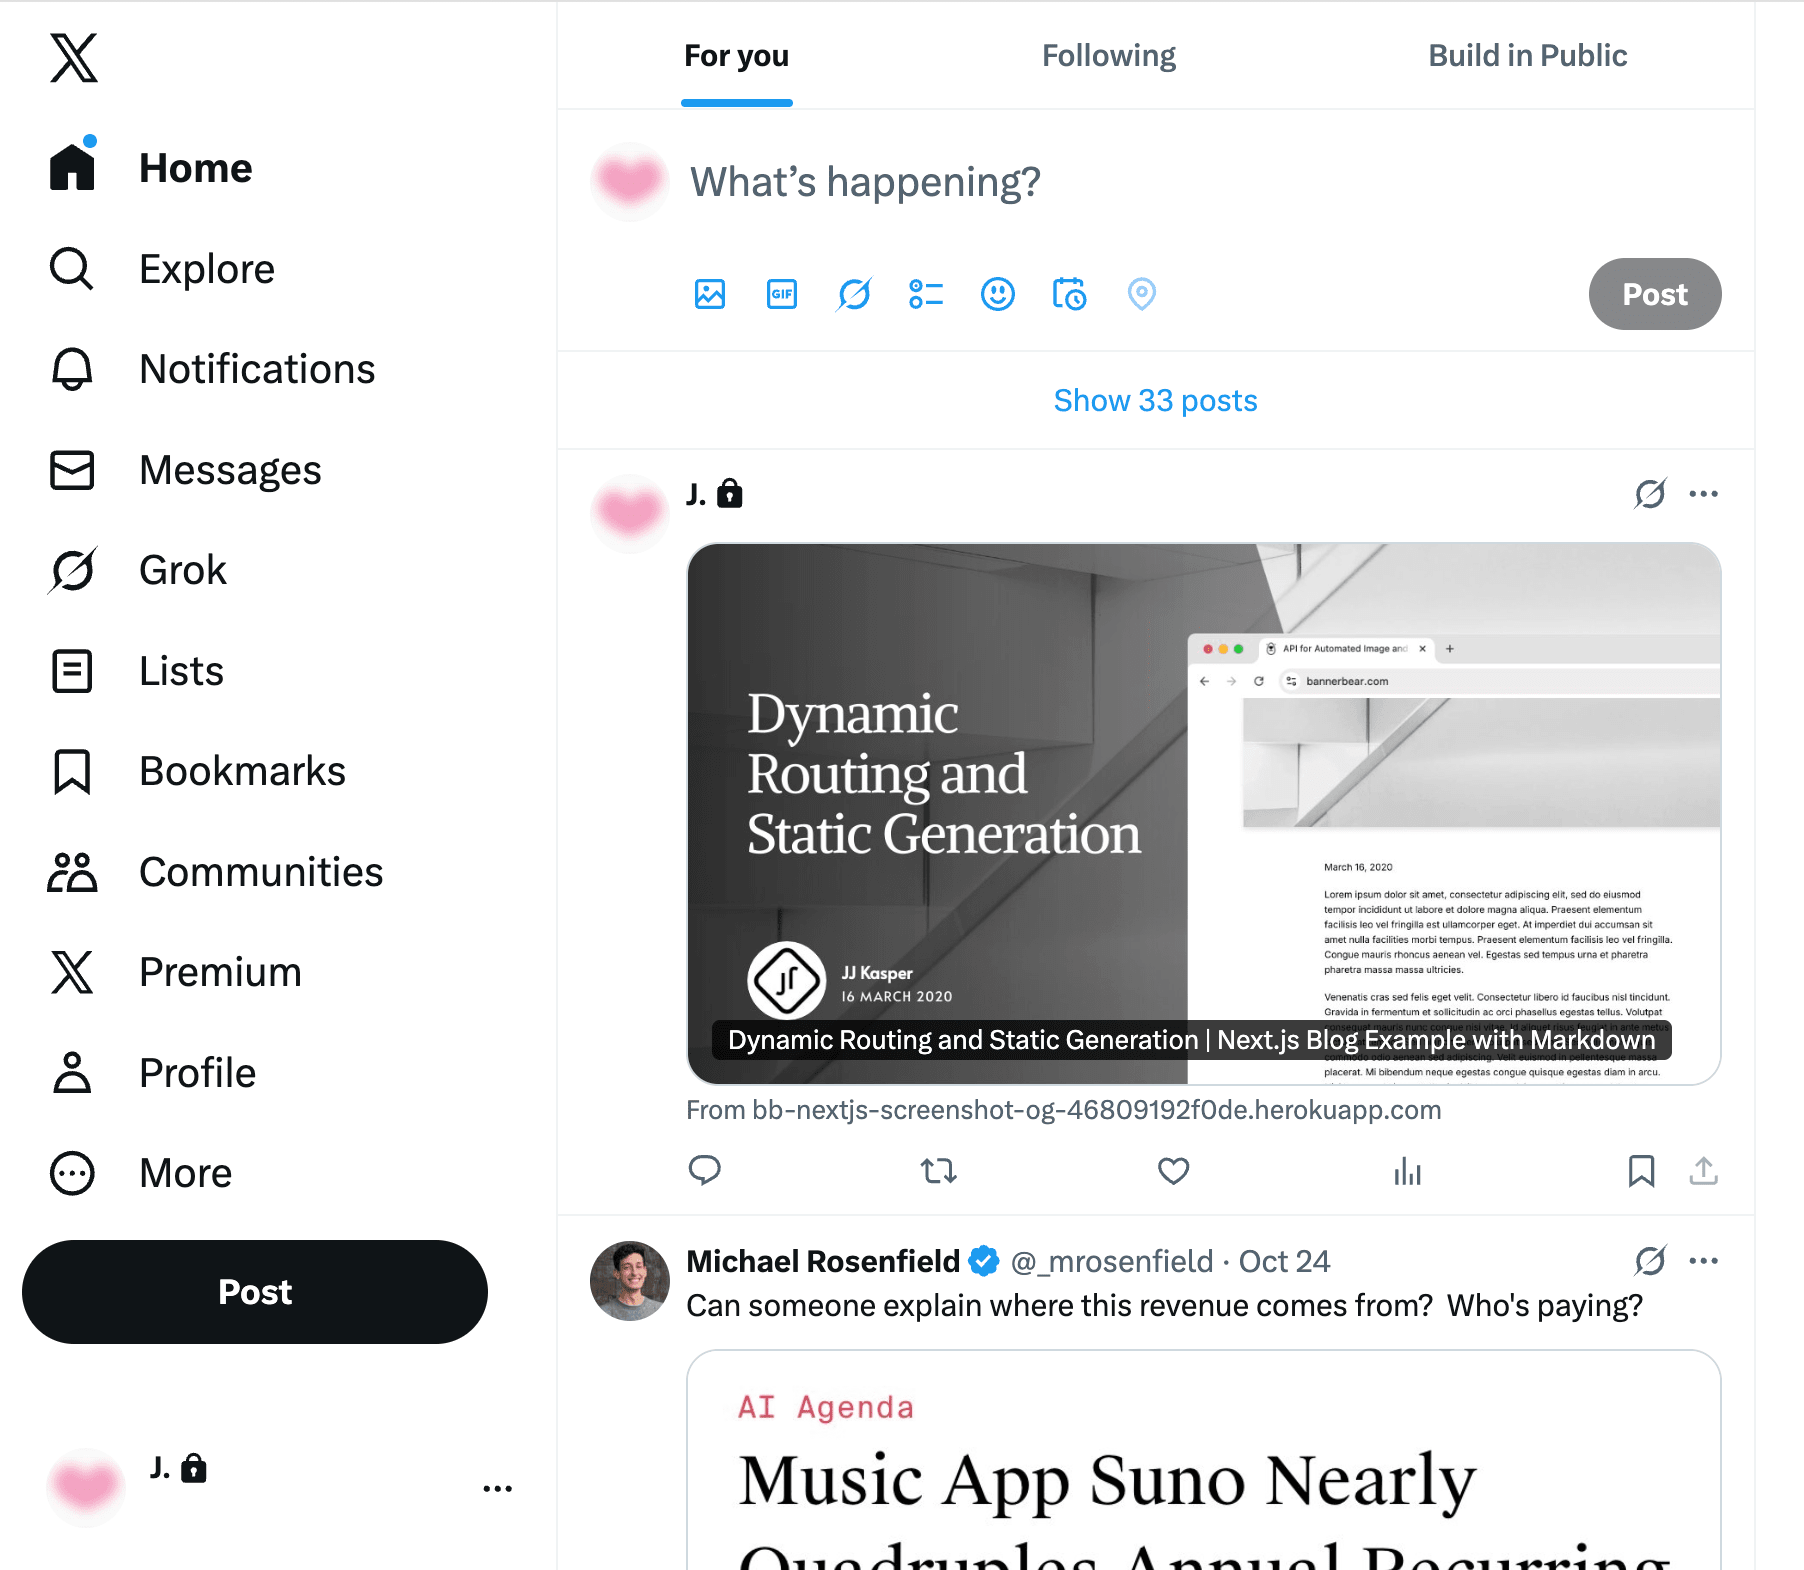
After deploying your project live, you should see the dynamically generated OG image appear in the preview whenever you share the link:
🐻 Bear Tip: To reduce repeated API calls, store generated image URLs in your database. When the same slug is requested again, simply reuse the stored image instead of generating a new image each time. Just make sure a new OG image is created whenever the content gets updated!
Conclusion
This is just one of the many ways you can make the most out of the Open Graph (OG) image feature. You can use a custom OG image like in the first tutorial, which includes the title, date, author name, and image, or take it a step further like this one by adding a live screenshot of your webpage.
What you include in your OG image is entirely up to you but they should reflect the most important parts of your content. For example…
- Blog posts: include the title, author name, profile image, publication date, and an excerpt.
- Product pages: showcase the product name, image, rating, or even a short review.
- Portfolios and landing pages: highlight project titles, client names, or featured visuals.
Whether it’s text, images, screenshots, or a combination of all, Bannerbear makes it easy to design, automate, and scale all of it through its powerful API.
👉🏻 Sign up for a Bannerbear account and get 30 API credits free!
