
How to Generate Dynamic Open Graph Images in Next.js Using Bannerbear (Complete Guide)
Contents
In the online world, visuals are everything, even when all you’re sharing is just a link. On platforms like X (formerly Twitter), Facebook, LinkedIn, and even messaging apps such as WhatsApp and Telegram, the Open Graph (OG) image is what people first see when you share a link. It’s the visual preview that gives people an idea of what the link is about, even before they click on it.
To make the most of this feature, use a custom OG image that highlights key details and visually represents your content, instead of settling for a basic thumbnail.
You can compare their differences…
Generic Thumbnail:
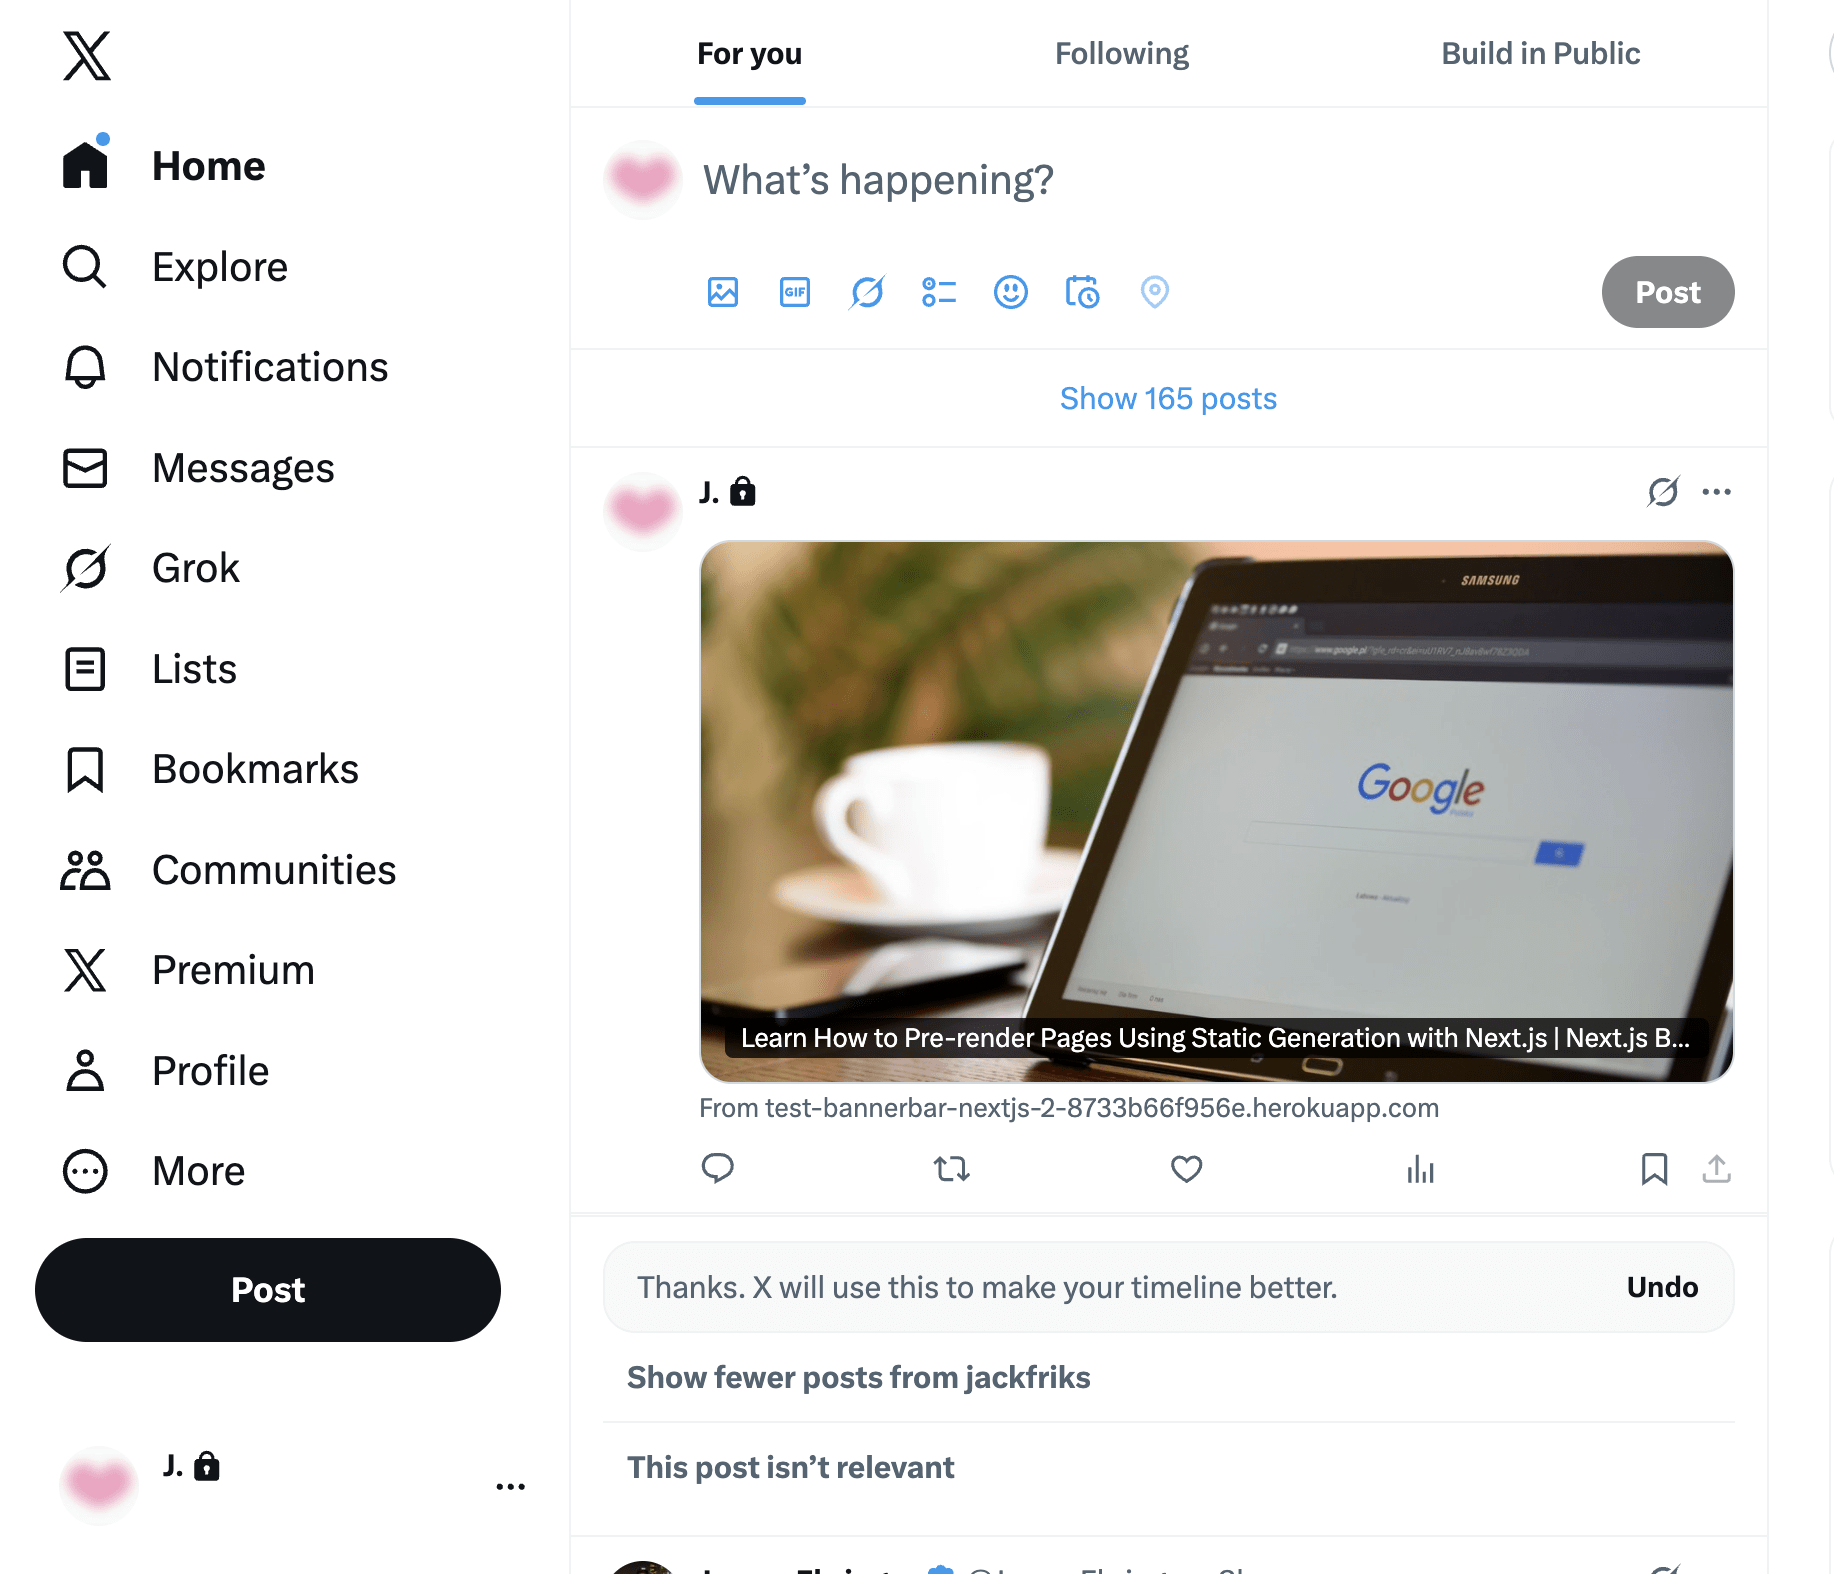
Custom OG Image:

In a Next.js project, you can dynamically generate OG images for different pages using JSX and CSS:
export default async function Image({ params }: { params: { slug: string } }) {
  const post = await getPost(params.slug)

  return new ImageResponse(
    (
      // ImageResponse JSX element
      <div
        style={{
          fontSize: 128,
          background: 'white',
          width: '100%',
          height: '100%',
          display: 'flex',
          alignItems: 'center',
          justifyContent: 'center',
        }}
      >
        {post.title}
      </div>
    )
  )
}
This works well if you’re comfortable styling with JSX and inline CSS. However, adjusting designs directly in code is not easy, and designers usually prefer a visual template editor.
In this article, we’ll show you an easier alternative using Bannerbear—an image generator that lets you design the OG images through a simple drag-and-drop interface, with no coding at all. Setting up is straightforward, and we’ll guide you through the entire process step by step.
By the end of this tutorial, you’ll be able to integrate Bannerbear into your Next.js project and dynamically generate unique OG images for each page automatically.
Why Use Dynamic OG Images
Open Graph (OG) images are used by social media and messaging platforms to create link previews. A well-designed OG image can make a big difference. It can:
- Increase click-through rates on your shared links.
- Strengthen your brand identity with consistent visuals.
- Give each page or article its own unique, eye-catching preview.
Yes, you could design these manually or rely on static images. But with APIs like Bannerbear, you can generate them on the fly, personalized for every page or post.
What is Bannerbear
Bannerbear is an API that lets you automatically generate custom images, videos, and more from templates. It provides SDKs for Node.js, Ruby, and PHP, making it easy to integrate automated image generation into any project, including your Next.js project.
To generate images automatically, you need to create a design template that serves as a blueprint for creating the images in Bannerbear. A design template can consist of:
- Static objects - These remain the same in every generated image (e.g., a logo)
- Dynamic objects - These change based on data you provide (e.g., names, images)
Here’s an example of a Bannerbear design template:
By passing different data to the API, you can alter the values of the dynamic objects and automatically create dynamic OG images for different pages or posts.
Pre-requisites
Before we begin, make sure you have:
- Node.js and npm/yarn installed
- A Next.js project
- A Bannerbear account (sign up for 30 free API credits here)
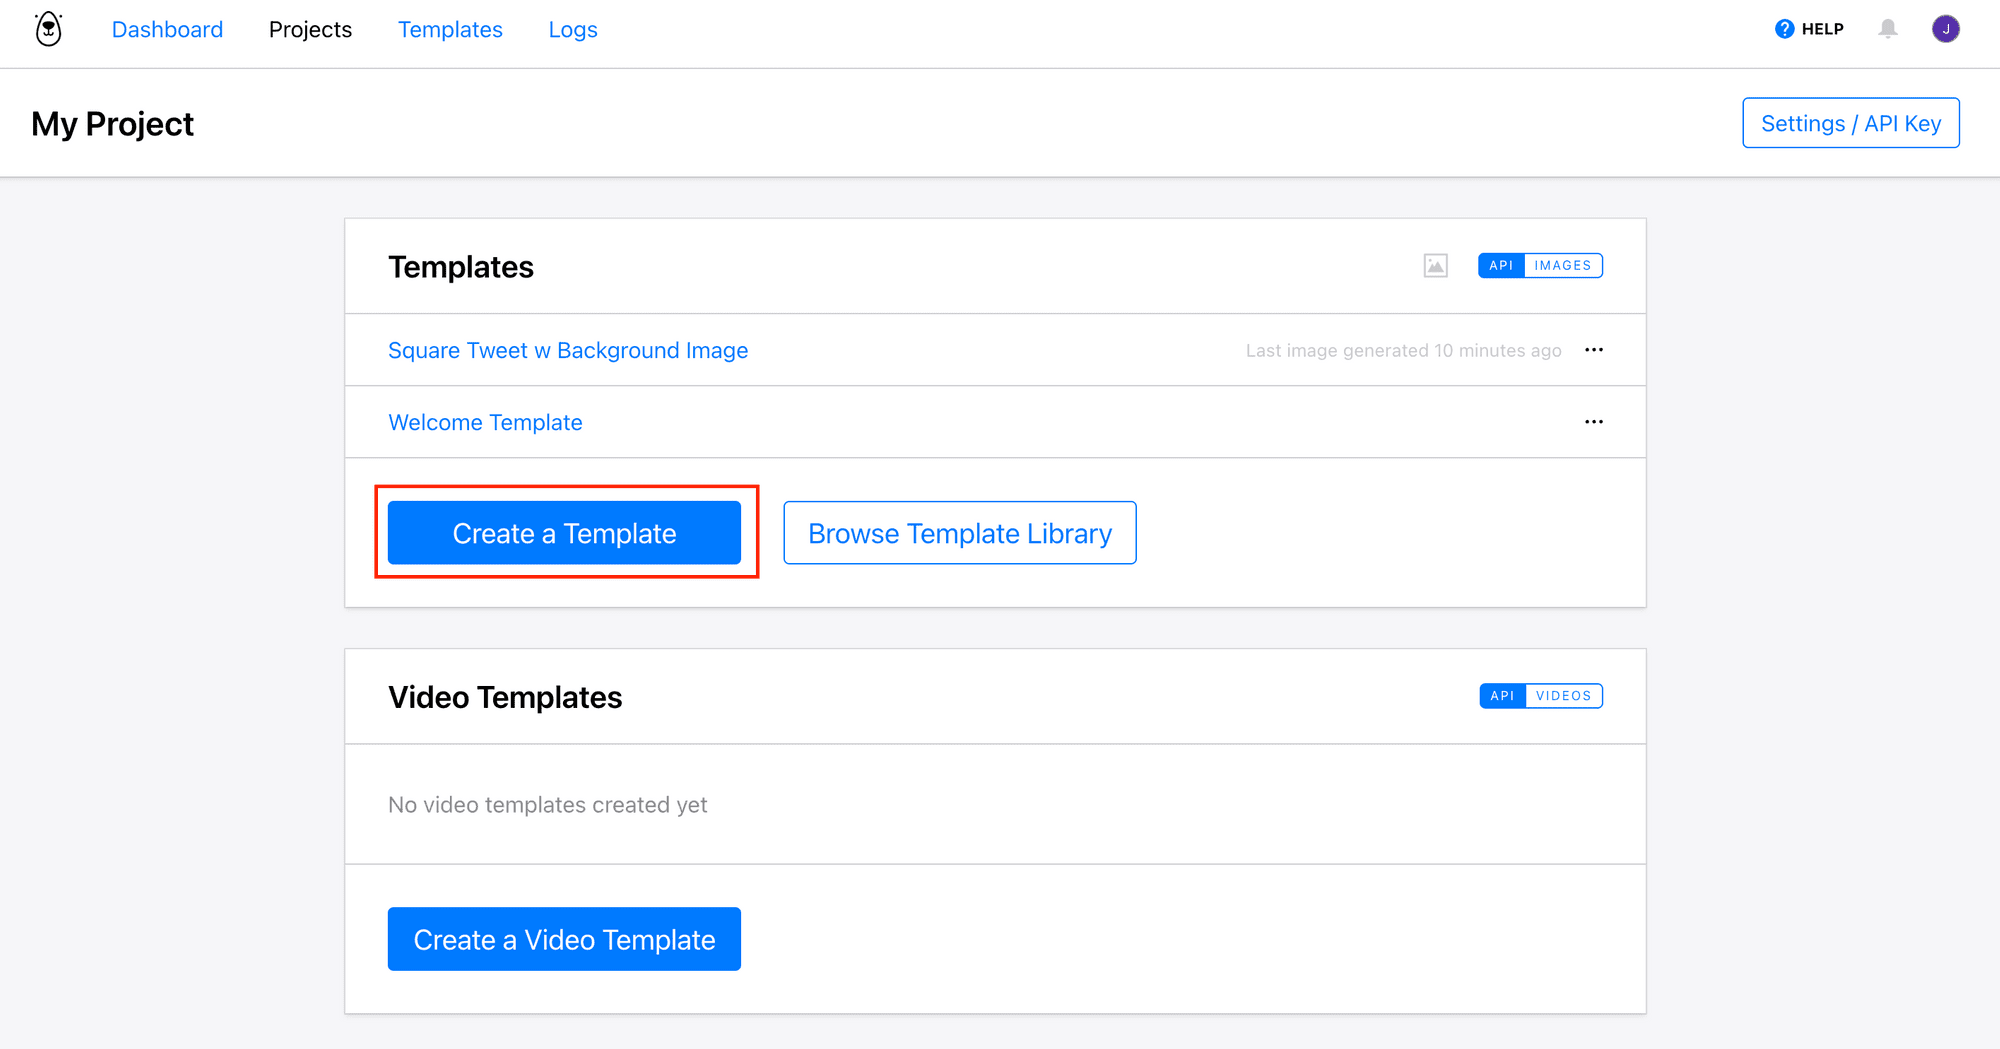
Creating a Bannerbear Template
Head to your Bannerbear dashboard and create a new template. You can create one from scratch by clicking “Create a Template” from your project page:
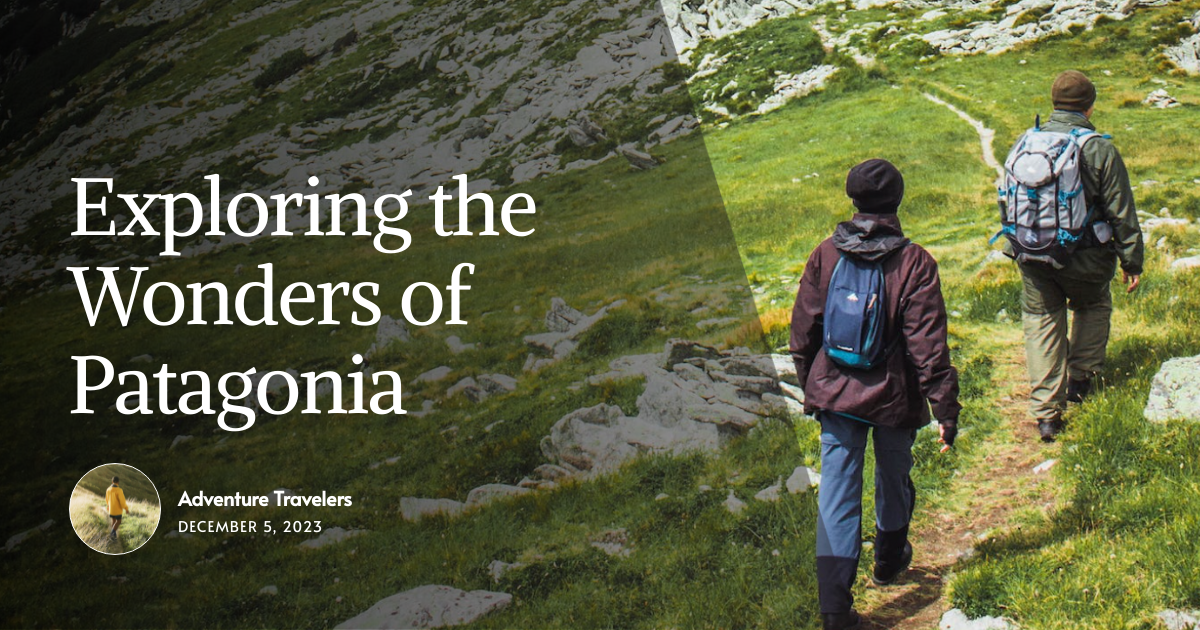
You can also use a pre-made template from Bannerbear’s Template Library, like this one (click on it to duplicate to your project):
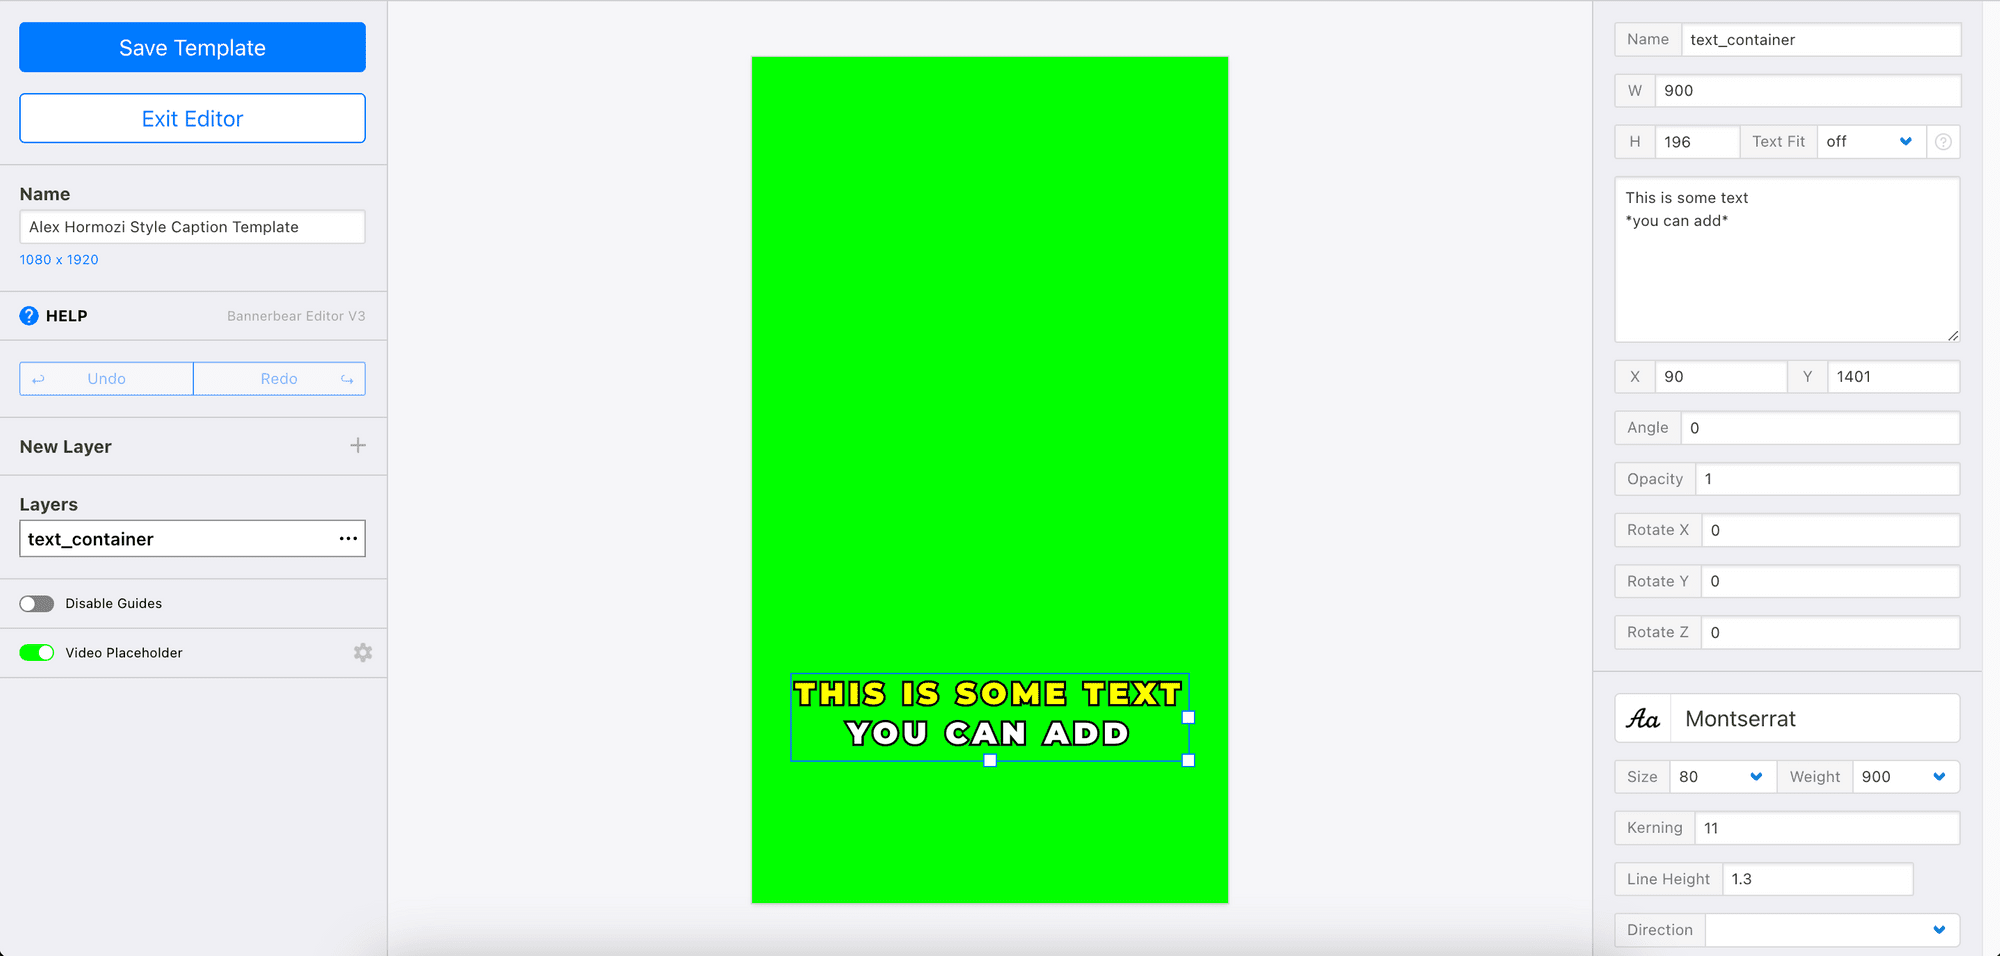
The template contains dynamic objects like title, author, date, and image_container:
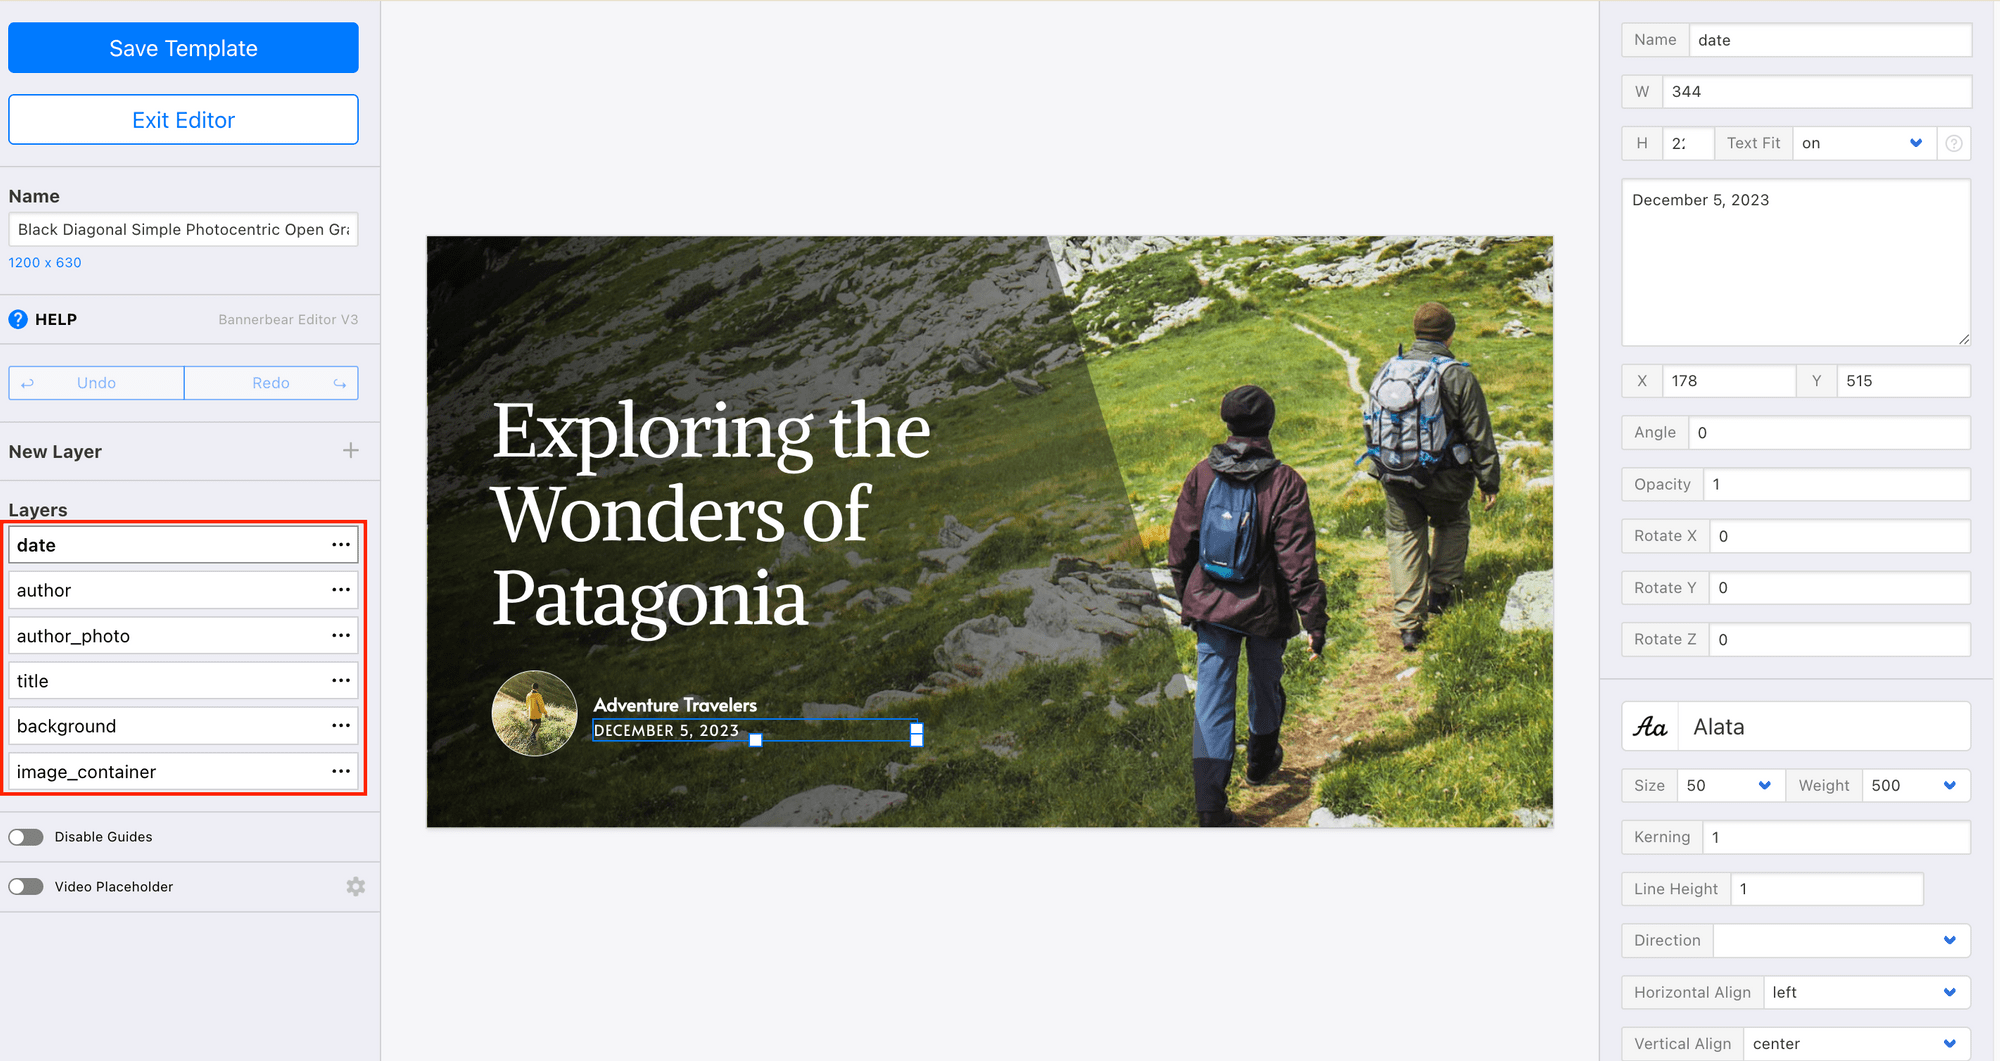
The values of these objects can be changed using Bannerbear’s API to generate different OG images.
Once you’ve created your template, click on the three dots at the top right corner to see your template ID:
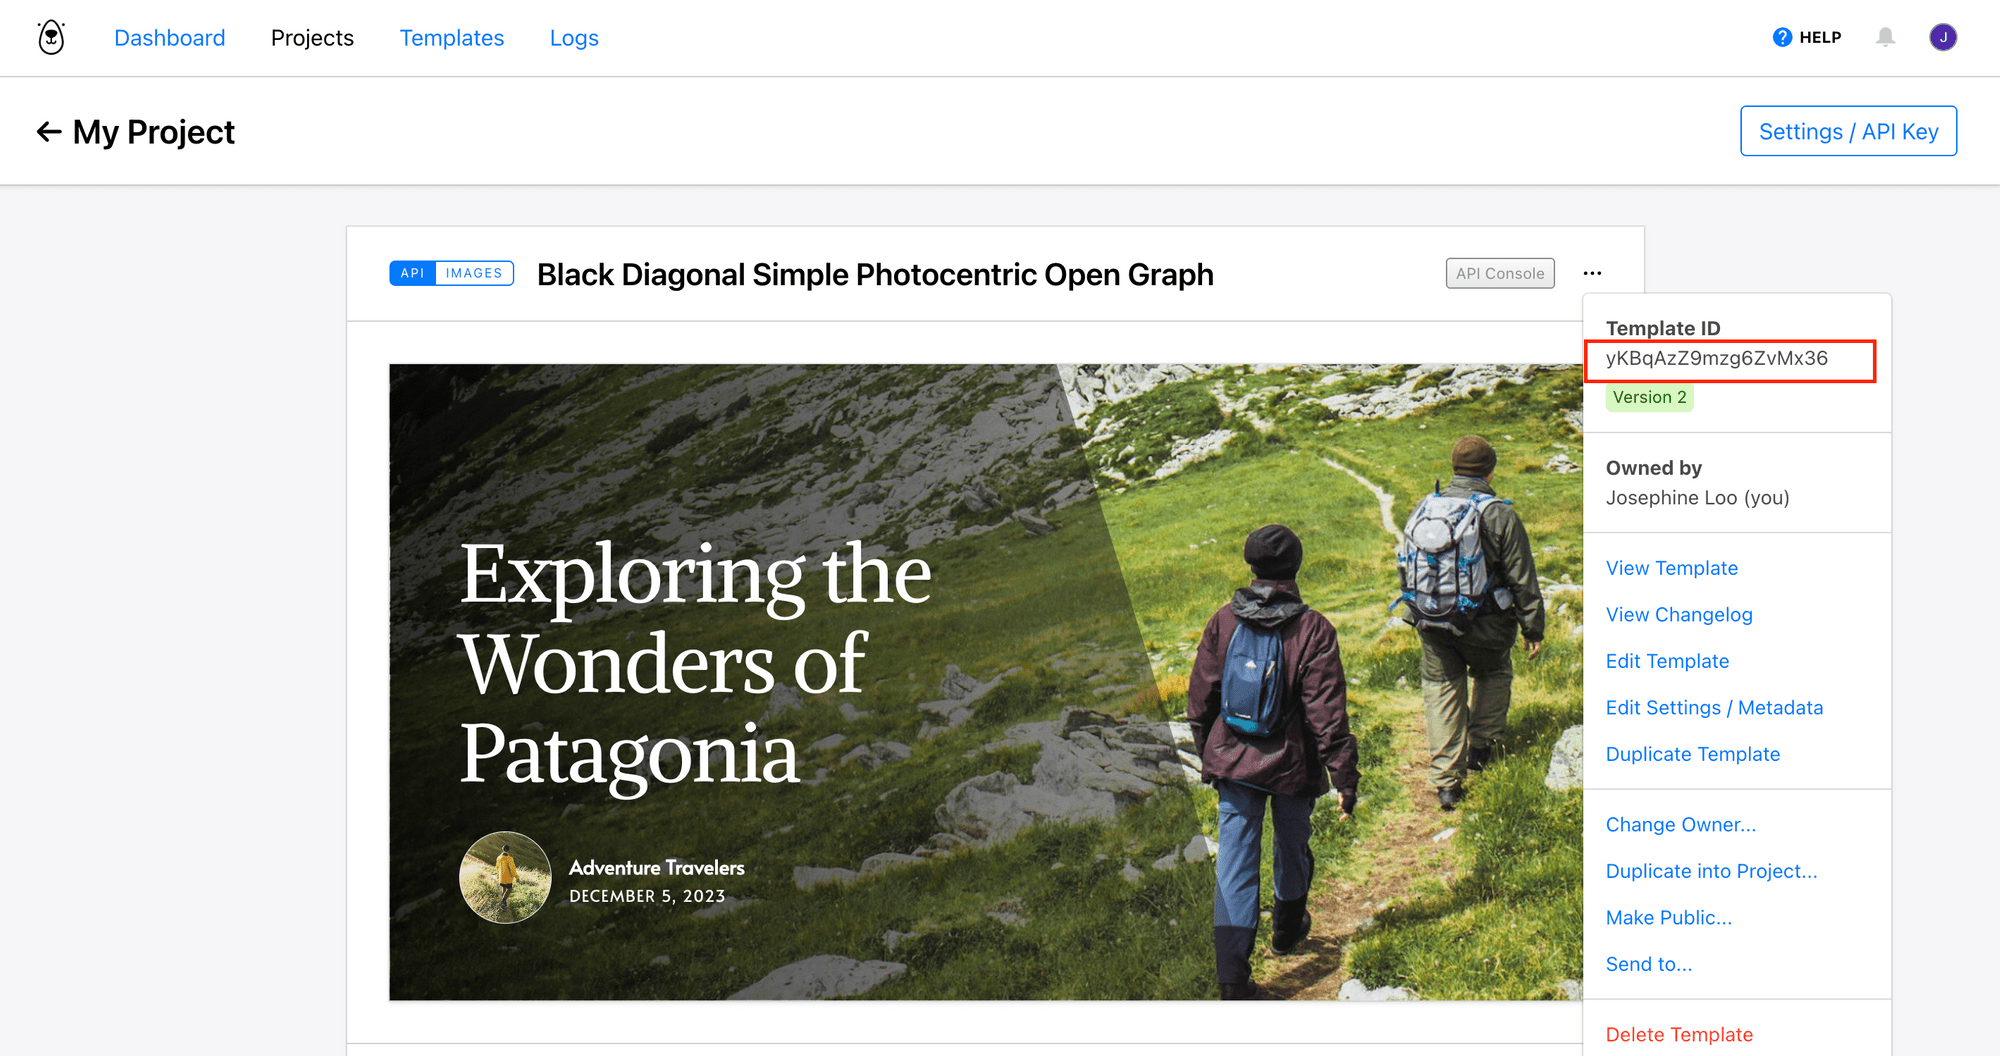
Copy and keep it somewhere safe.
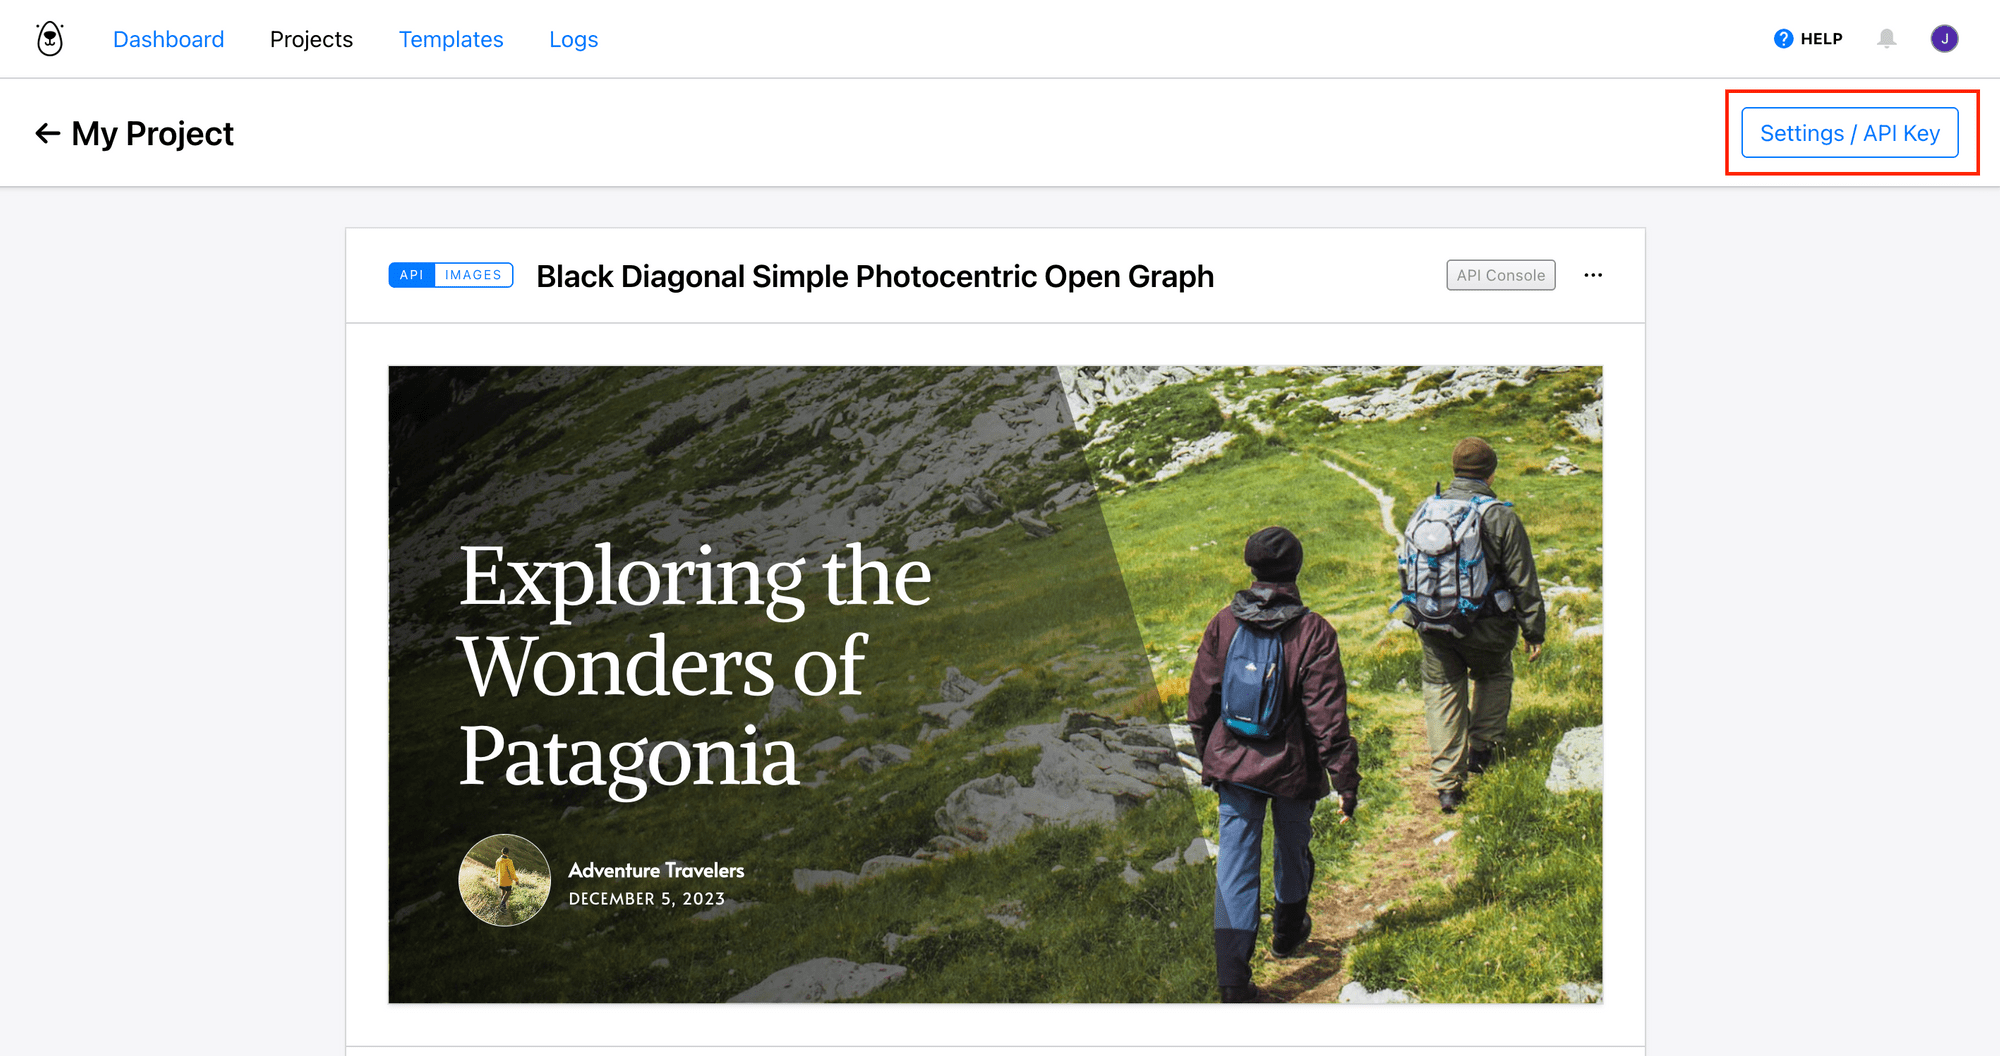
Do the same for your API key:
How to Integrate Bannerbear with Next.js
To keep things simple, we’ll be using a website built with this template as a demonstration. Its file structure is as follows:
🐻 Bear Tip: If you already have your own project, just follow along and apply the same steps to yours.
Step 1. Install the Bannerbear SDK
In your terminal/command prompt, run the command below:
npm install bannerbear
Then, add your Bannerbear credentials to your .env file:
BANNERBEAR_API_KEY=your_api_key
BANNERBEAR_TEMPLATE_ID=your_template_id
🐻 Bear Tip: Don’t forget to set up the environment variables for your server, depending on where you’re hosting your Next.js project.
Step 2. Create a Function
In lib/api.js, create a function that takes the Post object as a parameter, and sends the data to Bannerbear to generate an OG image:
import { Bannerbear } from 'bannerbear';

...

export async function generateOgImage(post: Post) {
  const bb = new Bannerbear(process.env.BANNERBEAR_API_KEY);
  const formattedDate = new Date(post.date).toLocaleDateString('en-GB', {
    day: 'numeric',
    month: 'long',
    year: 'numeric',
  });

  const images = await bb.create_image(
    process.env.BANNERBEAR_TEMPLATE_ID as string,
    {
      modifications: [
        { name: 'title', text: post.title },
        { name: 'author', text: post.author.name },
        { name: 'date', text: formattedDate },
        { name: 'author_photo', image_url: `${process.env.DOMAIN}/${post.author.picture}` },
        { name: 'image_container', image_url: `${process.env.DOMAIN}/${post.coverImage}` },
      ],
    },
    true
  );

  return images.image_url;
}
This function will return an image URL that you can inject into your page metadata.
Since both the author’s photo and the cover image are stored in the assets/blog folder, accessing them through ${post.author.picture} and ${post.coverImage} will return a relative path. To fix this, add your domain URL in .env so it can be used to build the full image path:
DOMAIN=www.your-domain.com
Step 3. Adding Dynamic OG Image Metadata in Next.js
Next.js App Router provides a built-in way to define metadata for each page using generateMetadata() located in posts/[slug]/page.tsx:
export async function generateMetadata(props: Params): Promise<Metadata> {
  const params = await props.params;
  const post = getPostBySlug(params.slug);

  if (!post) {
    return notFound();
  }

  const title = `${post.title} | Next.js Blog Example with ${CMS_NAME}`;

  return {
    title,
    openGraph: {
      title,
      images: [post.ogImage.url],
    },
  };
}
To use a dynamically generated OG image from Bannerbear, add a line to of code to call the generateOgImage() function and replace the value of openGraph.images with the result it returns:
import { generateOgImage } from "@/lib/api";

export async function generateMetadata(props: Params): Promise<Metadata> {
  const params = await props.params;
  const post = getPostBySlug(params.slug);
  const ogImage = await generateOgImage(post); // add this

  if (!post) {
    return notFound();
  }

  const title = `${post.title} | Next.js Blog Example with ${CMS_NAME}`;

  return {
    title,
    openGraph: {
      title,
      images: ogImage, // change this
    },
  };
}
Step 4. Test Your Setup
In your terminal/command prompt, execute the command below to run your app locally:
npm run dev
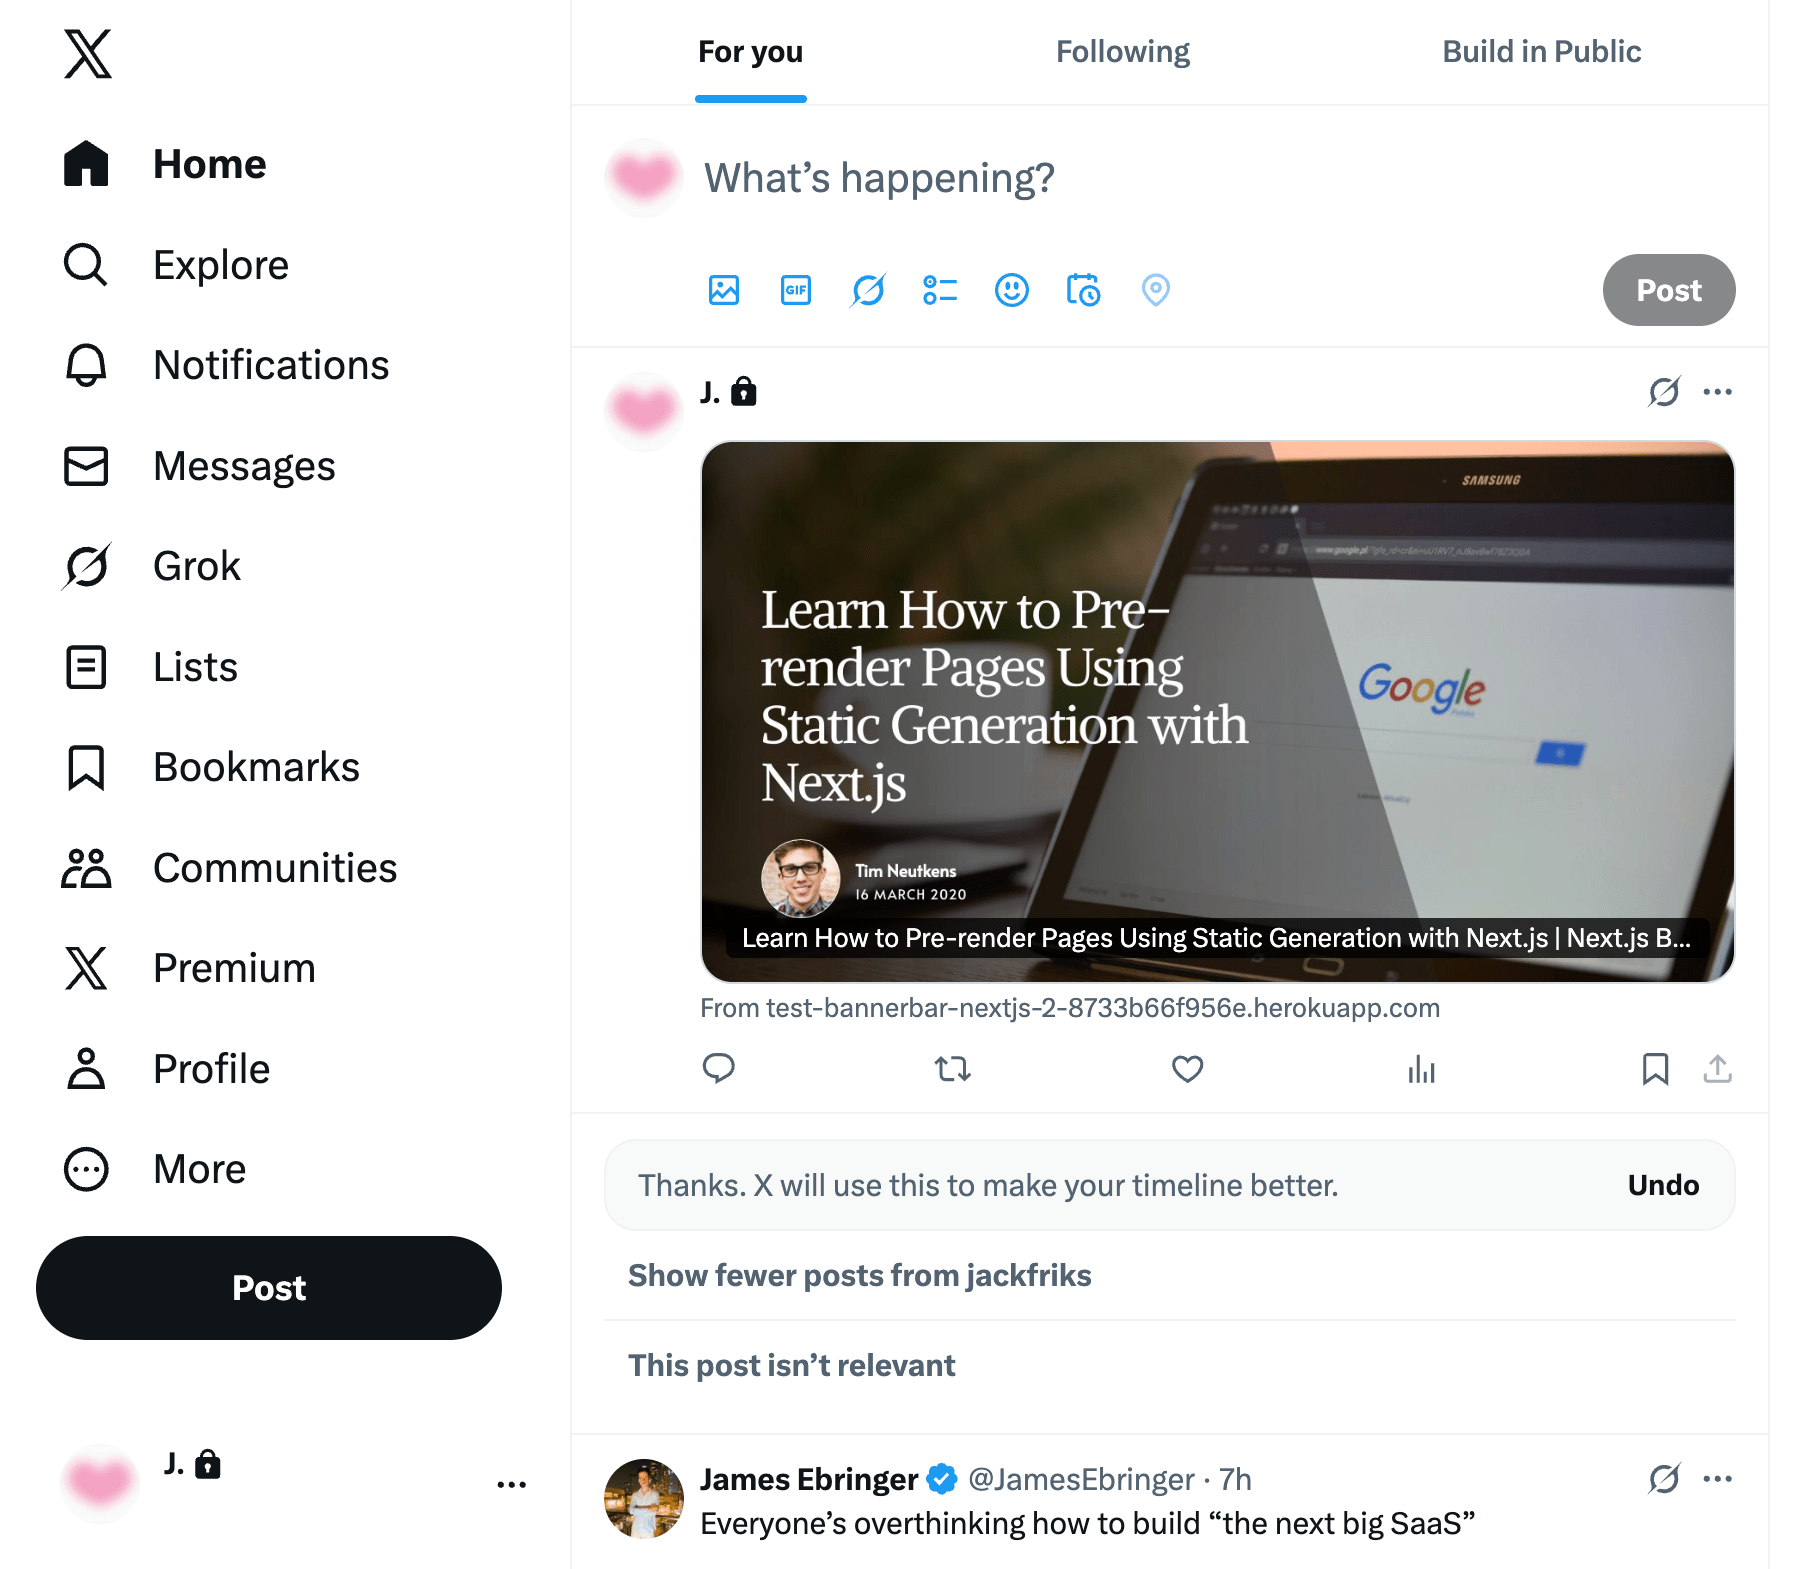
Visit one of the posts and view the page source. You should see meta tags like this:
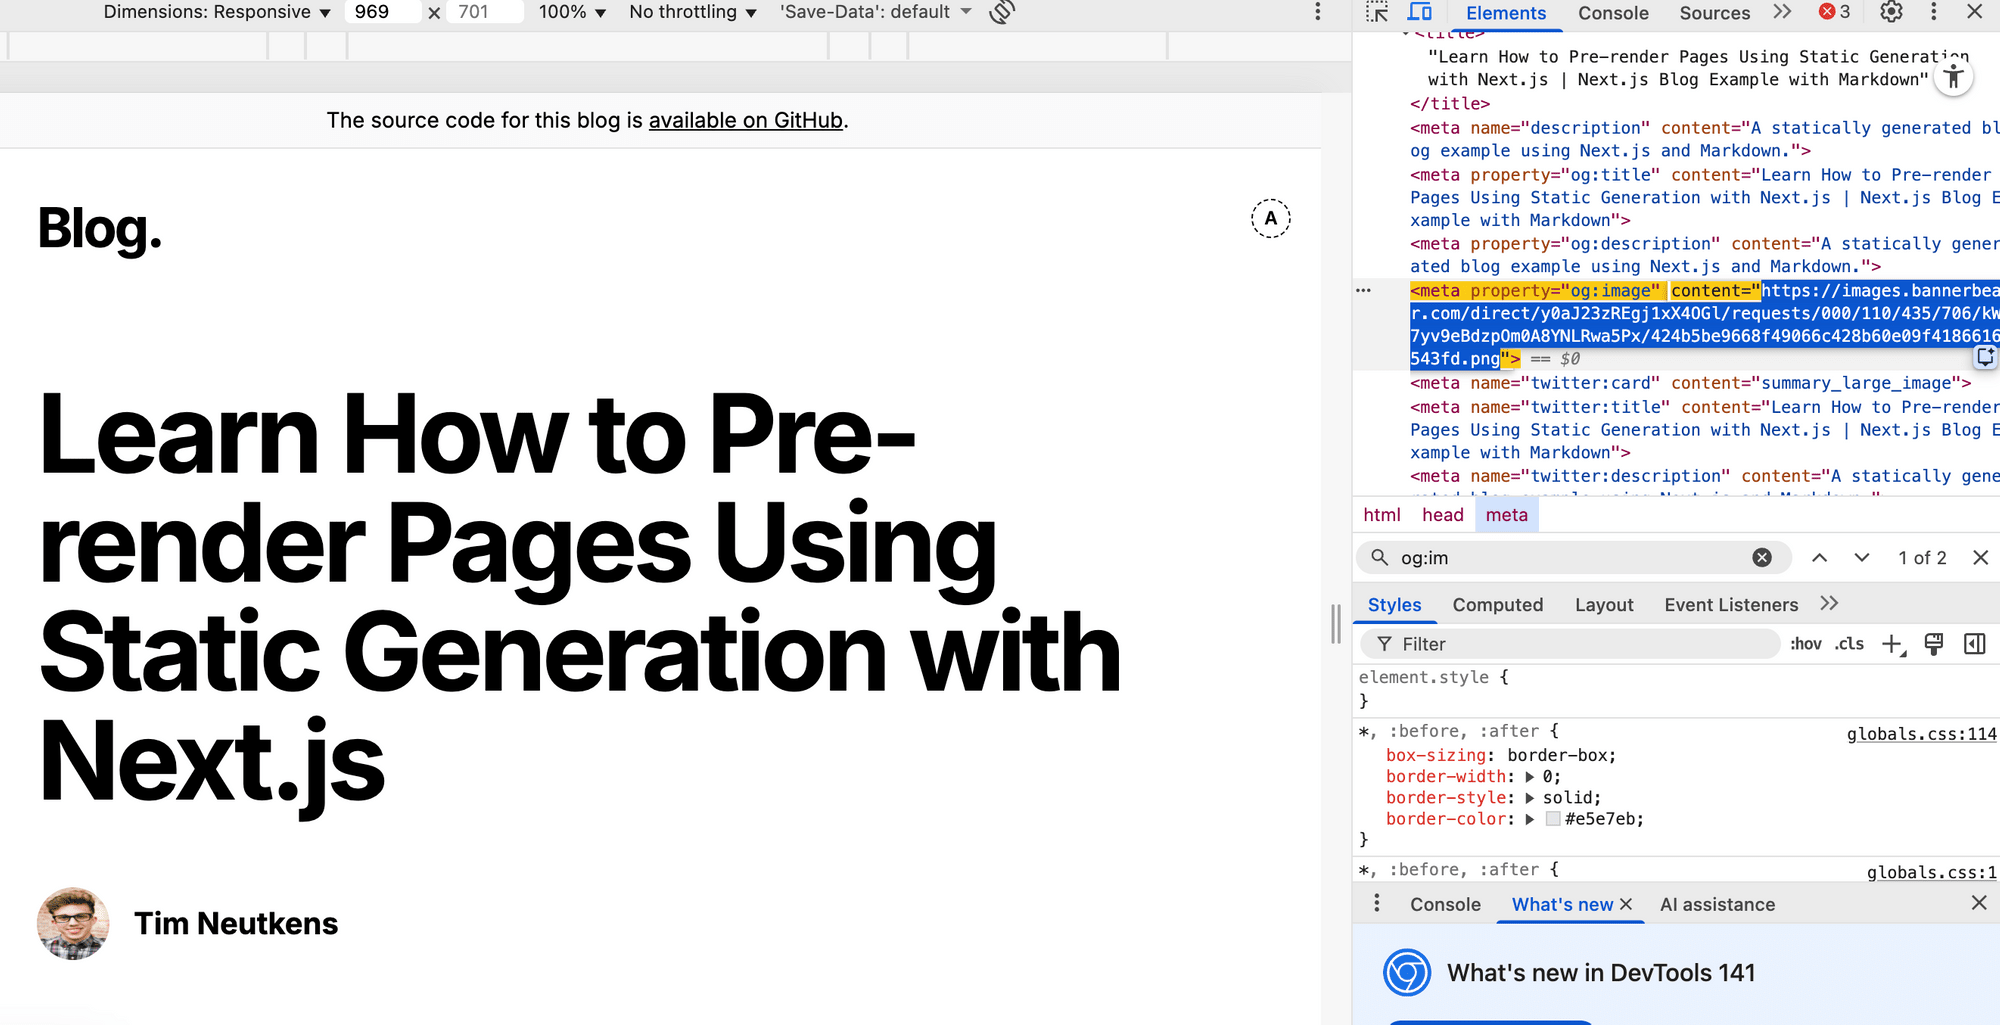
After deploying your project live, you should see the dynamically generated OG image appear in the preview whenever you share the link:
🐻 Bear Tip: To reduce repeated API calls, store the generated image in your database. When the same slug is requested again, simply reuse the stored image instead of generating a new image each time.
Conclusion
With this setup, every time you publish a new page or article, Bannerbear automatically generates a unique, on-brand image based on your design template. Unlike the default Next.js approach, there’s no need to recreate the design using JSX and CSS. If you ever need to update the design, your designer can easily do it straight from the Bannerbear dashboard using the drag-and-drop editor.
You can reuse the same logic to generate other types of visuals, like certificates, event banners, or product cards. Bannerbear makes all of that possible through the same API.
Whether you’re managing a small blog or a large content site, maintaining consistent, on-brand previews across all pages automatically is easy with Bannerbear. Try it out yourself!
