
How to Automatically Send Personalized Webinar Packets to Attendees
Contents
In 2020, Wyzowl reported webinars to be the most effective video distribution channel. A whopping 91% of marketers found their pandemic webinars to be successful. After all, people still needed a way to connect and learn from one another while live events were off the table.
But while webinars becoming increasingly common, planning a must-attend event isn’t easy. Almost half of the registered attendees are no-shows.
Attendees have high expectations and not much to lose, so you have to start convincing them of your event’s value early on. A personalized packet can make a great impression from the get-go, giving customers a glimpse of what they stand to gain by attending.
Digital tools like Airtable, Bannerbear, Zapier, and Gmail can minimize the manual administrative work while personalizing the experience for attendees.
What to Include in a Personalized Webinar Packet
Depending on the who, what, and how, the exact items to include in your webinar packet may vary. However, here are a few basics you may want to have:
- A personalized welcome message
- A personalized, event-specific virtual background
- A PDF handout with slide decks, reference material, discussion questions, and any supplementary information the host may want to include
- A certificate of attendance
You can automate the generation and delivery of this packet using a combination of digital tools, and in this tutorial, we’ll show you how.
Prepare Your Materials
Most of the materials for your webinar attendees will be branded and follow a template that is simply customized to each person. You can use Bannerbear to create a new project containing these templates.
Step 1. Creating the Templates Using Bannerbear
For the welcome message : Start with a blank template or select a relevant template such as the Zoom Registration Notification.
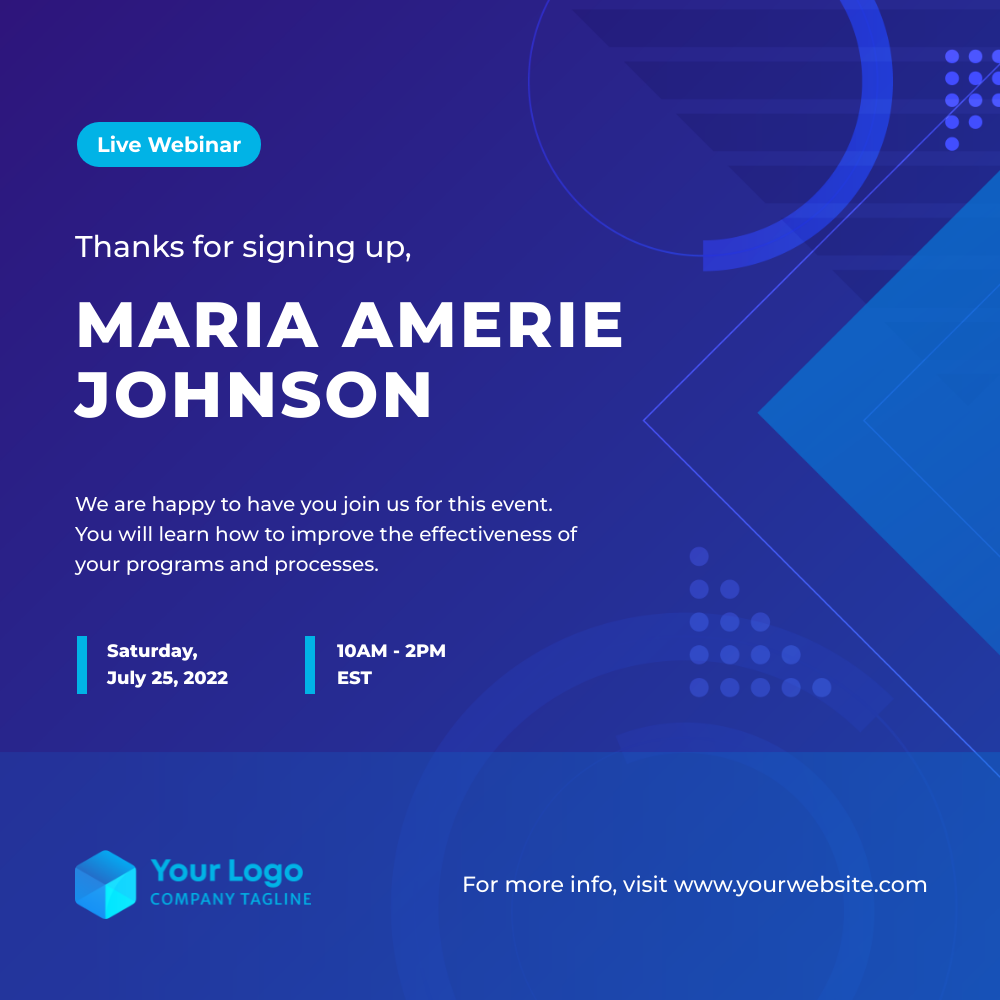
Customize the template with your branding and write a warm welcome message, making sure to leave the Name field customizable so that the API can auto-generate personalized messages for each attendee.
For the virtual background : Event-specific virtual backgrounds work much like event ID cards do for in-person events, and they’re great for smaller seminars where attendees actively interact. Since they showcase each person’s name and role in a way that’s clear, yet unobtrusive, they make for cohesive group pictures!
Create a template from scratch with the dimensions 1920px by 1080px (recommended virtual background dimensions for Zoom, Google Meet, and similar platforms).
You can also start from a pre-made template like the Event ID with Photo. Just resize the dimensions and orient the elements around the margin so they aren't blocked by the attendee's live webcam feed.
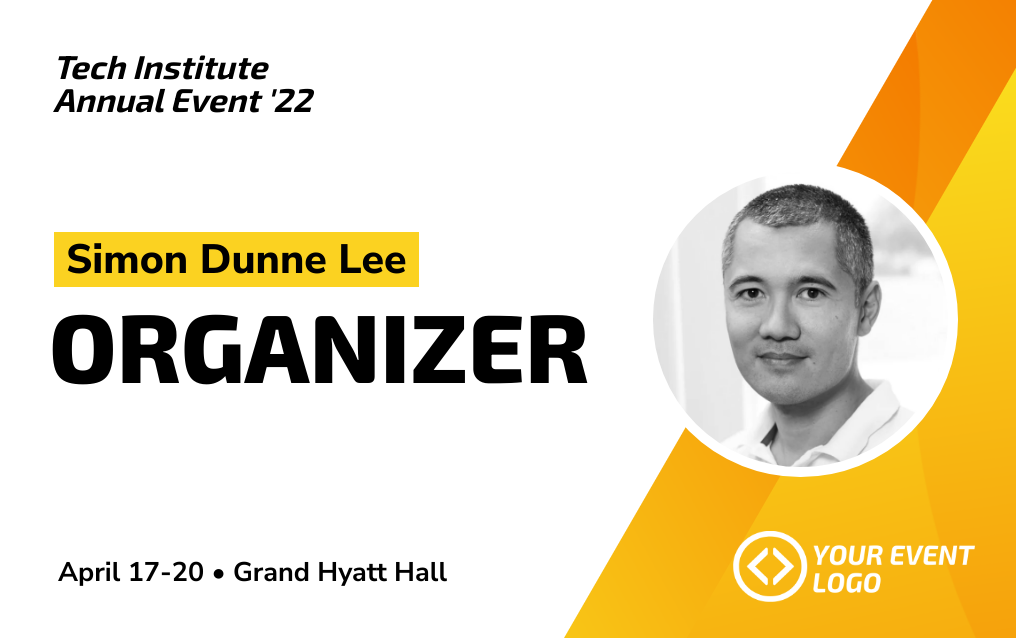
Customize the template with your branding, including dynamic fields for names, roles, and possibly headshots. Bannerbear auto-generates personalized images based on sign-up information, so attendees can receive virtual backgrounds made just for them.
For the certificate of attendance : Many branded webinars offer certificates of attendance because they incentivize attendance and increase brand reach when published to platforms like LinkedIn. We have a certificate template that you can customize to fit your brand:
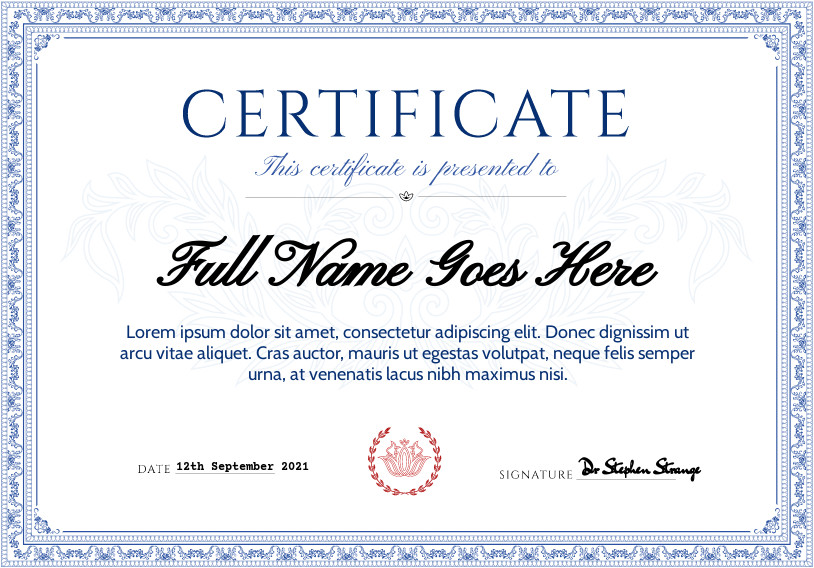
After adding the template to your project, add a dynamic field for attendees’ full names and make any necessary adjustments to the static fields.
For the supplementary material : Slide decks, reference material, discussion questions, and any other information hosts may want to provide can be combined into PDF handouts for attendees to take home. If you’re hosting a summit or a multi-session webinar, however, consider taking the personalization a step further by putting together only the material that the attendee is interested in.
Use an existing Bannerbear template or start from scratch with a file, inserting the host’s material and tying it together with your brand elements. A few important things to note:
- Save each page as a separate file, and label them accordingly. For example, if you have three pages of material for the first session, consider naming them Handouts 1.1, 1.2, and 1.3. This will make it easier to find when setting up conditional paths that auto-generate handouts later on.
- Use the same dimensions for all of your supplementary material. This ensures the final result is a single, cohesive PDF file.
- Only use static fields for your supplementary material. This ensures the fields do not come up blank after PDF generation.
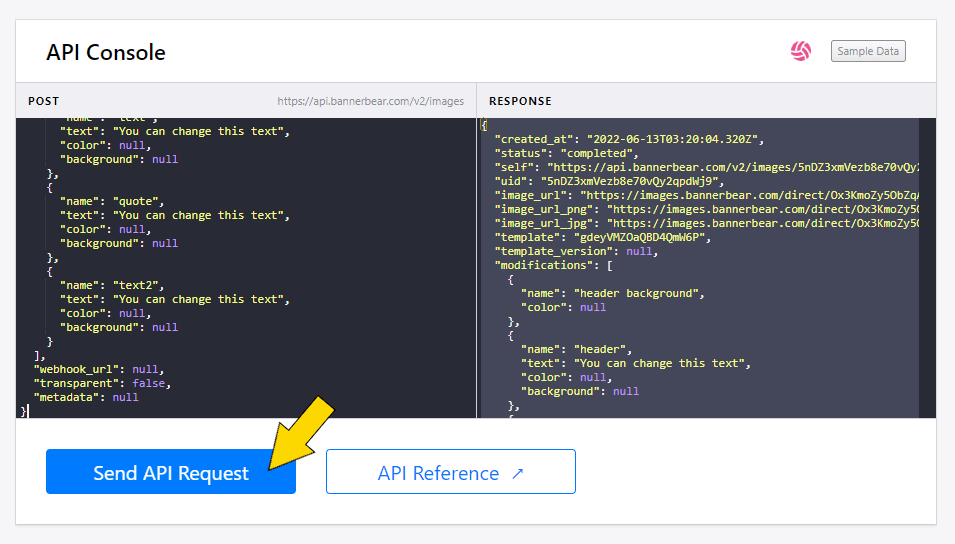
Bear Tip 🐻: Text fields in Bannerbear's editor are dynamic by default, but you can turn them into static fields in the API console by replacing the text
"You can change this text"with the valuenullin the associated keys.
Step 2. Preparing Your Templates for Use
Once your supplementary material is neatly laid out in single-page files, use the API console to manually generate each page as a PDF one time.
You will then be able to access the PDF URLs from your Logs, which we will use to auto-join the PDFs into interest-specific handouts for attendees in a later step.
Create a Sign-up Form on Airtable
Airtable integrates with Bannerbear via Zapier to make personalization easy. The information you collect in sign-up forms (either via a direct link or embedded into your site) can automatically be used to customize and send out handout packets without any additional effort on your part.
Create a sign-up form on Airtable by building a database for your webinar. Reserve one table for Attendees, and consider further filtering for Confirmed and Unconfirmed sign-ups. There are several event planning templates you can use for this.
Set up a form for sign-ups and make sure new records are saved to your Attendees table. You will need the following fields:
- Name
- Nickname (if you would like to make the welcome message more informal)
- Role
- Phone number
- Selected sessions (in the case of a summit or multi-session webinar)
You can also include fields for any additional information needed, such as representing companies and headshots.
Set up Zapier Trigger to Generate and Email Pre-webinar Packet
At this point, you have all your templates set up and a sign-up sheet ready to go. It’s time to set up a Zapier trigger that generates and sends out a customized welcome image, a virtual background, and PDF handouts. Here’s how:
Step 1. Connect your Bannerbear and Airtable accounts using Zapier
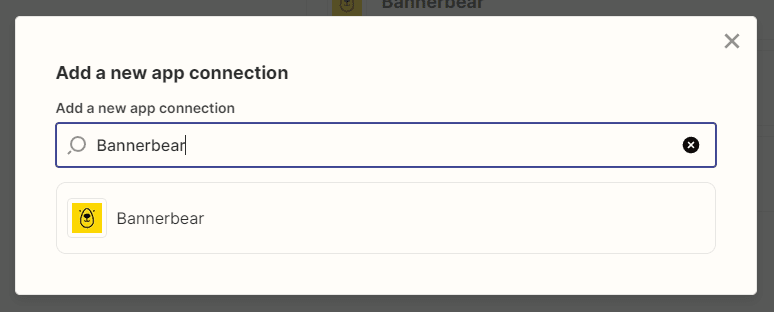
You will need API keys for Bannerbear and Airtable to connect your accounts using Zapier. First, go to your Zapier dashboard and click “My Apps”. Then, click “+ Add connection” and choose Bannerbear.
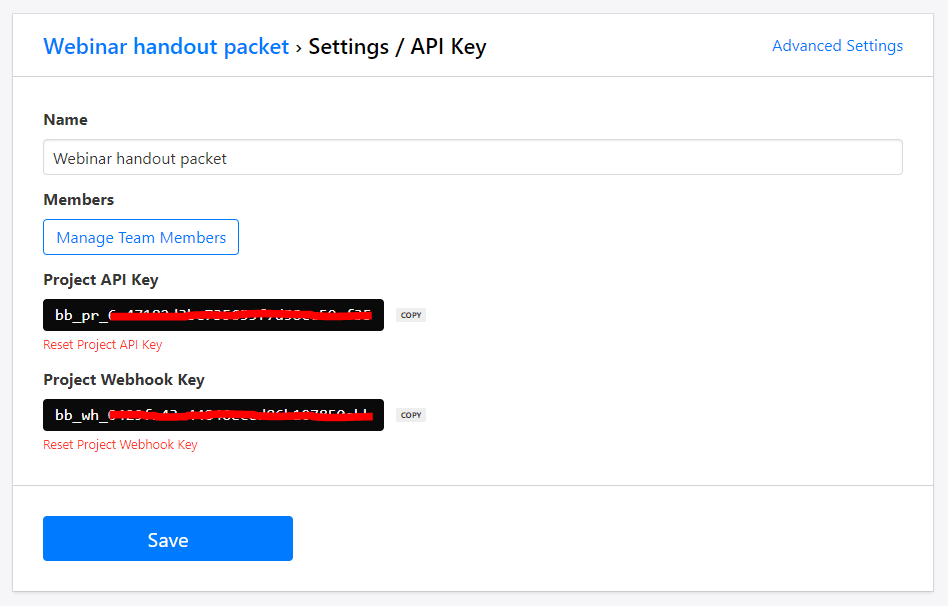
On a separate tab, log into your Bannerbear account and go to your Projects tab. Select the correct Project, then click the “Settings/API Key” button to generate a Project API key. Input the key into Zapier.
Use the same “+ Add connection” button on Zapier to connect your Airtable account. You can find your Airtable API key on your Account page.
Save your integrated apps. Now, they should pop up as options when you create new zaps.
Step 2. Create a New Zap and Choose Airtable as the Trigger
On your Zapier dashboard, select “Create Zap”. This will lead you to a page where you can set up a new trigger. Select Airtable as your app and “New Record” as the Event.
Step 3. Set up the Resulting Actions
Since a sign-up will jump-start an entire chain of events, one zap is enough for both generating and sending out the pre-webinar packet. However, you will have to set up multiple actions:
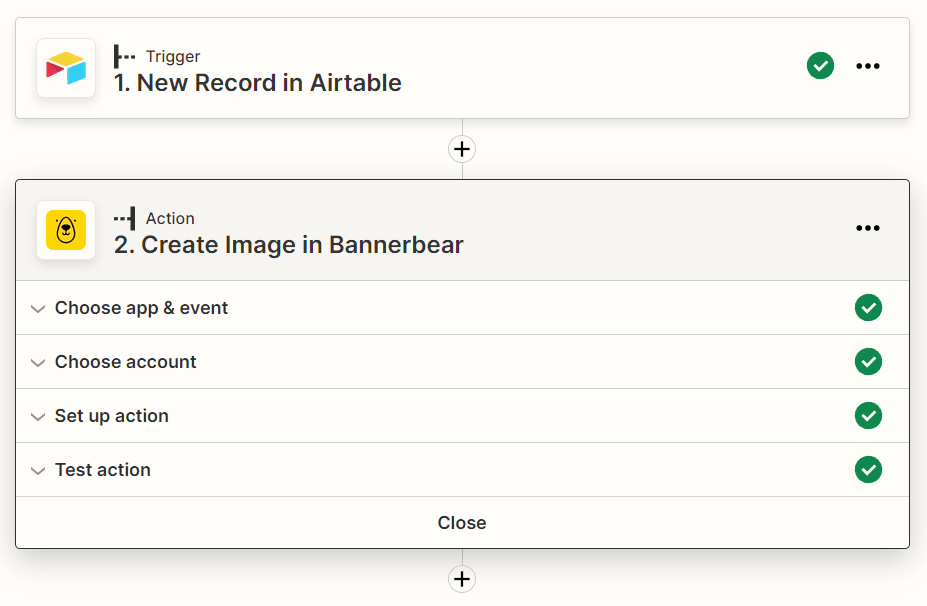
Action: Create Image in Bannerbear
The first action will generate a customized welcome message for every sign-up. Select Bannerbear as the app and “Create Image” as the event. Choose the appropriate template and set up the action, taking care to specify any modifications to dynamic fields.
Action: Create Image in Bannerbear
The second action will generate a customized virtual background. Select Bannerbear as the app and “Create Image” as the event. Choose the appropriate template and set up the action, taking care to specify any modifications to dynamic fields.

Action: Conditionally run…
Since the next action will generate a different combination of PDF pages depending on the sessions an attendee chooses, you will need to use Zapier’s conditional workflows tool.
The total number of paths will depend on the session combinations possible. For example, if your webinar has three different sessions, six different handouts could be generated.
Choose “Conditionally run…” as your action.
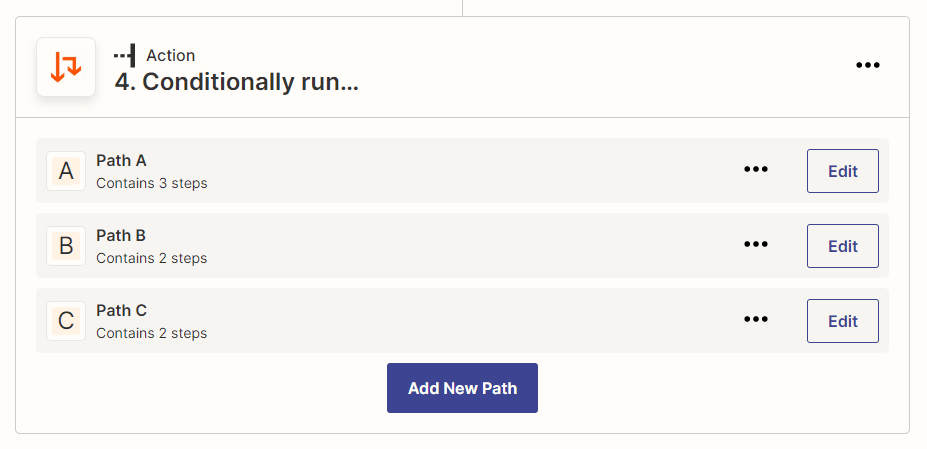
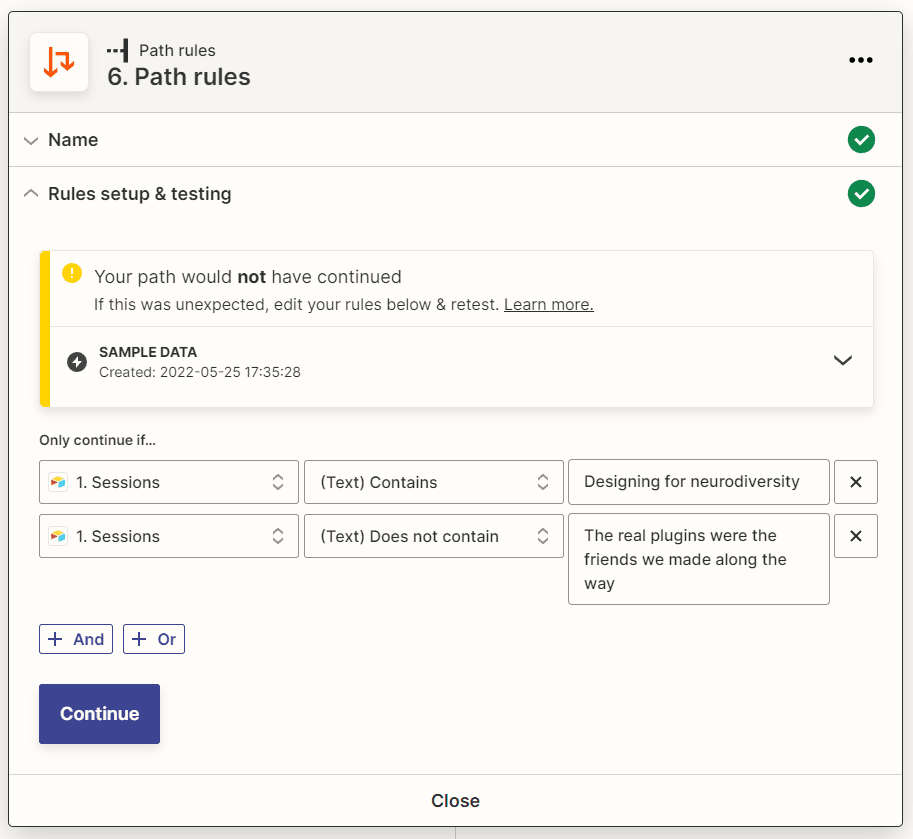
For each Path, set up the following rules and actions:
Rules setup & testing : Choose Airtable as your data source. Assuming you used a multi-select option in your sign-up form, use the “(Text) Contains” rule to specify a session a potential attendee might select. Use the “+ And” command and insert another “(Text) Does not contain” rule to specify any sessions a potential attendee might not select.
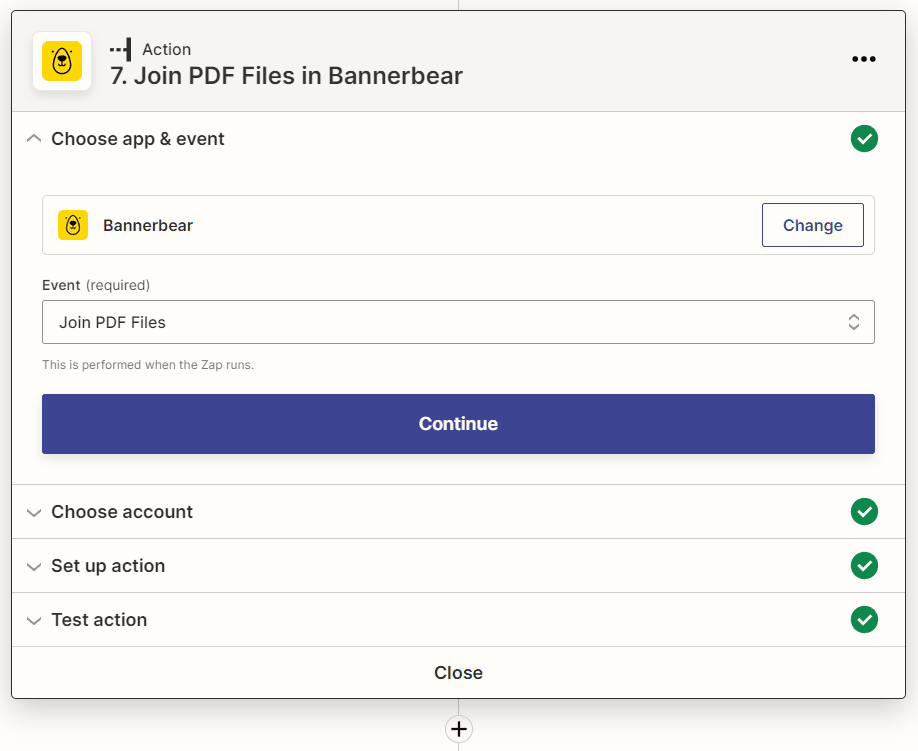
Action: Join PDF Files in Bannerbear : Select Bannerbear as the app and “Join PDF Files” as the event. Choose the appropriate project and set up the action by inputting the PDF links from the static templates you generated using the API console in Step 1. Take care to only include the URLs of the sessions specified by the path’s rules.
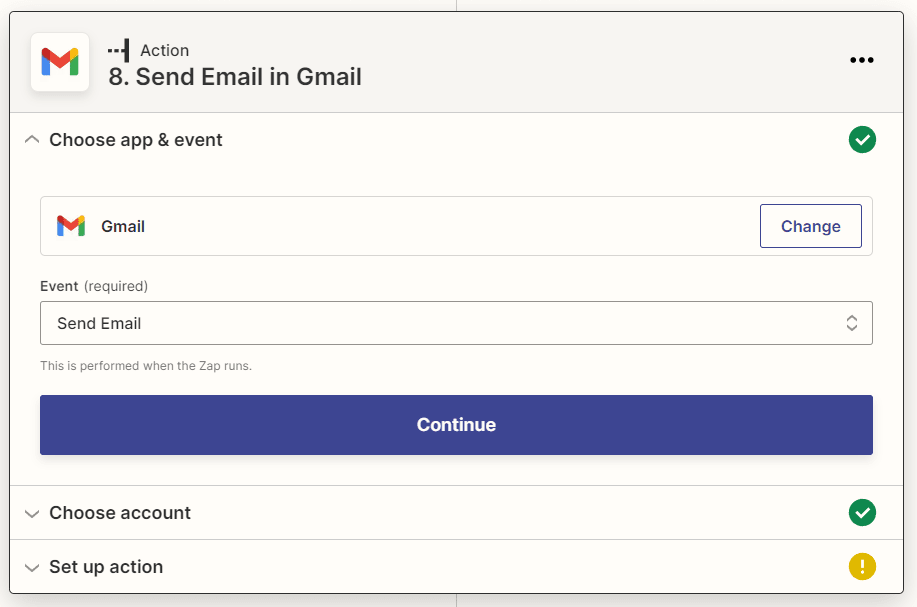
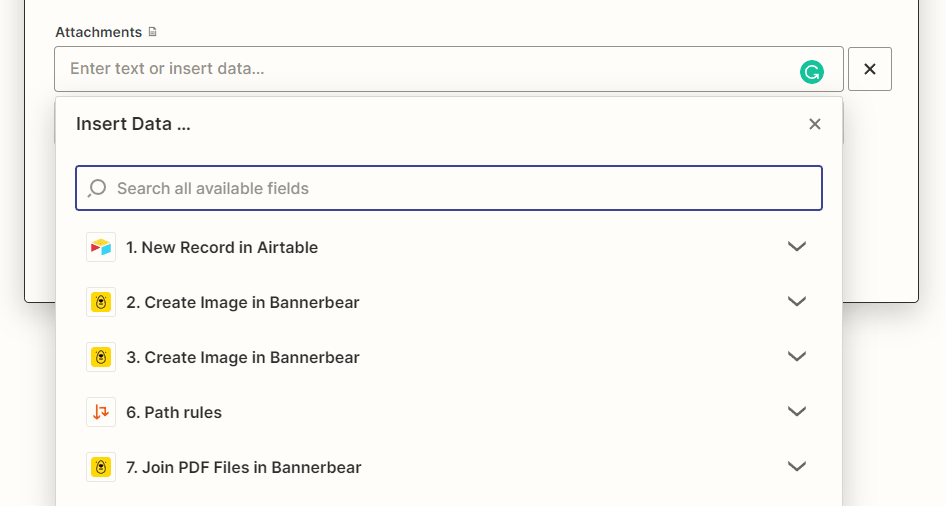
Action: Gmail : Now, the API is set up to automatically generate material based on each new sign-up. The final step is sending it out. Choose Gmail as your app and “Send Email” as the event. Connect your account, and enter the necessary details. You can use the “Insert Data” feature and use Airtable to address each attendee by name.
Take care to insert all the pre-webinar attachments from the previous Bannerbear actions. In this particular example, you should be attaching files created in steps 2, 3, and 7.
Repeat the above steps to create as many Paths as needed.
Bear Tip 🐻: To build anticipation before the event, set this action up so that the pre-webinar packet is sent a few days before the big event. This reminds people of the upcoming occasion and shows them that you’re already preparing!
Set up Zapier Trigger to Generate and Email Certificates
Sending certificates of participation after a webinar is a great way to show appreciation to attendees. It’s also a great marketing opportunity when posted on platforms like LinkedIn. You can use a separate Zapier trigger to generate and send certificates to confirmed attendees a day after the event.
Step 1. Create a New Zap and Choose Airtable as the Trigger
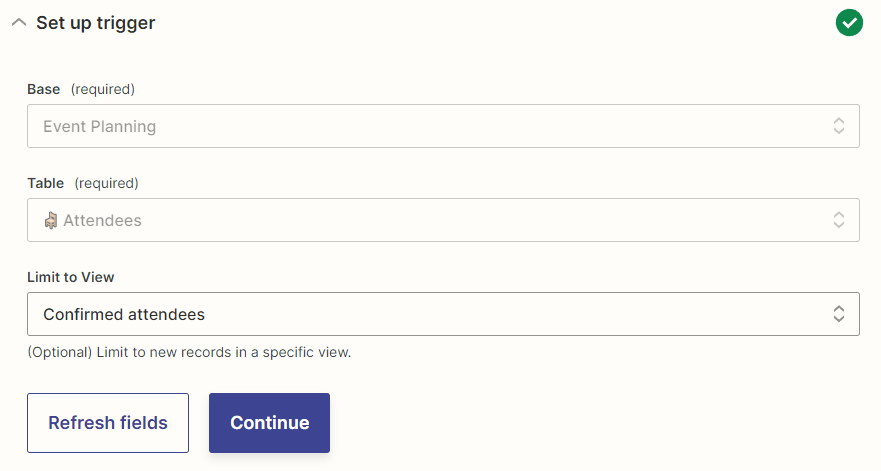
On your Zapier dashboard, select “Create Zap”. You will then be led to a page where you can set up a new trigger. Select Airtable as your app and “New Record” as the Event.
When setting up the trigger, choose the table containing your Attendees information. Unlike the above trigger, though, limit to view confirmed attendees only.
Step 2. Set up the Resulting Actions
Only one file is created—the certificate—so the actions to set up are relatively simple:
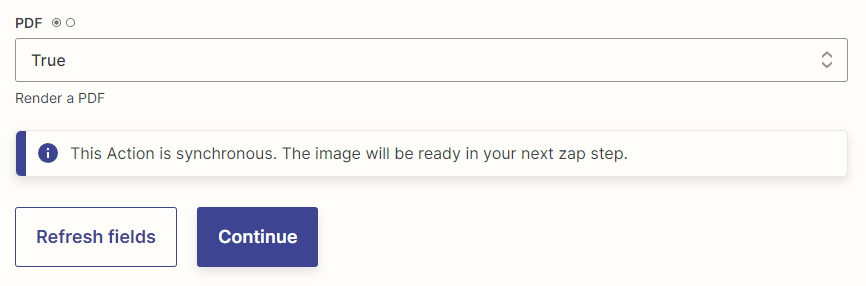
Action: Create Image in Bannerbear
This action will generate a customized certificate based on your template. Select Bannerbear as the app and “Create Image” as the event. Choose the appropriate template and set up the action, taking care to specify any modifications to dynamic fields. Select “True” in the PDF column to render the correct format.
Action: Gmail
Choose Gmail as your app and “Send Email” as the event. Connect your account, and enter the necessary details. You can use the “Insert Data” feature and use Airtable to address each attendee by name.
In the Attachments section, insert data from the previous Bannerbear action so that the recipient’s certificate includes the correct information.

Turn on the Zaps and Wait for the Sign-ups to Roll in!
You’re all set! But before you enable your zaps, test them. You should receive two separate emails: one with the pre-webinar information packet and one with the post-webinar certificate of participation.
Build Anticipation Pre-webinar with Personalized Handouts
A webinar is an excellent way to put information (and your brand!) in public while remaining educational and approachable. But as one of the event types with the highest no-show rates, it’s crucial to build anticipation before the big day.
Tools like Zapier and Bannerbear make it easy to personalize events—even if you’re expecting thousands of attendees. By automating personal welcomes and customized handouts, you keep the event warm and approachable without wasting hours on manual administrative processes.
Happy hosting!
