How to Auto Generate Social Media Images for your Medium Stories
Contents
In this tutorial we will learn how to tweet an auto-generated image every time you publish a new blogpost on Medium.
Visuals increase engagement. You can get your Medium post noticed on social media by including a great, eye-catching visual that conveys what your post is about and entices more people to click. With this tutorial you can add an attention-grabbing touch to your new blog content in Medium!
In order to use Medium with Zapier, it is necessary to have a Medium account.
What is Medium?
Medium is a publishing platform where people can read important, insightful stories on the topics that matter most to them and share ideas with the world.
What will you do
In this tutorial we will learn how to tweet an auto-generated image every time you publish a new blogpost on Medium. You will
- Integrate the feed of your publication on Medium with Zapier.
- Add Bannerbear images from new RSS feed items.
- Post the generated image on Twitter
With Zapier integration, you can tweet Bannerbear posters and promotional images with every new post found in your RSS feed.
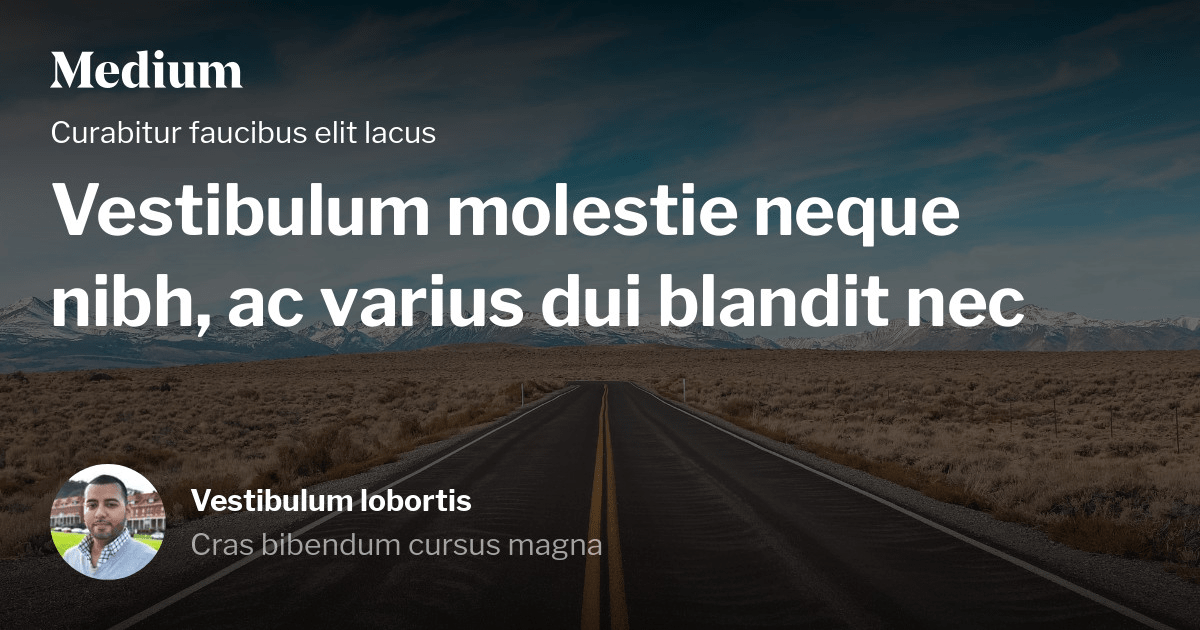
Example Image
Get Started with Bannerbear Template
We will use the Publishing Open Graph template specifically designed to accommodate your Medium article. Use this template HERE:
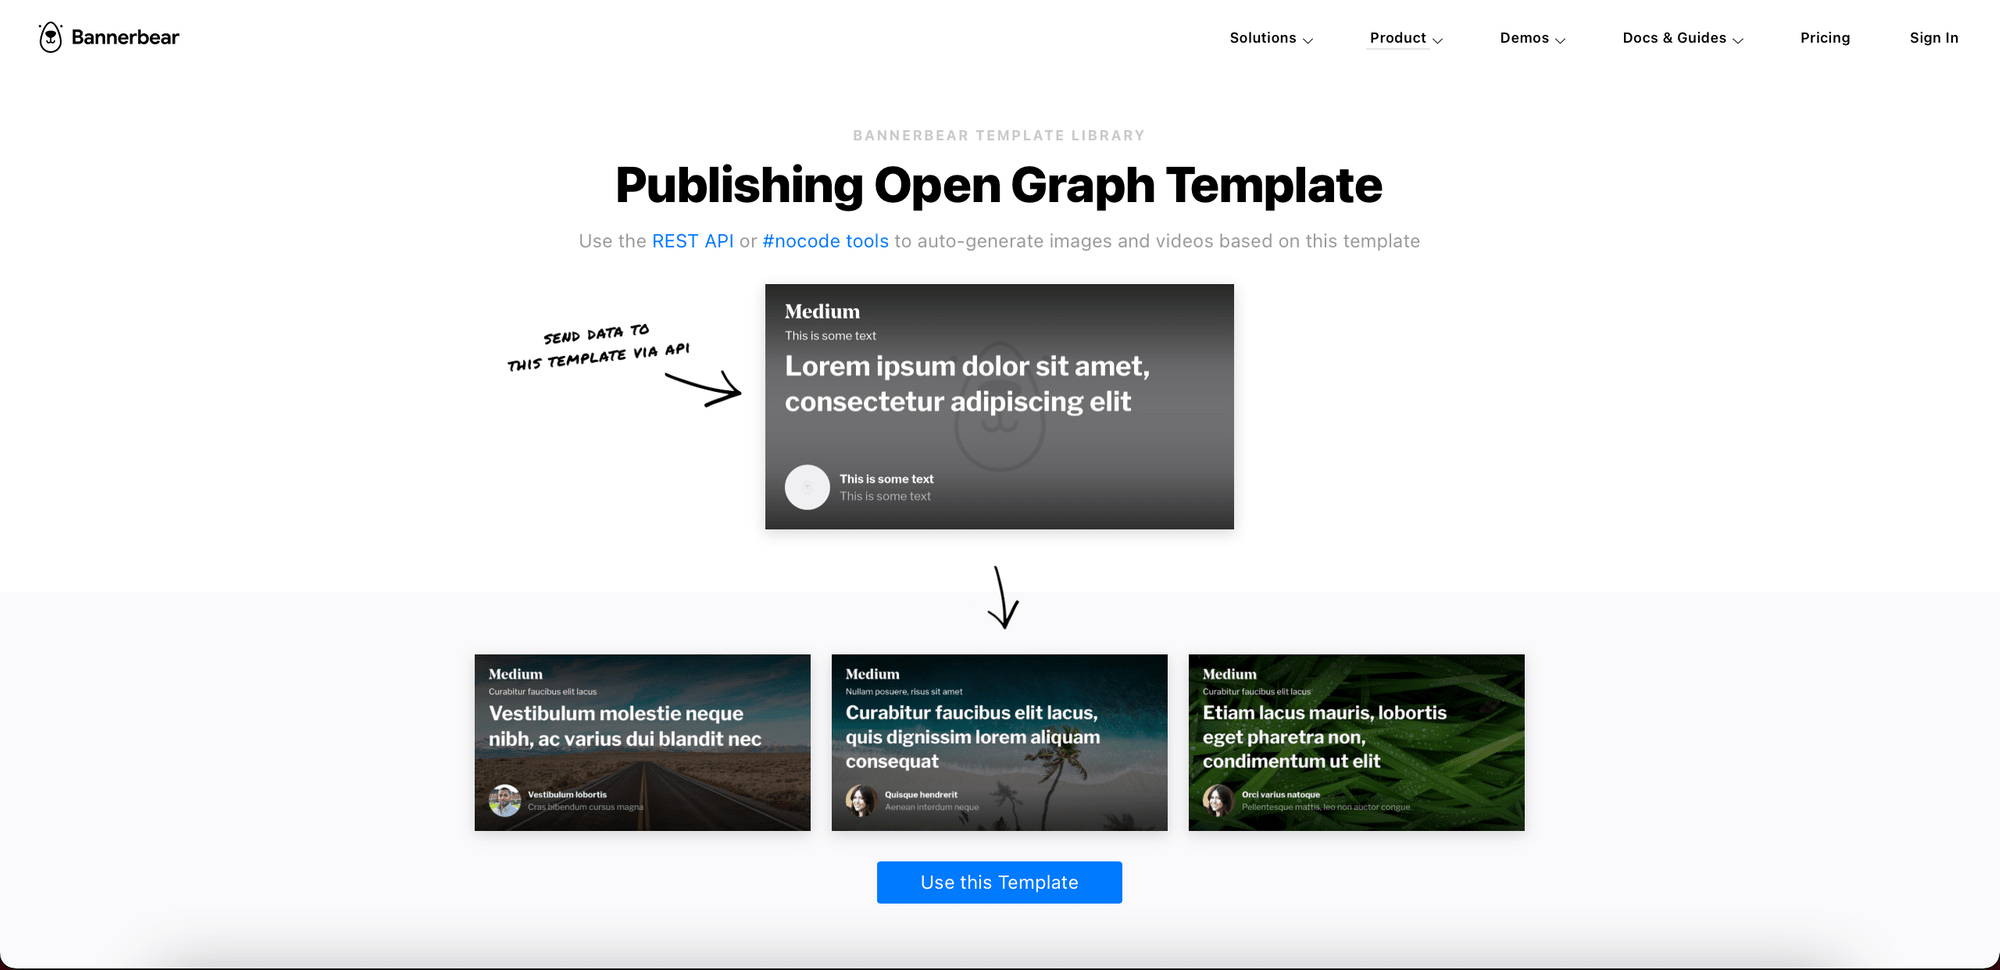
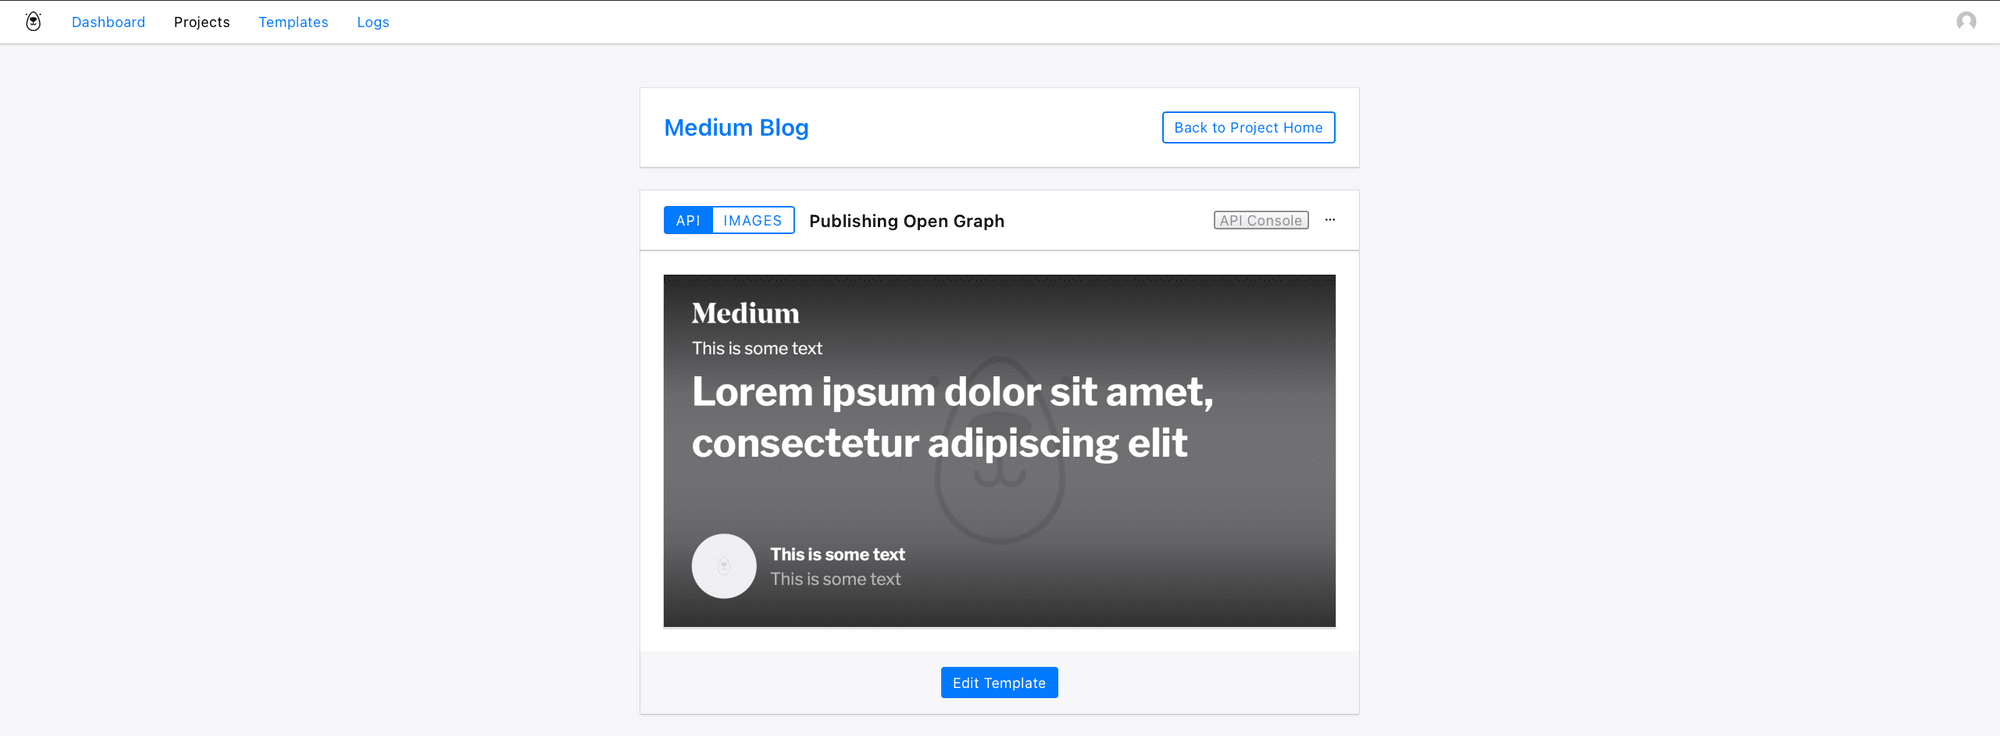
Create a new Medium Blog project. Add the Publishing Open Graph template to your Project.
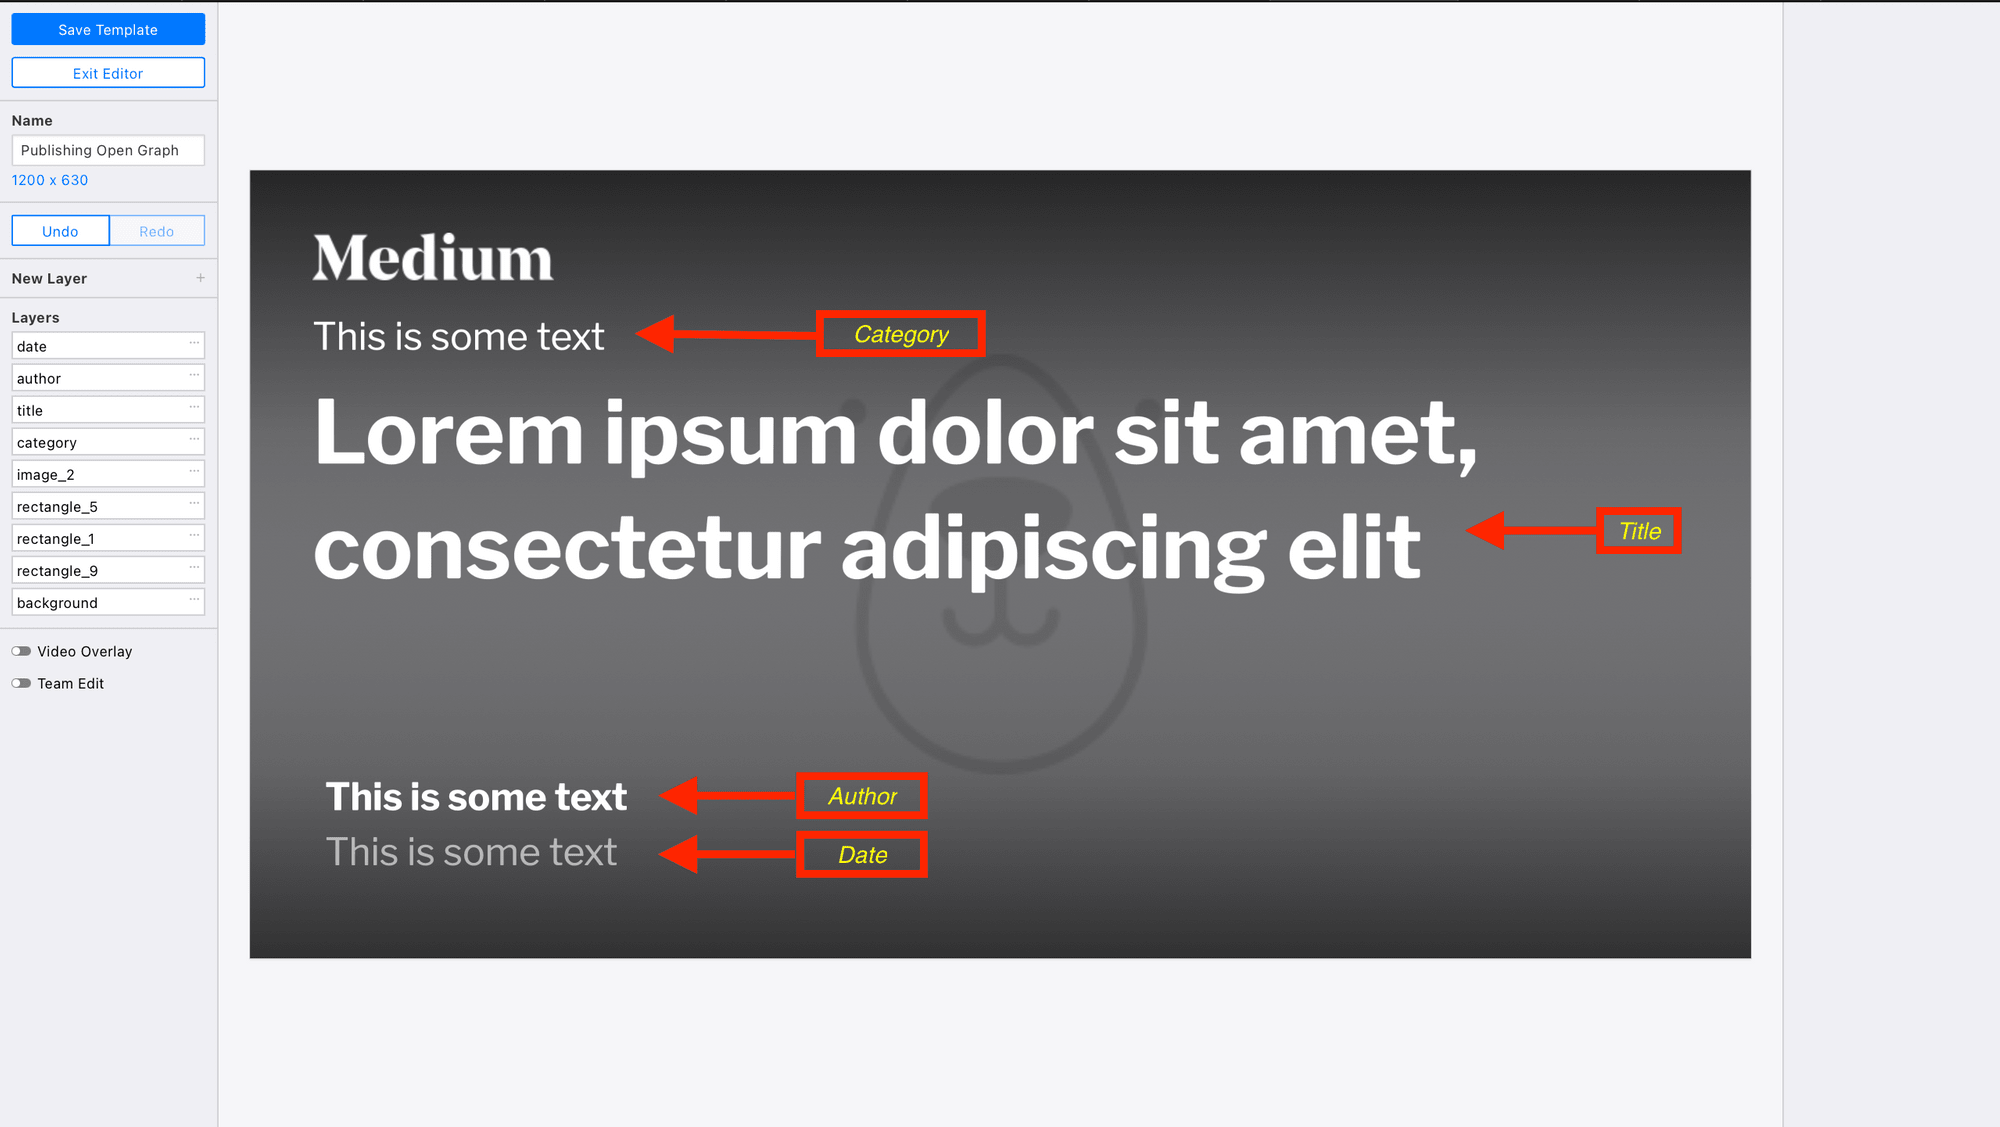
Hit Edit Template to view the layers:
The template will be needed to map the layers with the RSS feed on Zapier. You can adjust the opacity of the background gradients:
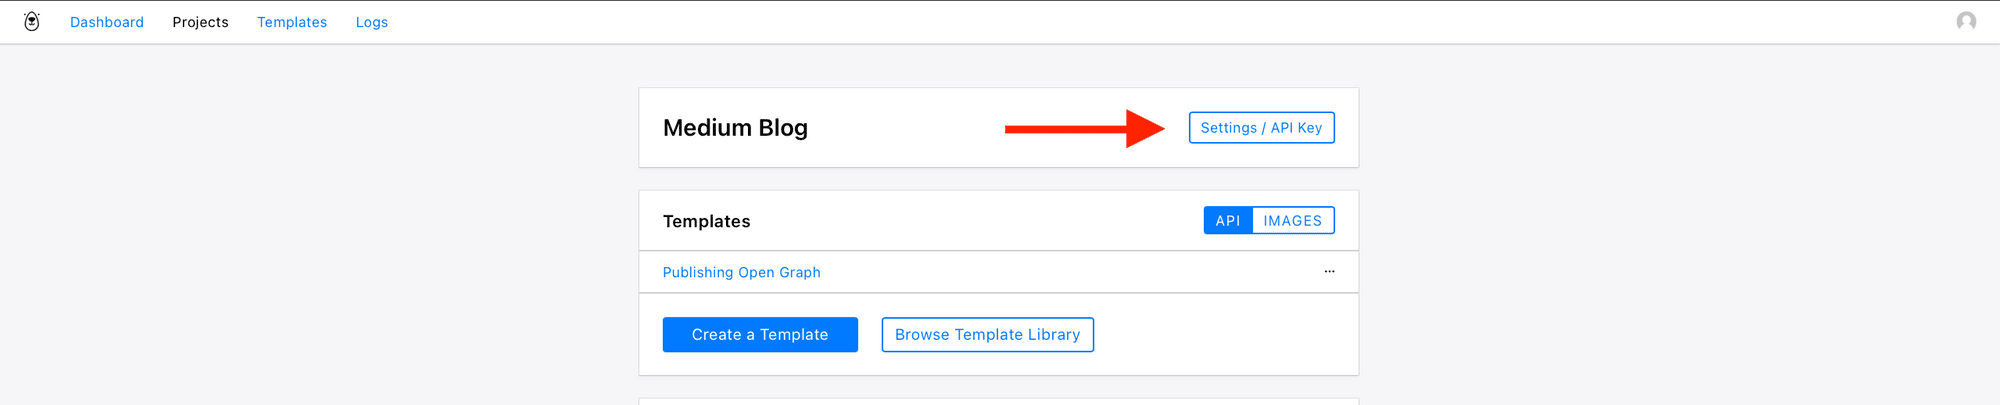
Get Bannerbear API Key
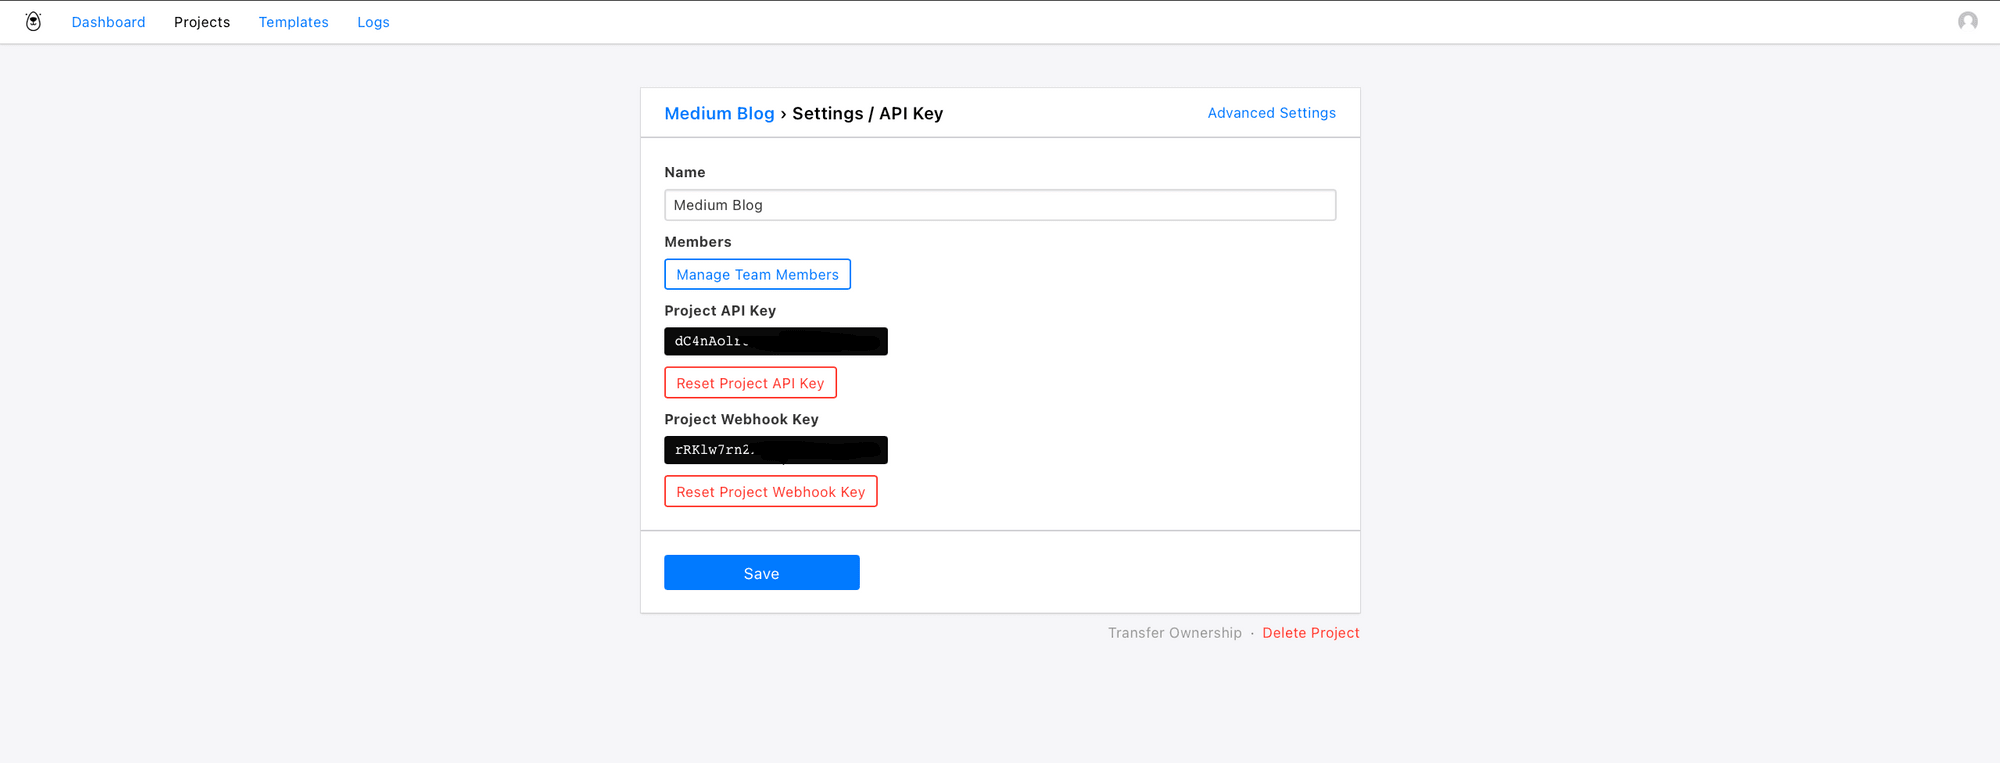
At this point you will also want to copy your Project API Key as you will need this later to authenticate with Zapier. Get API Key from Your Project → Settings / API Key:
Copy the Project API Key to your clipboard:
Integrate with Zapier
Next, connect Zapier with your Bannerbear account to automatically share new images on your social channels with every new blog post.
Get your RSS feed URL scheme
Zapier allows you to automatically send info between RSS by Zapier integration and Bannerbear.
To connect your Medium account to Zapier, you need to obtain the RSS feed URL scheme for your Medium account. With your Medium RSS feed URL, you can view latest stories on your Medium profile page feed.
Profile page RSS feed:
For users’ RSS feed, for example: medium.com/@username or username.medium.com, type in “/feed/” in the format:
medium.com/feed/@username or username.medium.com/feed
Example: https://medium.com/feed/@heated or https://heated.medium.com/feed
Medium publications
For publication feed, for example: medium.com/publication-name, type in “/feed/” before the publication name:
medium.com/feed/publication-name
Example: https://medium.com/feed/heated
Custom domain Medium publication
For custom domain publication feed, for example: https://entrepreneurshandbook.co/, then add “/feed” to the end of the URL.
customdomain.com/feed
Example: https://entrepreneurshandbook.co/feed
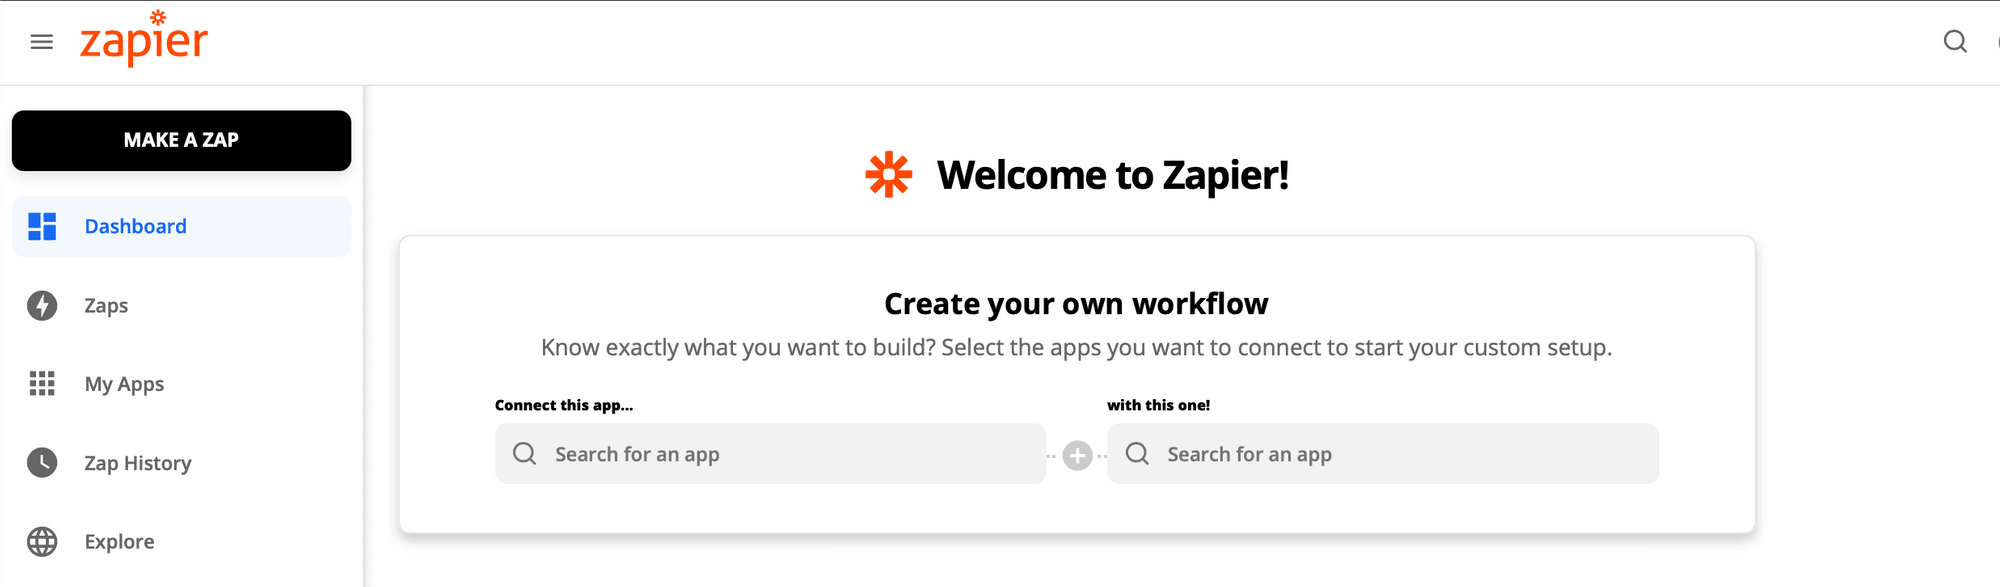
Make a Zap
Log in to your Zapier account and Make a Zap:
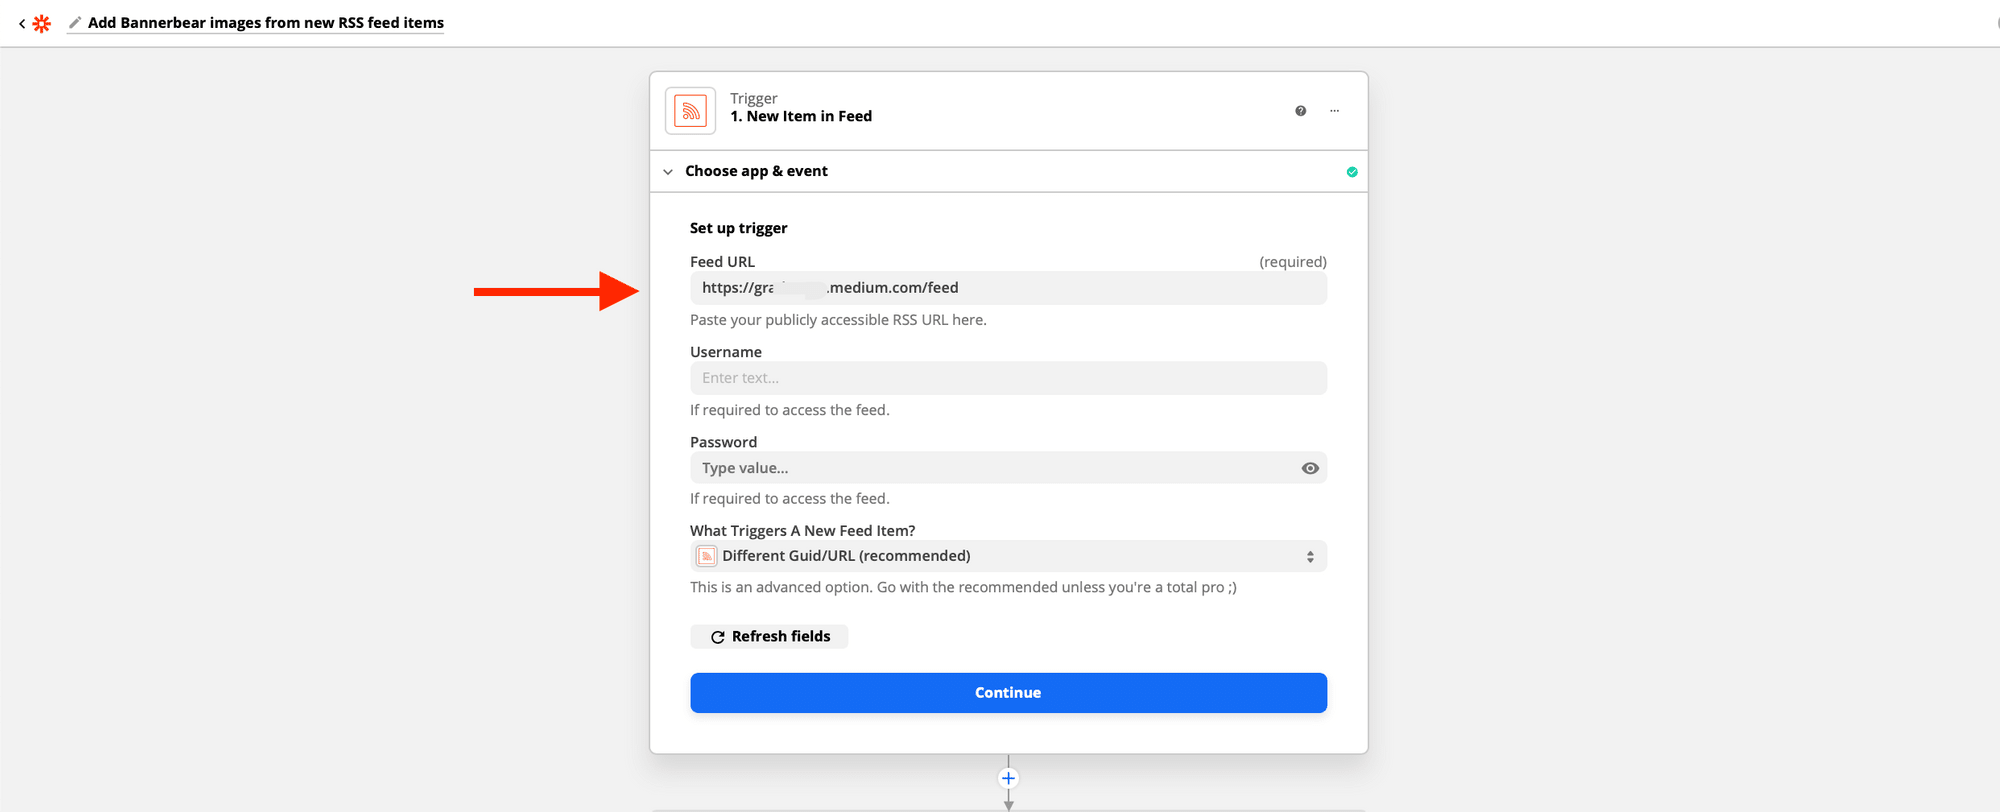
Set up Trigger
RSS Triggers allow you to watch, list publications and create posts in your Medium account.
Choose RSS by Zapier as the app. Select New Item in Feed as the Trigger Event.
To set up trigger, paste your RSS Feed URL:
Click continue.
Next, Test your trigger. Zapier will find a recent item in your RSS to confirm that the right account is connected and your trigger is set up correctly:
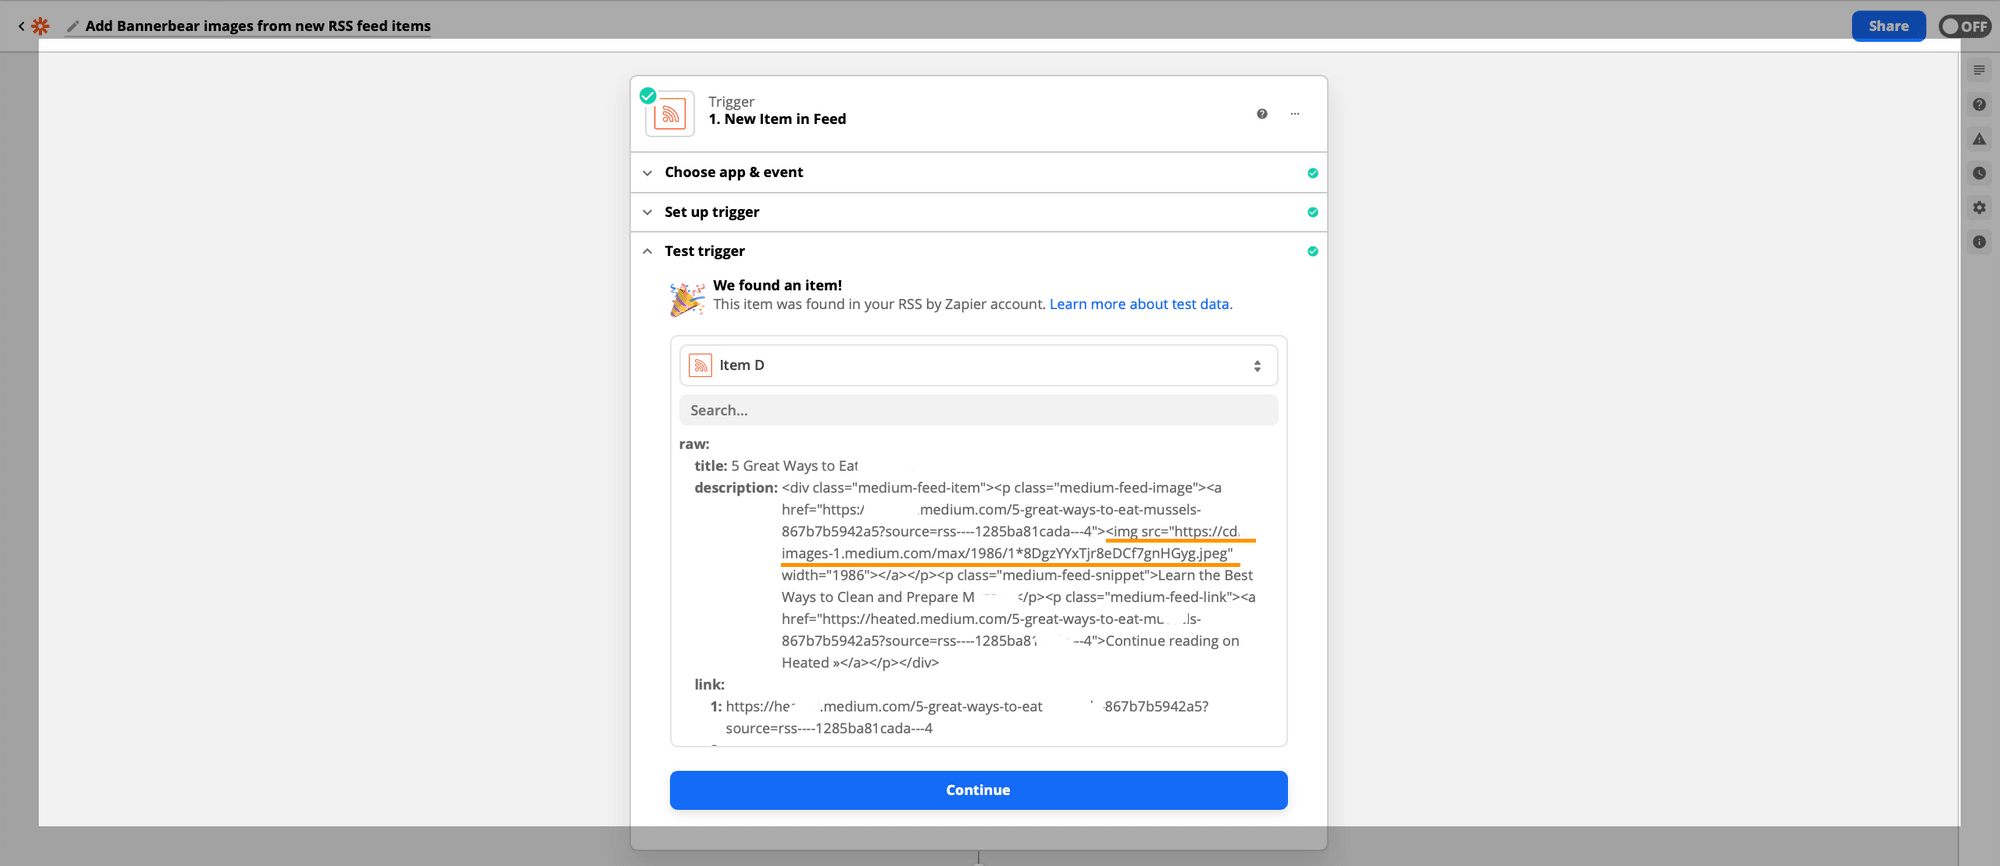
Hit continue.
Click the Action step, or click the plus + icon to add a step to your Zap.
Action 1: Extract Background Image
Next, configure a dynamic background by passing in a background image from the RSS feed.
To do that, you will extract the poster image from the description tag and get the img src attribute to use as the image background. This will be done using the Formatter's Extract Pattern transform.
Choose Formatter by Zapier as the app. Click the Action Event dropdown menu and select Text :
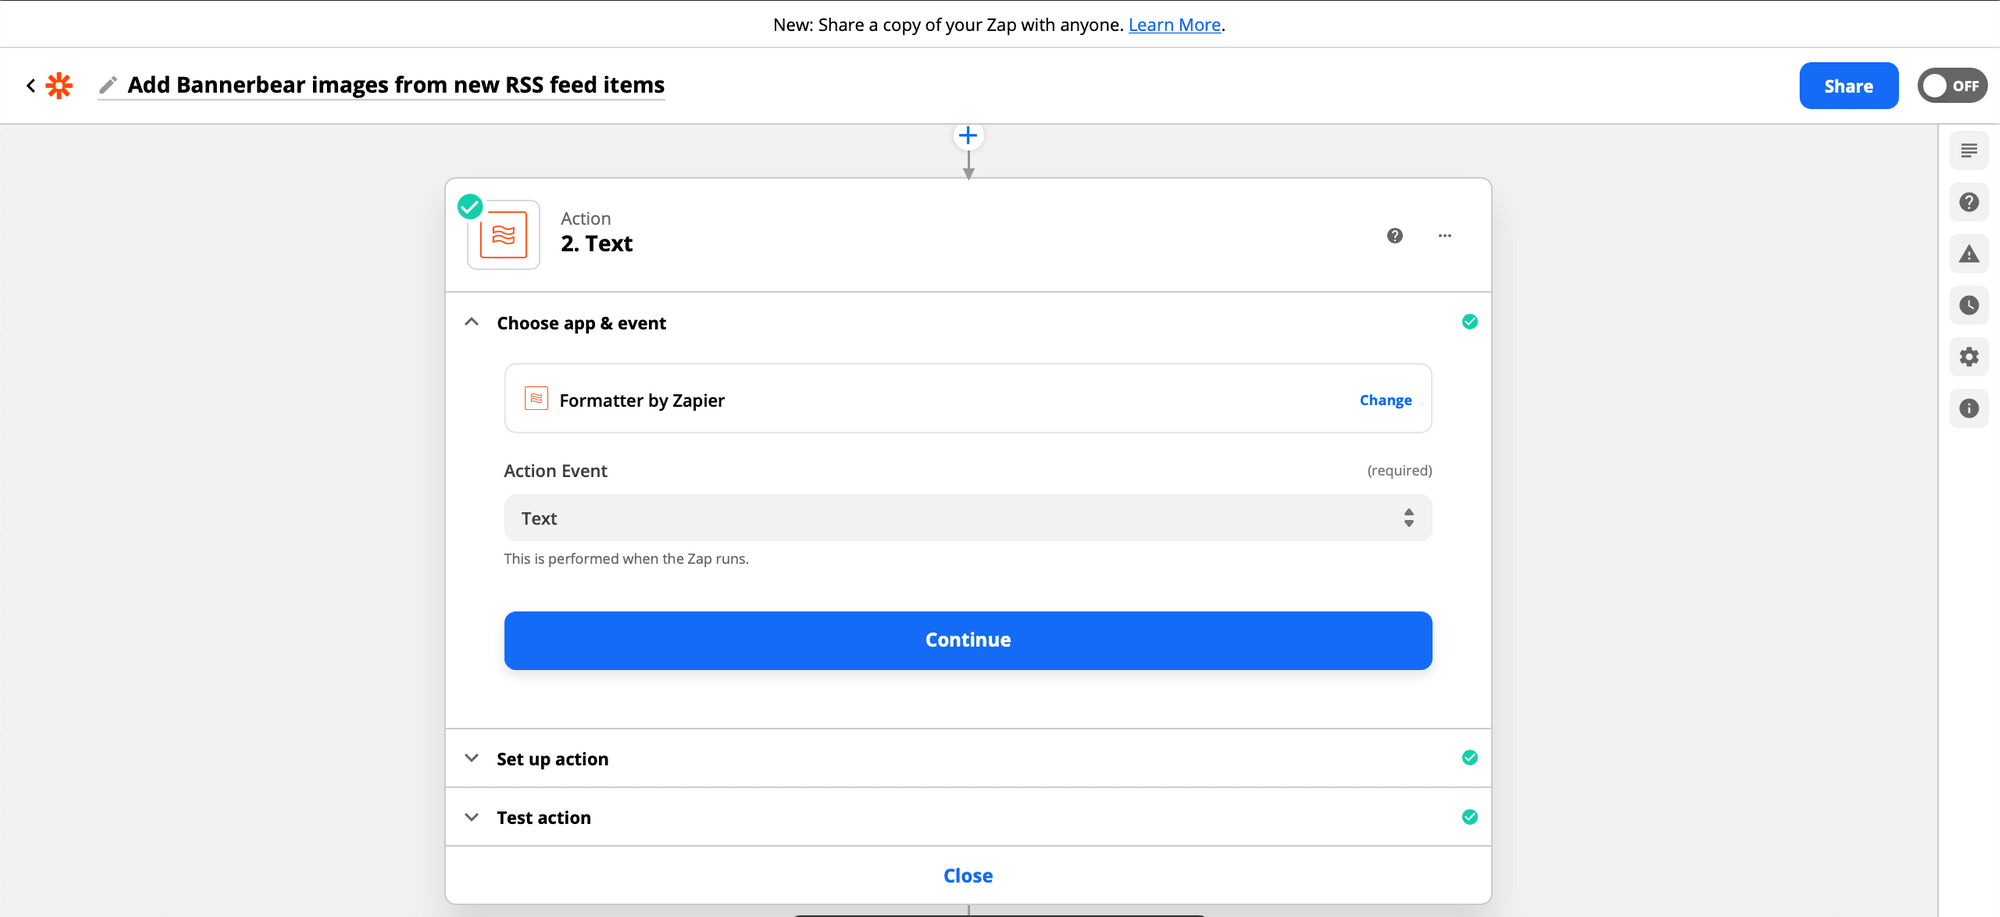
Click continue.
In the Transform dropdown menu, select Extract pattern. This will separate part of the content from a field by using regular expressions (regex) to extract partial data from a field.
Select the field you want to search through in the input field as Raw Description.
Enter the Python regex you want to use in the Pattern field as (?<=img src=")([^"]*).
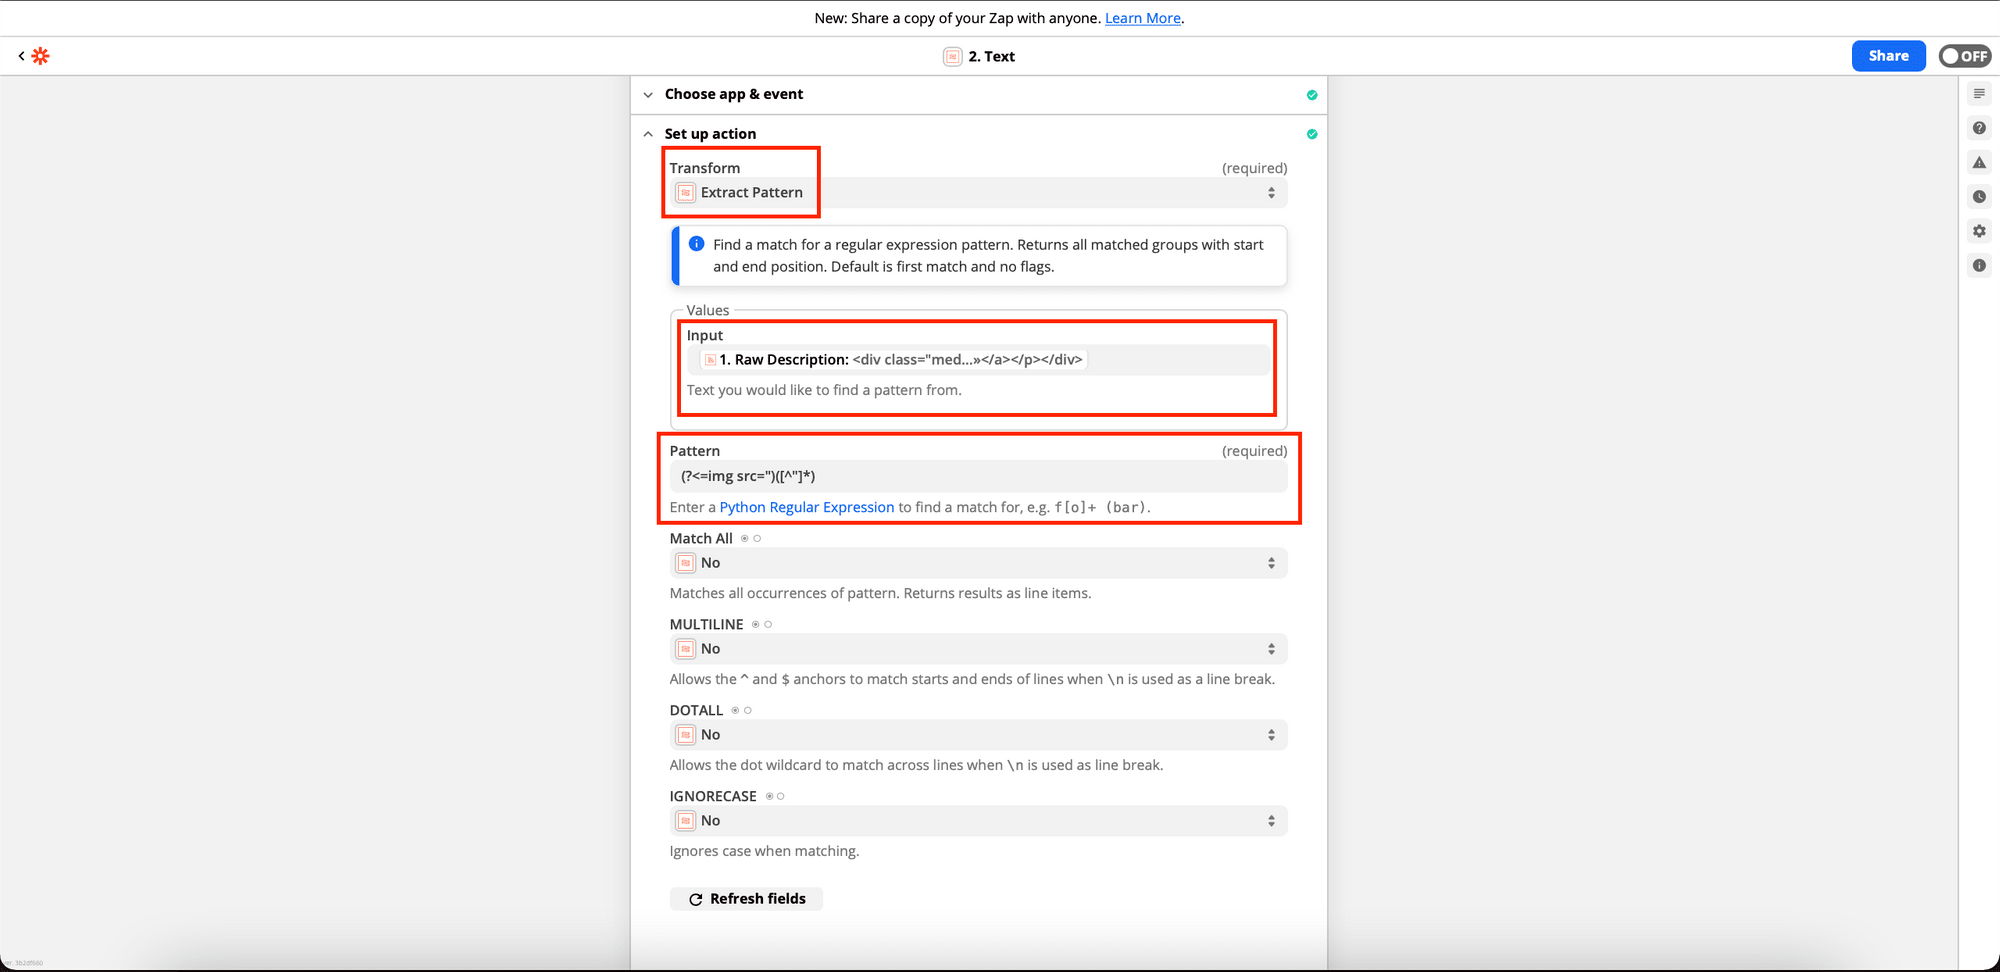
Click continue.
Test your step by clicking Test & Review.
The step will show the results of the regular expression. If the regular expression finds a match, it will return it in the field output.

Next, add another action where the result of the Formatter step will be used.
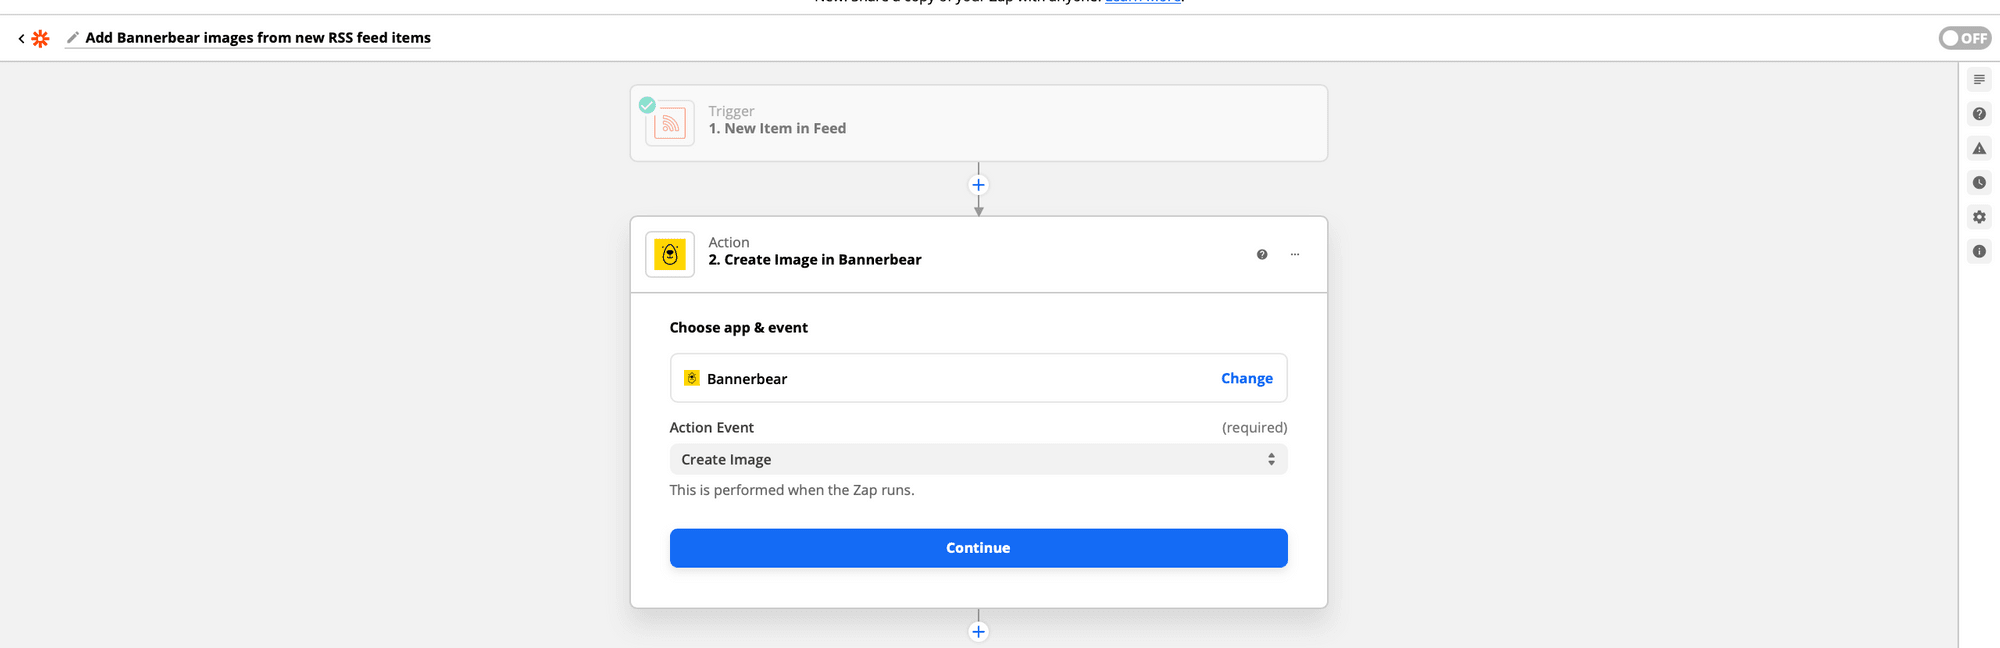
Action 2: Create Image in Bannerbear
Choose Bannerbear as the app. Click the Action Event dropdown menu and select Create Image :
Allow Zapier to access your Bannerbear Account by pasting the Project API key.

Click Yes, Continue.
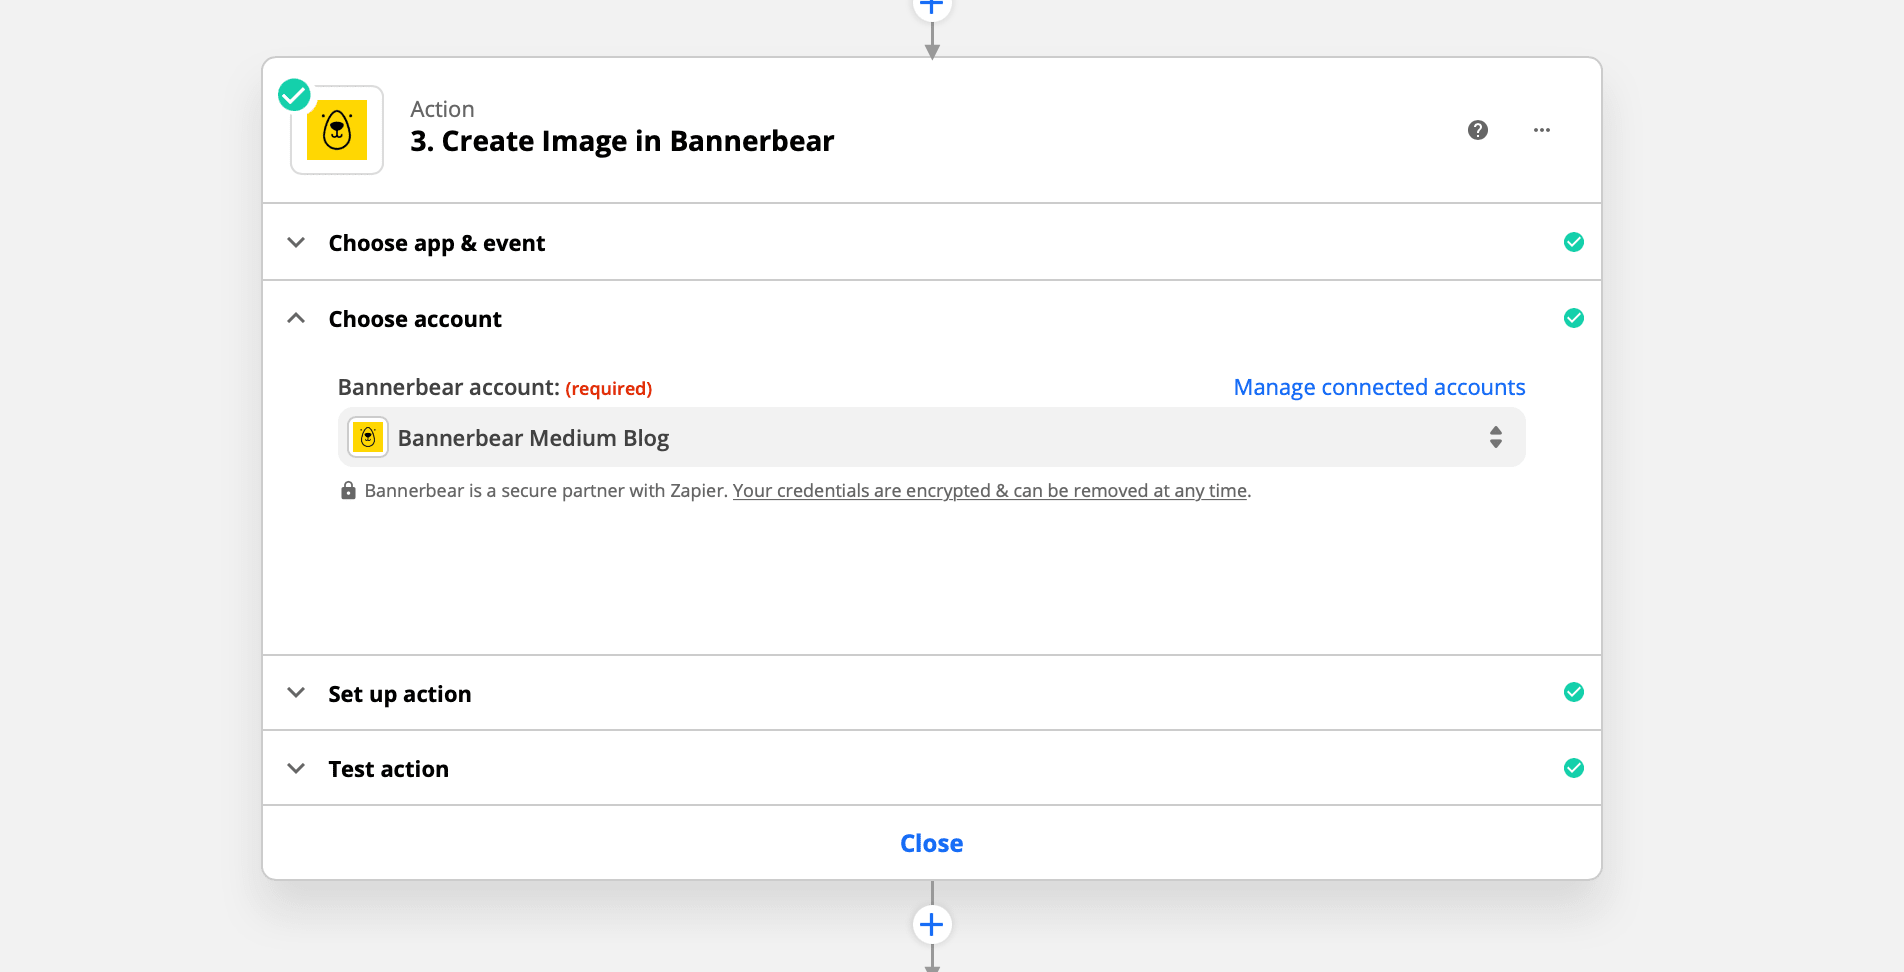
Choose the Bannerbear account from the dropdown.
Configure the template data
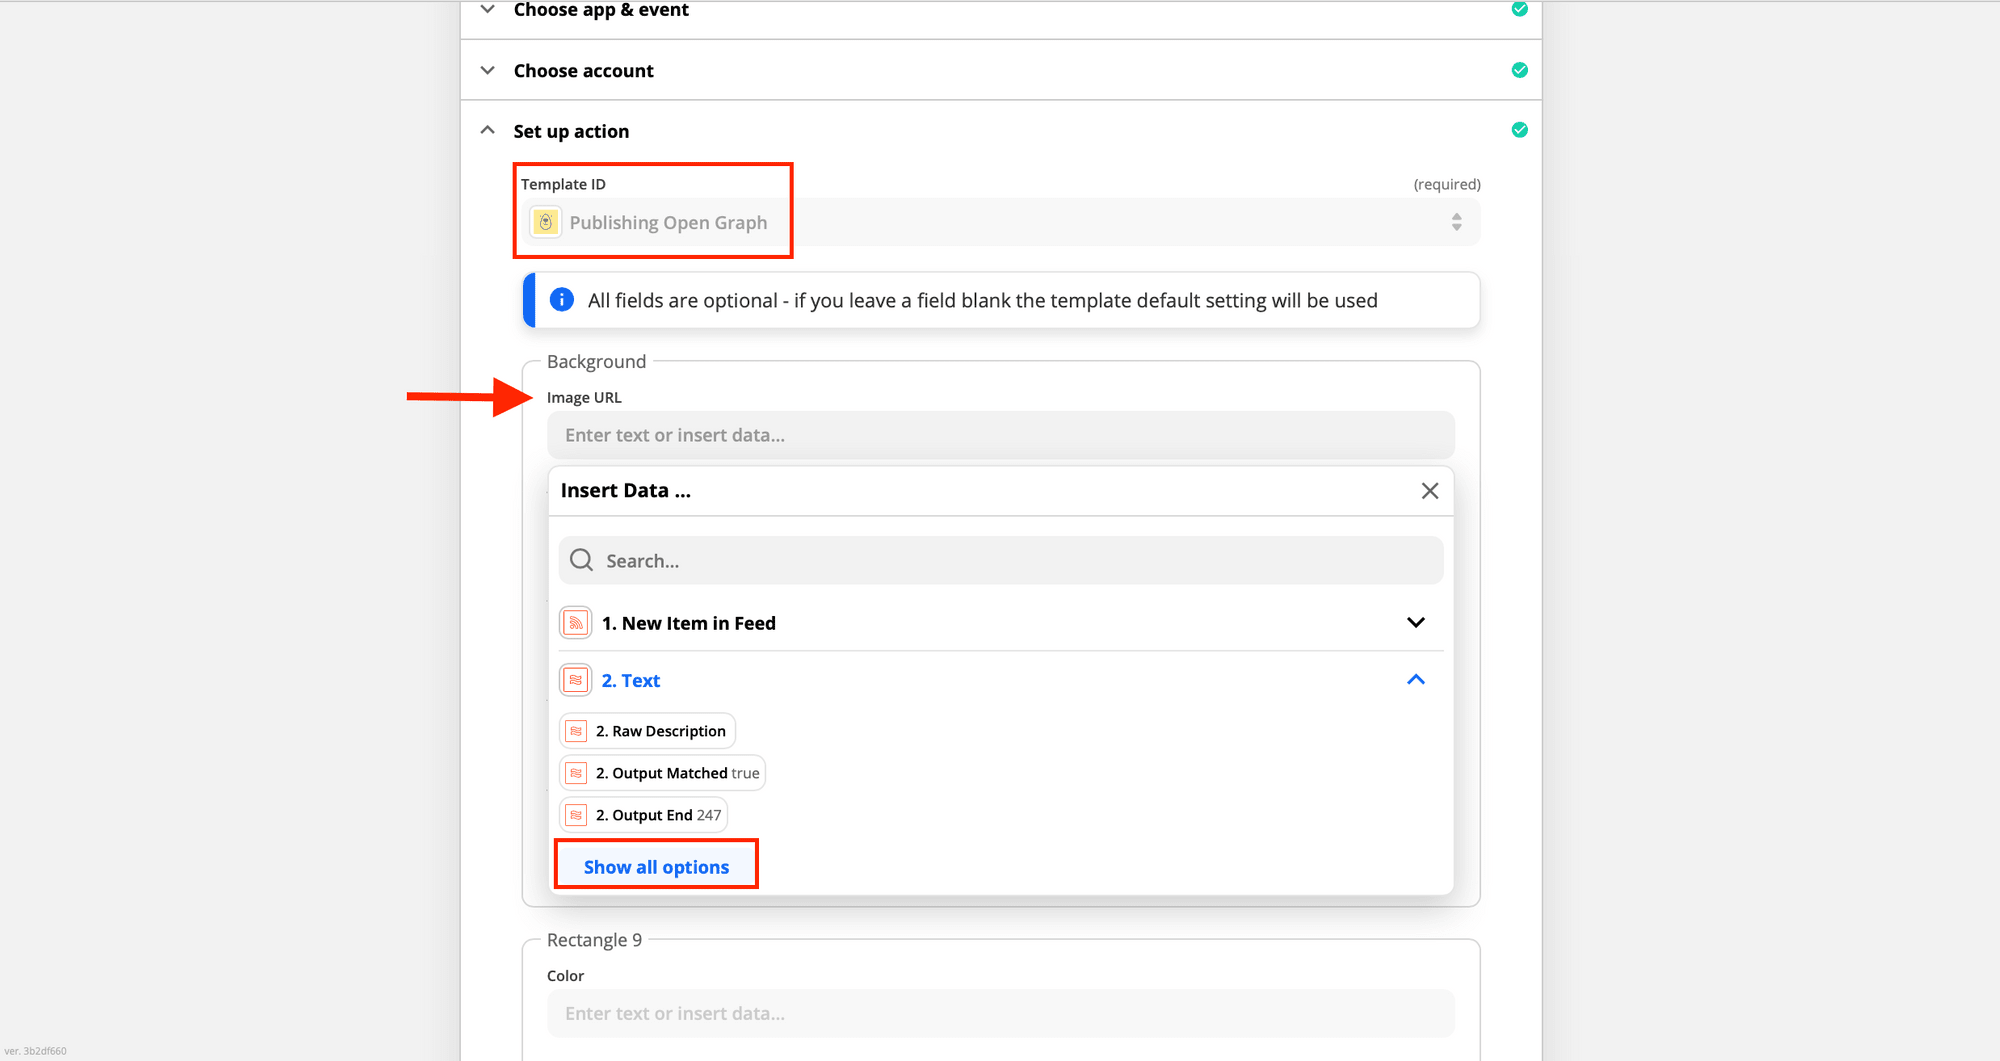
Select the Template ID as Publishing Open Graph. The fields we will map are:
- Category
- Title
- Author
- Date
- Background
To match the background to the Image URL , choose the image output from the Text action dropdown menu:
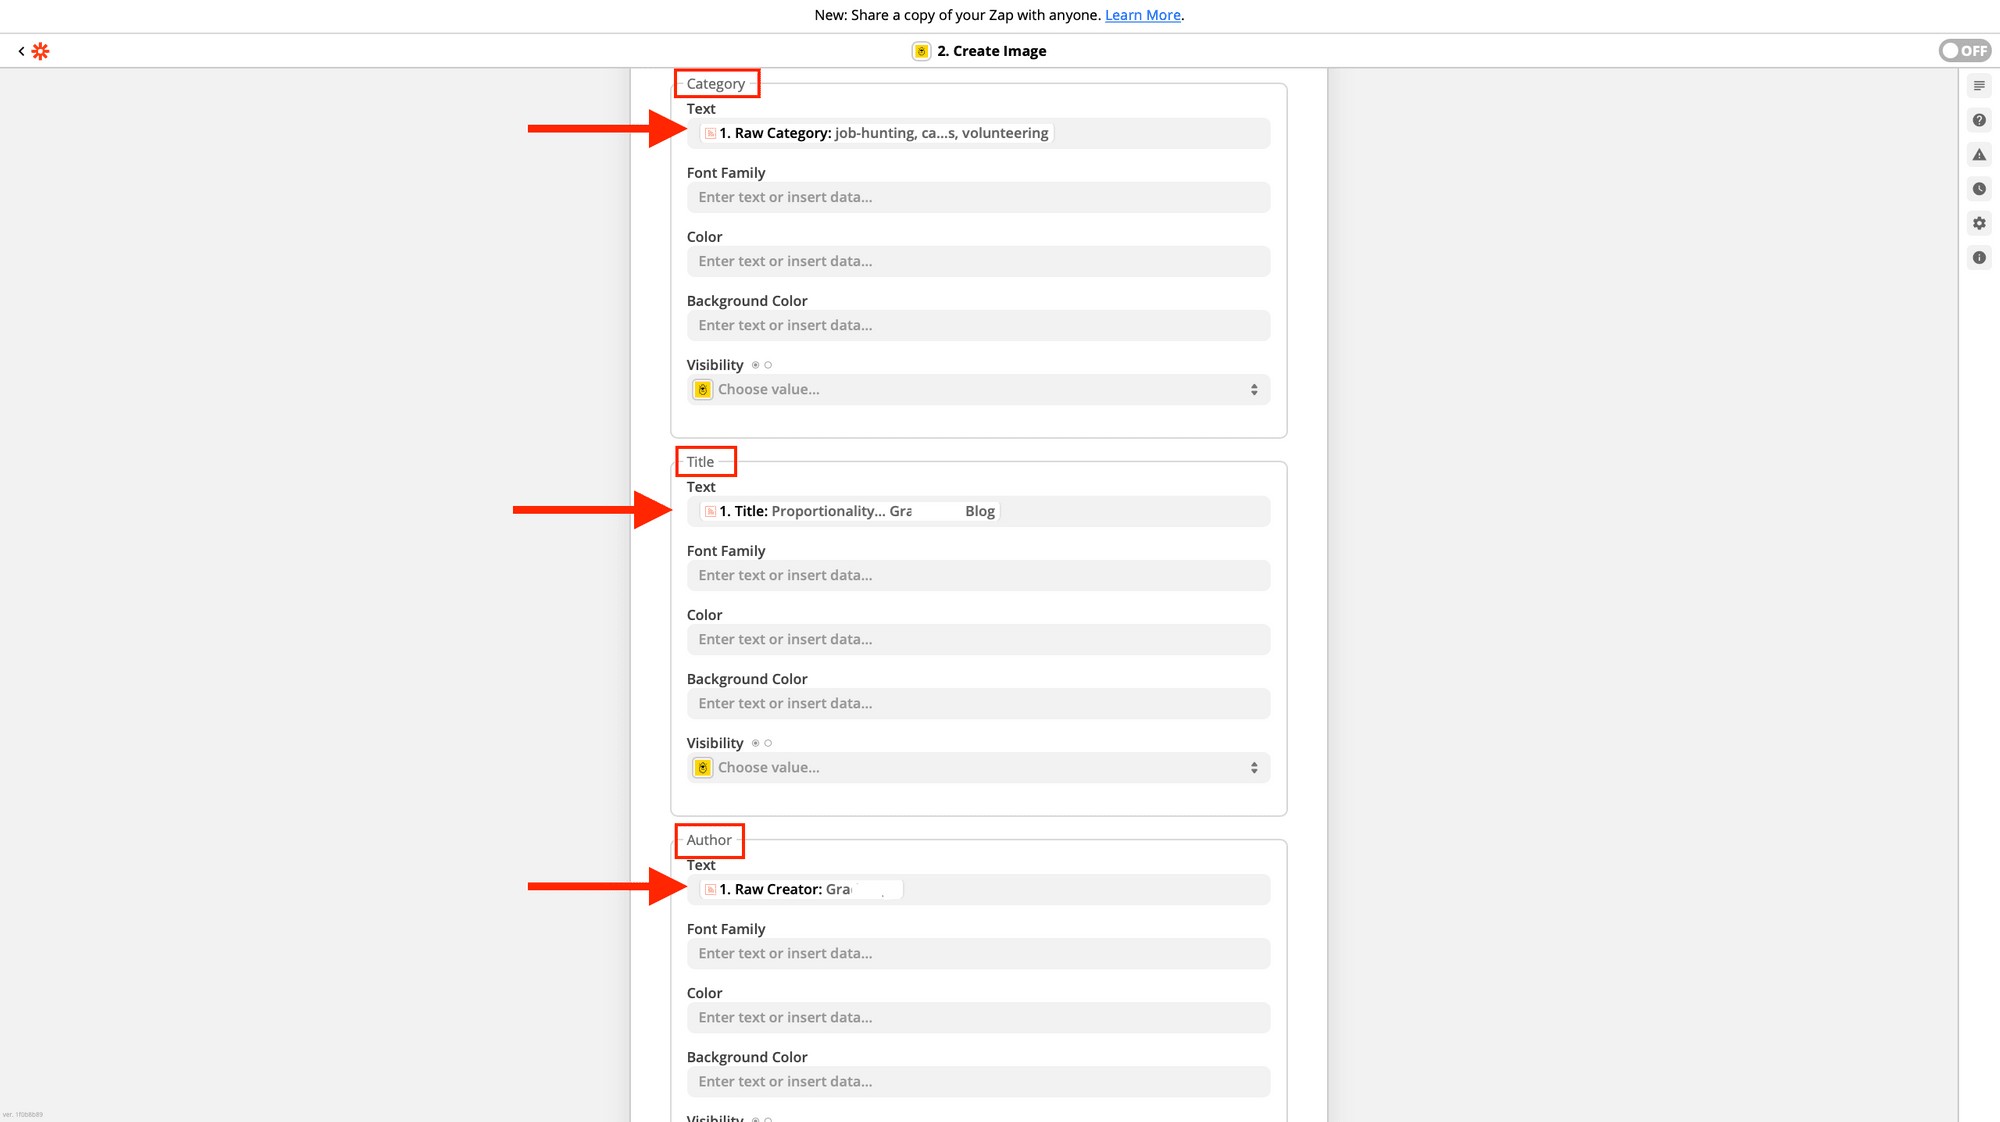
Map the Category, Title, Author and Date fields:
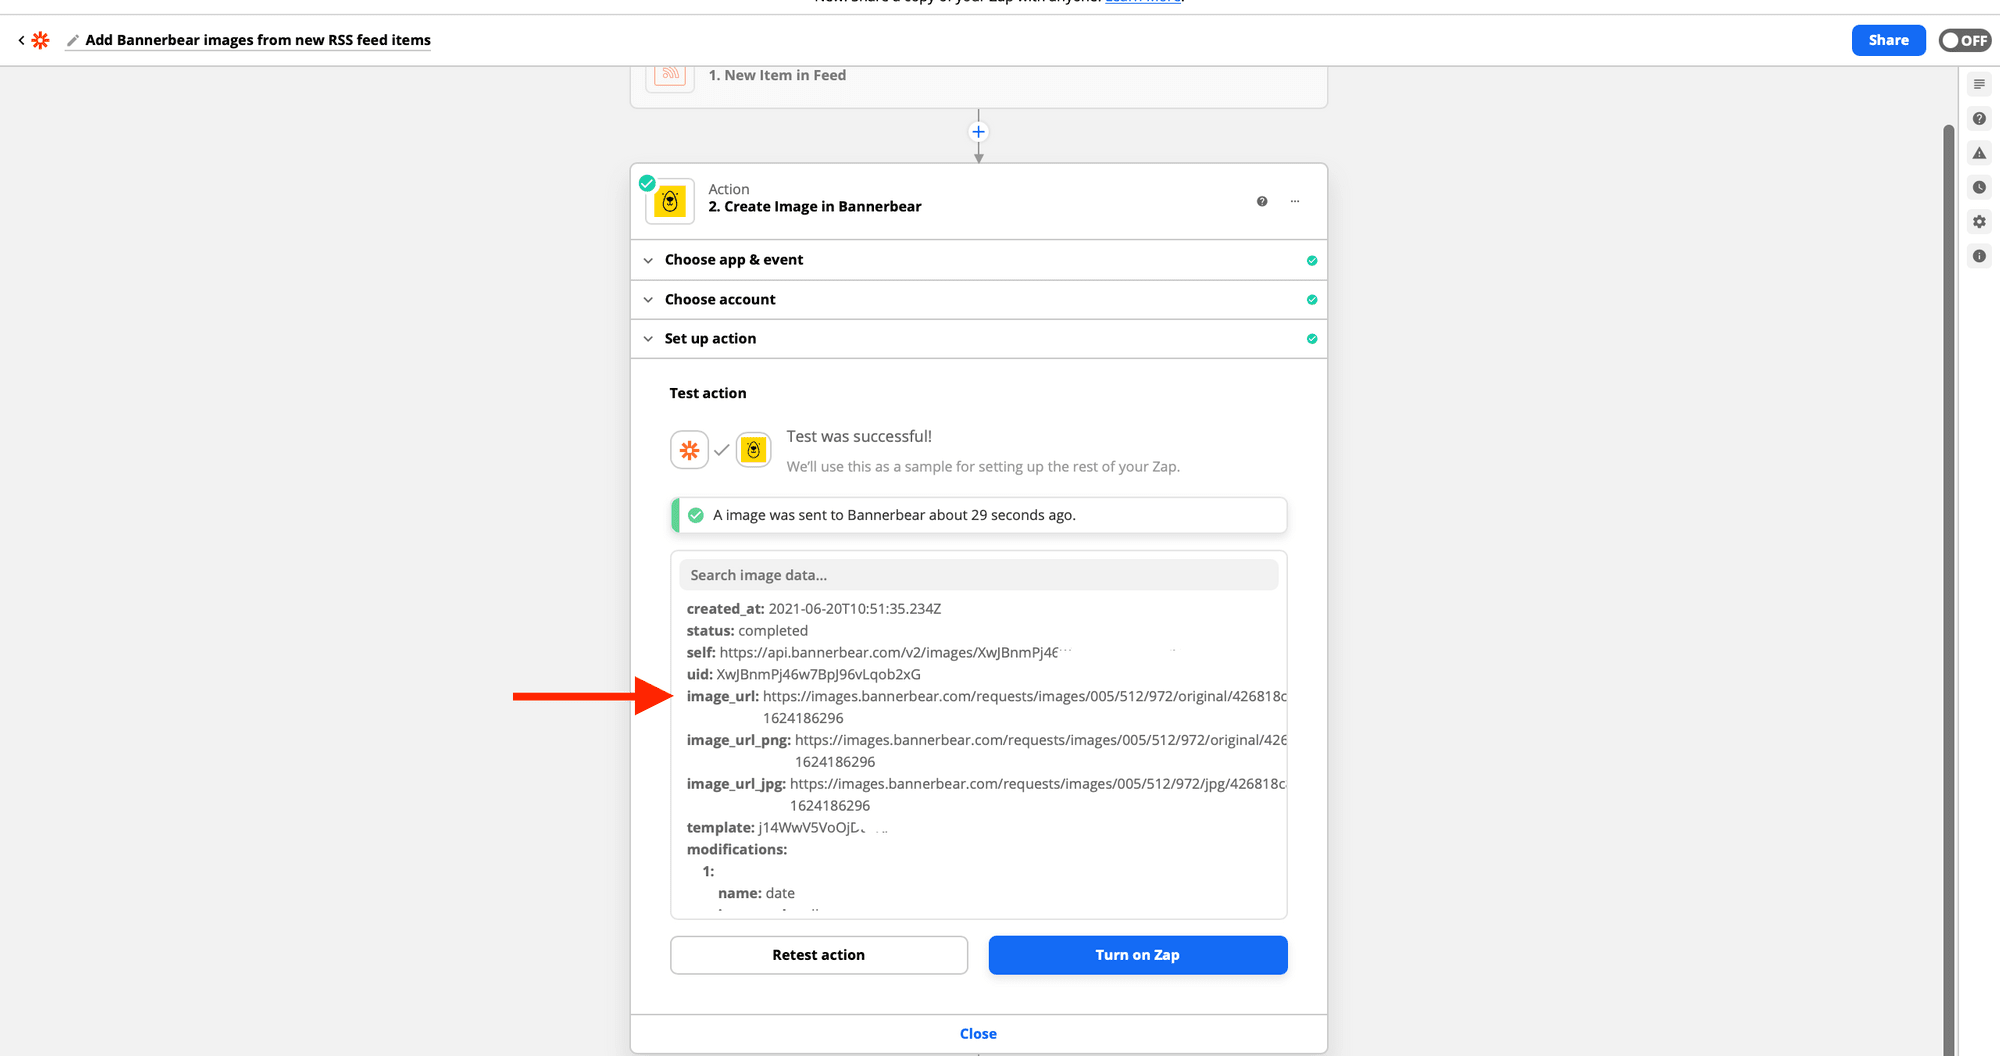
Click on continue. An image will be sent to Bannerbear.
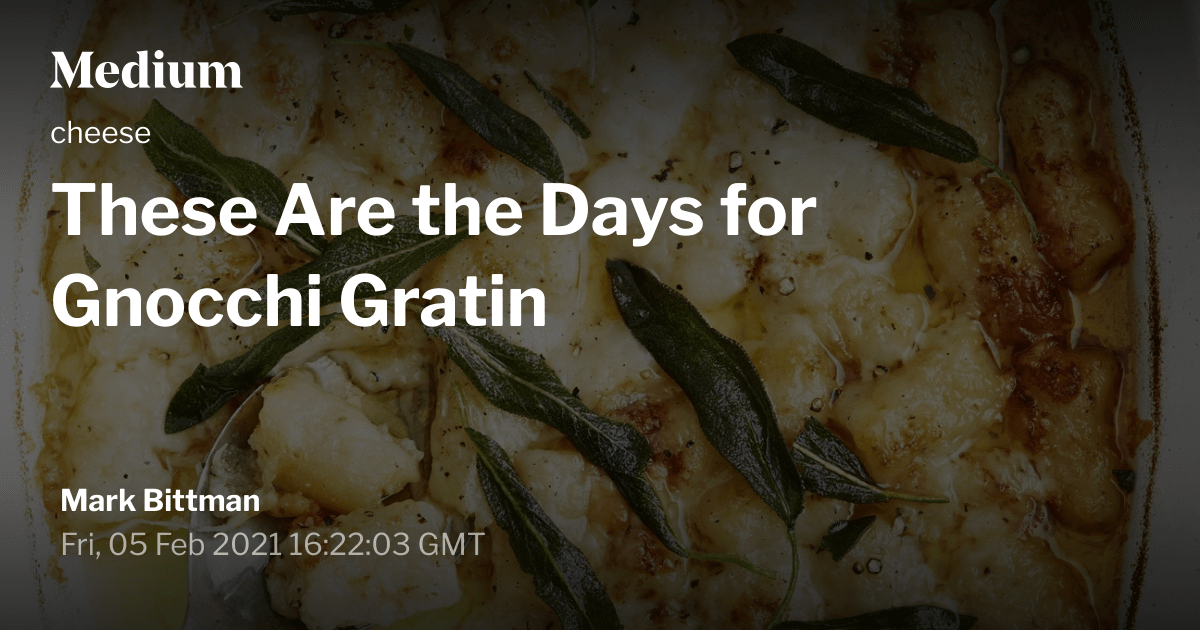
Copy the image_url link to your browser to preview the generated image:
Action 3: Create Tweet
Next, add a new action to Create Tweet in Twitter.
Choose Twitter as the app. Click the Action Event dropdown menu and select Create Tweet :
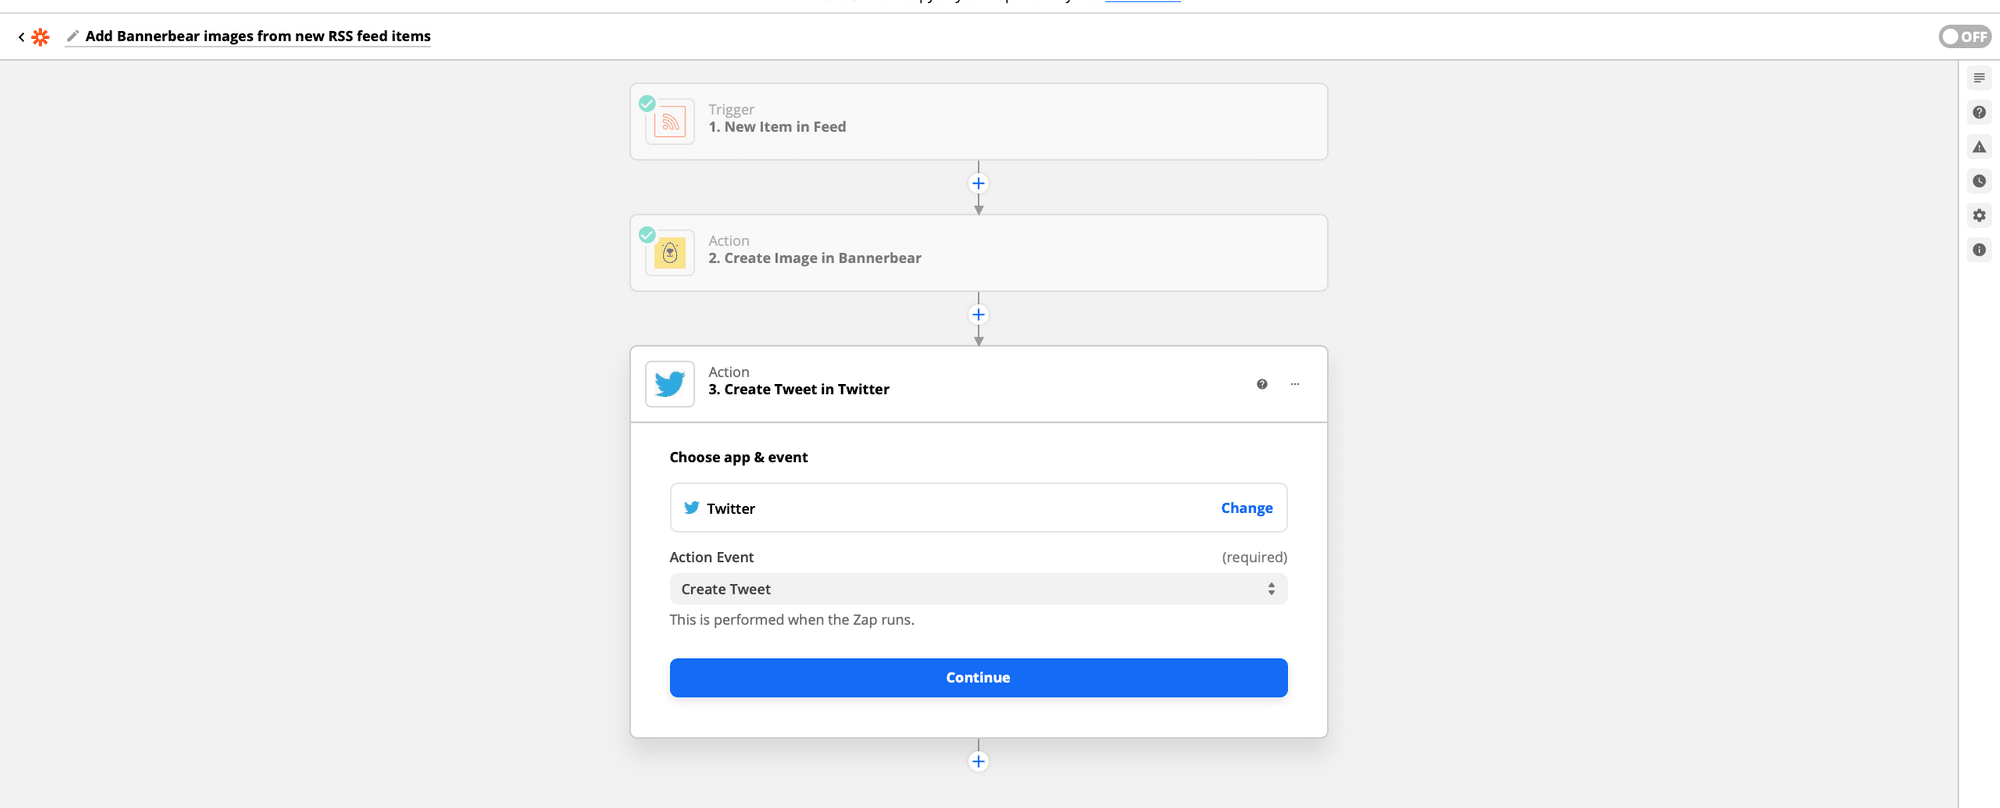
Click continue.
Set up action by pulling the Title and post Link from the RSS feed and the Bannerbear auto-generated Image URL.
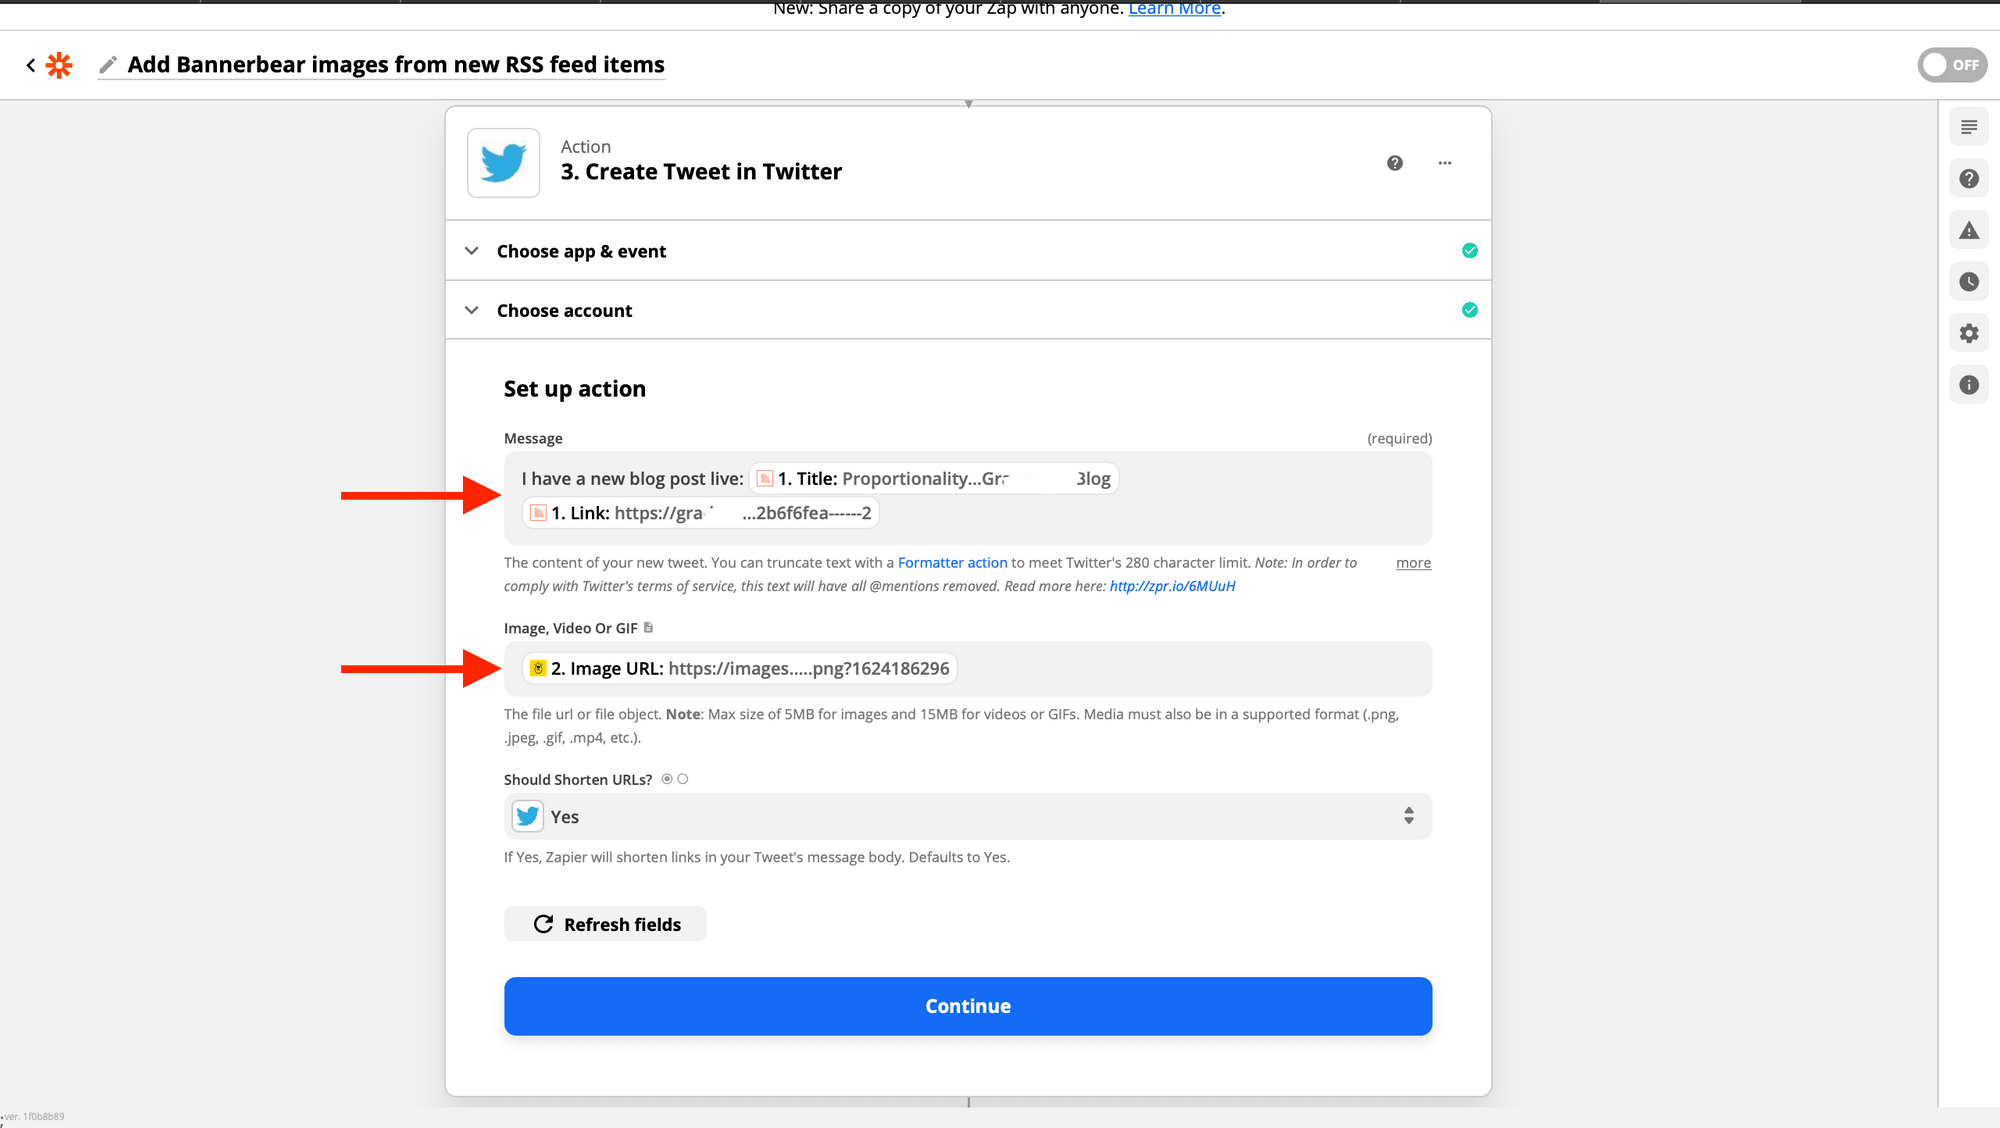
Hit continue.
Test & Review:
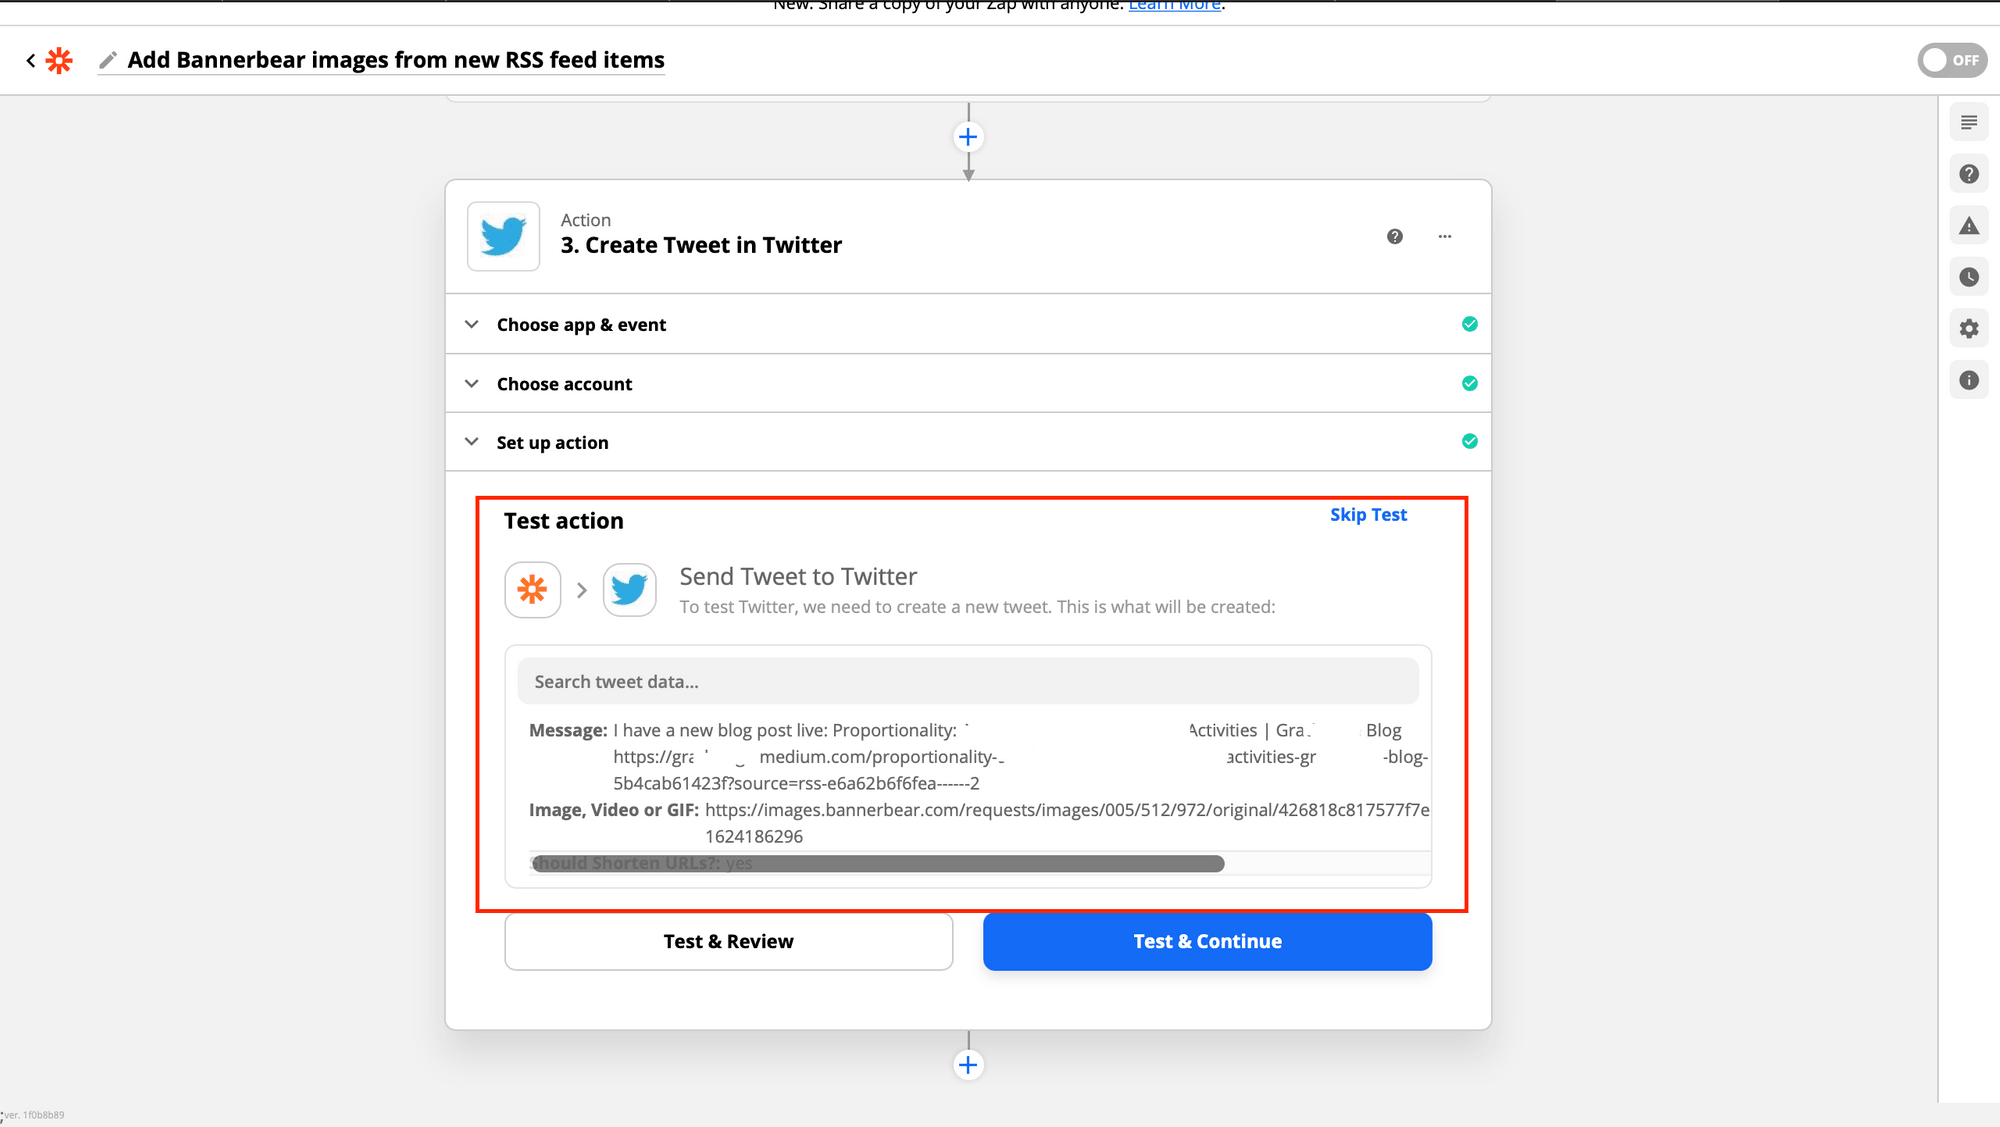
A tweet will be sent to Twitter with your custom message and the generated image:
Turn on Zap. Viola! Every time you make a new post, it will automatically be pushed to Twitter.