
How to Set Up MCP Servers in Cursor
Contents
If you're already using Cursor, you know how helpful it is for developers. It can autocomplete code as you type, generate entire functions on request, refactor messy code, debug errors with context-aware suggestions, and more. But with MCP, you can do even more! You can scrape websites, query databases, manage GitHub repos, etc., all without ever leaving Cursor.
If you're just getting started with Cursor and haven't tried MCP yet, don't worry. In this guide, we'll walk through everything you need to set up MCP servers in Cursor.
What Is MCP?
MCP (Model Context Protocol) is an open standard introduced by Anthropic to enable developers to build secure, two-way connections between their data sources and AI-powered tools (like API for AI tools).
MCP was created to address a key challenge: AI assistants were isolated from real-world data. Before MCP, every new data source required its own custom implementation, making it hard to scale. As a solution, MCP provides a universal, open standard for connecting AI systems with external data sources. This eliminates the need for custom integrations every time you want to add a new data source, making it simpler and more reliable.
With MCP, AI assistants can read files, search databases, browse the web, and use services like GitHub, Google Drive, Notion, Zapier, etc., all through a standardized protocol.
🐻 Bear Tips: Even though MCP was introduced by Anthropic for Claude, it's now been adopted by most major AI tools, including Cursor, Windsurf, ChatGPT, and more.
Pre-requisites
To use MCP servers in Cursor, you will need:
Depending on where the specific MCP server is running, you might need different tools to install it. For example, if the MCP server is Python-based, the installation will run a Python command. Therefore, you'll need Python installed on your system.
How to Set Up MCP in Cursor
Method 1: One-Click Install
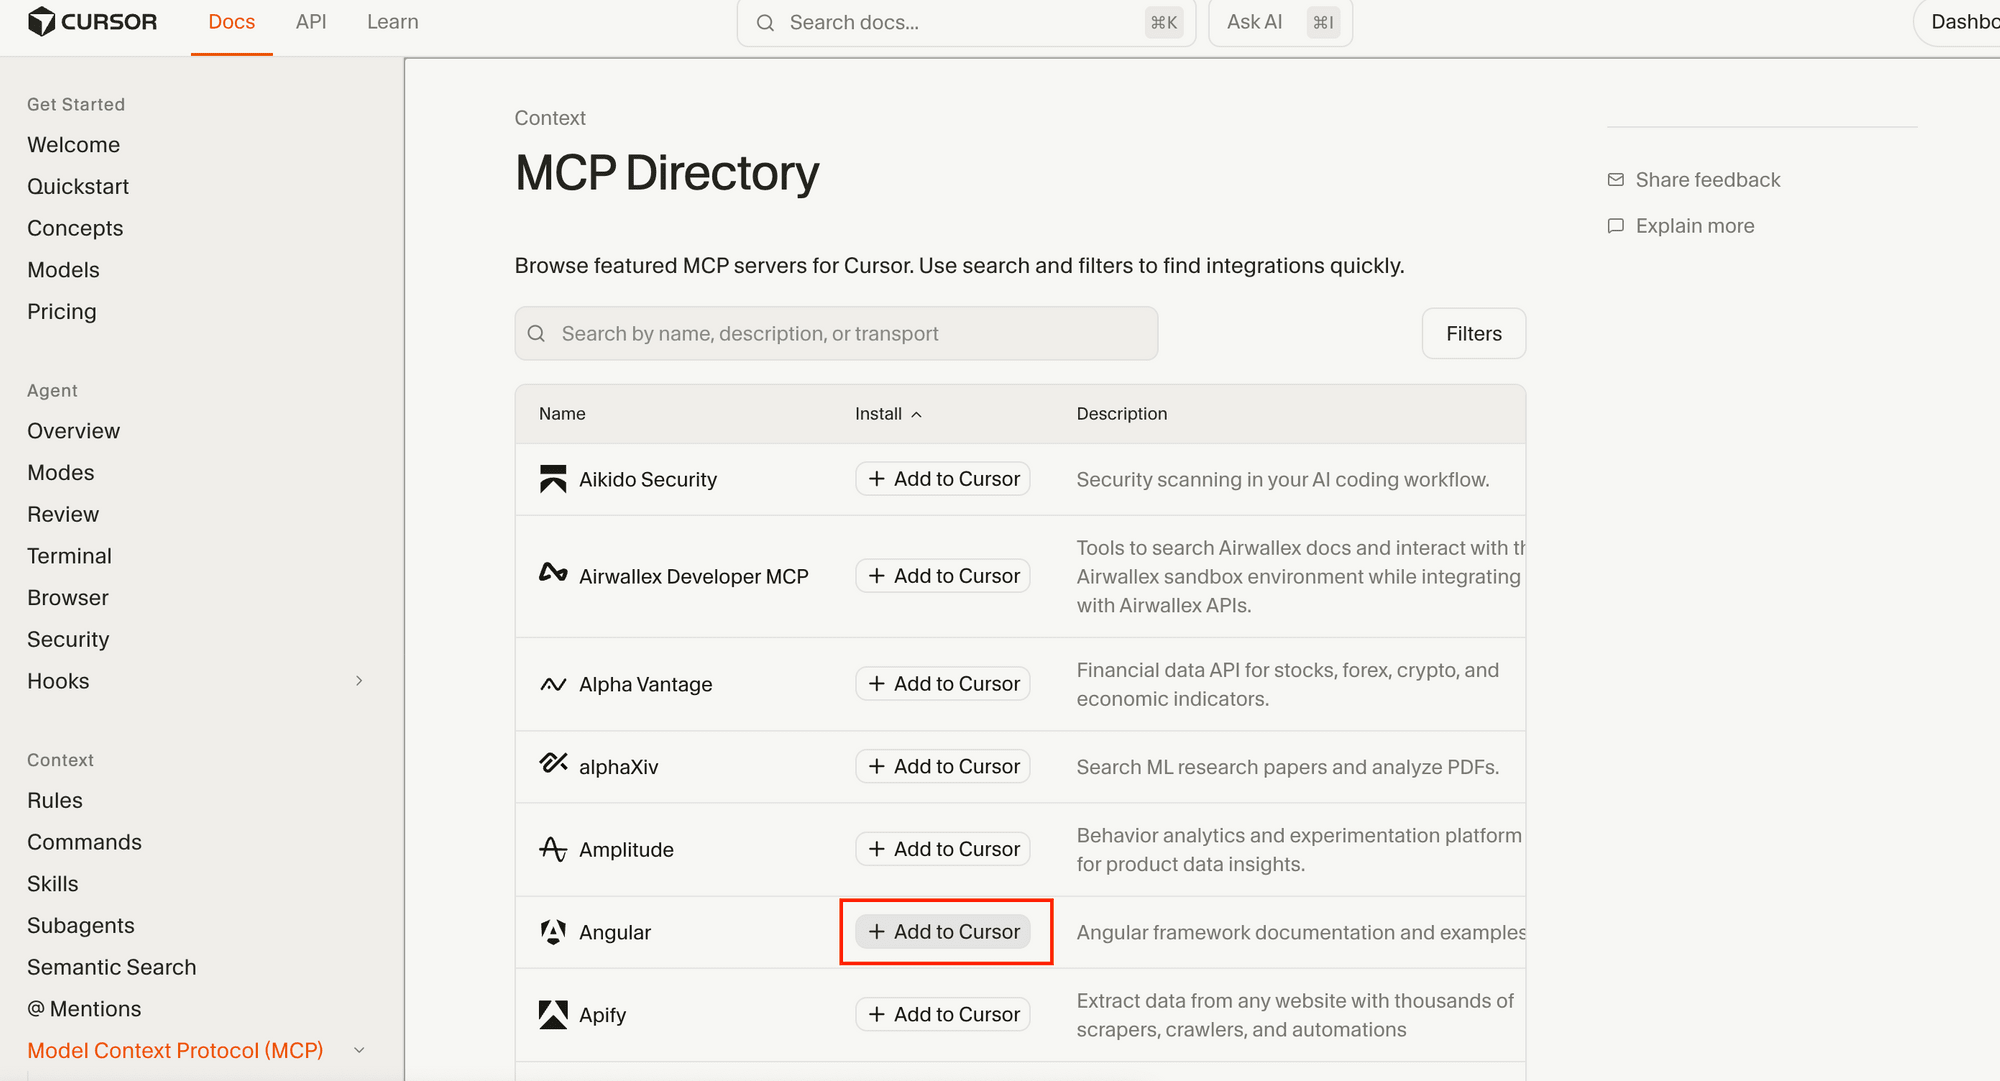
For most popular web services, you can install their MCP servers with just a click. Simply search for the MCP server you want to install from Cursor's MCP Directory, then click "Add to Cursor" :
This will open your Cursor with a confirmation to install the MCP server. Click "Install" to continue:
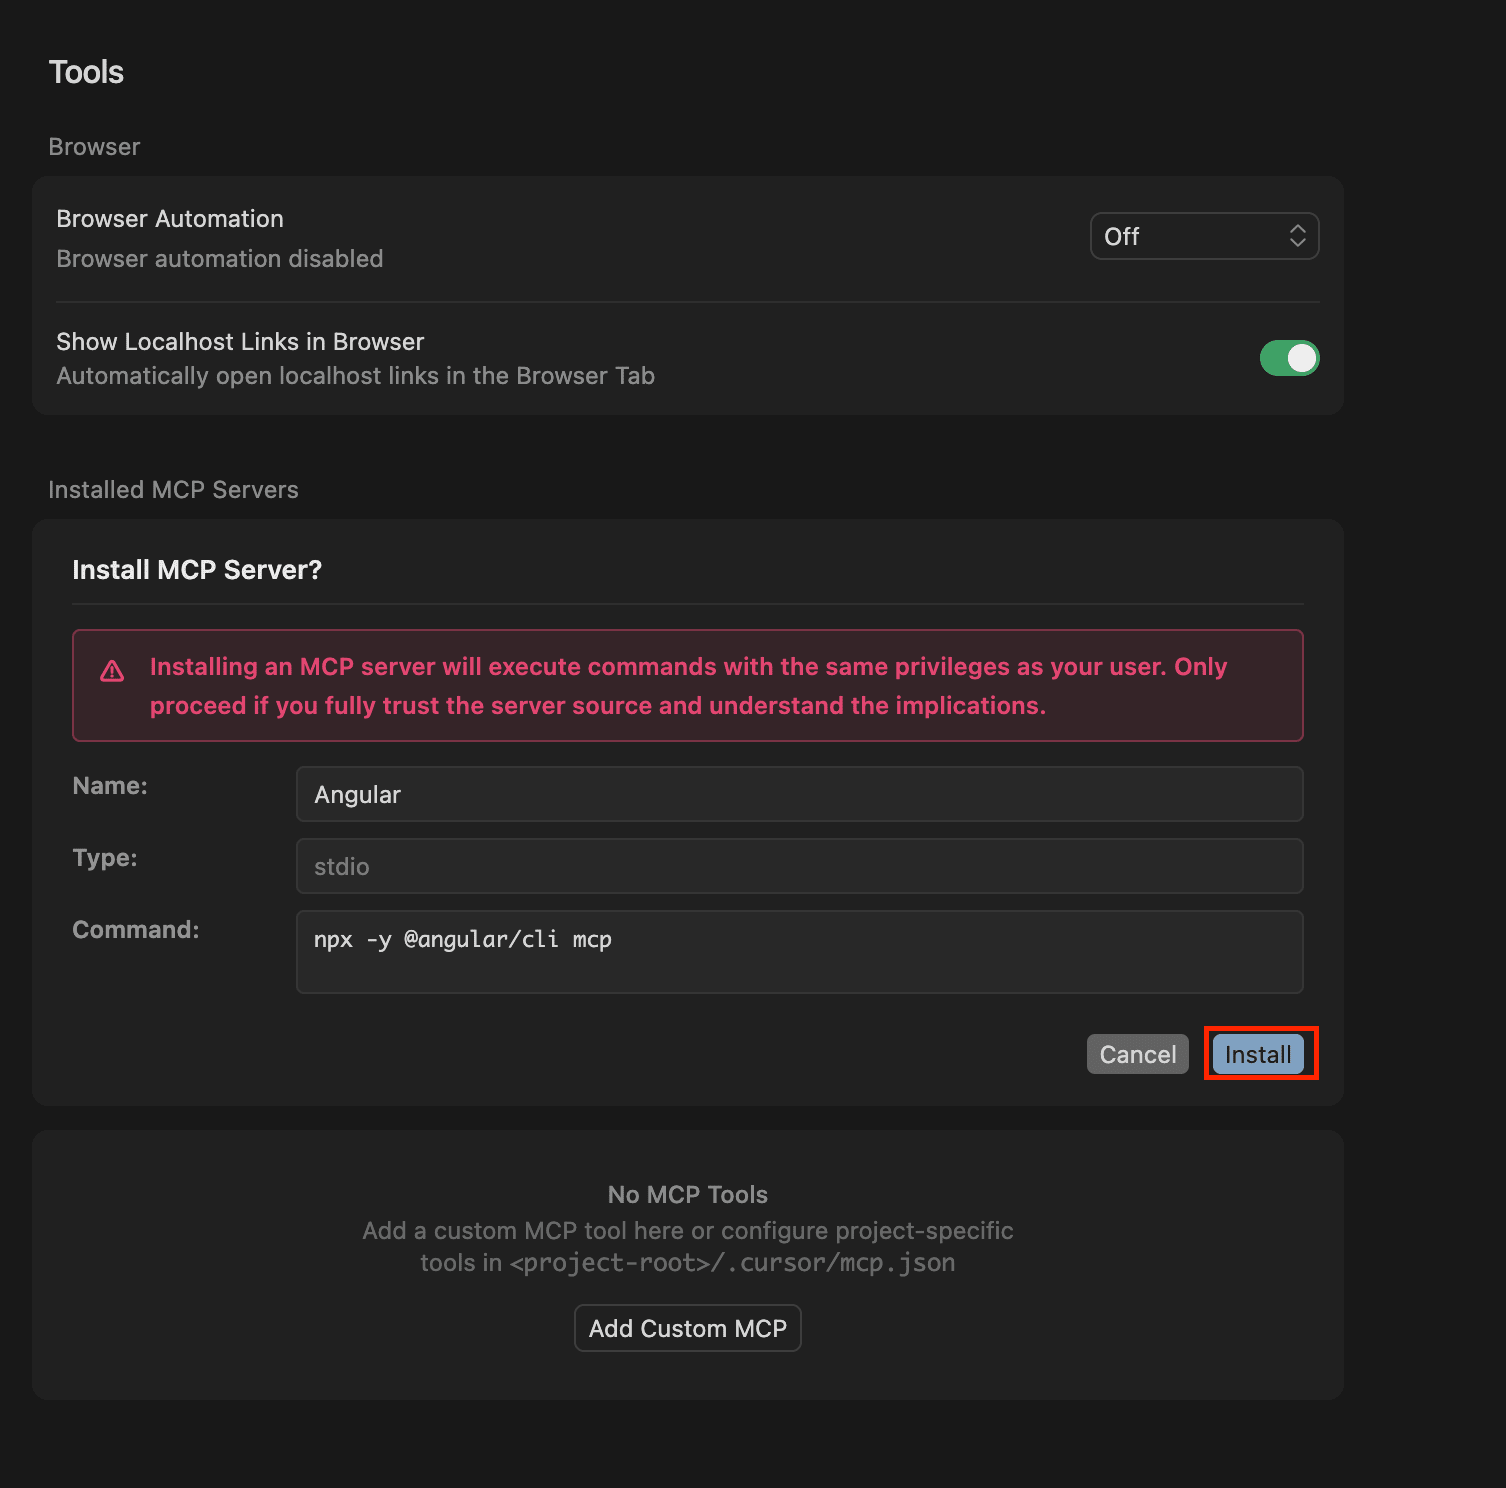
🐻 Bear Tips: Make sure your Node version is compatible with the requirements for the MCP server you're installing.
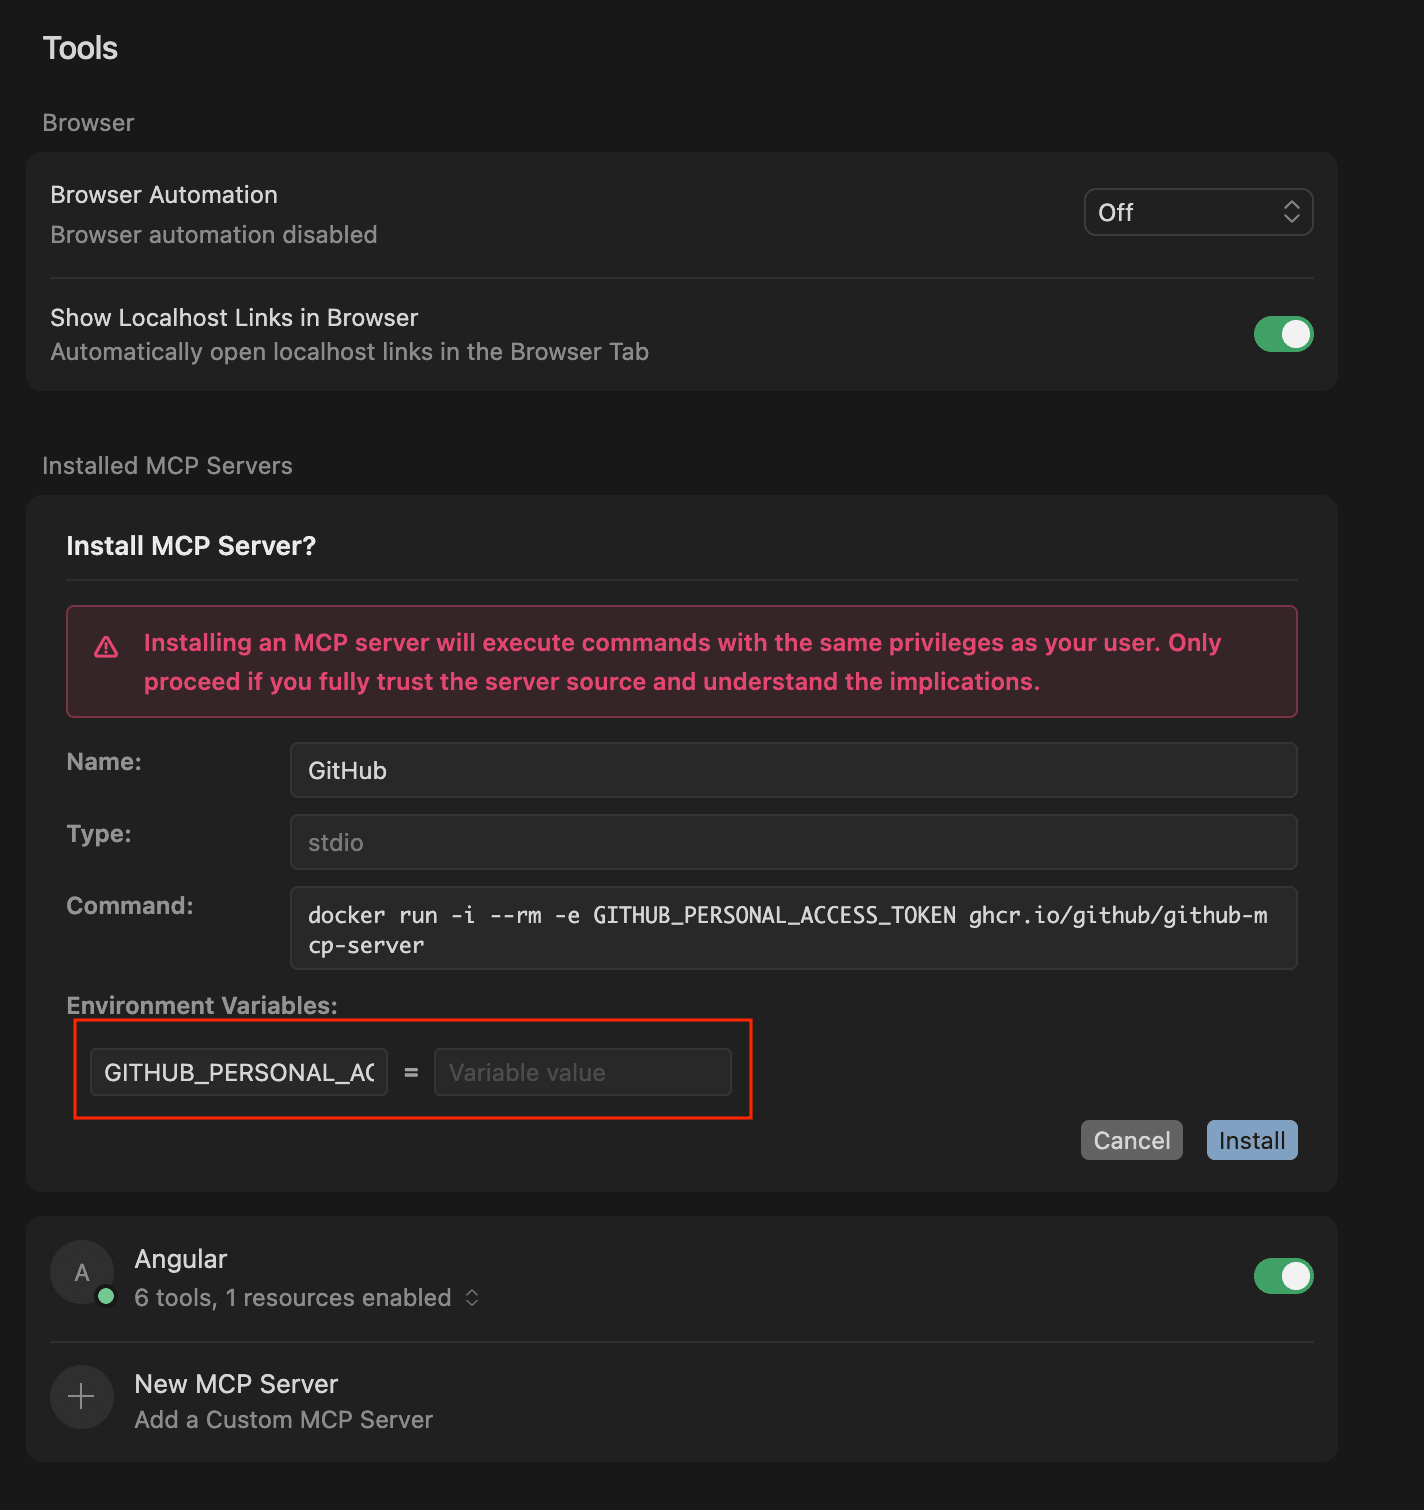
If the MCP server requires authentication, you will need to enter your access token/API key to authorize it:
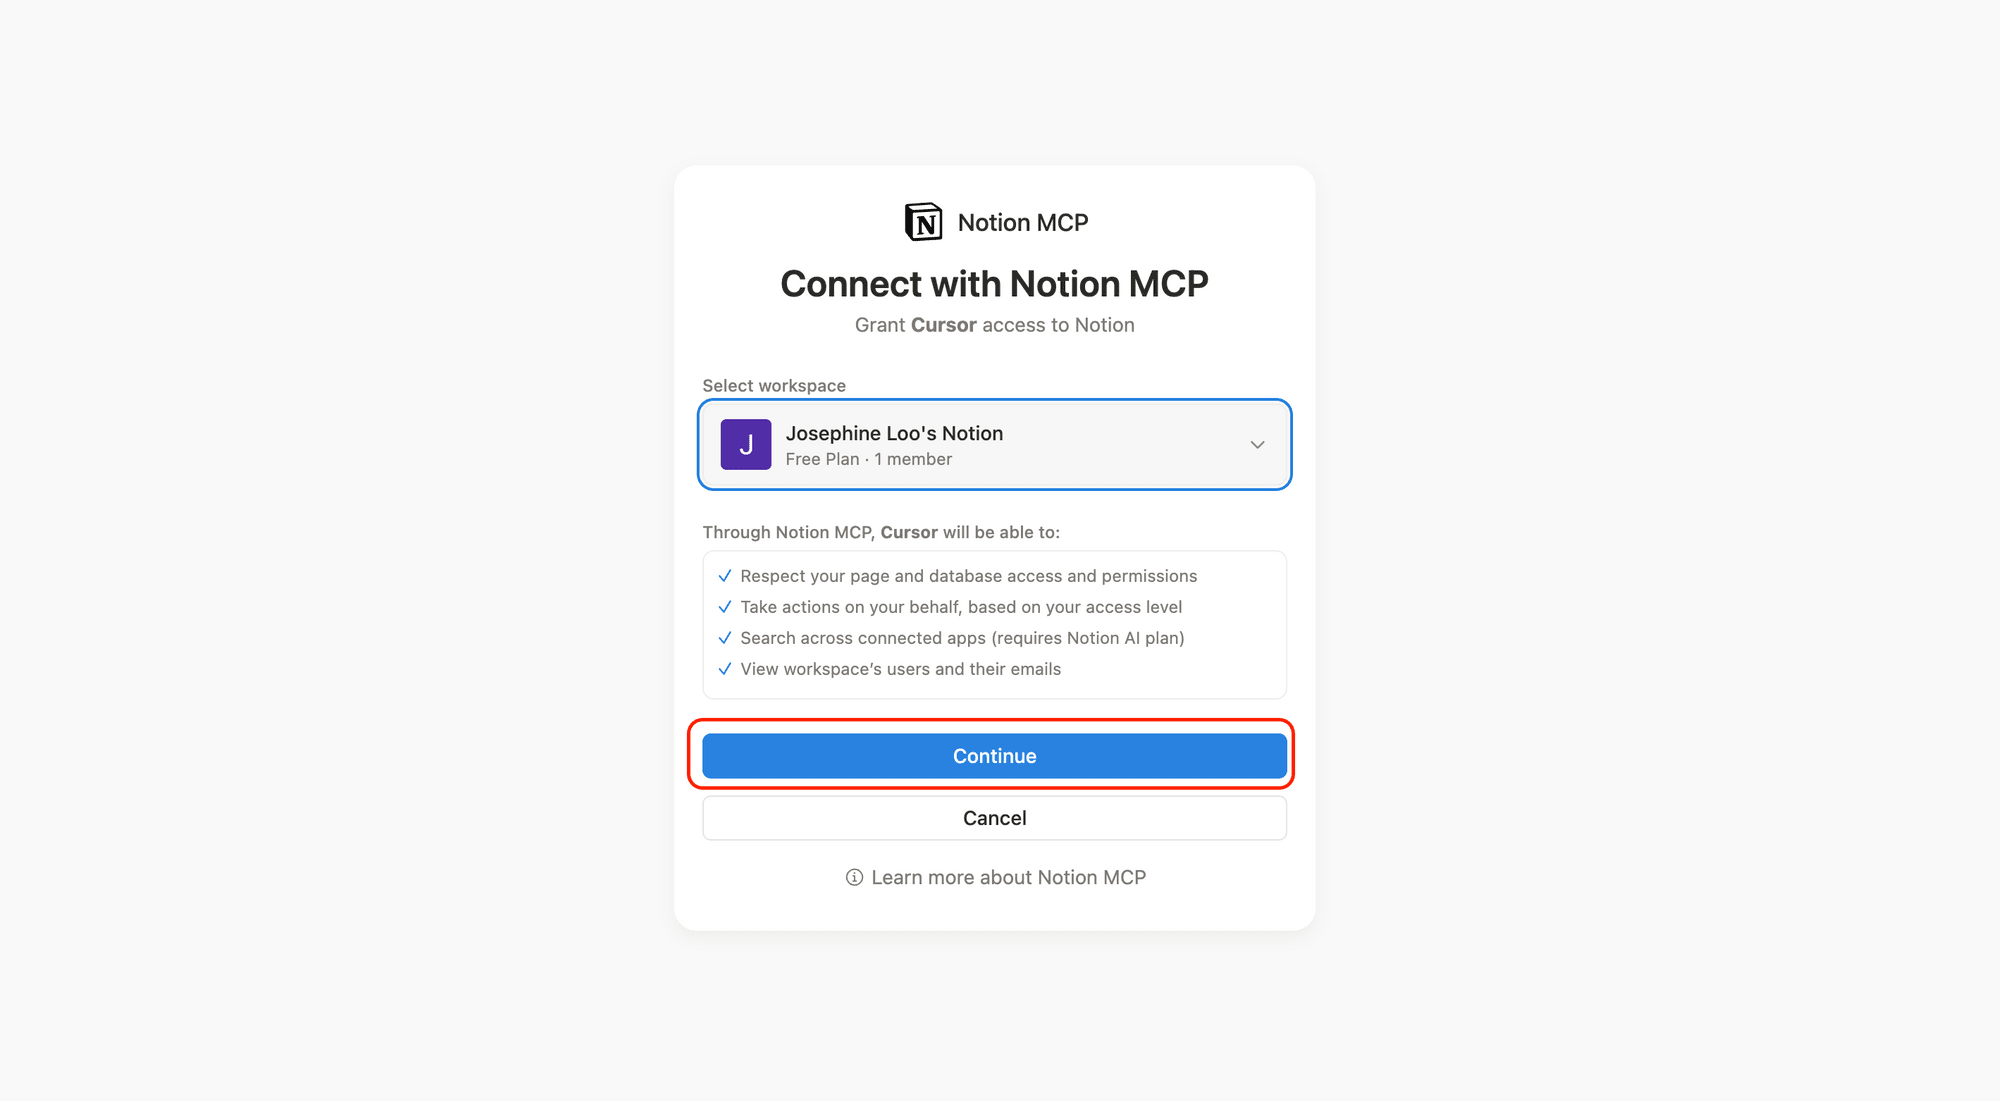
For some servers, Cursor will prompt you to log in through your browser:
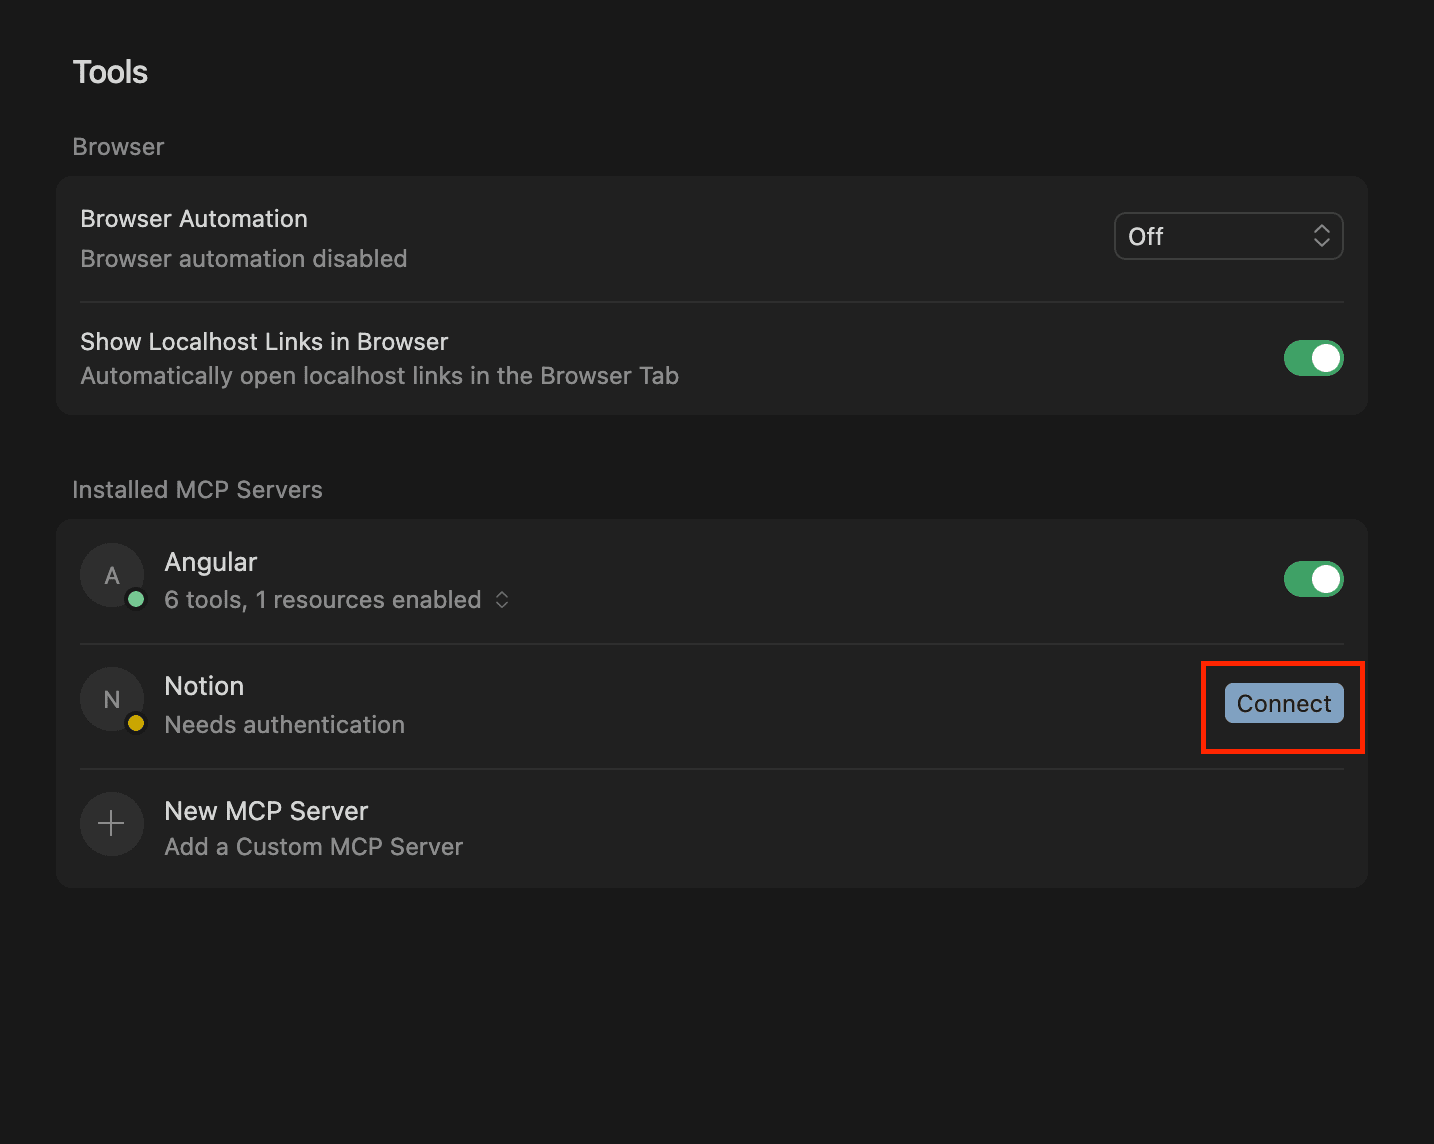
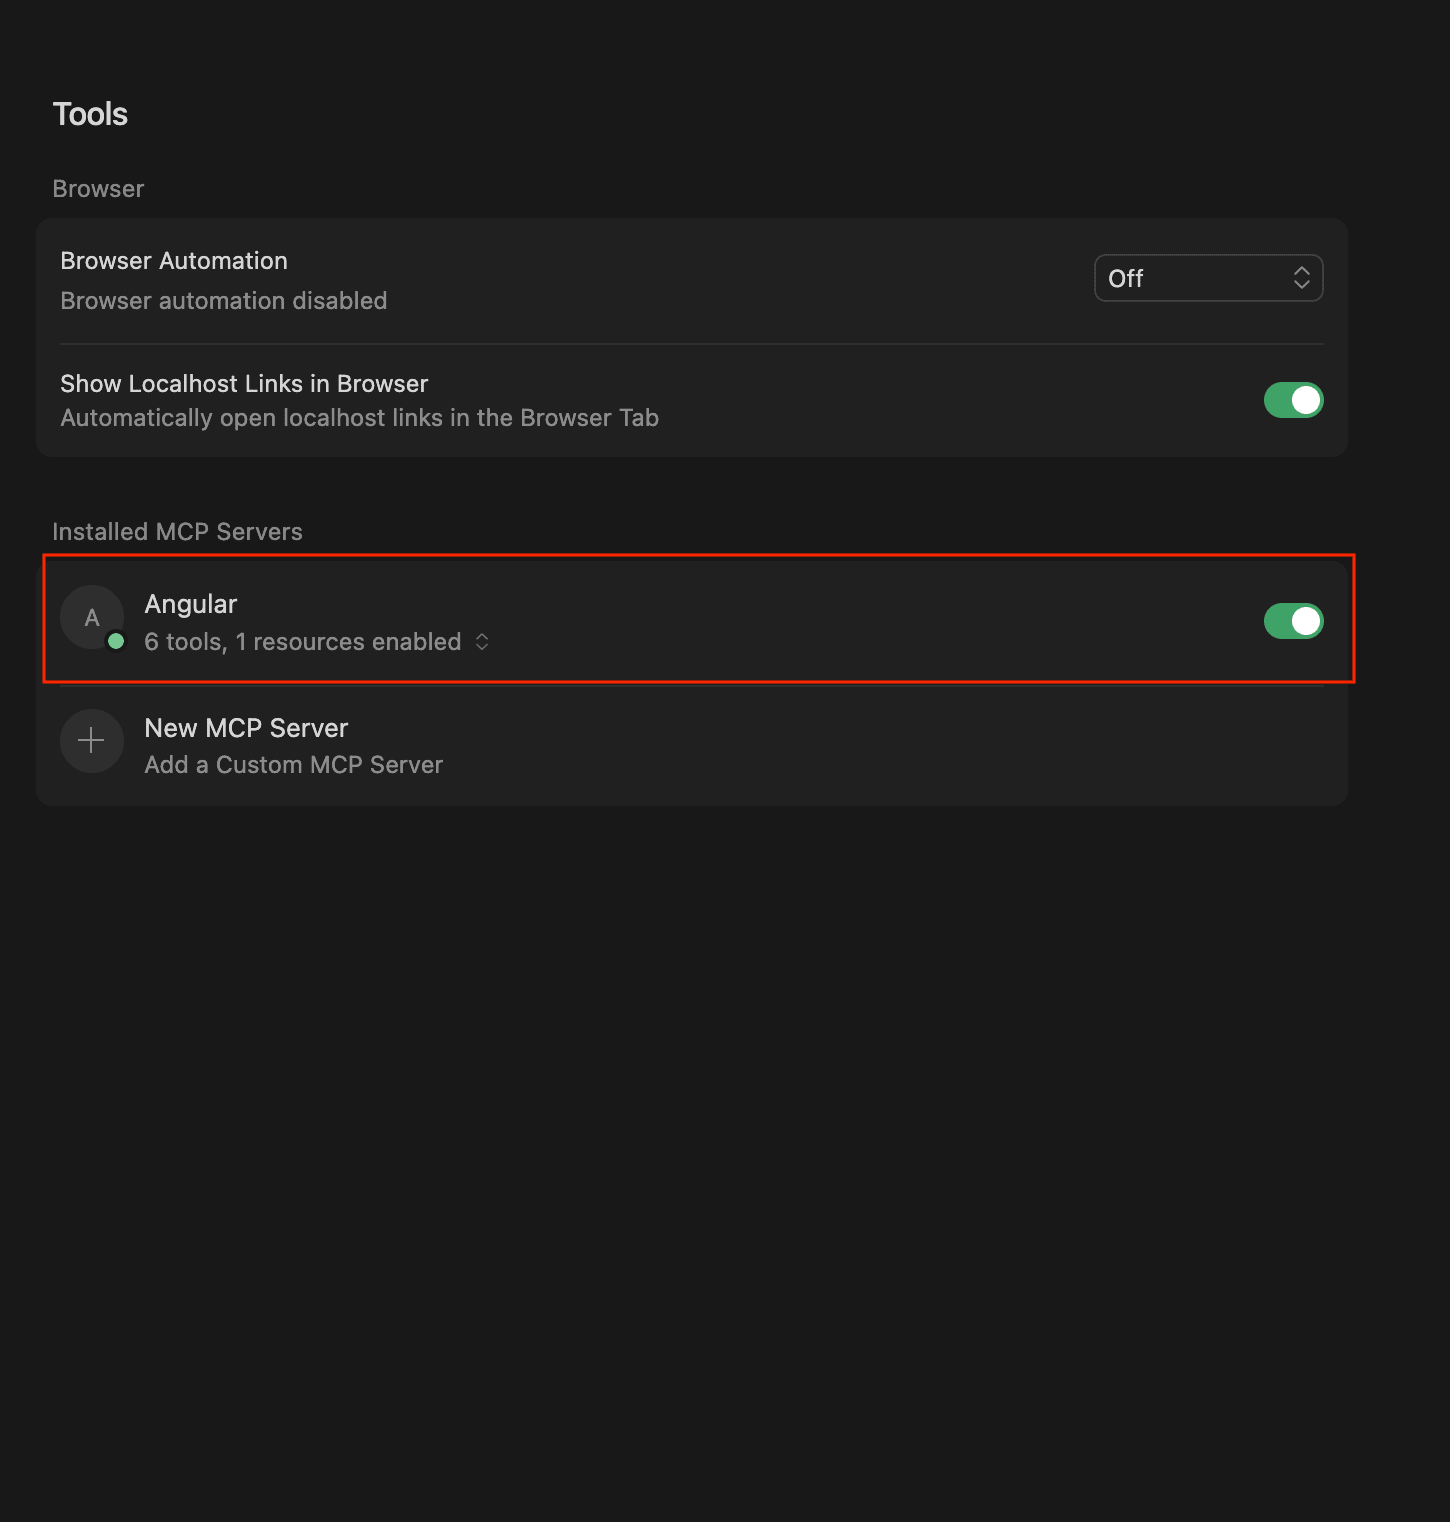
If the MCP server is installed successfully, you will see it in the “Installed MCP Servers” list with a green dot:
Method 2: Manual MCP Server Configuration (Using mcp.json)
If the MCP server you want to install isn't listed in Cursor's MCP Directory or doesn't have a one-click installation button on its website, you can manually add it to your mcp.json file.
There are two types of configurations: project-specific and global. The project-specific MCP configuration file is stored in .cursor/mcp.json, while the global configuration file is stored in ~/.cursor/mcp.json.
Both files look like this:
{
  "mcpServers": {

  }
}
Most of the time, the service you want to add will have its configuration specified on its website or documentation. Simply copy it and paste it into your MCP config file, like this:
{
  "mcpServers": {
    "Angular": {
      "command": "npx -y @angular/cli mcp",
      "env": {},
      "args": []
    },
    "Notion": {
      "url": "https://mcp.notion.com/mcp",
      "headers": {}
    }
  }
}
After saving the file, verify the installation by going to your MCP settings ( Cursor Settings > Tools & MCP ). If the MCP server needs authorization, you'll see a yellow indicator. Click "Connect" to complete the setup. Otherwise, you should see a green dot indicating a successful installation.
Testing Your MCP Server Setup in Cursor
Now, open up the chat interface (in Agent mode) and ask the agent to complete a task that requires the MCP server you just installed.
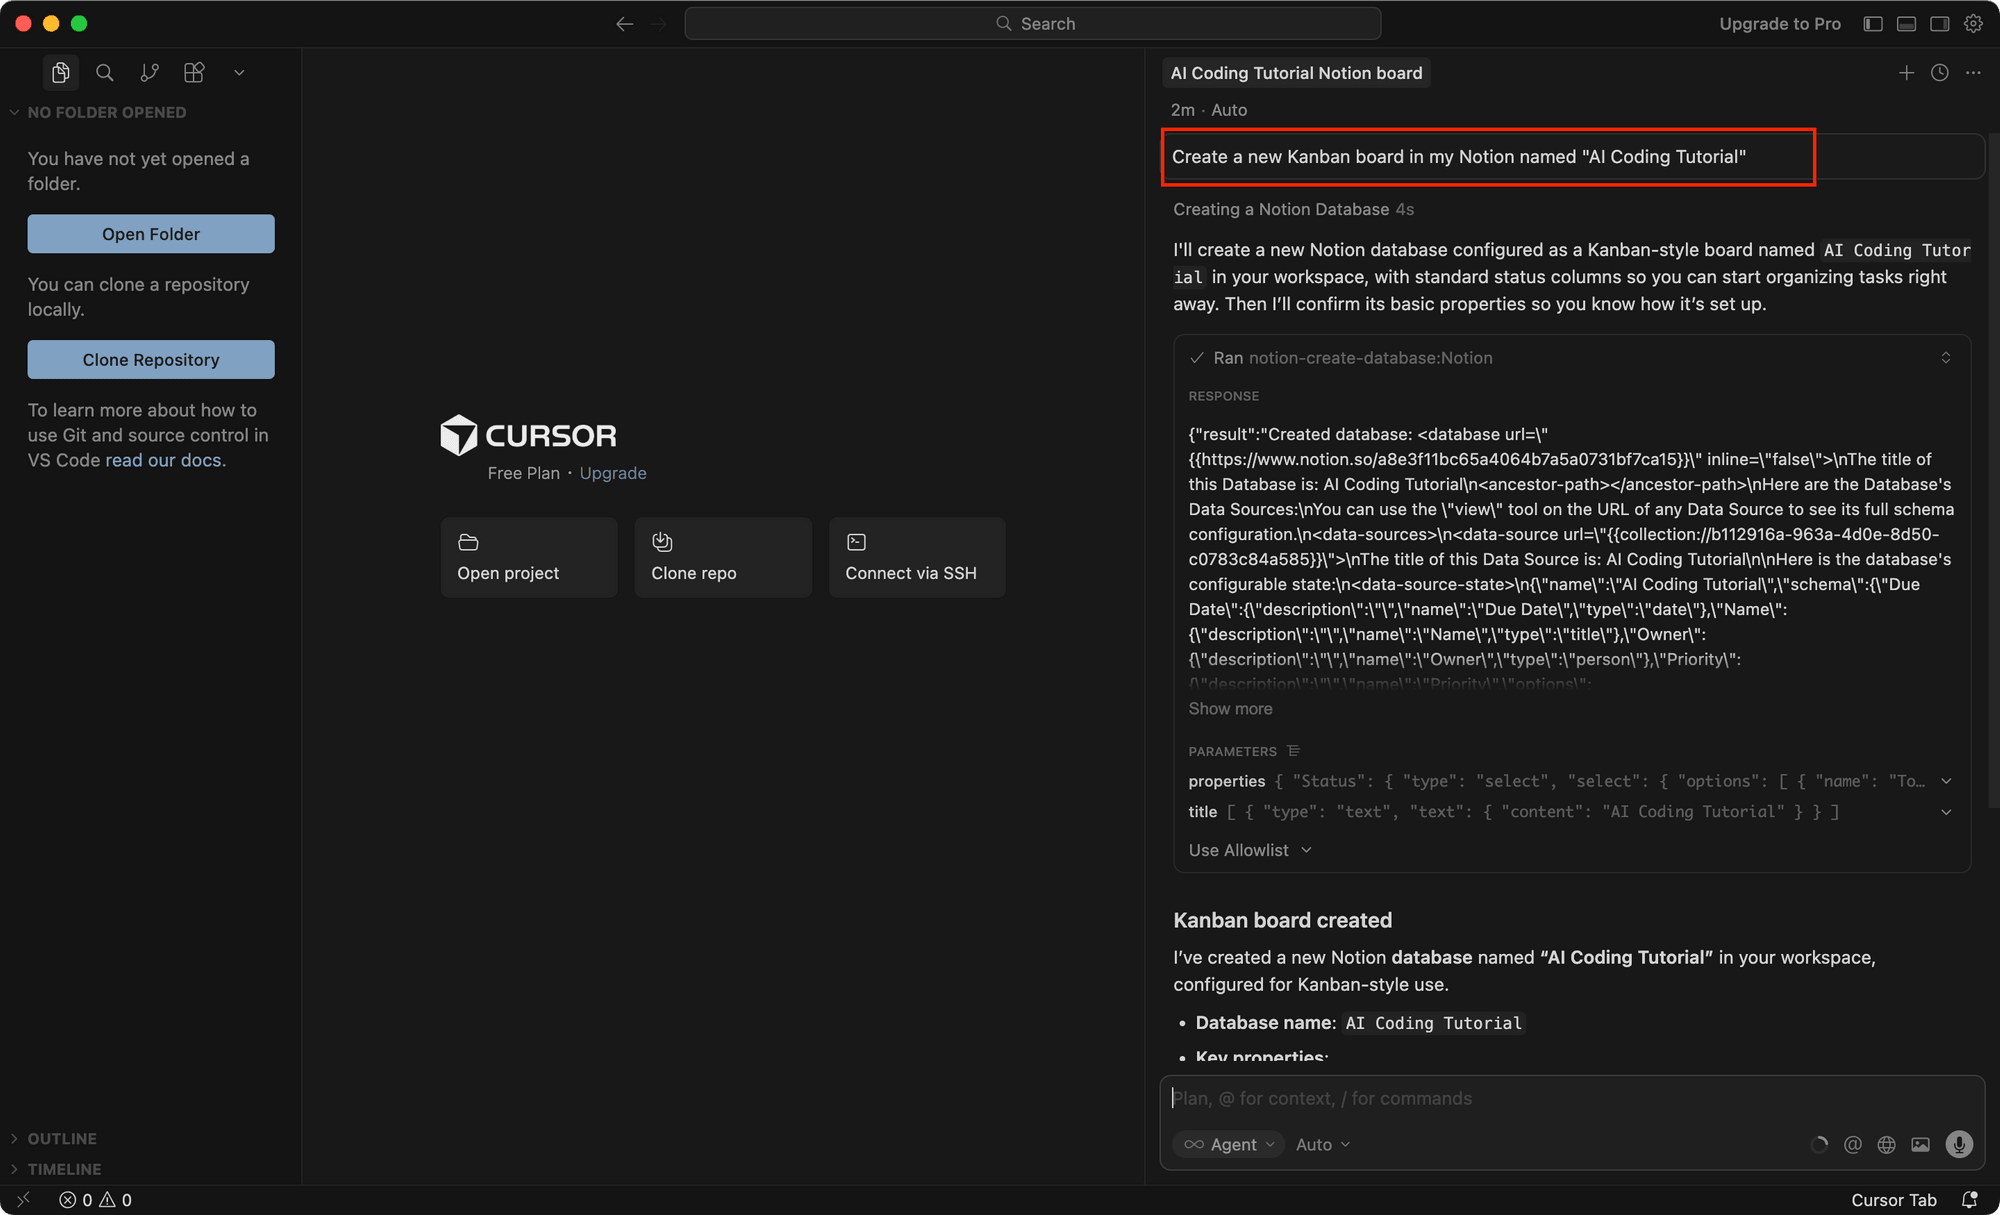
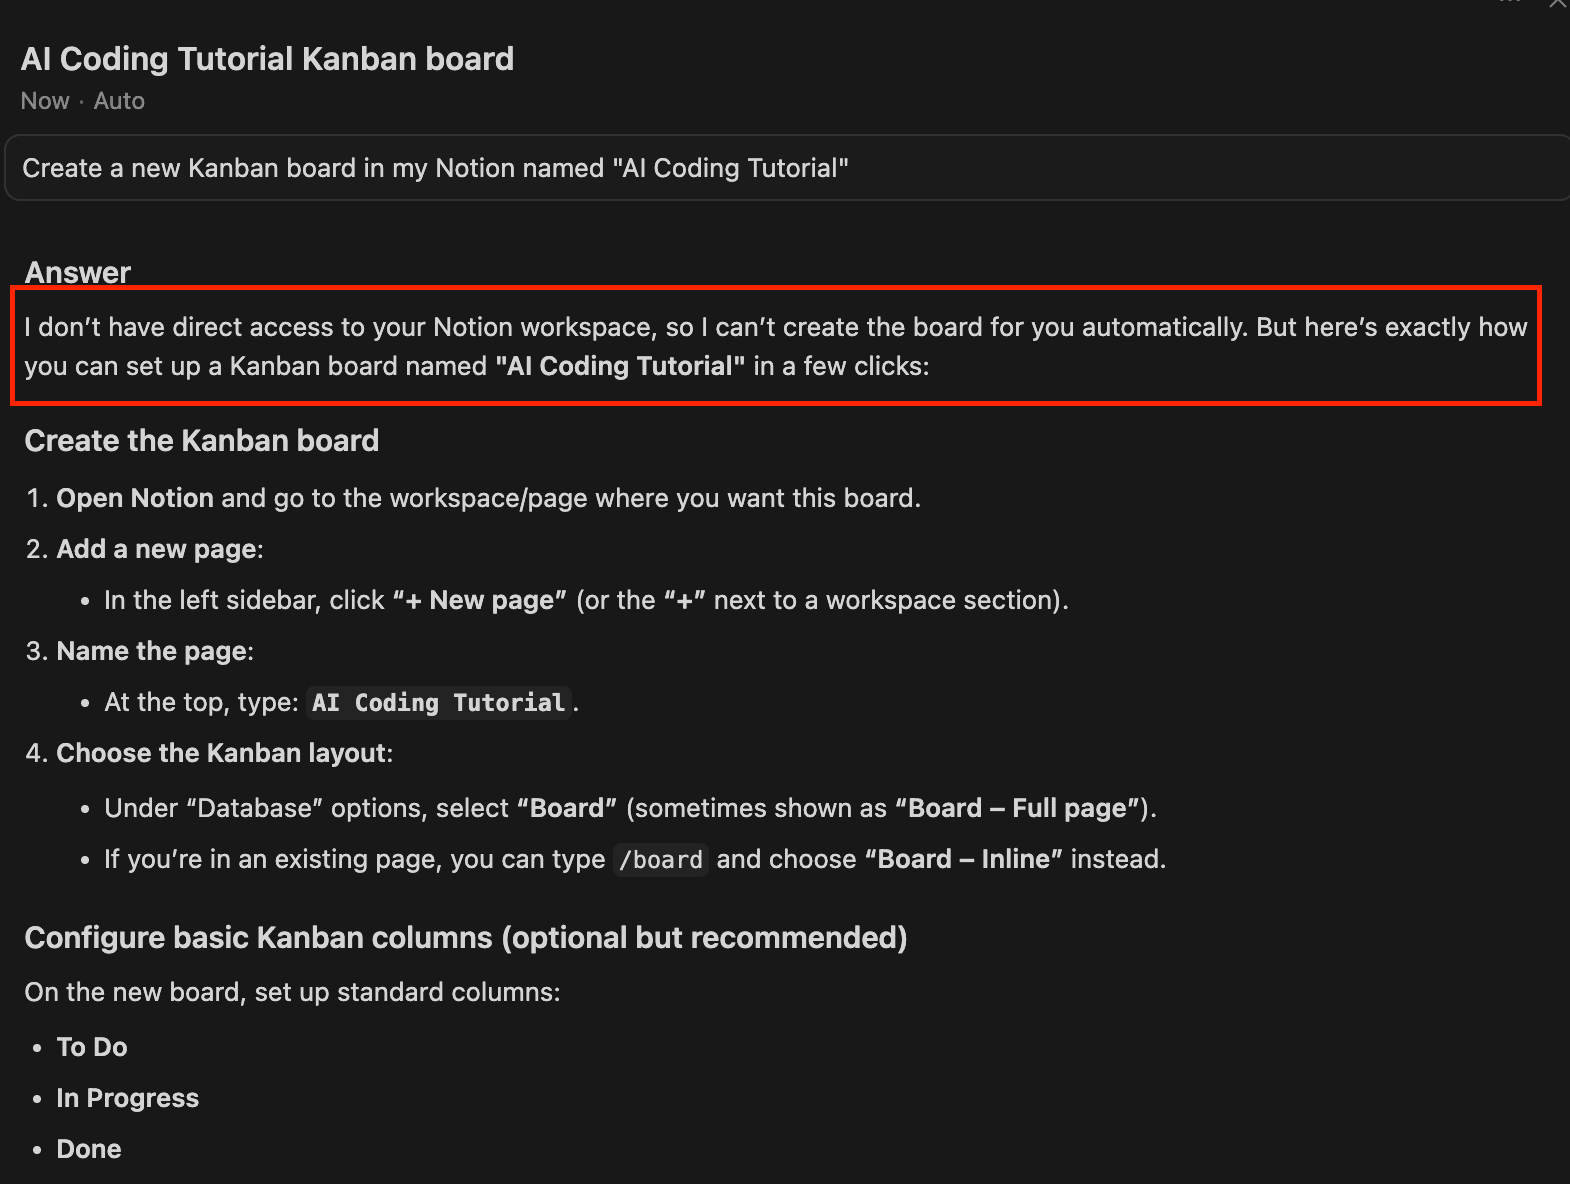
For example, I asked the agent to create a new Kanban board named “AI Coding Tutorial” in Notion:
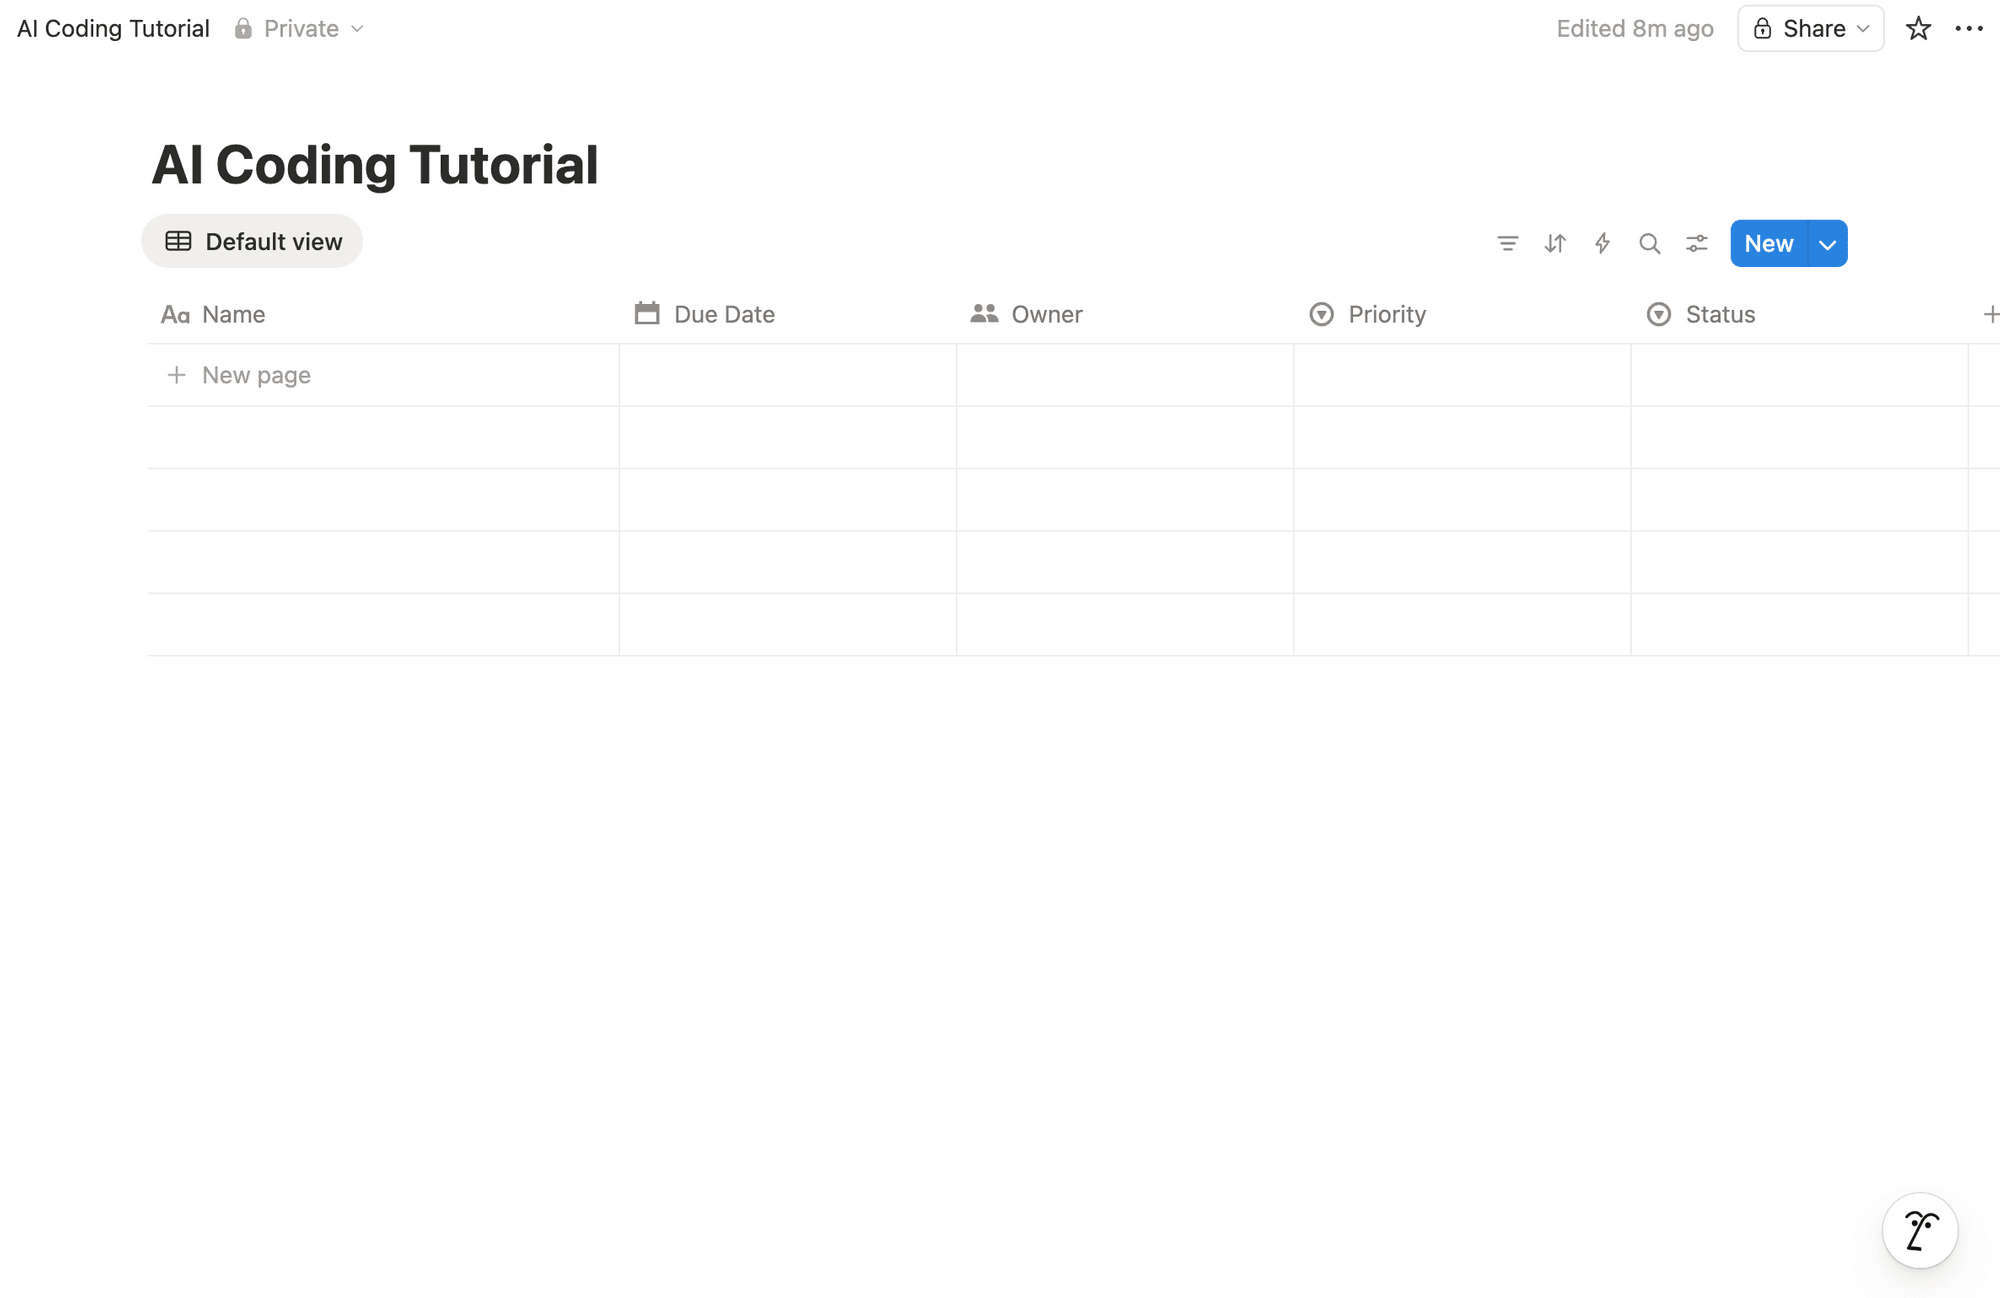
It created a new table with properties like “Due Date”, “Owner”, “Priority”, and “Status”:
If the MCP server is not installed, you wouldn’t be able to do so:
🐻 Bear Tips: You can also use the MCP servers in “Plan” mode.
Popular MCP Servers to Try
GitHub
The GitHub MCP server lets you use natural language to give AI agents the ability to read repositories and code files, manage issues and PRs, analyze code, and automate workflows in your GitHub account.
Here's the MCP config for adding GitHub MCP to Cursor:
{
  "mcpServers": {
    "github": {
      "url": "https://api.githubcopilot.com/mcp/",
      "headers": {
        "Authorization": "Bearer YOUR_GITHUB_PAT"
      }
    }
  }
}
You will need a Personal Access Token, and it can be found in Settings > Developer Settings > Personal Access Tokens.
Once you're connected, you can ask Cursor to do things in GitHub like "Create a new branch called 'feature/issue-123'" without opening GitHub in your browser.
Figma
The Figma MCP server gives Cursor access to your designs in Figma, allowing it to generate code directly from selected frames in Figma, FigJam, and Make files. Instead of manually translating designs into code, you can select a frame in Figma and ask Cursor to "generate React components from this design".
Here's the config:
{
  "mcpServers": {
    "Figma": {
    "url": "https://mcp.figma.com/mcp",
    "headers": {}
     }
}
You’ll need to click “Connect” in your Cursor settings to authenticate your account before you can use your Figma MCP server.
Atlassian (Jira, Compass, Confluence)
The Atlassian Rovo MCP Server enables Cursor to interact with Jira, Compass, and Confluence. This lets you summarize and search content across these platforms, create and update issues or pages, and automate workflows using natural language all from Cursor.
Here’s the config:
{
  "mcpServers": {
    "Atlassian": {
      "url": "https://mcp.atlassian.com/v1/mcp",
      "headers": {}
    }
  }
}
Like Figma, you’ll need to click “Connect” in your Cursor settings to authenticate your account.
Zapier
Since Zapier is a workflow automation tool, the Zapier MCP server gives Cursor access to every tool available in Zapier. This means you can automate workflow across 8000+ apps, including sending emails in Gmail, creating tasks in Asana, posting to Slack, etc., all from Cursor.
However, the setup is different from typical MCP servers. For Zapier, you'll need to create your own Zapier MCP server at https://mcp.zapier.com/, choose your target client and the tools you want to grant access to, then install the MCP server in Cursor.
Here’s an example of how the configuration of a Zapier MCP server would look:
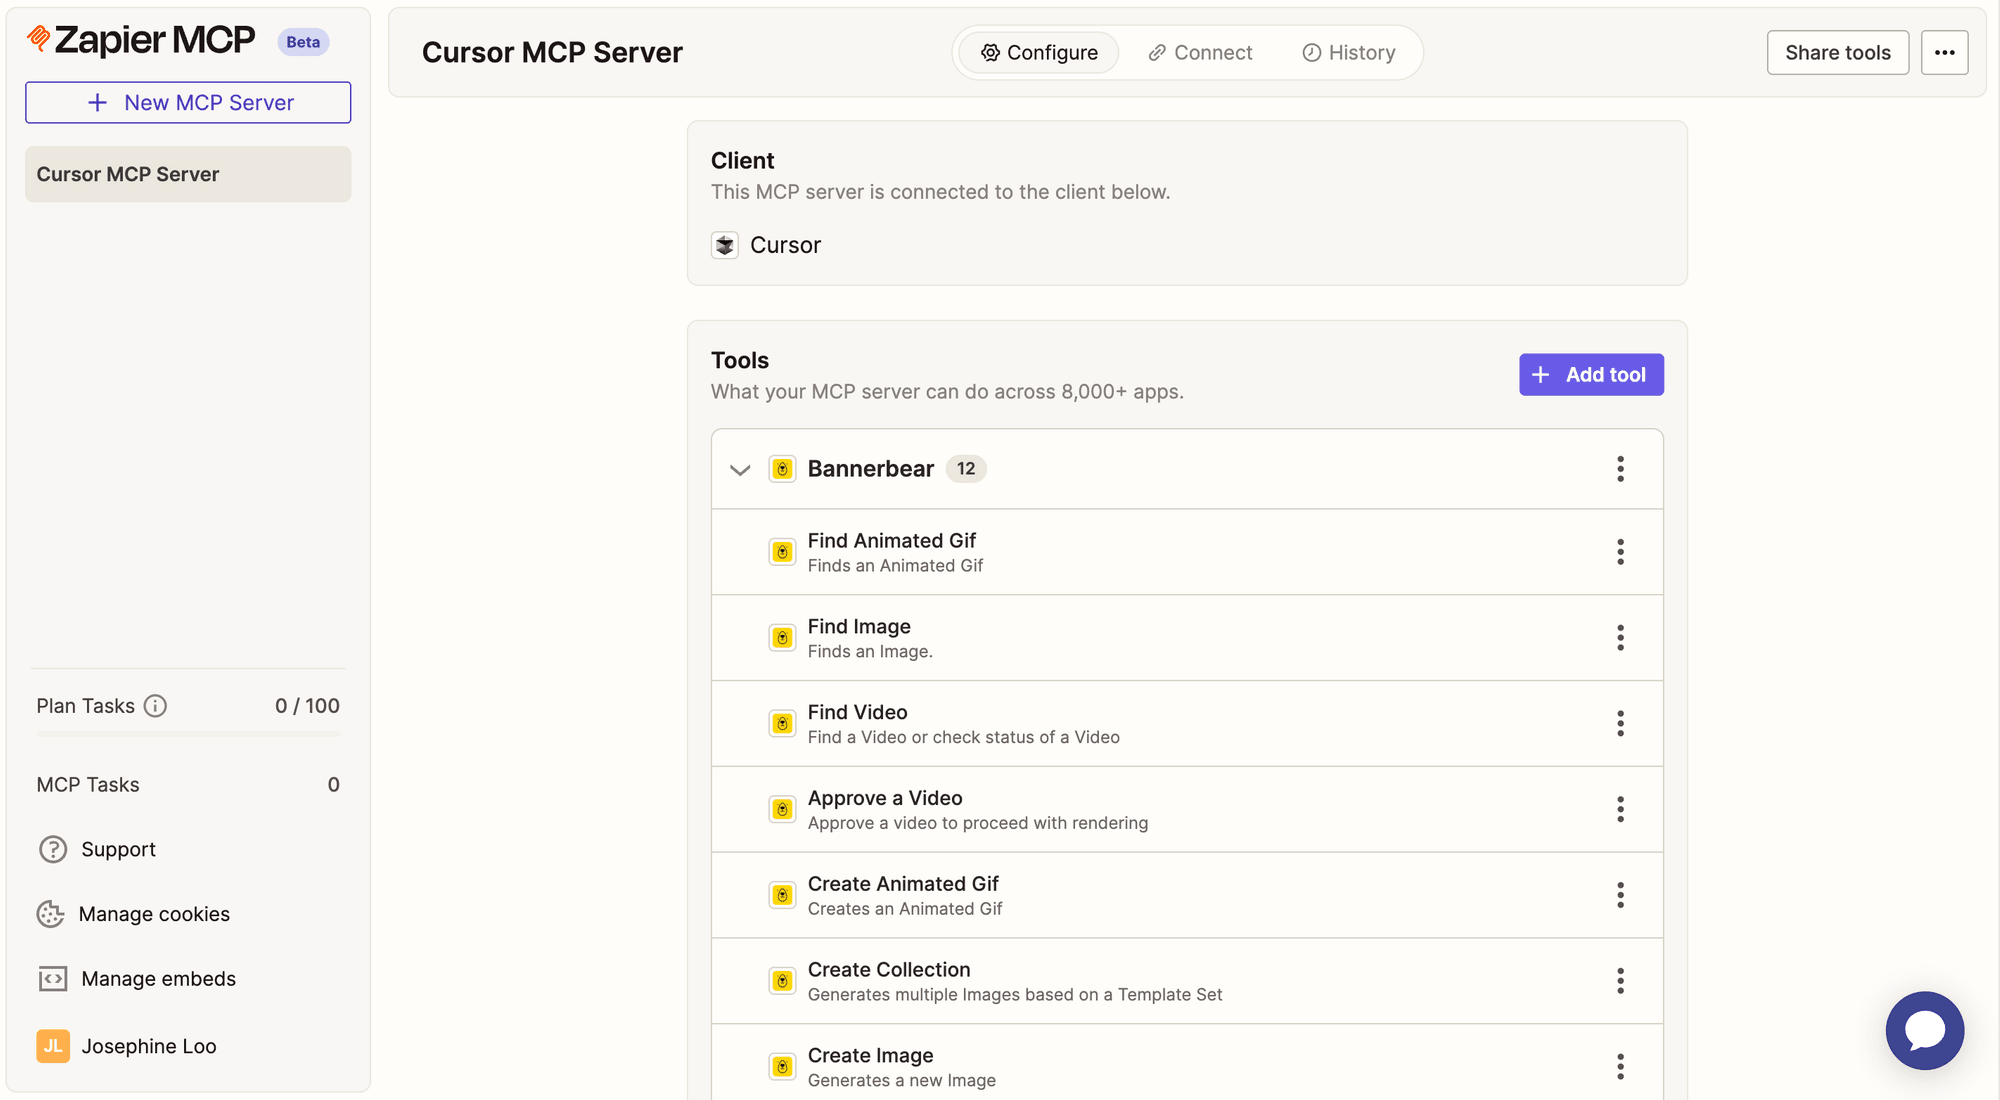
🐻 Bear Tips: While Zapier MCP gives you access to thousands of apps, some specialized tools work even better with direct API integration. For example, if you need automated image or video generation (like social media graphics, Open Graph images, or certificates), Bannerbear offers a simple API that you can easily integrate into your projects.
Conclusion
That's it! Setting up MCP servers in Cursor is really that straightforward. MCP servers are an important piece in making your workflow more integrated and seamless when using AI tools. You can manage GitHub issues, generate code from Figma designs, connect to thousands of apps through Zapier, and more, using simple natural language, all within Cursor.
If you’d like to explore other AI tools other than Cursor, check out these articles:
👉🏻 Claude Code vs. Cursor: Which AI Coding Tool Is Better in 2026?
👉🏻 How to Install Claude Code: Terminal, IDE, Web & Desktop Setup
👉🏻 Nano Banana vs. Nano Banana Pro: Which Google AI Image Generator is Better
