How to Send Electronic Certificates to Course Participants Automatically
Contents
A great way to keep the interest of course participants and prompt sales is by engaging students with a course completion certificate as proof of successful completion of a program.
Sending this acknowledgement will encourage participants to review the course and give further recommendations. This tutorial will teach you how to automatically send a Certificate of Completion via email to congratulate a participant when they complete a course.
With the Bannerbear PDF feature and Zapier, you can create automation without writing code. You can skip the stress of designing multiple variations of the same image or video. Bannerbear allows you to design once and replicate the design multiple times via API. Every template designed becomes an API that you can auto-generate images with.
What you will build
For this tutorial, we want to use a simple certificate template. The aim is to create a clear and concise image. With this in mind, we can set up a Zapier automated workflow so that:
- When a participant reaches 100% completed progress in a course, a Zapier trigger is created,
- Bannerbear auto-generates images based on the certificate template,
- Use Zapier no-code integrations to automatically schedule a completion email to the participant as soon as they finish the course.
Example Image
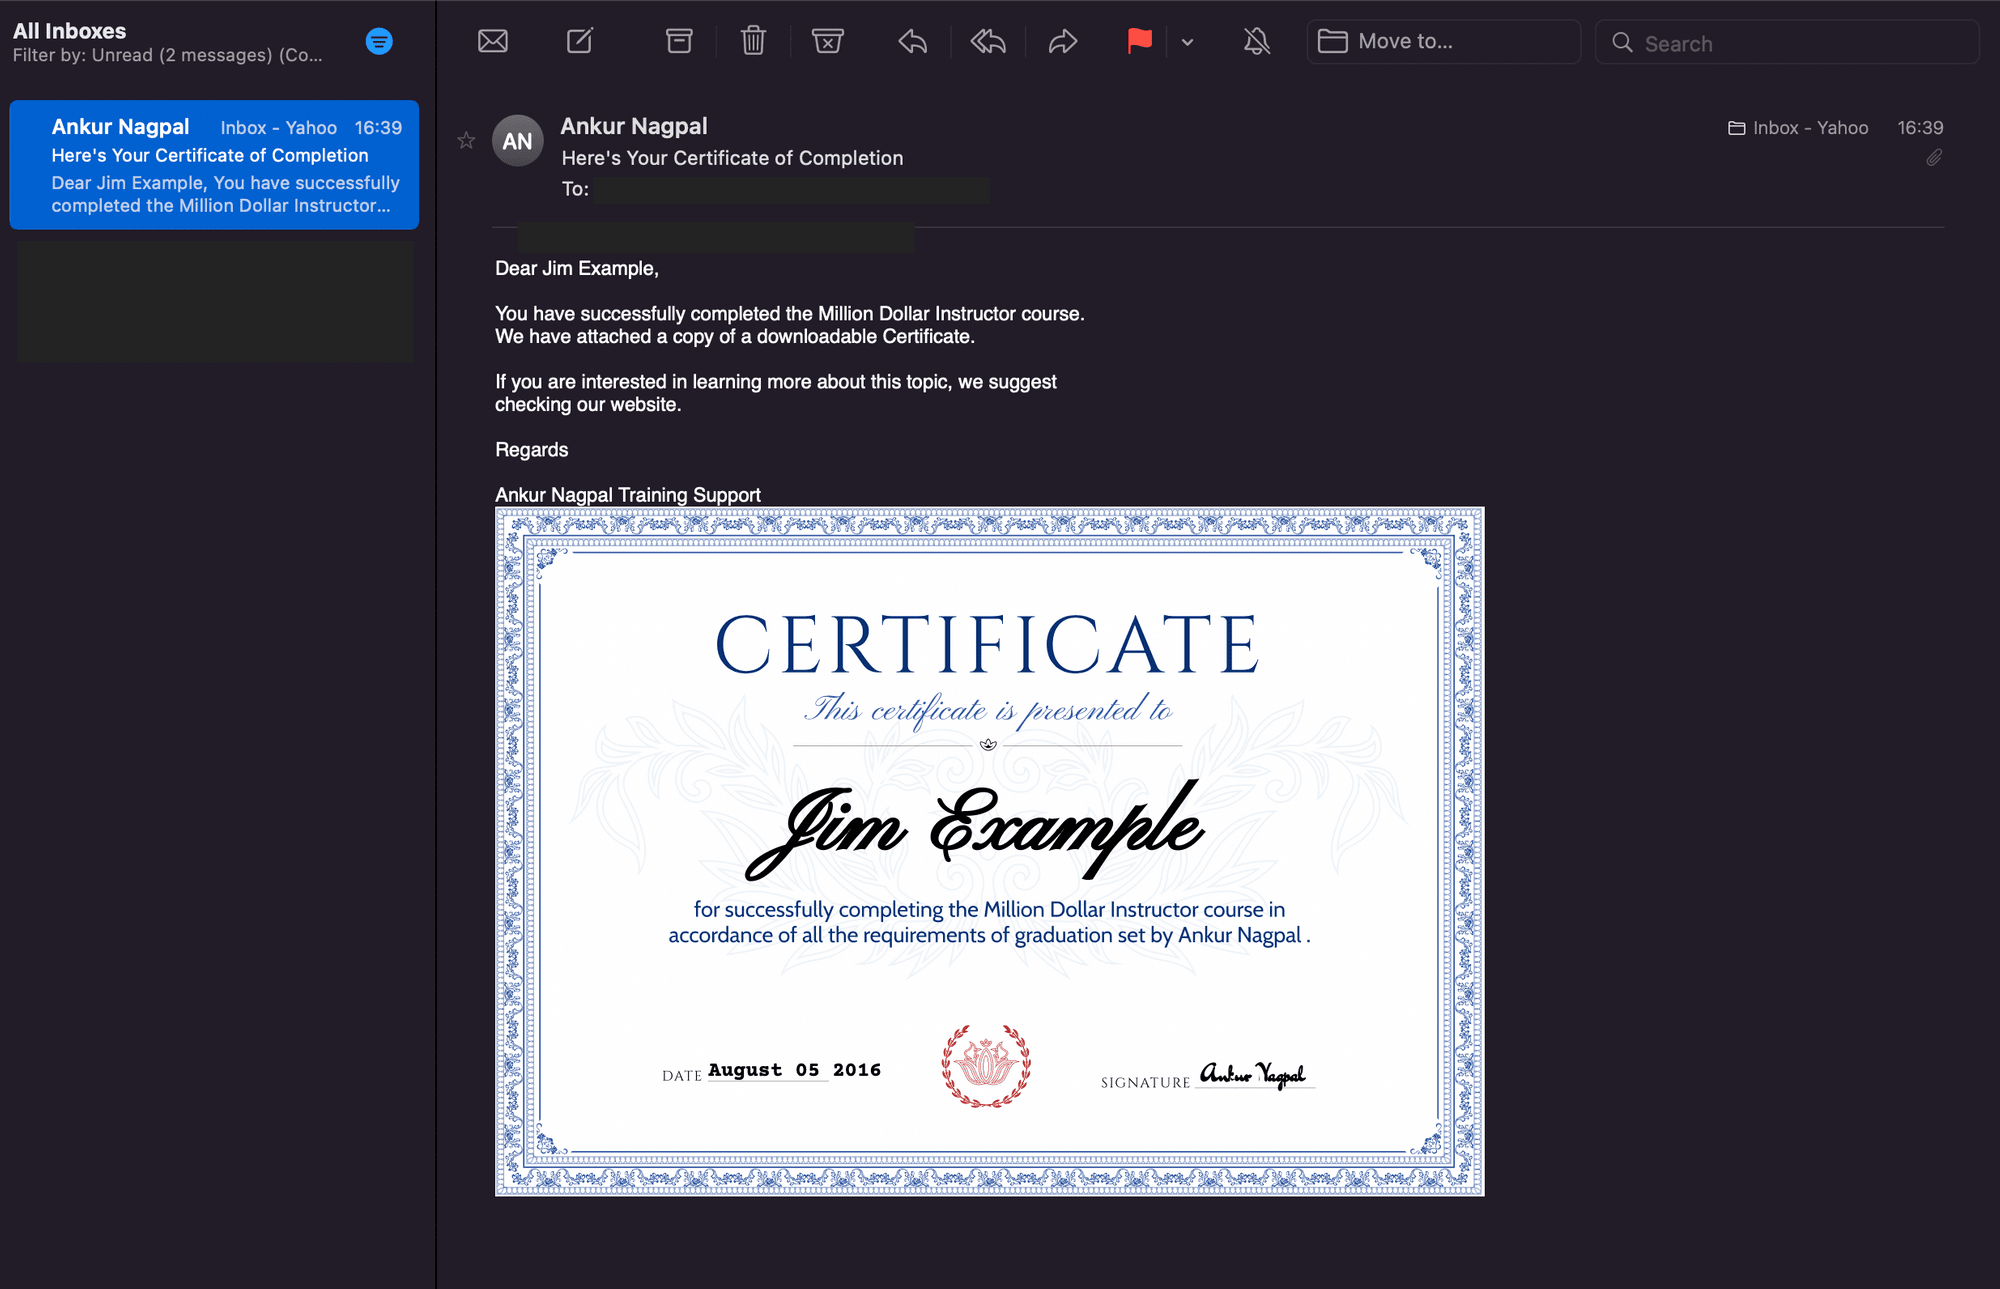
When that’s done, we should have something that looks like this:

Create a Bannerbear project
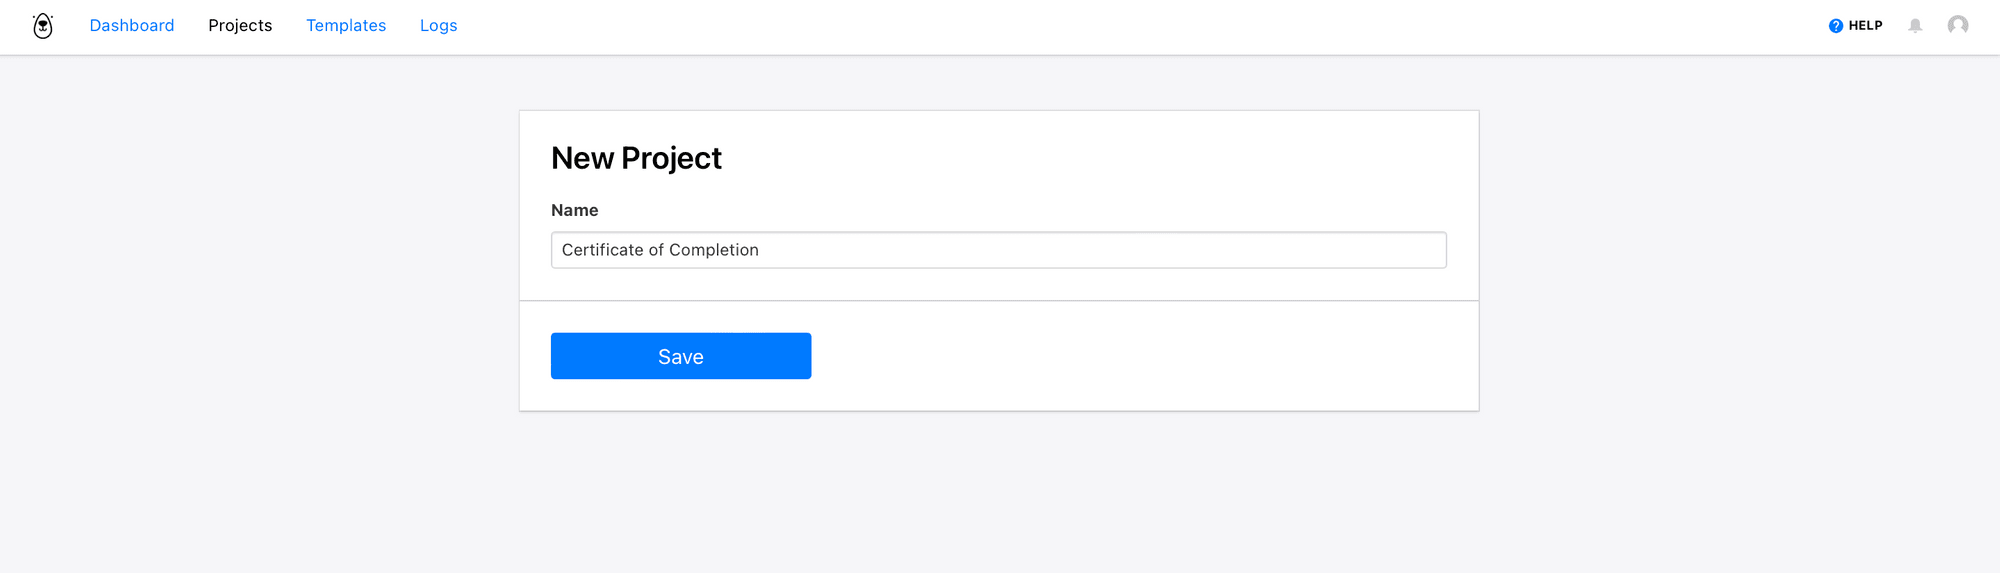
Navigate to the Projects tab and create a new project in your Bannerbear account. You will be prompted to name your project. This will perhaps be with the name of the form, or course, or simply “Certificate of Completion”.
Create template
Bannerbear allows the flexibility to fully customisable an existing template and allows you to re-order and add as many layers as you want.
There are ready-made templates on Bannerbear so you can choose to create a template from scratch or Browse Template Library.
For this tutorial, we have a standard certificate template that fits this use case. You can duplicate this certificate template here.
Browse the template library to choose your certificate template and add to your project:
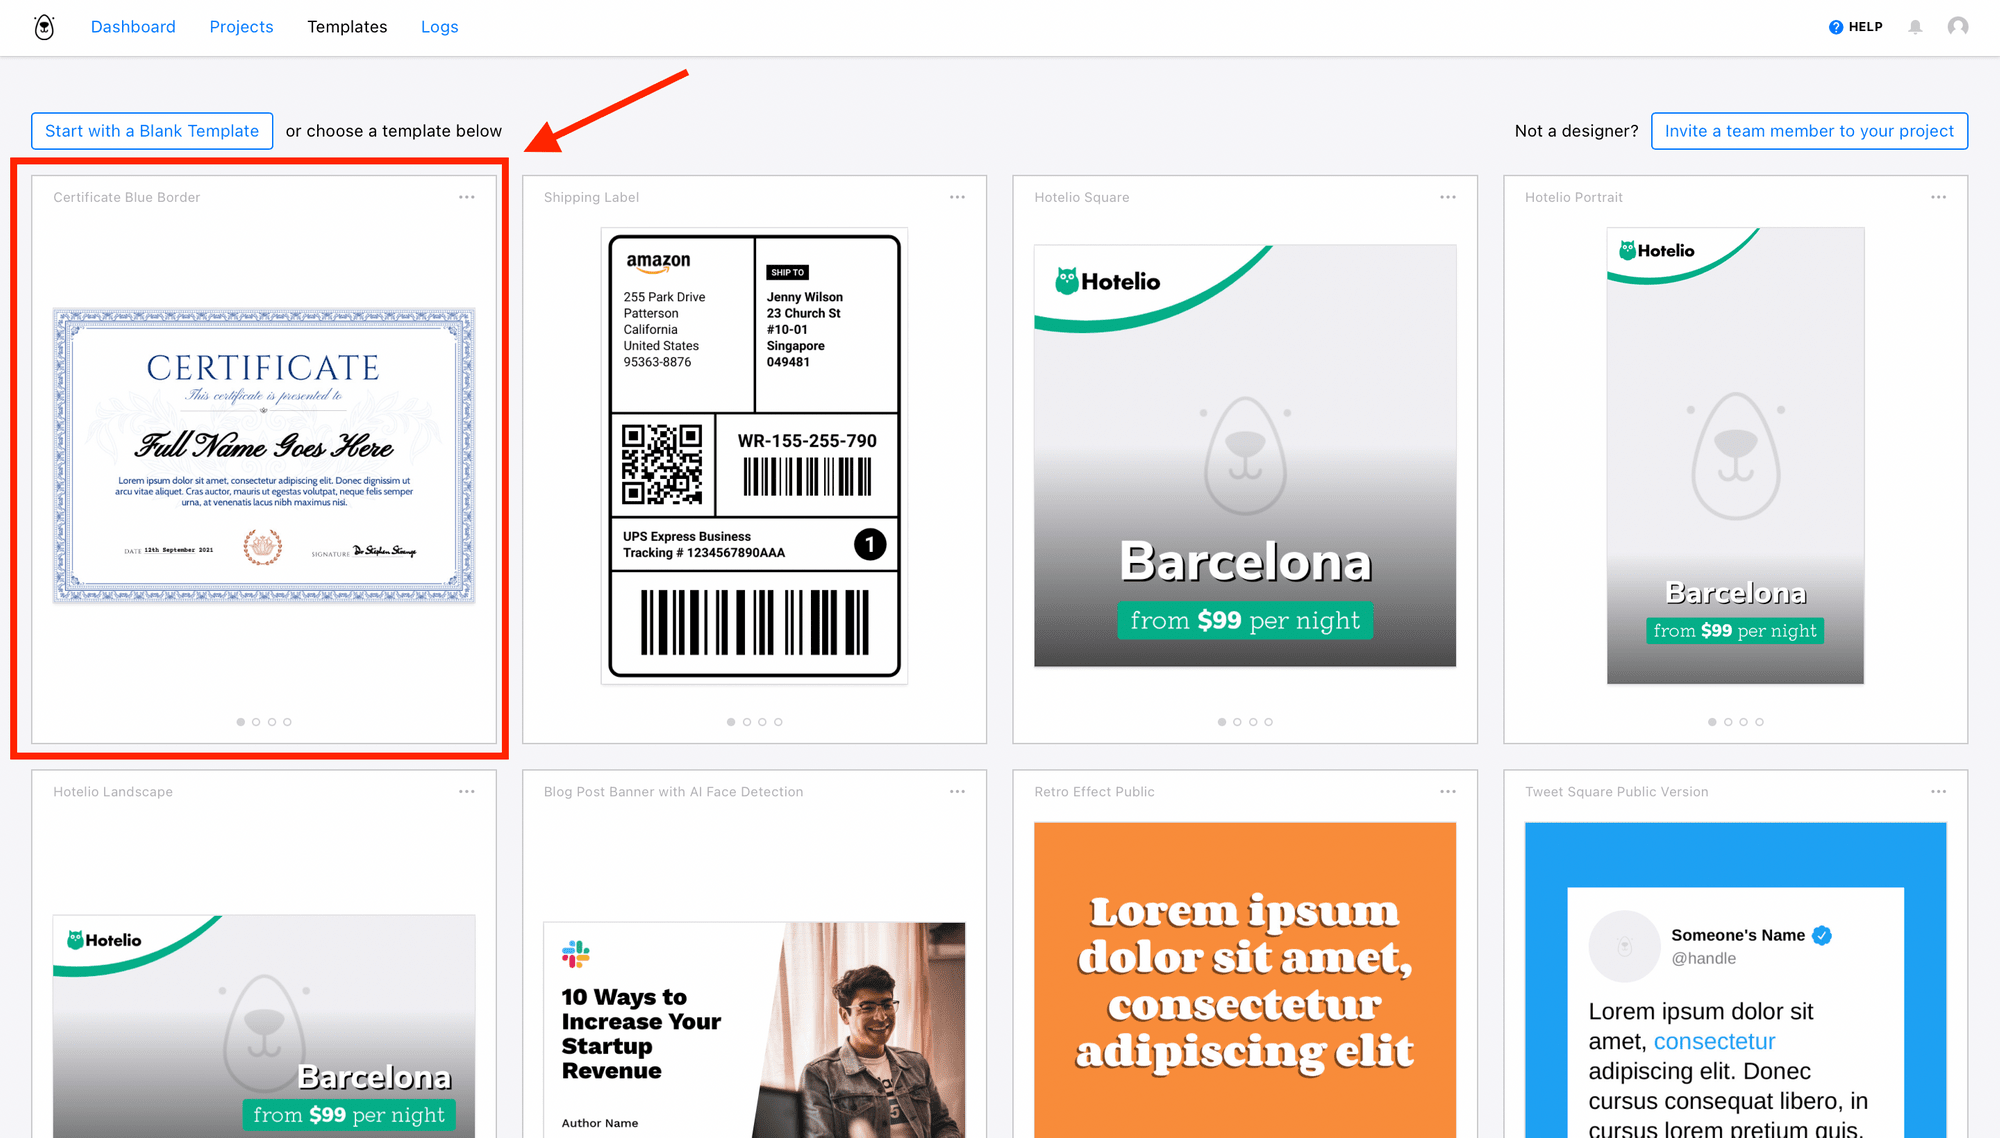
Or, simply click on the certificate below to add it to your project automatically.
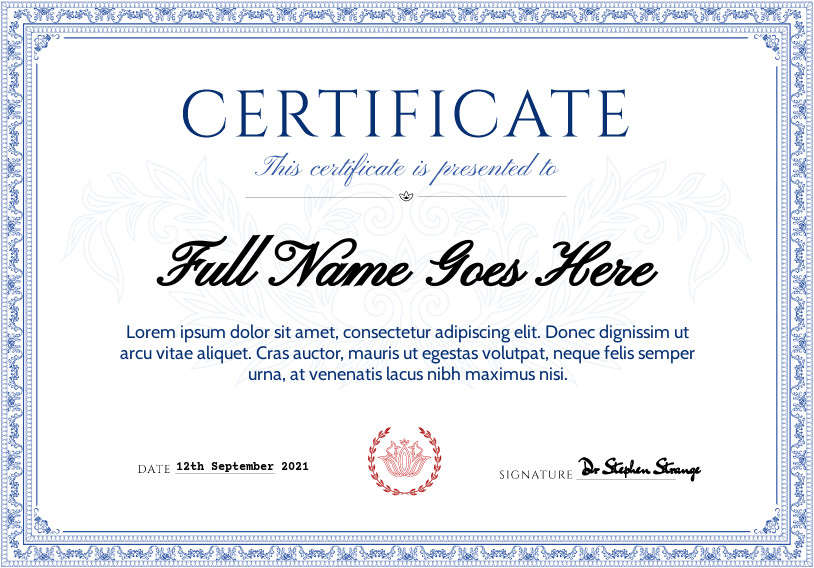
By starting with an existing template, all you have to do is add the dynamic fields for every image, adjust the layout, add layers, objects, colours, fonts, and more.
Bear Tip 🐻: Edit your certificate to fit your needs and click the Save Template button in the left corner. The subtitle and signature fields can be set as static fields in the template. This is an optional step.

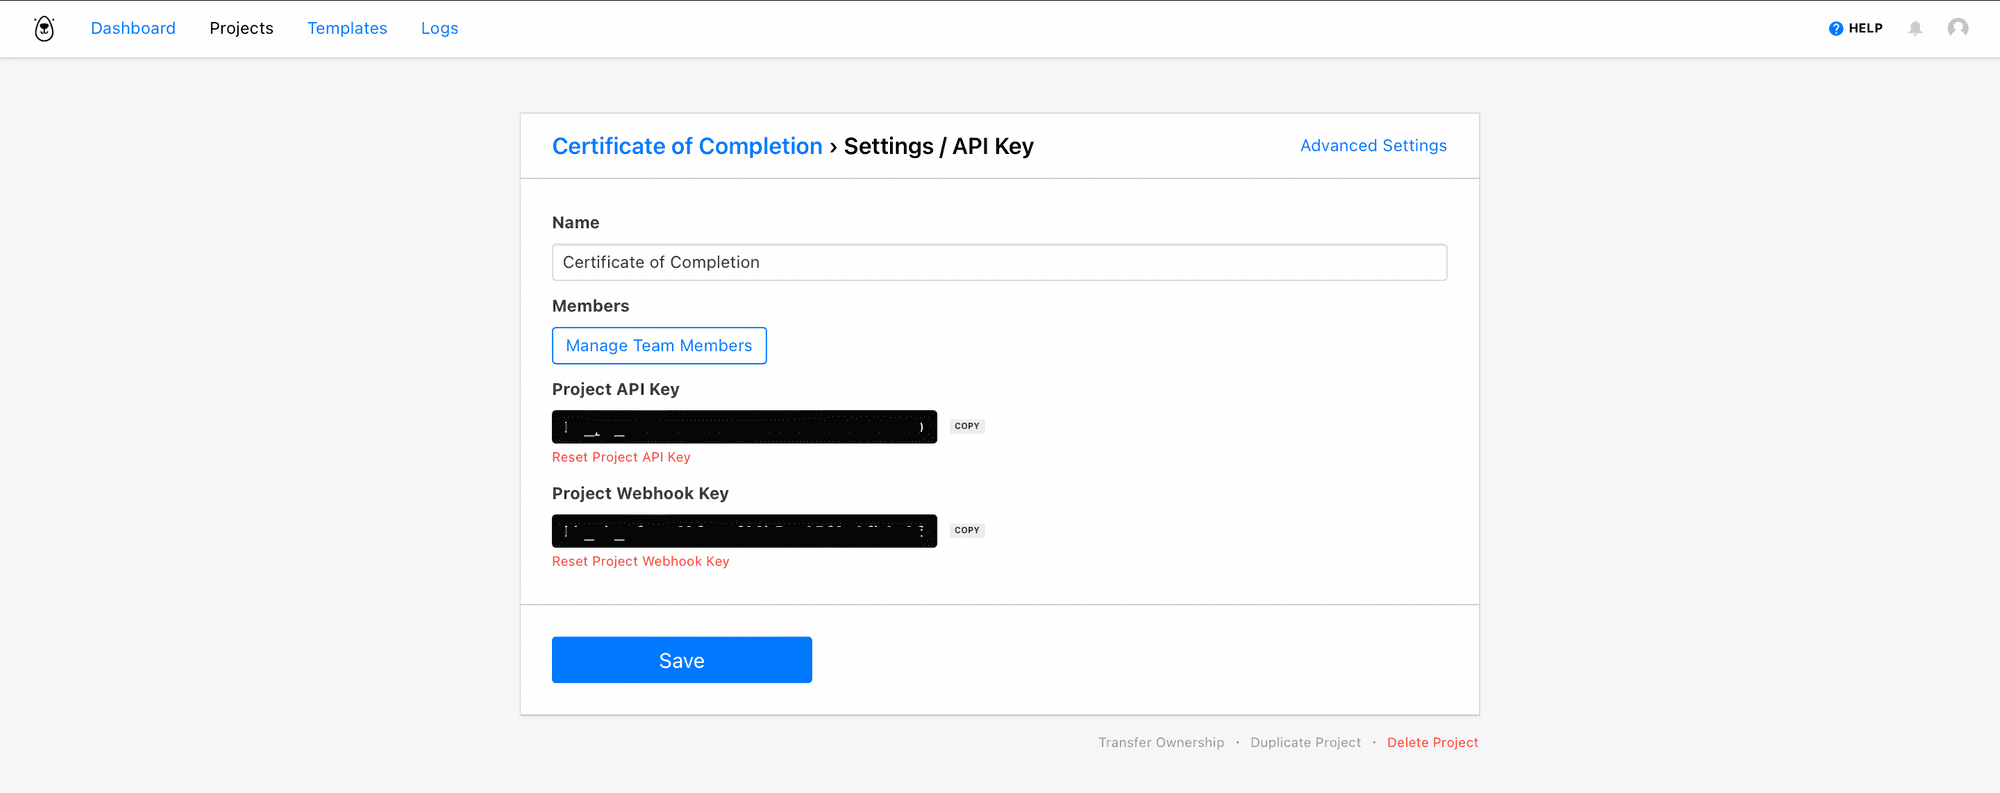
Get your Bannerbear Project API Key
You will need your Bannerbear API key at a later stage to authenticate with Zapier. The API key is unique for each project. The Project API key is found on the Settings / API Key page of your Project.
Integrate with Zapier
Now we can integrate Zapier with your Bannerbear account to automatically create and send an automated certificate to anyone who completes a course on your platform.
You will need to:
- Connect to your online course platform
- Create an image with Bannerbear using the Project API Key
- Connect to Gmail or other messaging platforms
Make a Zap
Create an account or log in to your Zapier account and Create Zap.
Create a Trigger
Name your Zap then choose a trigger event for your zap so that when a new record is added in the Completed view , a new image is created.
Choose Teachable as the app to be connected to, and select Course completed as the action event.
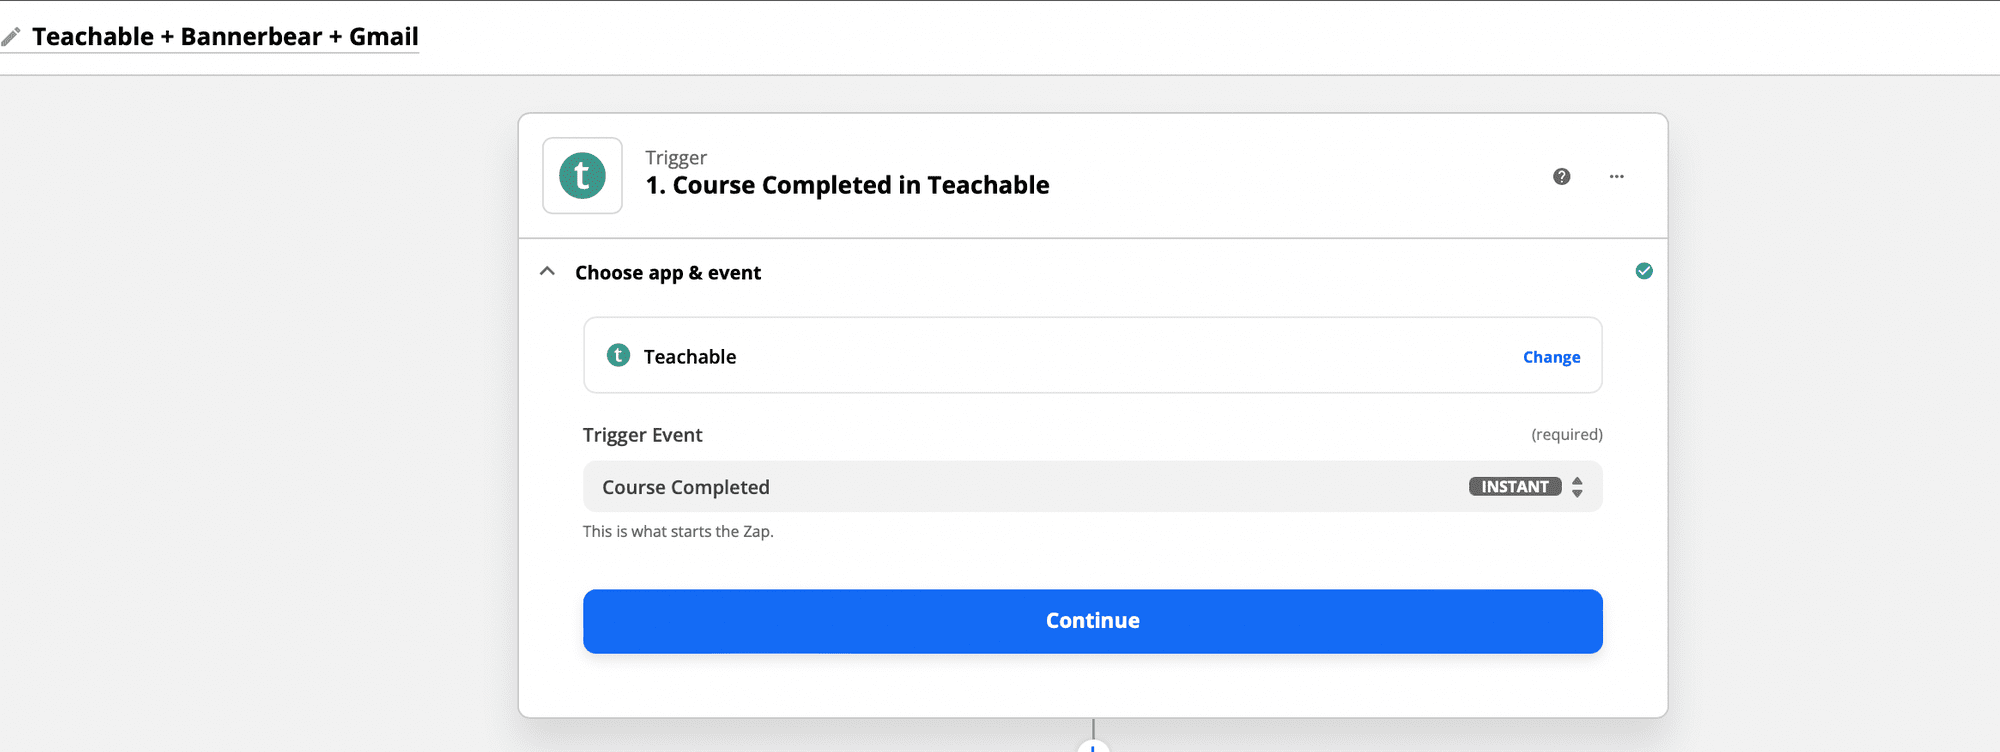
Click Continue. Alternatively, you can use the trigger for New Graded Quiz Result in Zapier.
Next, sign into your Teachable account to allow Zapier to access your details and subdomain:
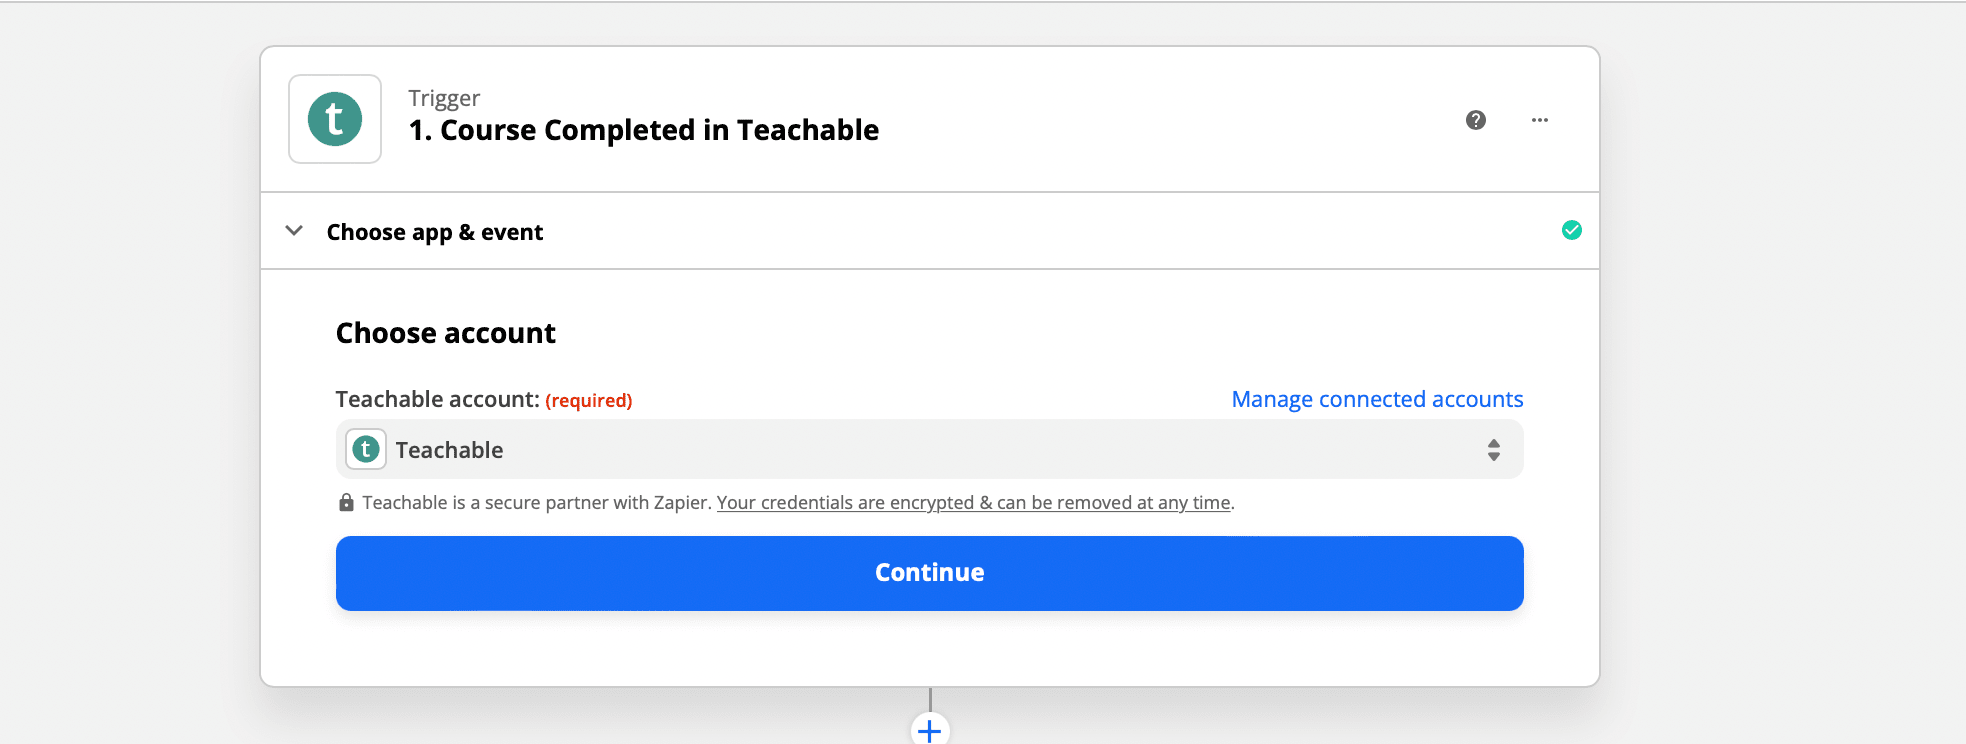
To retrieve your Teachable subdomain, go to Admin > Sites > Domain in your Teachable admin if you're unsure of your subdomain.
Click on Test trigger to test your trigger and ensure that the records match:
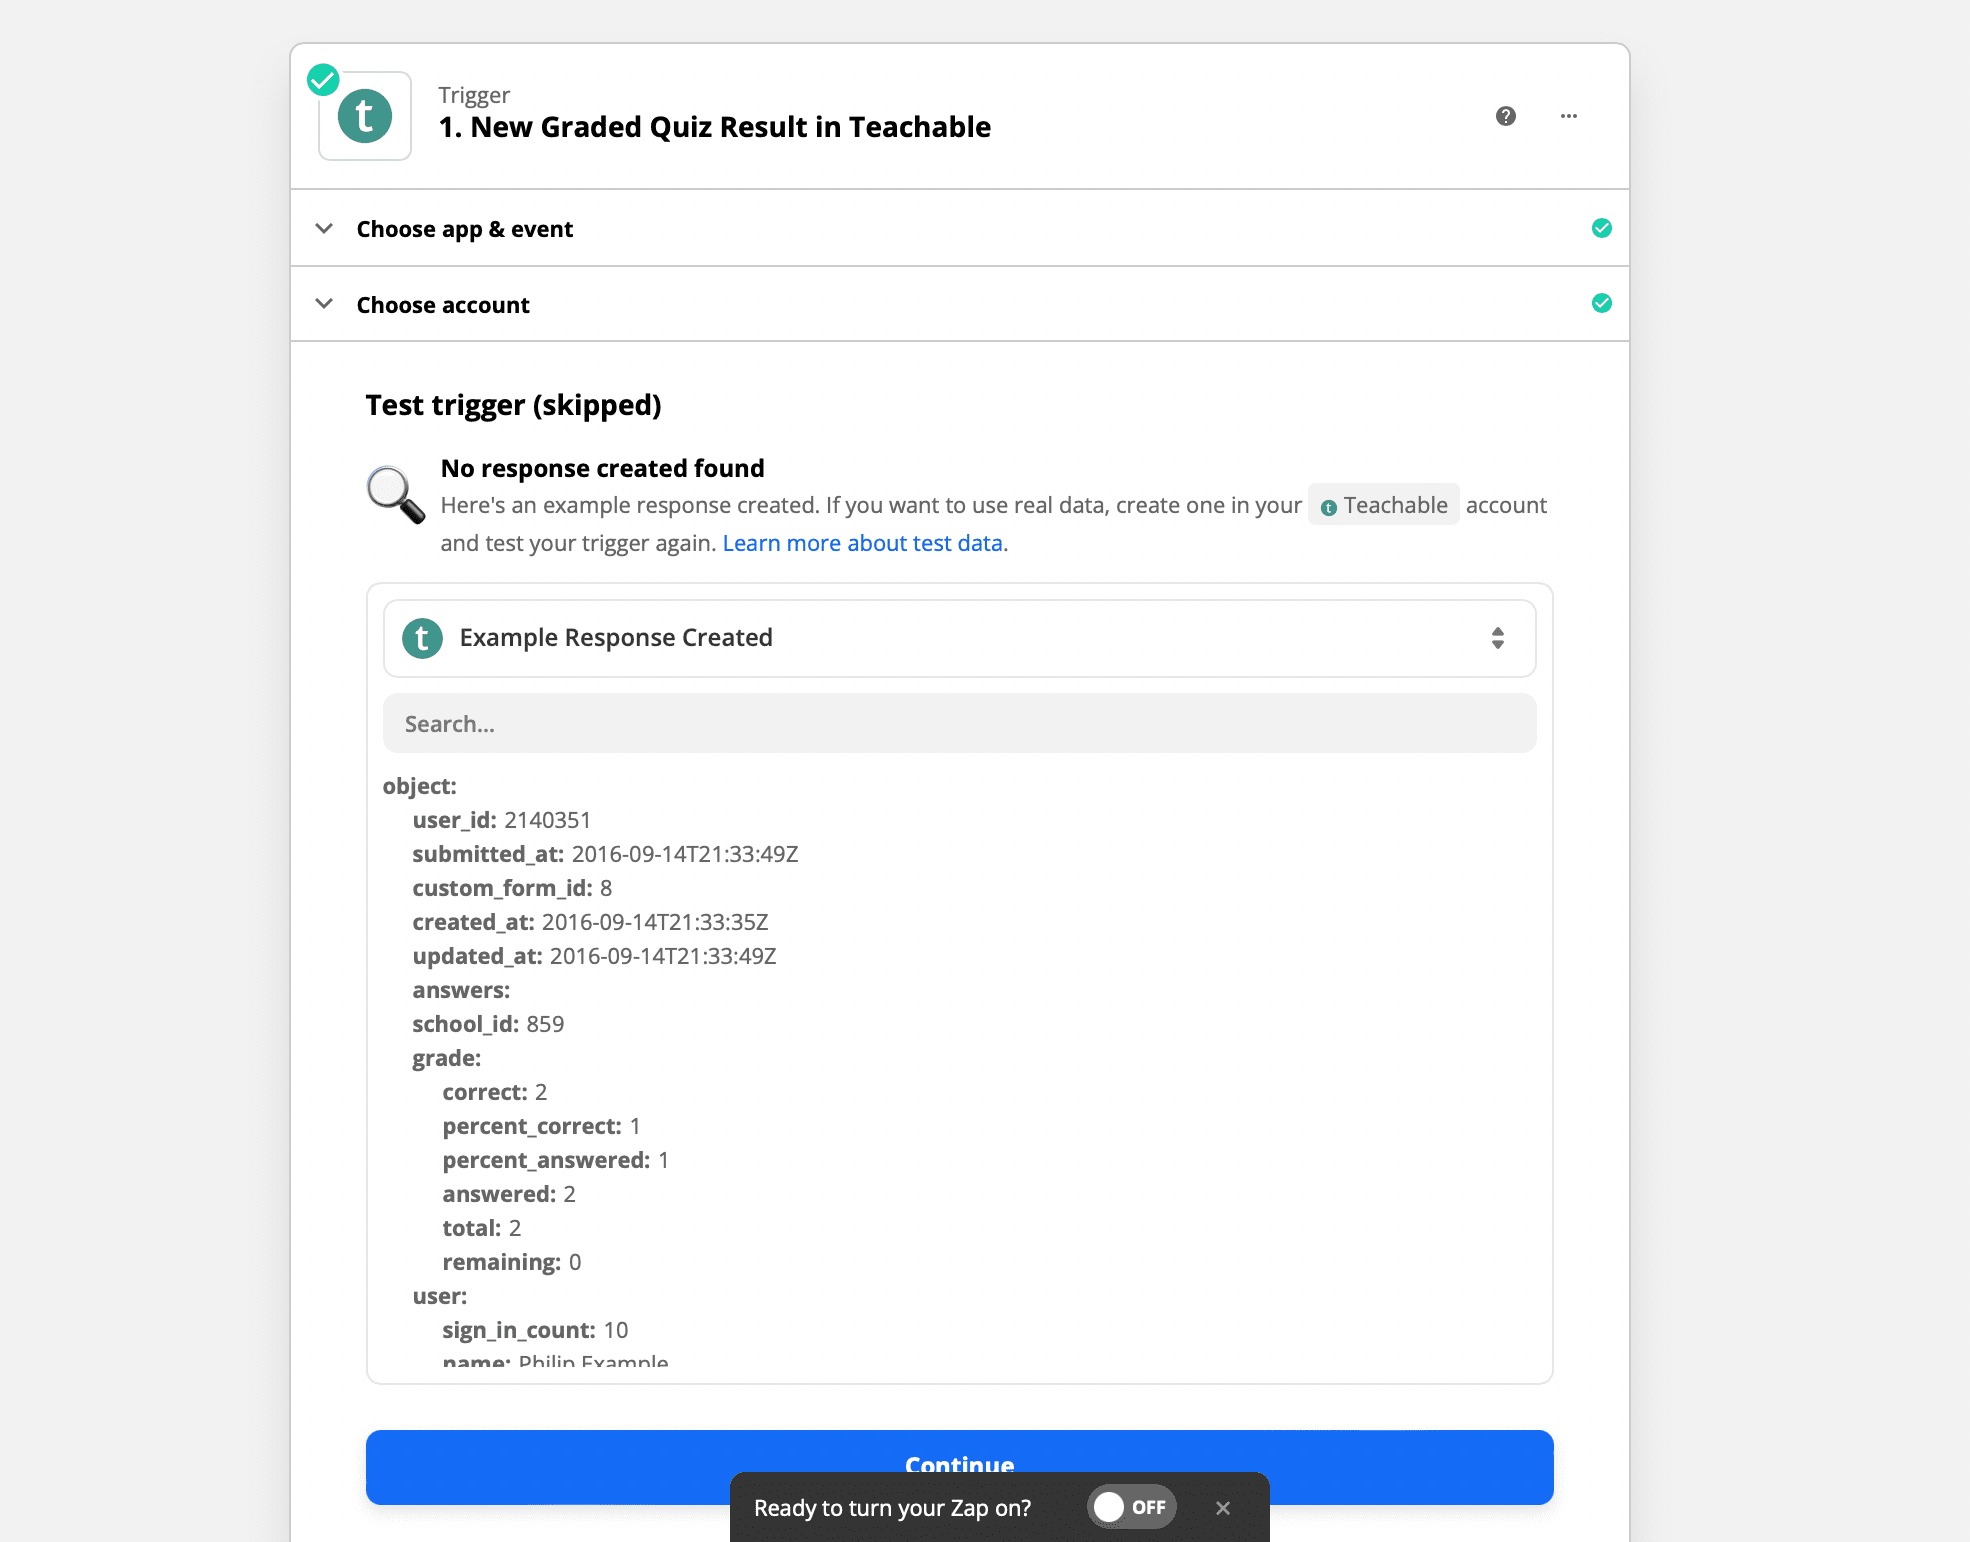
Click Continue. That's Part 1 done! Now to set up what we want to happen.
Action 1: Format Date
Choose Formatter by Zapier as the app to be connected to and select Date/Time as the action event:
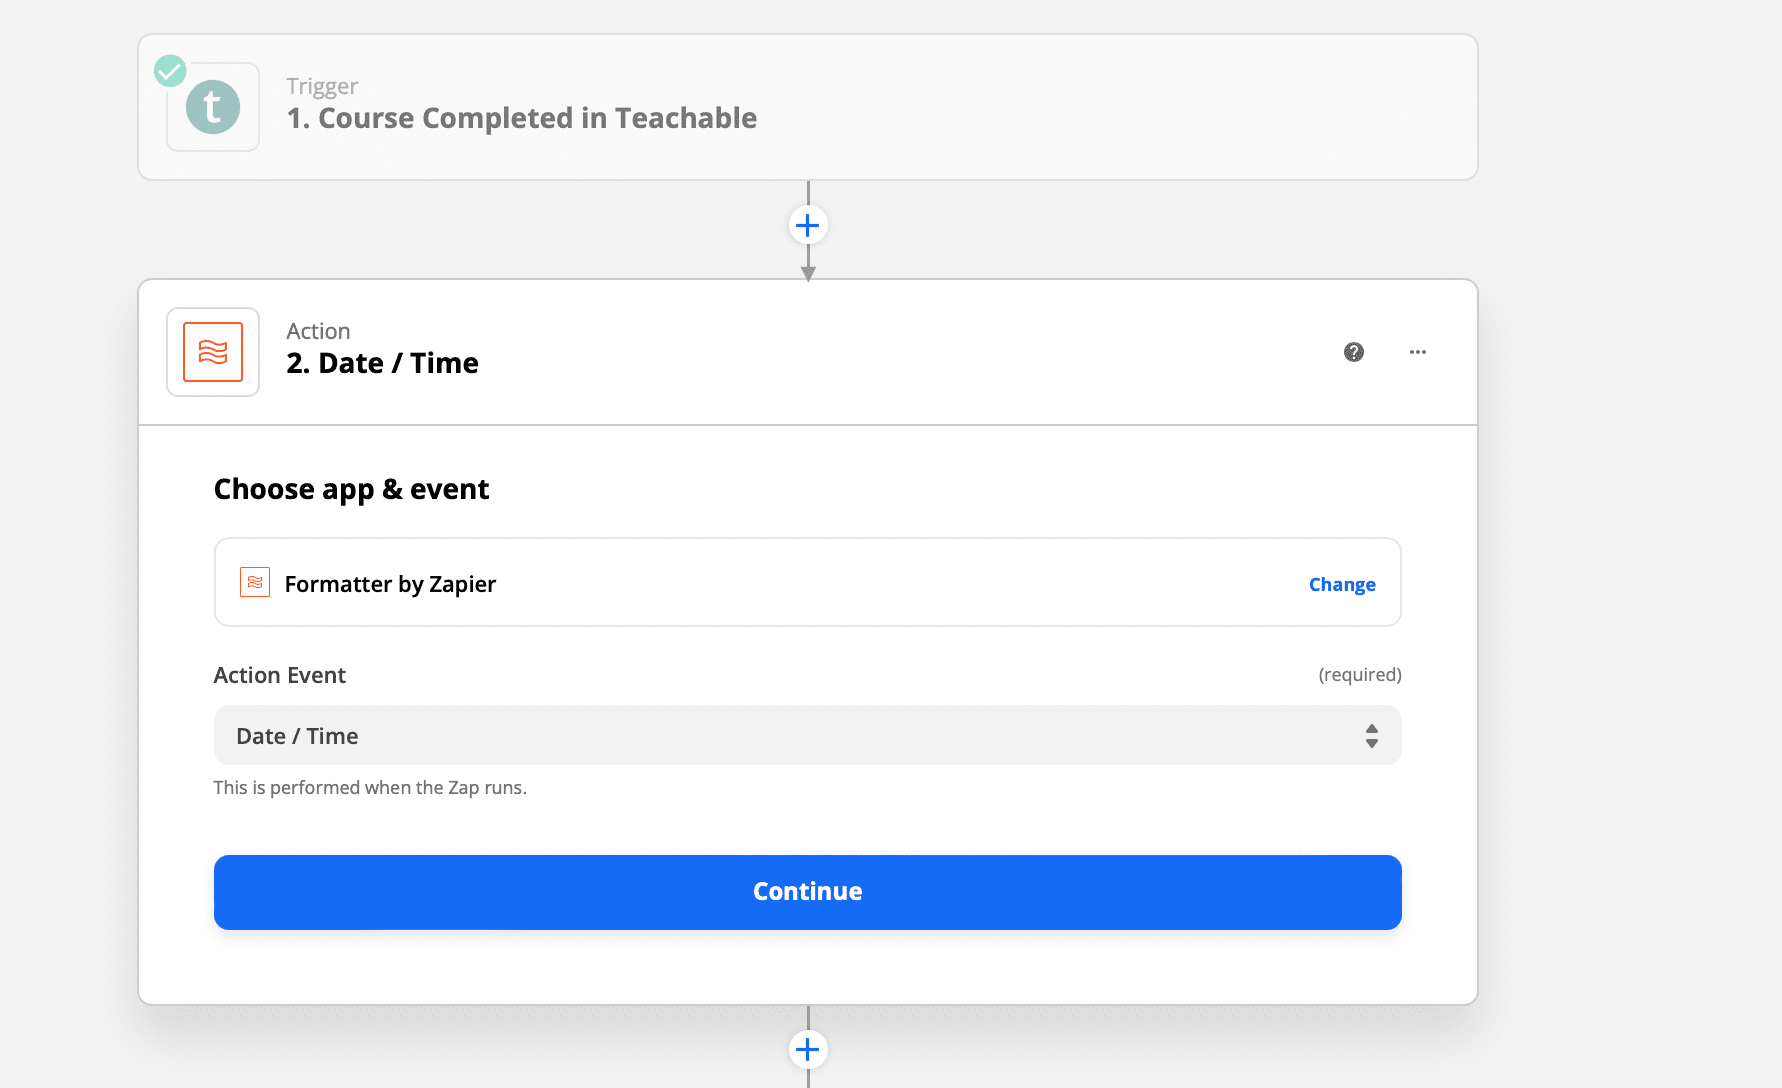
Click Continue.
In the Transform dropdown menu, select Format and select the Webhook Event Created At as the date you would like to format:
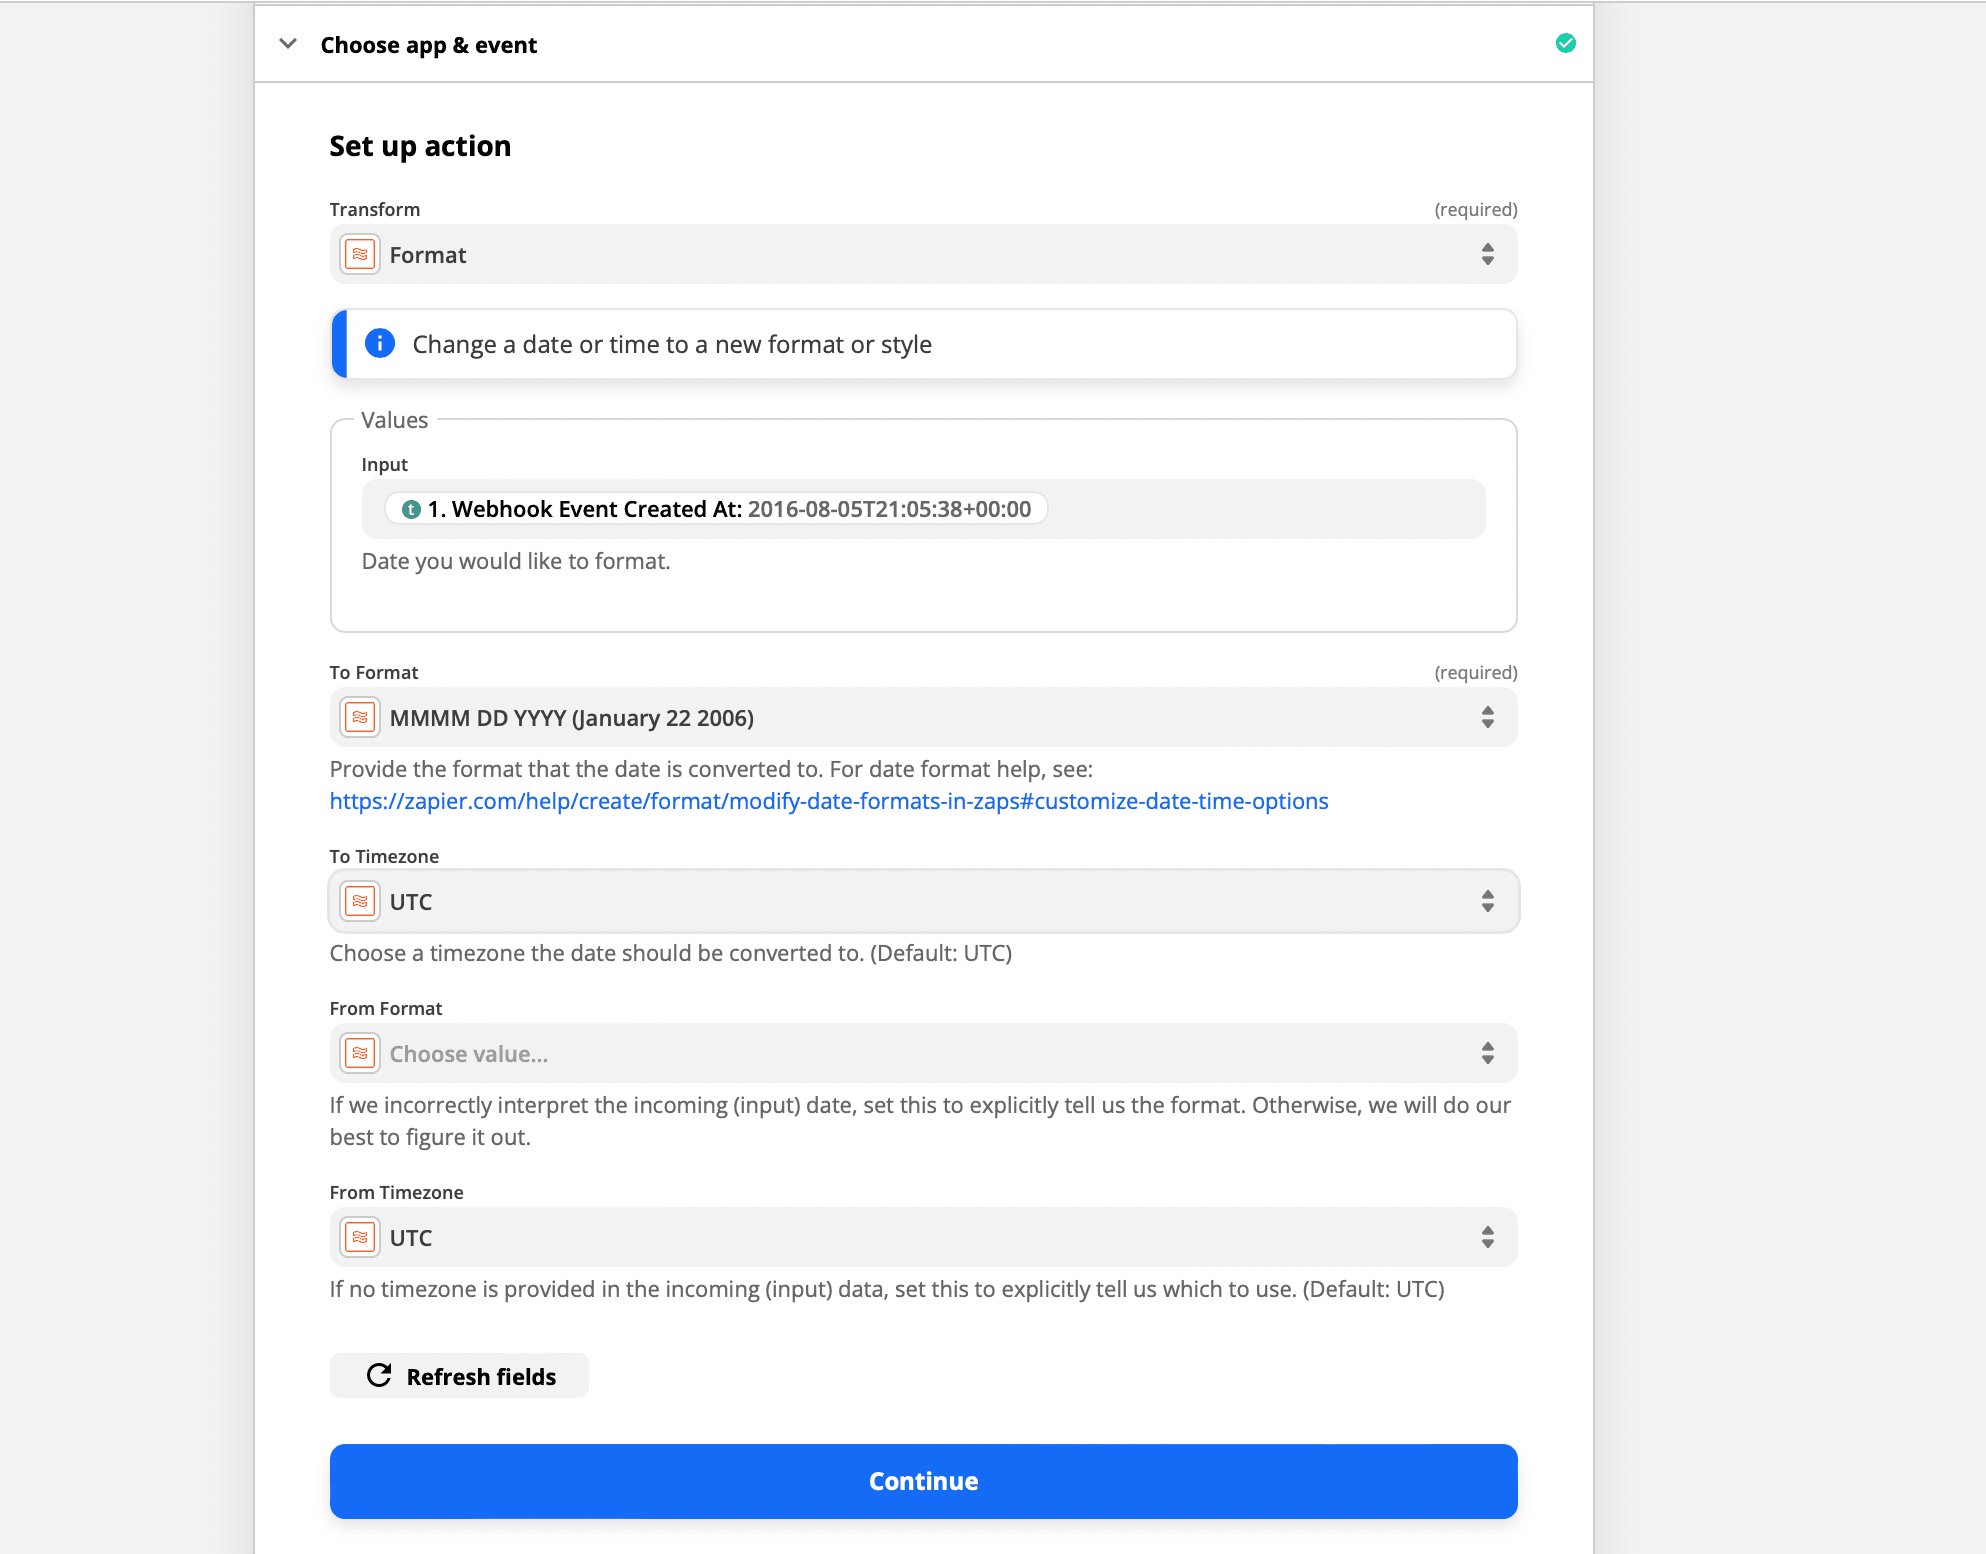
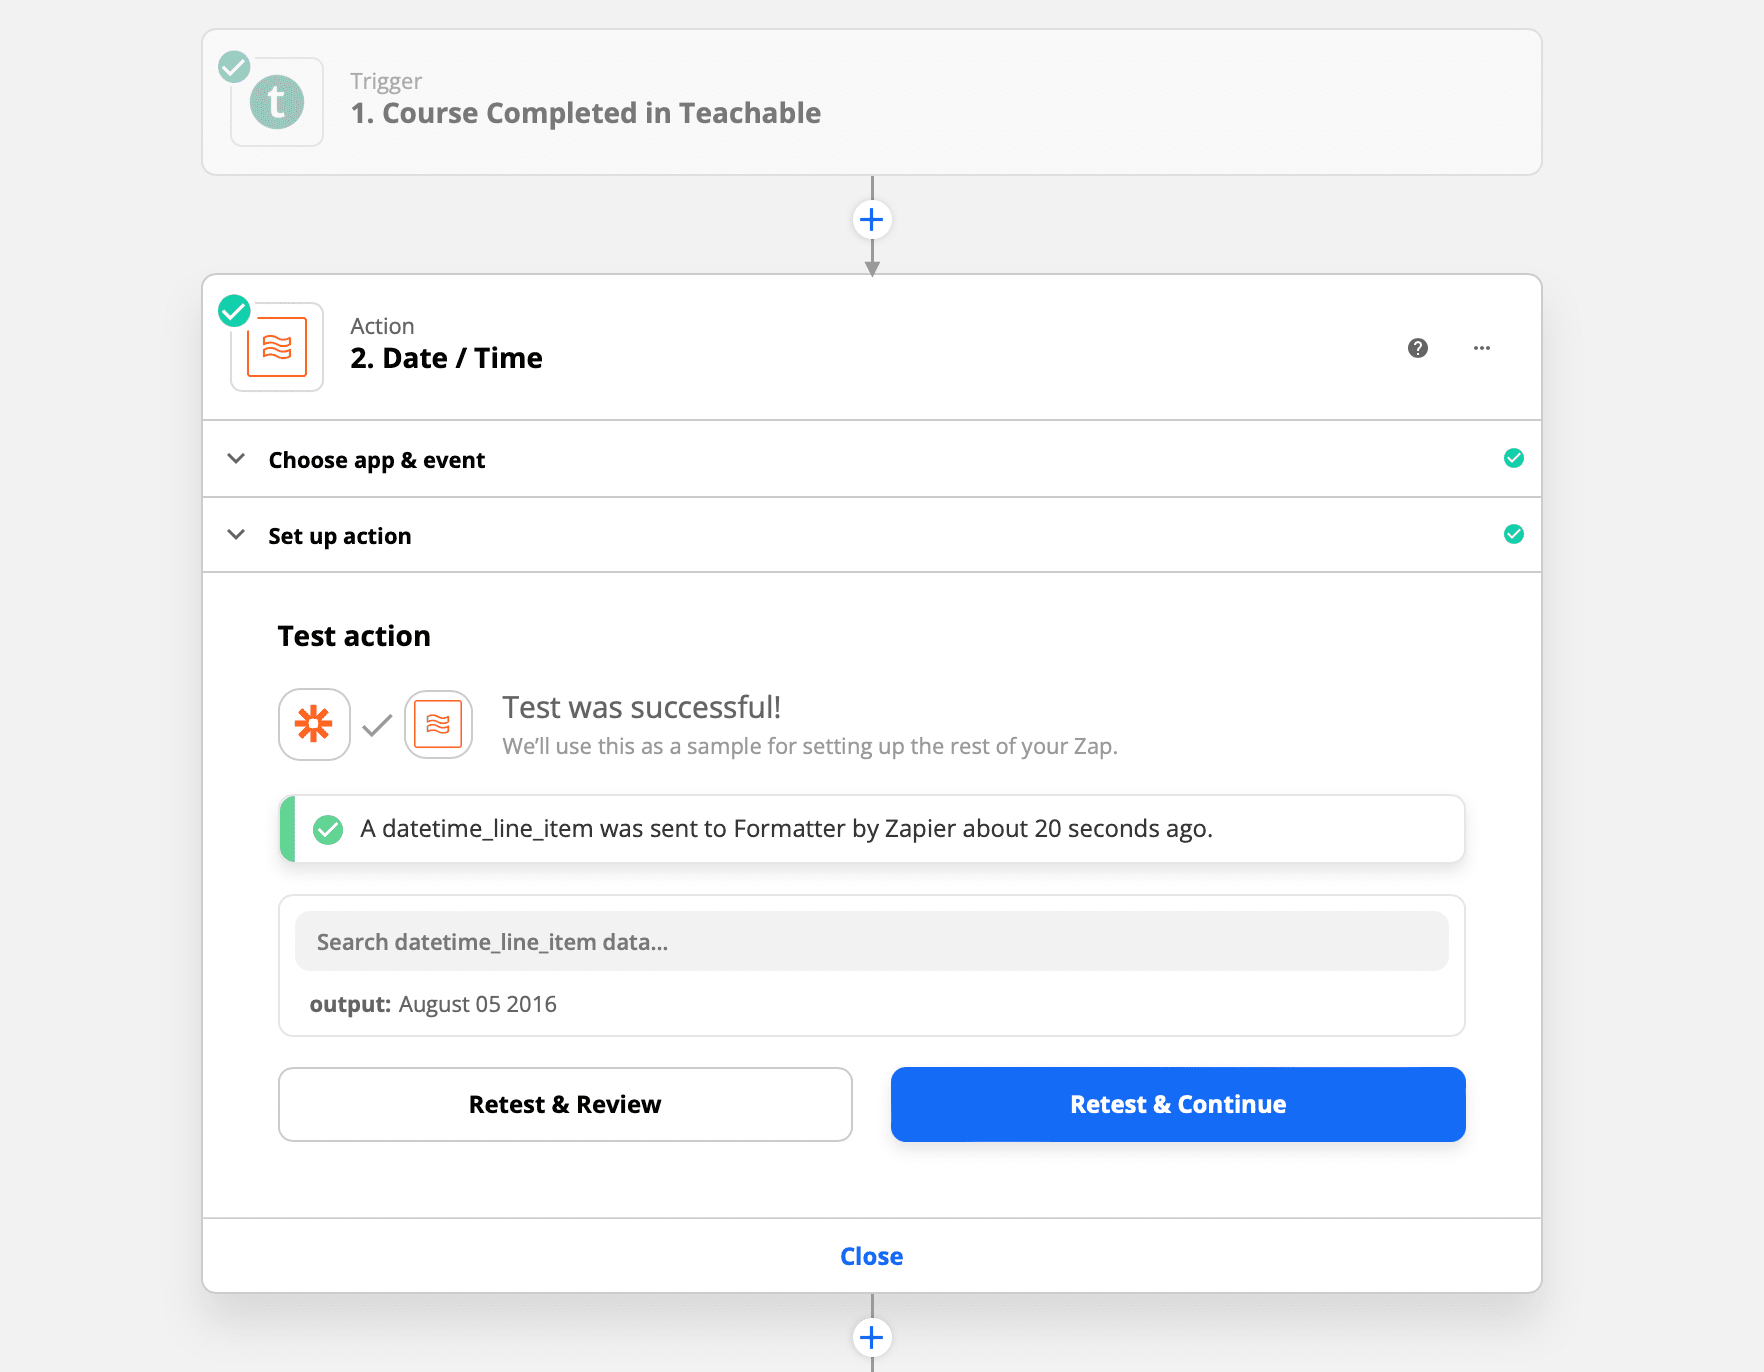
Click continue to proceed to test action. The result will be presented as:
Action 2: Create Image
When the zap is triggered by a new record on Teachable, we want to create an image in Bannerbear. You need the Project API key retrieved earlier to allow Zapier to access your Bannerbear account.
Choose Bannerbear as the app to be connected to and select Create Image as the action event.
When you are finished, click Continue:

Select the certificate template you created earlier.
Zapier will load the template settings. Select the template ID. You will send the Teachable data to Bannerbear by adjusting the dynamic fields.
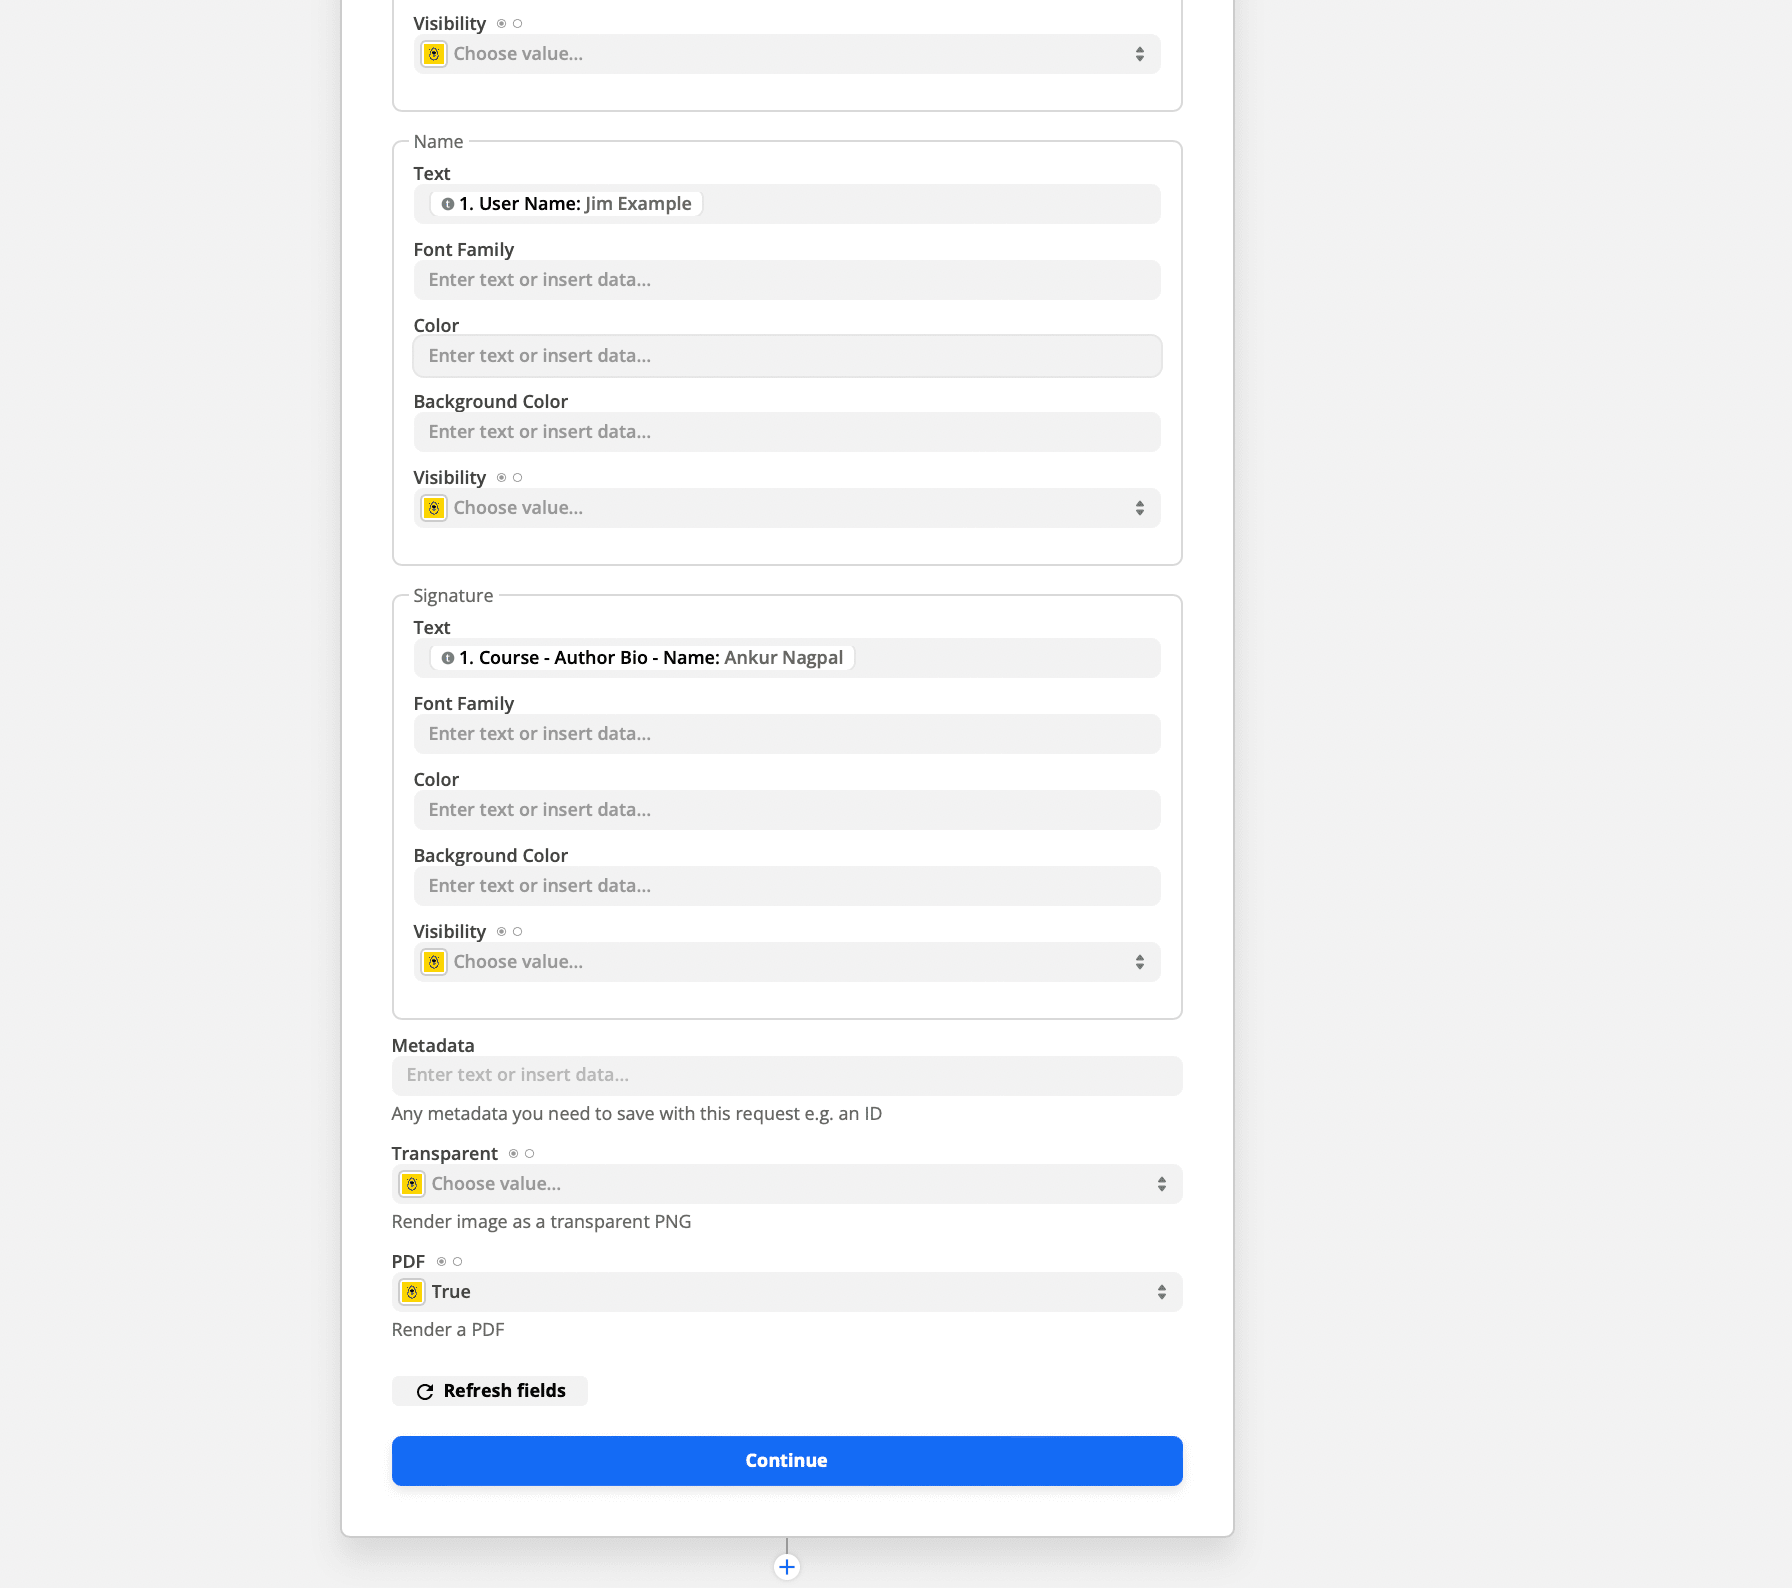
We need to populate the Zapier field by matching the fields. Match the layers in your certificate to Teachable:
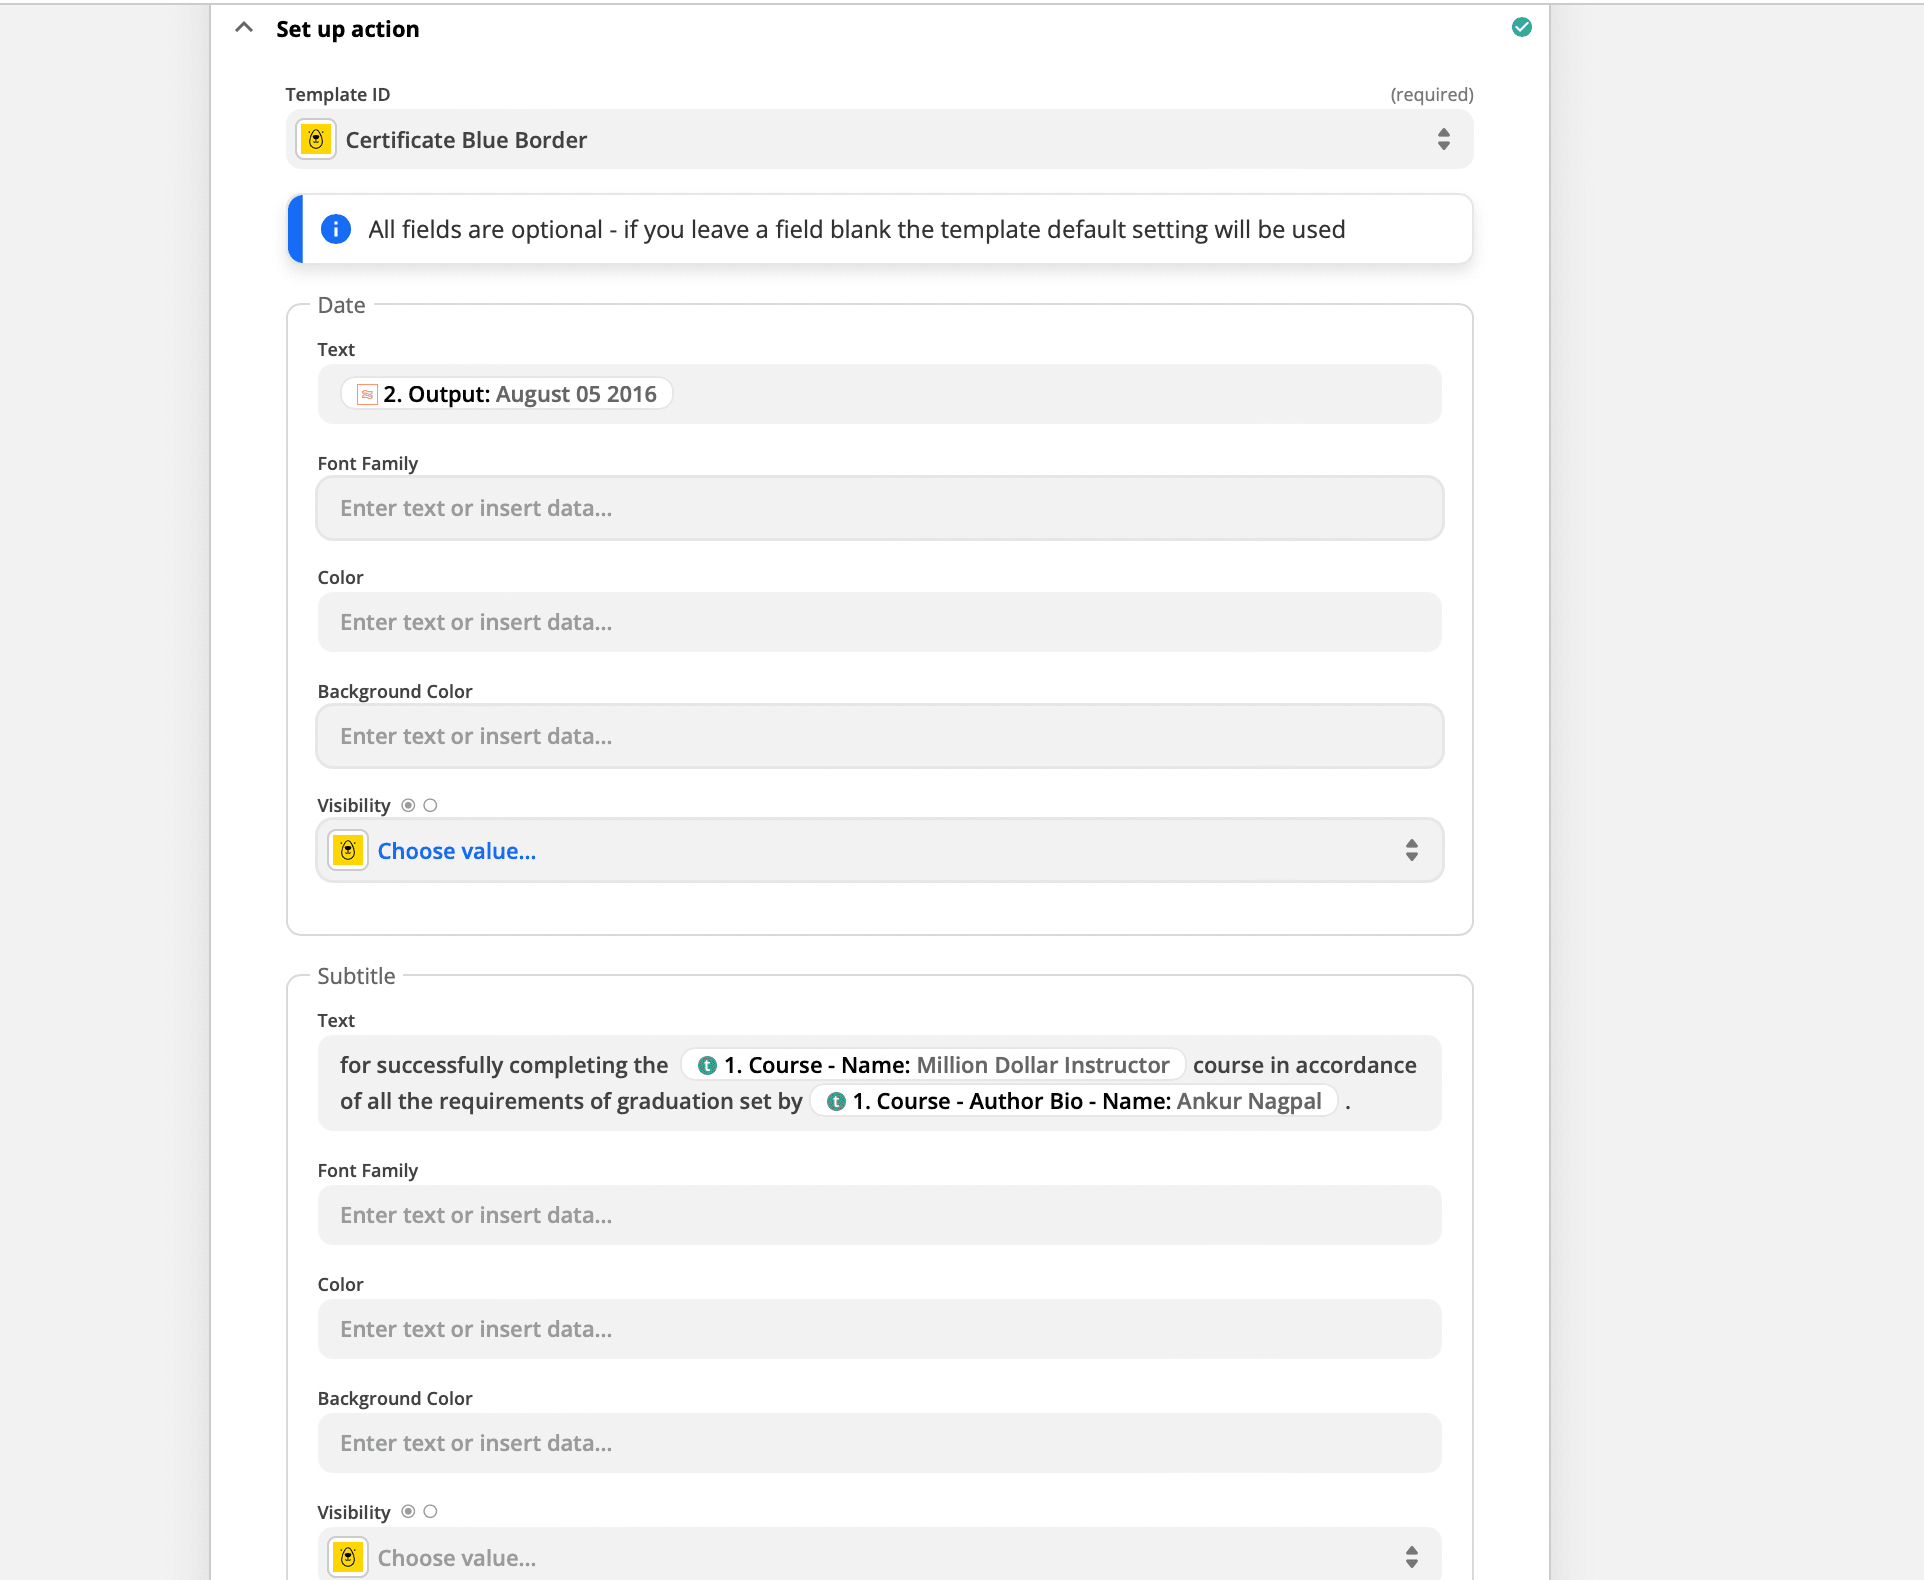
Match the participant's name and use the author's name as the signature, alternatively upload a signature. Then in the PDF Type dropdown, select True:
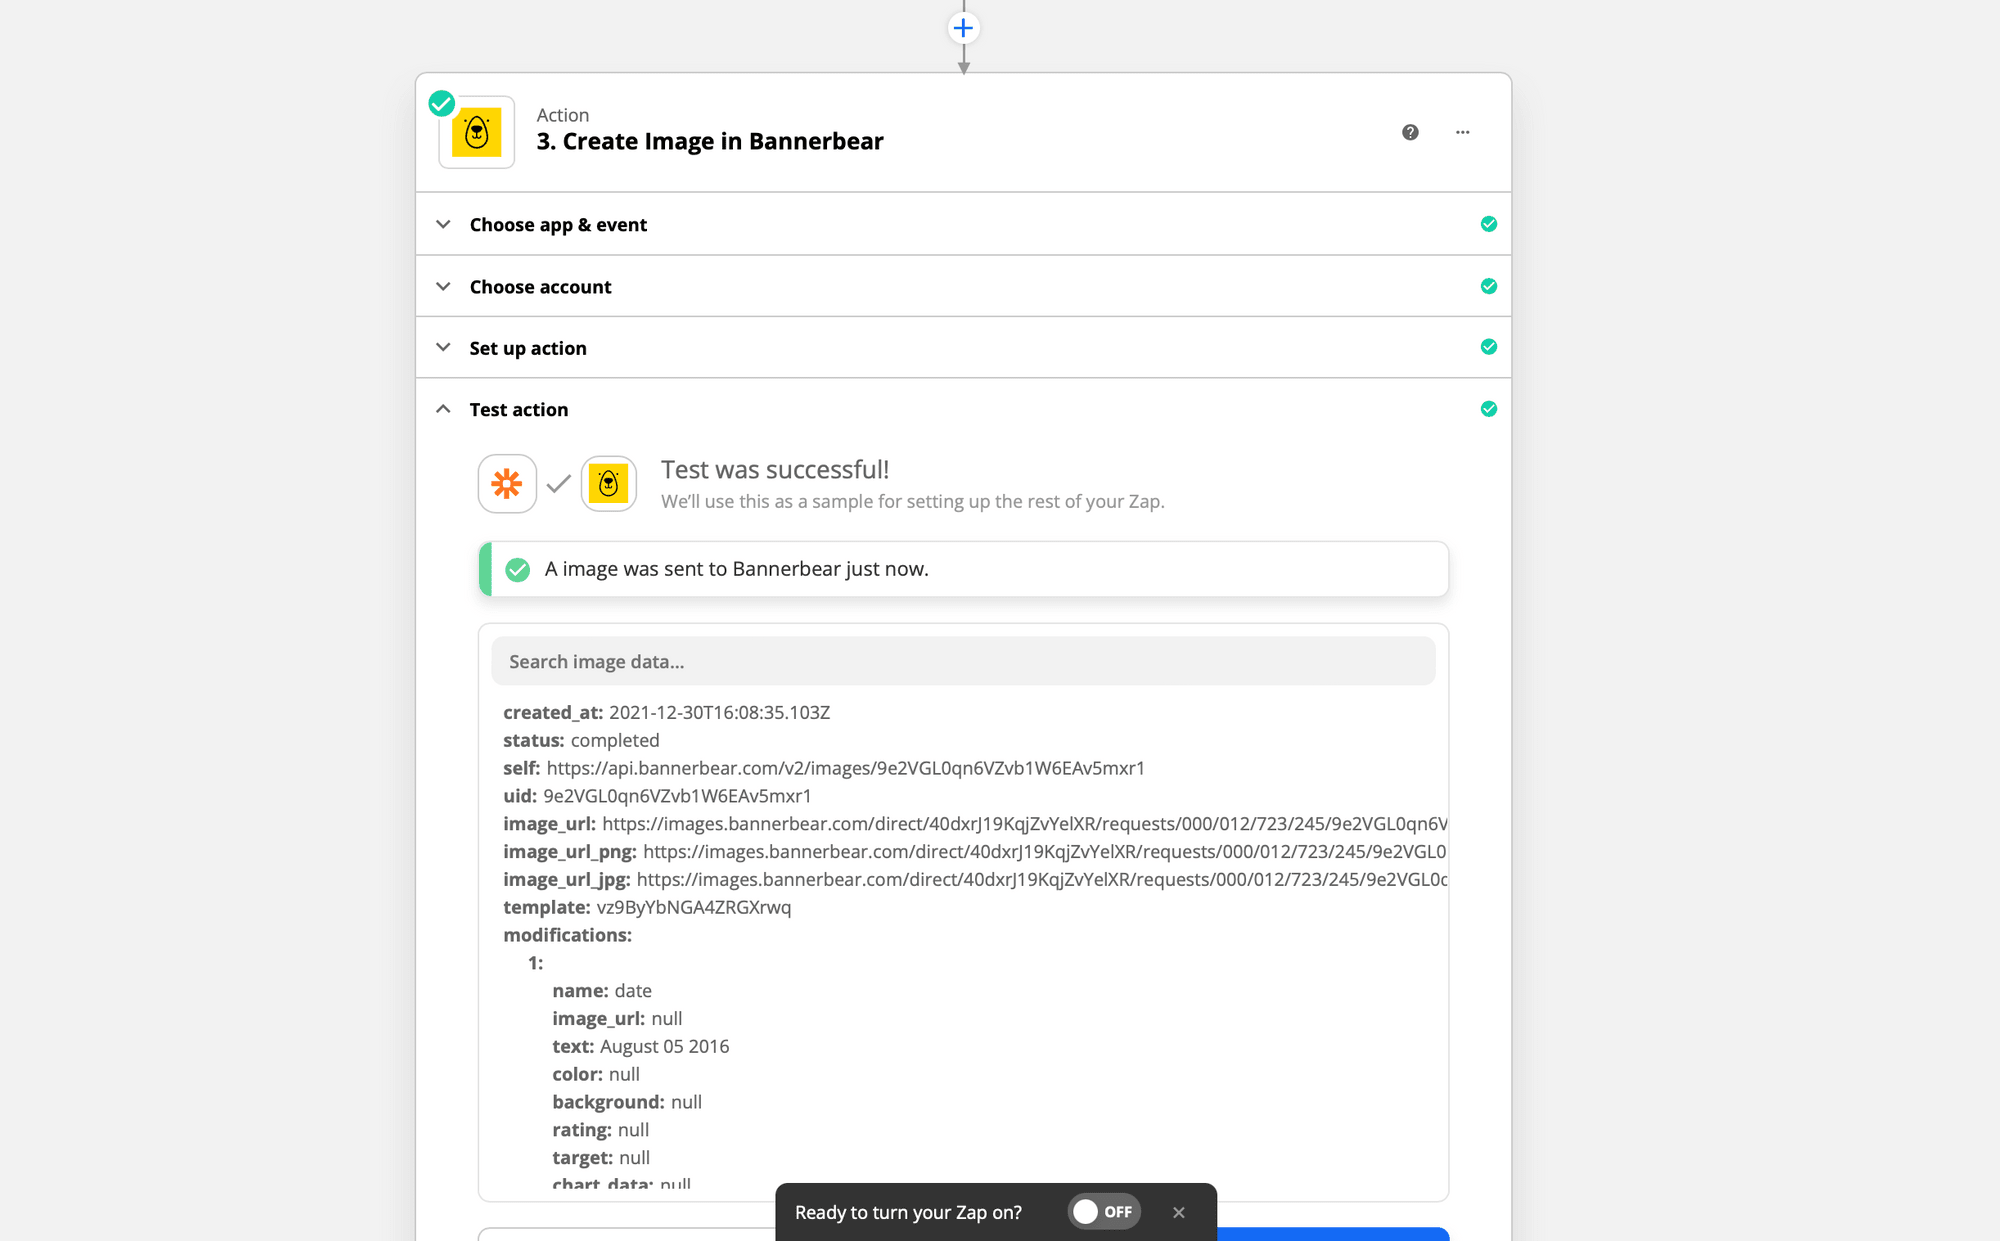
Next, click the Test & Continue button to test that the PDF is displayed correctly. Copy and paste the image_url to your browser:
If everything works fine, add another action using the + button.
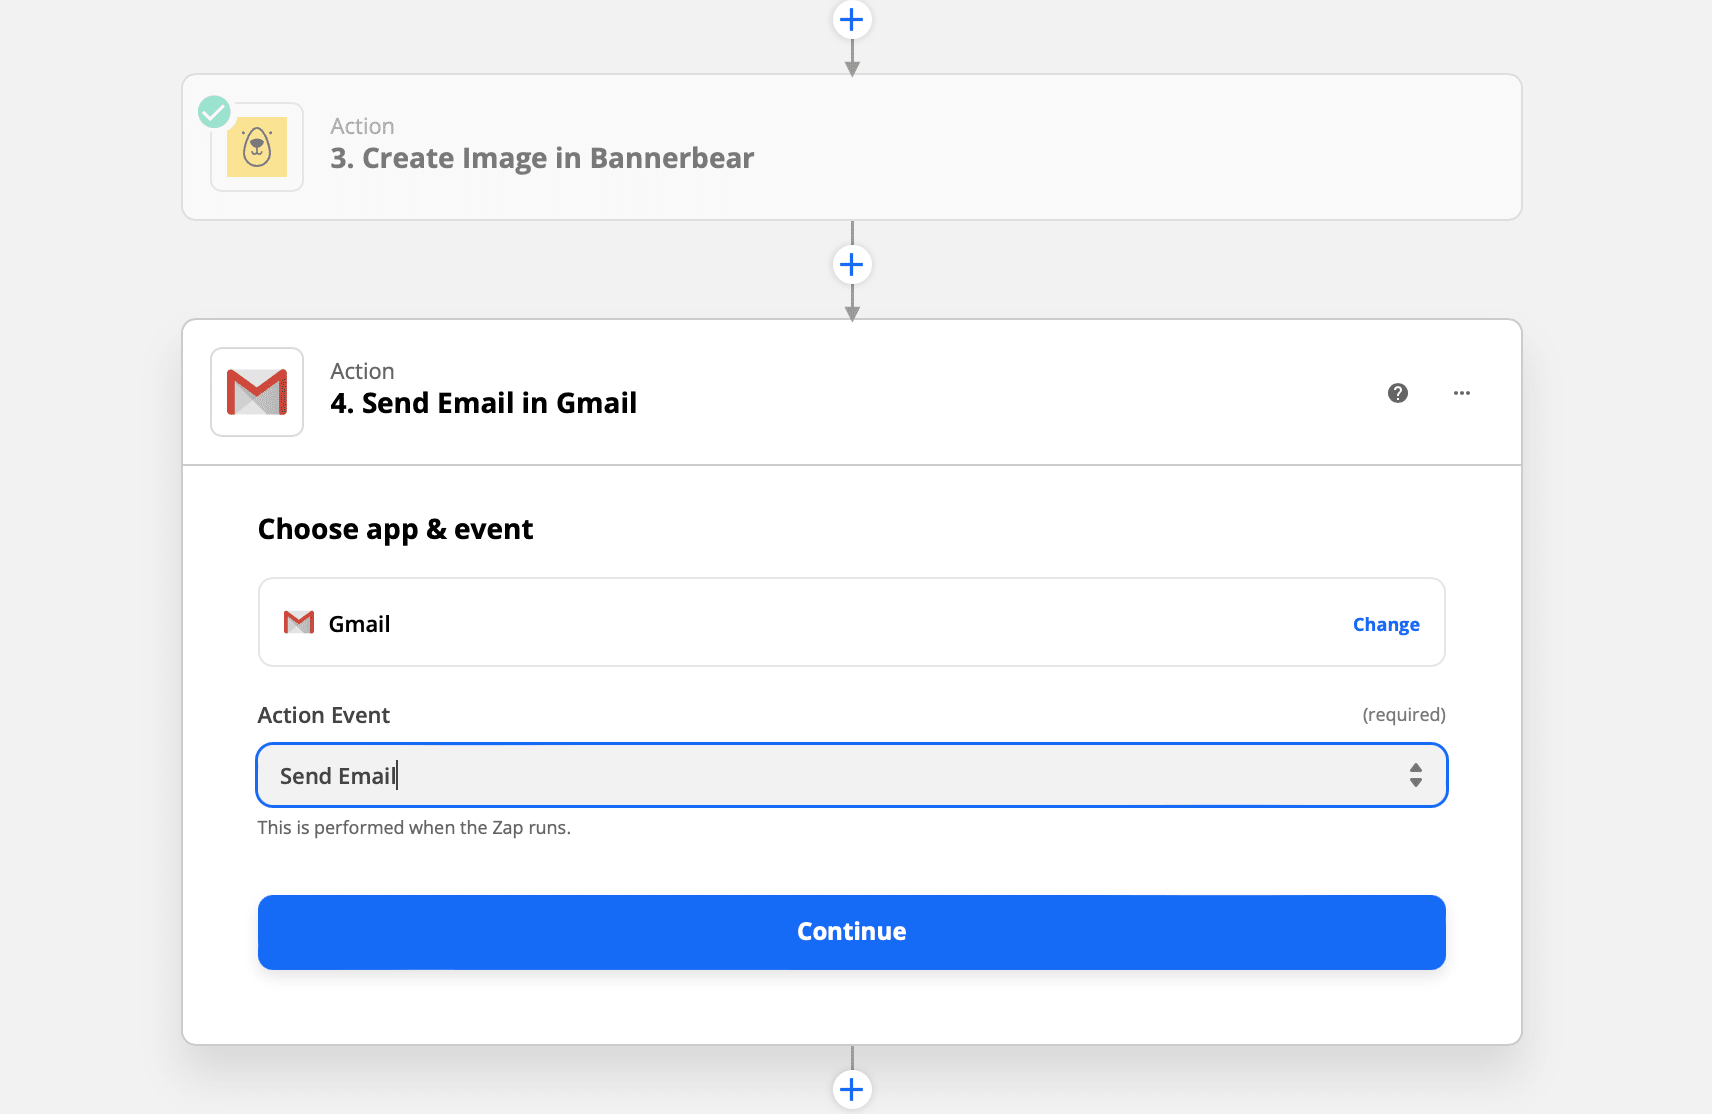
Action 3: Send out an email with Gmail
Create a new zap. Choose Gmail as the app to be connected to and select Create Tweet as the action event:
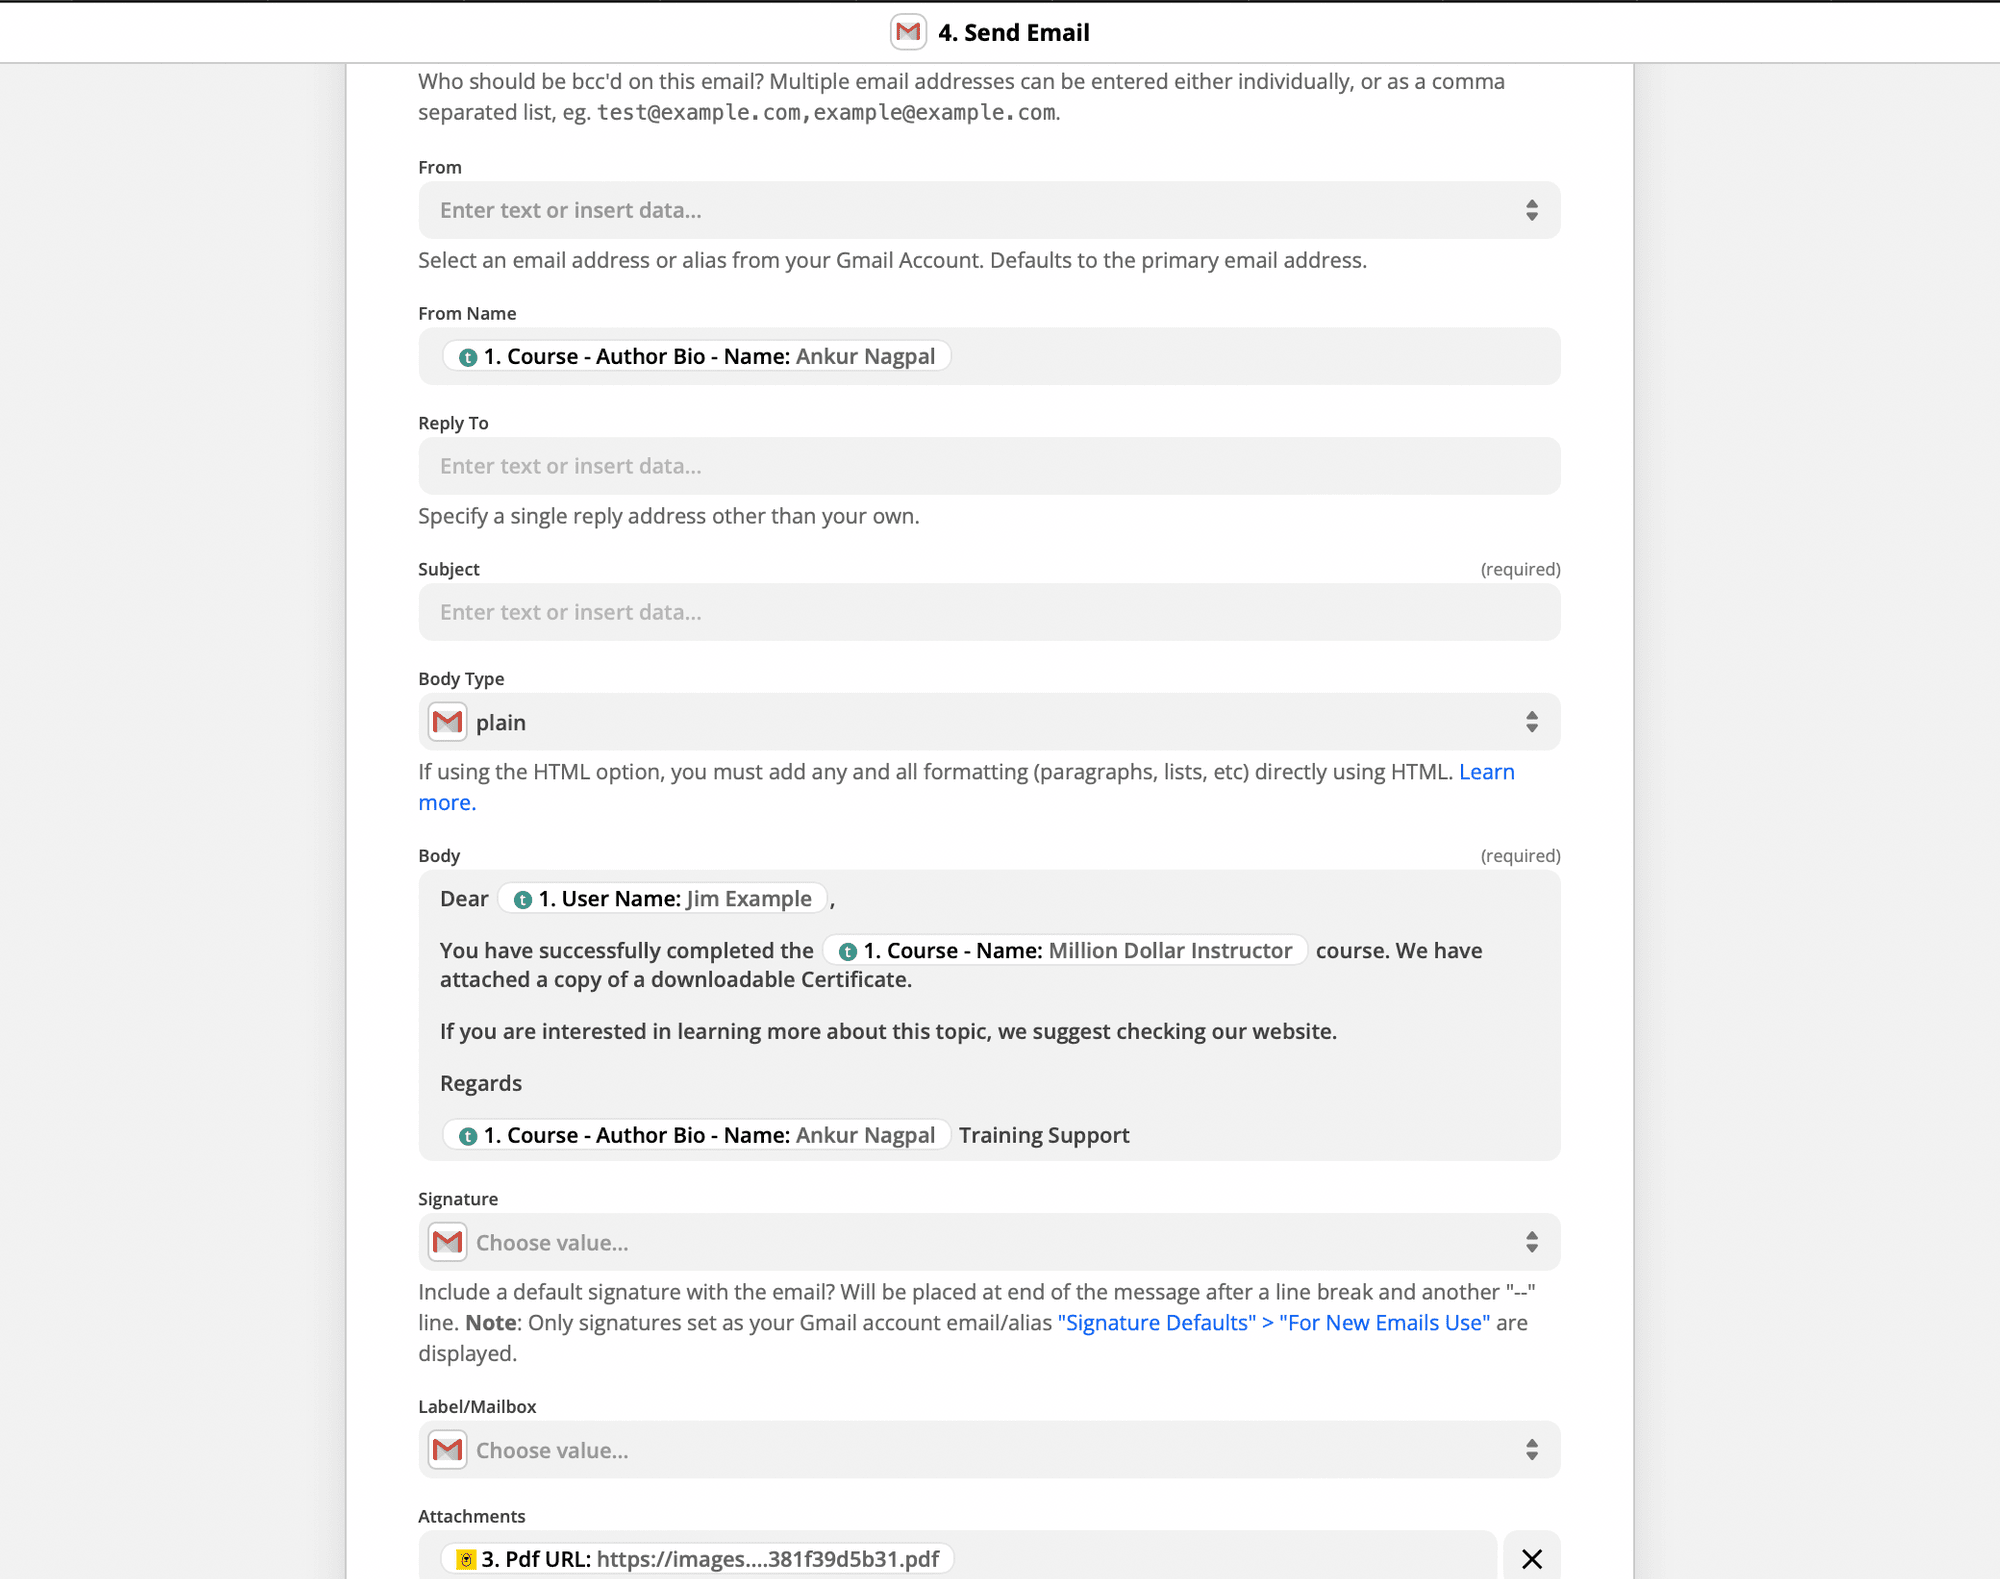
The emails we want to send out to the student and will have information like their name, the course they took, the instructor’s name and whether or not a certificate is available.
The next step allows you to customise the email subject and body with variables to automatically populate student details based on previously recorded information:
- To: Reference the user’s email from the trigger zap
- From: Select an email address or alias from your Gmail Account.
- From Name: Course author bio name
- Reply To: Your email (or alternate desired email) address
- Subject: You can use tags here if you would like to include personalized information in the email subject line
- Body: You can use tags here if you would like to include individualized information in the email body
- Attachments: The PDF URL is the same one generated by Bannerbear.
The variables in the course completion email will auto-fill out each of the noted fields.
Bear Tip 🐻 Before sending the certificate to participants, first send a test email to yourself. You can now test the Zap you've just made and viola!
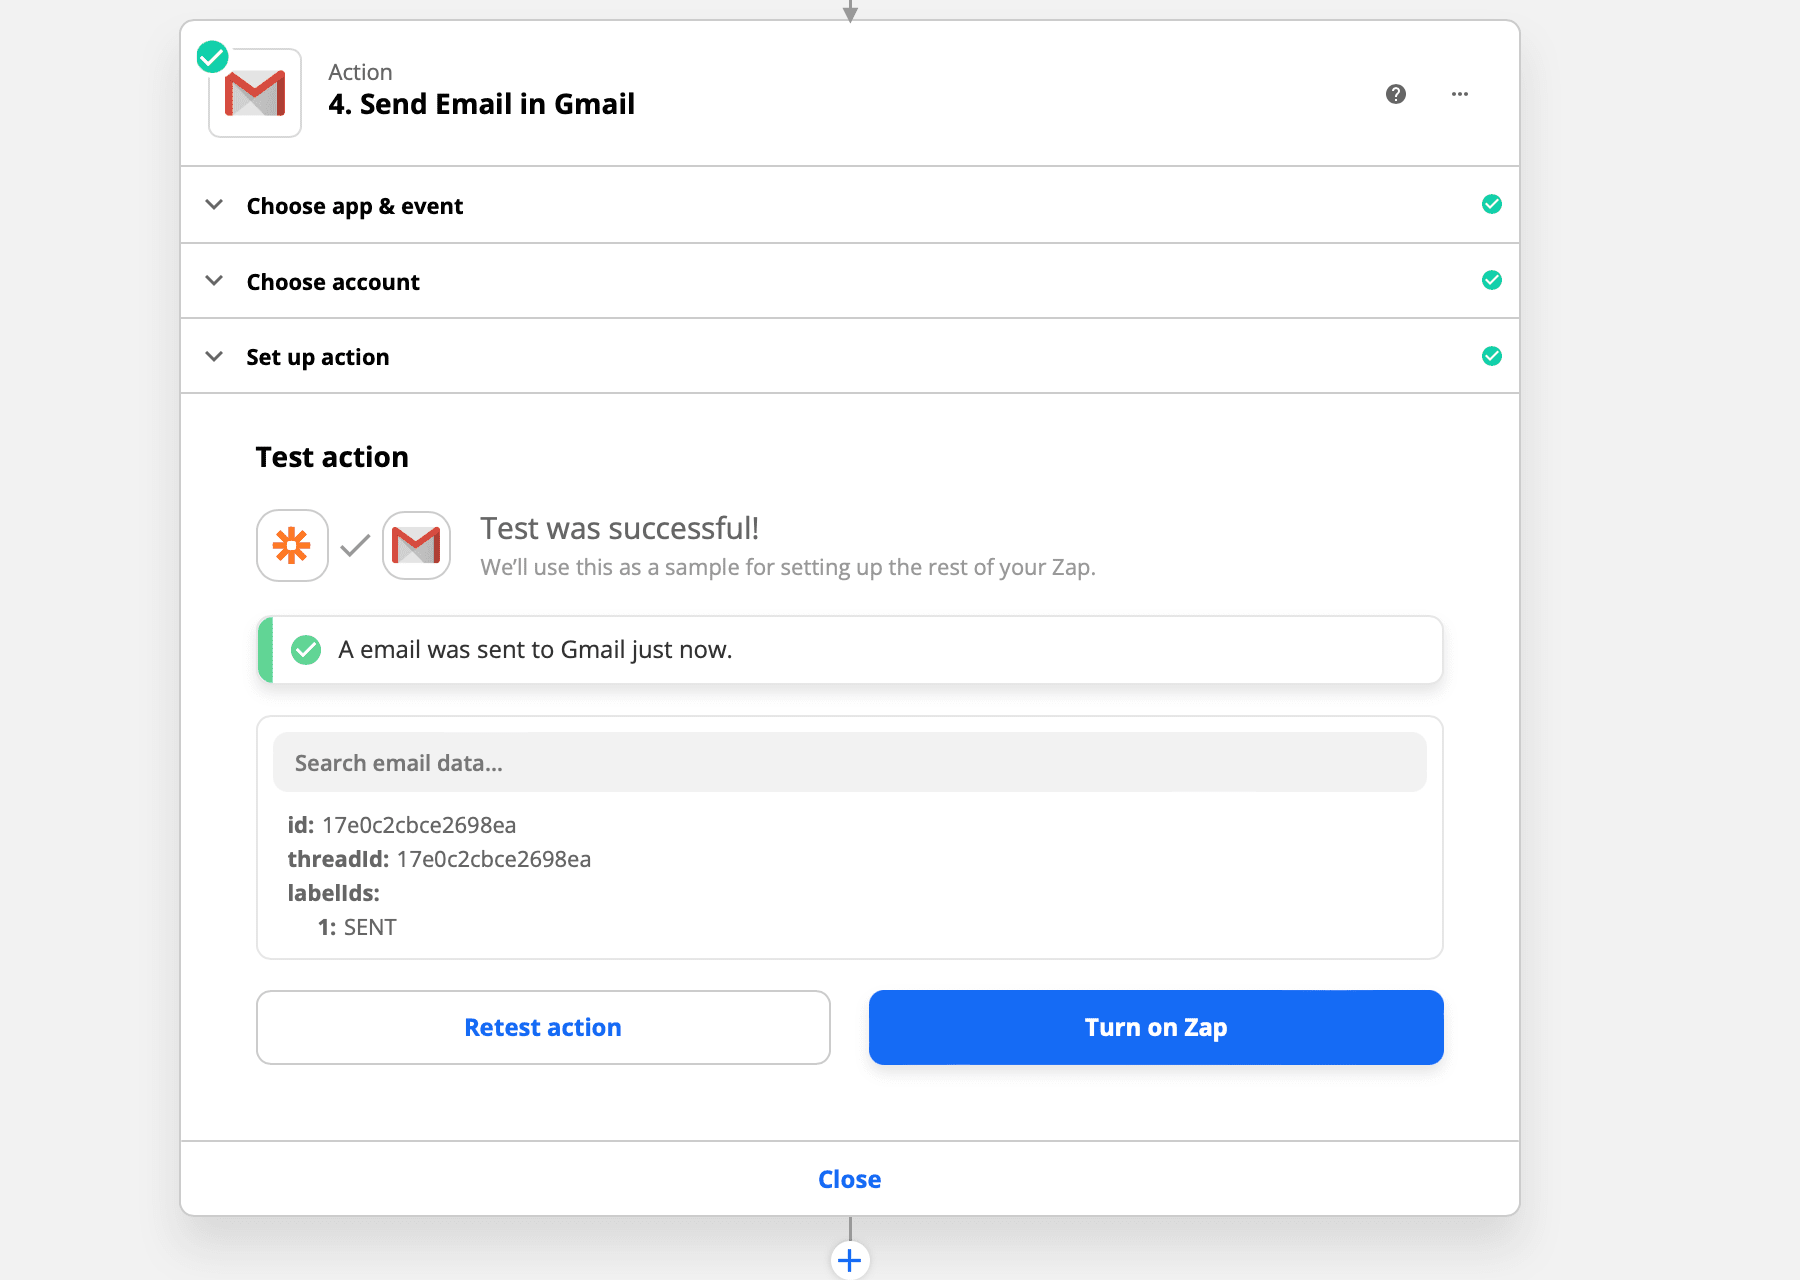
Turn on Zap. Anytime a record is marked as completed, it triggers creating a PDF.
An email like this with an automated certificate will be sent to anyone who completes a course on your platform:
What’s Next
Alongside sending the certificates to the participants, you can also add a zap to hold the generated certificates in a designated folder on Google Drive.
Looking for inspiration to automate rudimentary PDF tasks? Check out our library of automation tutorials.