
How to Get Started with Cursor IDE: A Complete Setup Guide for Developers
Contents
Building applications and writing code look completely different today compared to just a few years ago. According to Google Cloud’s 2025 DORA report, around 90% of engineering teams now use AI in their daily workflows. It's used for autocompleting functions, refactoring messy code, generating boilerplate, and even debugging errors with clear explanations of what went wrong.
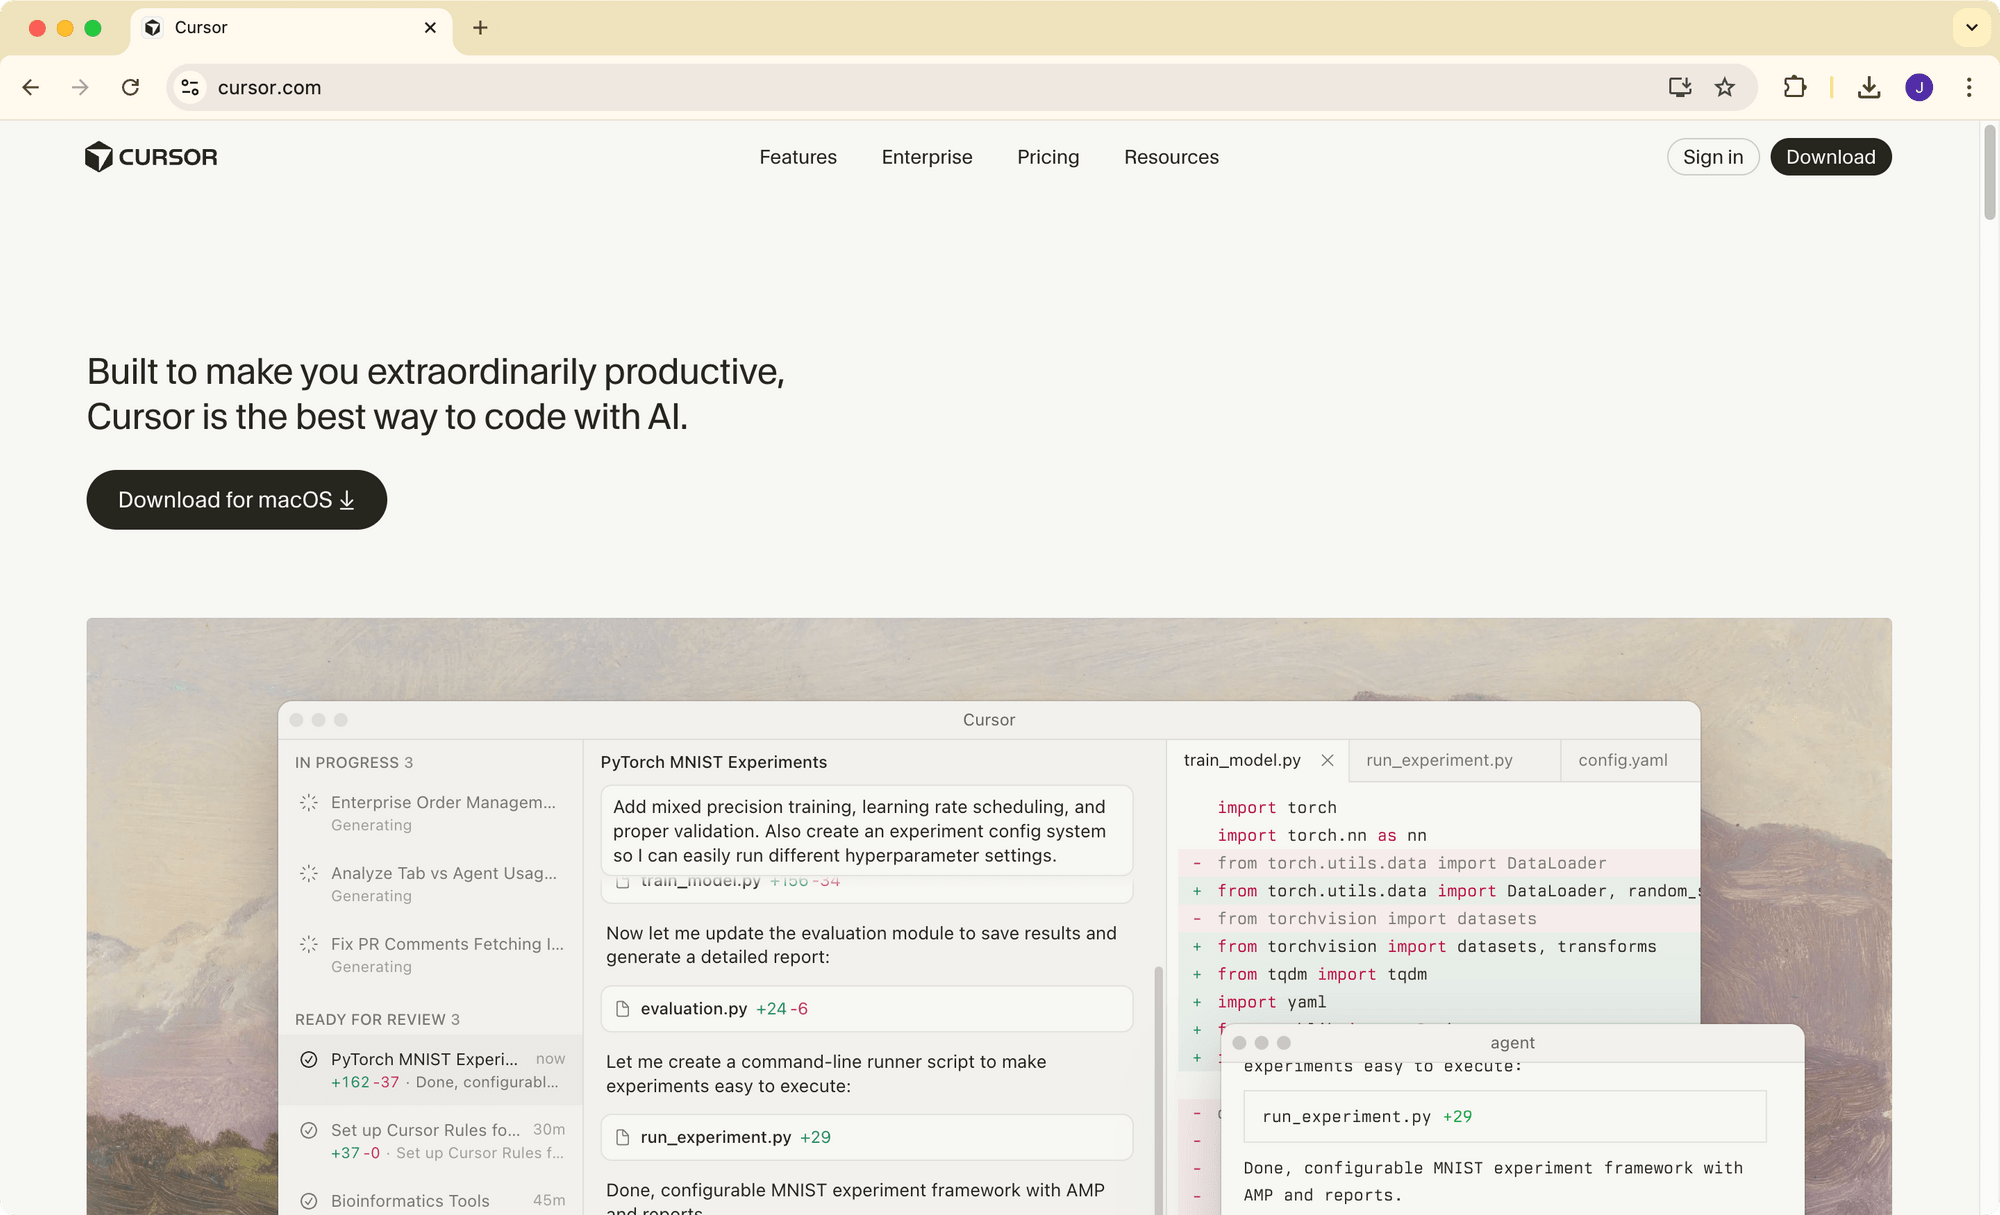
Among all the AI coding assistants available, Cursor stands out as one of the few that's a standalone IDE rather than a plugin you add to your existing editor. While tools like GitHub Copilot and Claude work as extensions inside VS Code or JetBrains, Cursor is an AI-powered IDE itself.
If you've heard about Cursor but haven't tried it yet, this guide will walk you through everything you need to know to get started: downloading Cursor, importing your existing setup, configuring AI models, and tweaking essential settings.
By the end of this tutorial, you'll be ready to work alongside AI to speed up your development. Let's get started!
What is Cursor?
Cursor is an AI-powered IDE and coding agent. Instead of writing every line yourself, describe what you want to build or change in natural language, and Cursor writes the code for you.
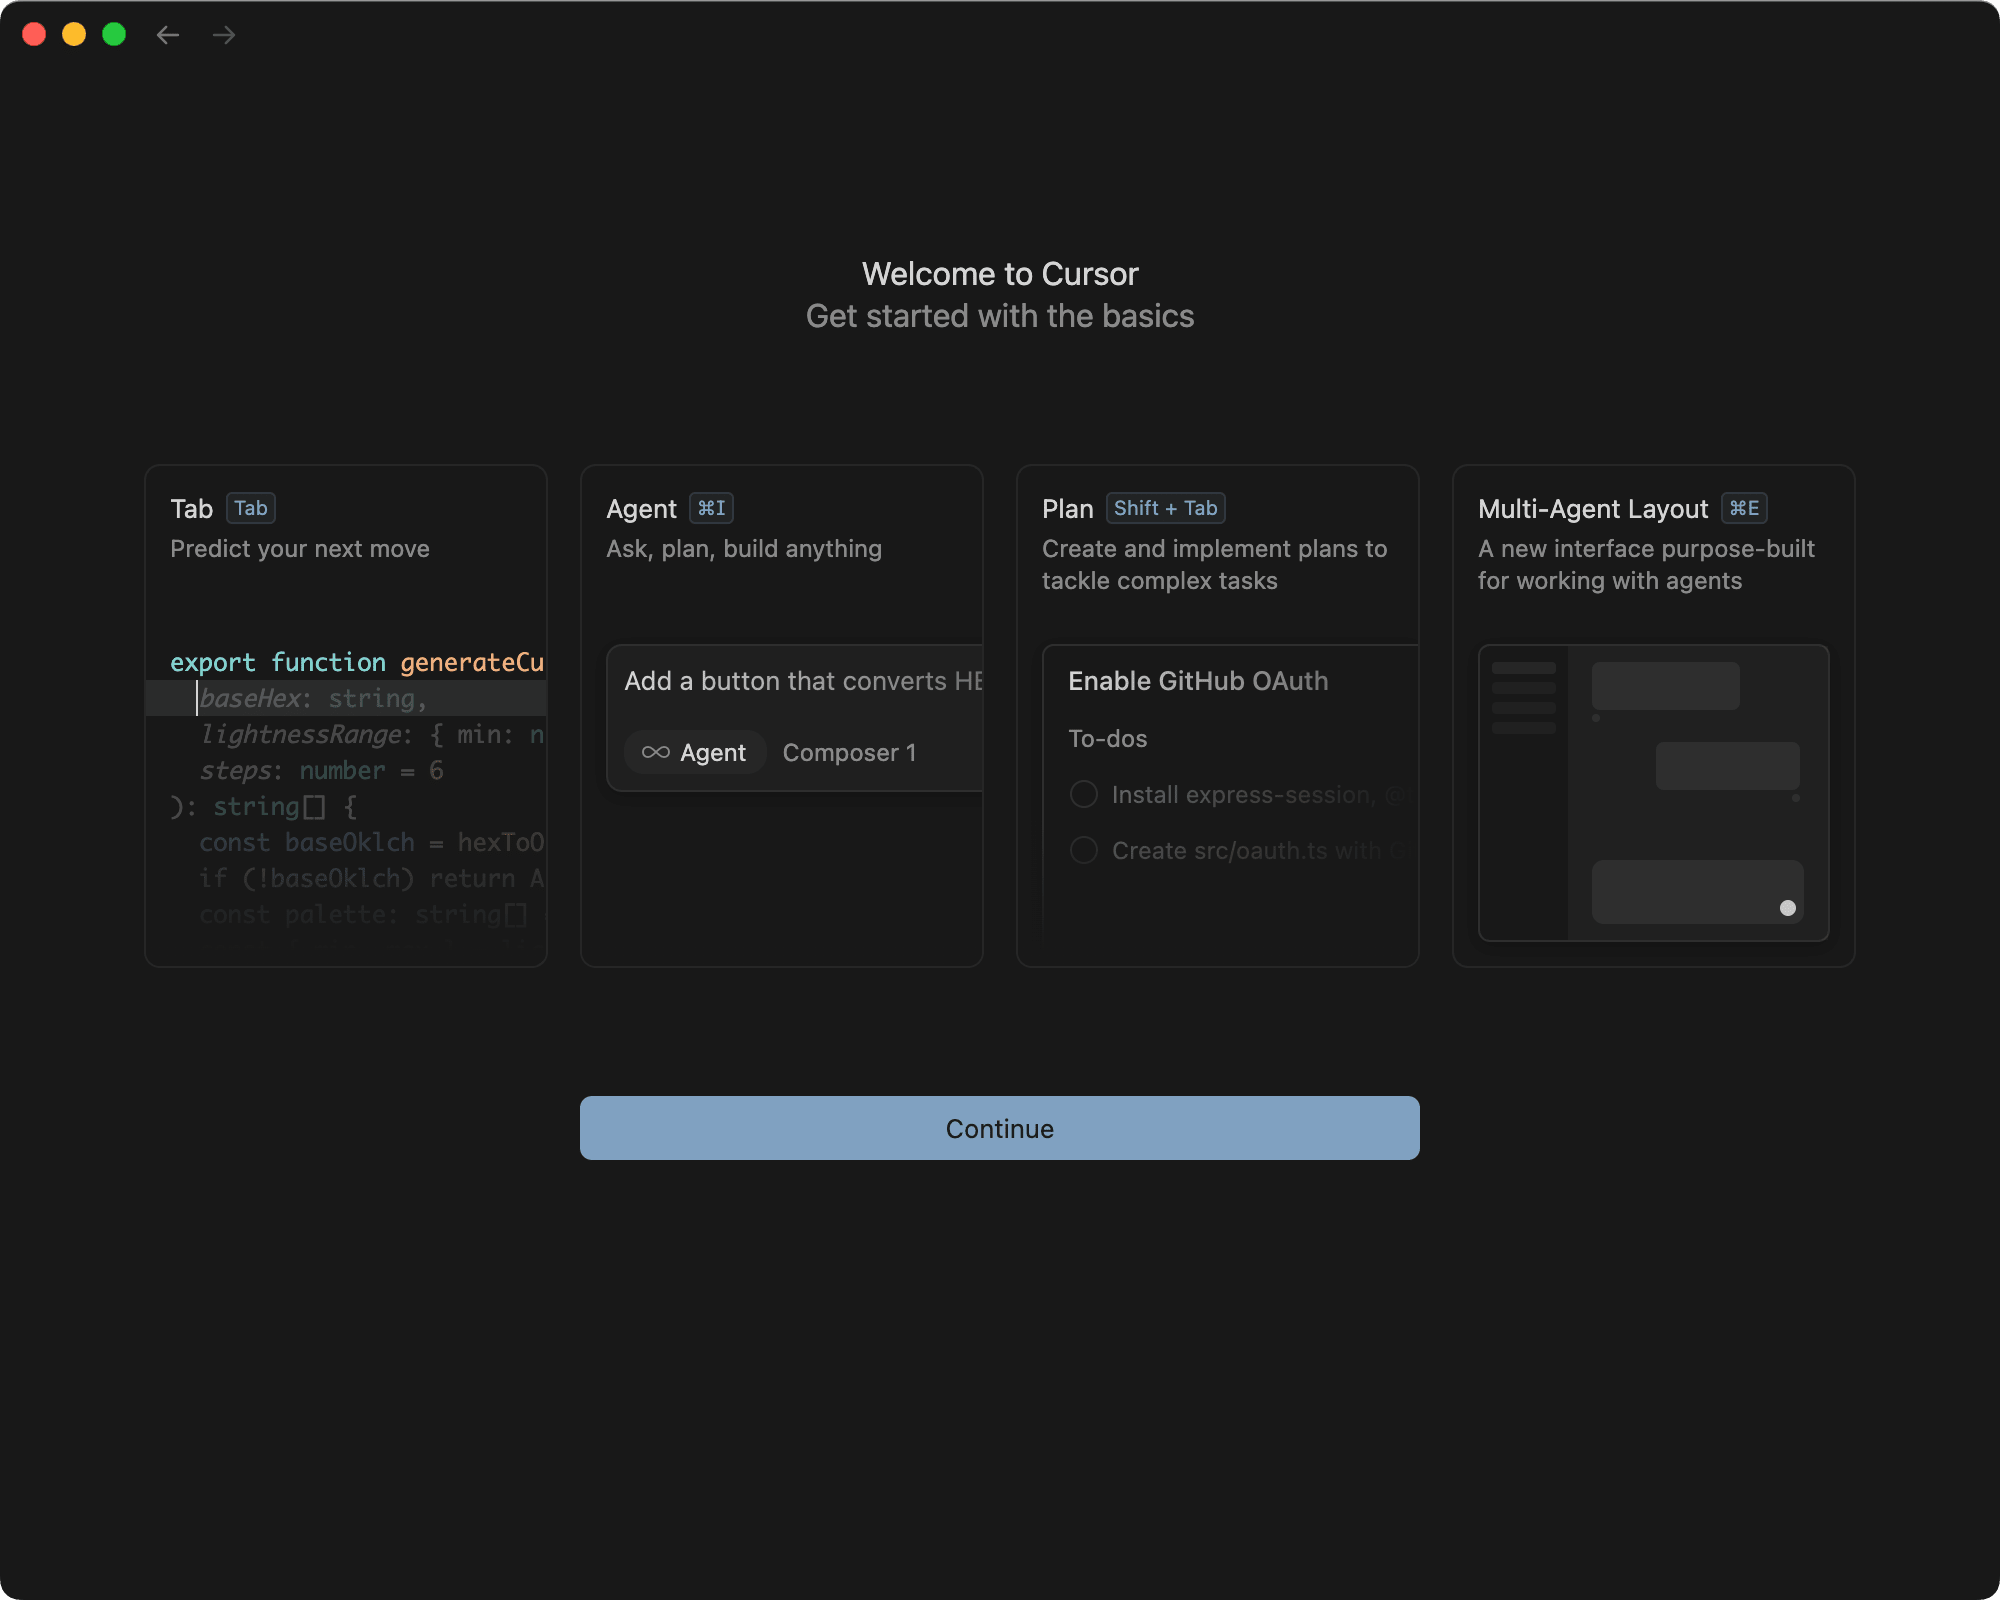
Cursor offers four modes for different workflows:
- Agent (default) - It has full access to all tools for complex coding tasks. It can edit files, run terminal commands, and make coordinated changes across your project.
- Plan - Cursor doesn't code directly in this mode. Instead, it researches your codebase, asks clarifying questions, and creates a plan that you can review or edit before building.
- Debug - This mode is specifically designed for troubleshooting. It analyzes errors, traces through code paths, and suggests fixes based on the actual problem rather than symptoms.
- Ask - This mode is read-only. Cursor only answers your questions about your codebase without making any modifications.
Key Features
- AI Agent - Delegate coding tasks. It has a deep understanding of your codebase and can answer any questions about it, as well as make targeted edits.
- Tab Completion - Accurately predicts the next code you want to type as you work.
- Multiple AI Models - Choose between OpenAI, Anthropic, Gemini, and xAI models depending on your needs.
- Works Everywhere - Use Cursor on desktop, mobile, web, Slack, or GitHub.
- Cursor CLI - Run the agent in any terminal or script to write, review, and modify code programmatically.
- Manual + Agentic Coding - Switch seamlessly between writing code yourself and letting AI do the work.
Getting Started with Cursor
Step 1. Download and Install Cursor
Head to cursor.com and click the download button for your operating system:
Install it on your desktop like any other application.
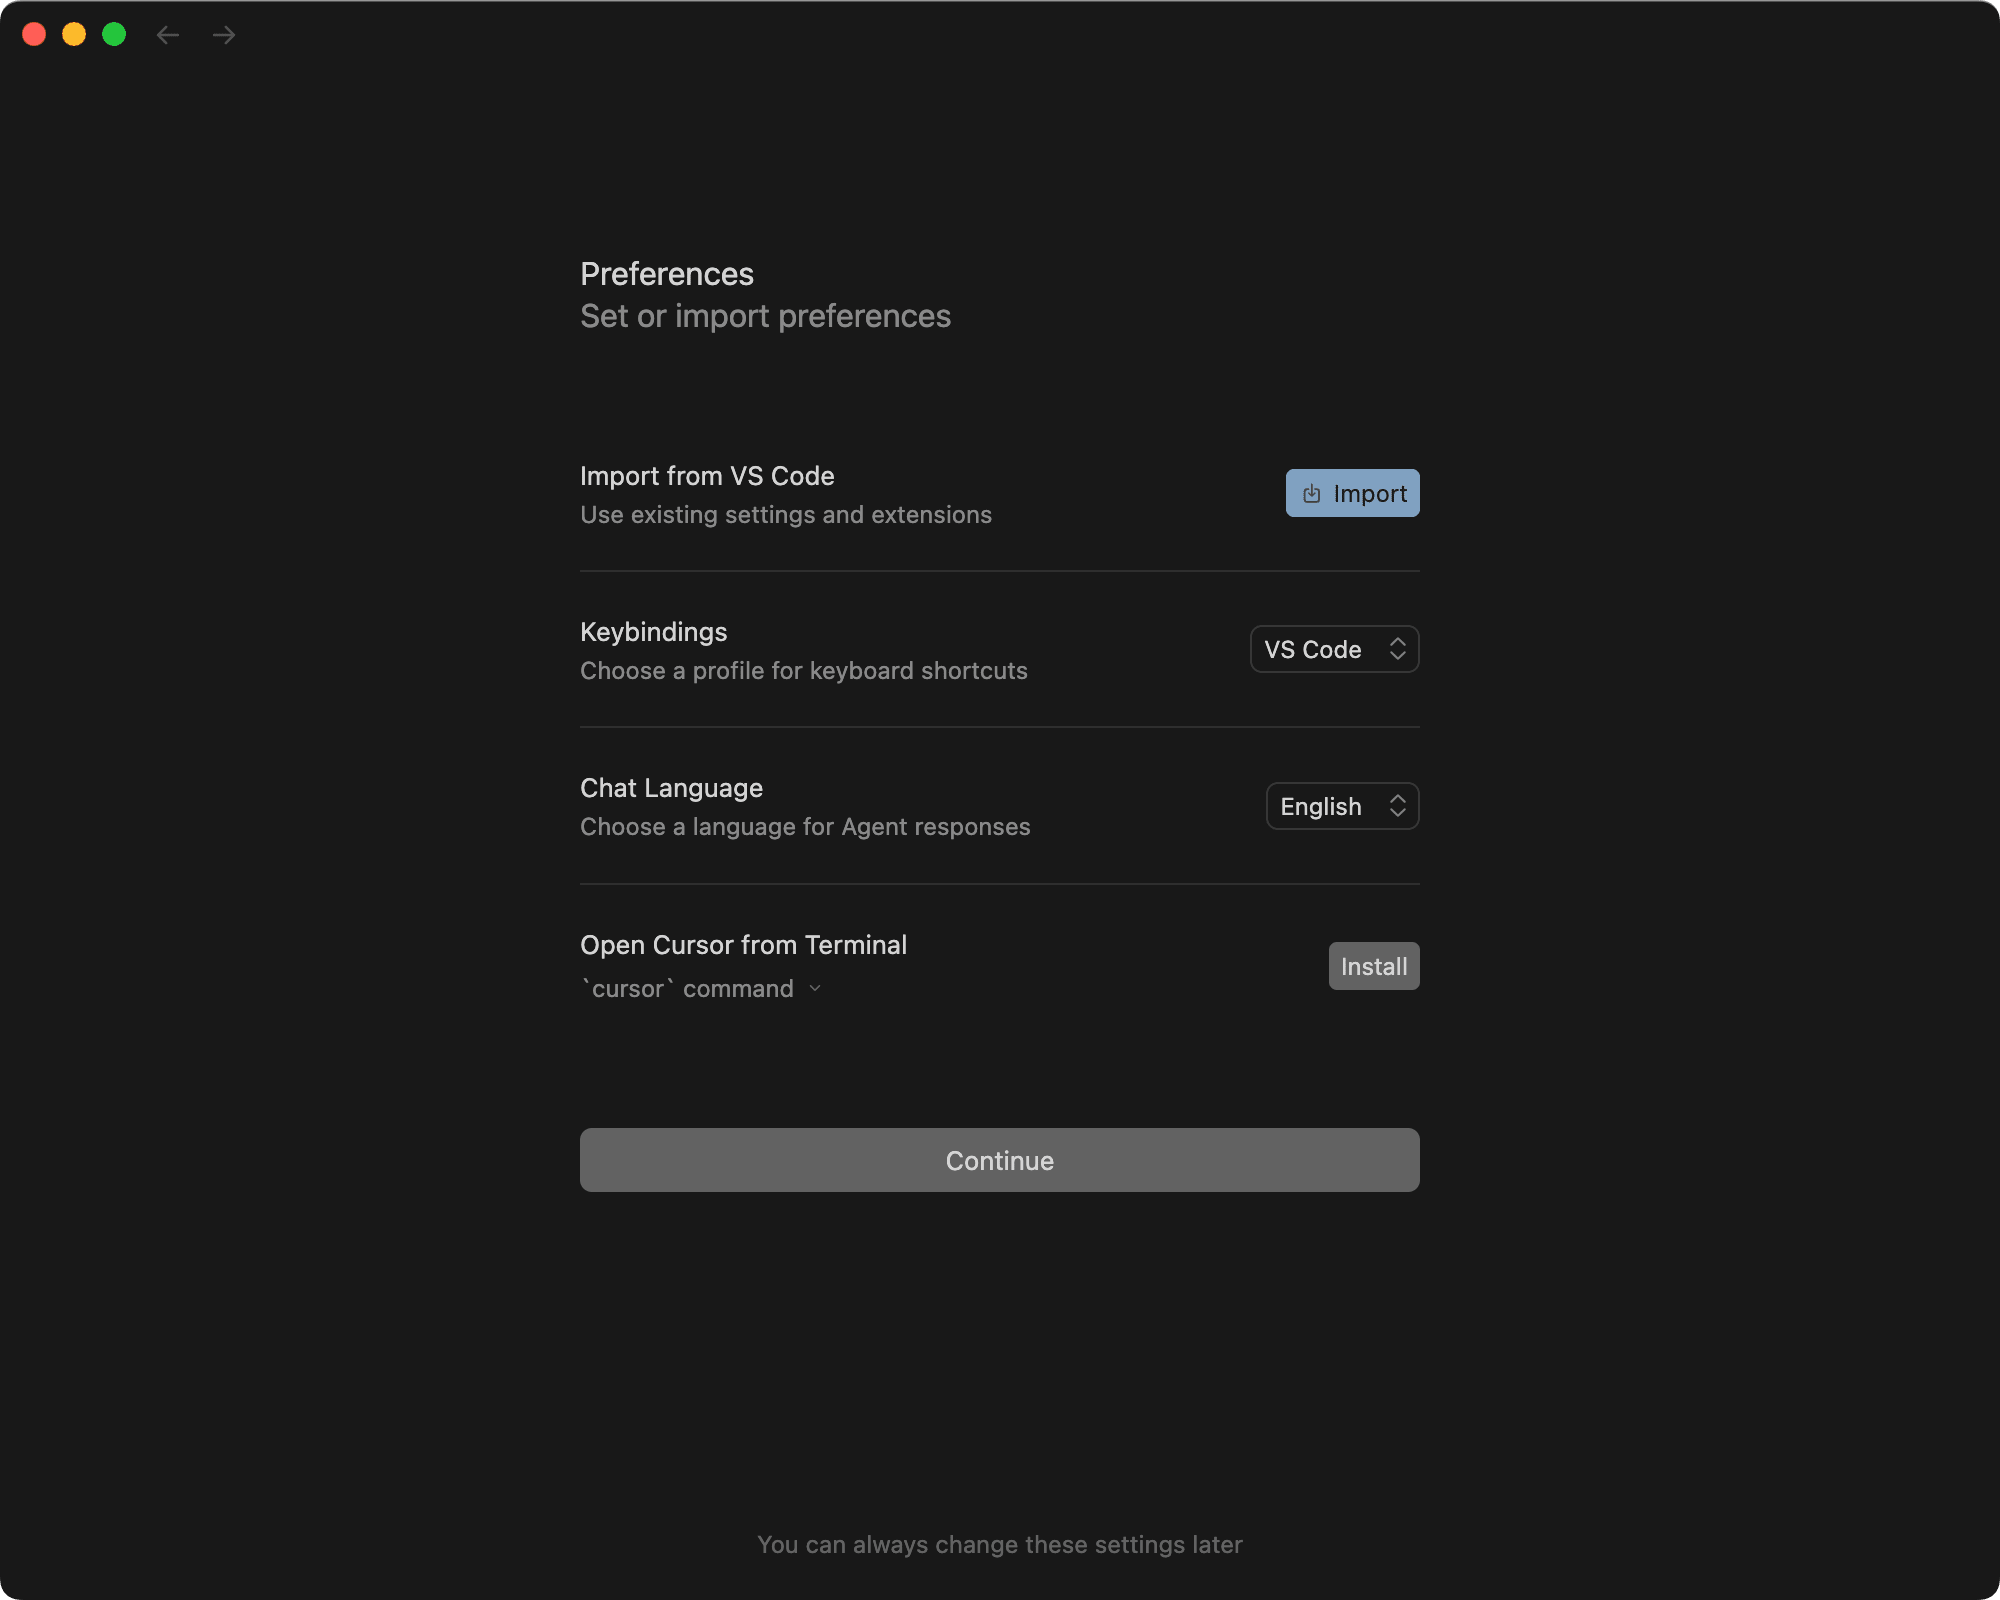
Step 2. Set or Import Preferences
When you first launch Cursor, you can import your existing settings and extensions from VS Code, and select your preferred keybindings, chat language, and terminal command:
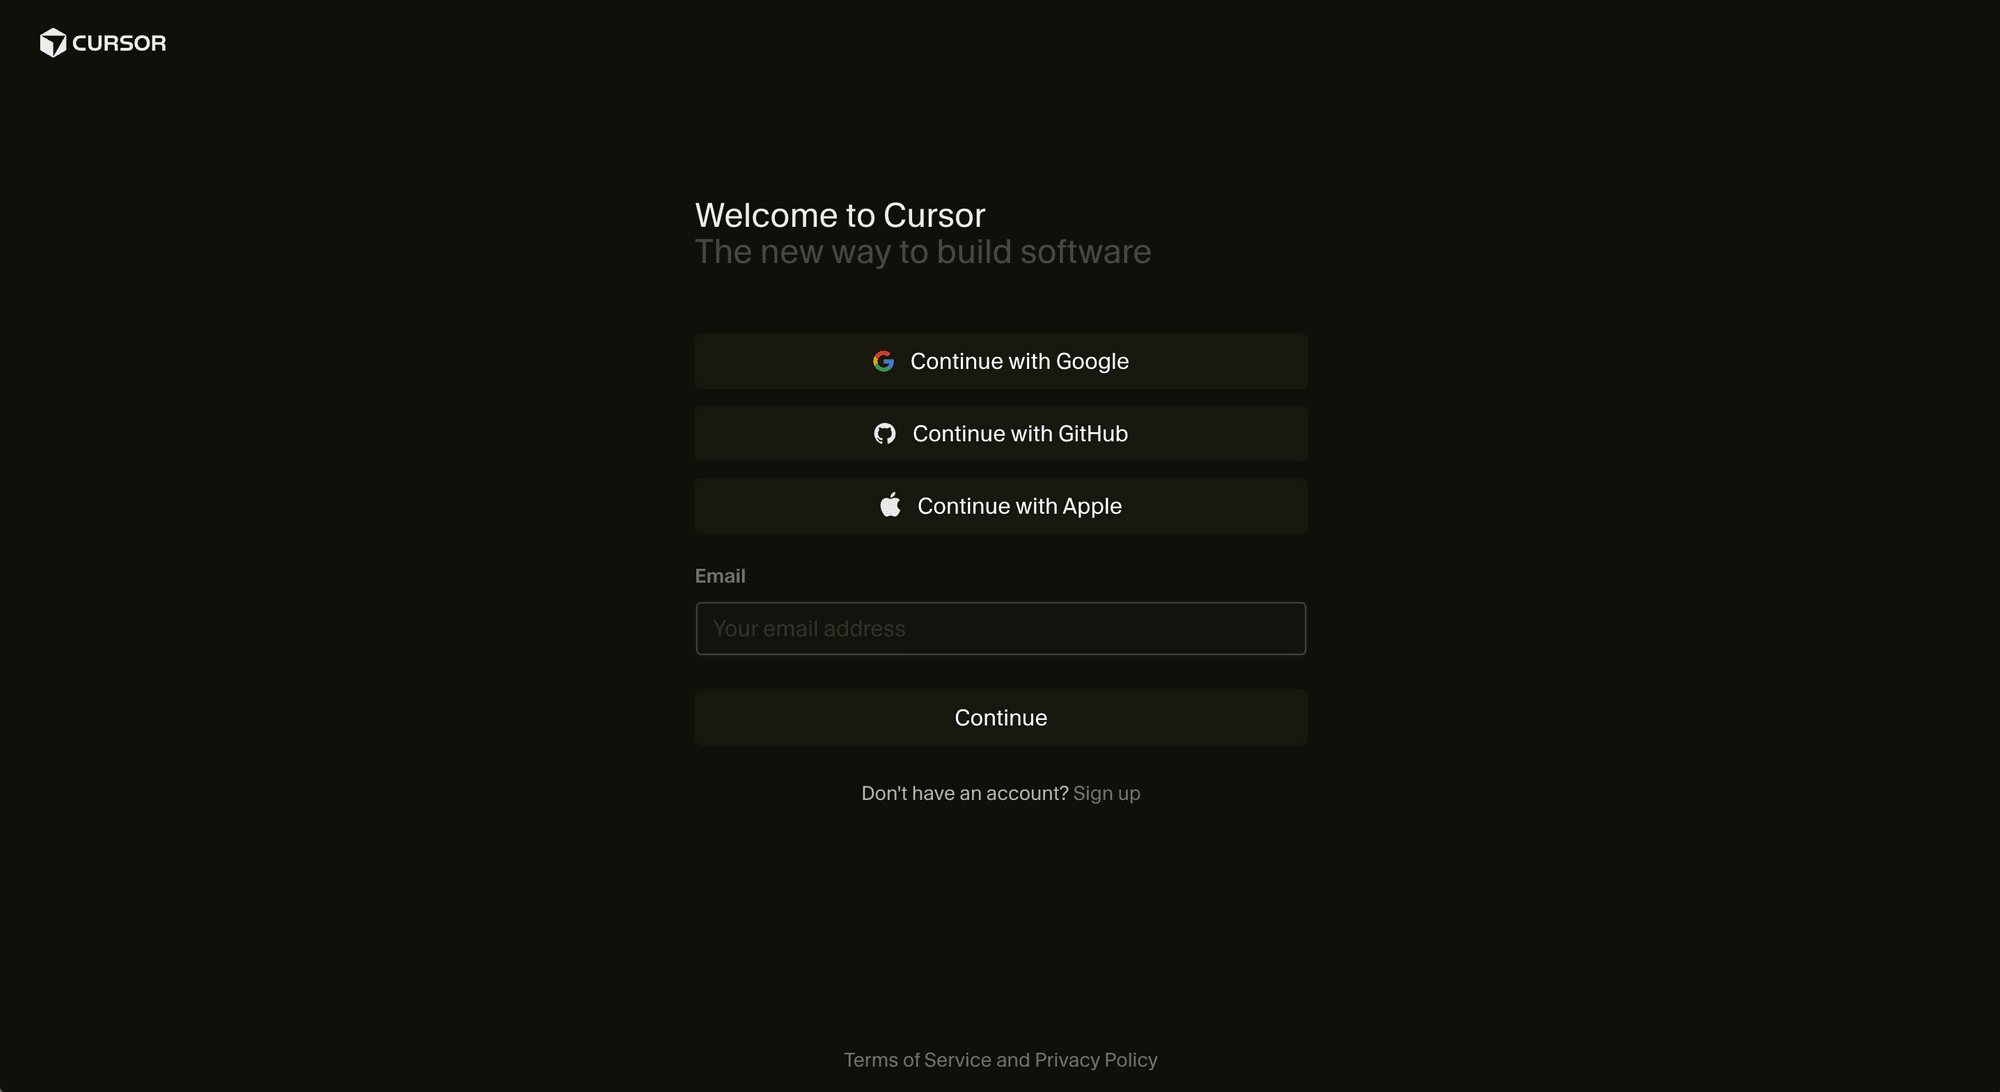
Step 3. Log in to Your Account
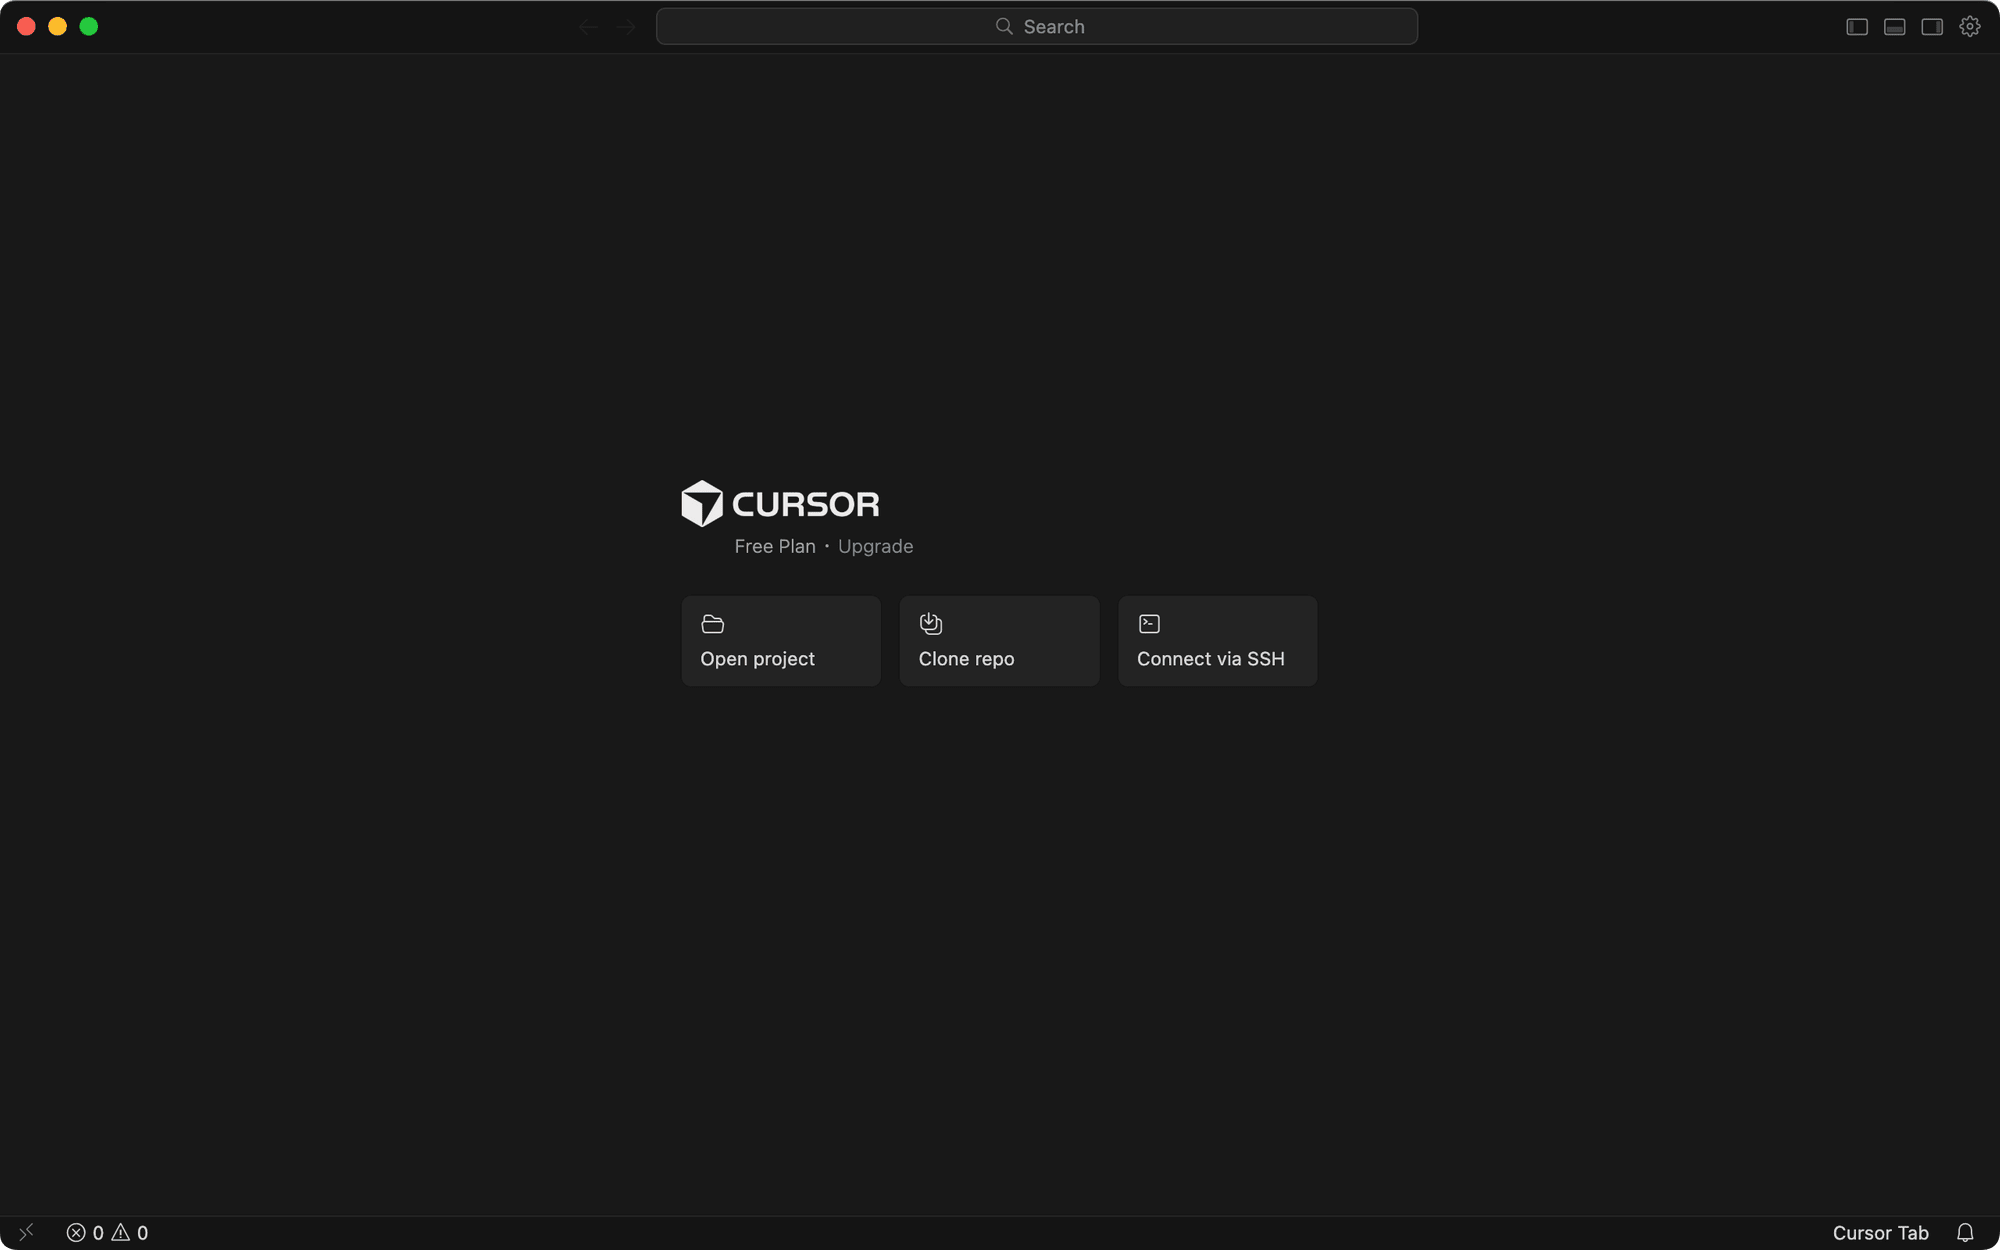
You'll need a Cursor account to use it. If you don't have one yet, register on the Cursor website and log in to your account. Alternatively, you can sign in using your Google, GitHub, or Apple account:
After logging in, you can start using it by opening a local project, cloning a repo, or connecting via SSH:
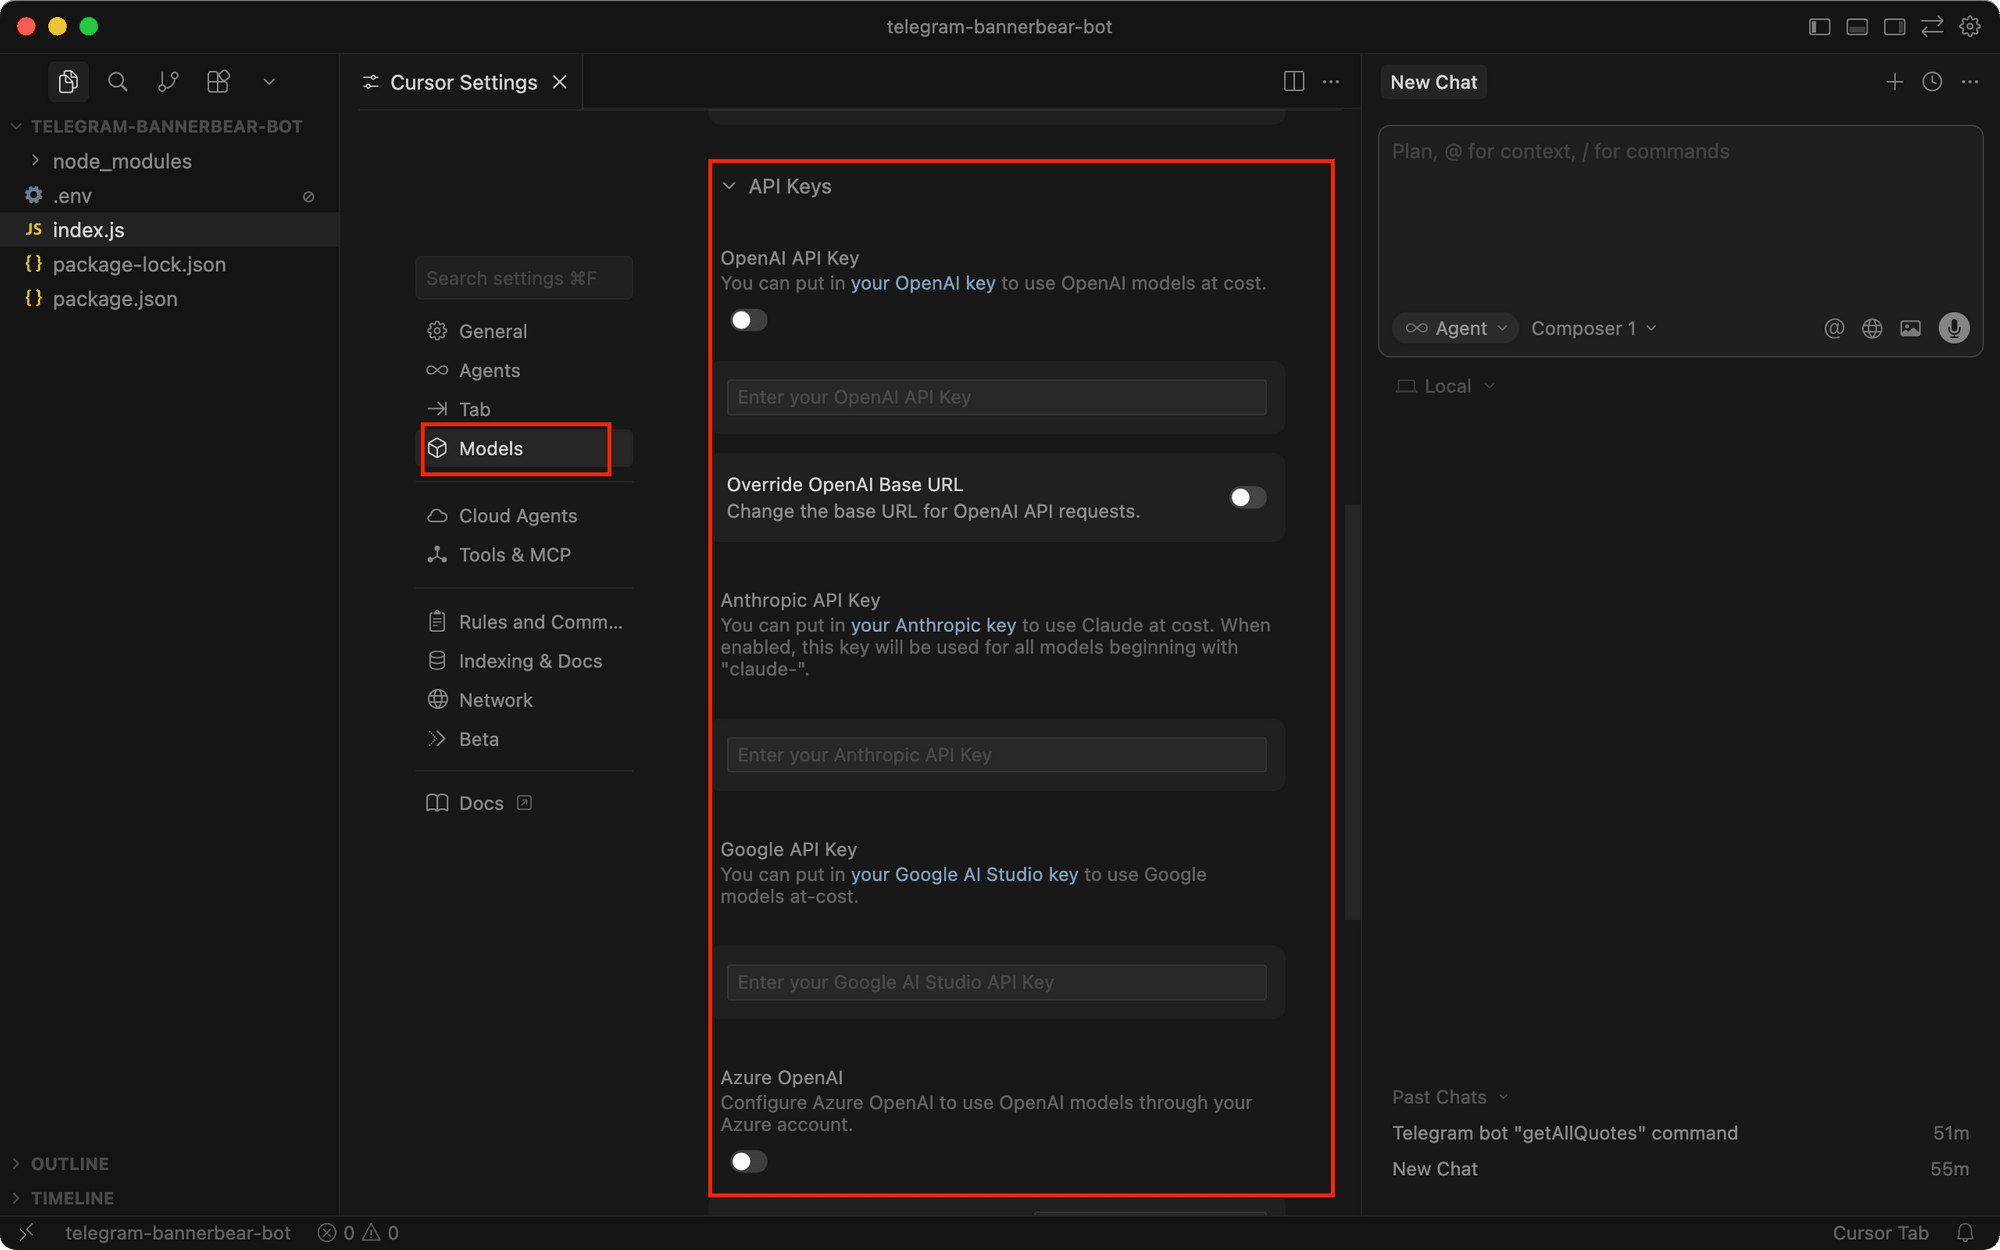
Step 4. Setting Up API Keys
Cursor supports multiple AI models, including Claude, Gemini, GPT, Grok, and its own Composer. You can switch between them anytime.
Some models require an API key. To insert your API key, go to Settings > Cursor Settings > Models , and scroll down to the API Keys section:
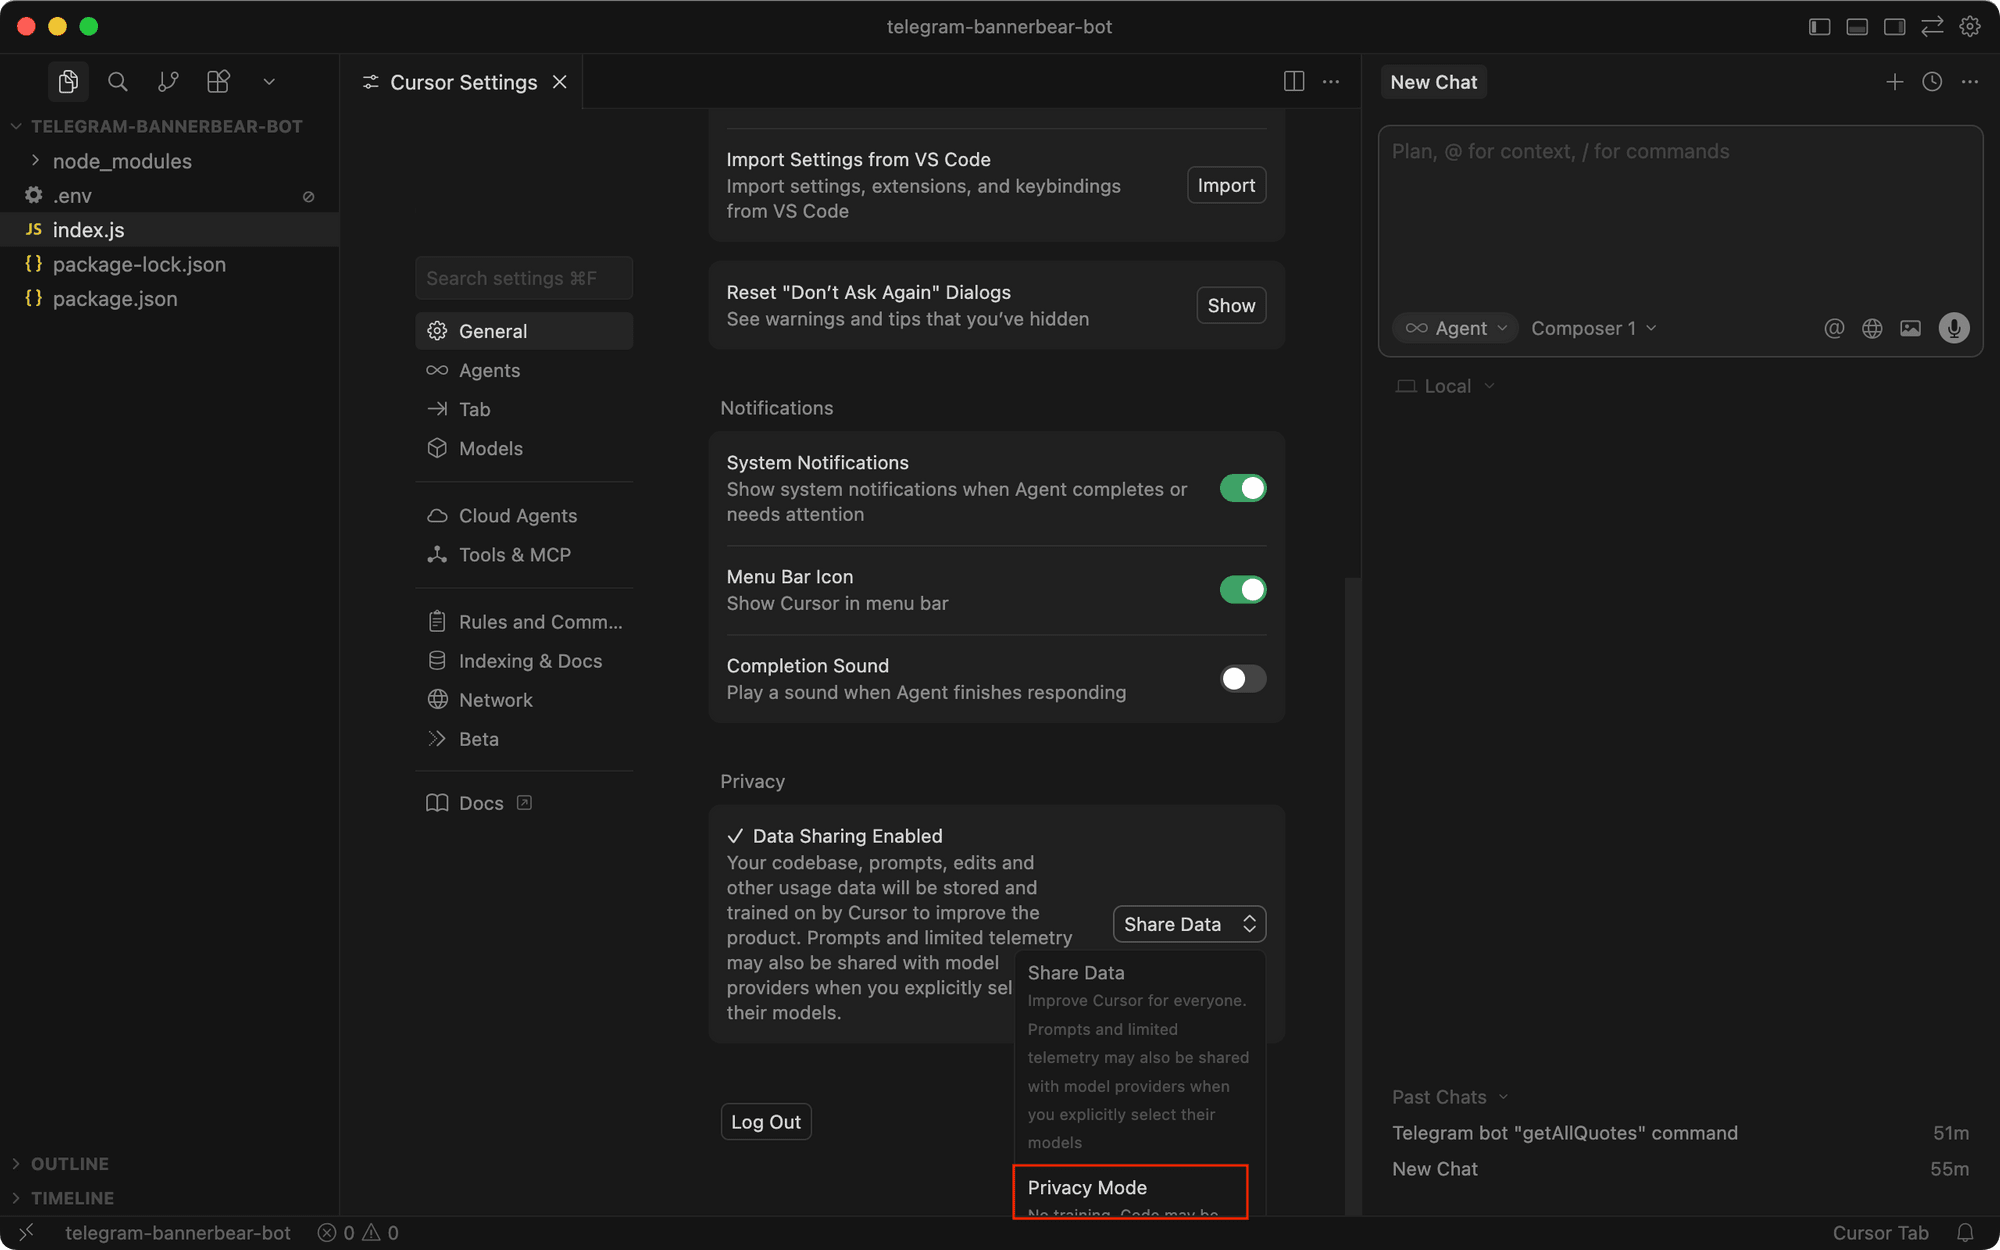
Step 5. Configure Privacy and Indexing
Cursor indexes your codebase to provide context-aware suggestions. Your prompts, edits, and other usage data are also stored by Cursor and used for improvements. To change this default behavior, review these settings in Settings > Cursor Settings :
To stop sharing your data, go to General > Privacy and change it to “Privacy Mode” :
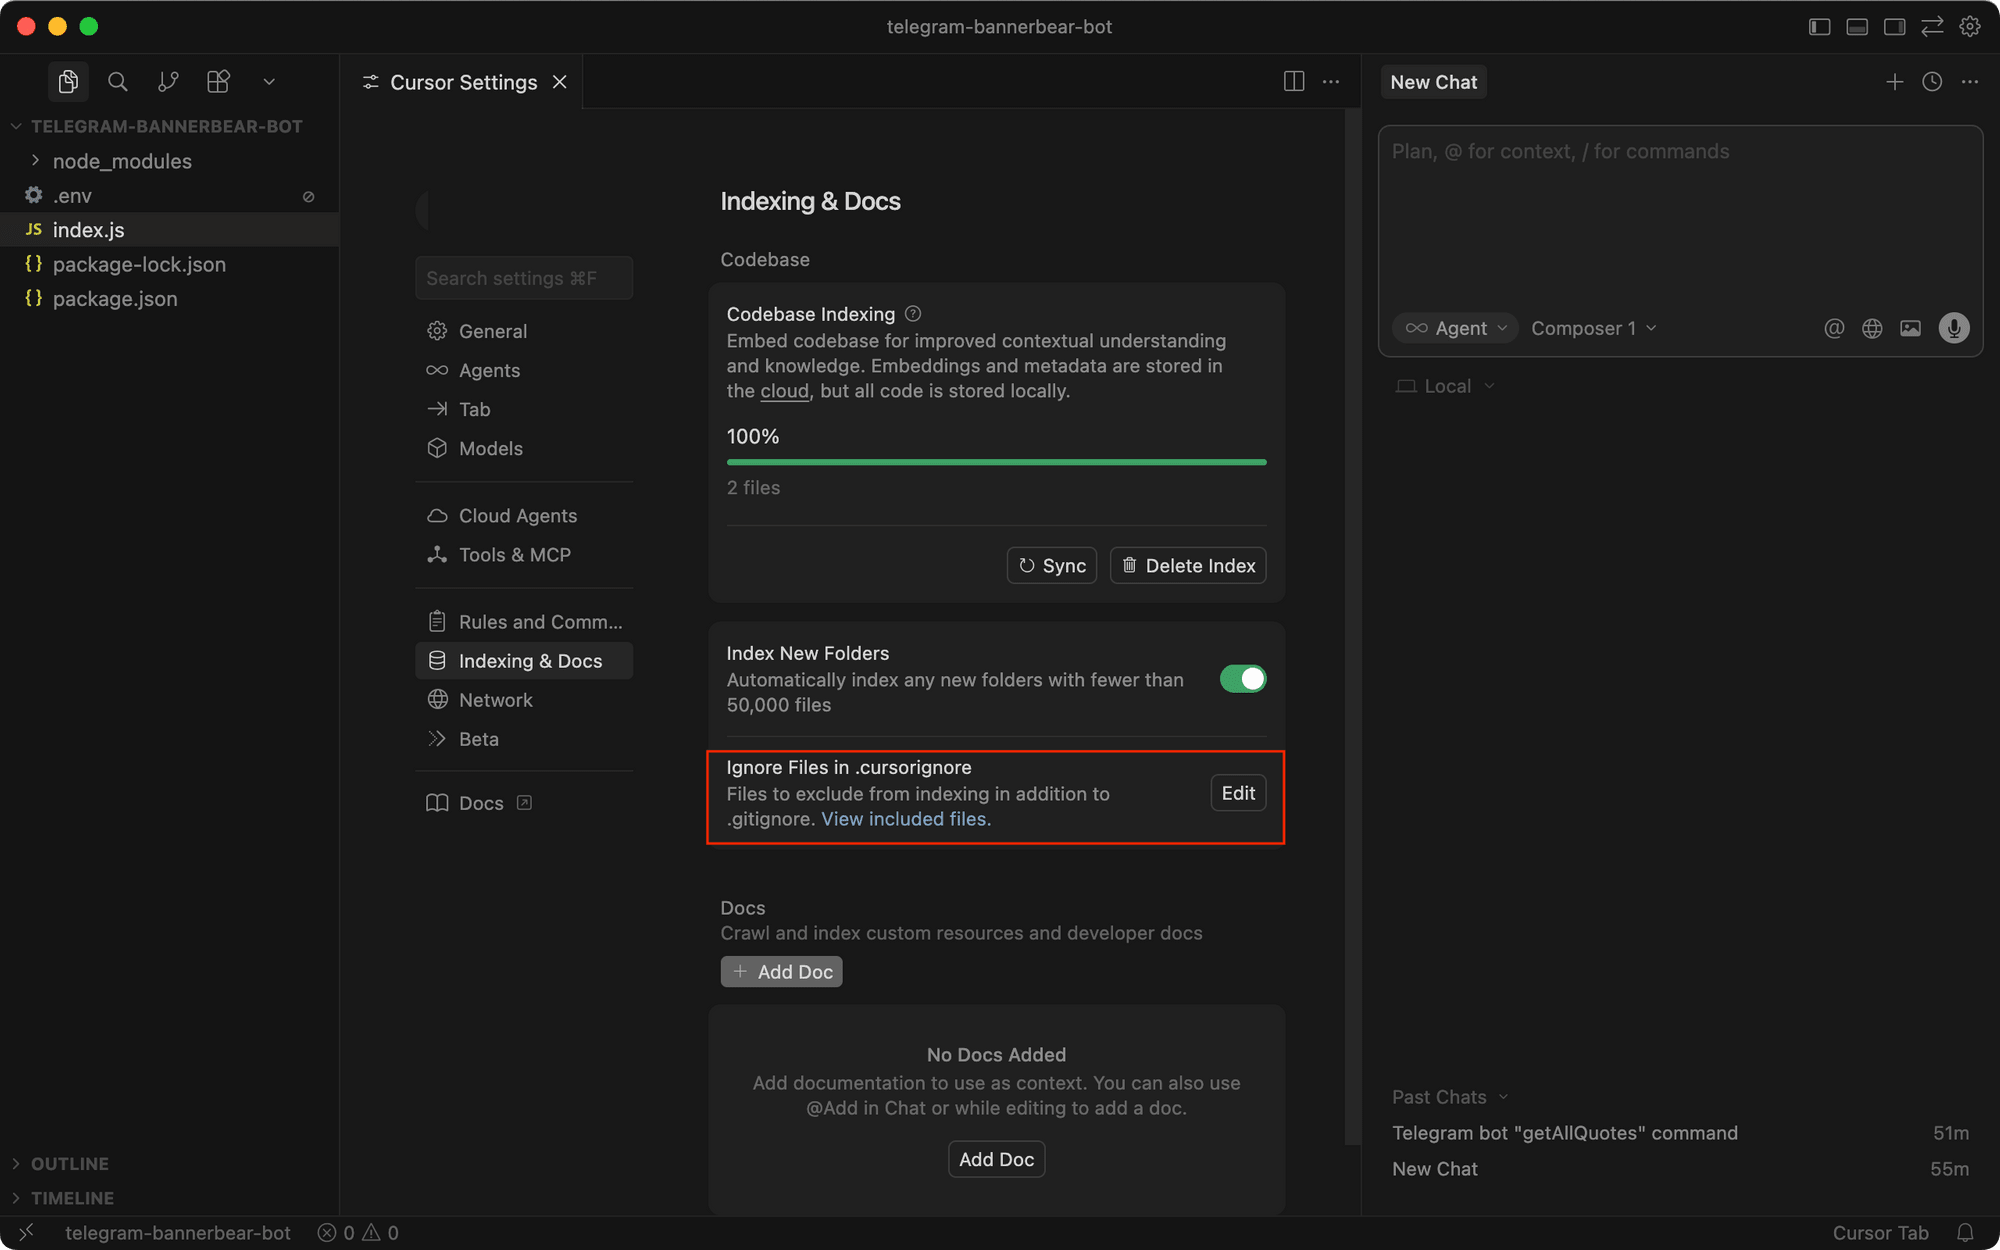
To exclude certain files from being indexed, go to Indexing & Docs and click “Edit” to specify which files to add to the .cursorignore file (similar to .gitignore):
How to Use Cursor: A Practical Walkthrough
Now that you're set up, let's walk through how to actually use Cursor for everyday coding. We'll cover the main workflows with some examples.
The Interface
When you open Cursor with a project, it'll look similar to VS Code, with the file explorer, search, source control, and extensions on the left, the editor in the center, and the chat panel on the right:
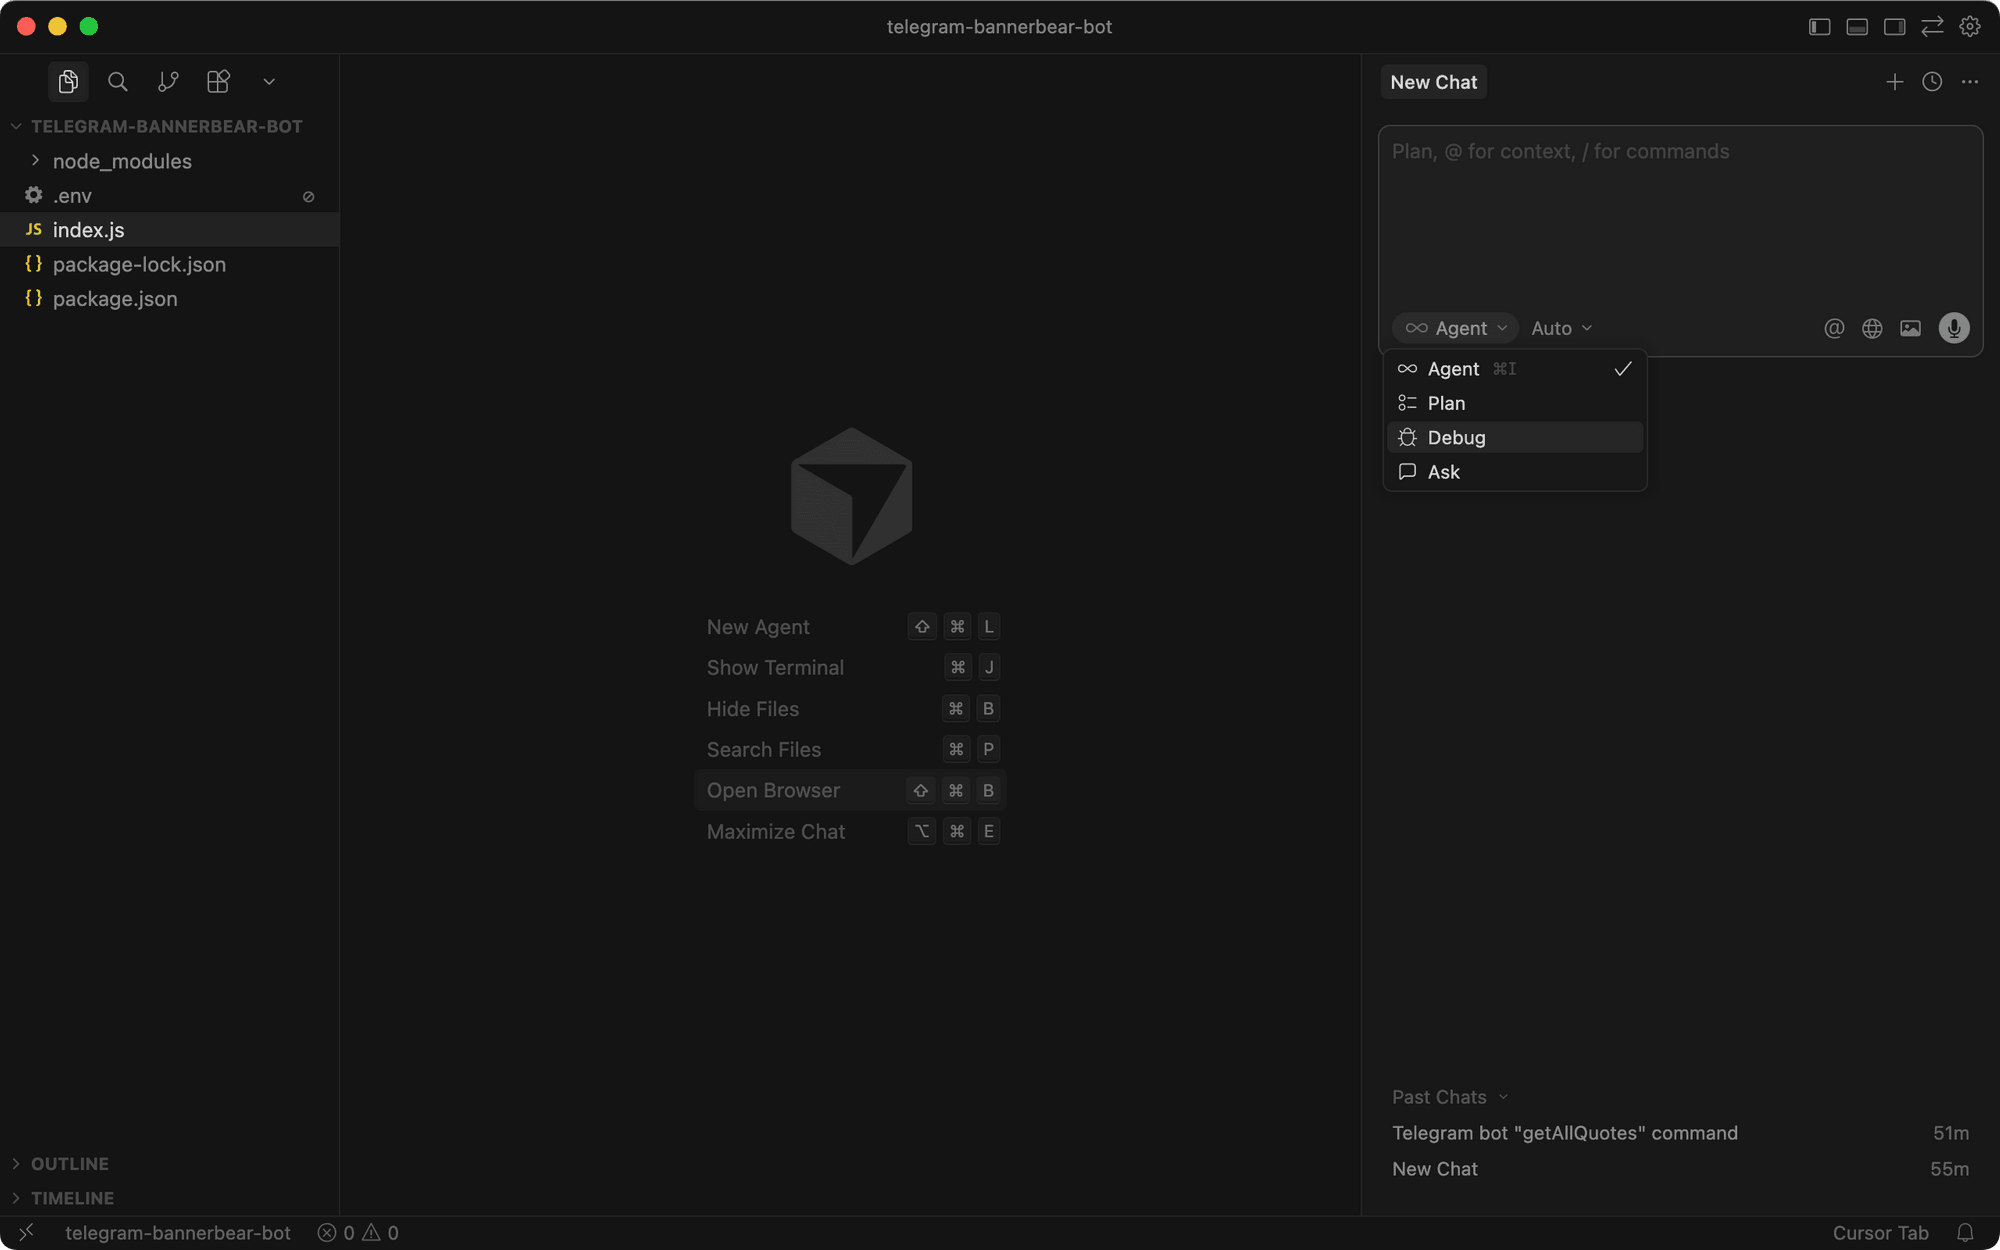
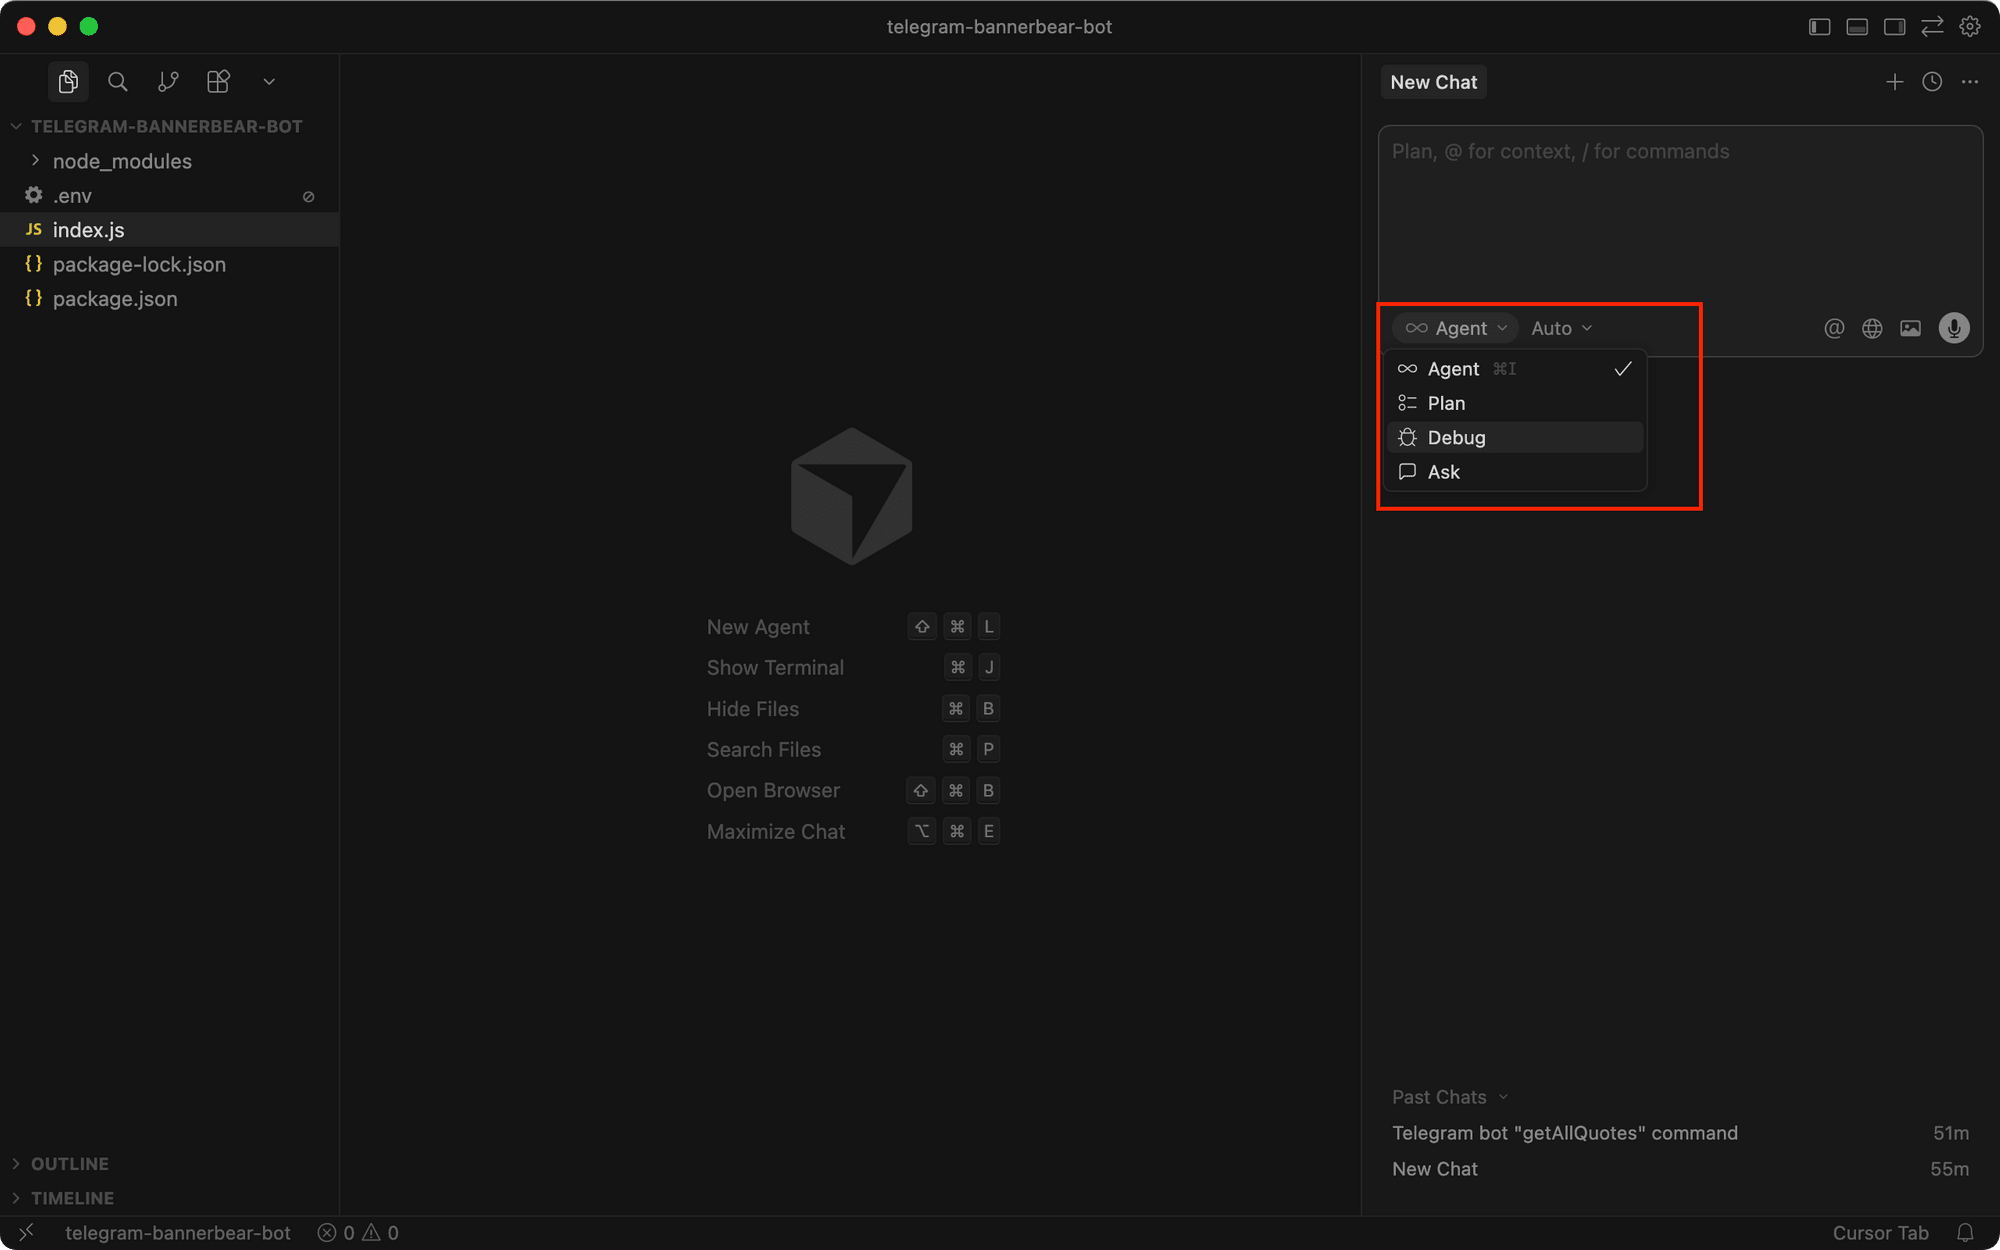
In the chat panel, you can switch between Agent, Plan, Debug, and Ask modes:
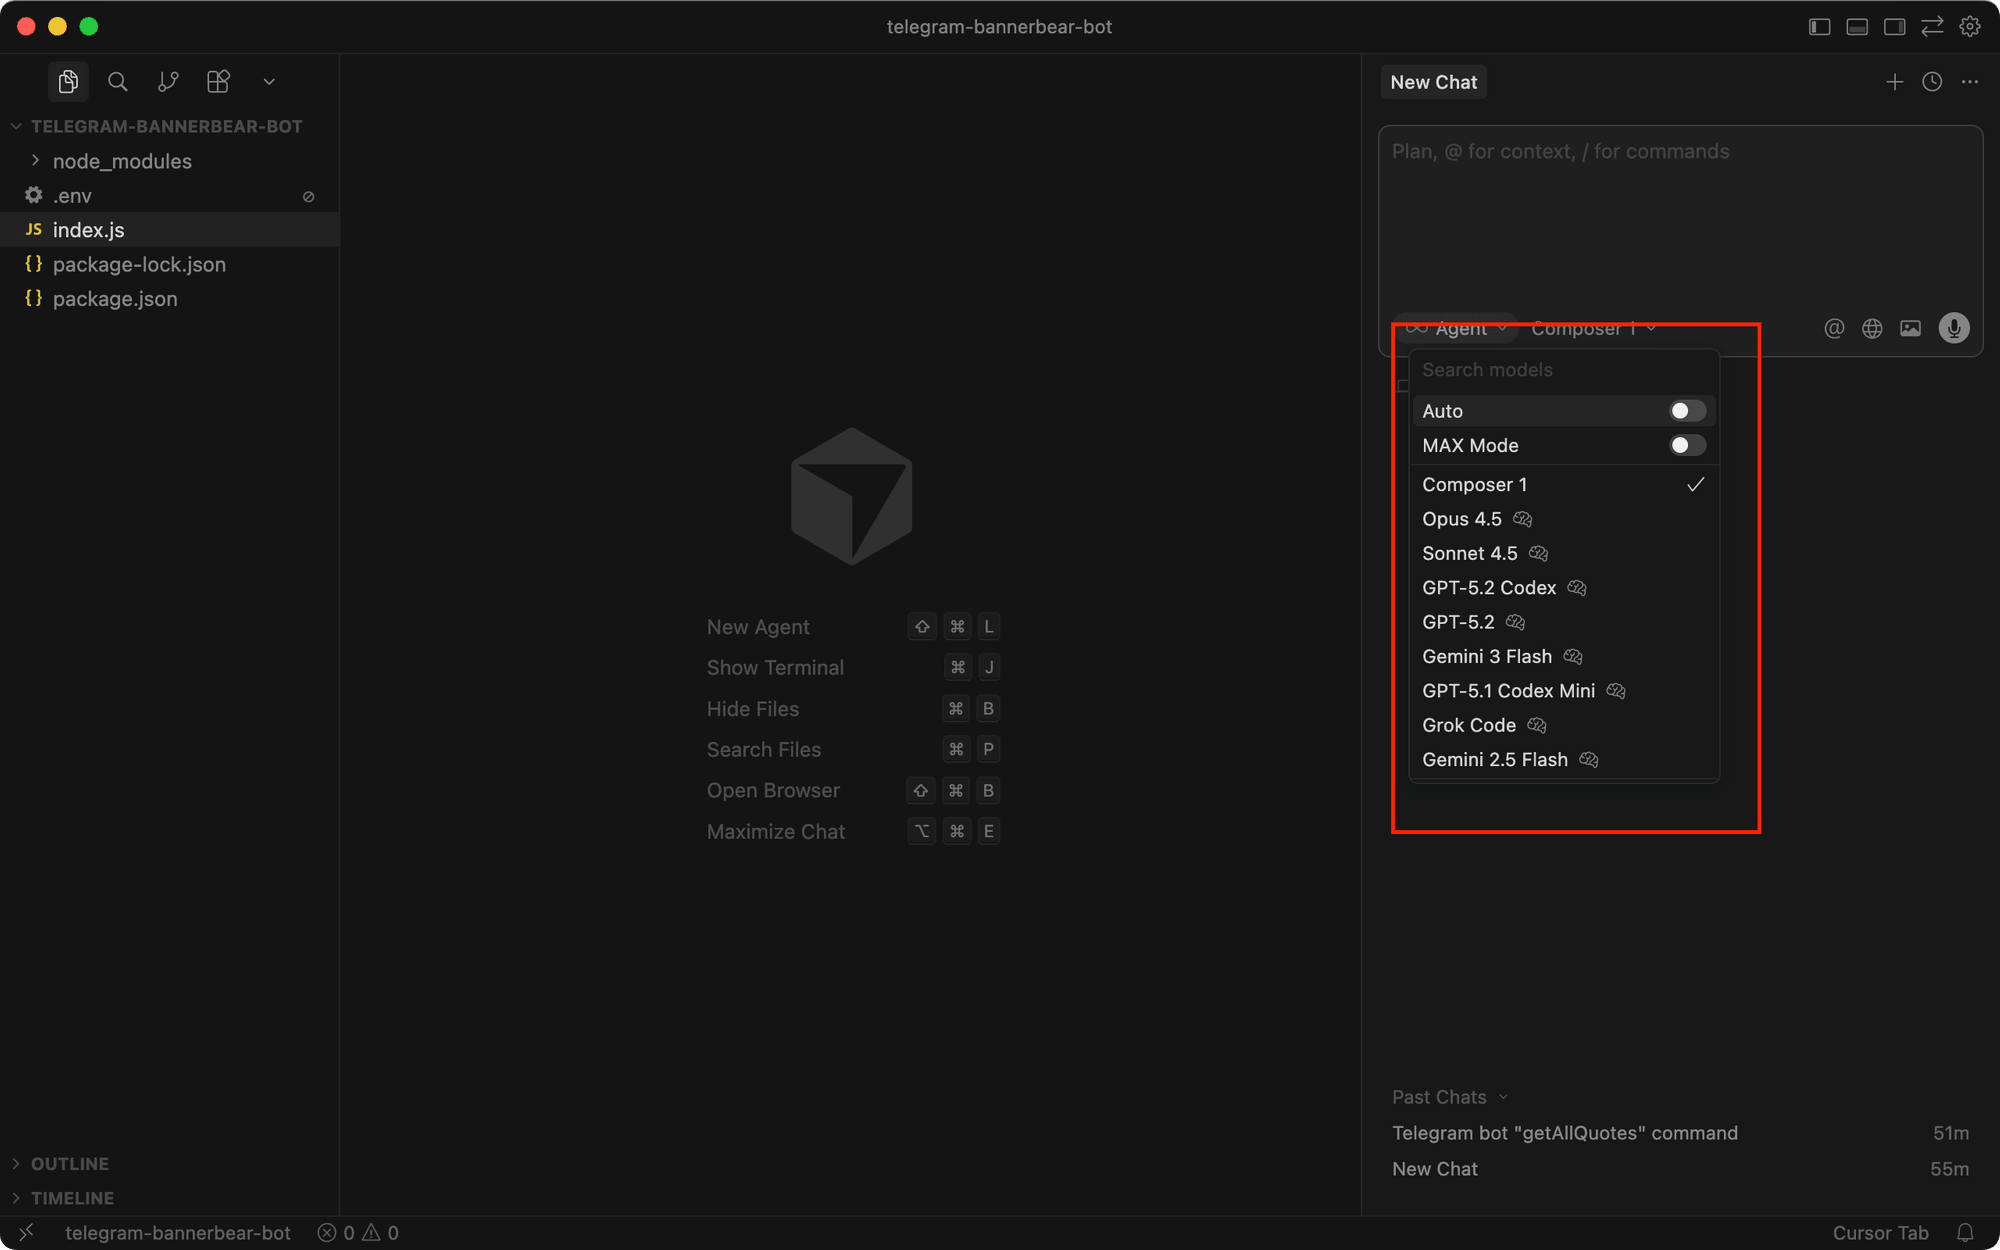
…and select the AI model that you want to use:
Now let's see each mode in action with real workflows…
Workflow 1. Exploring a New Codebase with Ask Mode
If you joined a project and need to understand how it works before making changes, Ask mode is perfect for this. Simply select Ask from the mode dropdown and type in your question:
Ask mode will search through your codebase and explain it to you. If you have questions about specific files or code, it'll point you directly to the relevant file and line number.
Workflow 2. Planning a Feature with Plan Mode
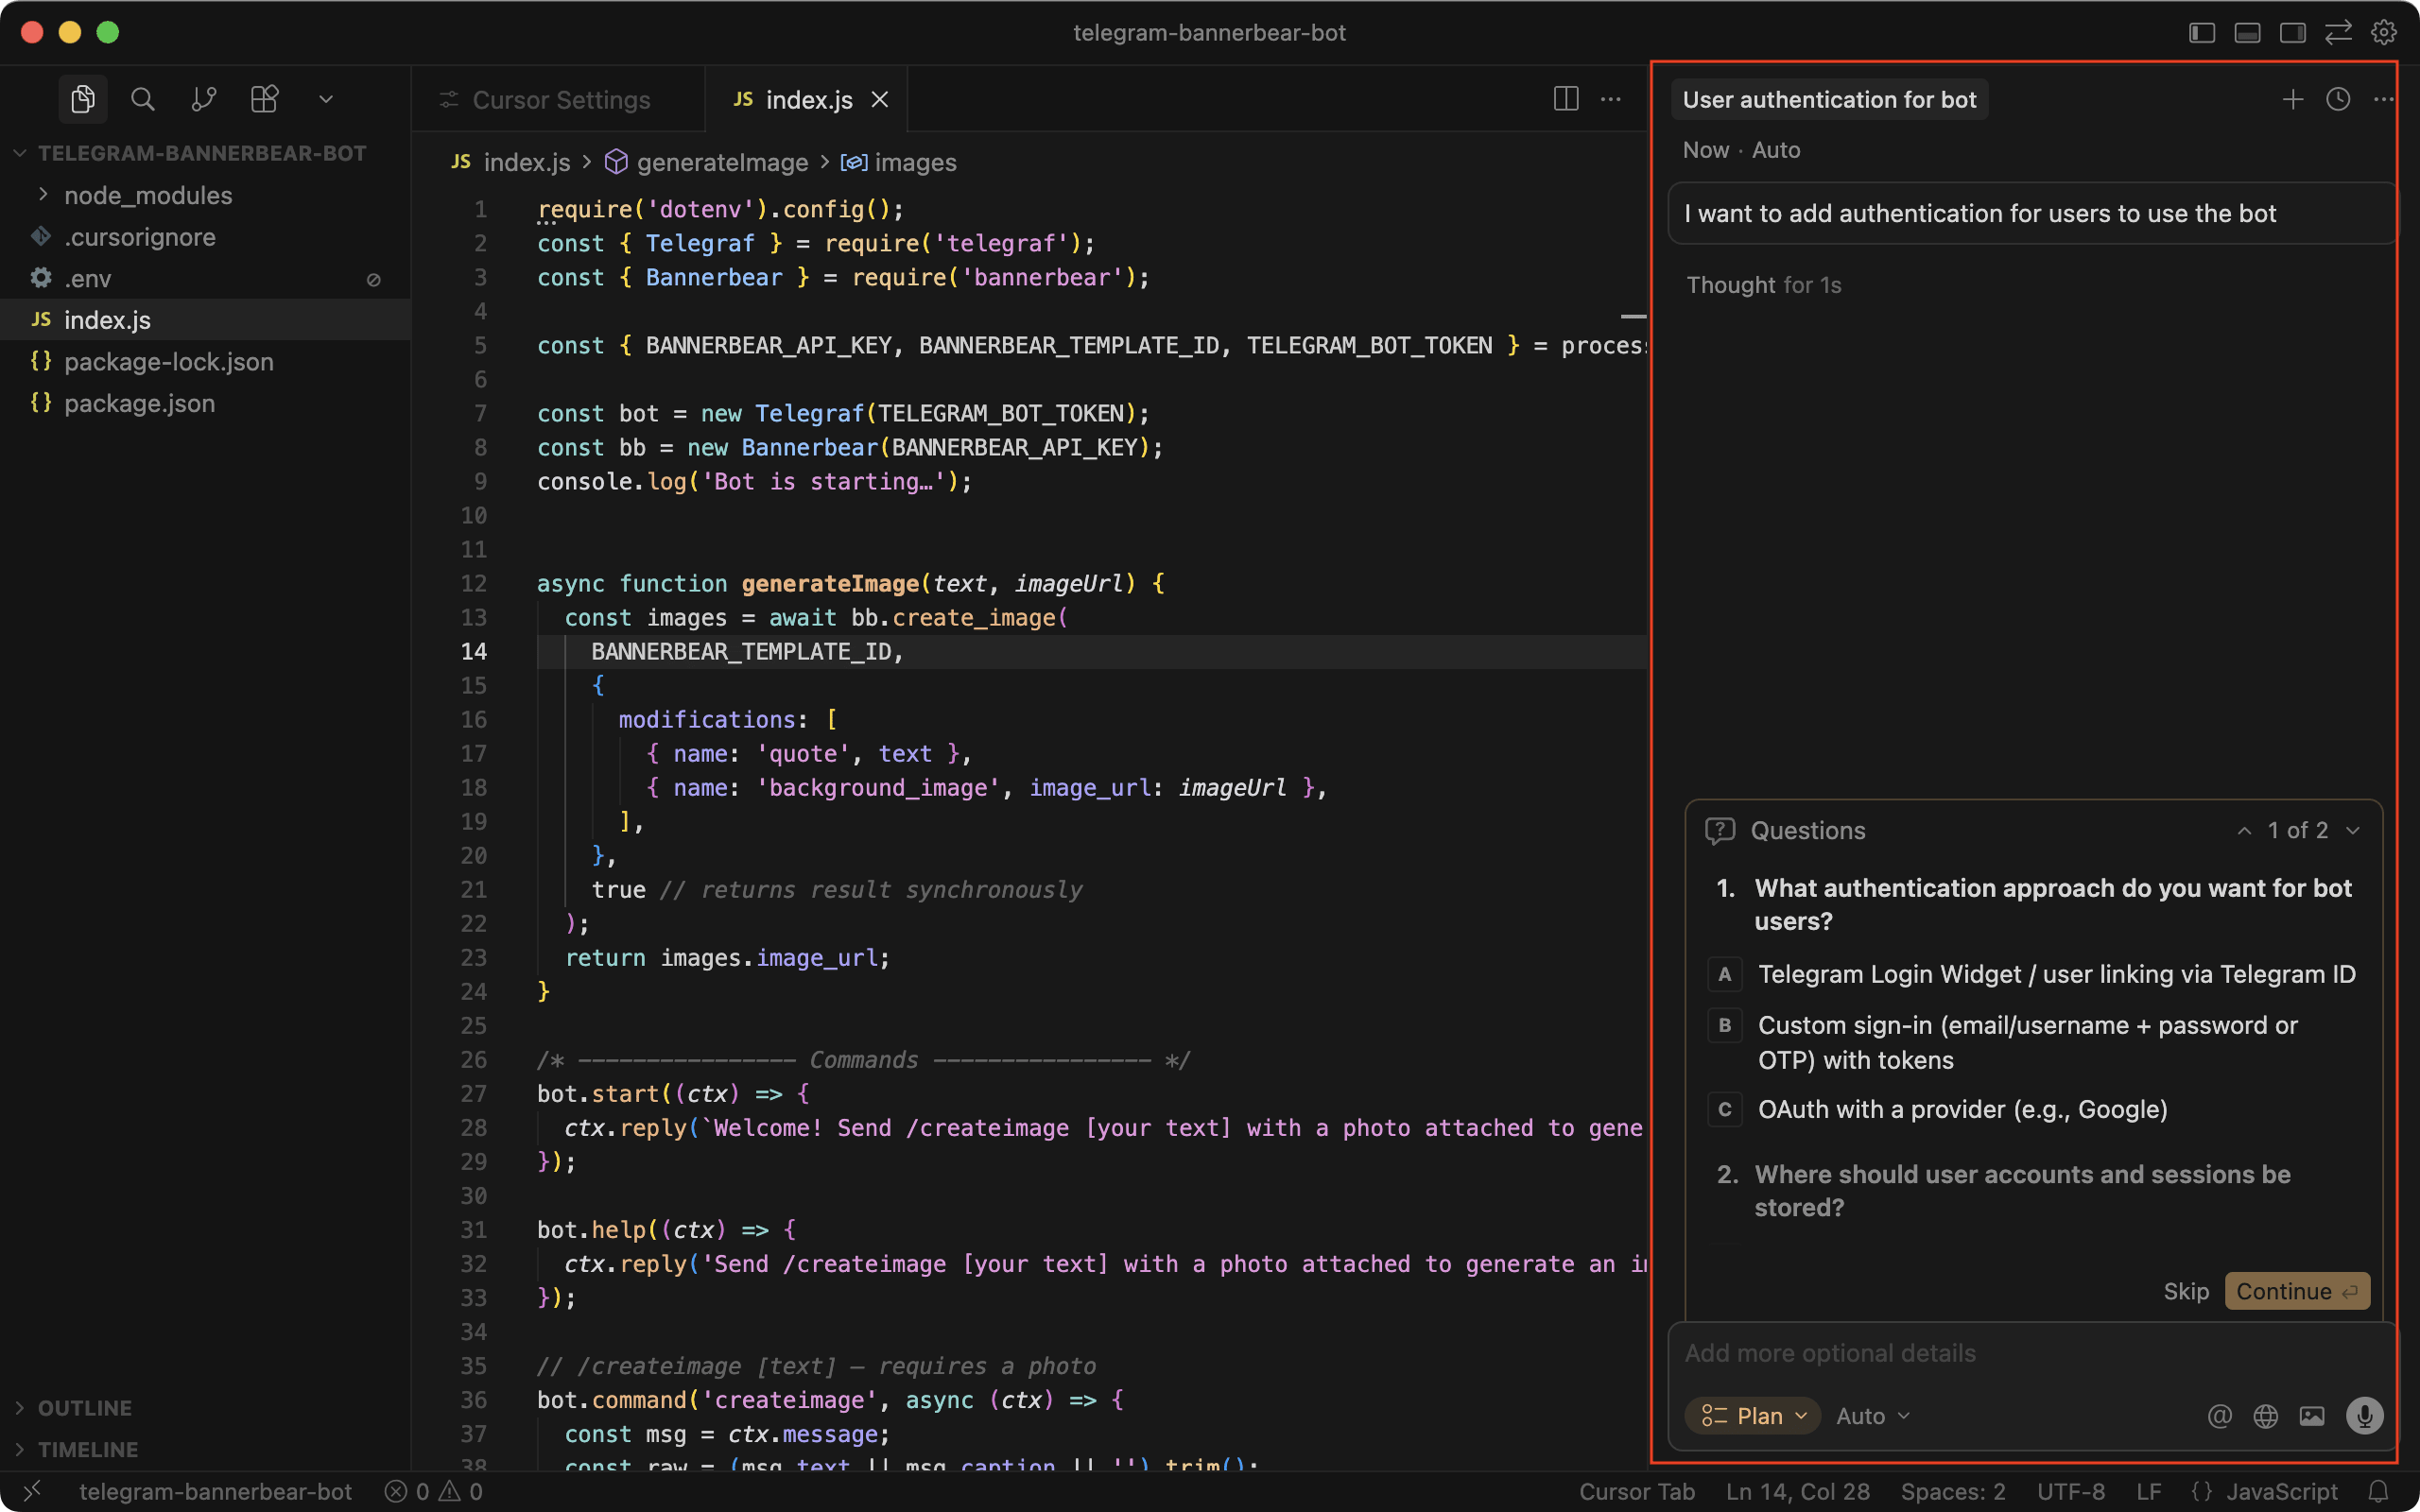
Plan mode helps you brainstorm before writing any code. Instead of immediately jumping into implementation, it researches your codebase, asks clarifying questions, and outlines a strategy first.
Describe what you want to accomplish in Plan mode. Cursor will analyze your existing architecture, outline its approach, and ask clarifying questions:
After answering all the questions, Cursor will create an implementation plan. You can review it and provide feedback. If you're happy with the plan, you can proceed to build it:
Workflow 3. Building a Feature with Agent Mode
Agent mode gives Cursor full access to edit files, run terminal commands, and make coordinated changes across your project. Compared to Plan mode, Agent is more hands-off. It lets Cursor take action and complete any task you ask for autonomously.
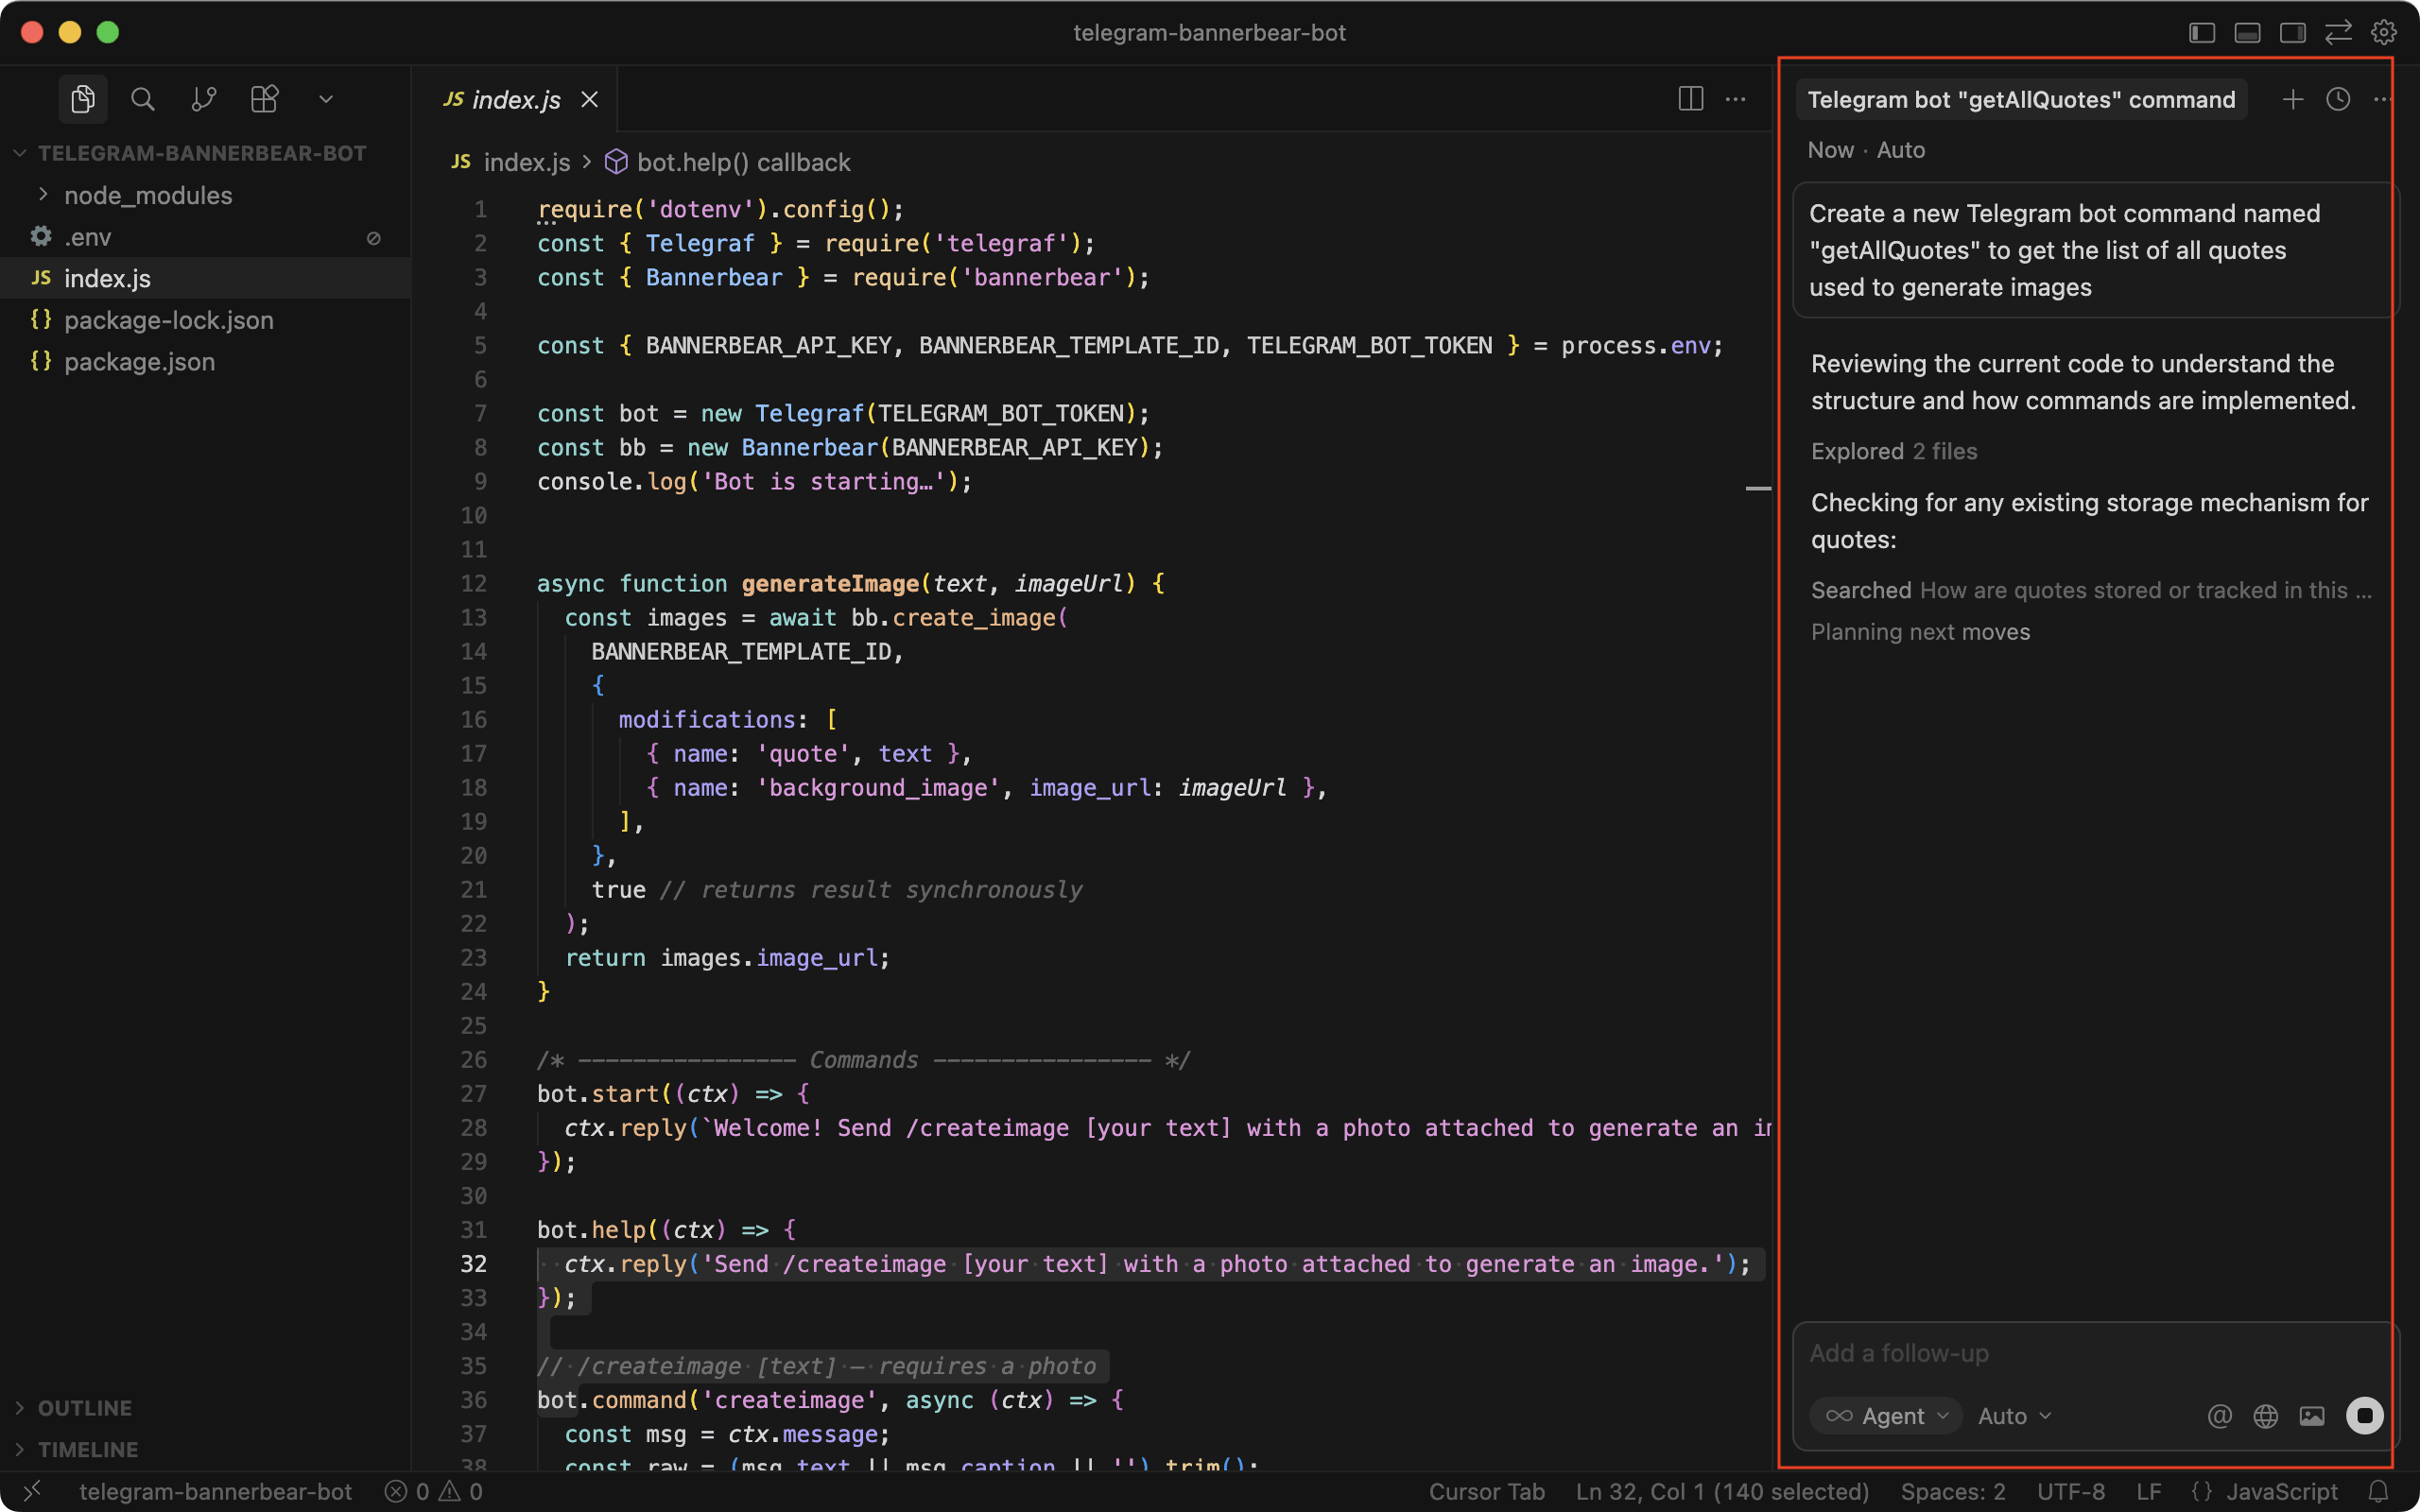
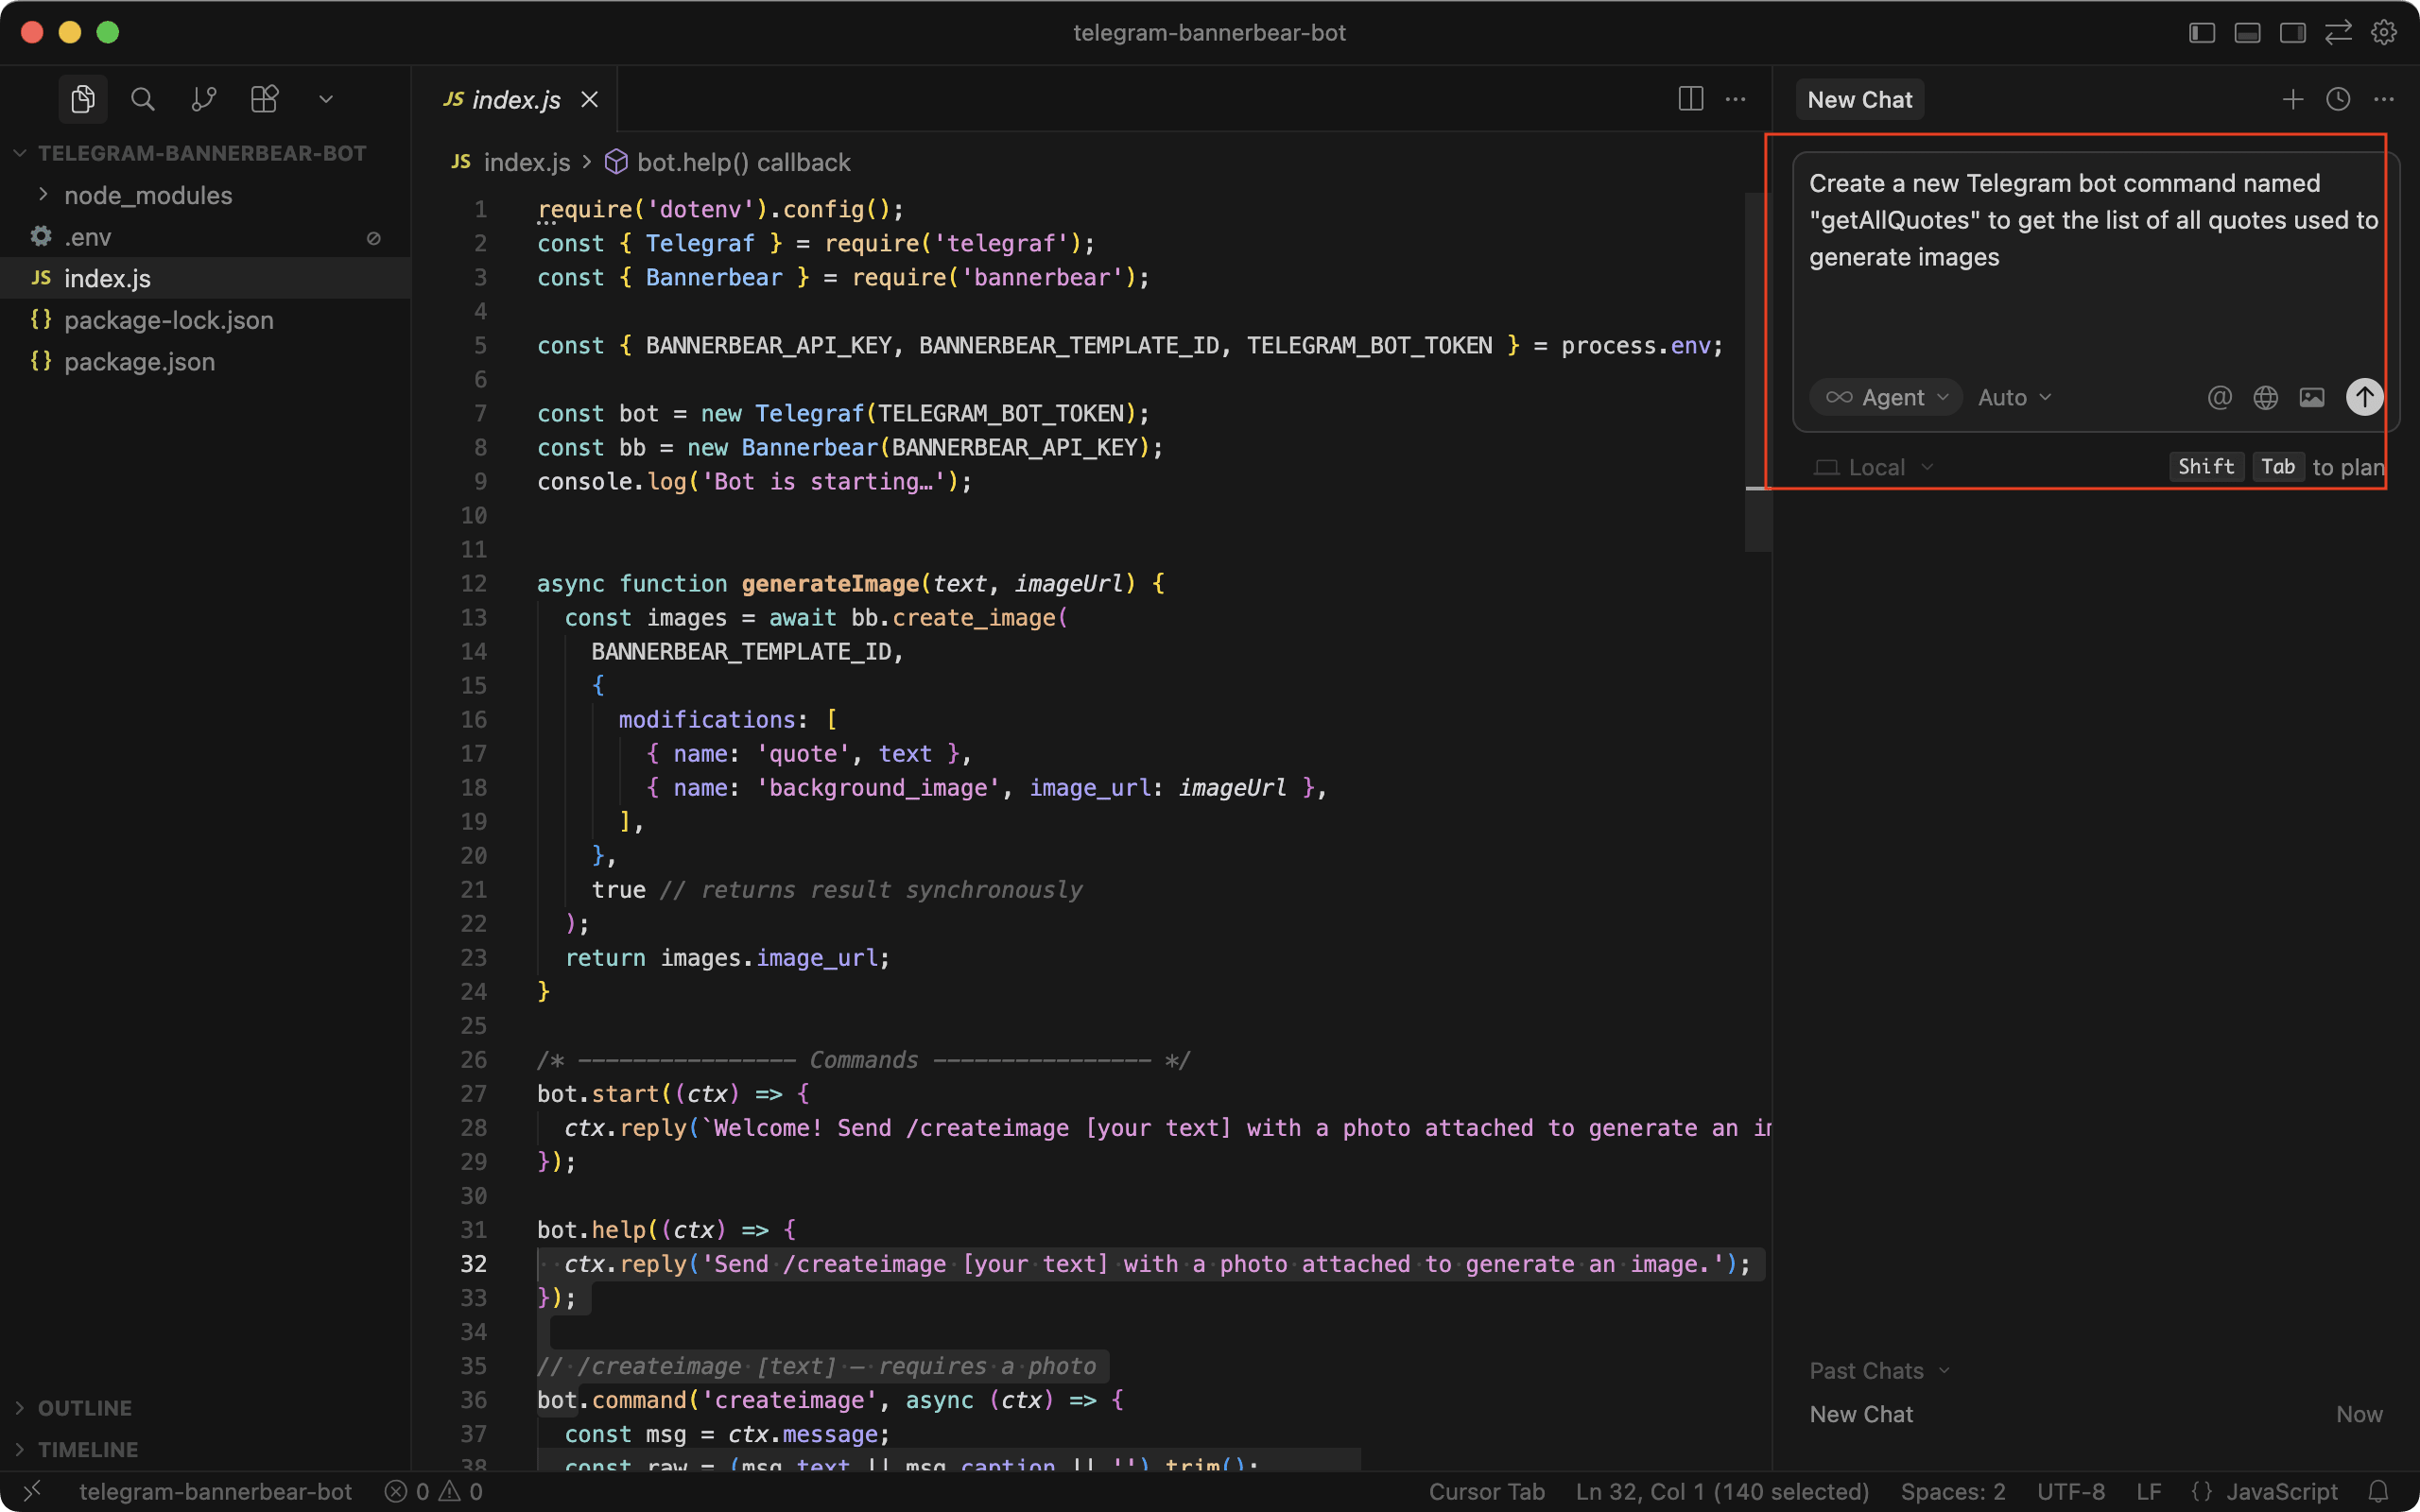
Type in the task you need help with. For example, you can ask it to create a new function:
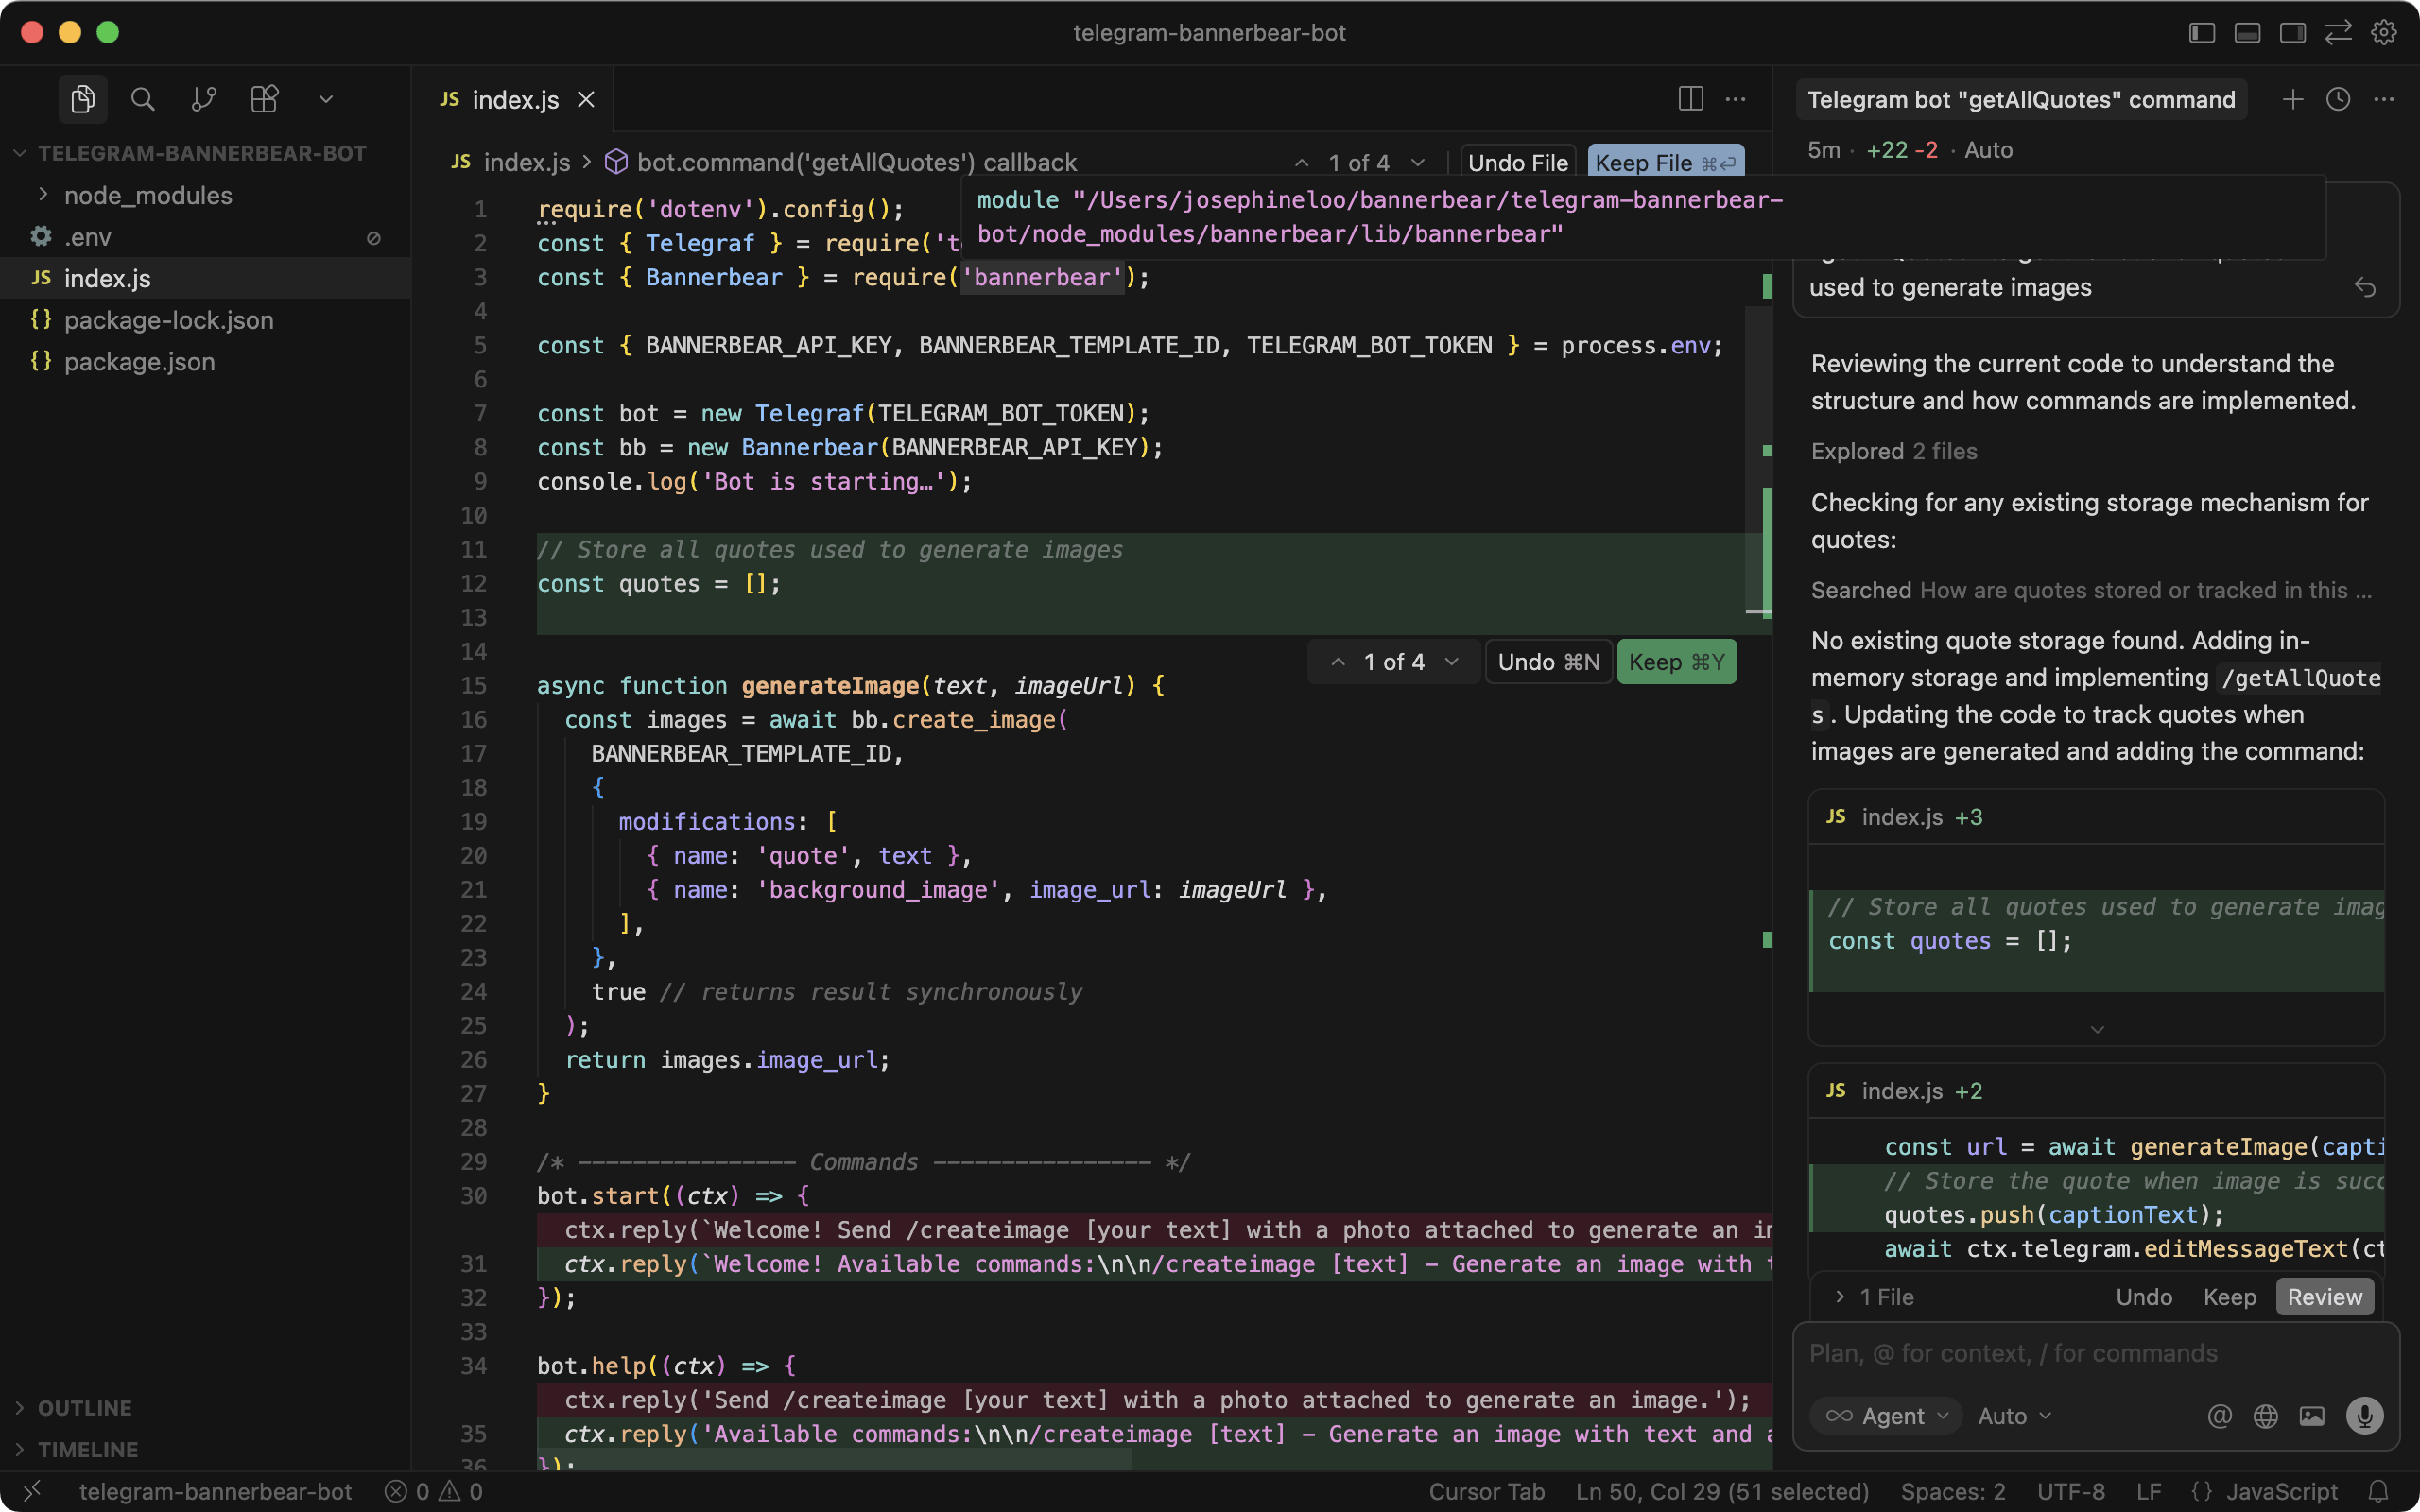
Cursor will review your current code to understand the structure and how existing features are implemented, then update the code with a diff view showing the changes.
The diff view shows changes in real-time. If Cursor is going in the wrong direction, press Escape to interrupt and redirect it. Otherwise, let it finish the task. You can then accept or reject the changes, or type a follow-up message to refine the result:
To get the best results, be specific with your prompts. For example, mention the technologies you want to use, tag relevant files using @, or describe the outcome you're looking for.
🐻 Bear Tip: You can queue follow-up messages while Cursor is working on the current task. Your instructions will wait in line and execute automatically when it’s ready.
Workflow 4. Fixing Bugs with Debug Mode
Debug mode is specifically designed for troubleshooting. It analyzes errors, traces through code paths, and suggests fixes based on the actual problem.
For example, you can paste the error message or describe the unexpected behavior:
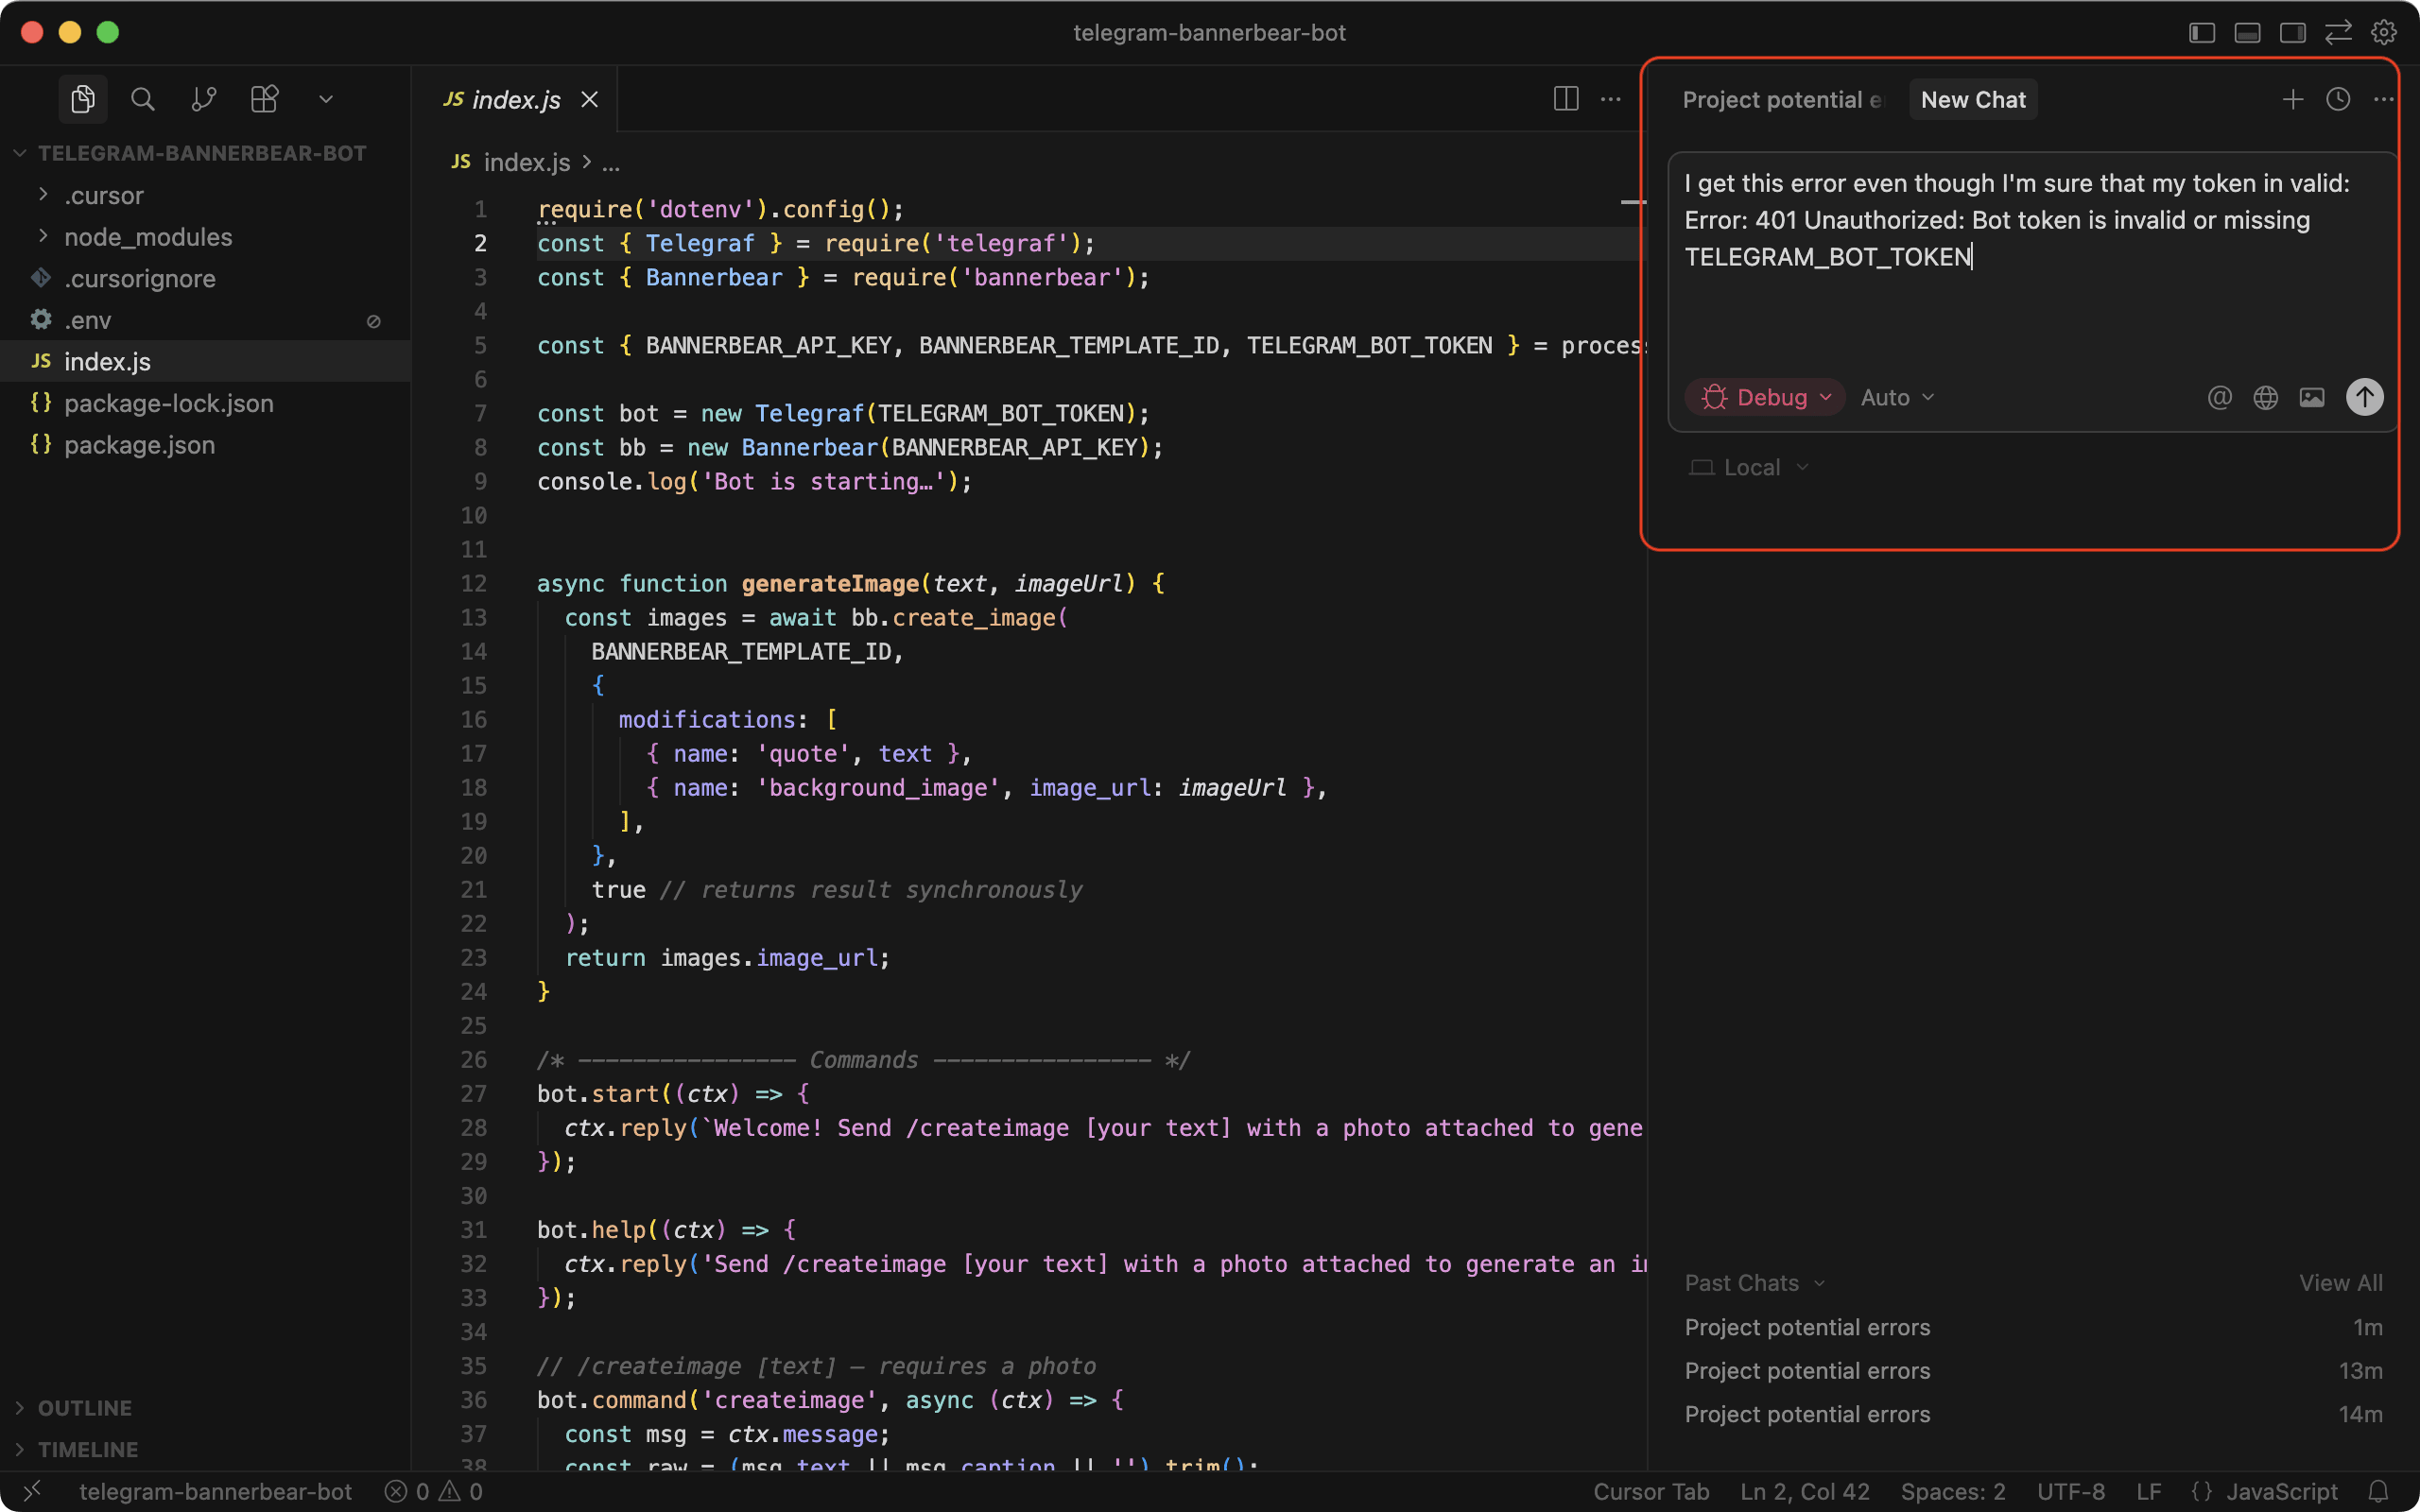
Debug mode identifies where the error occurred, reads the relevant files, pinpoints the root cause, and proposes a fix with an explanation. It might also produce reproduction steps to investigate the problem further:
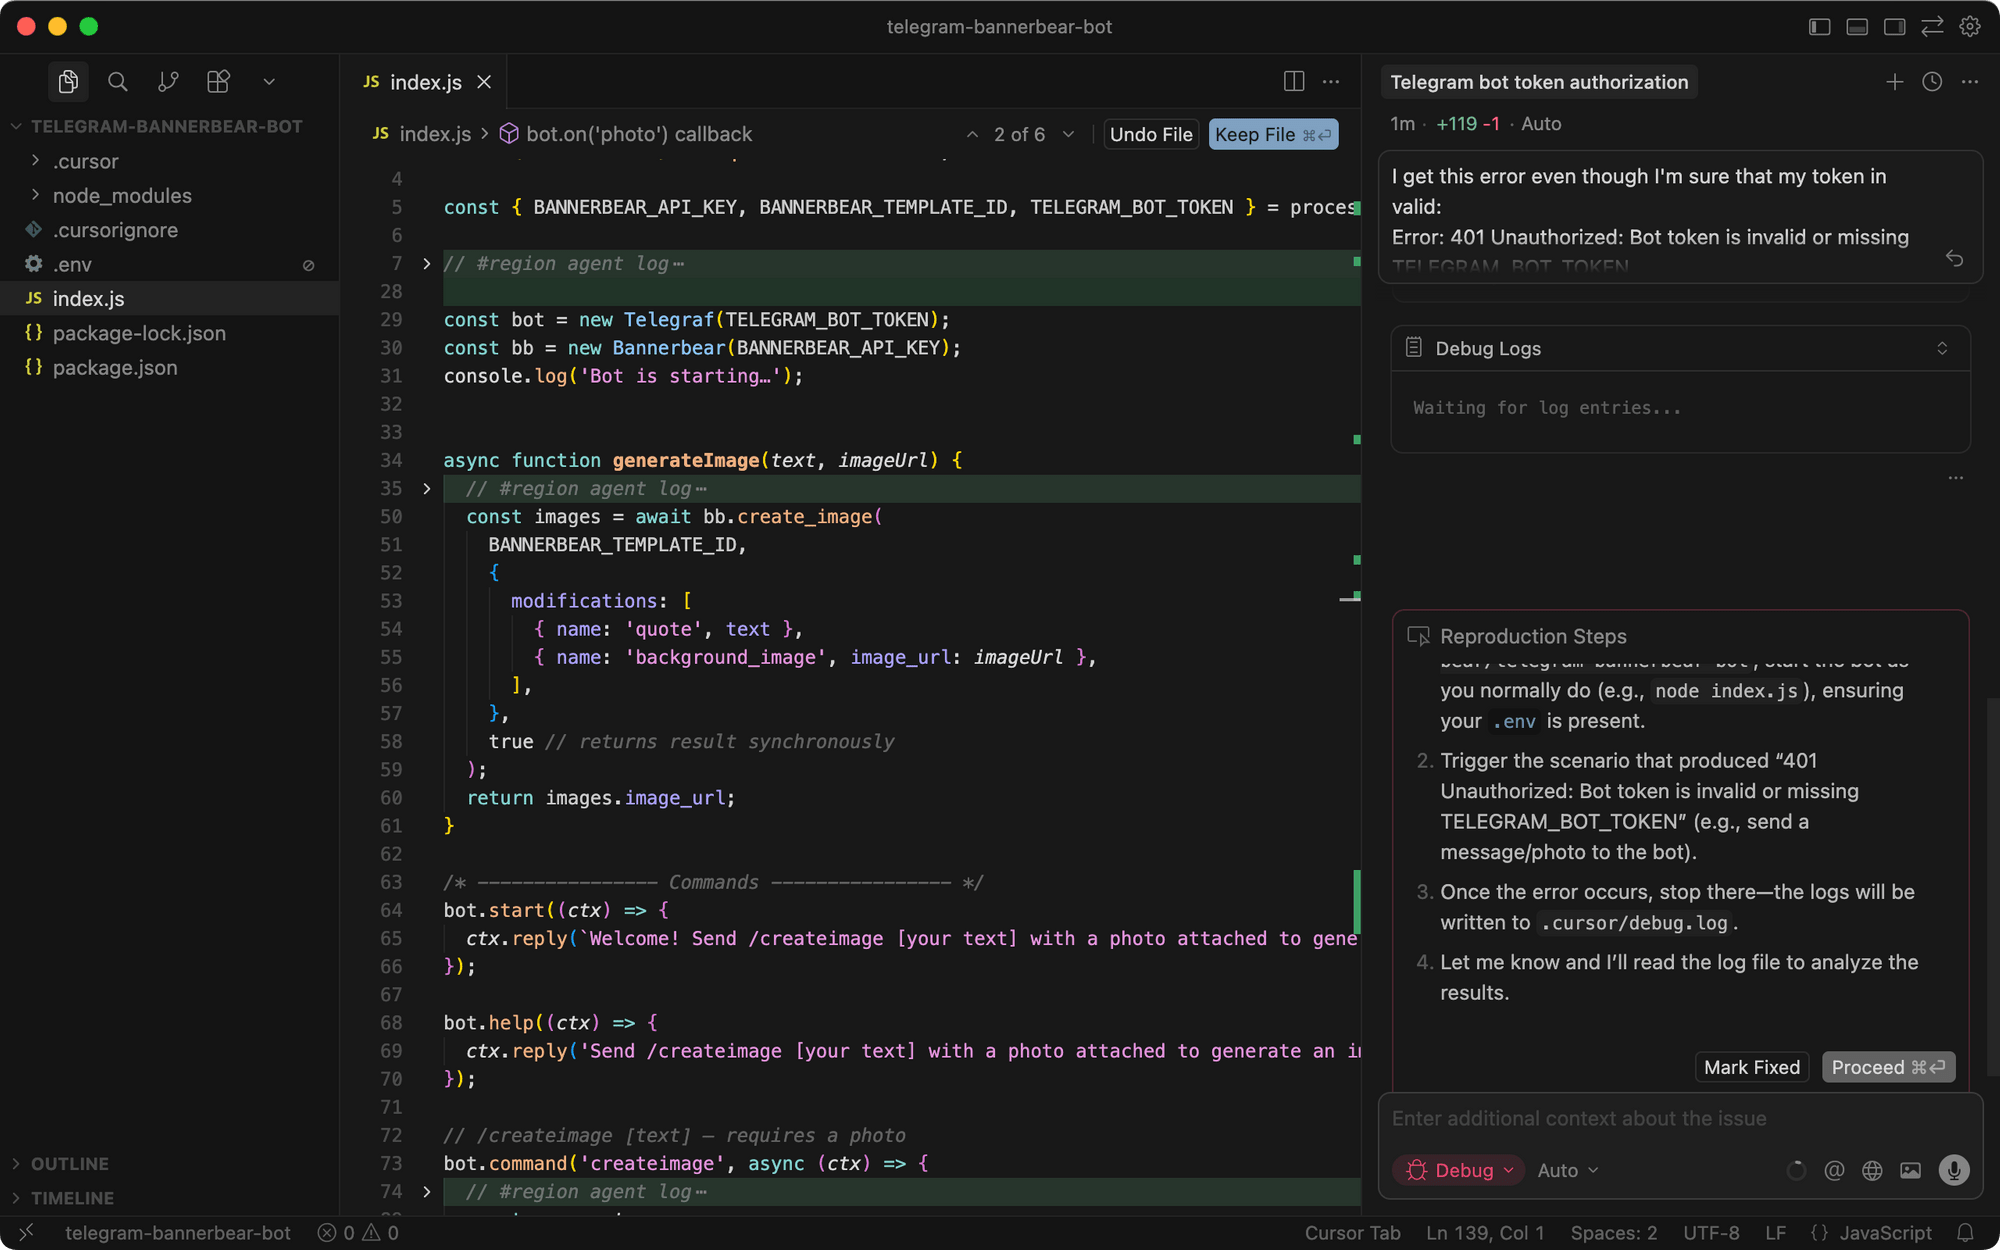
🐻 Bear Tip: Include relevant context (which file, what you expected, and what happened) to help Cursor debug more easily.
Workflow 5. Writing New Code with Tab Completion
Tab completion is one of the easiest ways to use Cursor, even if you prefer writing code yourself instead of giving instructions to Cursor. It works automatically to predict the next lines as you type.
As you type, you’ll see gray "ghost text" appear with a suggested implementation:
If you like the suggestion, press Tab to accept it:
Otherwise, you can keep typing, and Cursor will update its prediction:
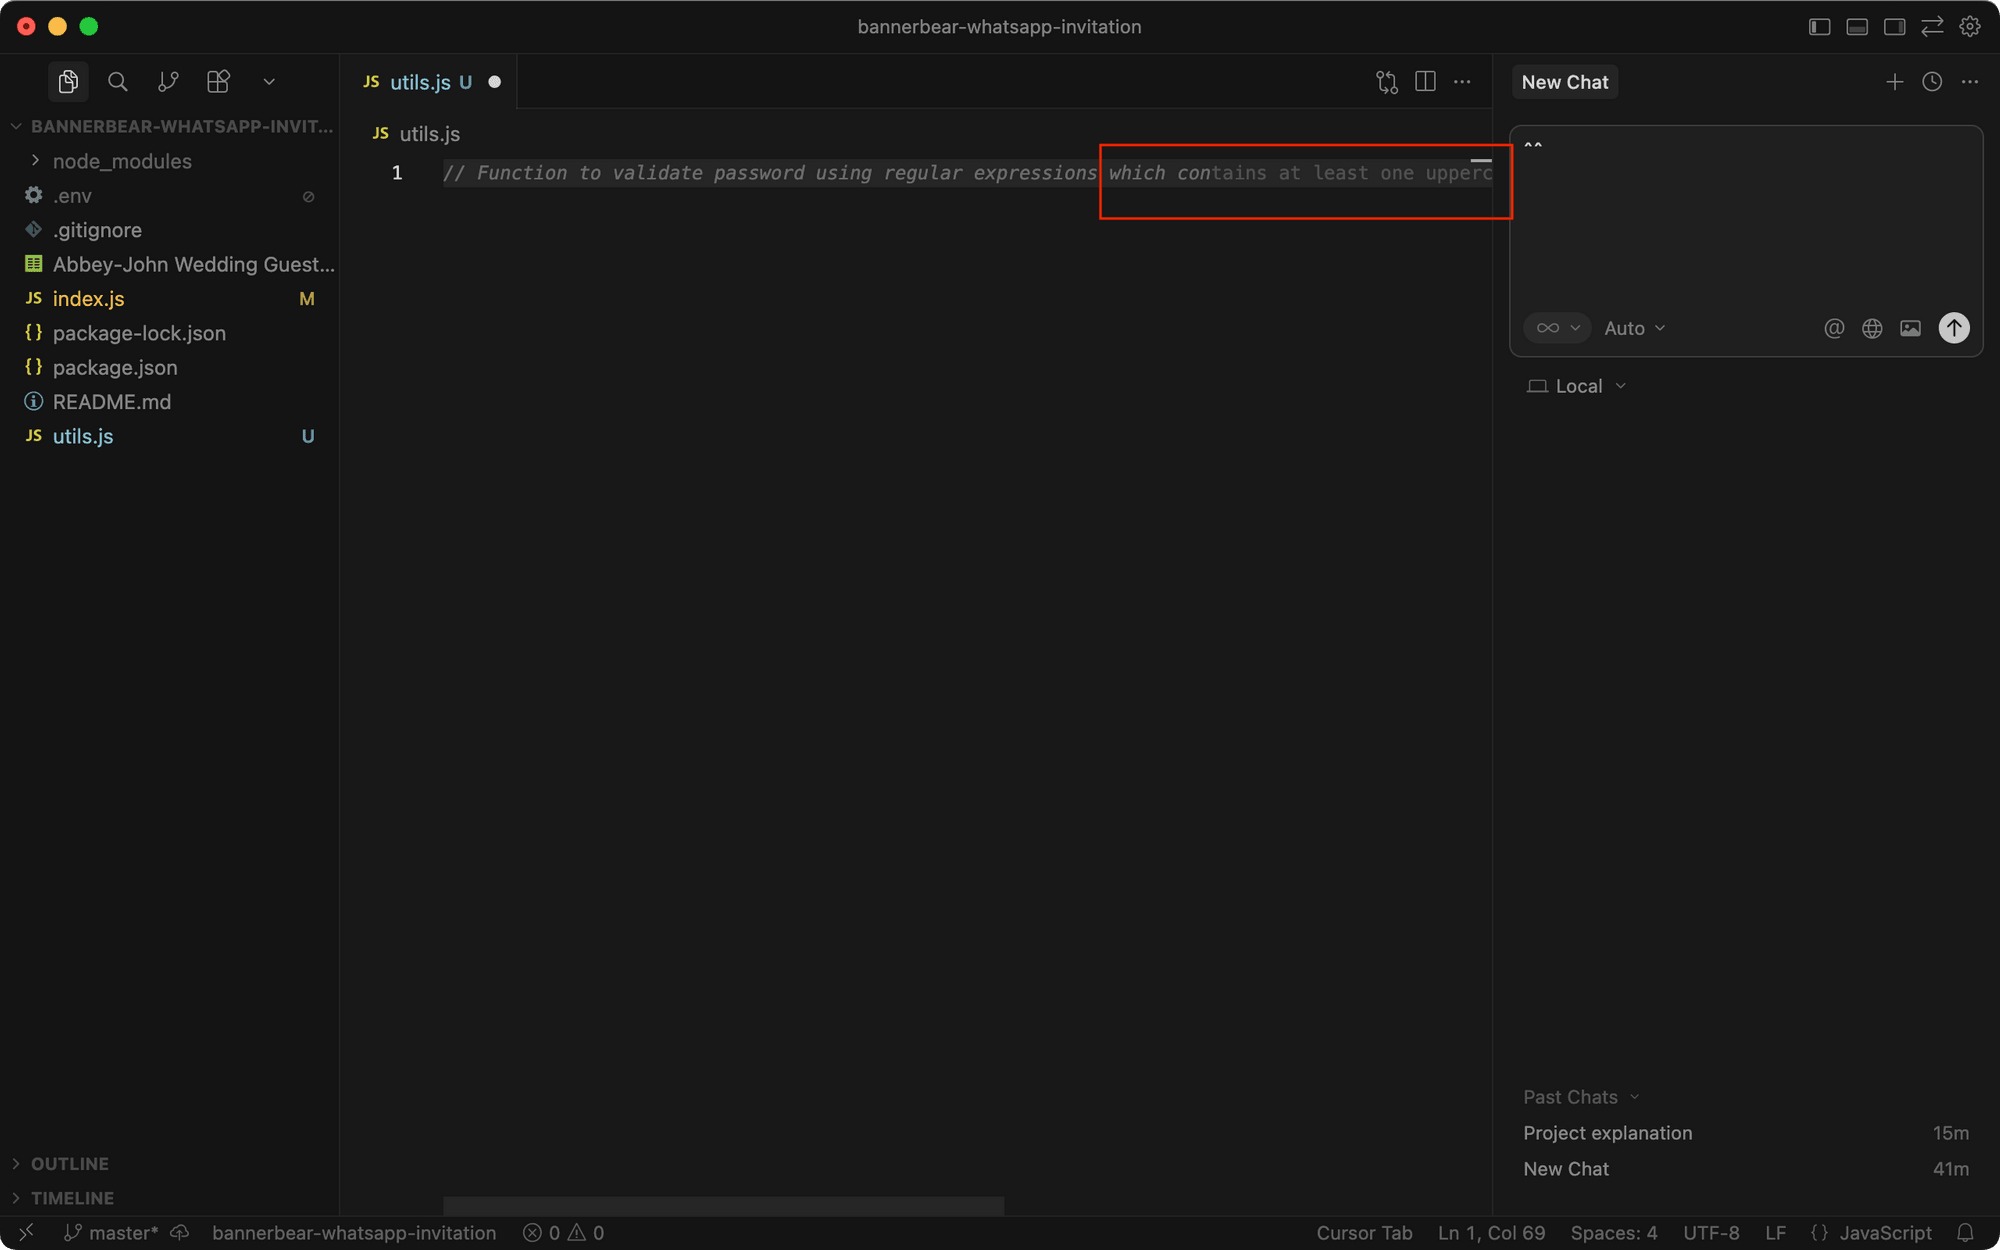
Workflow 6. Quick Edits with Inline Edit
For minor, targeted edits, you can use Quick Edit instead of opening a chat session. Simply select the relevant code and click "Quick Edit":
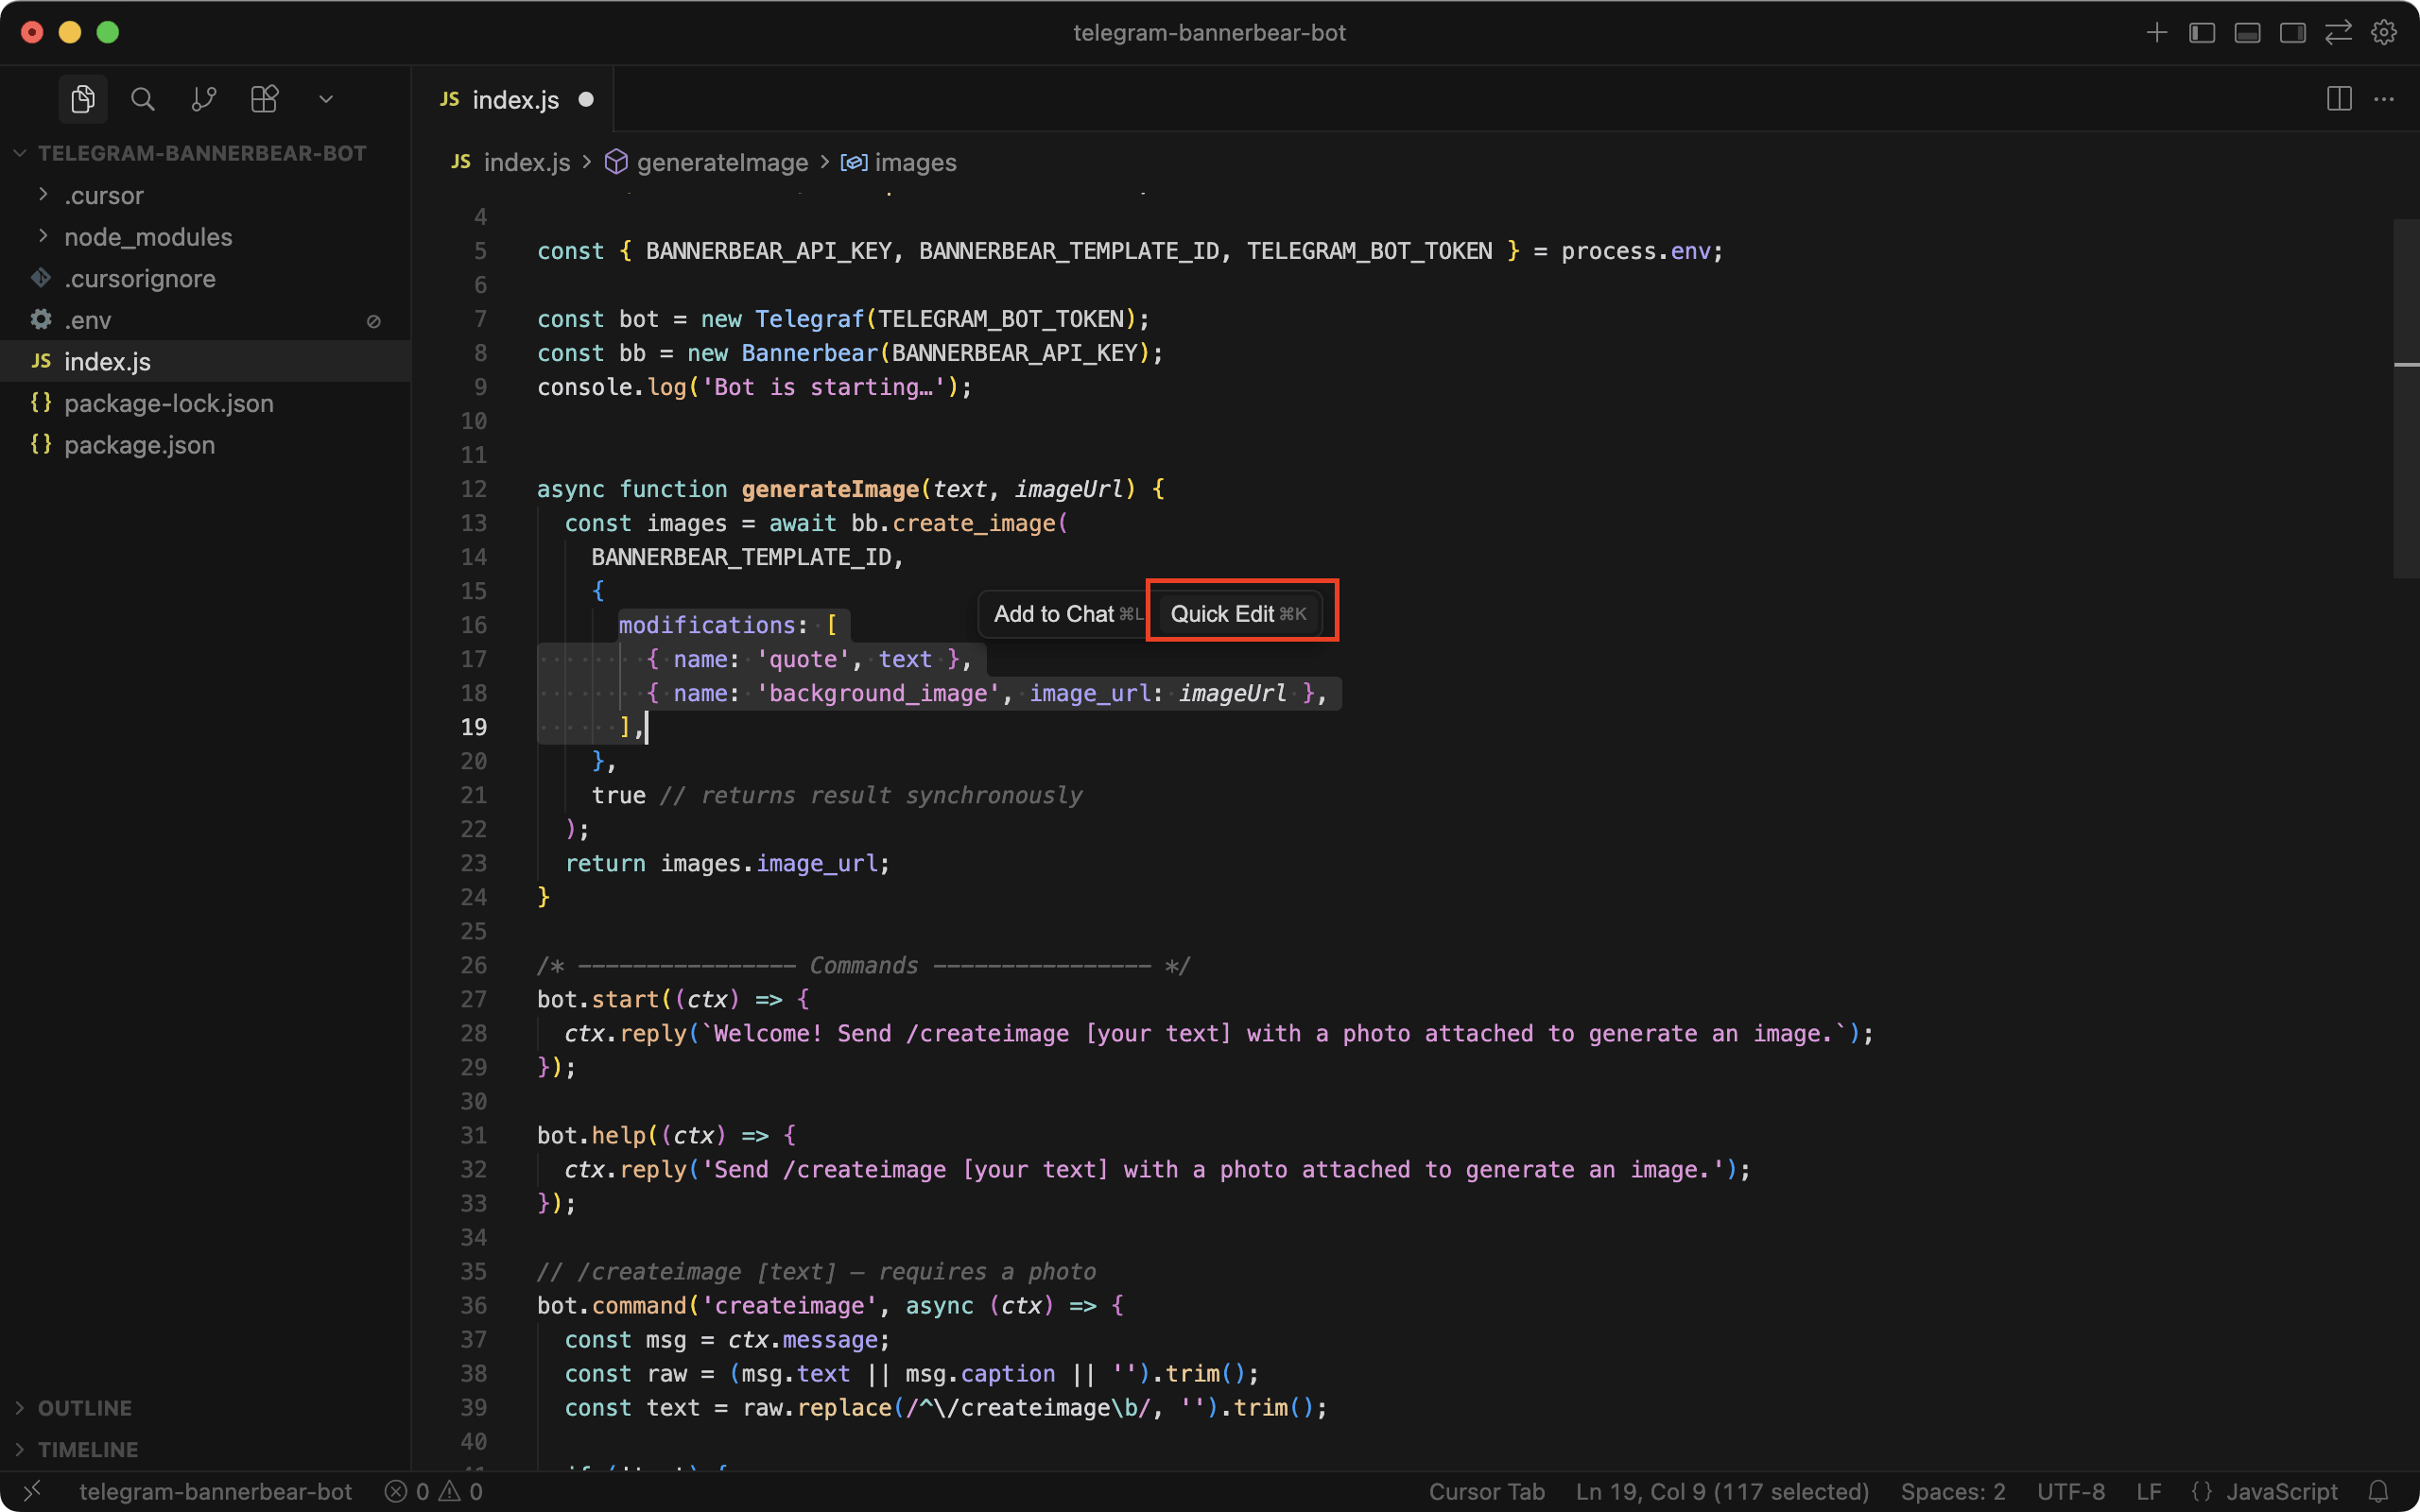
A small input box will appear above your selection. Type in what you want to change:
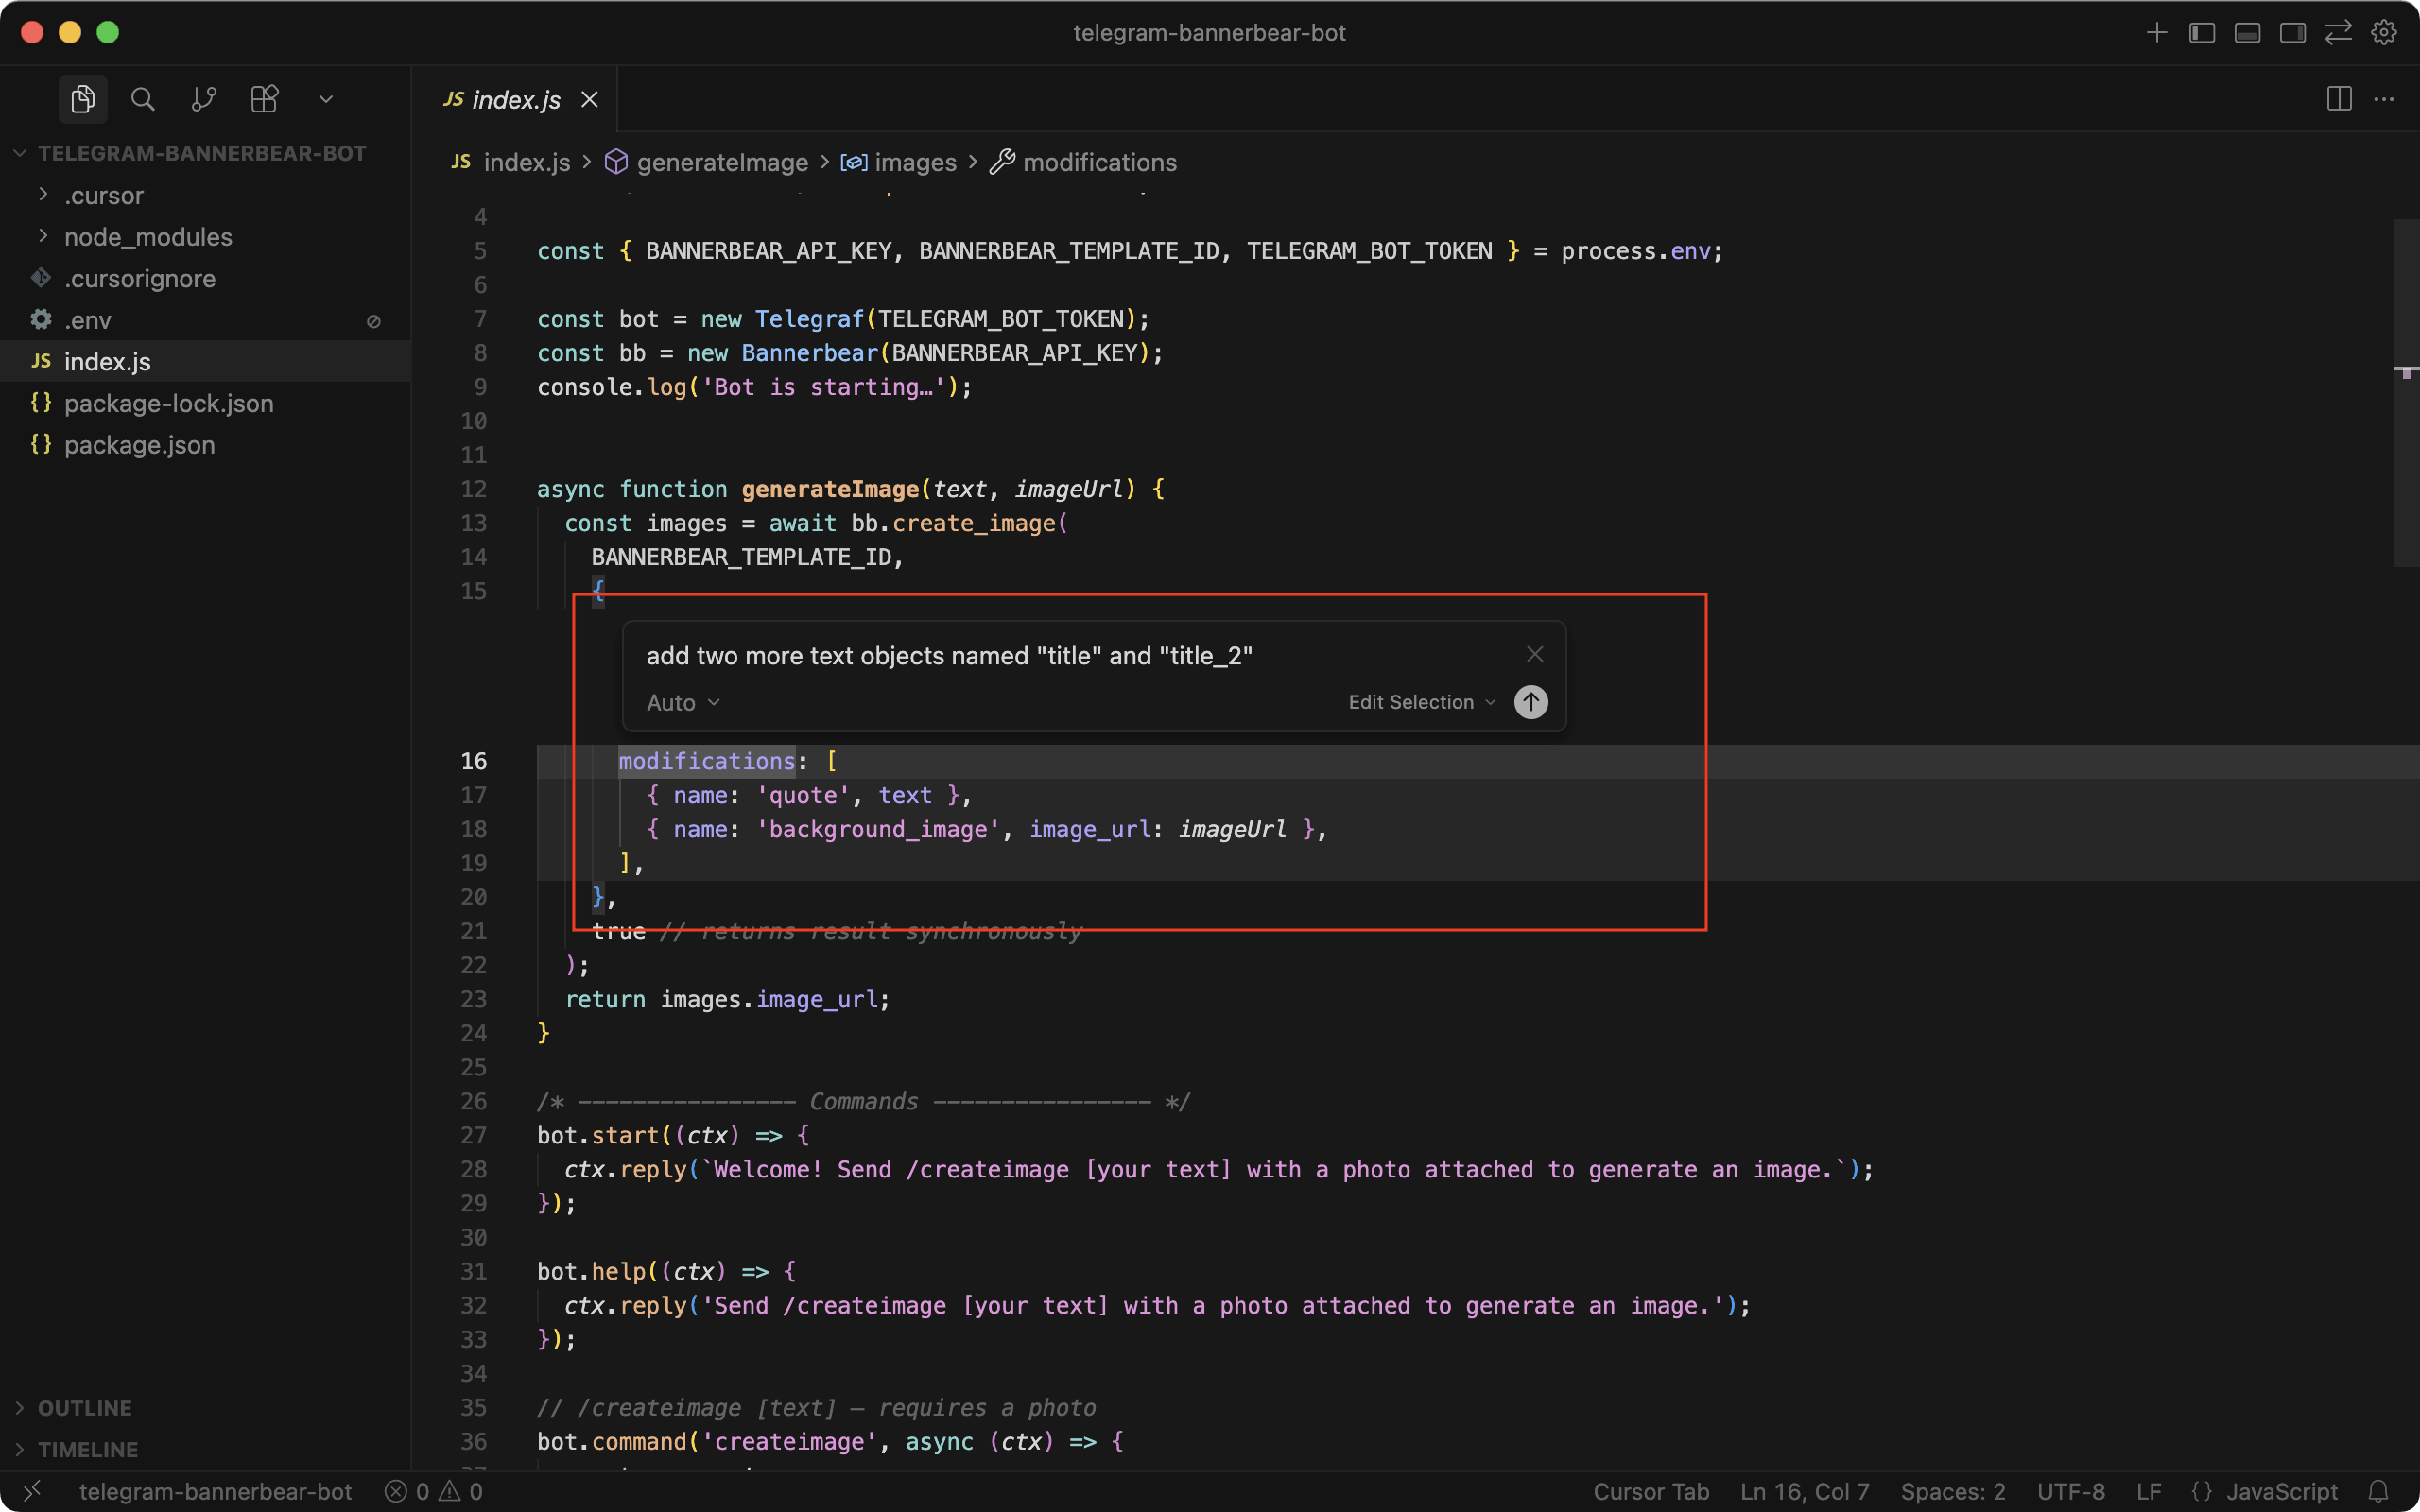
Review the changes and choose to keep or undo them:
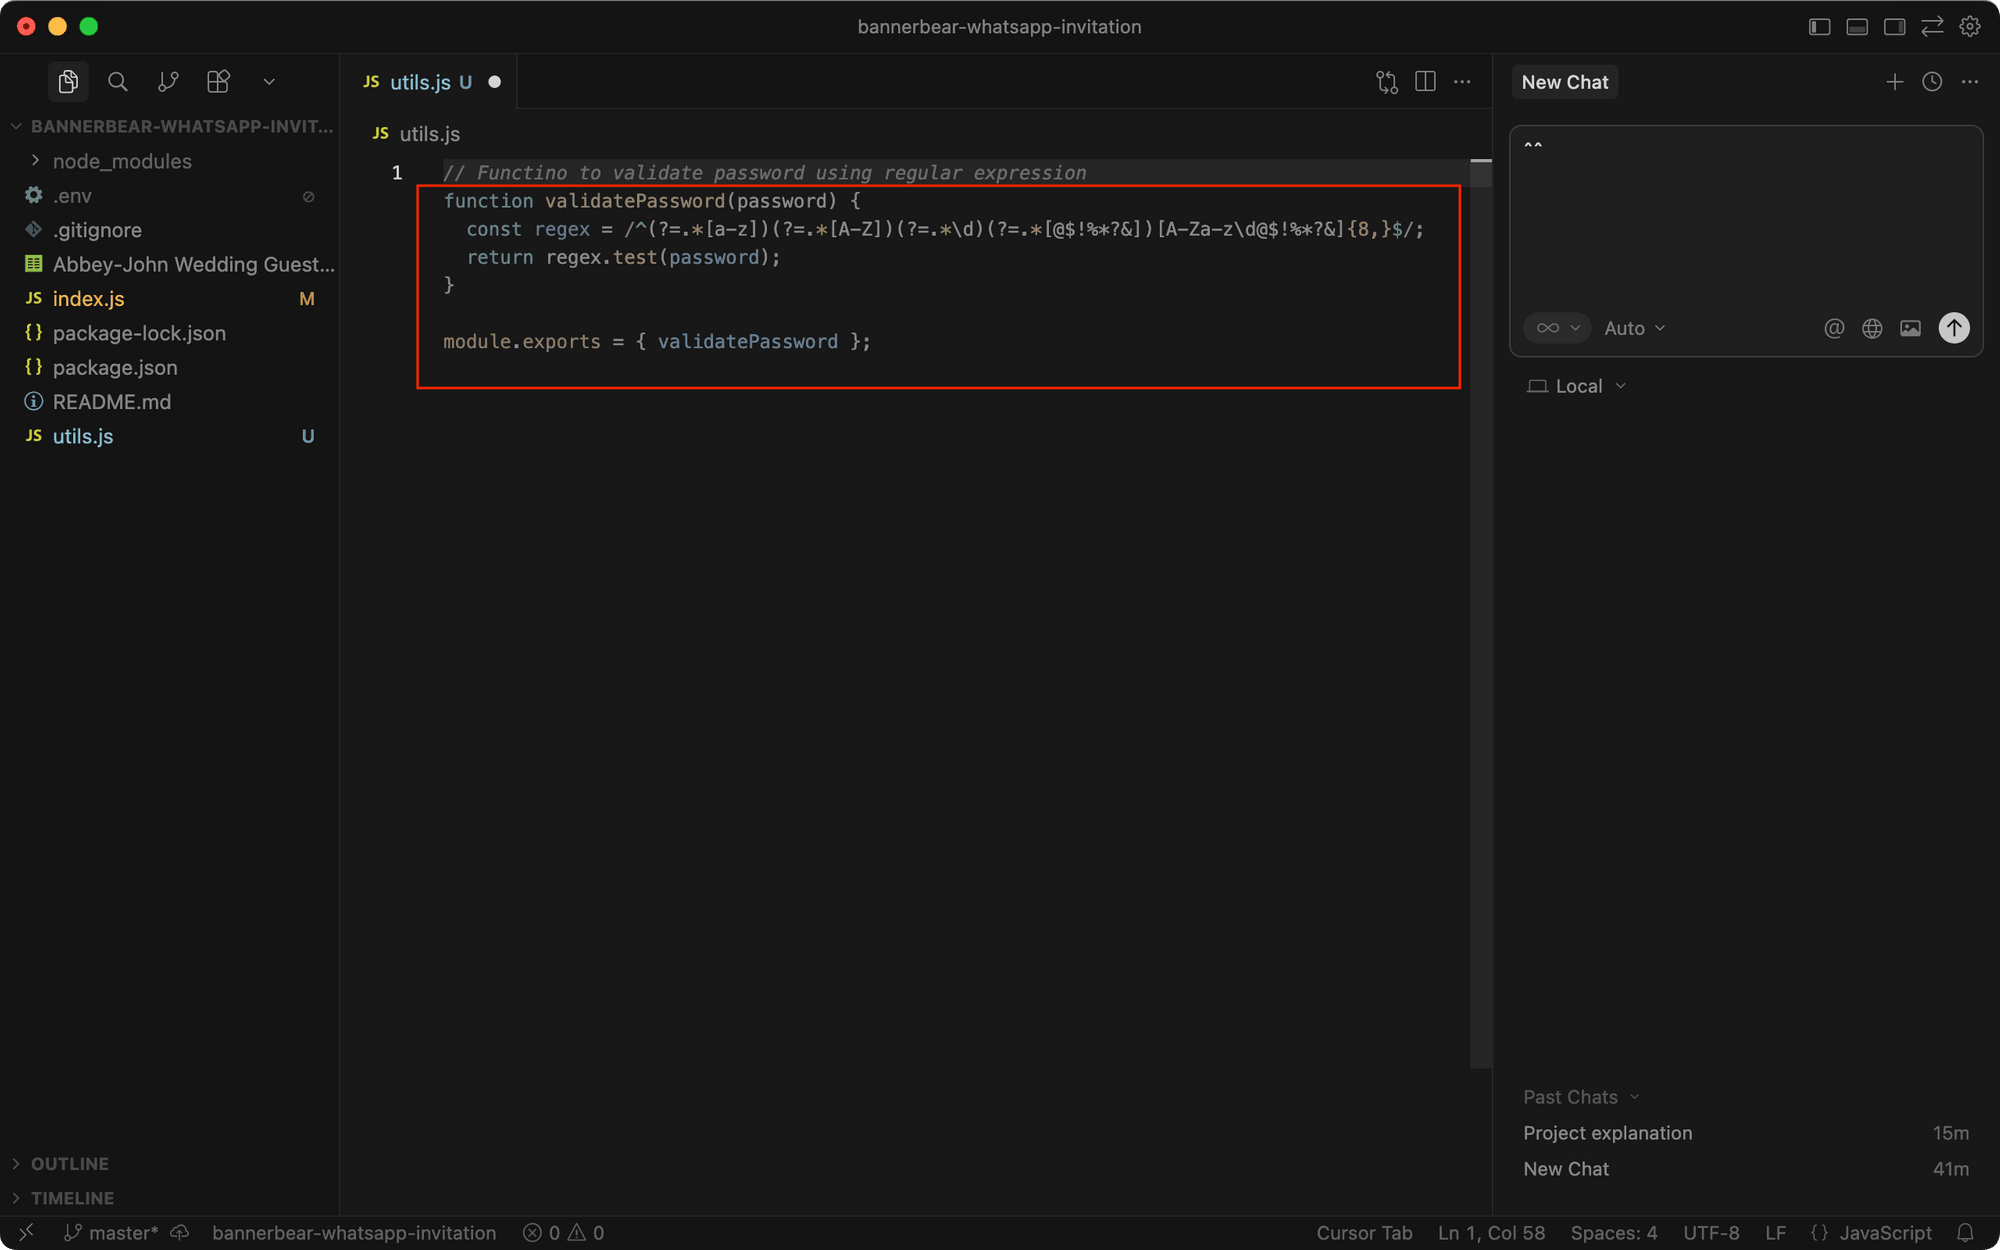
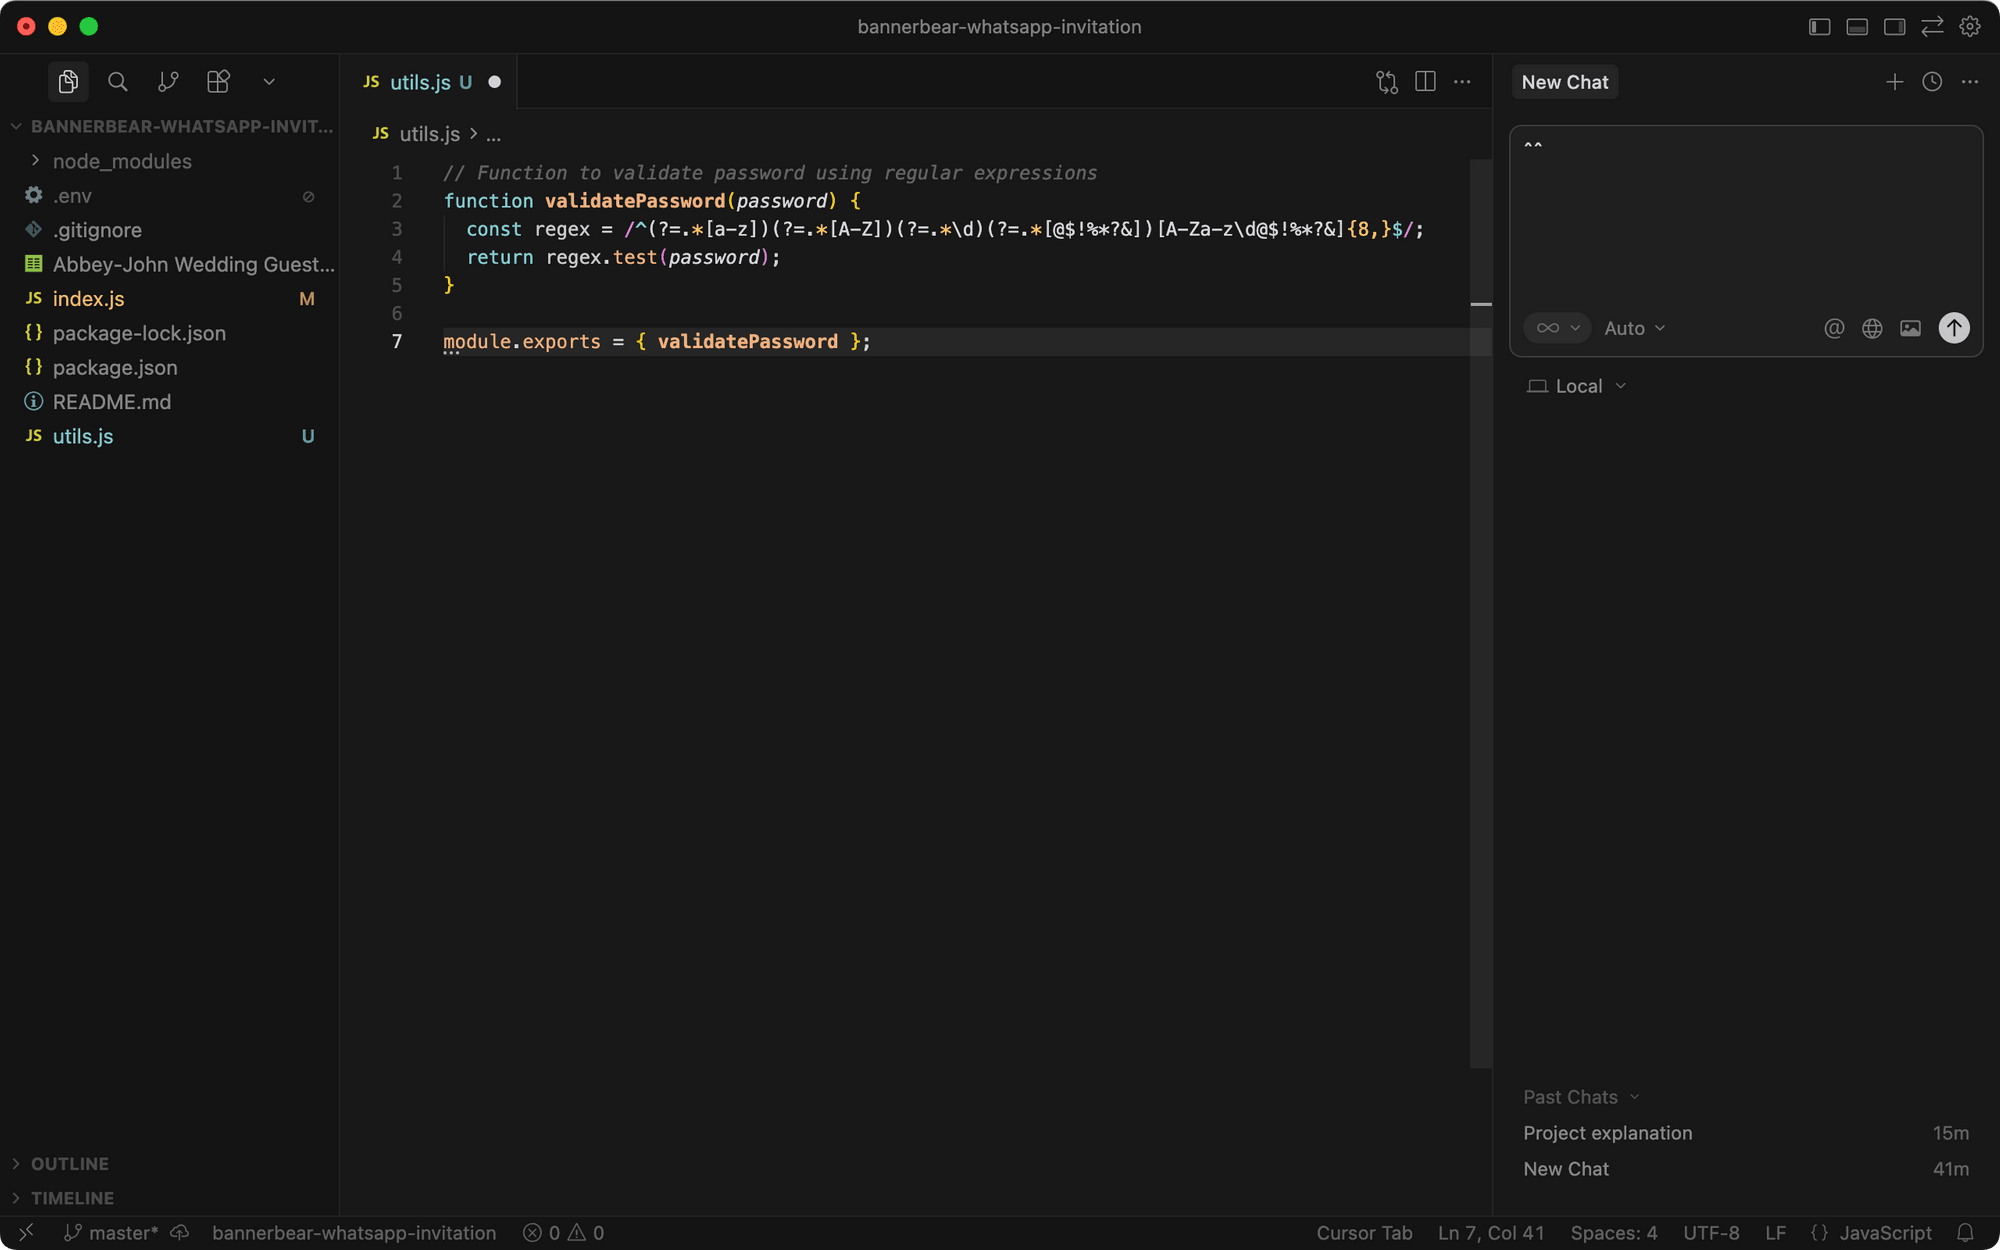
Using Cursor for API Integrations
Cursor's underlying AI model was trained on vast amounts of publicly available code, documentation, tutorials, and examples from the internet. That's why it can handle most coding tasks, including integrating third-party APIs.
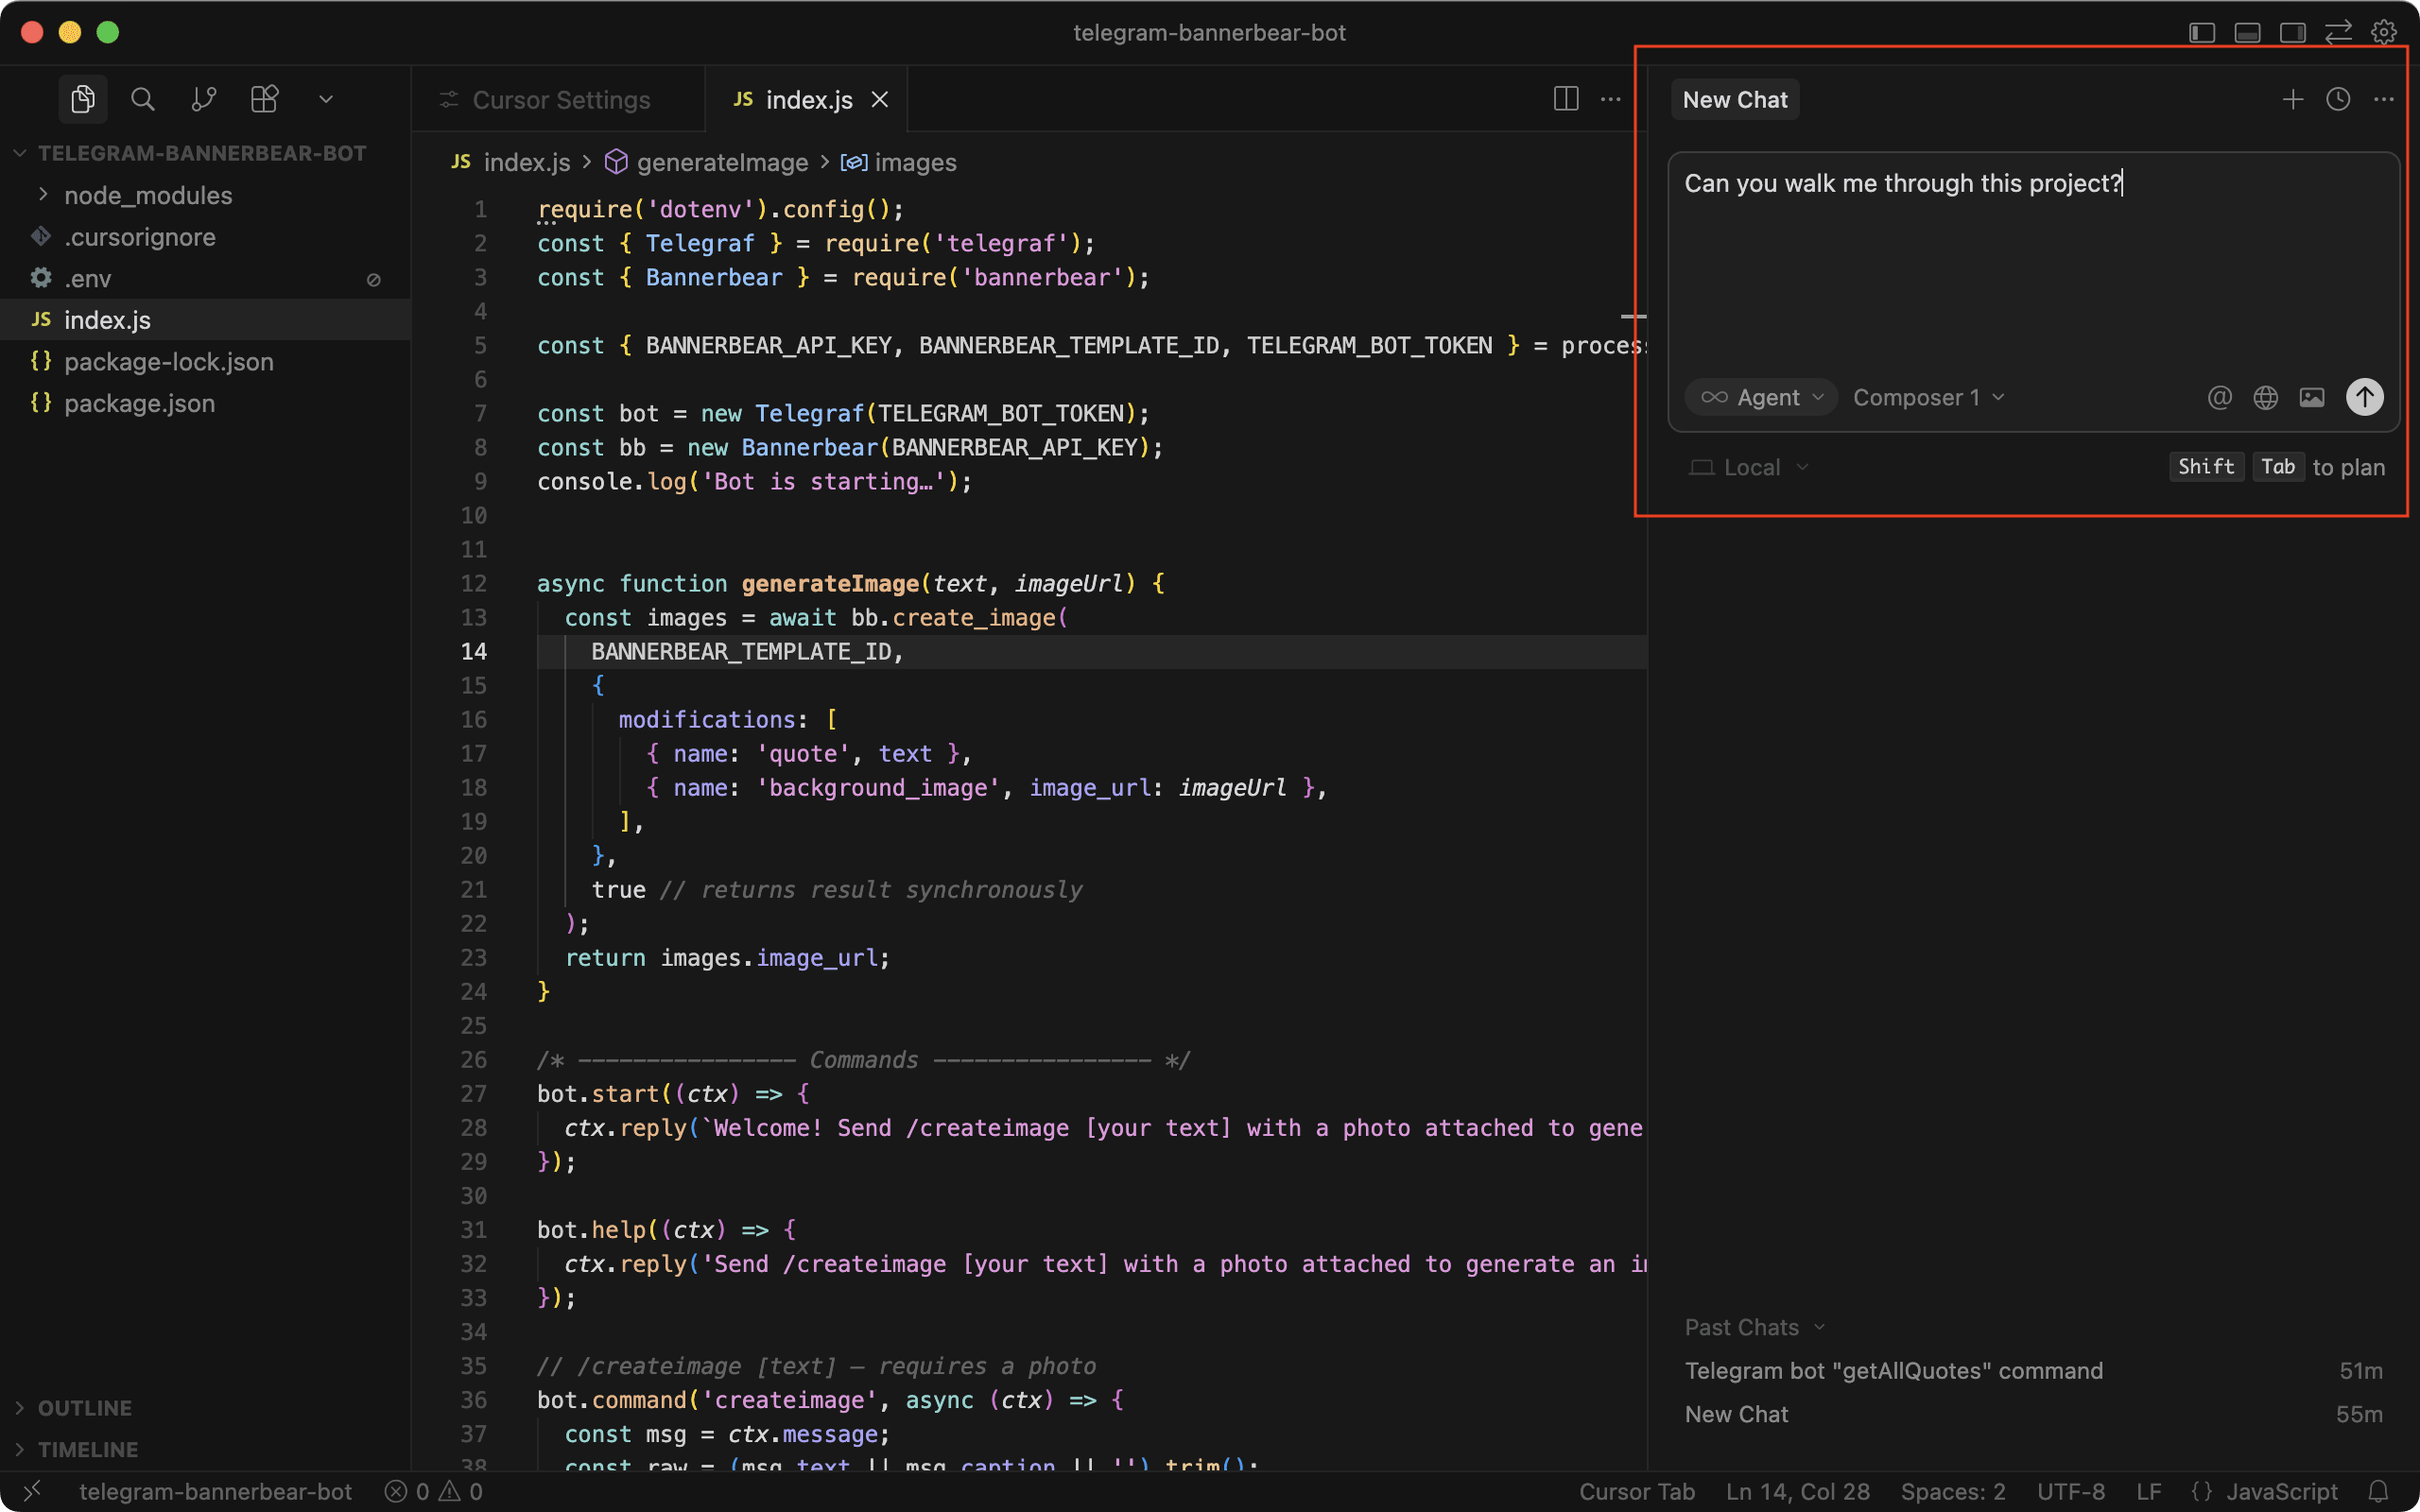
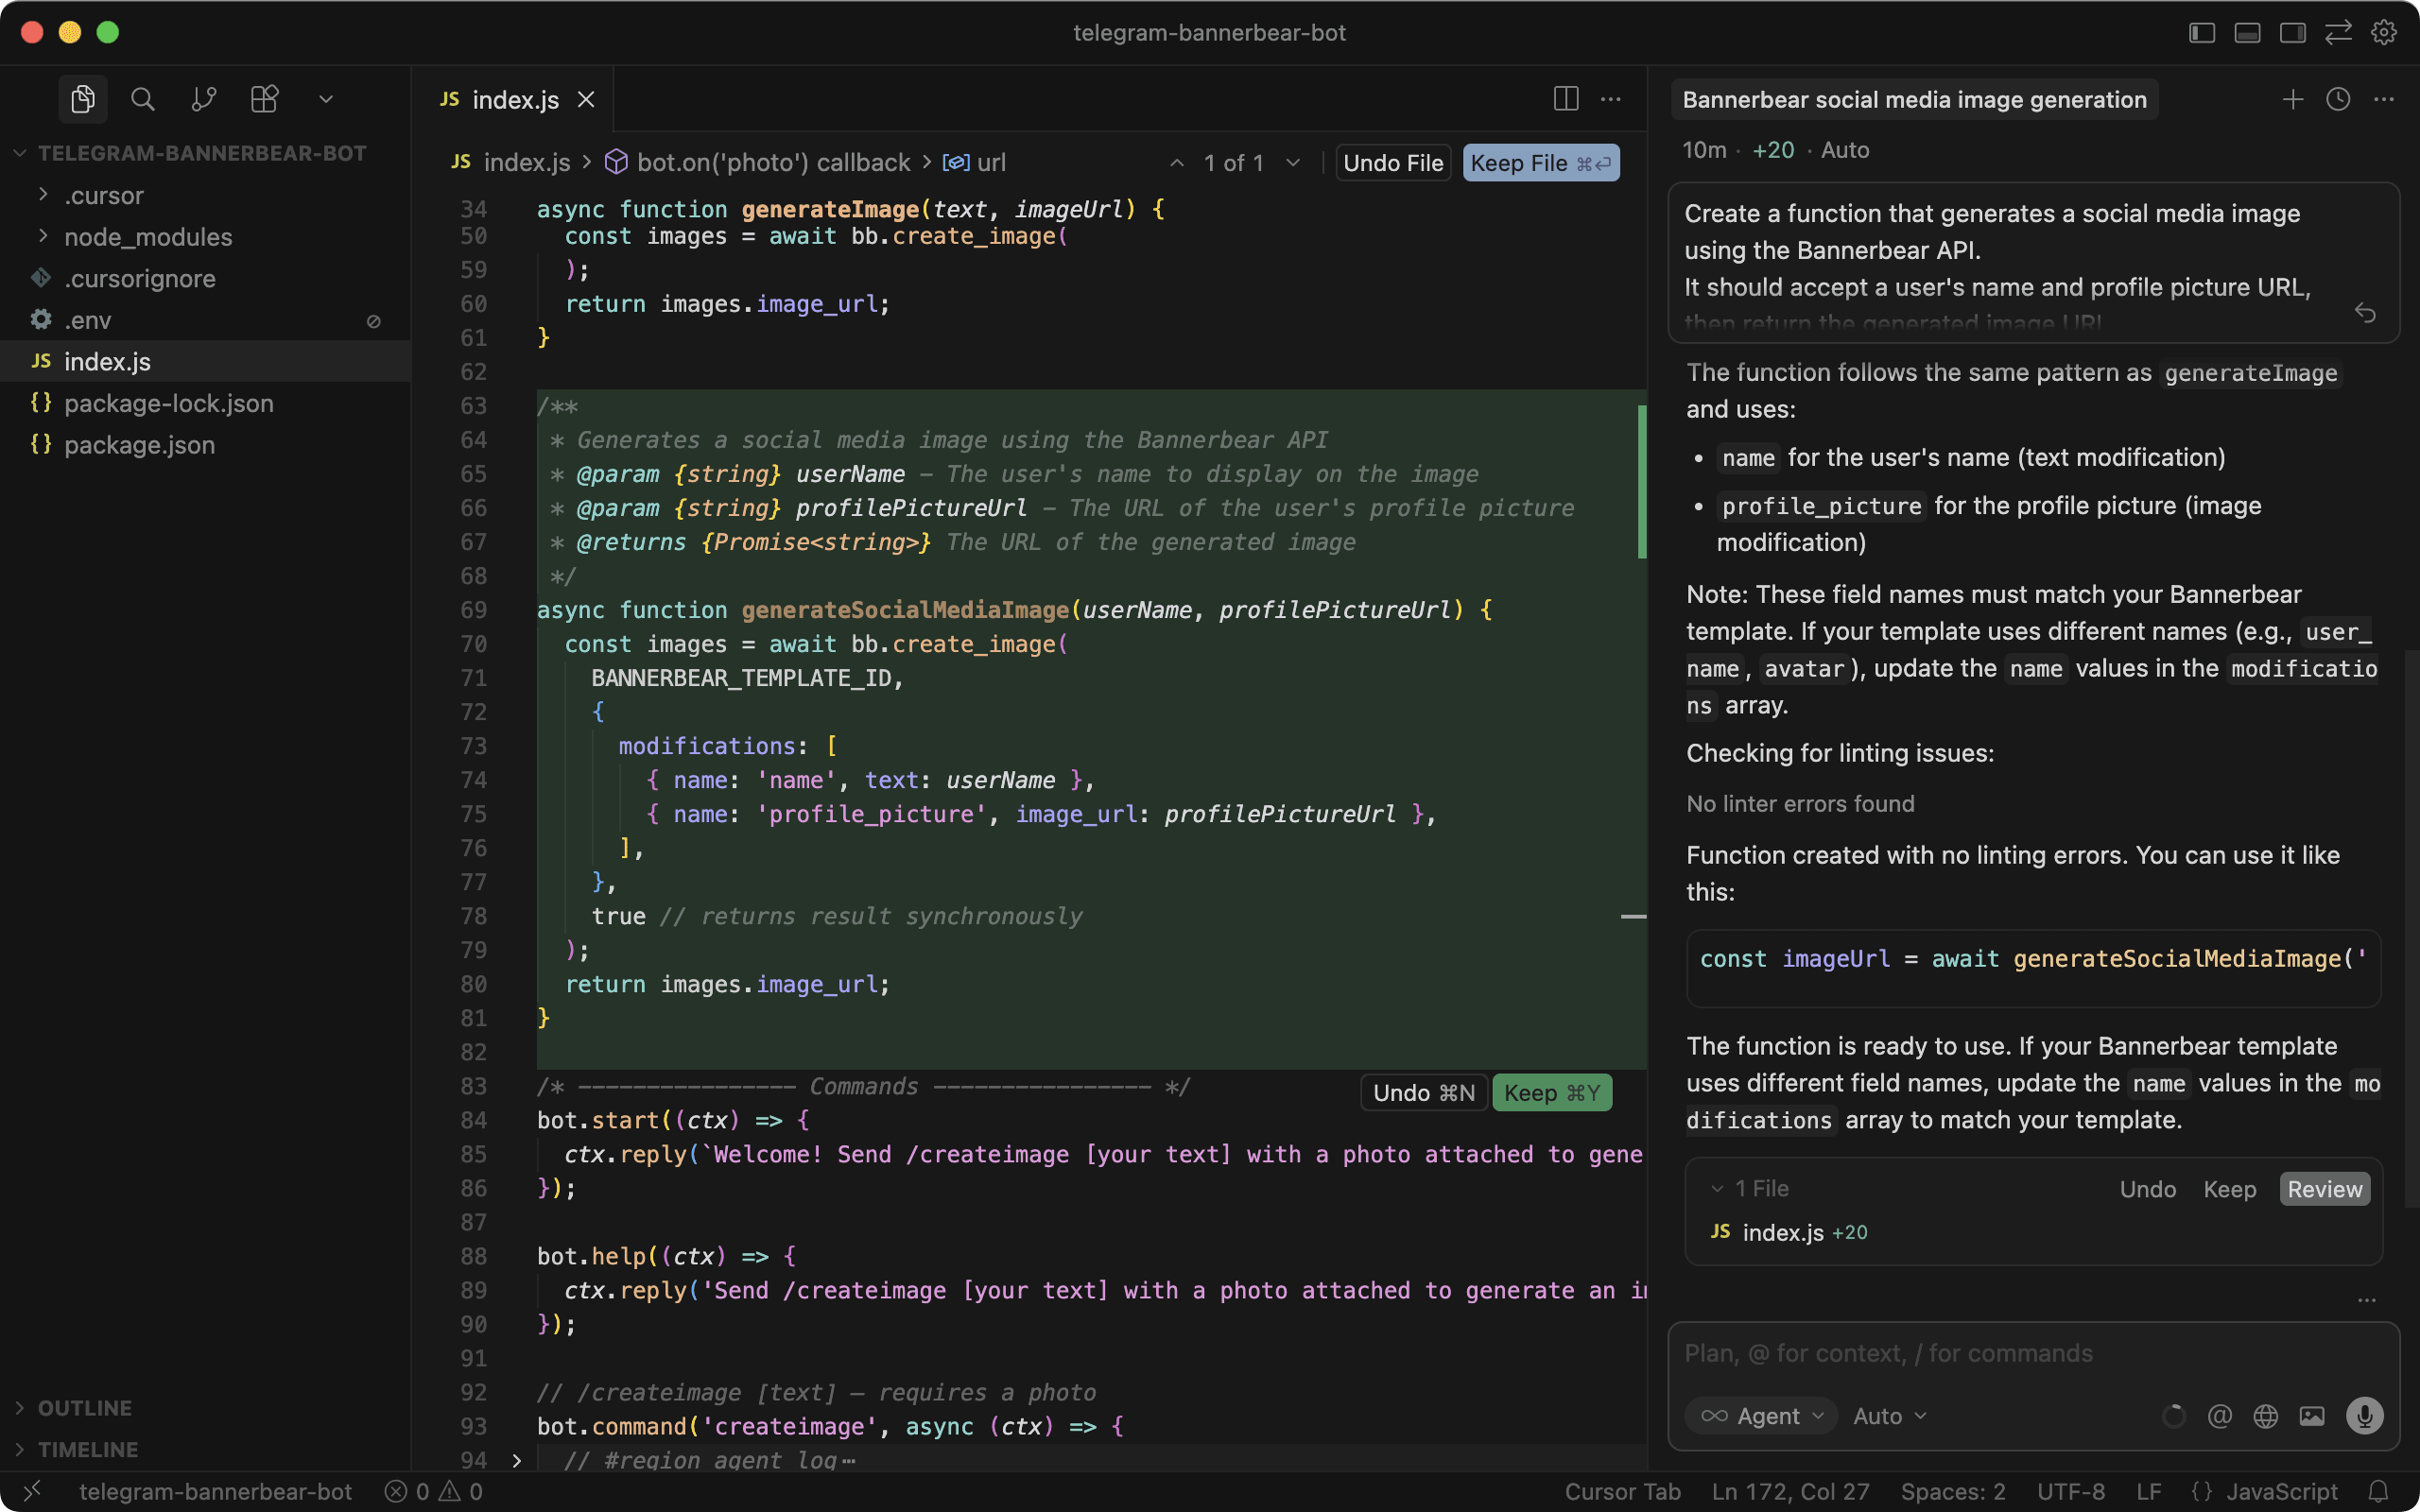
For example, if you're building automations that generate images or videos, like dynamic Open Graph images, personalized invitations, or automated video content, you can use Cursor to integrate with APIs like Bannerbear quickly.
Try this using the Agent mode in Cursor:
Create a function that generates a social media image using the Bannerbear API.
It should accept a user's name and profile picture URL, then return the generated image URL.
Cursor will handle the API call and response parsing based on your project's existing patterns. You can then refine it with follow-up prompts or inline edits:
Conclusion
That's it! You're all set to start coding with Cursor. As you get started, try using it on a new project first to see how it works. Start with smaller requests to understand how it handles your codebase and coding style. This helps you learn what it's good at and where you might need to double-check its work.
As good as Cursor is, it's a tool, not a substitute for knowing how to code. You still need to understand what the code does, especially when you need to debug or maintain it later. Always review the code it generates before accepting it, especially for security-sensitive operations, database queries, or API calls.
I hope this guide helped you get Cursor set up smoothly. Stay tuned for more tutorials like this!
