
How to Create an Image Slider in HTML, CSS, and Javascript
Contents
Using an image slider is a great way to showcase multiple images and videos on a website or a mobile application. It adds some visual interest to them and makes them more engaging for users. You can create one in HTML, CSS, and JavaScript easily, or use an existing library like Splide, Swiper, or Glide to add it to your project.
Although using an external library is faster, it is not always better due to performance, compatibility, size, and other issues. Not to mention there’s also a learning curve.
If you code the image slider yourself, you can have more customization and control over its functionality, design, and behavior. That’s why in this tutorial, we’ll learn how to create an image slider from scratch in HTML, CSS, and JavaScript.
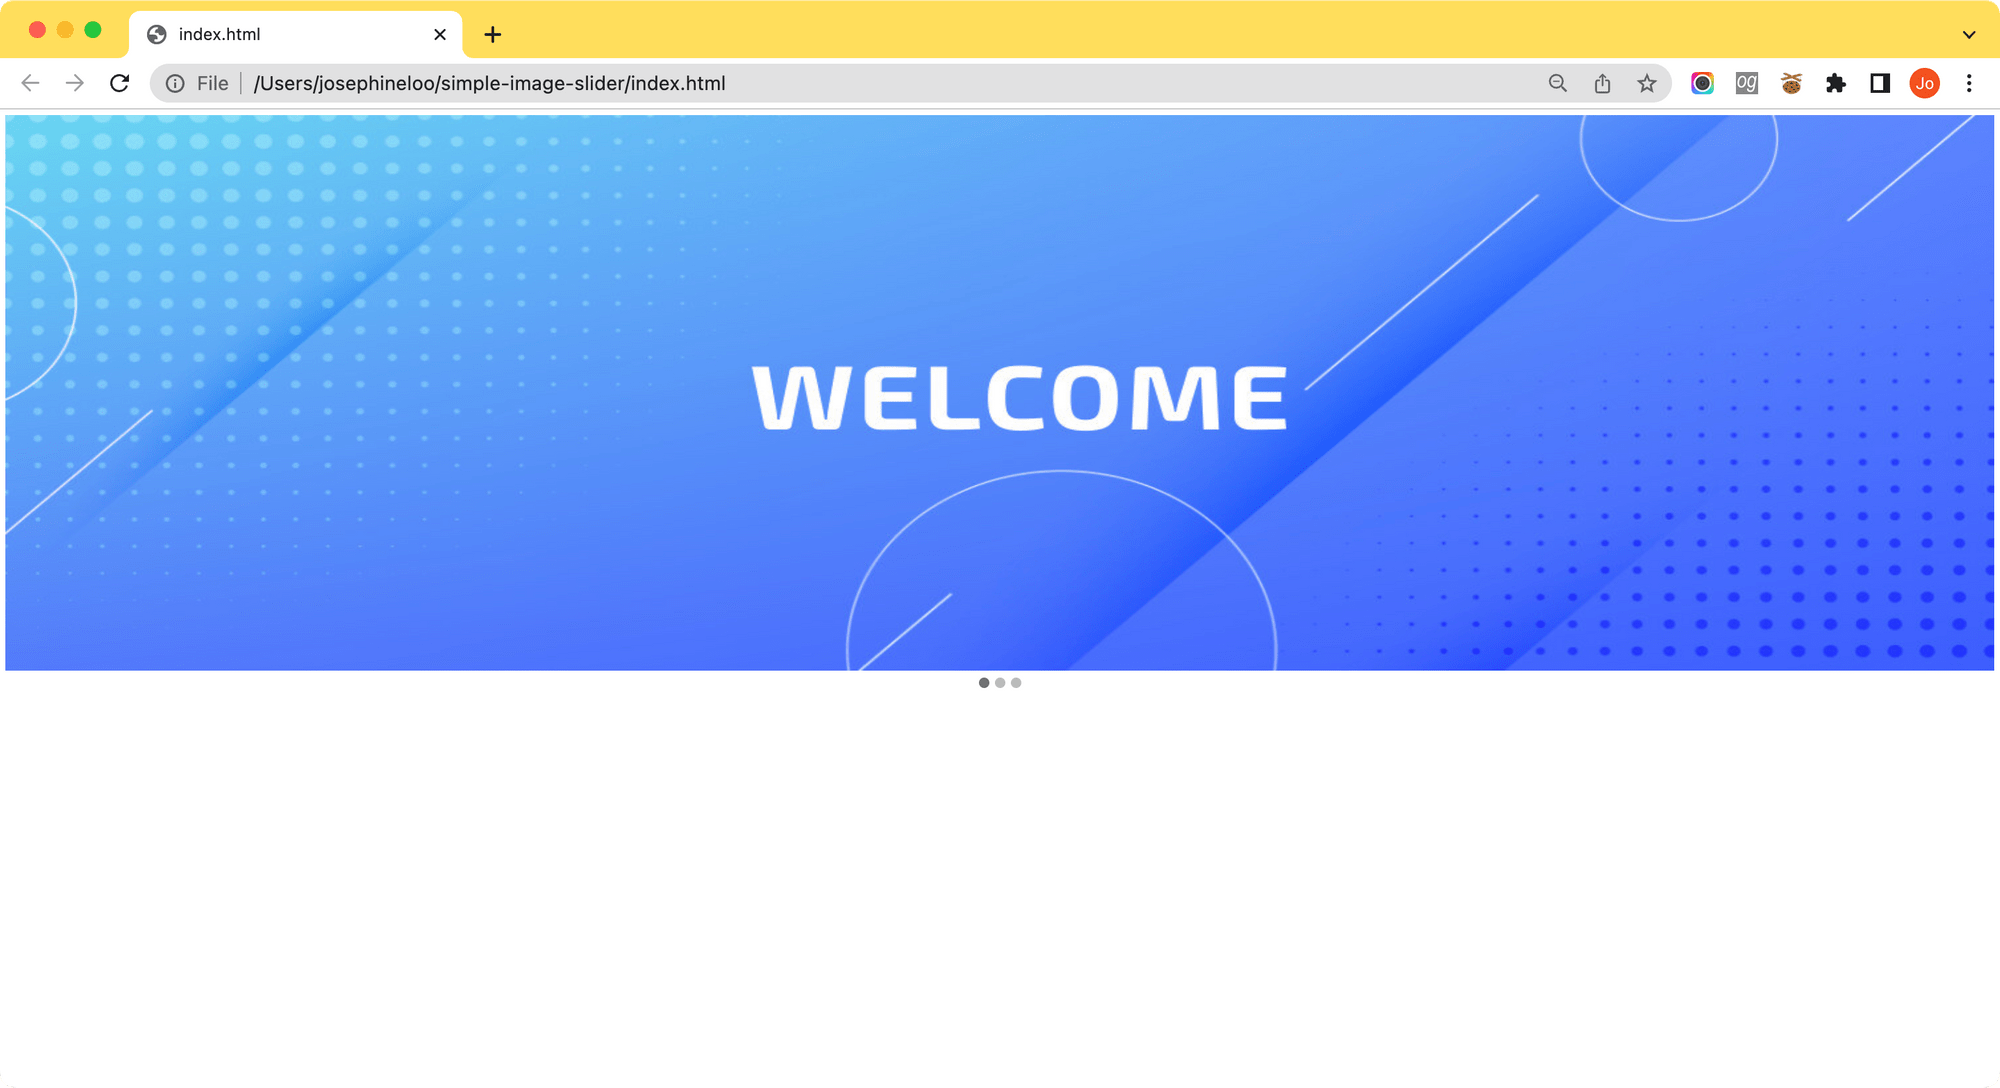
It will be an automatic image slider that rotates the slides every 3 seconds but users can also navigate it manually by clicking on the dots below it.

P.S. At the end of this tutorial, you’ll also learn how you can update the slider images automatically without recreating them.
What is an Image Slider
An image slider, also known as a carousel, is commonly used on websites and mobile applications to display featured products, photos, events, promotions, articles, and other visual content. They can also be videos.
Image sliders can come in various designs. You can add navigation arrows and dots to let users browse through the contents quickly, or rotate them automatically to present them like a slideshow. As the former allows users to navigate at their own pace, it is useful for displaying informative content. On the other hand, the latter grabs users’ attention more easily and is better for presenting visual content.
An image slider can be used in different sections of a website or mobile application. One example is to use it in the banner section of a website to create a banner slider. As multiple slides can be added to the banner section, it helps users to learn all the important things they need to know about the website immediately when they visit the page.
Even a tech giant like Amzaon (AWS) uses a banner slider on its website to showcase its products and services:

Creating an Automatic Image Slider with Navigation Buttons
HTML
We’ll have two div-s in the HTML code—one for the image slider and one for the navigation buttons. For the images/slides, we'll use the img element while for the buttons, we'll use the span element and style them with CSS.
<div class="slider">
  <img id="img-1" src="img-1.jpg" alt="Image 1"/>
  <img id="img-2" src="img-2.jpg" alt="Image 2"/>
  <img id="img-3" src="img-3.jpg" alt="Image 3"/>
</div>
<div class="navigation-button">
  <span class="dot active" onclick="changeSlide(0)"></span>
  <span class="dot" onclick="changeSlide(1)"></span>
  <span class="dot" onclick="changeSlide(2)"></span>
</div>
CSS
Image Slider
Style the image slider and the images with the CSS below. This will stack the images and display the first image on the first layer.
.slider {
  width: 100%;
  height: 510px;
  position: relative;
}

.slider img {
  width: 100%;
  height: 500px
  position: absolute;
  top: 0;
  left: 0;
}

.slider img:first-child {
  z-index: 1;
}

.slider img:nth-child(2) {
  z-index: 0;
}
Navigation Dots
The shape and color of the navigation buttons are defined by the .dot class, with the color being light grey. When .active is added to a dot’s class list or when the mouse hovers over it, its color will be changed to dark grey to indicate which slide is currently selected.
.navigation-button {
  text-align: center;
  position: relative;
}

.dot {
  cursor: pointer;
  height: 15px;
  width: 15px;
  margin: 0 2px;
  background-color: #bbb;
  border-radius: 50%;
  display: inline-block;
}

.active,
.dot:hover {
  background-color: #717171;
You should be able to see your image slider after completing the HTML and CSS code above.
The image slider is not complete yet. To make it move, we need to handle the functionality in JavaScript.
Javascript
Retrieve the images and navigation dots using querySelectorAll() and declare the currentImg and interval variables.
var imgs = document.querySelectorAll('.slider img');
var dots = document.querySelectorAll('.dot');
var currentImg = 0; // index of the first image
const interval = 3000; // duration(speed) of the slide
Change the Images Using Navigation Dots
Create a function named changeSlide(). Then, use a for loop to set all images’ opacity to 0 and remove active from the dots' class list to reset the active slide. Next, update currentImg to the index of the selected image, n. Lastly, make the active image visible by setting its opacity to 1 and add active to the corresponding dot’s class list.
function changeSlide(n) {
  for (var i = 0; i < imgs.length; i++) { // reset
    imgs[i].style.opacity = 0;
    dots[i].className = dots[i].className.replace(' active', '');
  }

  currentImg = n;

  imgs[currentImg].style.opacity = 1;
  dots[currentImg].className += ' active';
}
Now, the images should change when you click on the dots.
Change the Images Automatically
Add the code below to your JavaScript to call the changeSlide() function every 3 seconds.
var timer = setInterval(changeSlide, interval);
We also need to update the changeSlide() function. Replace currentImg = n; in the function with the code below:
currentImg = (currentImg + 1) % imgs.length; // update the index number

if (n != undefined) {
    clearInterval(timer);
    timer = setInterval(changeSlide, interval);
    currentImg = n;
}
This will change the images every 3 seconds but users can still navigate through them using the navigation dots. When a dot is clicked ( n != undefined ), the timer will be reset and the selected image will be shown.
There you have it, a simple automatic image slider with navigation buttons! You can customize the look and feel of your image slider by adding more CSS, adjusting the interval, adding transition effects, and more.
Bonus: Updating the Slider Images Automatically Using Bannerbear
An image slider is often used in the banner section of a website to display featured products, the latest promotion, upcoming events, etc. As they are often available for a limited period only, they need to be updated every now and then.
Here’s a hack to update the images automatically without creating new ones: create a banner design that can be reused for different products/promotions/events and make them update themselves.
Let’s learn how to do this by looking at an example.
Instead of using a normal image URL, we’ll use a special image URL that will create a new image automatically when the URL changes, like the one below (replace hello with various texts and paste the URL into your browser address bar to see what happens 😉):
https://ondemand.bannerbear.com/simpleurl/01YWAxB7nGYdJrKoXM/title/text/hello
The URL will make Bannerbear, an image generation API, generate an image based on the design template below and set the value passed in the URL (hello) as the text of the layer named "title".
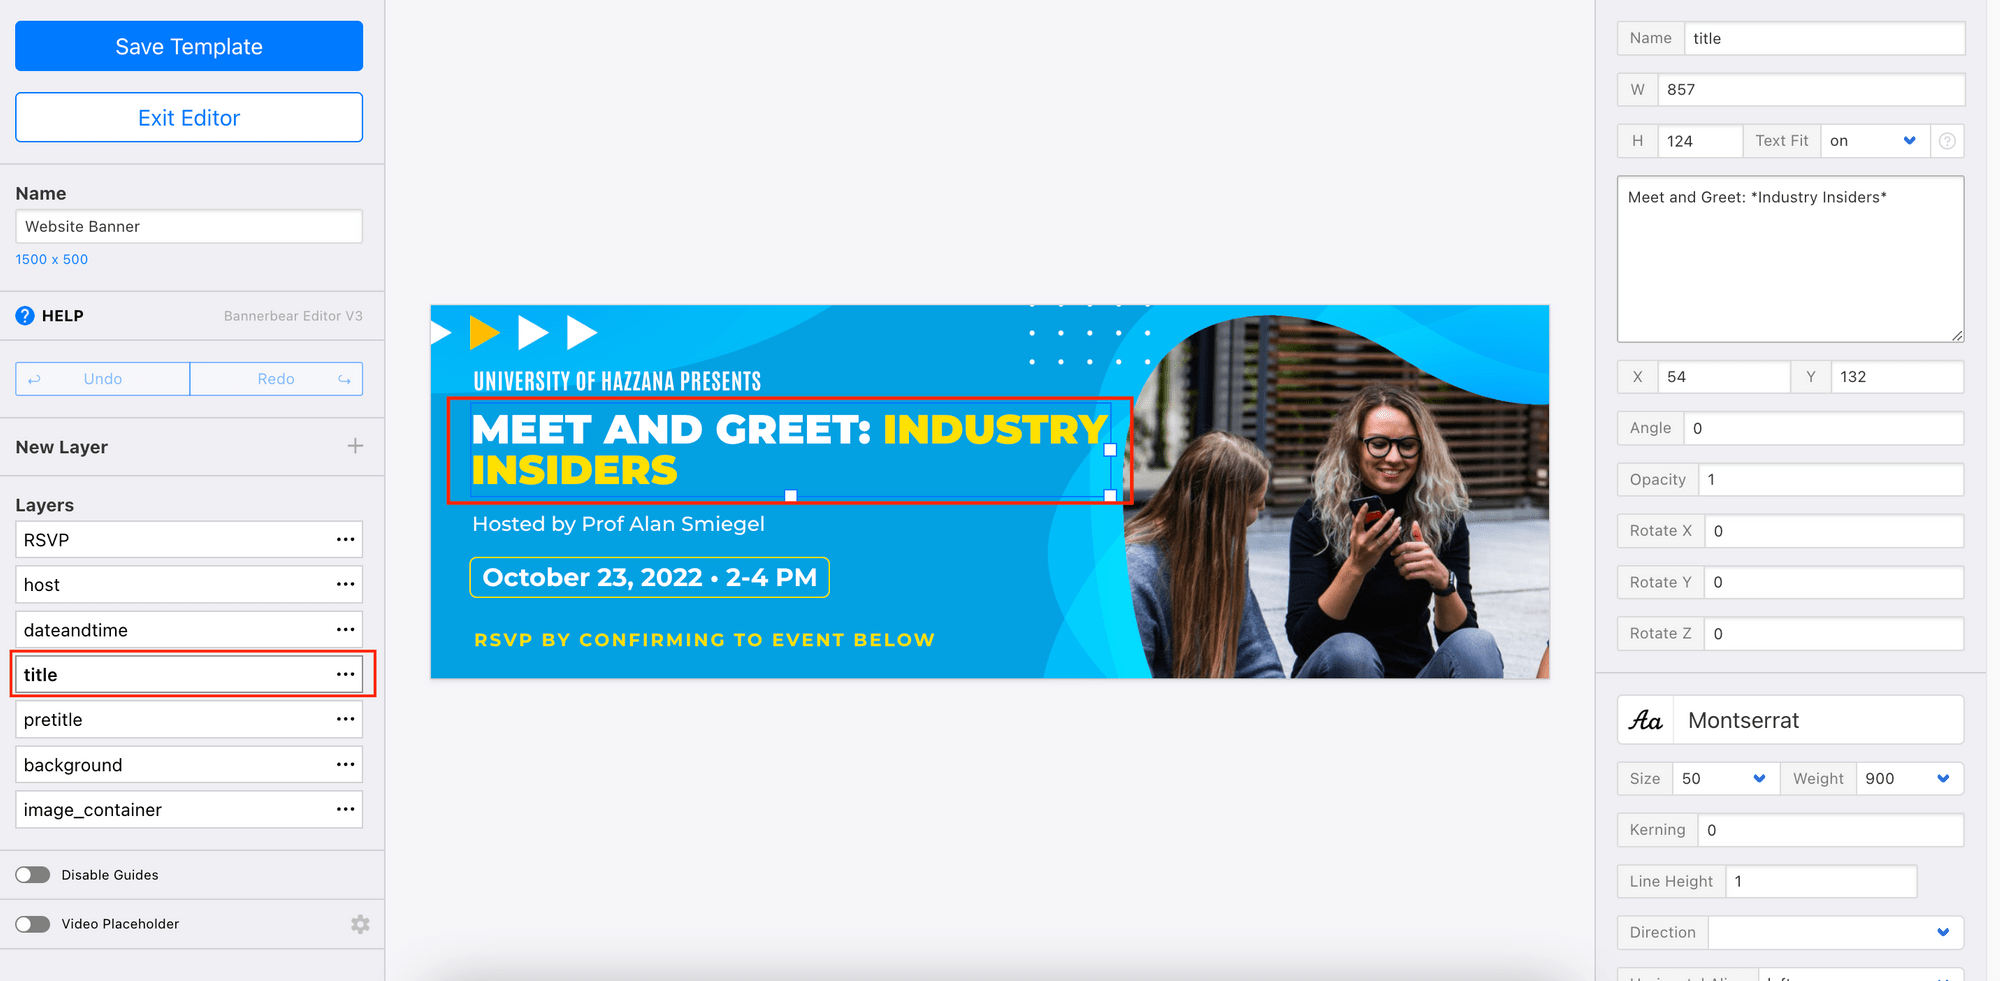

To implement this on a website's banner slider, you can create a database to store the names and values of the layers in the template. In your JavaScript code, pull these data from the database and use them in the URL. If any value in the database is updated, it will change the URL and Bannerbear will generate a new image automatically.
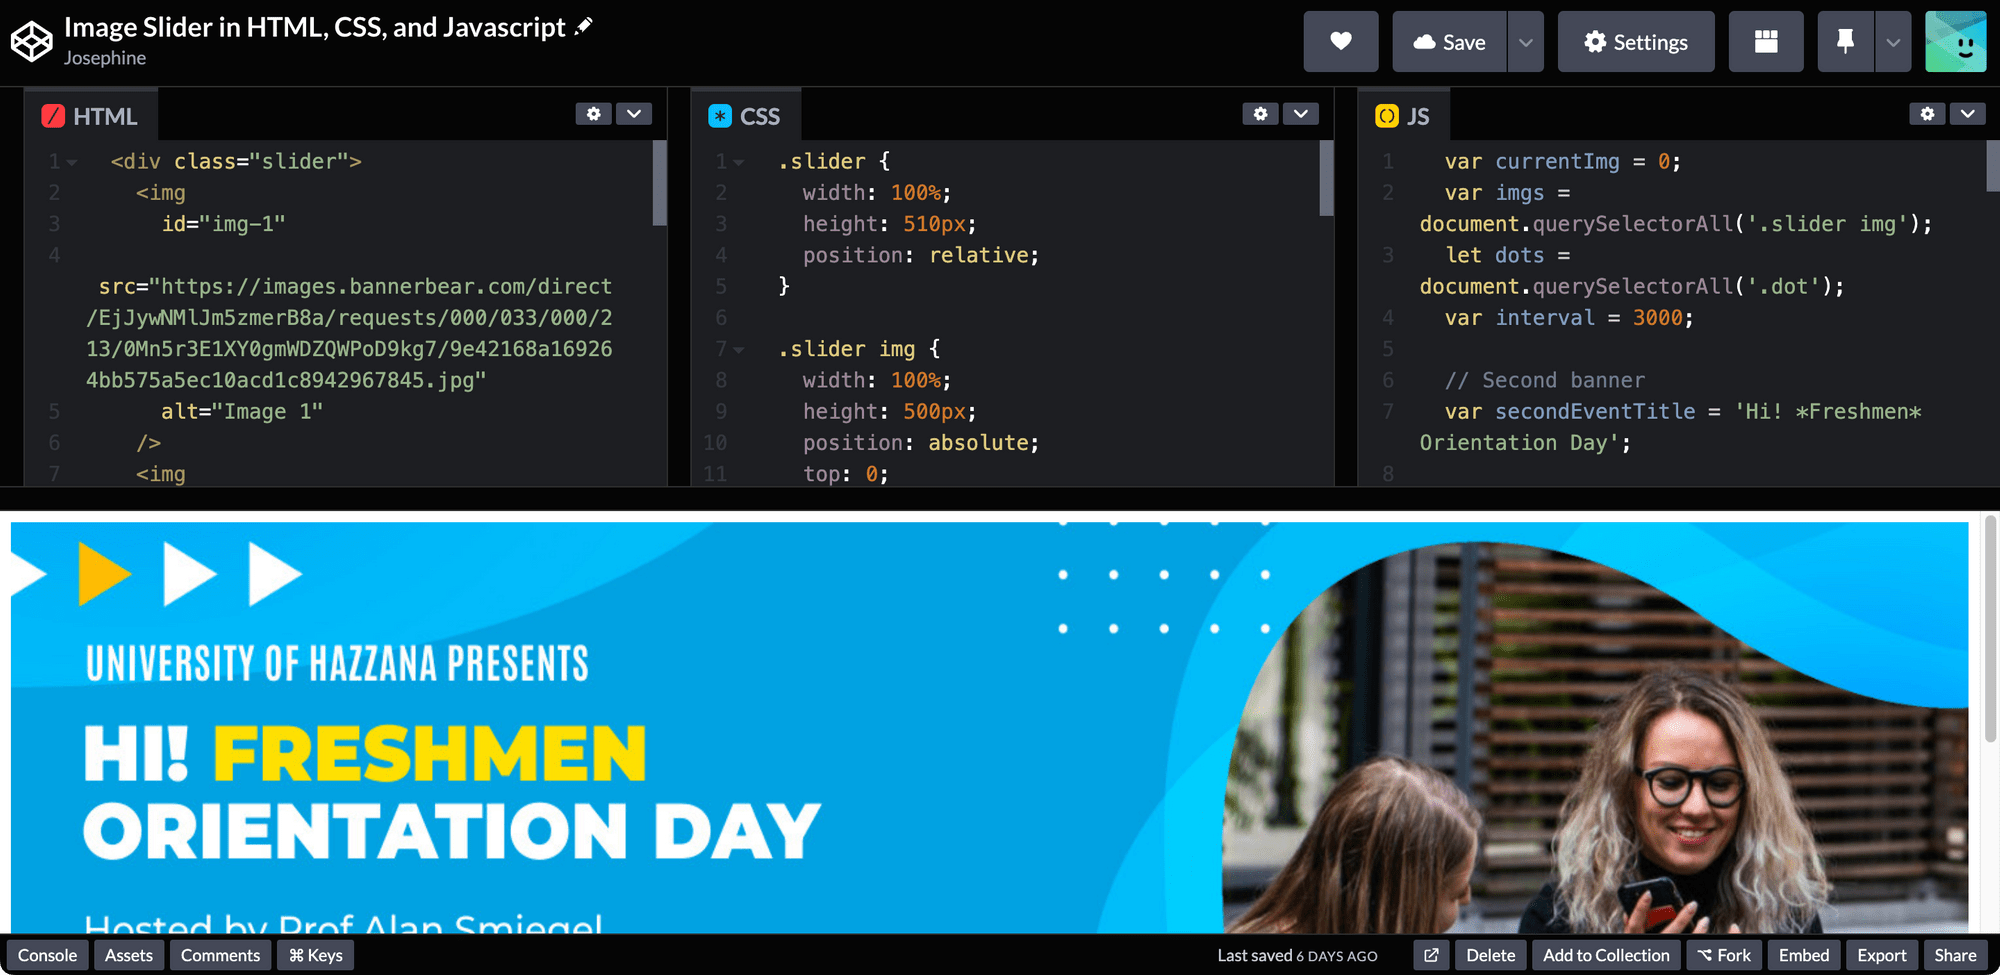
Assign the URL to a variable and set it as the src of your image.
// Second banner
var secondEventTitle = 'Hi! *Freshmen* Orientation Day'; // pull from database
var secondImageUrl = `https://ondemand.bannerbear.com/simpleurl/01YWAxB7nGYdJrKoXM/title/text/${encodeURIComponent(secondEventTitle)}`;

document.getElementById('img-2').src = secondImageUrl;
The image on the slider will get updated automatically. You don't need to download the new image or update the code.

🐻 To learn more about how to use the URL, refer to this tutorial.
Testing the Image Slider on CodePen
You can view the full code and try the image slider on CodePen.
Conclusion
When deciding whether to use custom code or an external library in your project, it's important to consider the specific needs of the project. Using an external library can make the process faster and easier, as it often comes with pre-built functionality and design elements. On the other hand, using custom code allows for more customization and control.
If you like to use external libraries in your project because of faster implementation, you should try Bannerbear. It helps you add image and video generation capability to your app easily and quickly. Start a free trial to try it out.
