
How to Auto Generate Animated Gifs with Bannerbear and Zapier
Contents
Bannerbear can create simple animated gifs that look like slideshows. This is useful for when you might want to spread visual information across multiple frames. Here's how to create simple animated gifs using Bannerbear and Zapier.
The Bannerbear REST API supports creating animated gifs. This has various use cases such as for ecommerce, real estate, fintech and more - basically any time you might need to spread visual information across multiple frames.
Here's an example of an animated gif auto-generated by Bannerbear:

As you can see, it is a simple slideshow. We create animated gifs in a very similar way to creating static images on Bannerbear. The only difference is that instead of sending in one payload of modifications, we send multiple.
What this Zap does
In this tutorial we will create a simple Zap that:
- Runs every day
- Generates an animated gif with random images
- Sends the gif to an email address
In reality, you will probably want to do something more purposeful with this zap such as pulling in image data from a specific place, and then sending the final animated gif to a social media account etc - but for this tutorial we will keep it simple. The principles are the same!
The end result will look like this:
Add the template
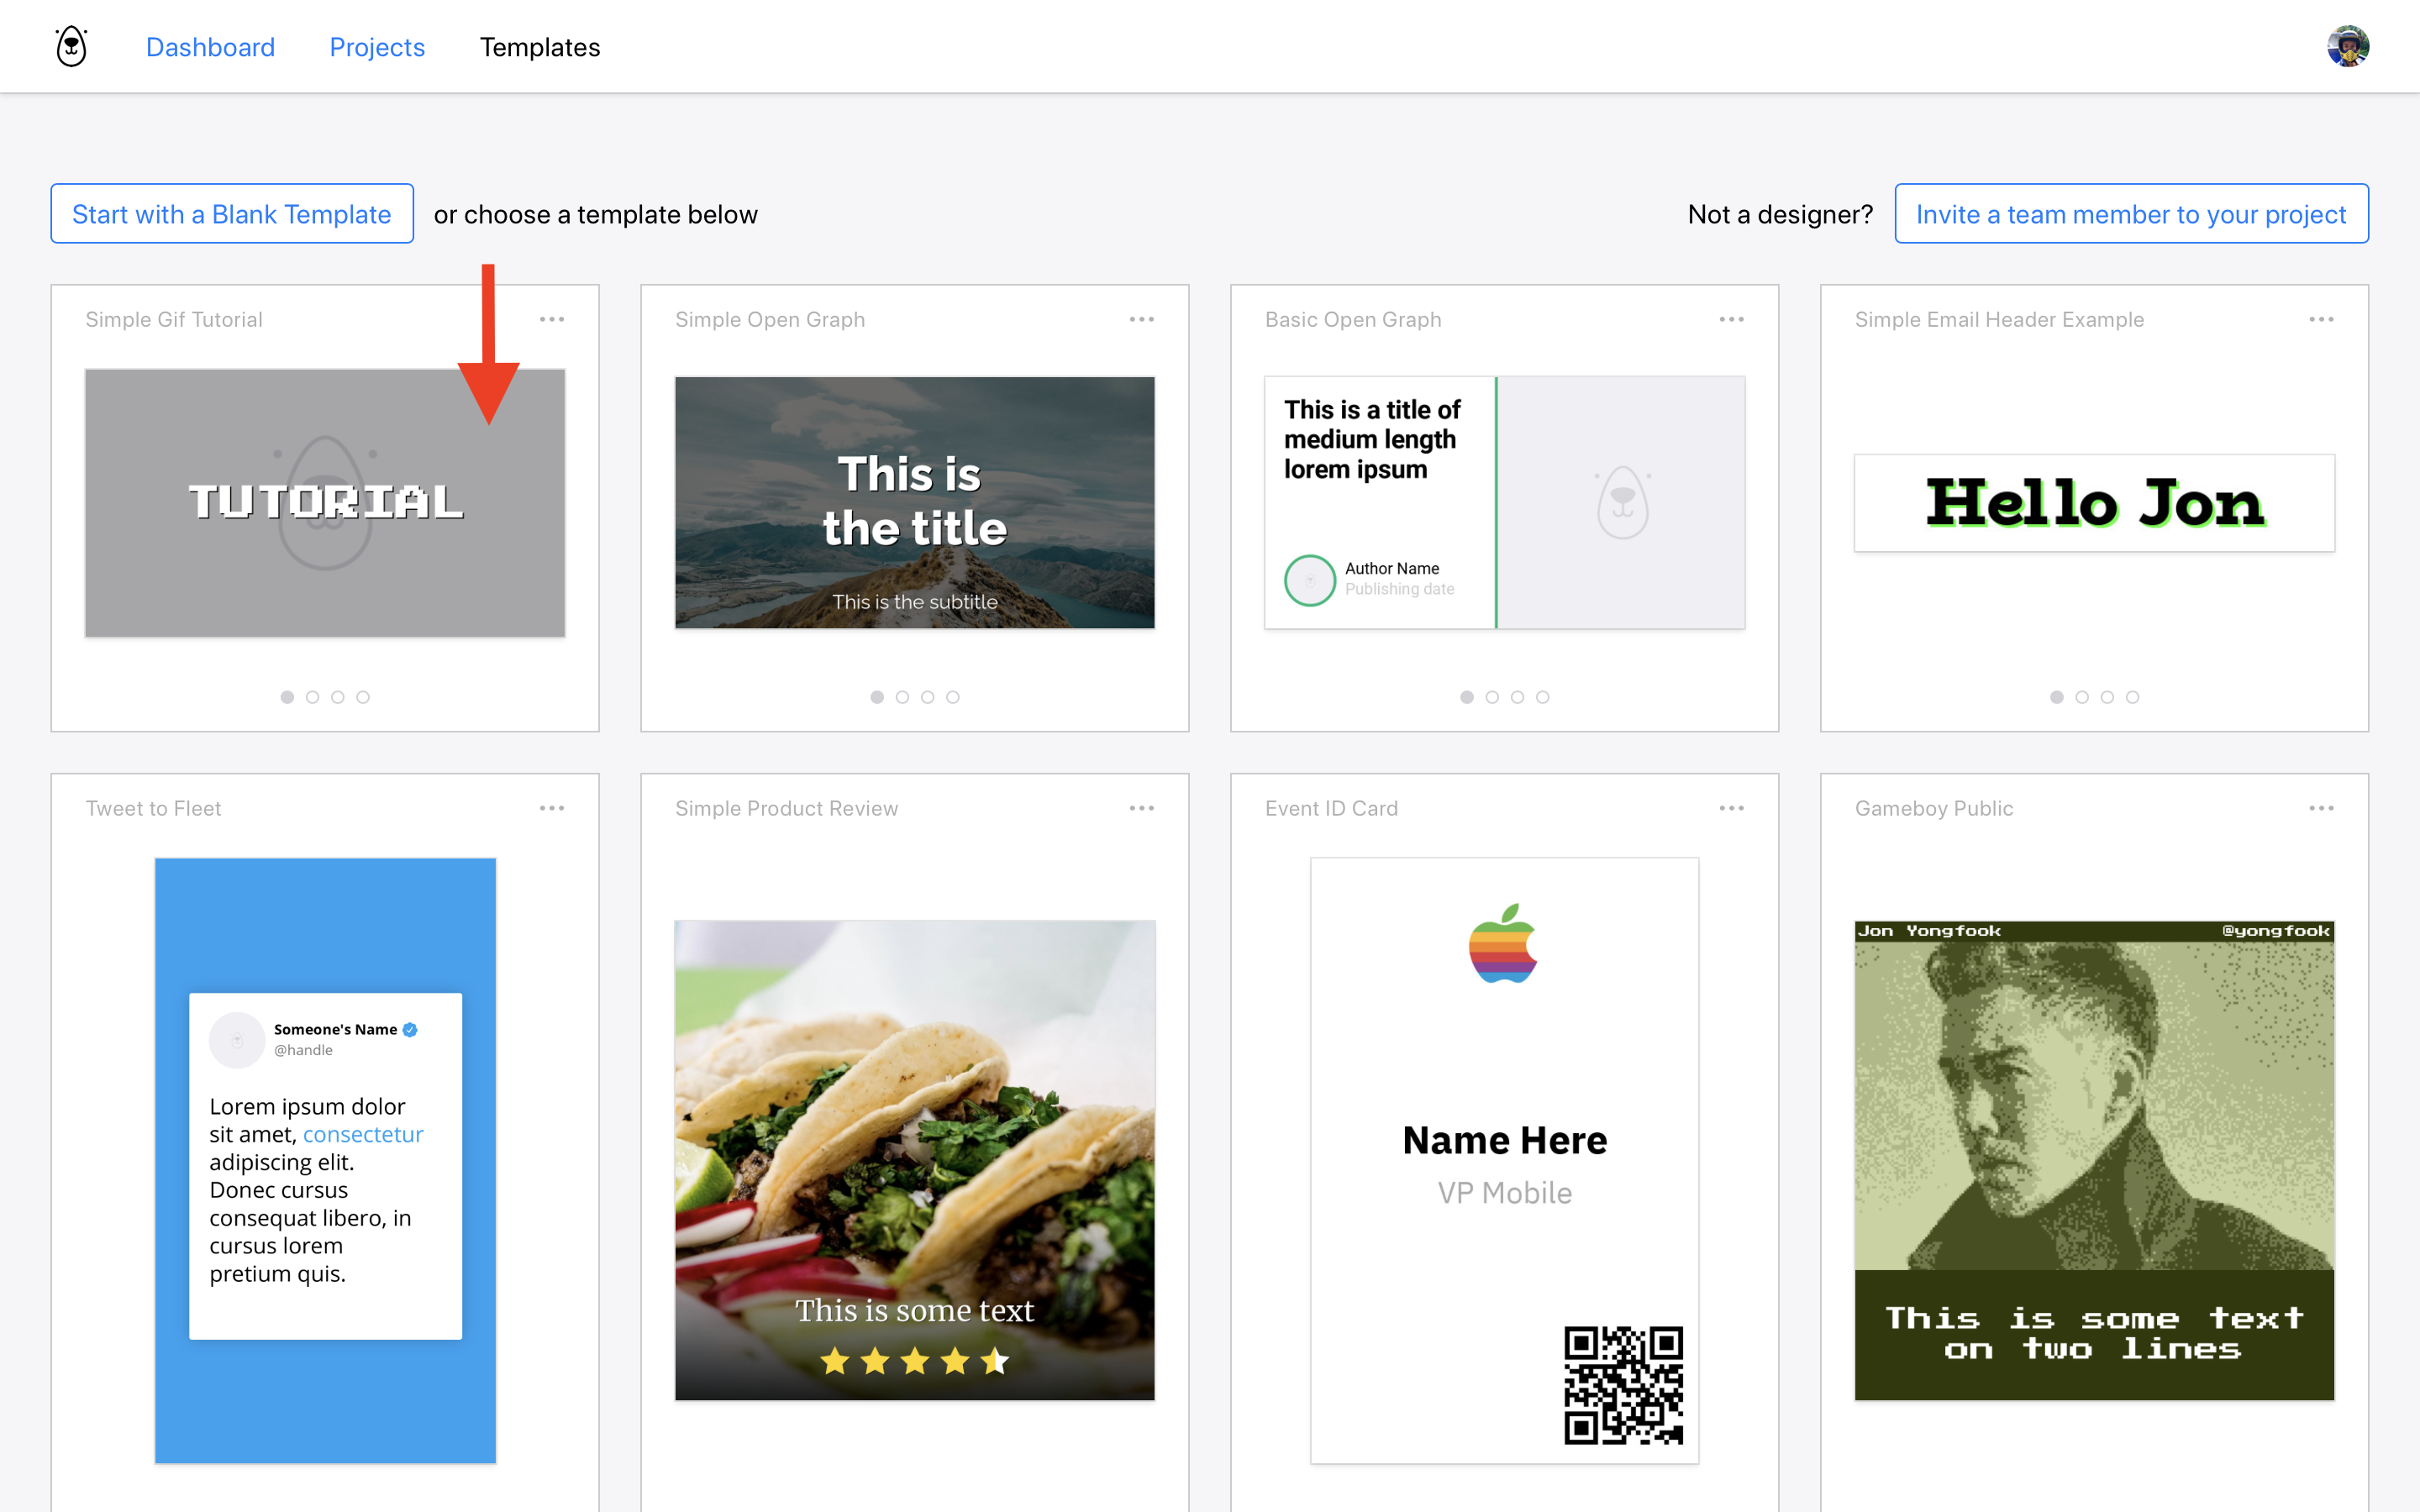
First add the tutorial template to one of your Bannerbear projects.
You can create animated gifs from any template on Bannerbear - including ones you create yourself. But for this tutorial we are going to use a super simple template:
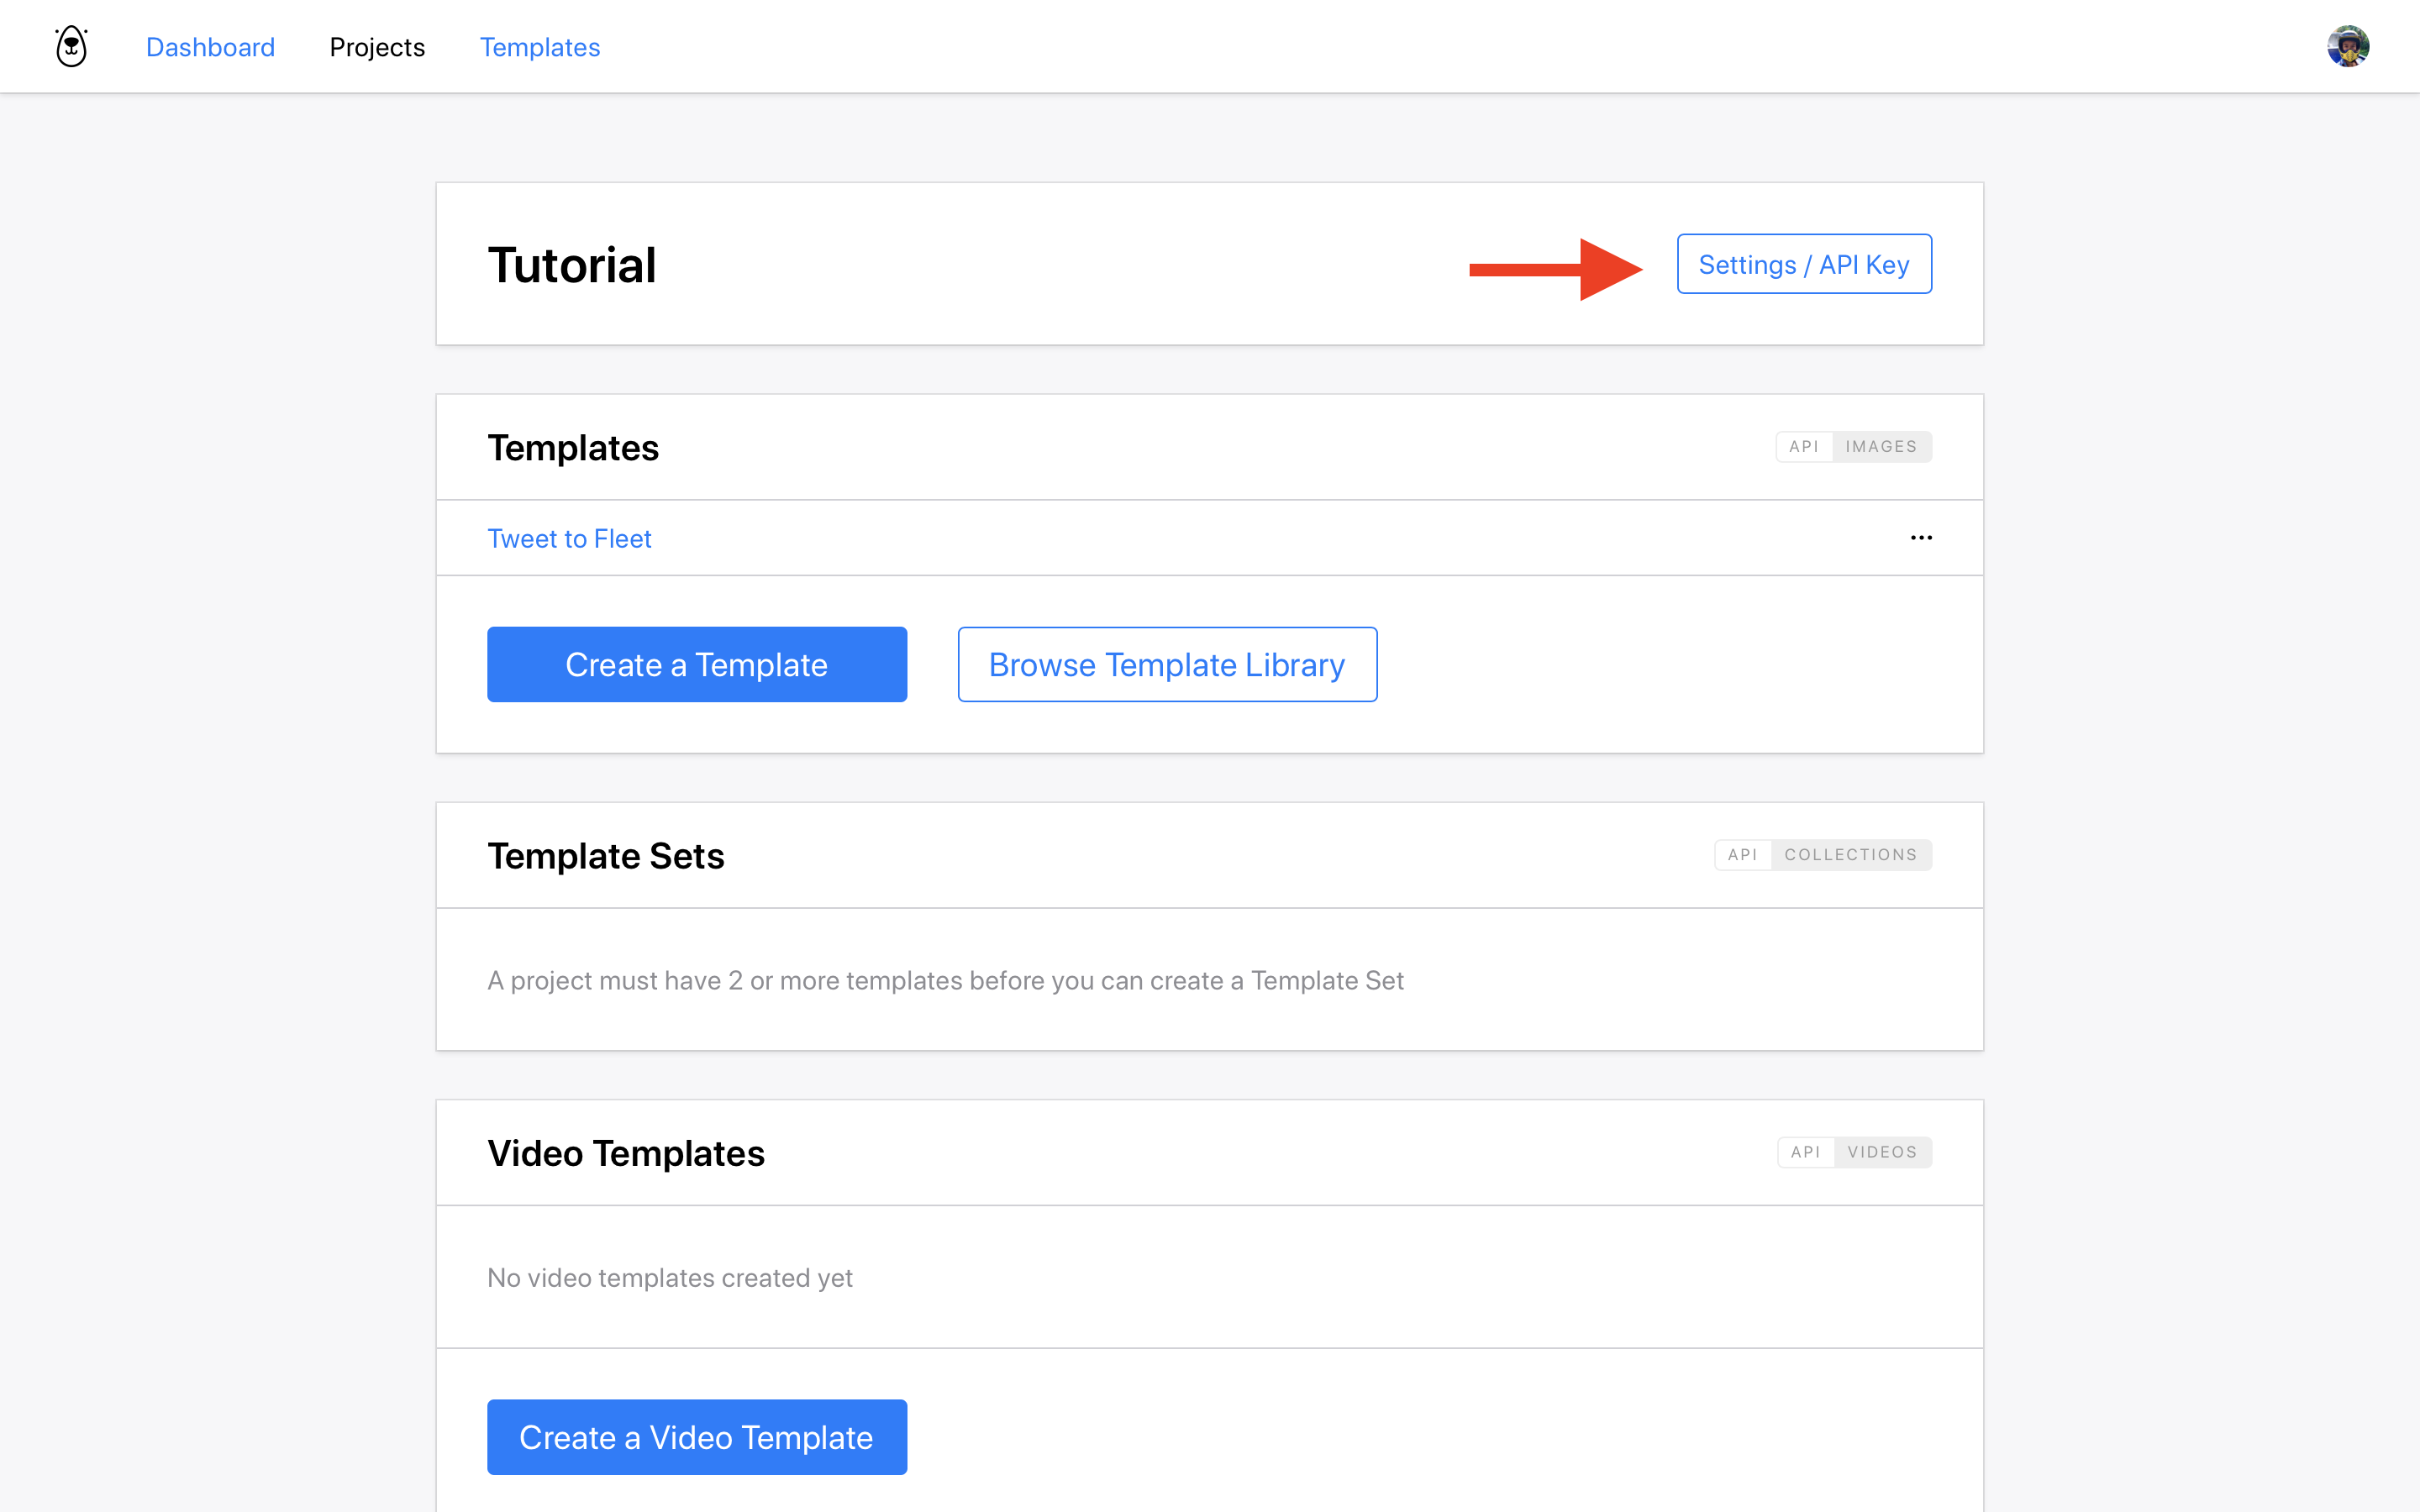
At this point you will also want to copy your Project API Key as you will need this later to authenticate with Zapier:
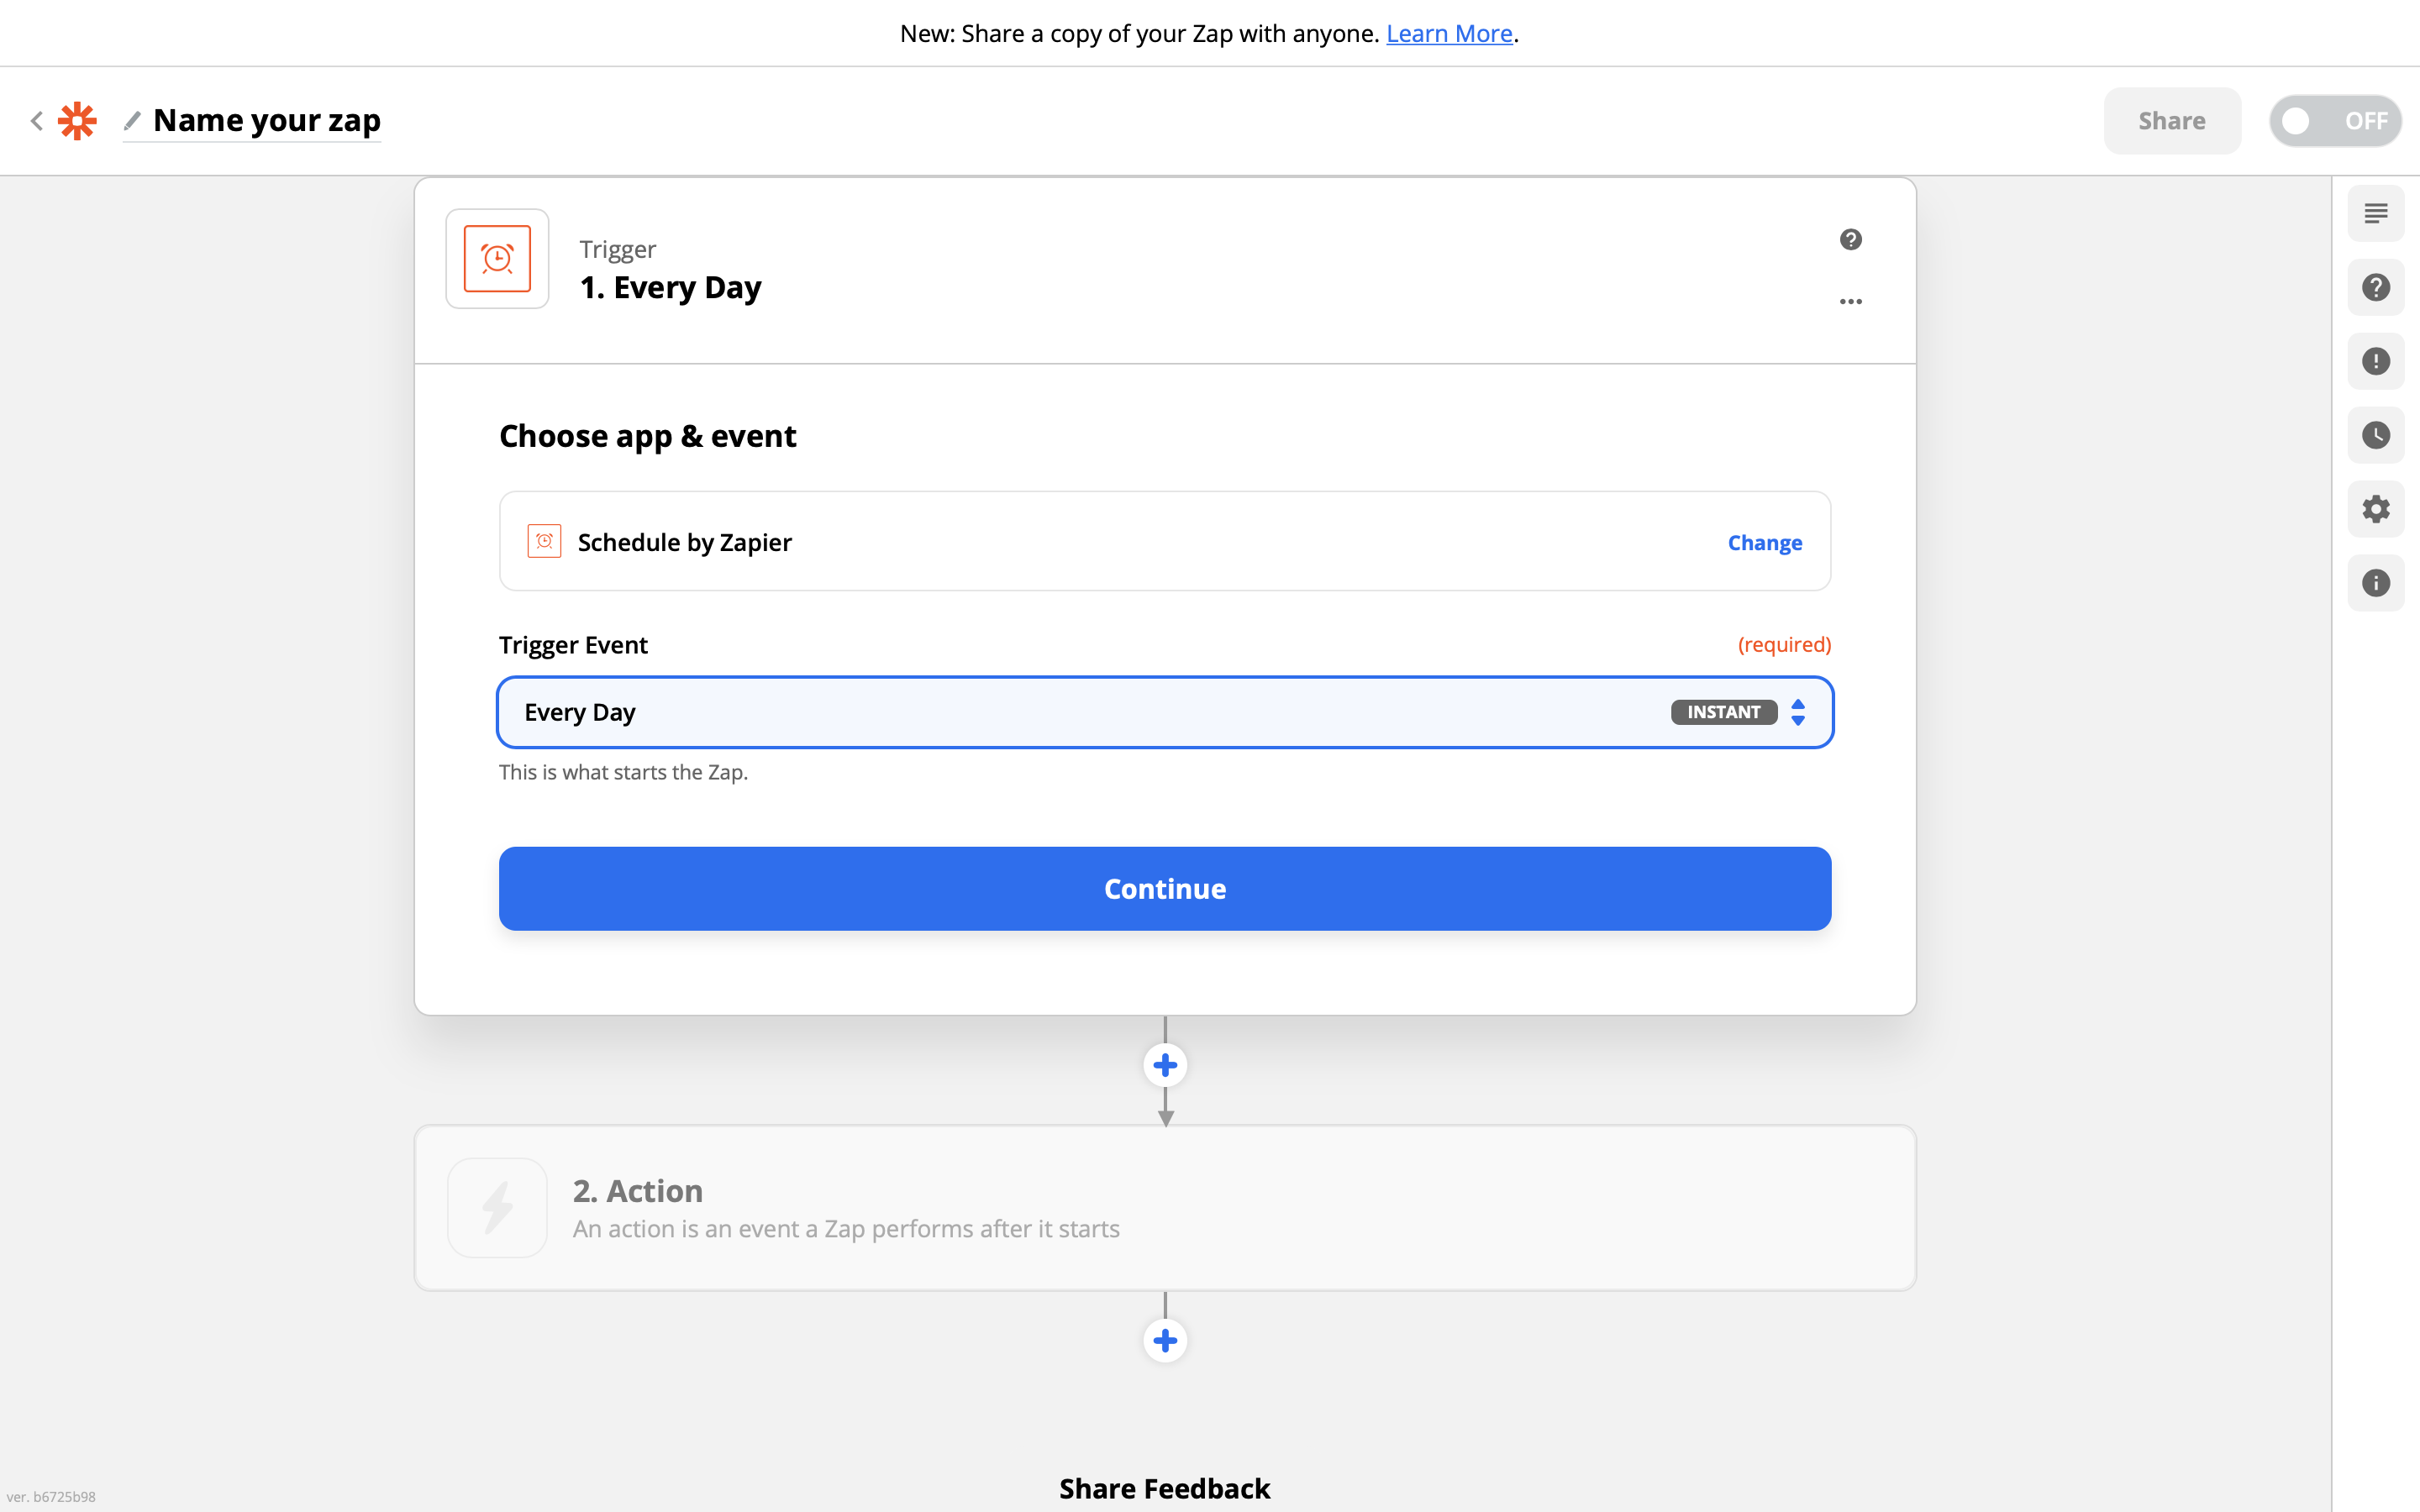
Set up the trigger Zap
In Zapier, choose Schedule by Zapier as the trigger and choose to trigger it every day. Alternatively you can choose any other time interval you like:
Set up the action
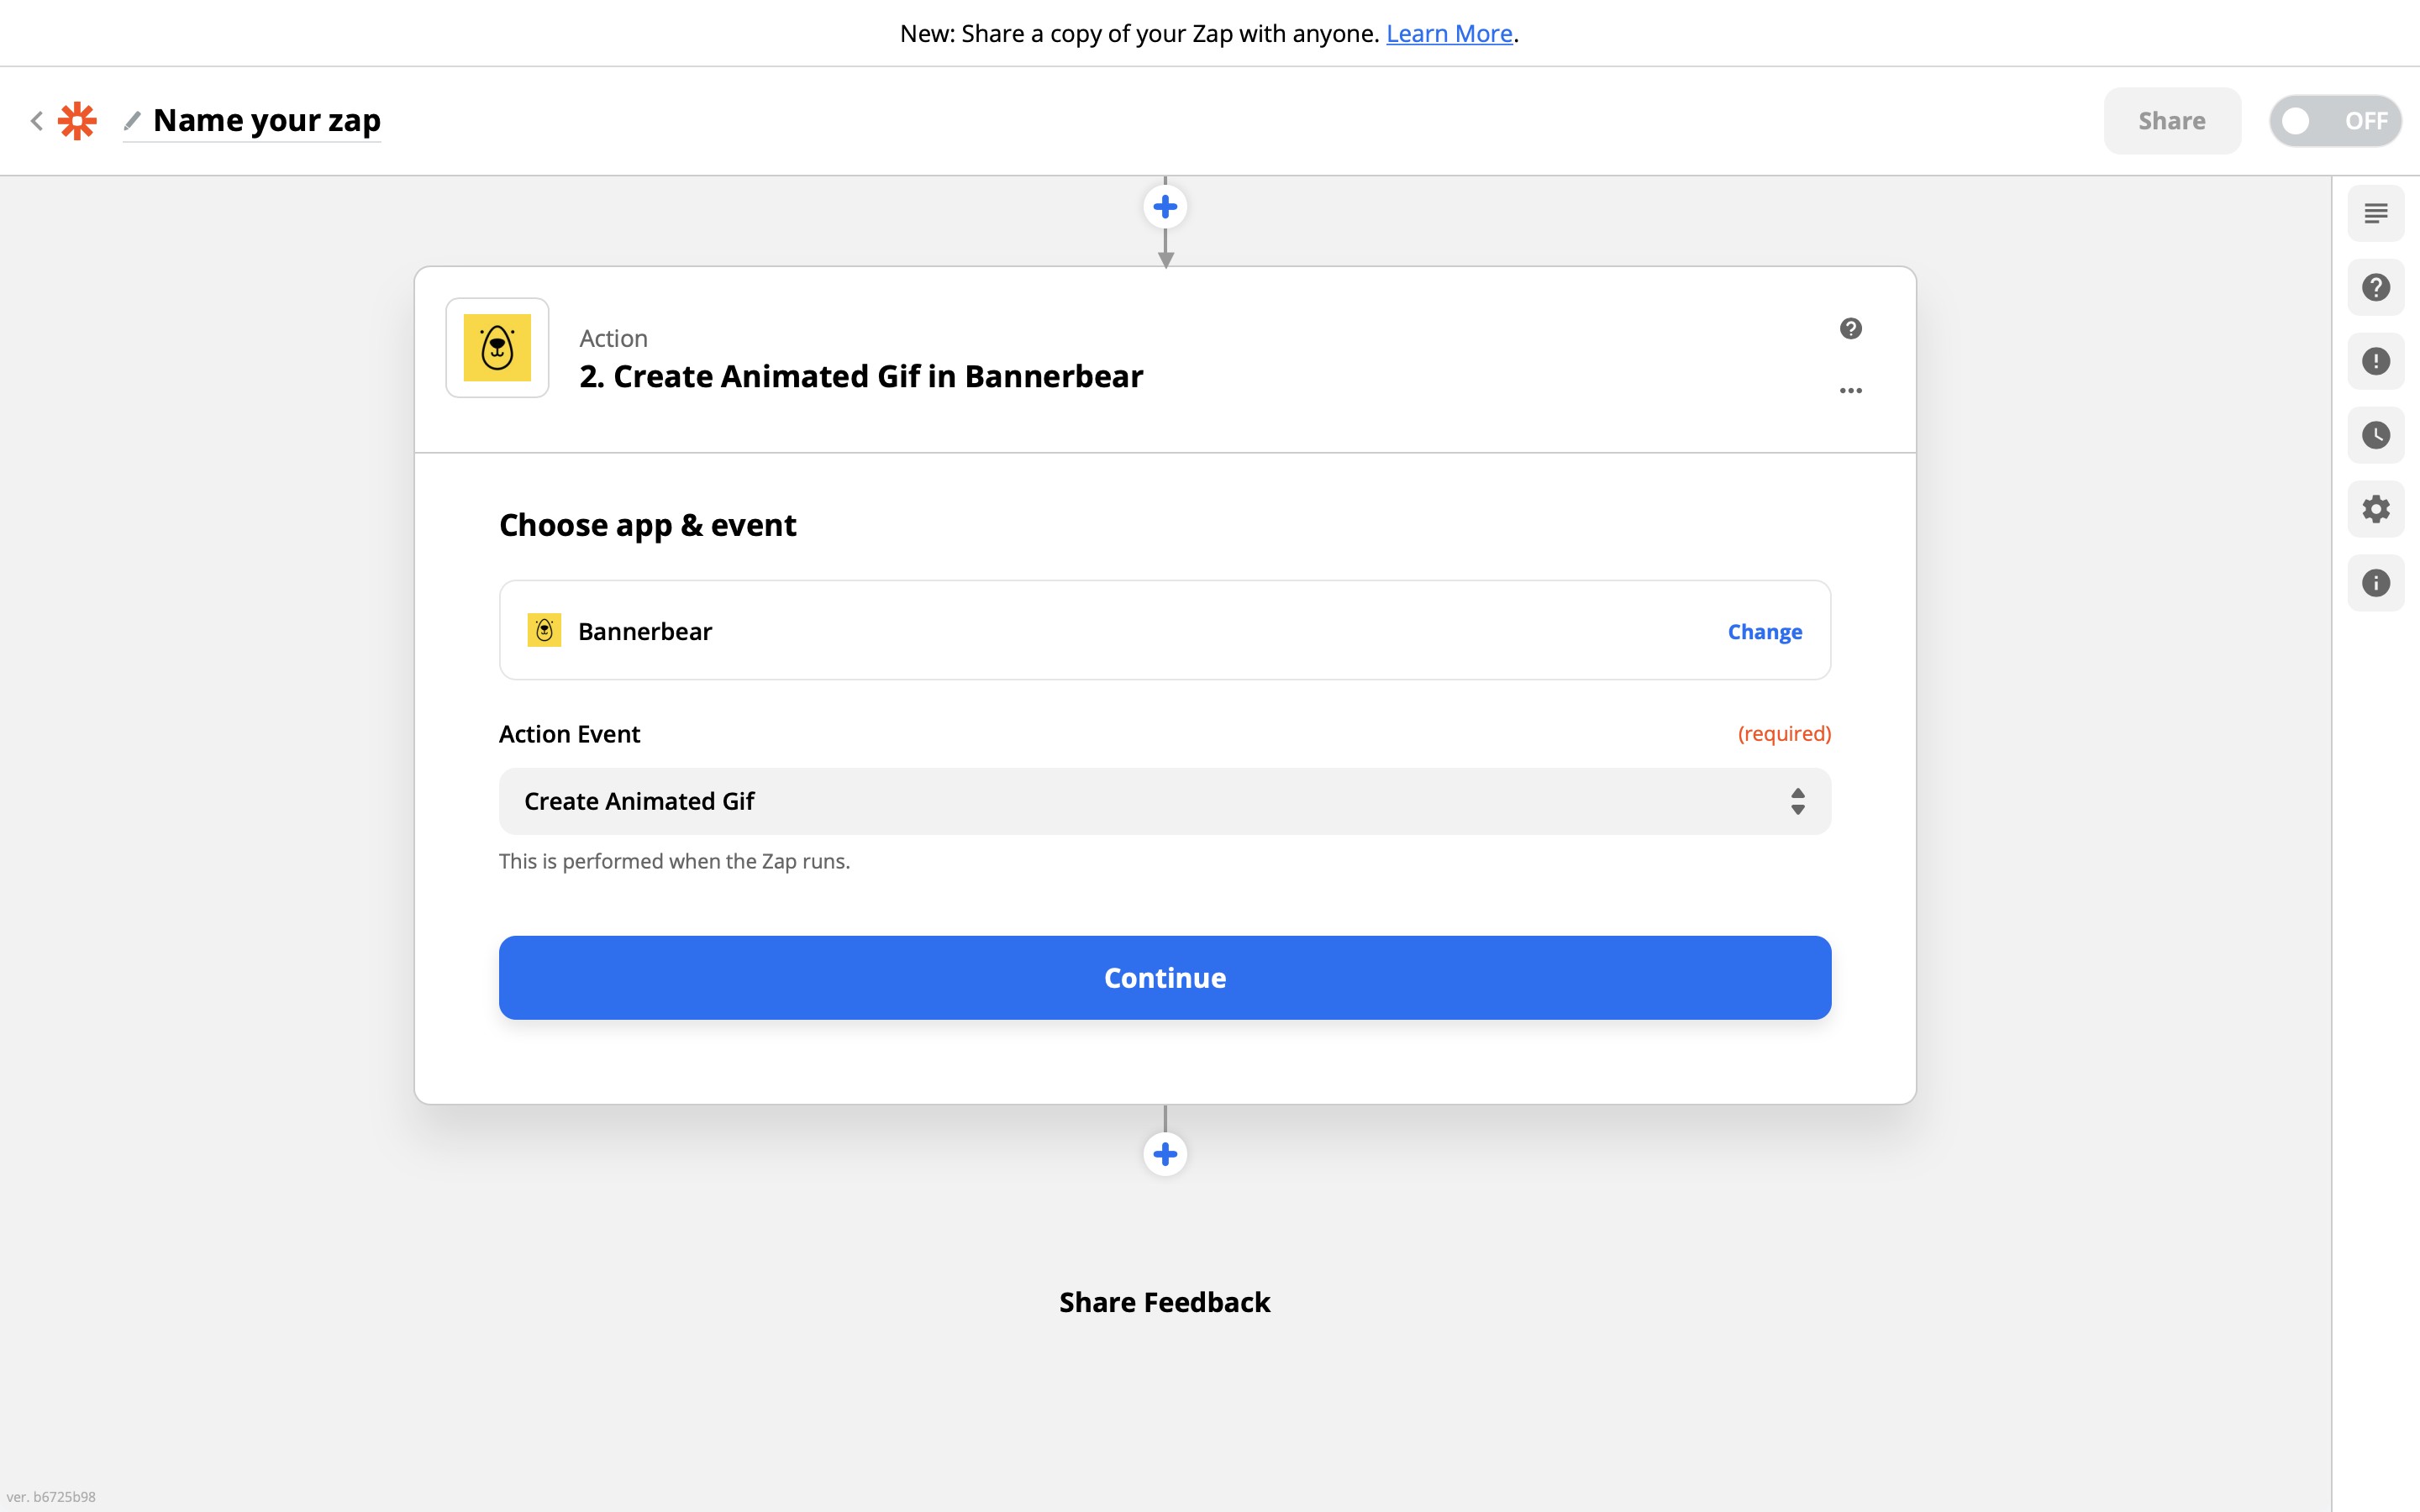
For the action choose Bannerbear and the Create Animated Gif action:
Configure the template data
Zapier will ask you to authenticate with Bannerbear using your Project API Key. Use the key that you copied earlier.
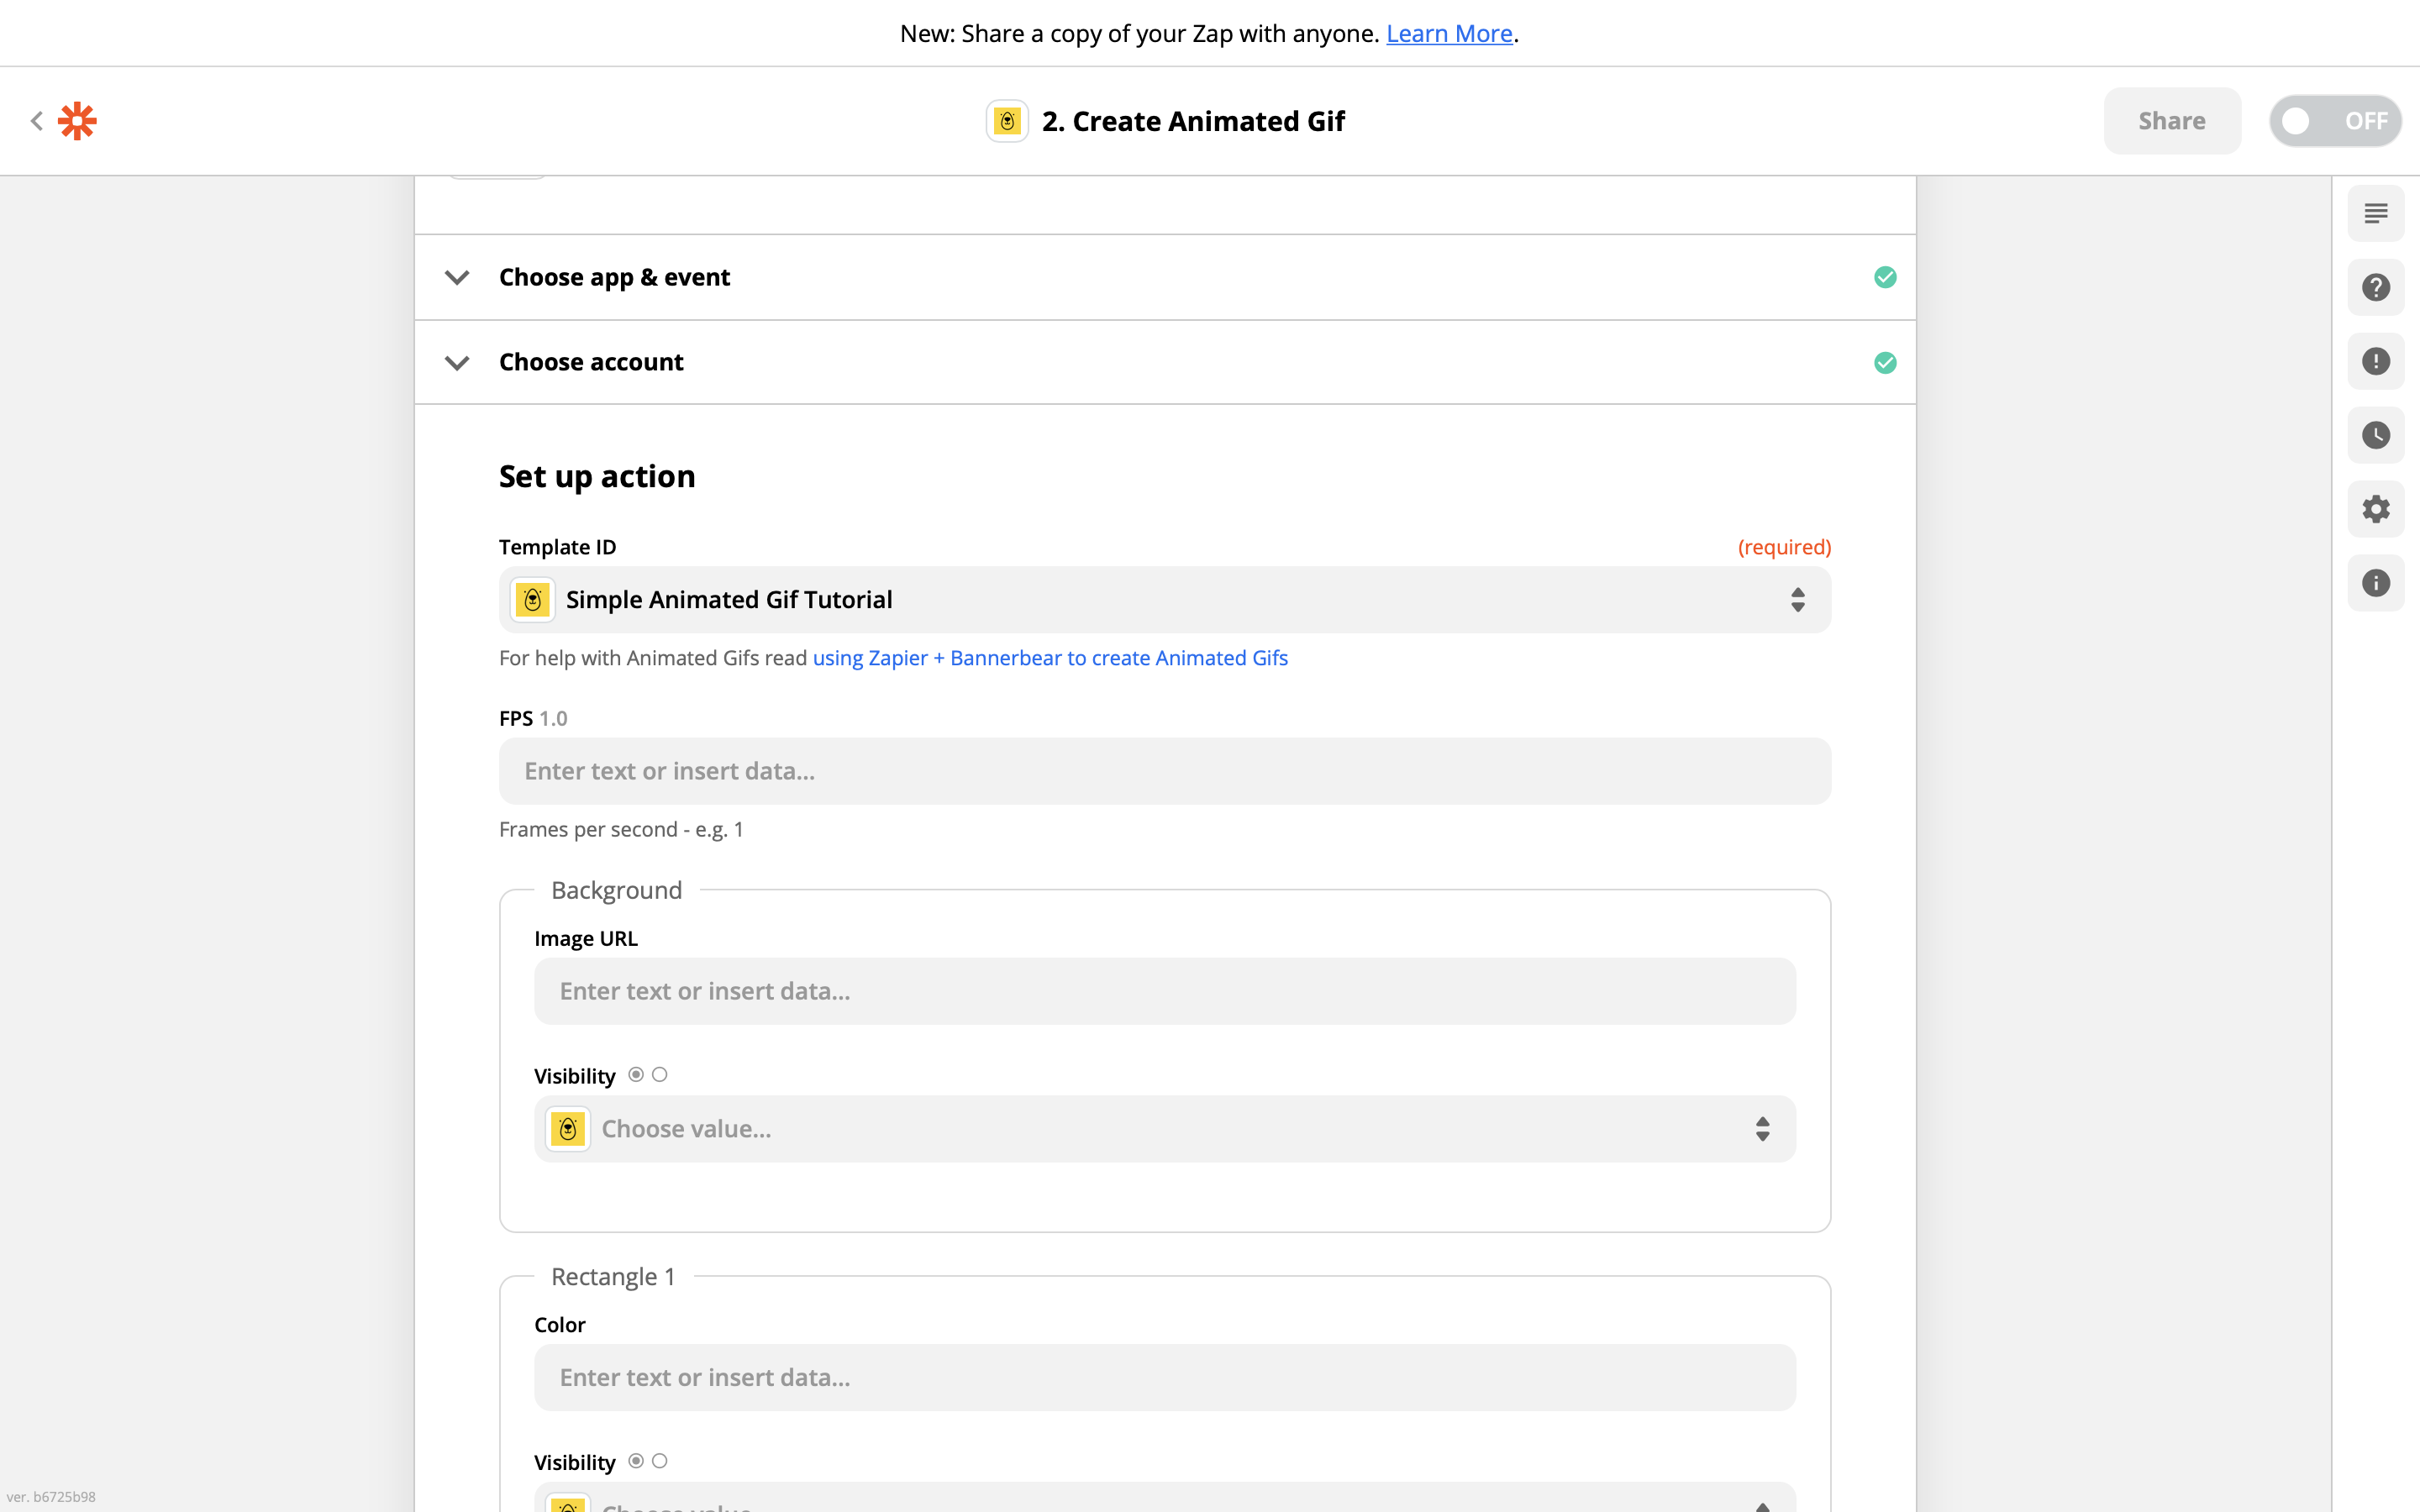
You will then see a template dropdown - choose the Simple Gif template you added earlier. The template details will then load:
How to add multiple frames of animated gif data to your template
Here's where the process is different from static images!
When creating a static image using Zapier + Bannerbear, we pass single bits of data into our templates.
When creating an animated gif using Zapier + Bannerbear, we pass multiple bits of data into our templates. To fit multiple bits of data on one line (so that we can pass it in via Zapier) we separate the data bits with a bar | character.
For example, passing in:
hello|world|how|are|you
Into a template text box would result in an animated gif with 5 frames, with the text:
- hello
- world
- how
- are
- you
In this tutorial we are going to pass in some text across multiple frames, with a random image as the background for each frame.
Getting random images
For the random images we will use a neat service called Picsum where we construct a simple URL and it gives us a random image each time. e.g.
https://picsum.photos/1000/700
If you click the above link multiple times, you will see that it loads a different image each time. This is how we will randomize our images.
Inserting the data
Set the FPS as 1 (Frames Per Second).
For the title text, simply add:
THESE|ARE|RANDOM|IMAGES
This will result in an animated gif of 4 frames with one word per frame.
For the background image url, add:
https://picsum.photos/1000/700|https://picsum.photos/1000/700|https://picsum.photos/1000/700|https://picsum.photos/1000/700
This is the Picsum random image url, repeated 4 times and separated by a bar | character.
Now we are ready to test!
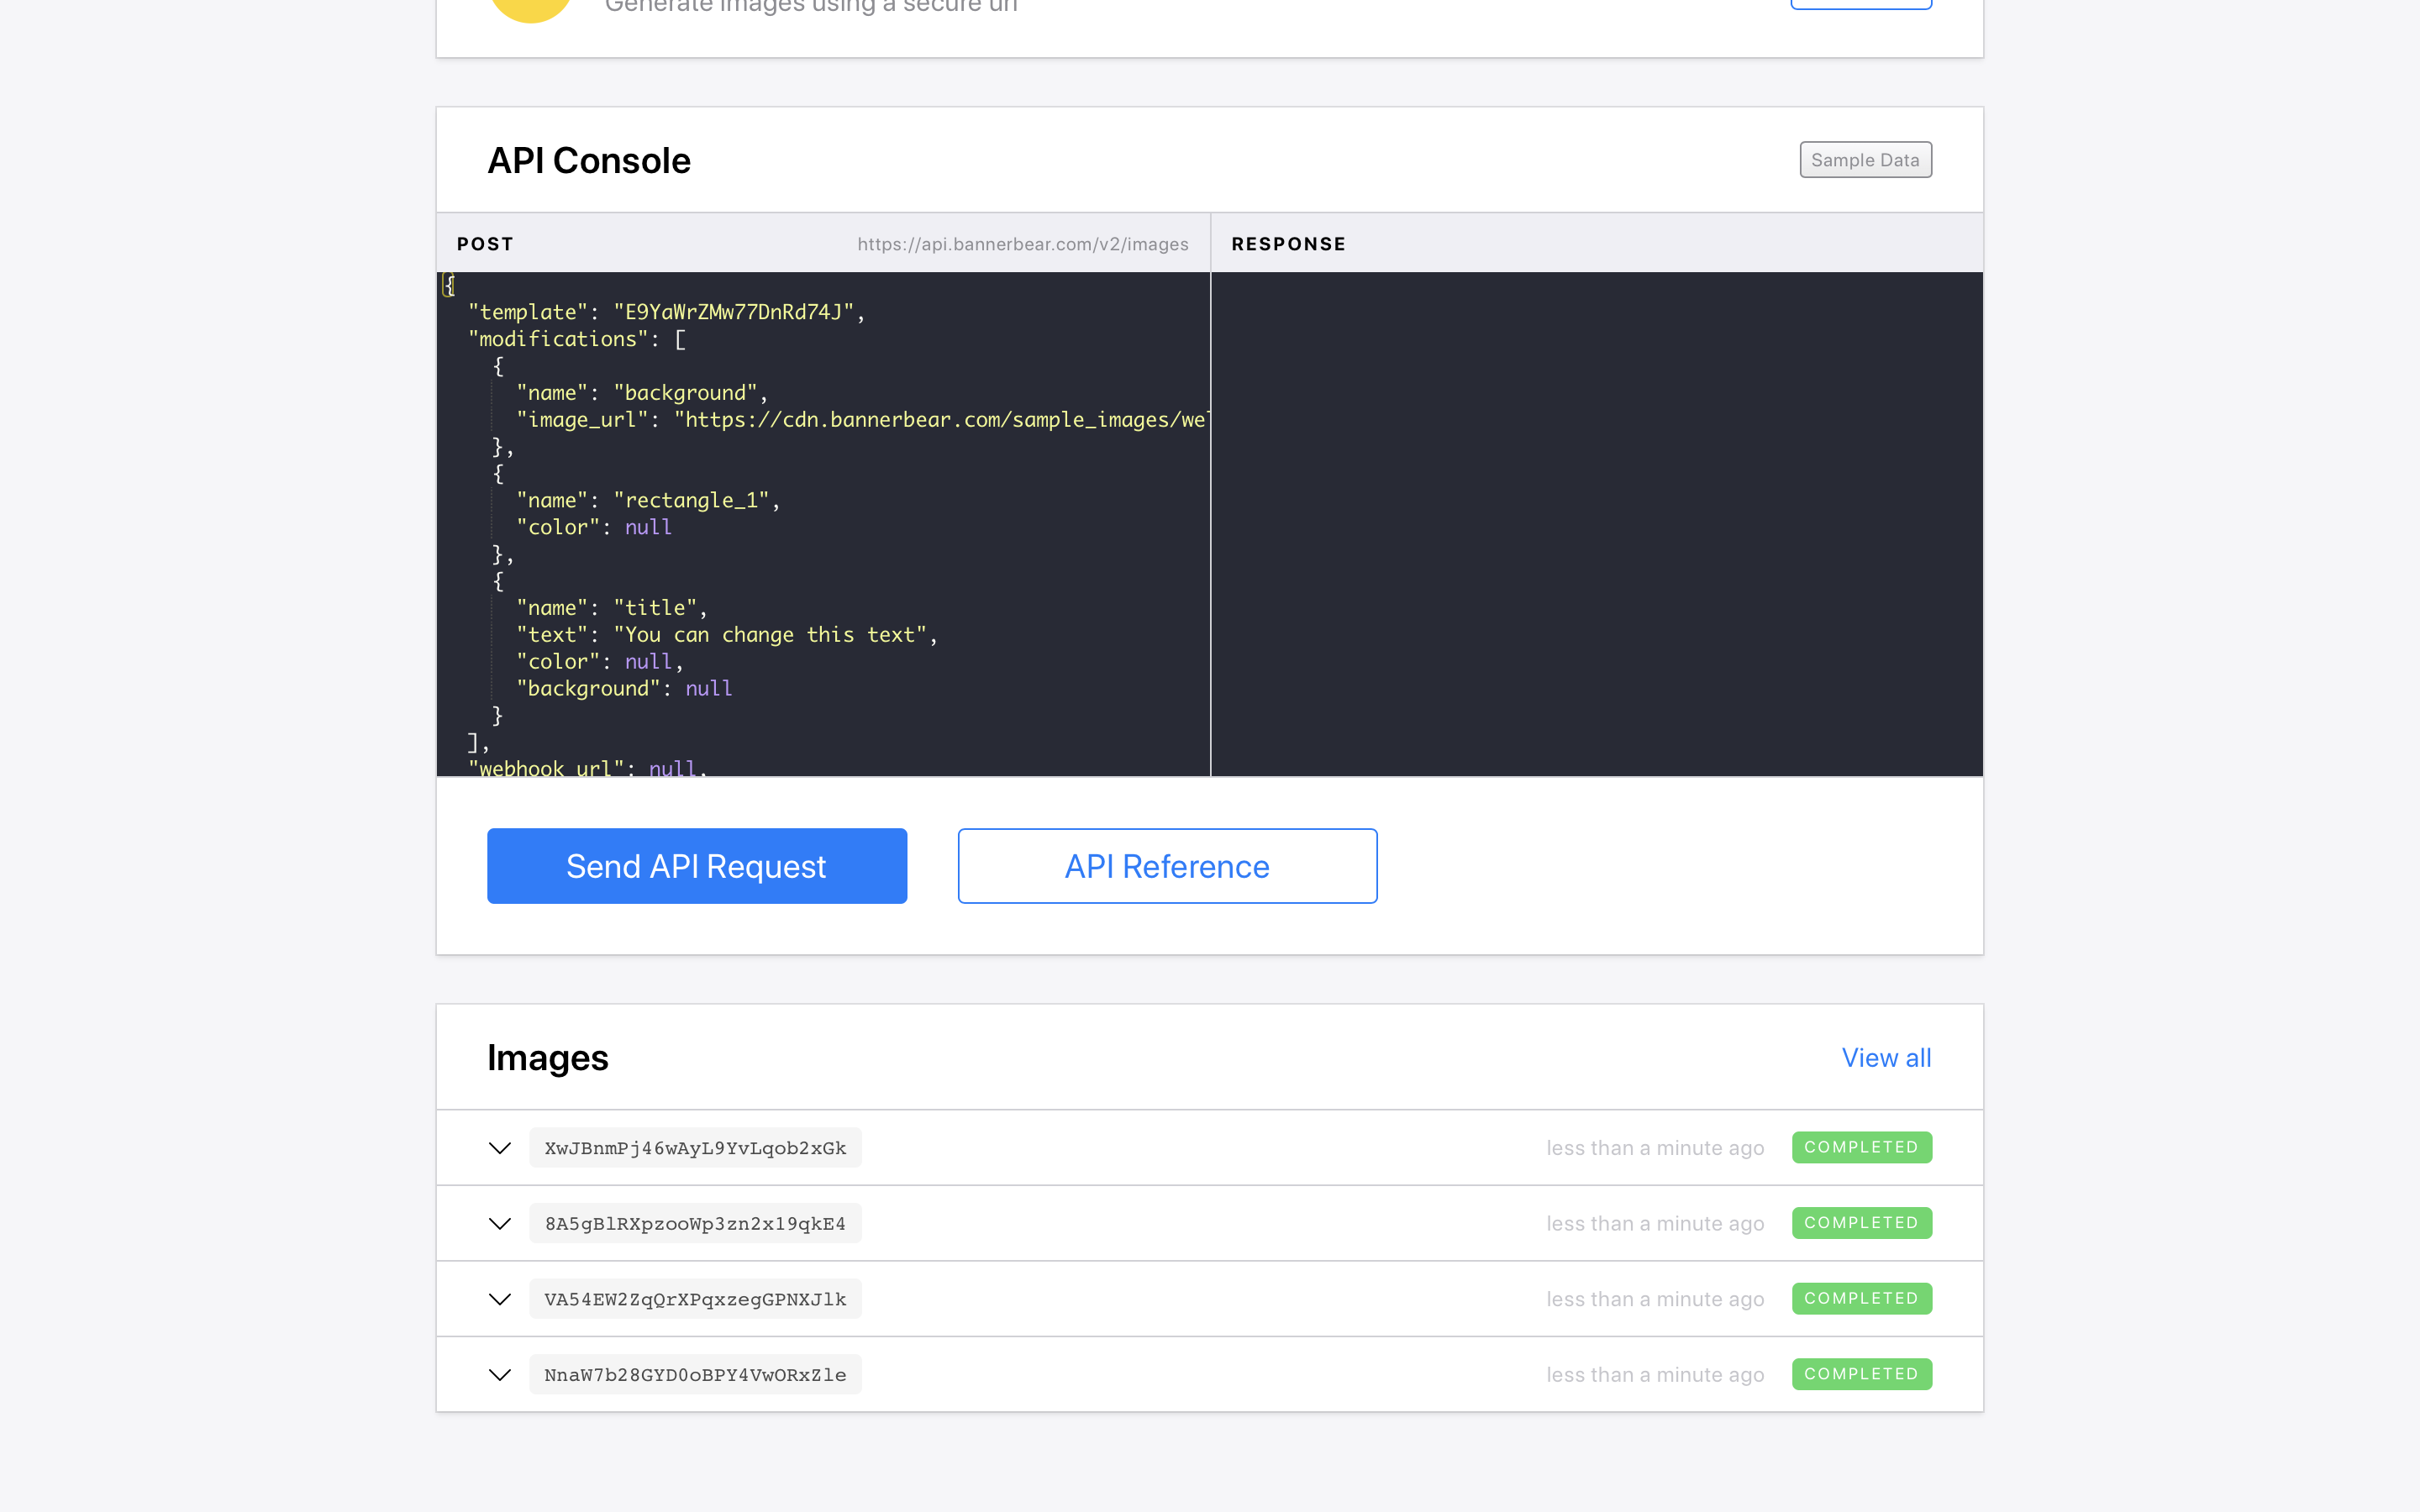
Test and confirm the action
Your test step should look something like this before you send a test request:
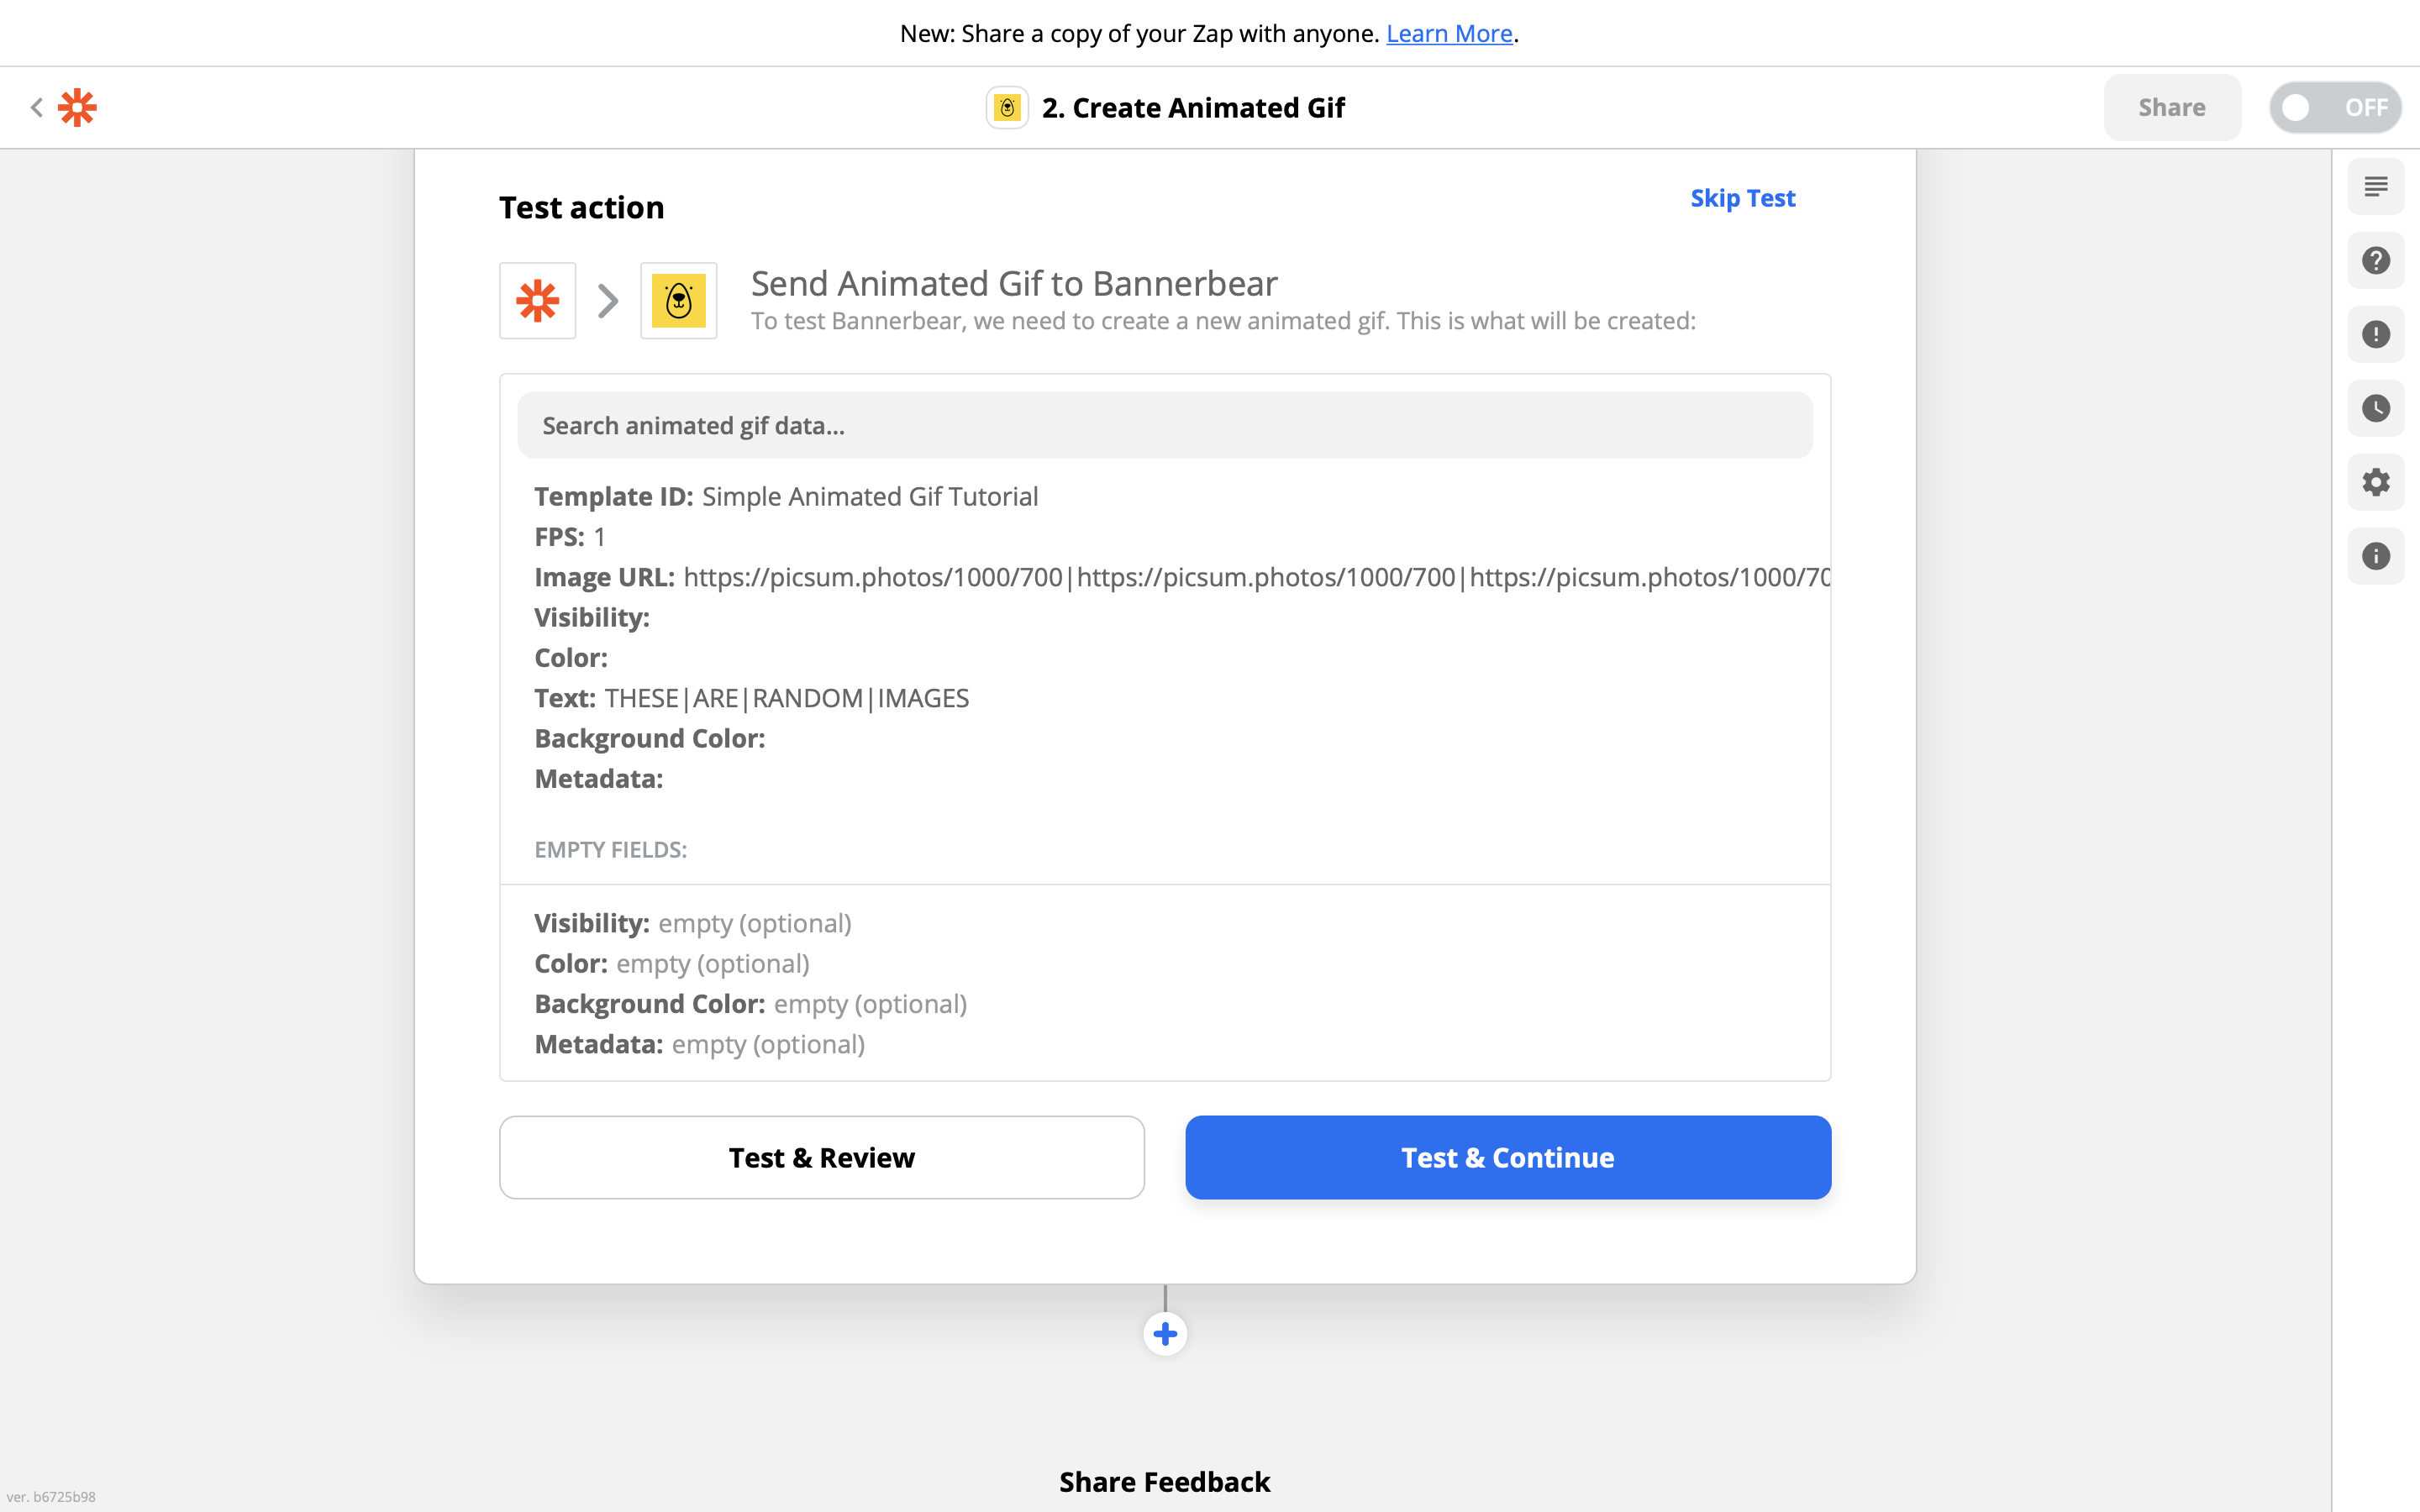
Note the values for image url and title.
If everything looks good, send a test request. You should see a green success message:
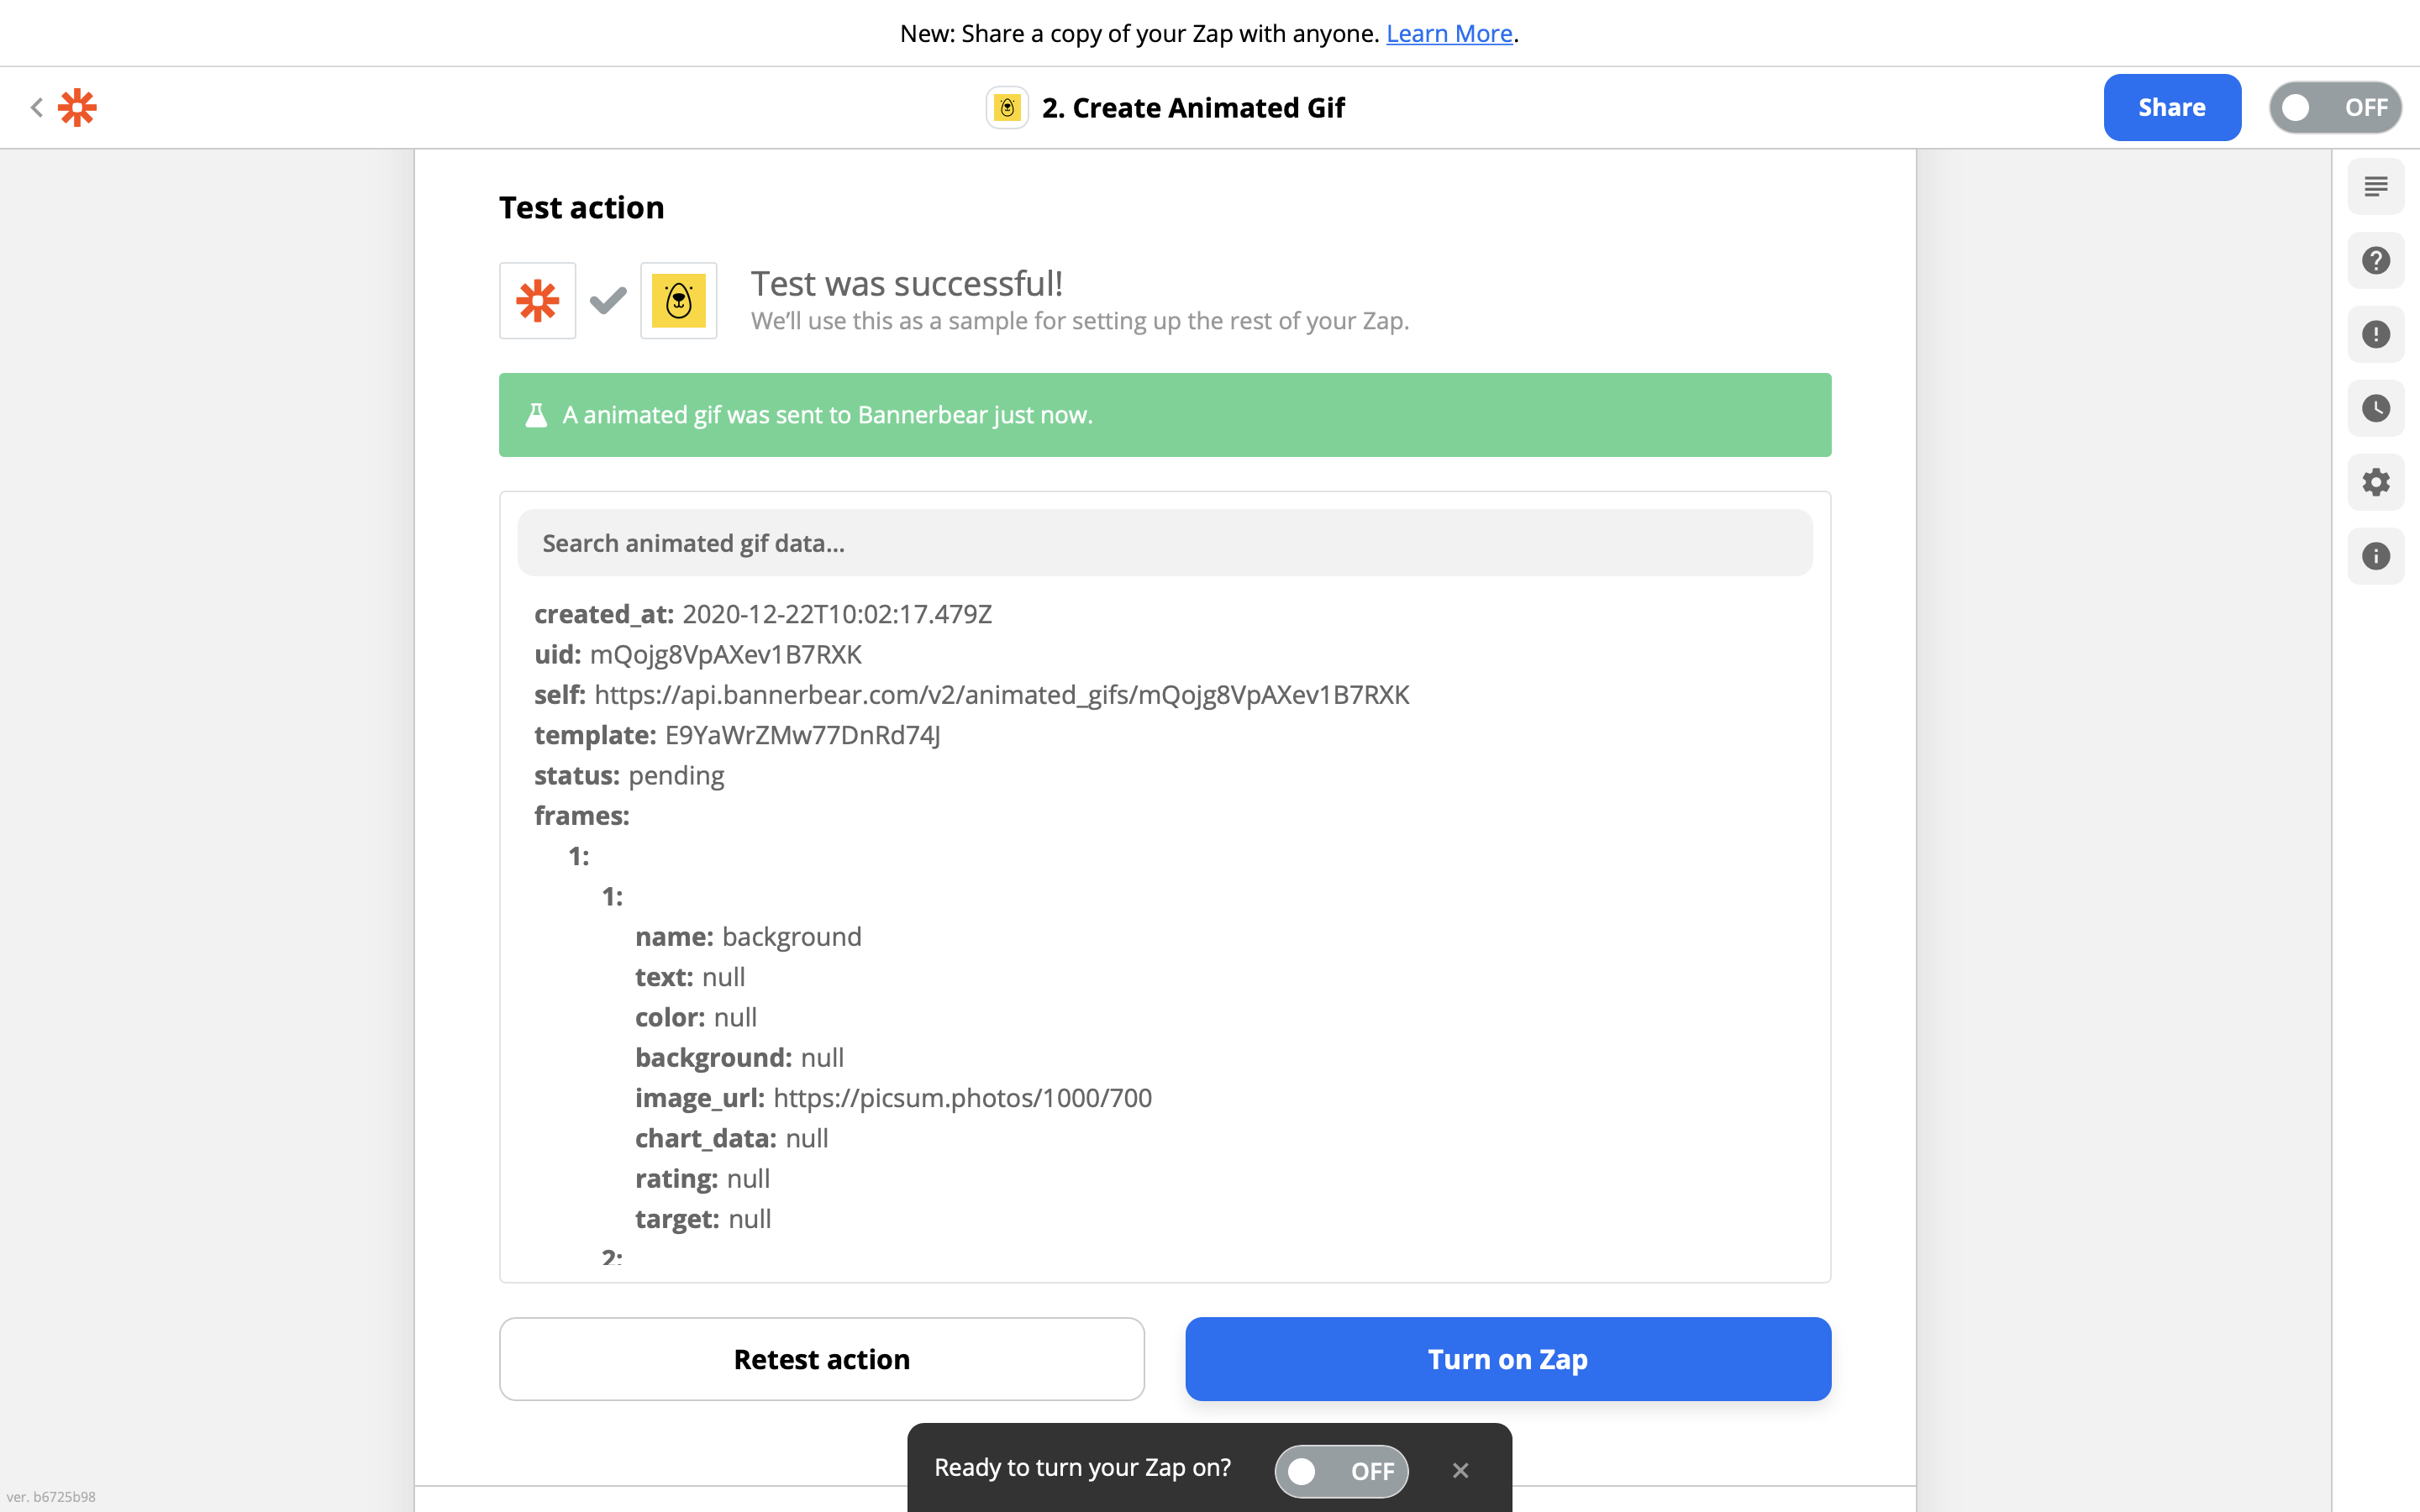
Confirming the test result
If you go back to your Bannerbear template dashboard you should see that 4 images (frames) have been generated. That's a good sign! This means the operation was successful:
That is where this Zap actually finishes, you can now turn it on.
So how do we actually see the animated gif?
Bannerbear animated gifs are accessible only by API or Zapier currently - you cannot view them in the dashboard.
So lets set up a handler zap to do something with our new animated gifs so that we can see them.
Set up the handler Zap
First of all, why do we need a handler zap?
While static images are generated instantly, animated gifs are a bit like videos in that Bannerbear takes a little while to render them. This means that it's not possible to return the gif in the same zap that you started them in.
So you will need to set up a 2nd zap to "receive" the newly-rendered animated gif.
Create a new Zap and choose Bannerbear - New Animated Gif as the trigger:
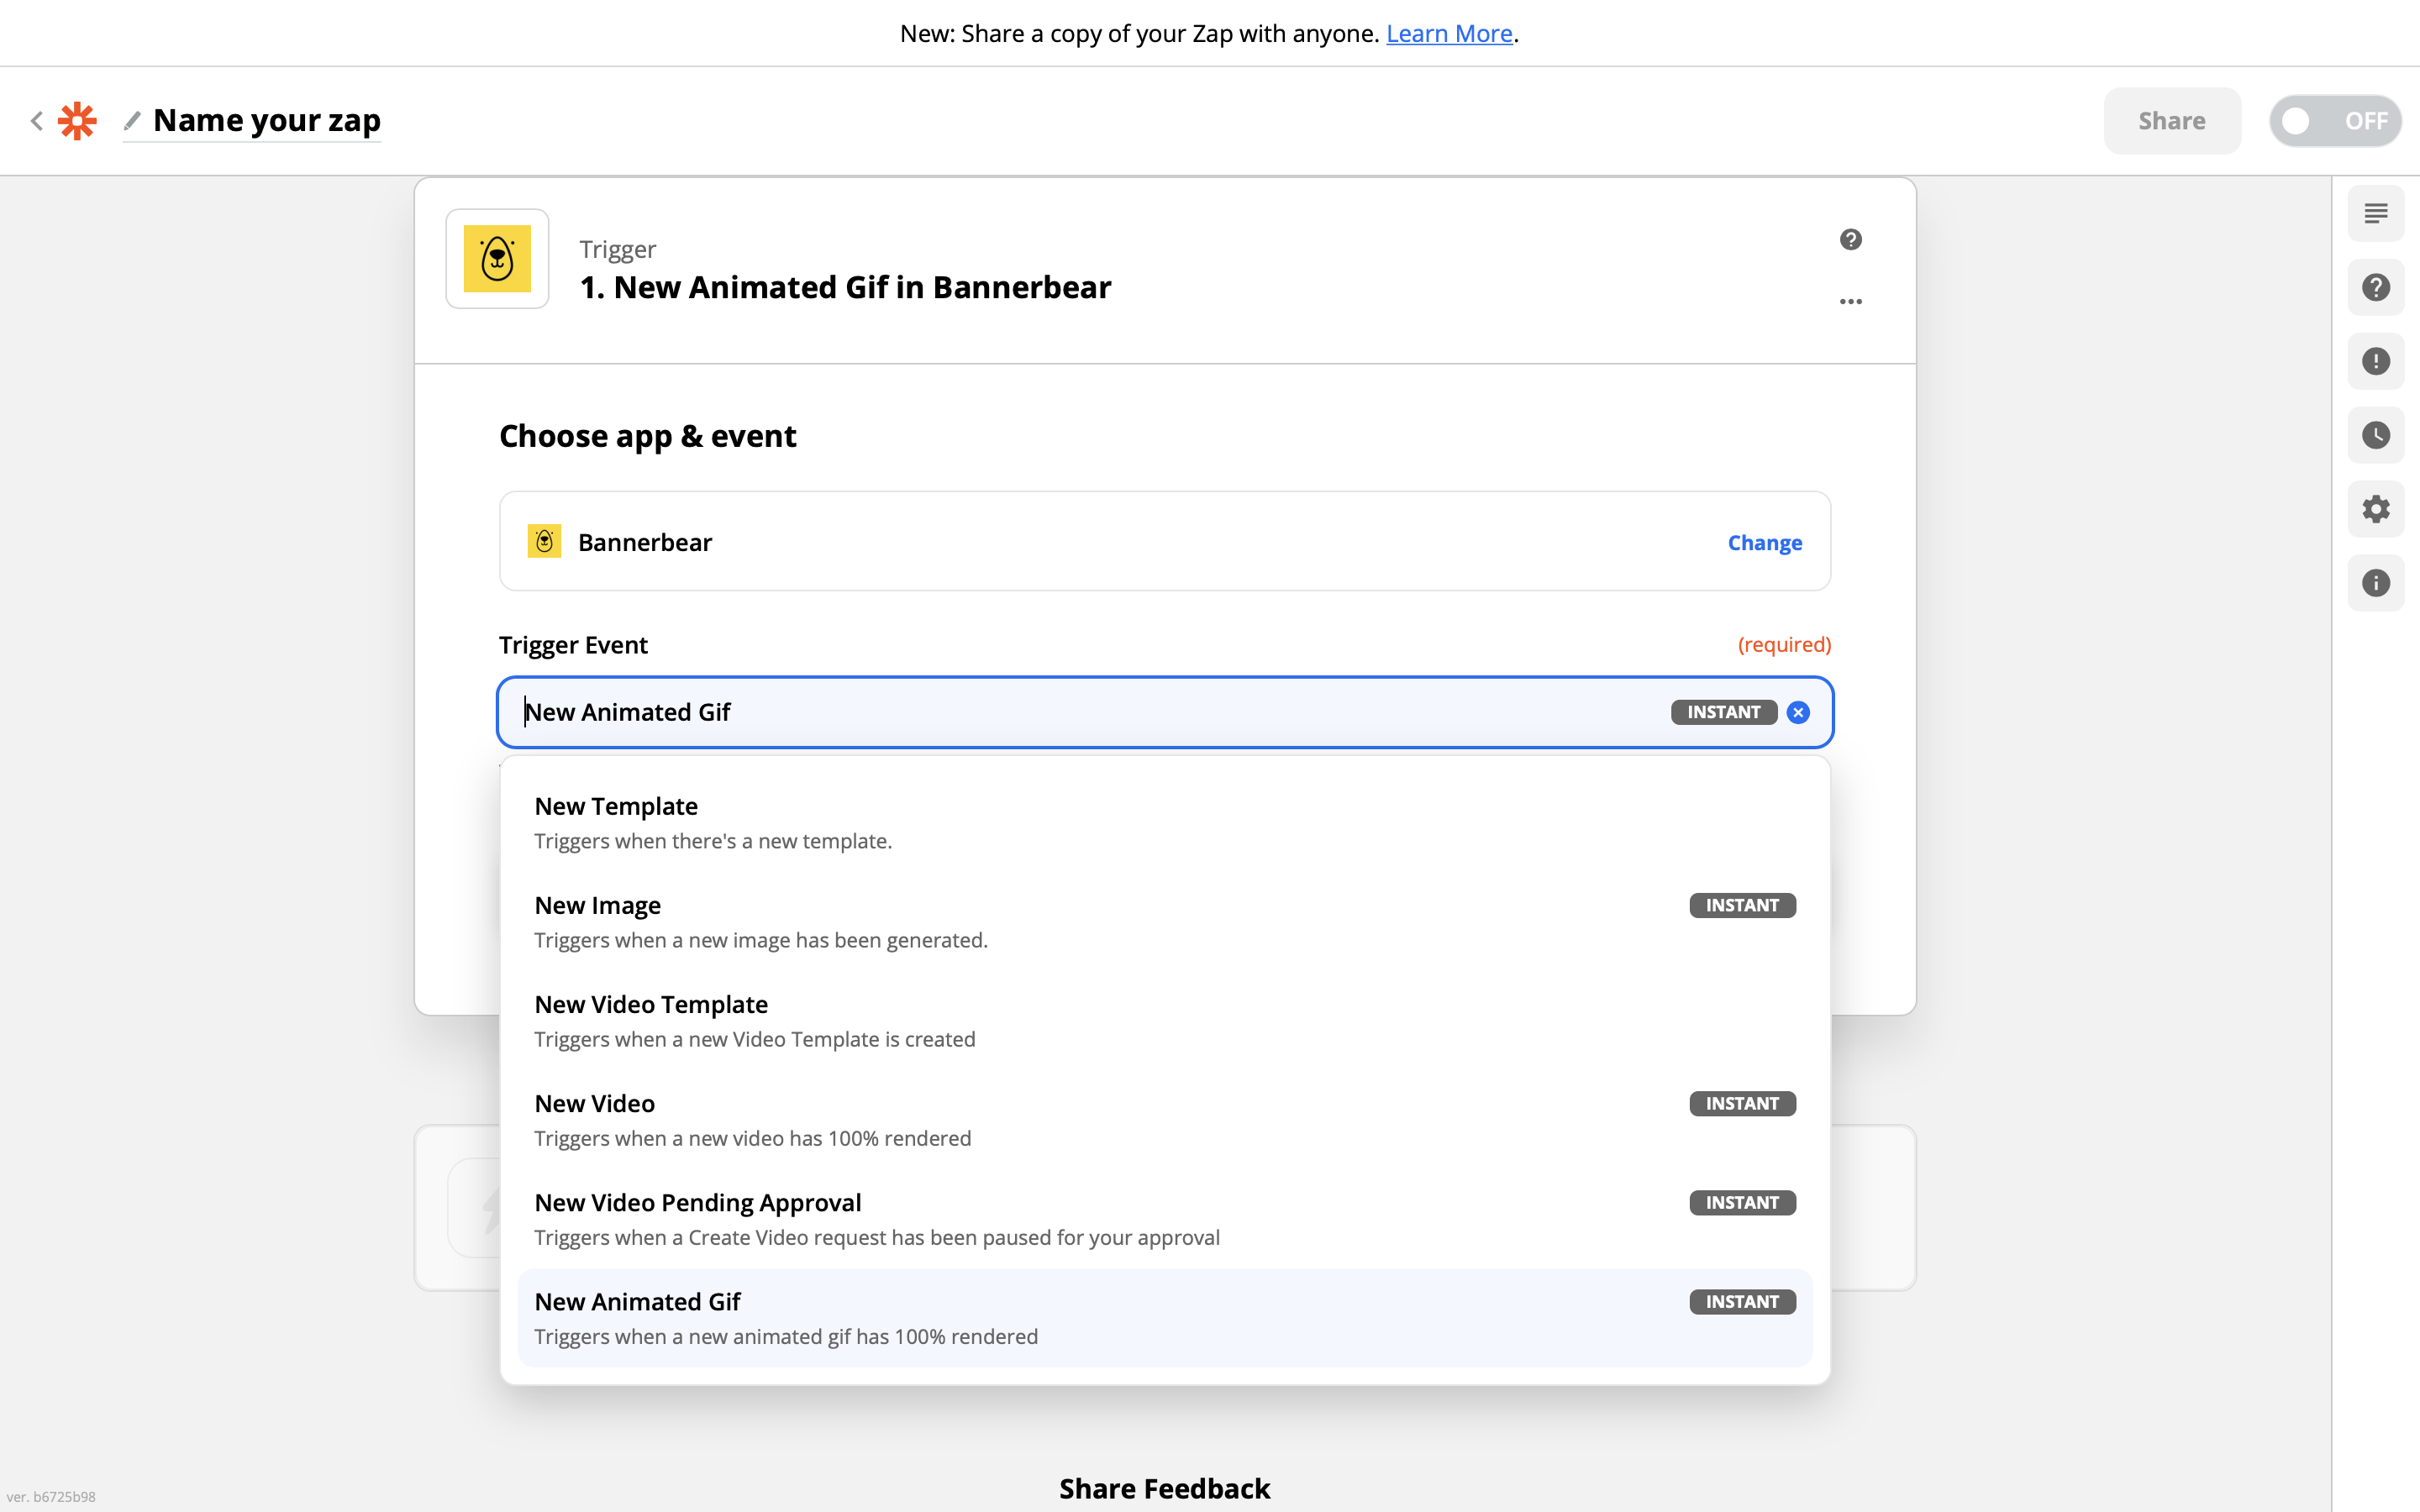
This will trigger instantly whenever a new animated gif is generated in your Bannerbear project.
As the action, choose Email by Zapier and set up an email to send the completed animated gif to yourself:
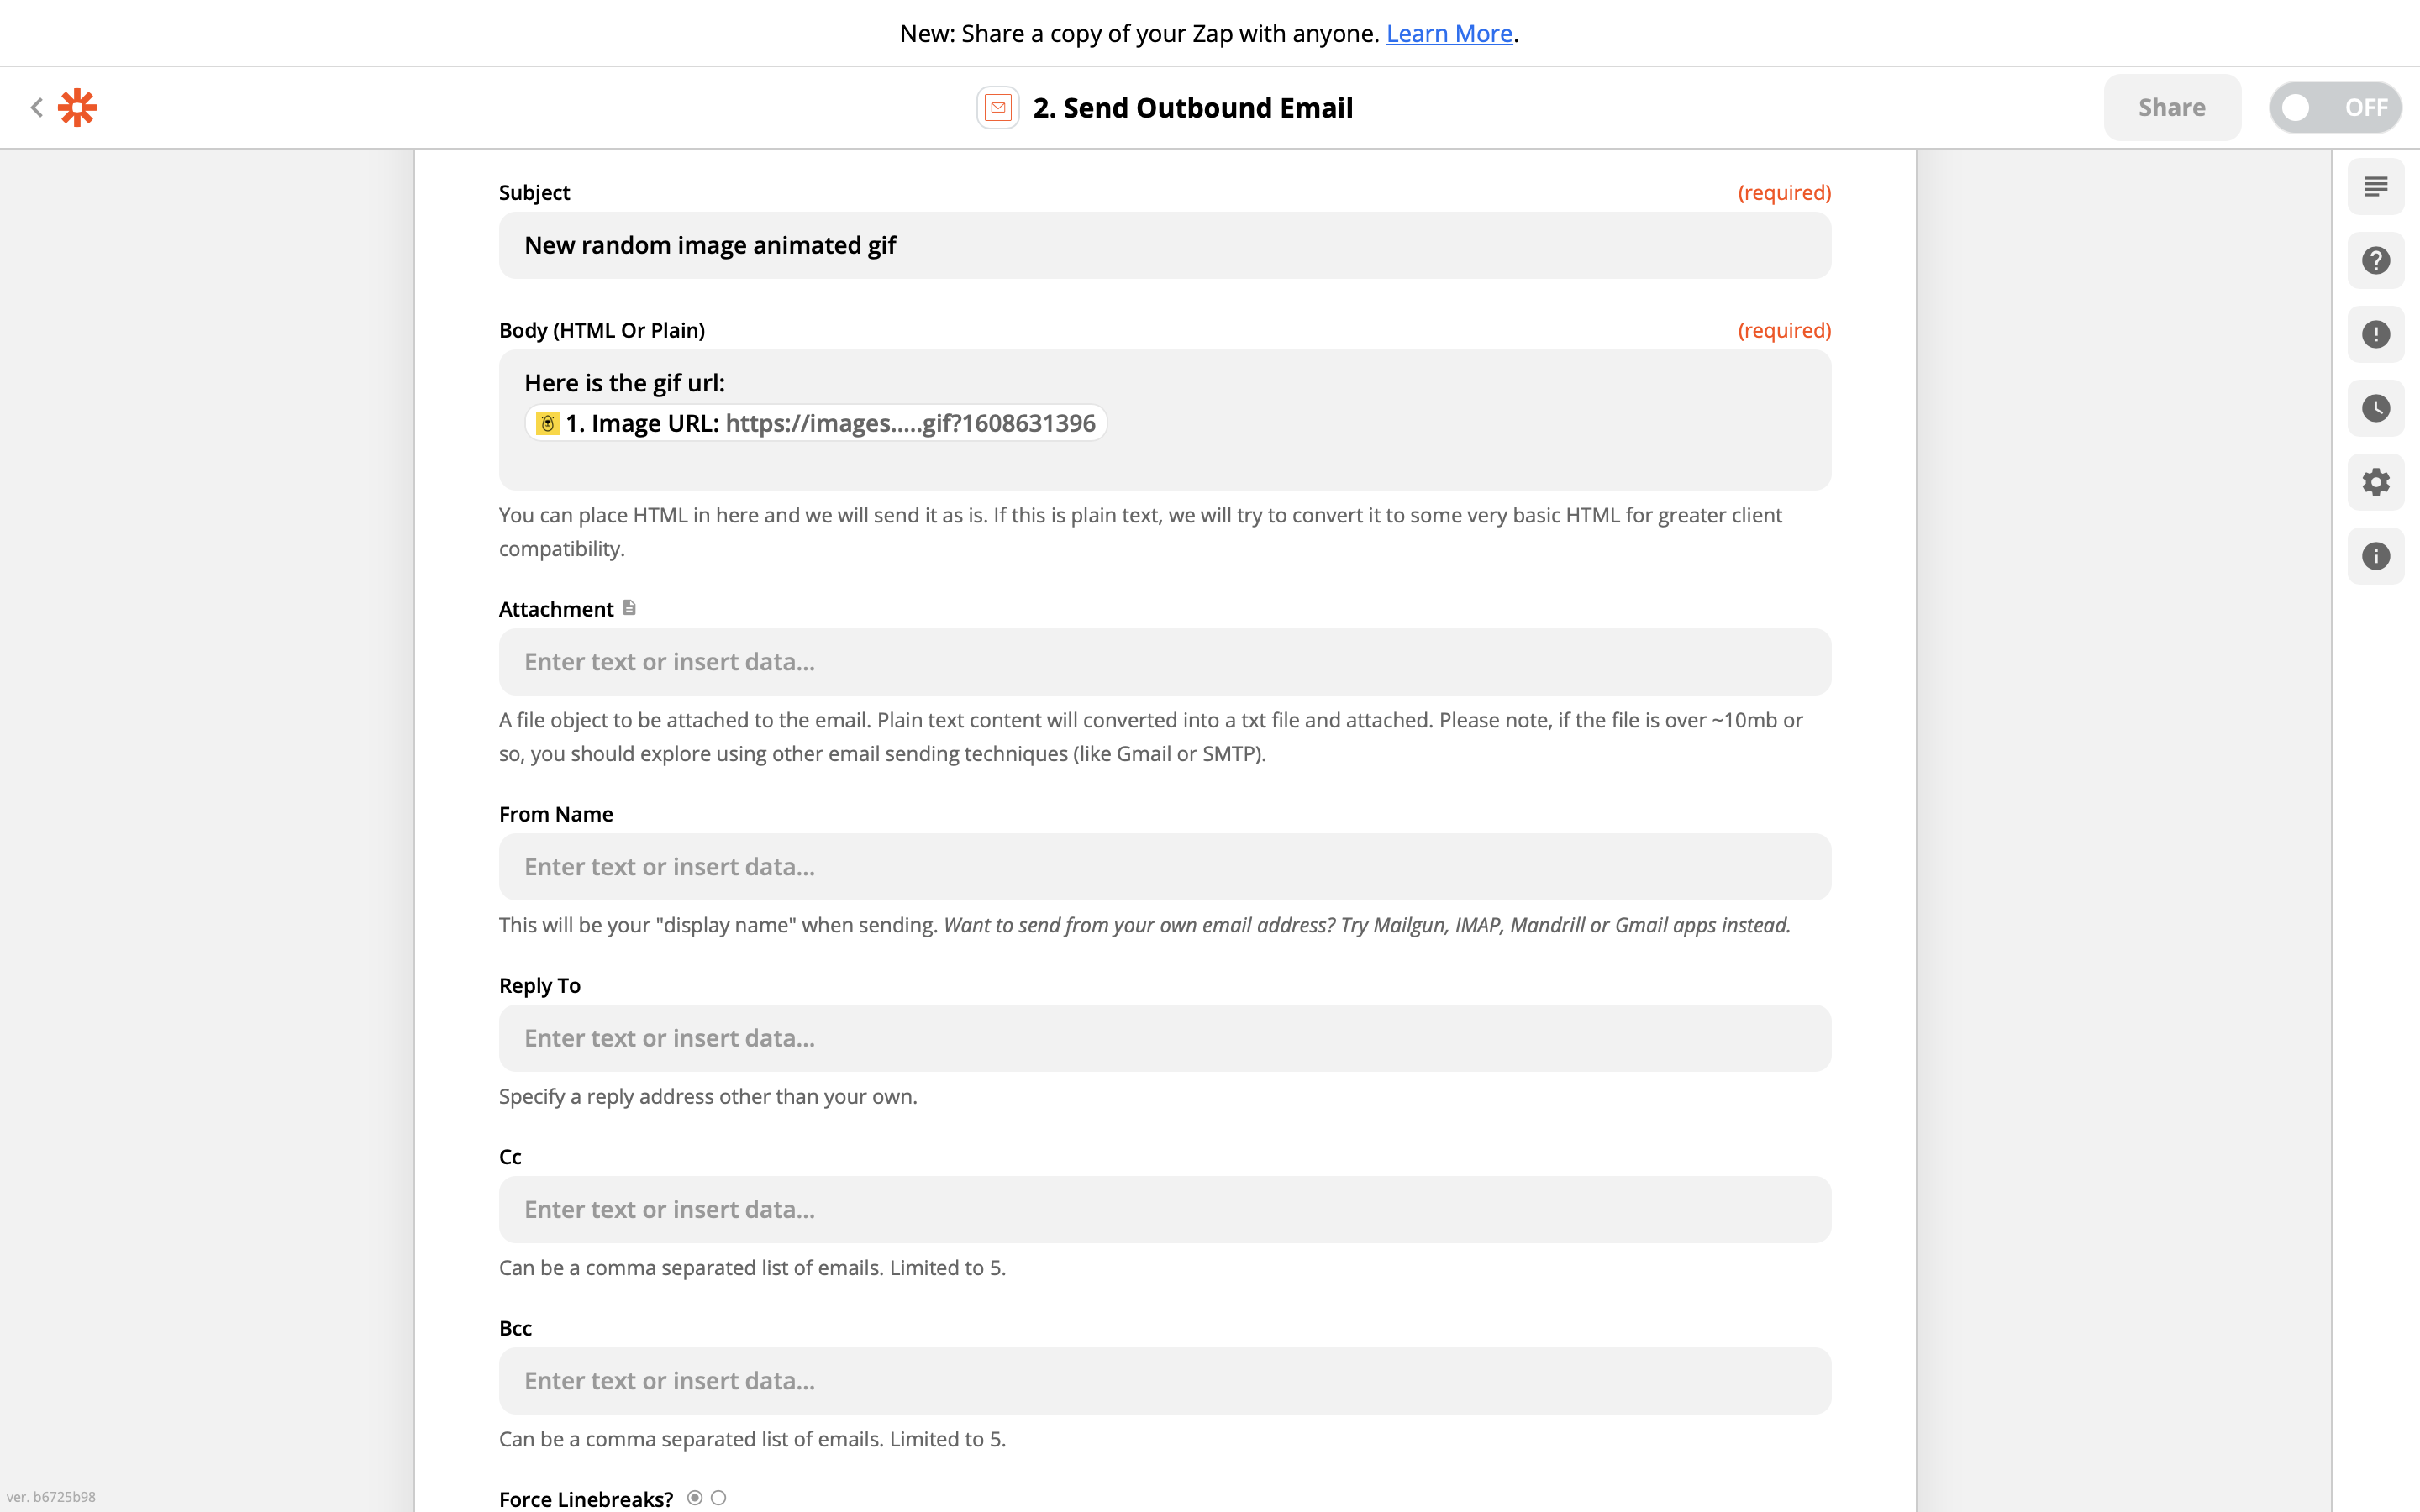
You will find the animated gif in the image url property.
That's it! Now you have a simple automated workflow that generates an animated gif on a regular schedule.
Next Steps
This was just a simple tutorial to show the principles of animated gif auto-generation. Why not try enhancing this workflow:
- Try adding some dynamic text to a gif frame instead of the static text
- Pull in images from somewhere other than Picsum
