
How to Add Accurate Text to AI Images Using Bannerbear
Contents
Artificial Intelligence (AI) has opened up exciting possibilities for content creators. Tools like DALL·E and Bing Image Creator use AI to generate stunning visuals based on simple text inputs, enabling users to create visually appealing images without needing graphic design skills. However, there’s a challenge: while AI can create impressive images, creating images with text on them remains tricky.
Here’s an example of the result generated:

There are often spelling mistakes in AI-generated images, like the word “lattte” in the image above. If you’re creating images for blogs, social media, or e-commerce platforms where text needs to be added, you might need to add them manually using image editing tools like Canva or Pixlr.
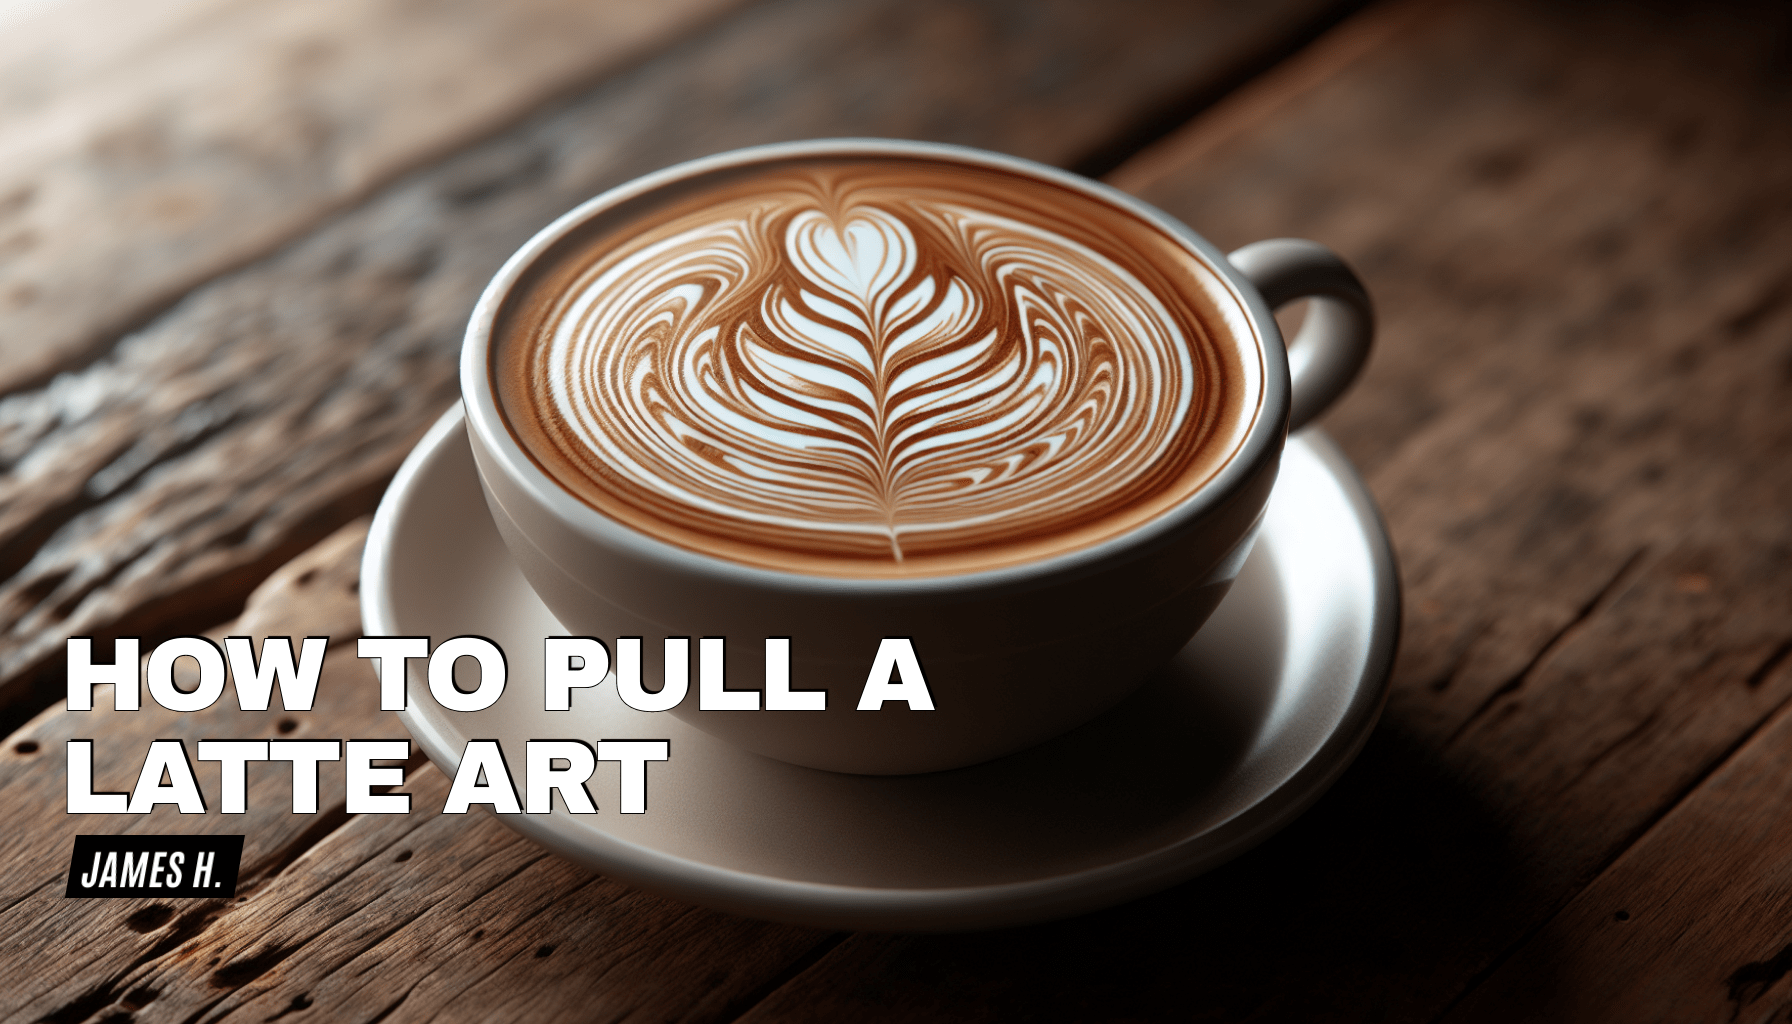
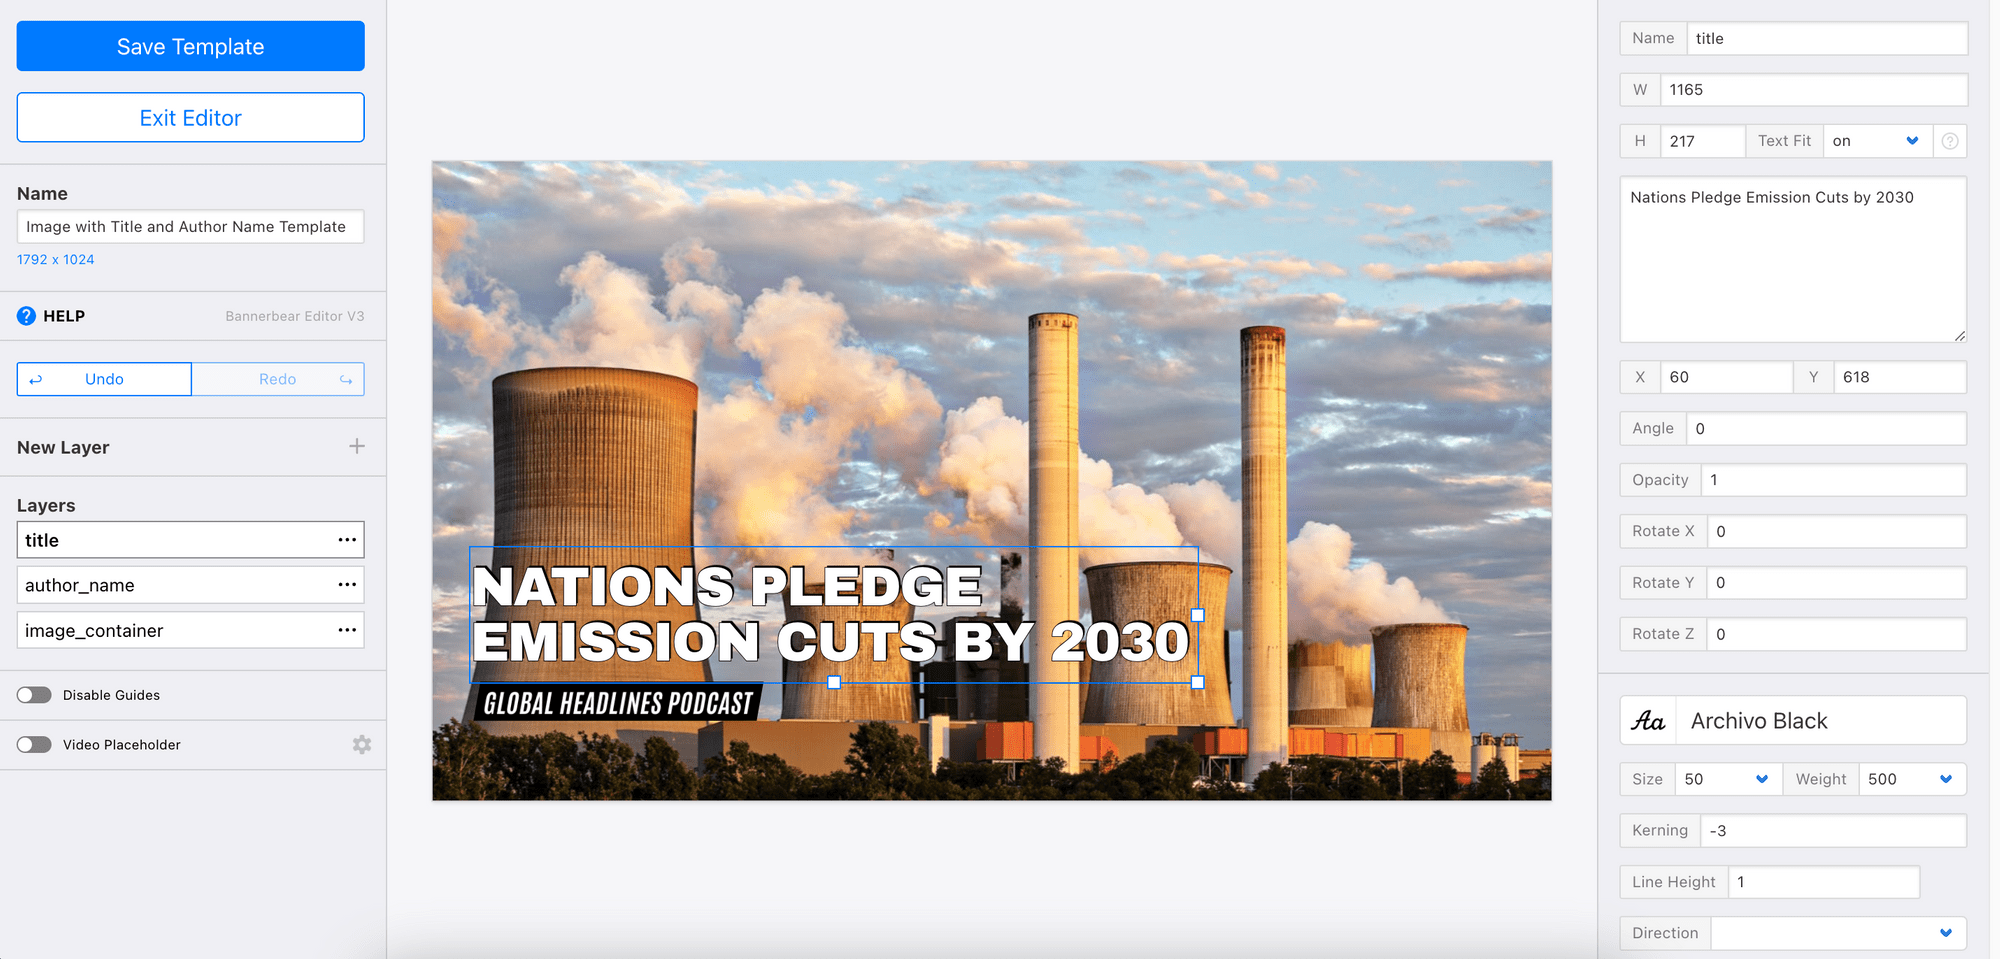
Alternatively, there’s a more automated method that involves coding and APIs (OpenAI + Bannerbear). This approach works well especially when you can pull text from a source or database (e.g. title and author name from a blog post), resulting in images like the one below:
What is Bannerbear
Bannerbear is a tool that allows you to generate custom images, videos, and other media using its API. It provides libraries in various popular programming languages like Ruby, PHP, and Node.js, making integrating image generation and other media manipulation functionalities into your application/project effortless.
Bannerbear operates based on templates, which serve as blueprints for creating images and other media files. The templates can include both static (unchanging) and dynamic objects. For example:
- Static objects : These remain the same in every generated image (e.g. a company logo).
- Dynamic objects : These change based on data you provide (e.g. text, images, or shapes).
By passing different data to the API, you can alter the values of the dynamic objects and create unique content based on a single template. Now that you have a basic understanding of Bannerbear, let’s get started!
Creating an OpenAI API Key
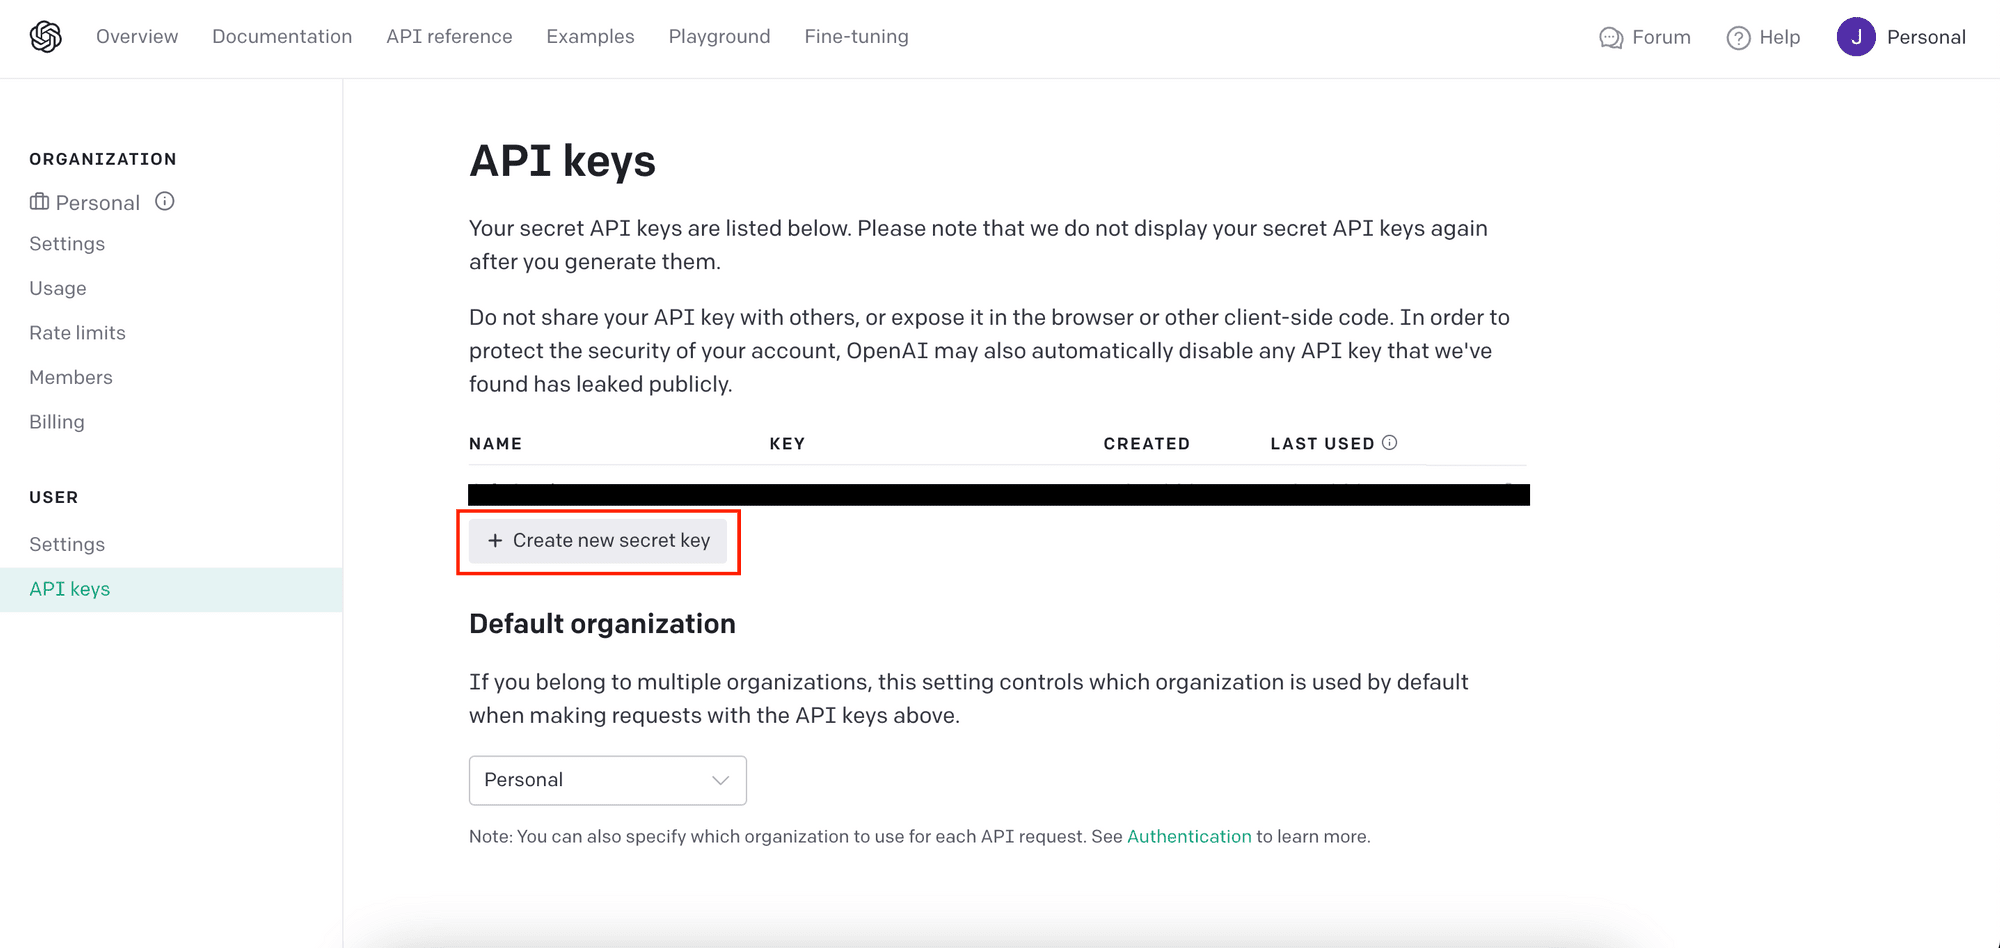
OpenAI offers Images API for generating or manipulating images with the DALL·E model. To use the API, you’ll need an OpenAI account with credits. After logging in, create a new secret key from the “API keys” tab:
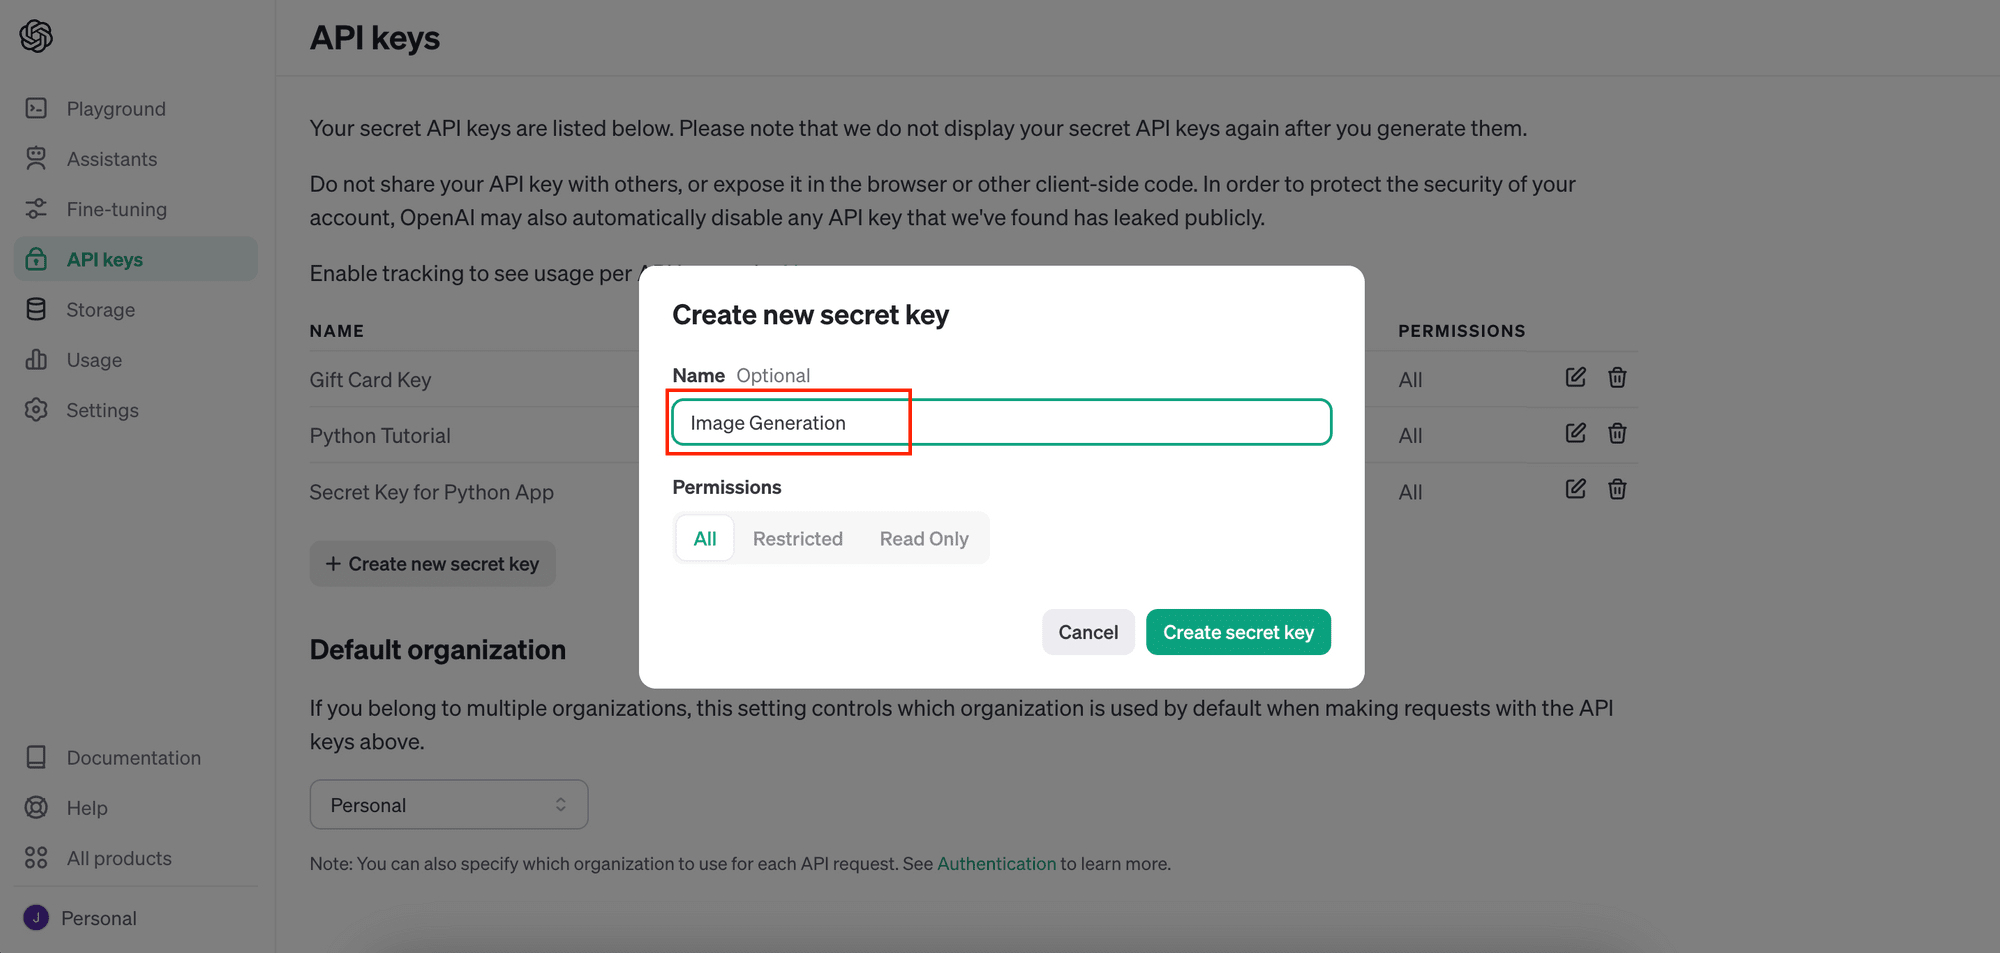
Give the new secret key a name and follow the instructions on the screen to continue:
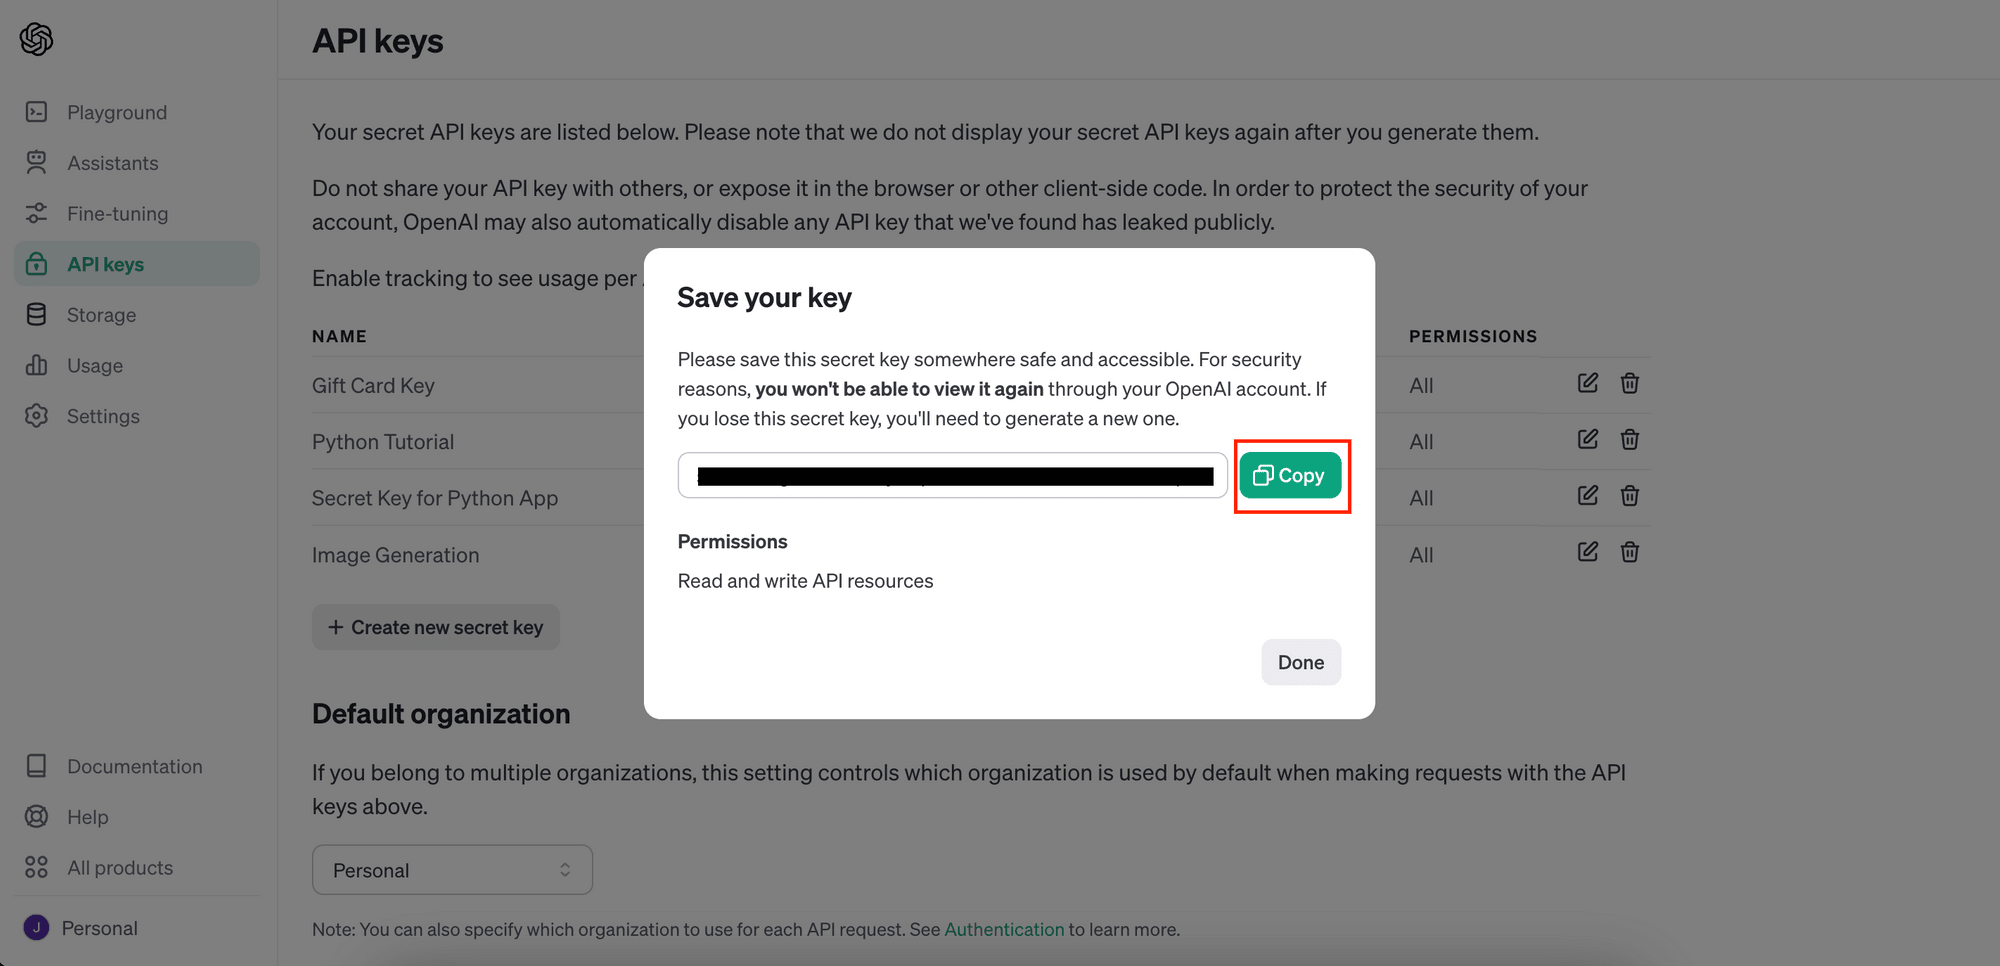
After the new secret key has been created, save it somewhere safe. We will need it in our code later to call the API to generate images using DALL·E.
Creating a Bannerbear Project
First, sign up for an account and create a new project in your account. Then, duplicate the template below to your project:

The template contains dynamic objects like title, author_name, and image_container. The values of these objects can be changed when making an API call to Bannerbear to add text to the AI-generate image.
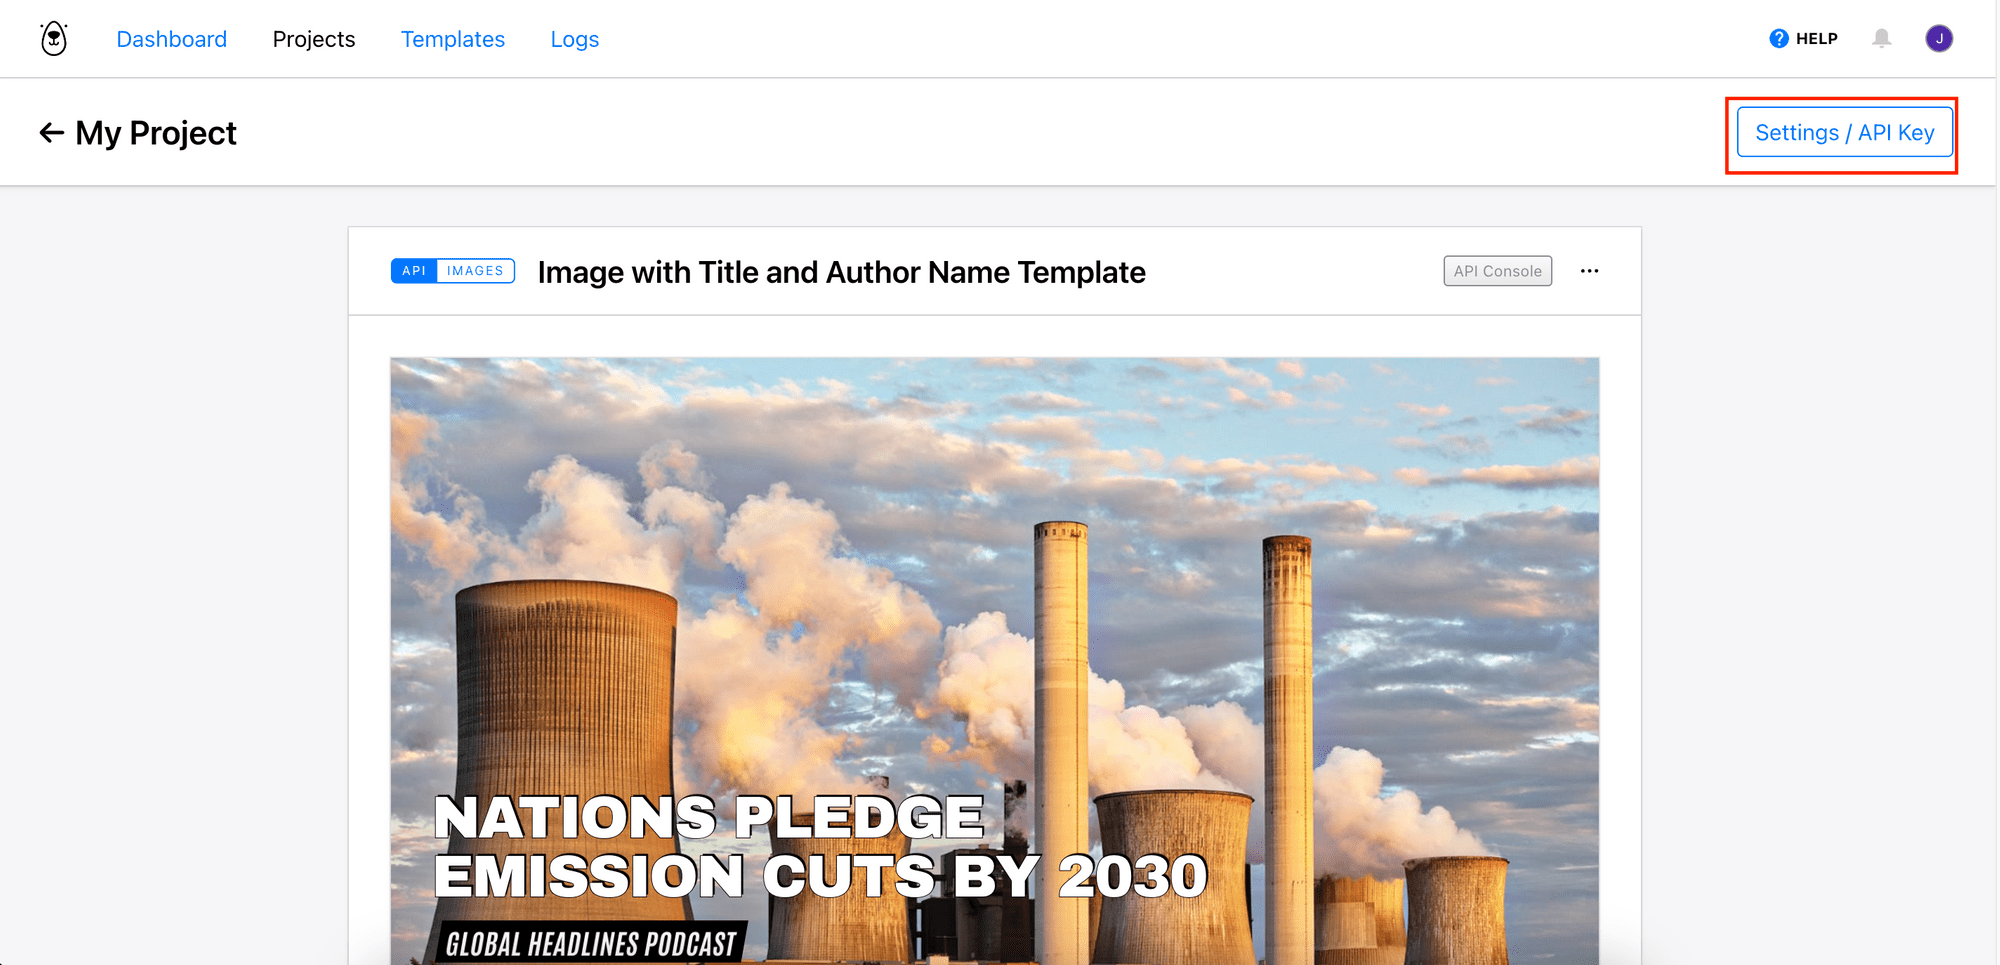
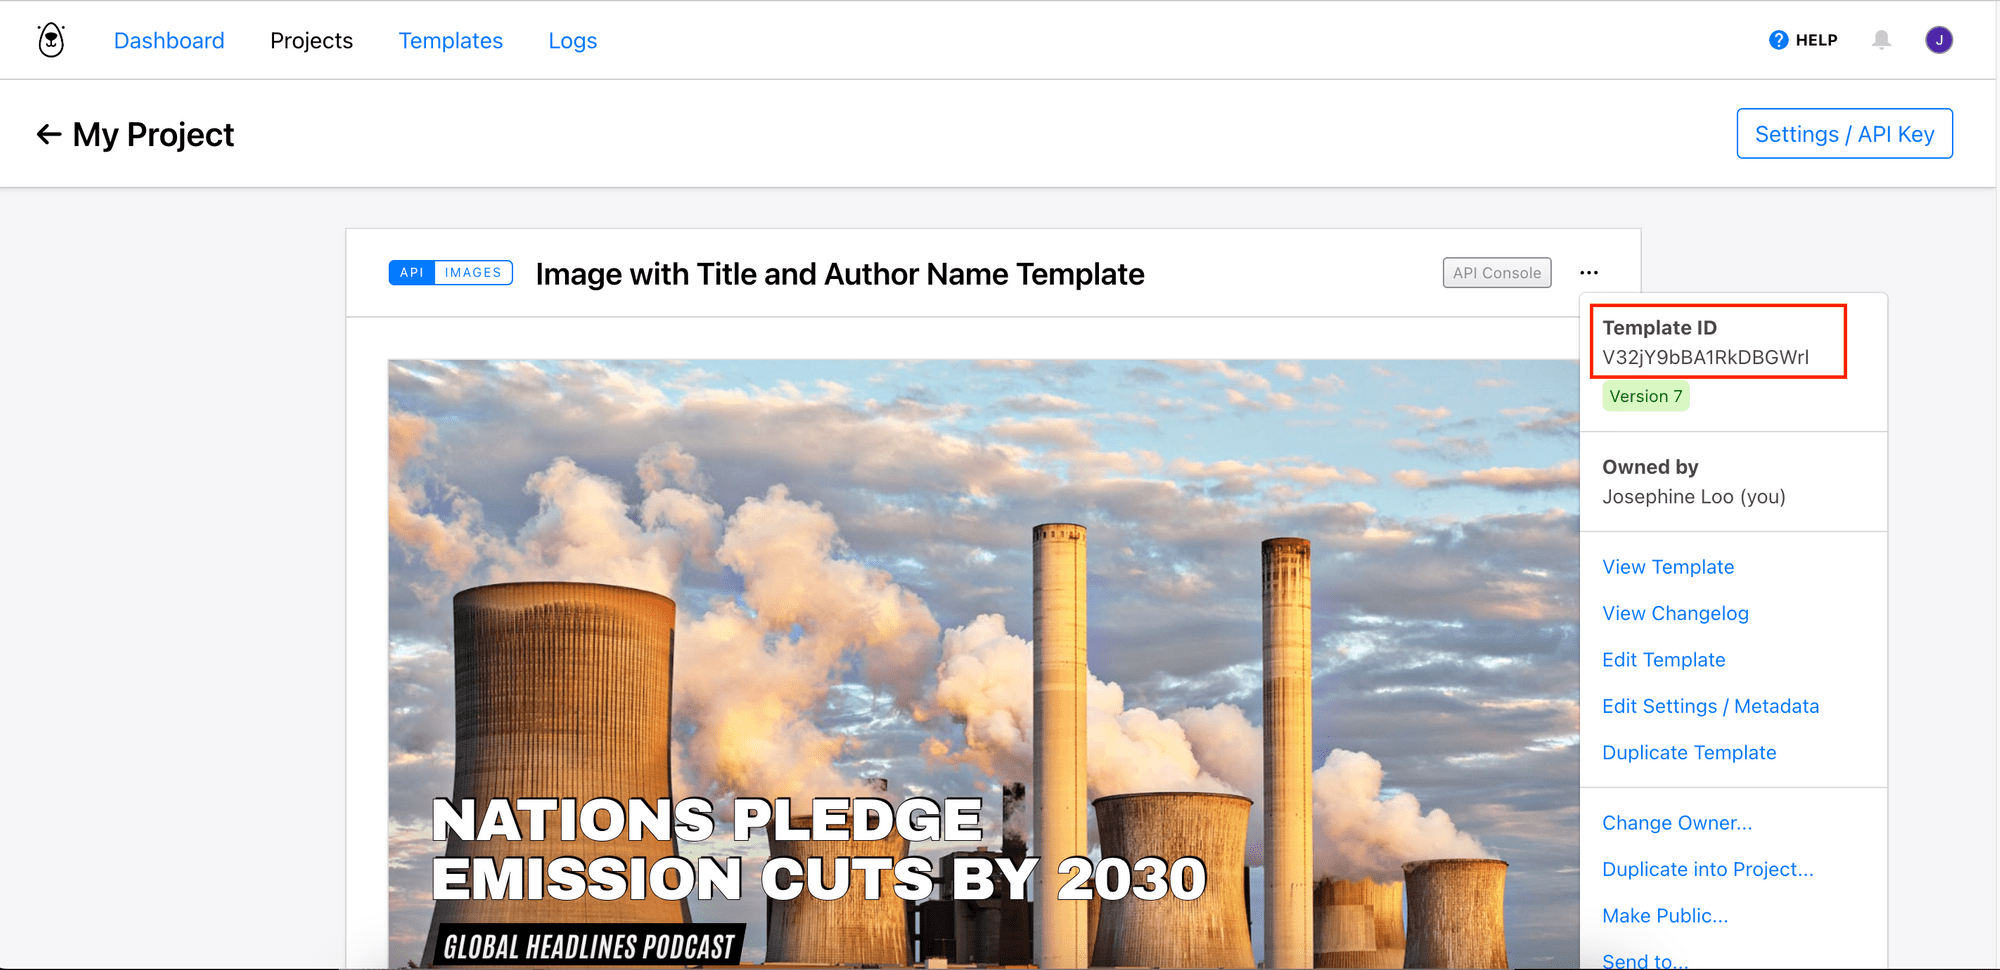
Next, get the project API key and template ID. We will need them in our code to access the project and template.
Generating AI Images and Adding Text to Them
To automate the process, we will create a Node.js project for calling the APIs. Create a new Node.js project by running npm init in your project directory. Then, create a file named index.js for writing the code.
Step 1. Install and Import the OpenAI and Bannerbear Libraries
In the terminal/command prompt, run the command below in your project directory to install the OpenAI and Bannerbear libraries:
npm install openai bannerbear
In index.js, import the libraries and declare the API keys and template ID as constants:
const { Bannerbear } = require('bannerbear');
const OpenAI = require('openai');

const OPENAI_API_KEY = 'your_openai_api_key';
const BB_API_KEY = 'your_bannerbear_api_key';
const BB_TEMPLATE_ID = 'your_template_id';
Then, create a self-invoking function for containing the code in the following steps:
(async () => {
  // Generate AI images

  // Add text to the images
})()
Step 2. Generate Images with OpenAI API
Create a new instance of OpenAI with your API key. Then, call the images.generate() method with options such as prompt, size, and n to generate images using the DALL·E model:
// Generate AI images
const openai = new OpenAI({ apiKey: OPENAI_API_KEY });
const image = await openai.images.generate({
  model: "dall-e-3",
  prompt: 'A cup of latte with a Rosetta',
  size: '1792x1024',
  n: 1,
});
If you’re using DALL·E 2, you can generate images in the size of 256x256, 512x512, or 1024x1024 pixels and request up to 10 images in a single call (as specified in the n parameter).
If you’re using DALL·E 3, you can generate images in the size of 1024x1024, 1024x1792, or 1792x1024 pixels, but only request 1 image at a time.
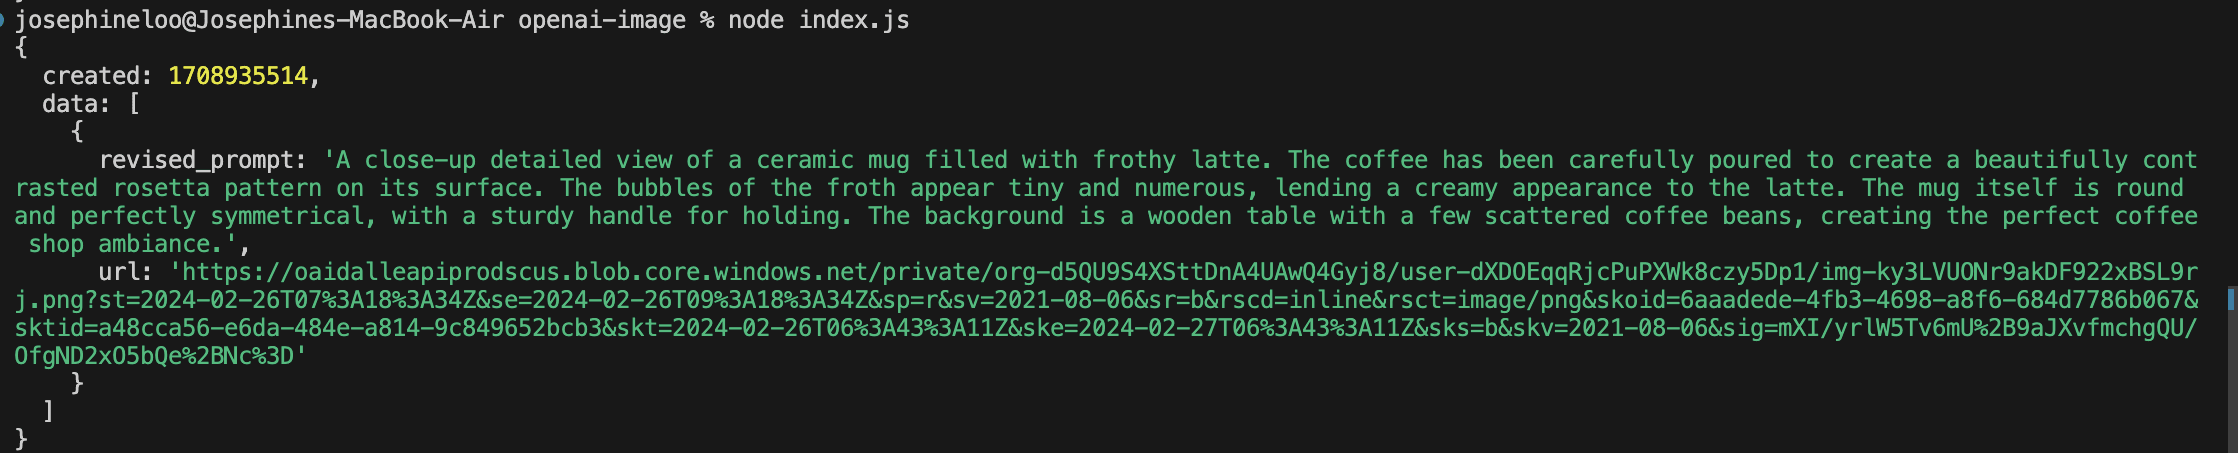
The code above should return an object containing a revised prompt and the URL of the AI-generated image:
Step 3. Add Text with Bannerbear
Create a new instance of Bannerbear using your API key. Then, call the create_image() method with the modifications array containing the image URL and the text to be added to the image (e.g. title, author name):
// Add text to the images
  const bb = new Bannerbear(BB_API_KEY);
  const aiImageUrl = image.data[0].url;
  const finalImage = await bb.create_image(
    BB_TEMPLATE_ID,
    {
      modifications: [
        {
          name: 'title',
          text: 'How to Pull a Latte Art',
        },
        {
          name: 'author_name',
          text: 'James H.',
        },
        {
          name: 'image_container',
          image_url: aiImageUrl,
        },
      ],
    },
    true
  );

  console.log(finalImage);
You can modify the code to automatically retrieve text from a source. However, for this tutorial, we’ll stick with some hard-coded values to keep things simple. 😃
When you run node index.js in the terminal/command line to execute the file, it will generate AI images based on the prompt and add text to them automatically. Here’s the result from the code above:

Besides calling the API in your code, you can also do it using a Simple or Signed URL. For more information, refer to this guide:
A Basic Guide to Simple and Signed URLs for Image Generation.
Conclusion
While creating images with text on them using AI remains a challenge, you can utilize tools like Bannerbear to overcome the limitation. If you haven’t already, sign up for a Bannerbear account, it’s free to start!
