
Bannerbear's Guide to Creating Beautiful Video Thumbnails For Instagram (in 2026)
Contents
On Instagram, each thumbnail is digital real estate. It's the only visual element competing for attention in a sea of scrolling—a split-second decision for whether someone stops or keeps moving. The algorithm rewards videos that capture attention early, and it all starts with that first moment.
Creating impactful thumbnails isn't guesswork. Design principles, platform mechanics, and authentic visual personality all work together to attract viewers. The good news? Once you understand the fundamentals, scaling becomes easy.
In this guide, we'll walk through the nuances of Instagram thumbnails and how to design strategically for this platform.
The Difference Between Post Covers & Reel Thumbnails
Since Instagram has several types of posting options, what you might consider a "thumbnail" varies depending on the format you're using.
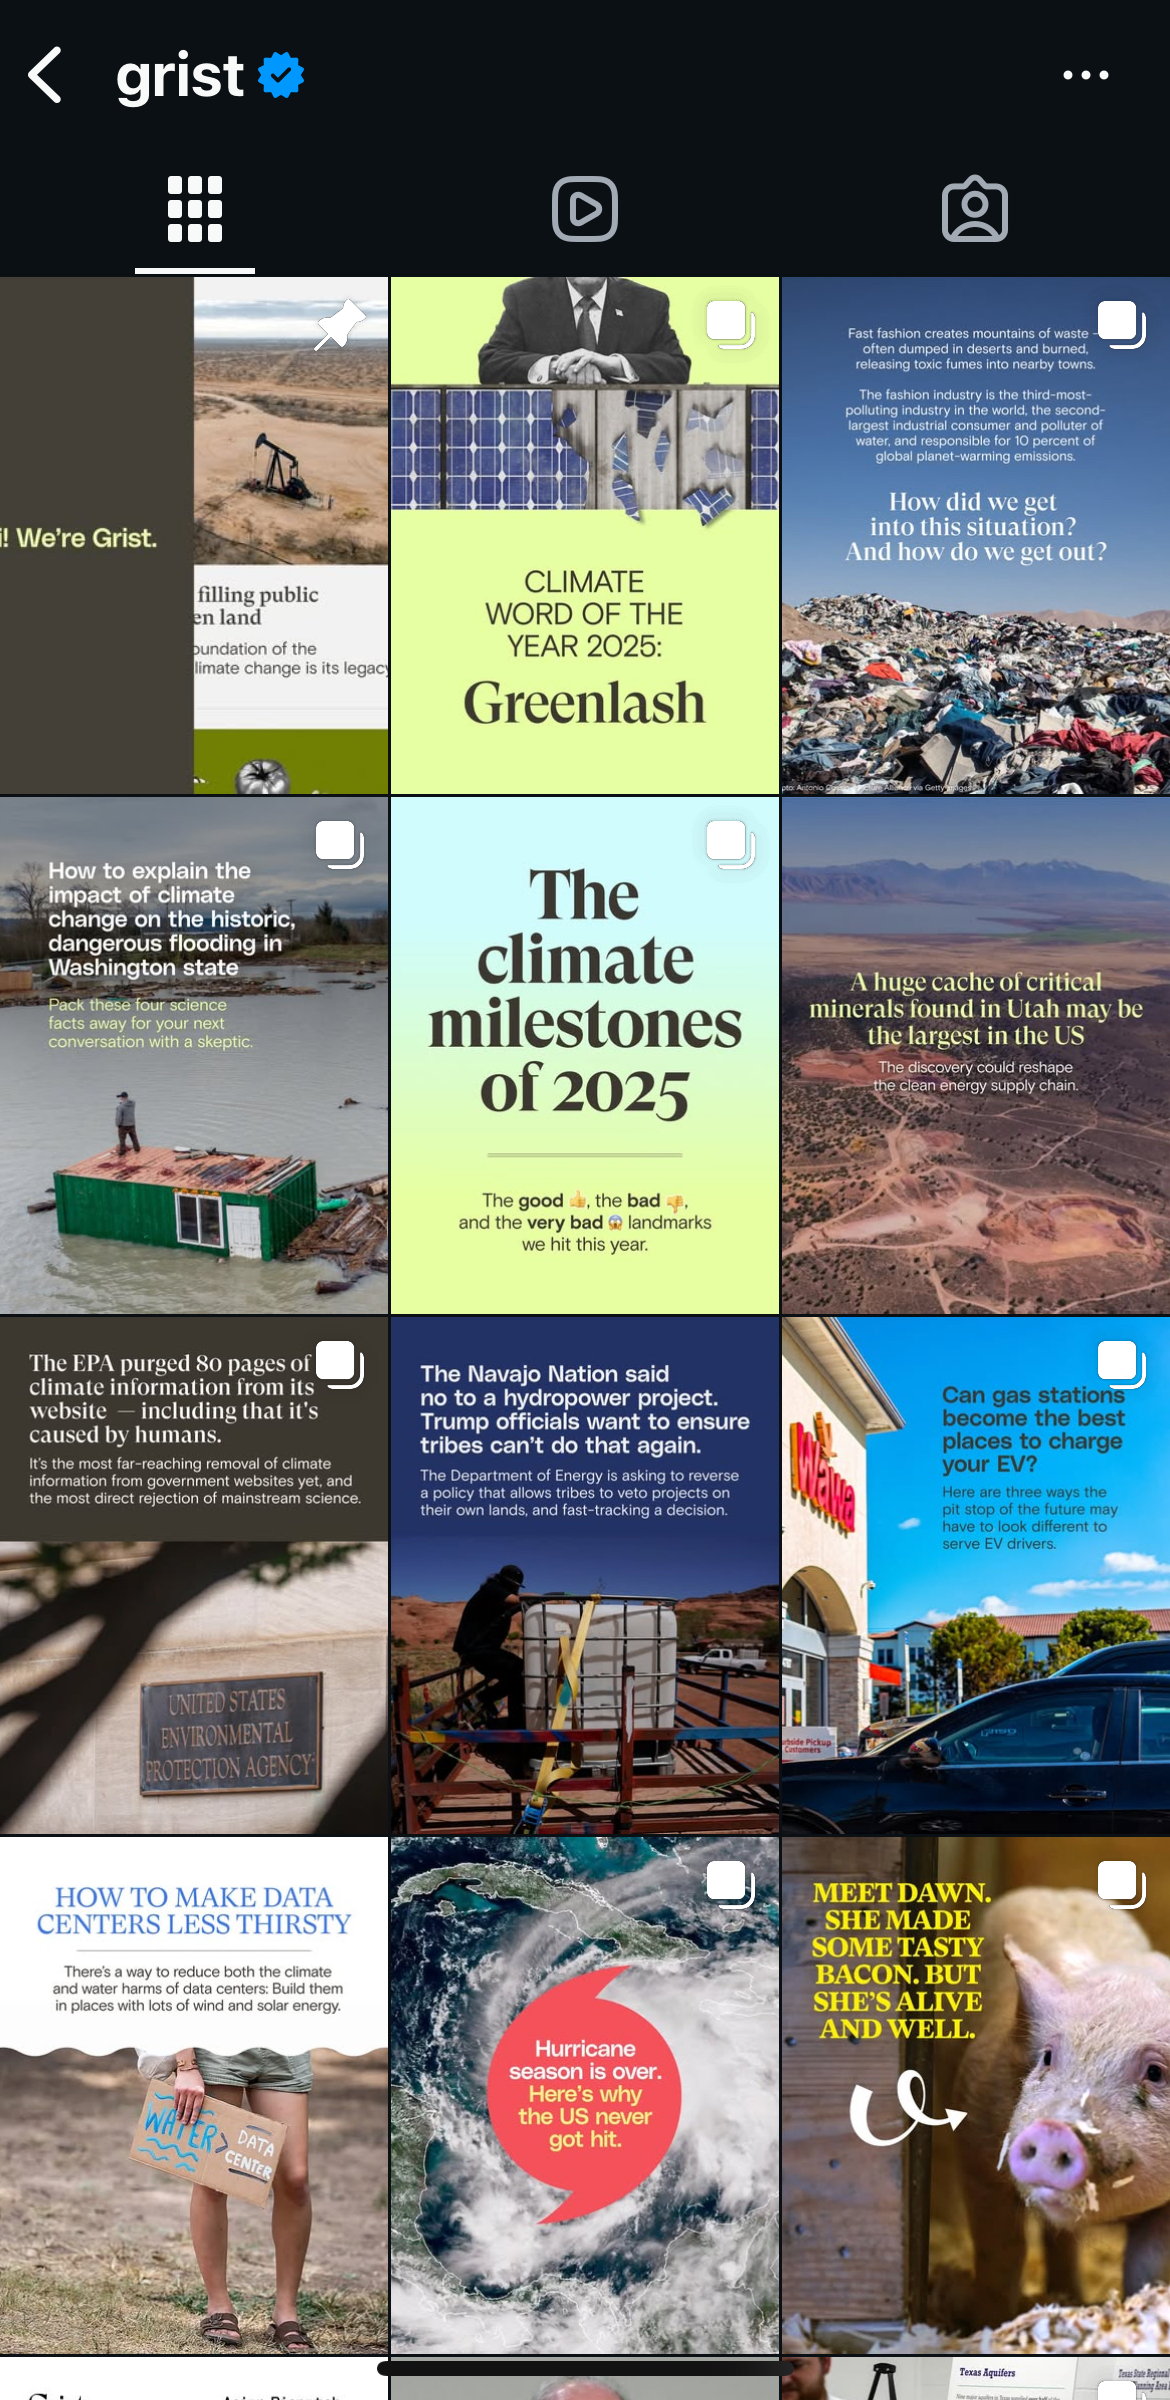
Post Covers are static images visible on your profile grid. They work for single image posts and carousel posts—even those that include video. Because they're viewed alongside other posts, visual cohesion matters more than the individual image and content type signaling is a factor.
Post covers can change with Instagram updates, but in 2026, they look like this:
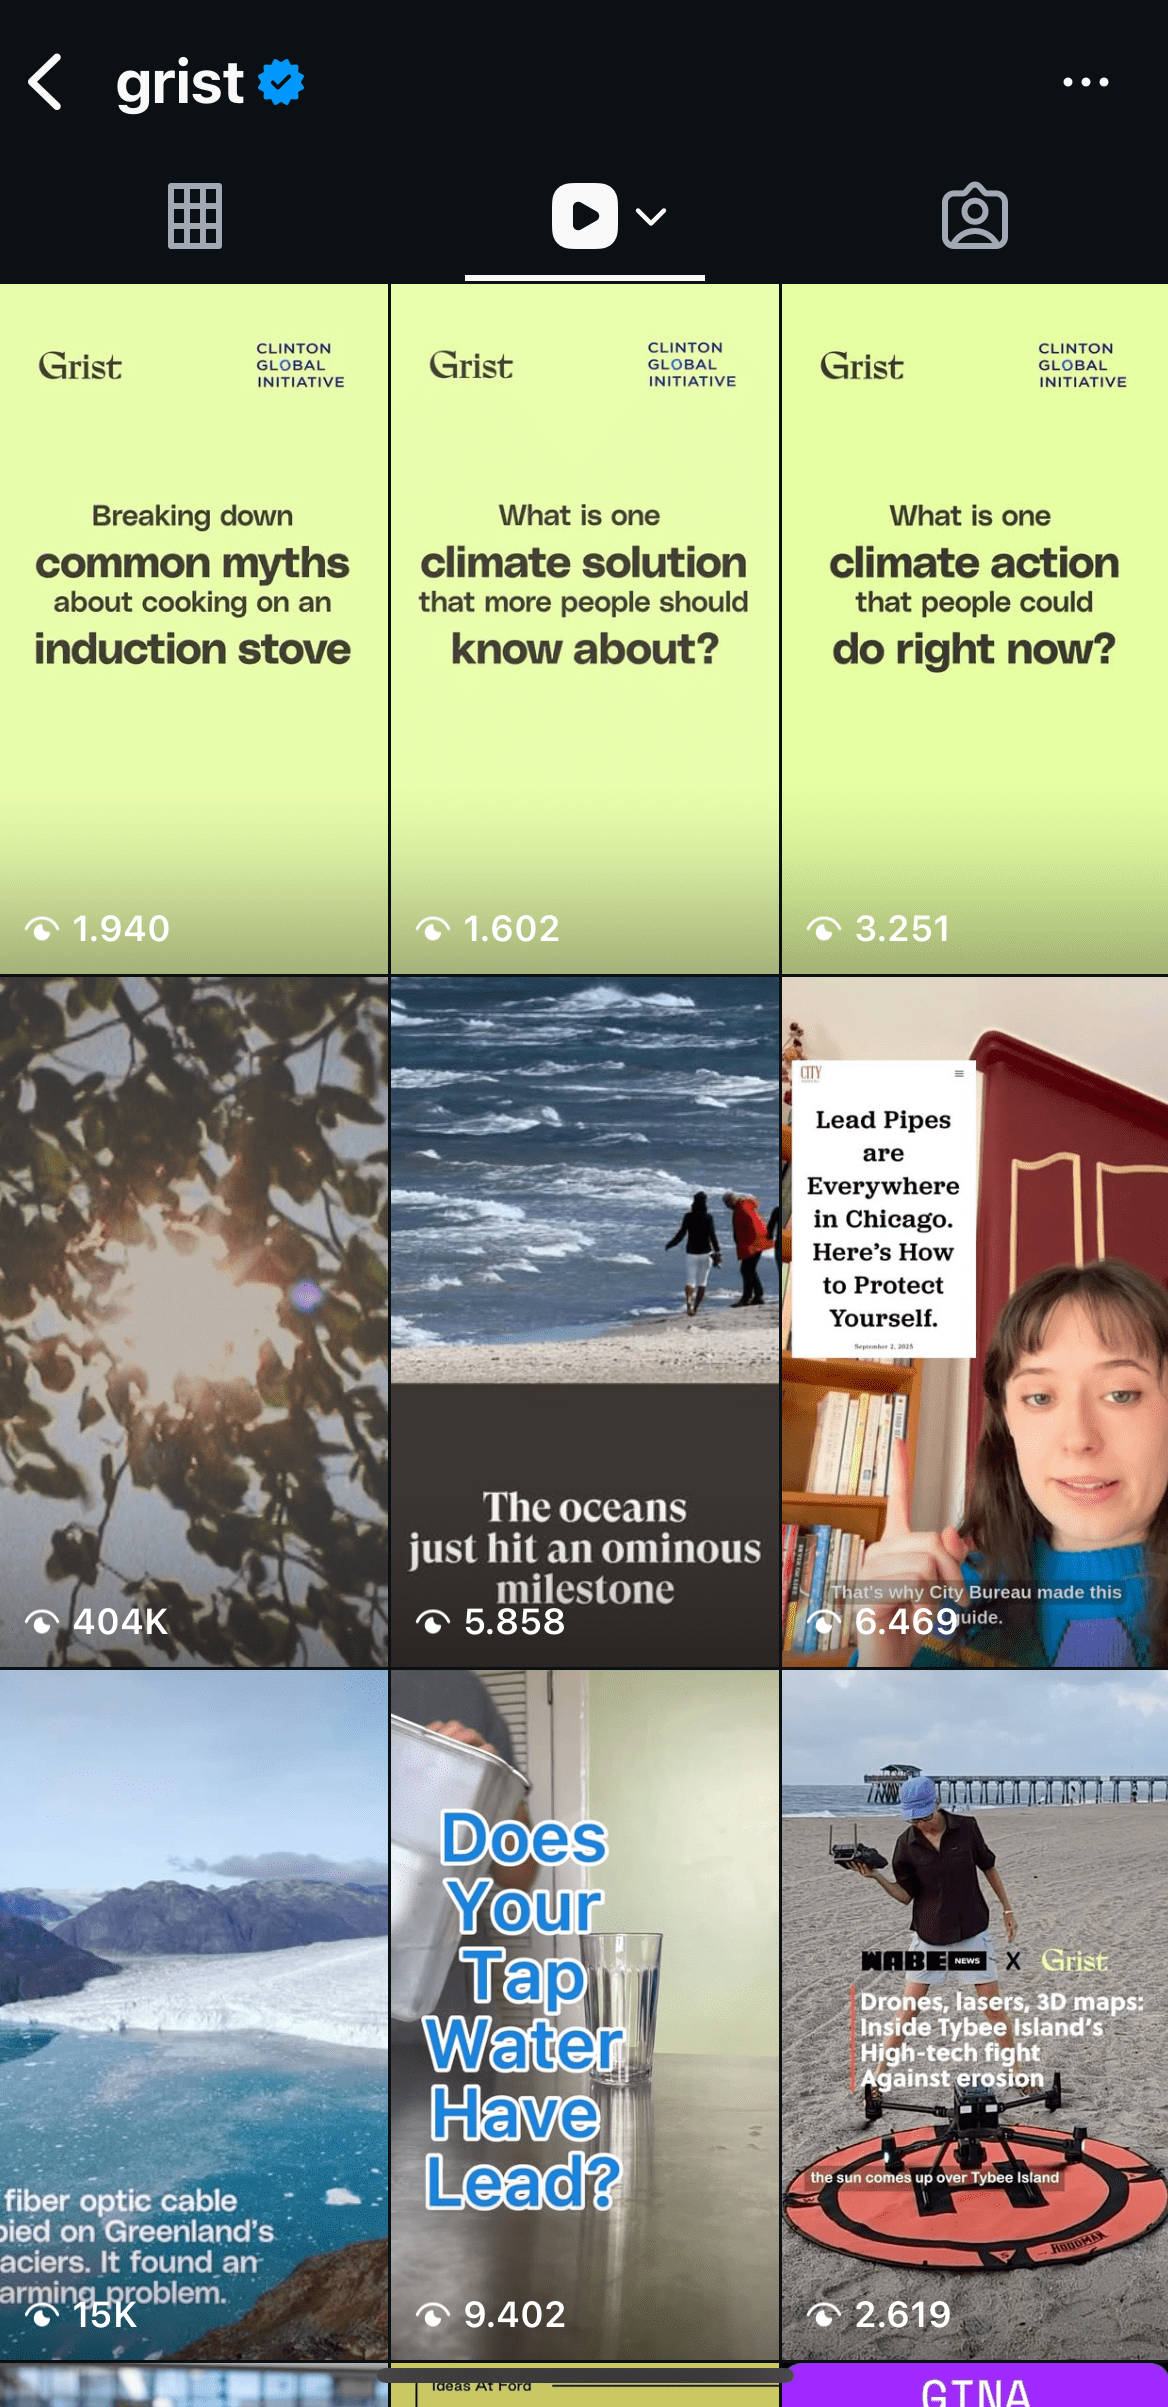
Reel Thumbnails function differently. Also called grid previews, they're the frozen frame viewers see when browsing your Reels grid—distinct from your opening frame, which auto-plays when someone scrolls past your Reel in the feed. Since thumbnails compete with neighboring grid content rather than with video motion, they need to intrigue without giving away the story. The good news: you're not locked into your video's opening frame. You can select any frame from your video, or upload a custom image entirely, giving you full control to match your grid's visual identity.
Reel thumbnails look like this:
The two formats use different aspect ratios: posts are 4:5, while Reels are 9:16. However, since Reels also appear on your main grid alongside other posts, you'll need to keep cropping in mind when designing. This means your most important visual elements should stay centered to survive the crop when your Reel is viewed in main grid view.
How to Design Great Instagram Video Thumbnails
Whether you’re designing the first image in a carousel post or a Reel grid preview, the same principles apply. There are three main areas to pay attention to when designing thumbnails: graphic design principles, grid context, and platform requirements. Let’s explore each one:
#1 - Follow Core Graphic Design Principles
General guidelines on how to draw attention and convey a message using design apply to thumbnails as well. When designing thumbnails, focus on these key principles:
- Contrast : Use color and scale strategically to direct viewers' eyes where you want them to look.
- Composition : Apply the rule of thirds to create visual balance and harmony in your design.
- Legibility : On mobile screens, text must be appropriately sized and your overall design shouldn't feel crowded. Clarity is essential.
- Brand consistency : Consistent colors, moods, and branding elements reinforce your identity and spark recognition.
Other principles like alignment, repetition, movement, and emphasis can strengthen your thumbnails further.
#2 - Consider Thumbnail Context
Your thumbnail exists in two different contexts on Instagram, and understanding the distinction will sharpen your strategy.
Grid vs. Feed
On your profile grid, thumbnails sit side-by-side with other posts and Reels—static, waiting to be tapped. But on the Reels feed, your video auto-plays the moment someone scrolls past it. This means your opening frame and your grid thumbnail serve different jobs. Your opening frame hooks viewers mid-scroll; your thumbnail intrigues them on the grid. They don't have to be the same image, and often, they shouldn't be.
Optimize for Discoverability, Not Narrative
Here's the freedom: you can select any frame from your video to use as a grid preview, or upload a custom image entirely. Don't feel obligated to choose the frame that makes narrative sense or matches your video's opening energy. Instead, pick the frame—or create the cover—that stops the scroll. Think of your thumbnail as separate from your content's pacing. It exists to intrigue, to make someone curious enough to tap. If that means using a moment from the middle of your video, or a completely custom graphic, that's the right move.
The Cover Doesn't Have to Match
Your thumbnail doesn't need visual consistency with your Reel's actual energy or aesthetic. It just has to work. It's permission to be bold, to contrast with your grid, or to highlight the most compelling moment—even if it's not what viewers see first when they press play. Use this control strategically.
#3 - Adhere to Technical Considerations
Instagram has specific technical requirements for Reels, and understanding them prevents frustration during the upload process. Think of these specs as guardrails—they ensure your design displays as intended across devices and viewing contexts.
| Ideal Size | Aspect Ratio (AR) | |
|---|---|---|
| Instagram Post | 1080 x 1350 px | 4:5 |
| Instagram Reels | 1080 x 1920 px | 9:16 |
The dimension difference reflects how these formats live on the platform. Posts are more compact, while Reels stretch taller—they're designed for immersive, full-screen viewing. However, here's what you need to take note of: when a Reel appears on your profile grid alongside other posts, Instagram crops it to 4:5.
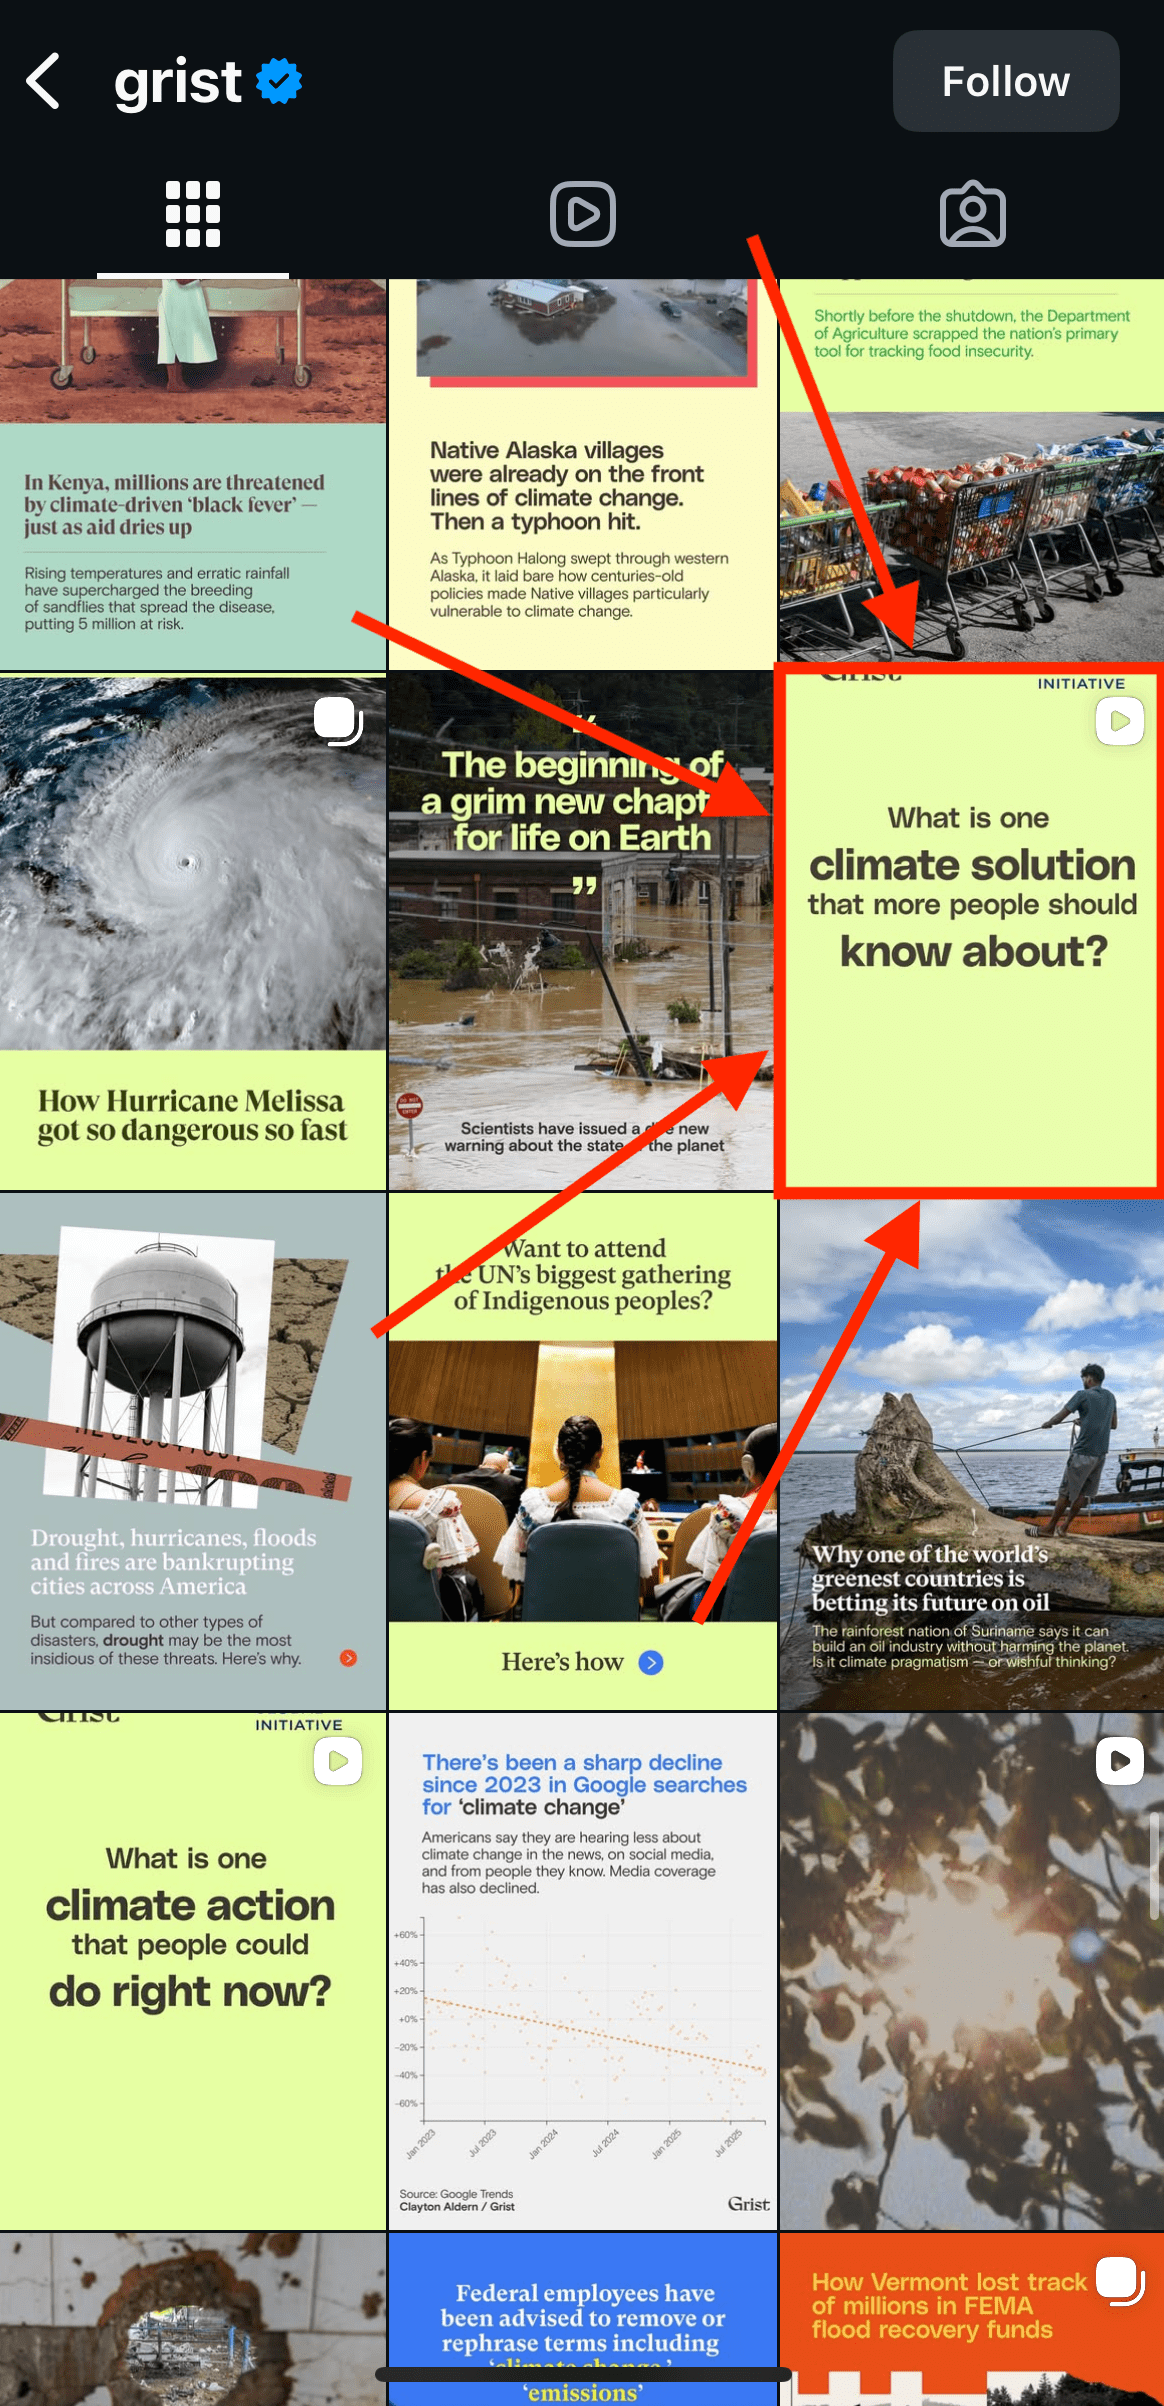
This means your most compelling visual elements need to sit in the center of your frame to survive the crop on both viewing contexts.
Safe Zone & Device Compatibility
Not all devices display content identically. Older phones, different screen sizes, and various Instagram app versions can crop or shift your edges unpredictably. To protect your design, keep all important visual elements—text, faces, logos, key graphics—within the center 70% of your frame. This safe zone ensures nothing critical gets cut off.
Many design tools, including Canva and Adobe Premiere, have built-in safe zone overlays. Using them while designing can save you from last-minute surprises.
Recommended Tools
You don't need to build thumbnails from scratch. Leverage these tools to speed up your workflow:
- Bannerbear: Automates thumbnail creation at scale with customizable templates
- Canva: Intuitive templates and design library, perfect for quick iterations
- Adobe Premiere: Enables powerful video editing and extracts frames from your video footage
- CapCut: Adds text overlays and basic graphics directly to video frames
Selecting the right tools to make up your video production arsenal can completely transform your process, making it easy for you to create at scale.
Conclusion
Instagram thumbnails can deliver major impact when executed well. Their role is to stop scrolls and spark curiosity. The difference between a thumbnail that blends into the noise and one that commands attention comes down to intention. When you combine solid design principles with platform mechanics and authentic visual personality, you create thumbnails that do more than look good—they convert background scrollers to active listeners.
Bannerbear can help you take your Instagram thumbnails to the next level by turning tried-and-true designs into APIs that create post covers and grid previews at scale. Ready to give it a try? Sign up for a free trial today!
