
How to Auto Generate Videos with Bannerbear and Zapier
Contents
The Bannerbear Video API now features integration with Zapier, enabling auto-generation of short video clips using data from over 2000+ apps supported by Zapier. In this tutorial you can learn how to use this powerful integration.
So lets begin with… why would you need to auto-generate videos using Bannerbear? There are actually many use cases but until now, you might be doing this all manually within your team or company. Now, with Bannerbear and Zapier, you can automate it!
Some example use cases:
- Adding a watermark to videos
- Adding dynamic data to videos e.g. a title or a date
- Adding auto-generated subtitles to videos
- Taking video sources from one place and combining it with data from another to generate original content
All of this can now be fully automated using Zapier + Bannerbear. Automation is especially useful if these actions are part of a regular workflow in your team or company. If you find yourself having to work with video content on a regular basis, you can now either partly or fully automate it to make your work more efficient, and increase your output.
Example Video
In this tutorial we will learn how to create a simple Zapier automation that results in videos like this - a widescreen video with a text overlay:
This is the result of a simple Zap that does these things:
- Triggers every day
- Chooses a random video from pexels.com
- Sends the video and day (e.g. "Wednesday") to Bannerbear
- Emails the video link to someone
Lets get started!
Adding the Sample Template
If you haven't already, sign up for a free Bannerbear account.
Add the Video with Text Example template to a new project.
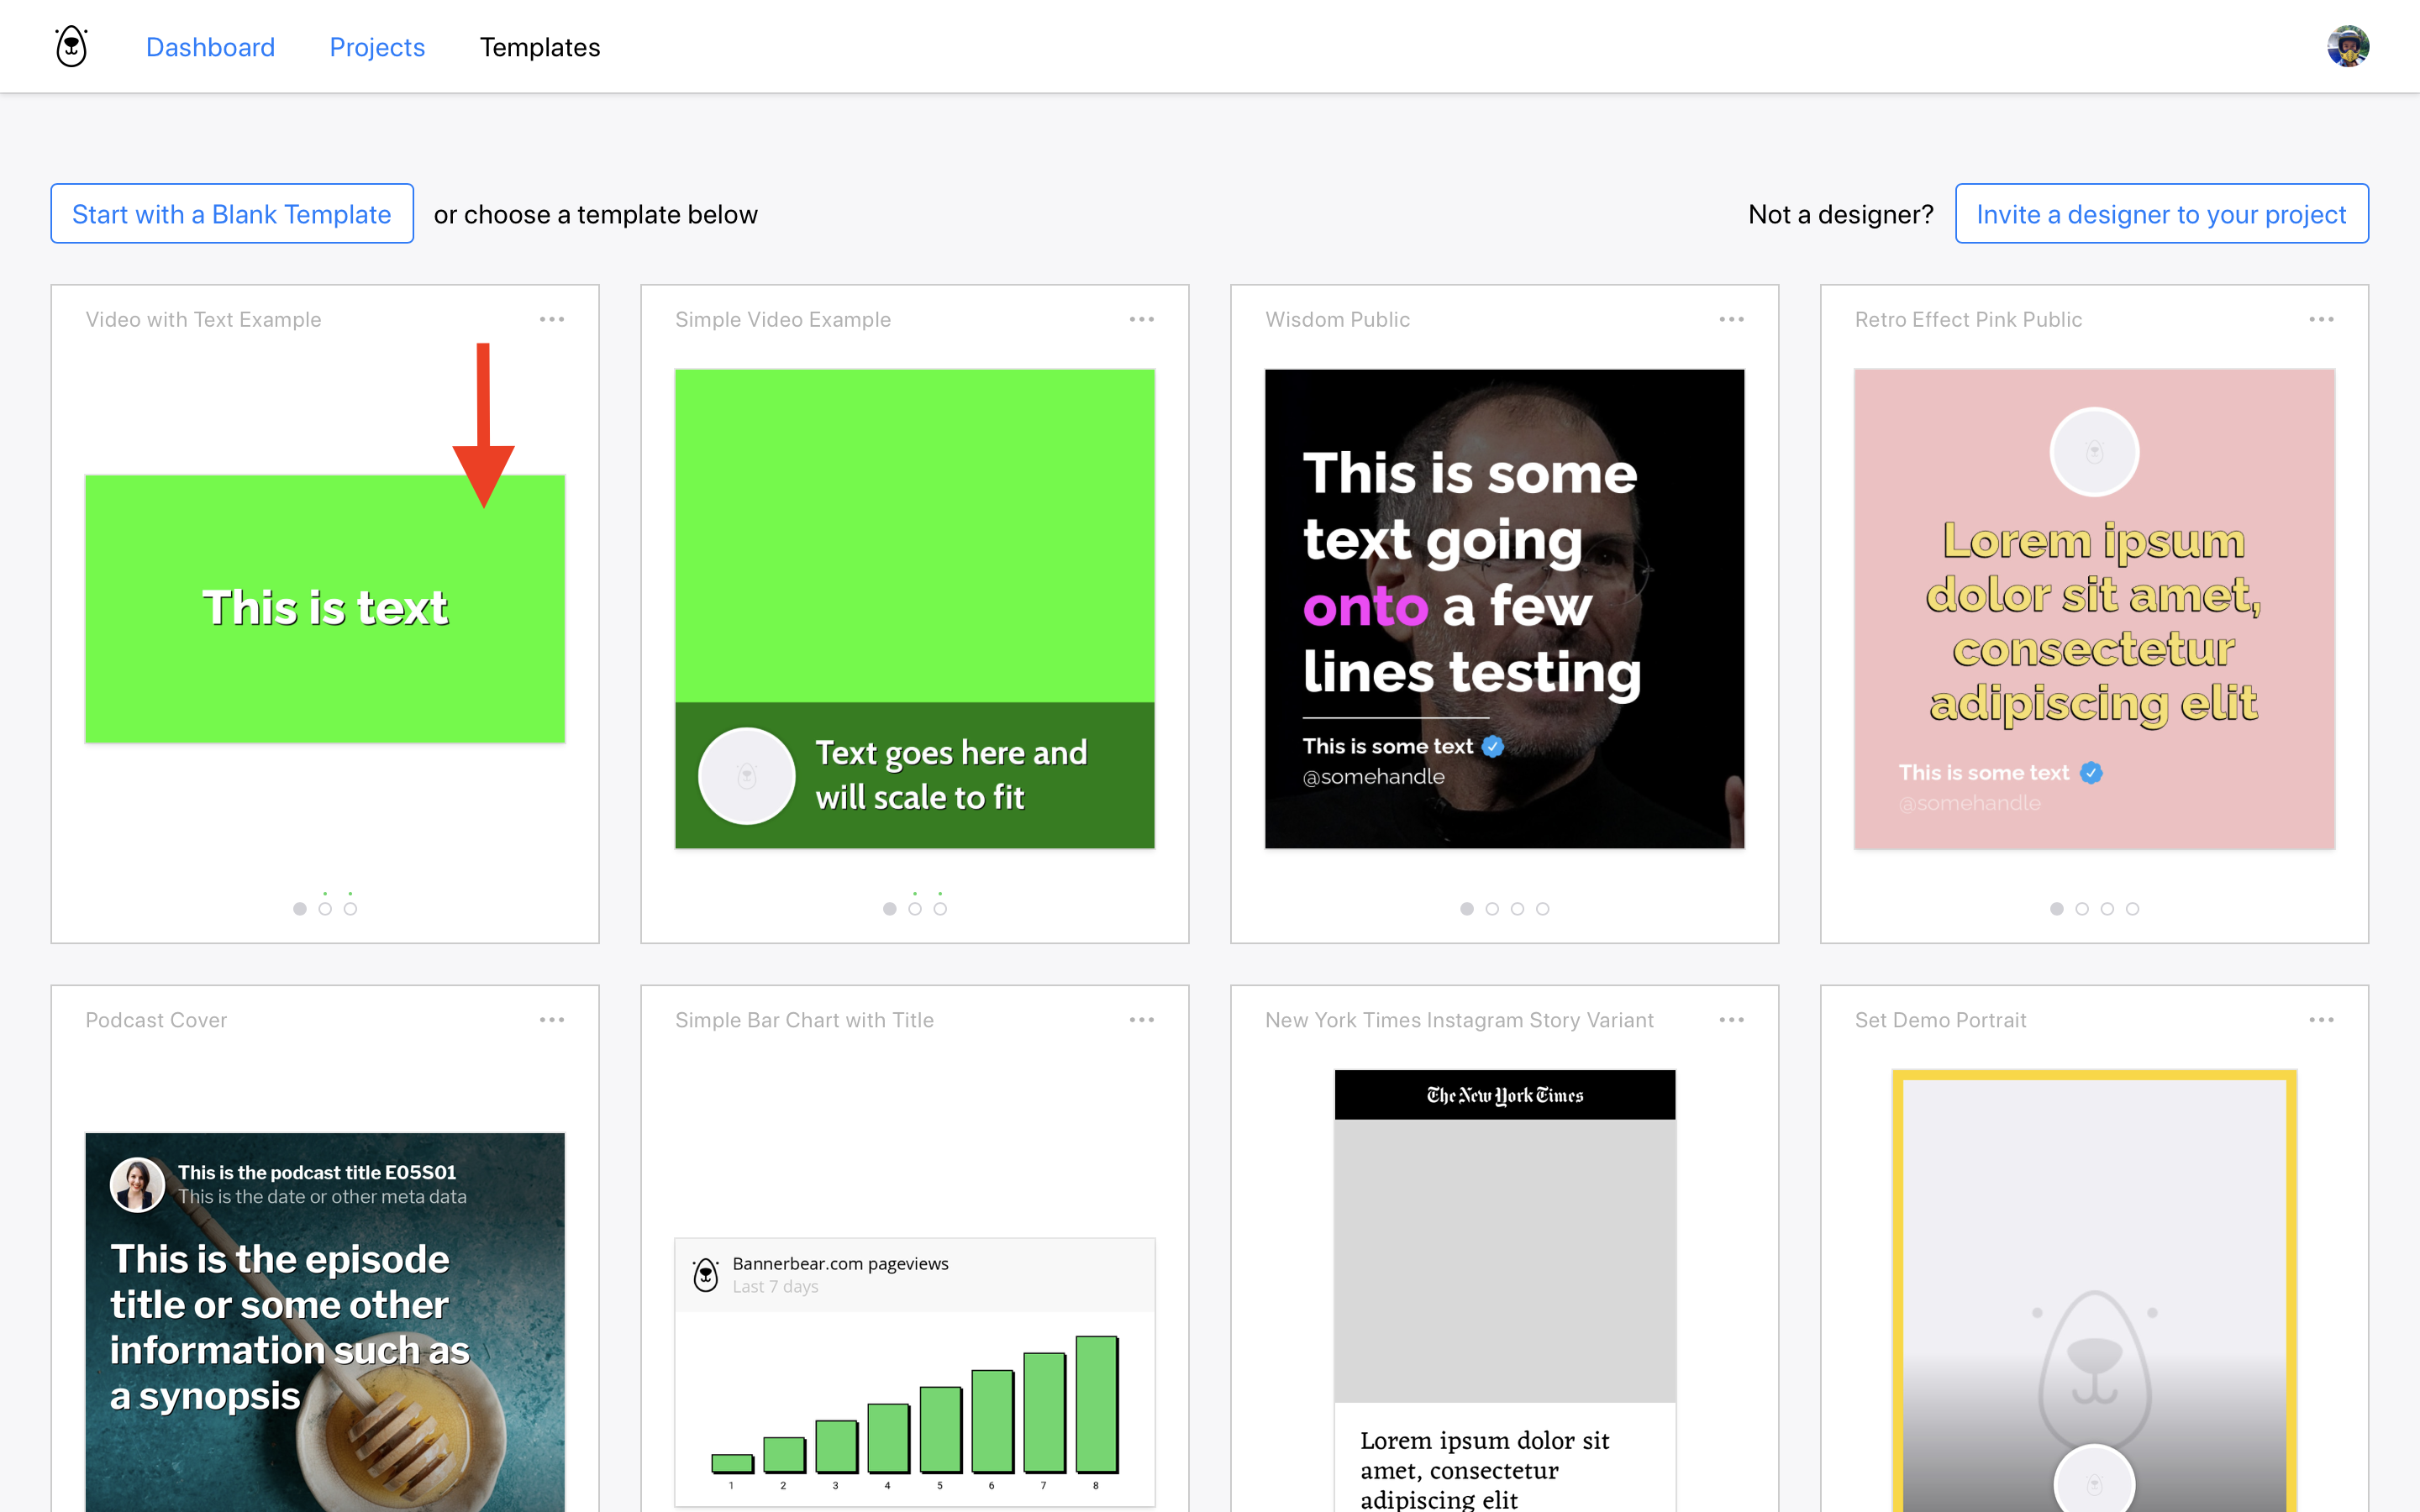
This is a deliberately simple template with only a space for a video background plus one text object. But you can add as many placeholder objects to your templates as you like, for images and text, to overlay on your videos!
(but lets keep it simple for now!)
Convert template to a video template
The template above gets added to your project as a standard Bannerbear template. This means at this point, all it can do is generate images - there is one more step for videos.
This is perhaps the most important takeaway from this tutorial. In order to start generating videos, you have to Create a Video Template based on this new template. It's a simple one-click process.
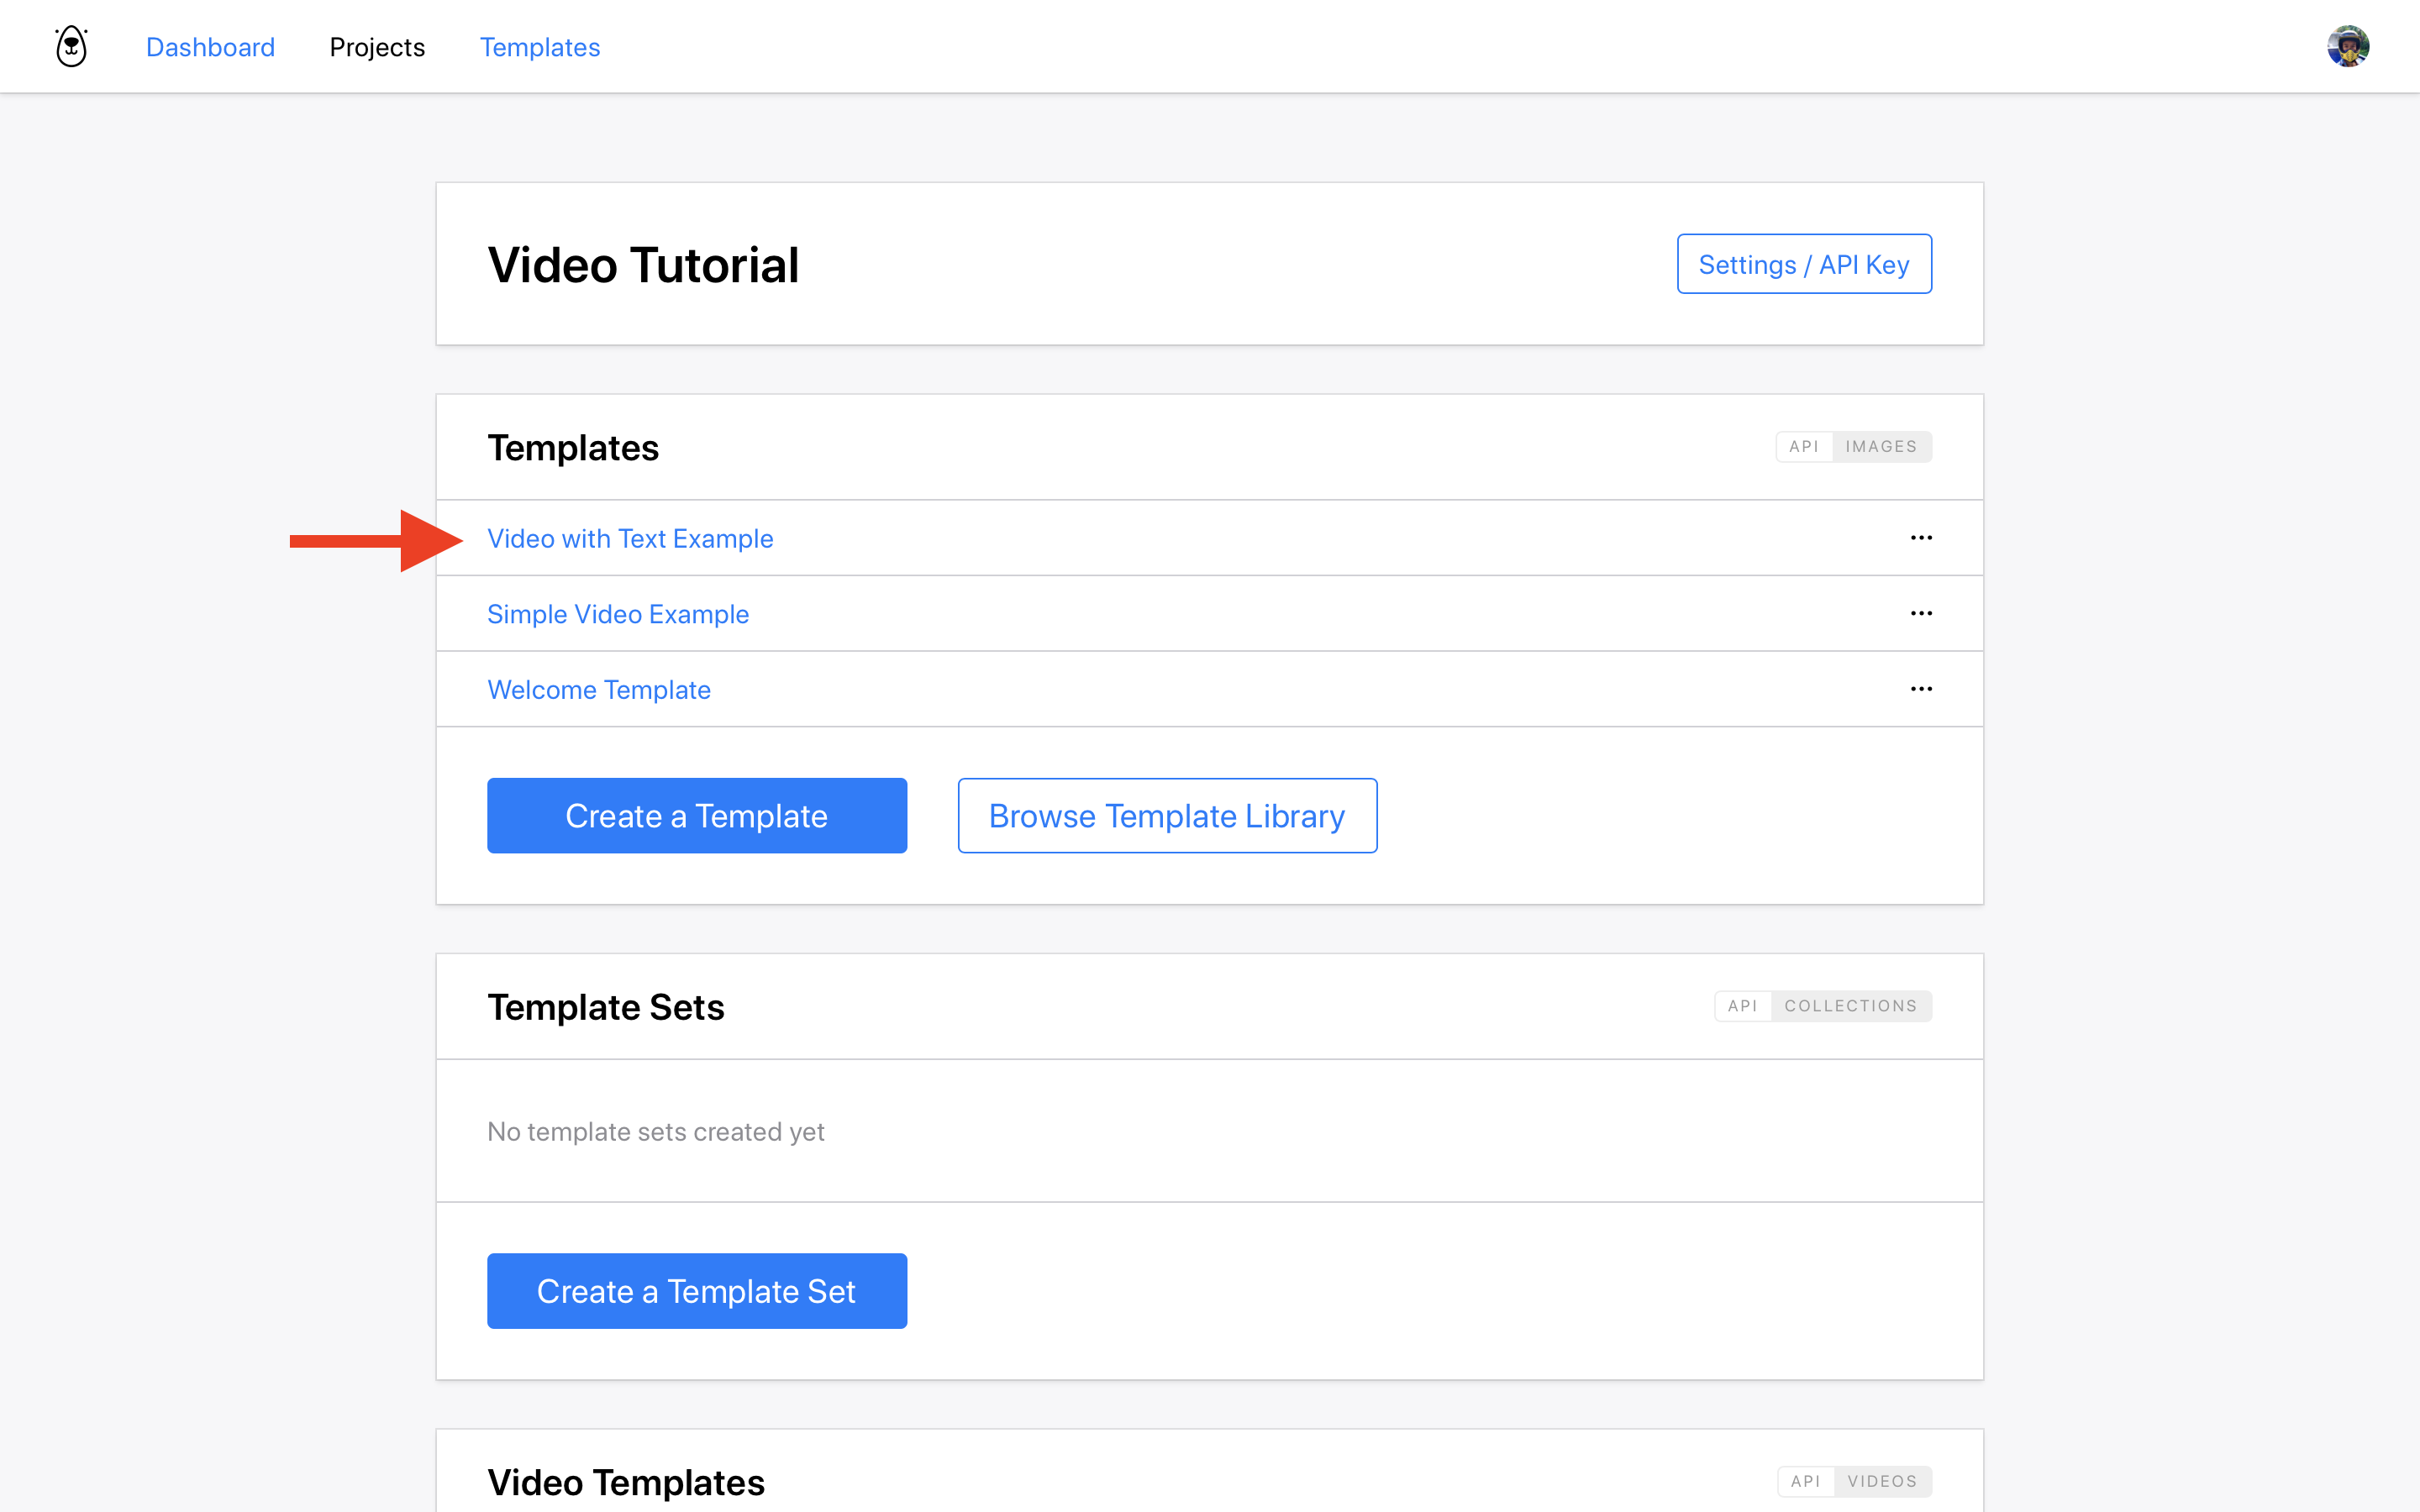
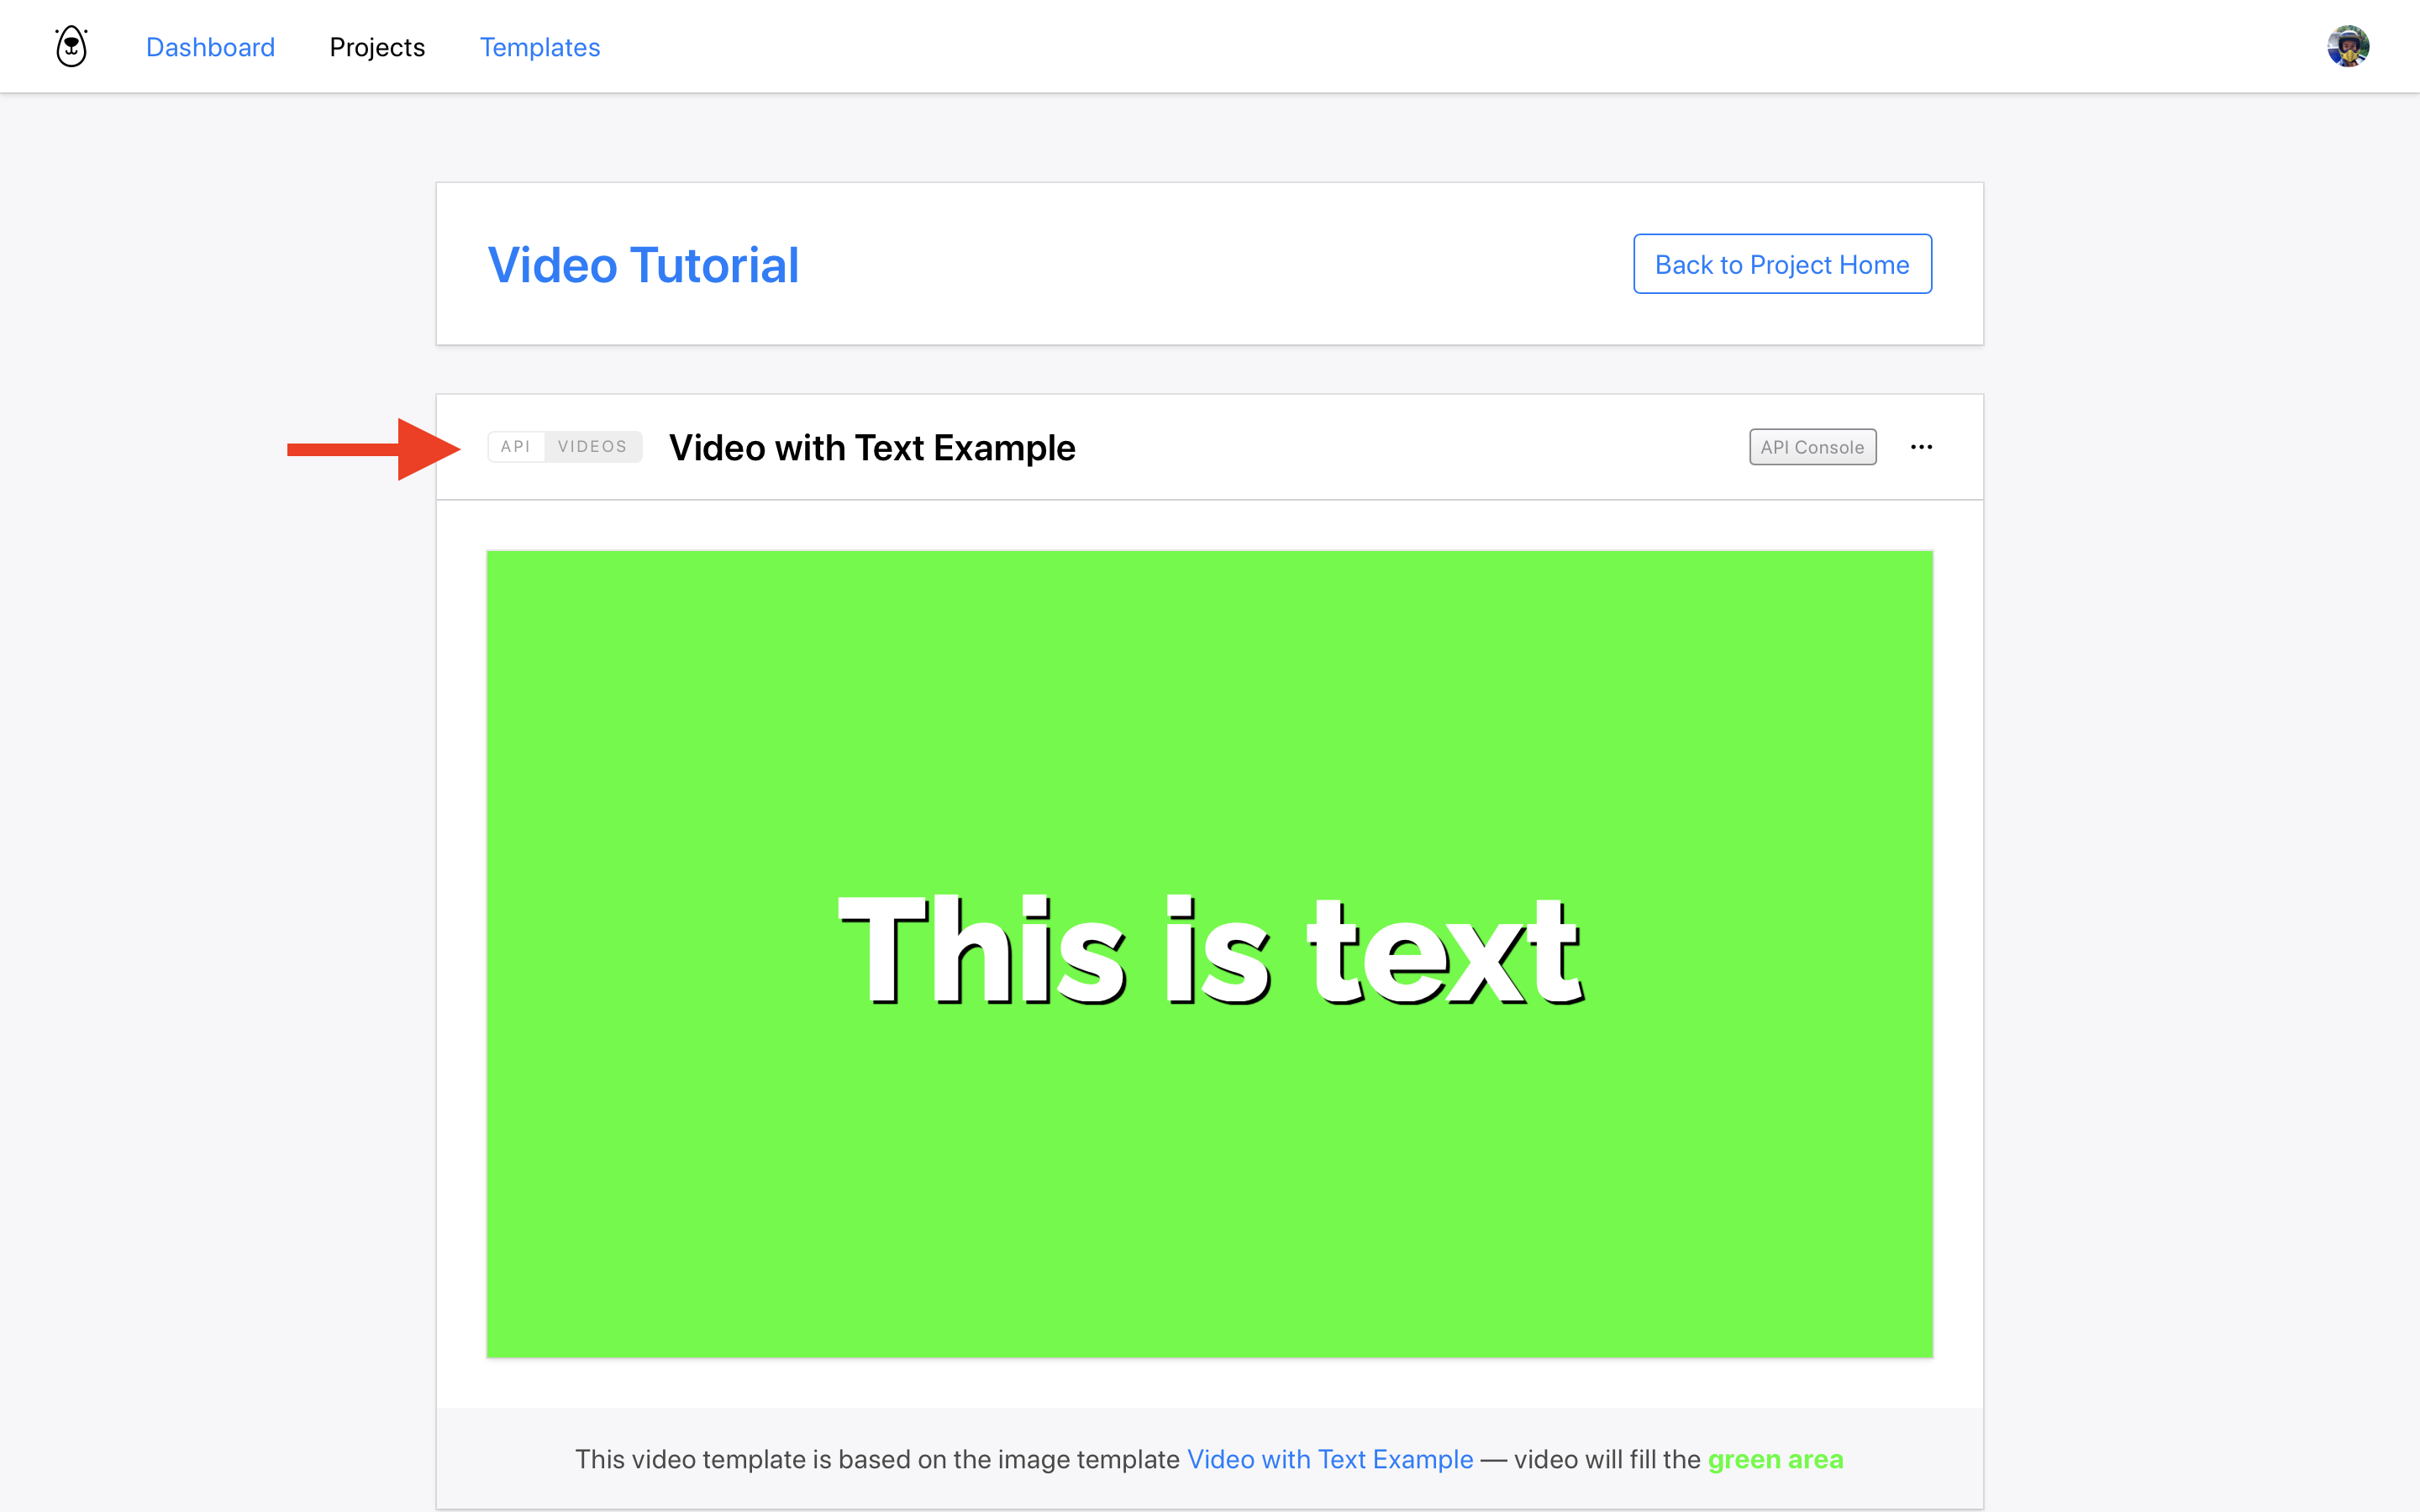
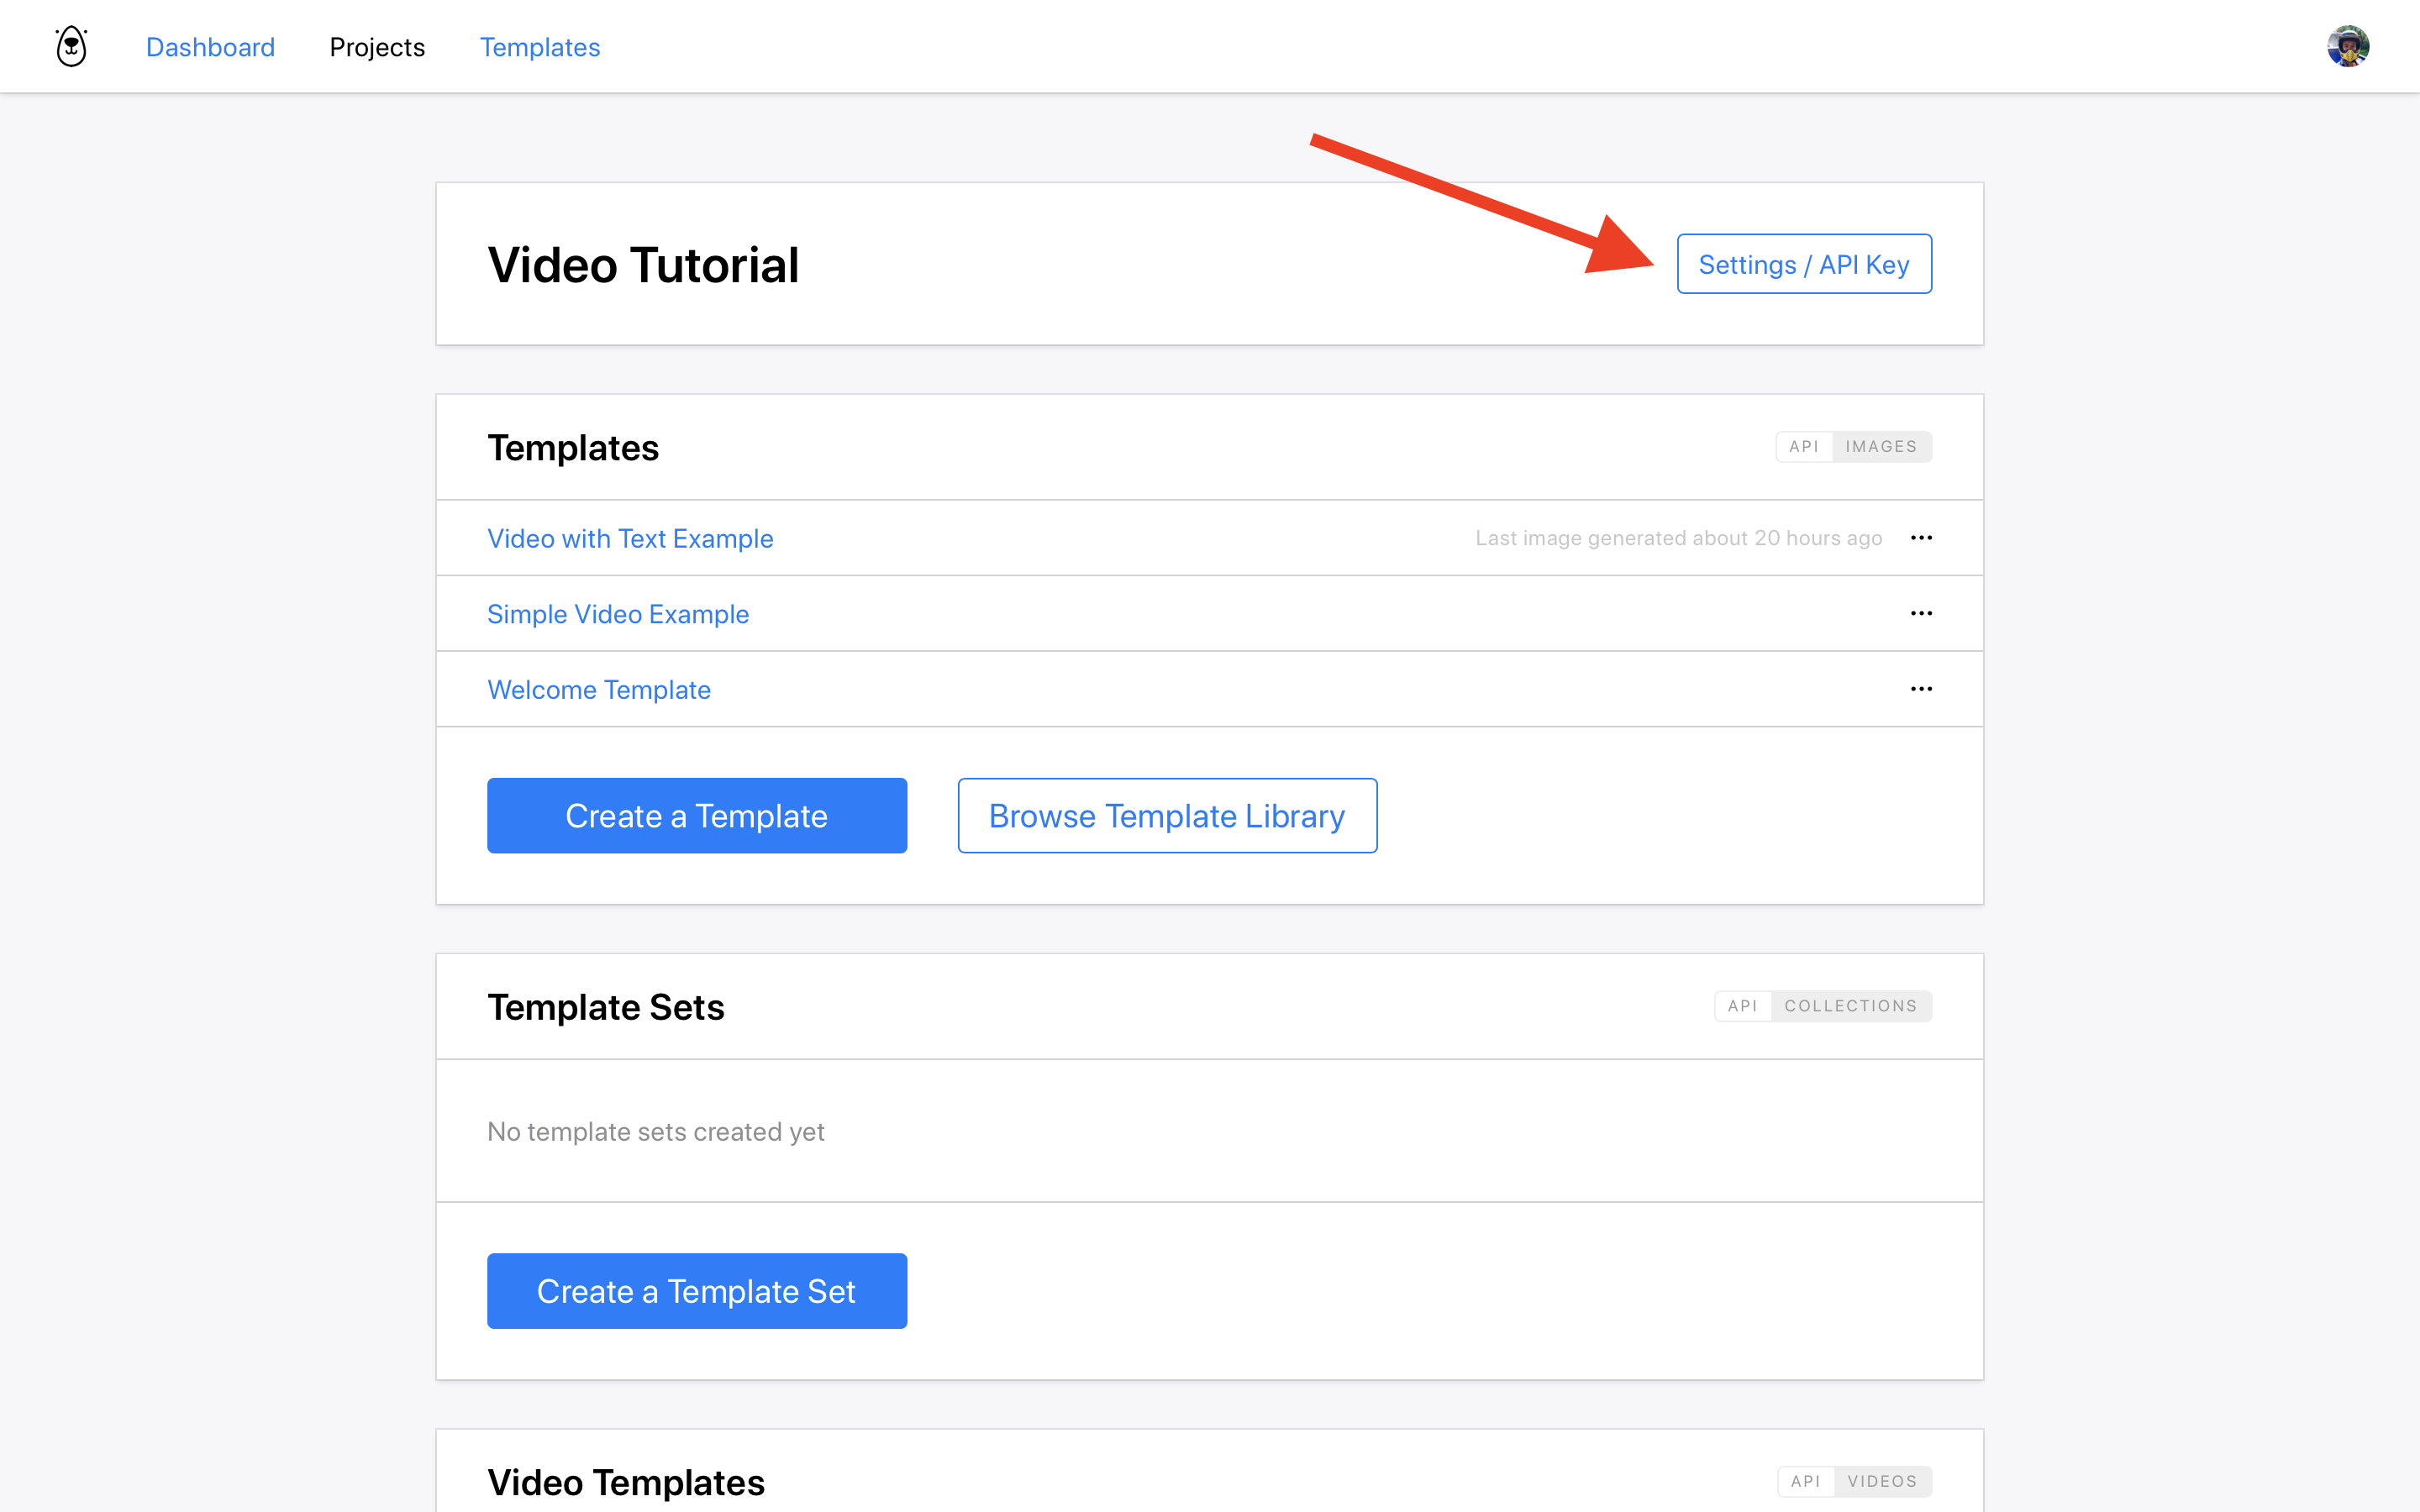
In your project's Home page you will see the Video with Text Example in the Templates section:
Scroll down to the Video Templates section:
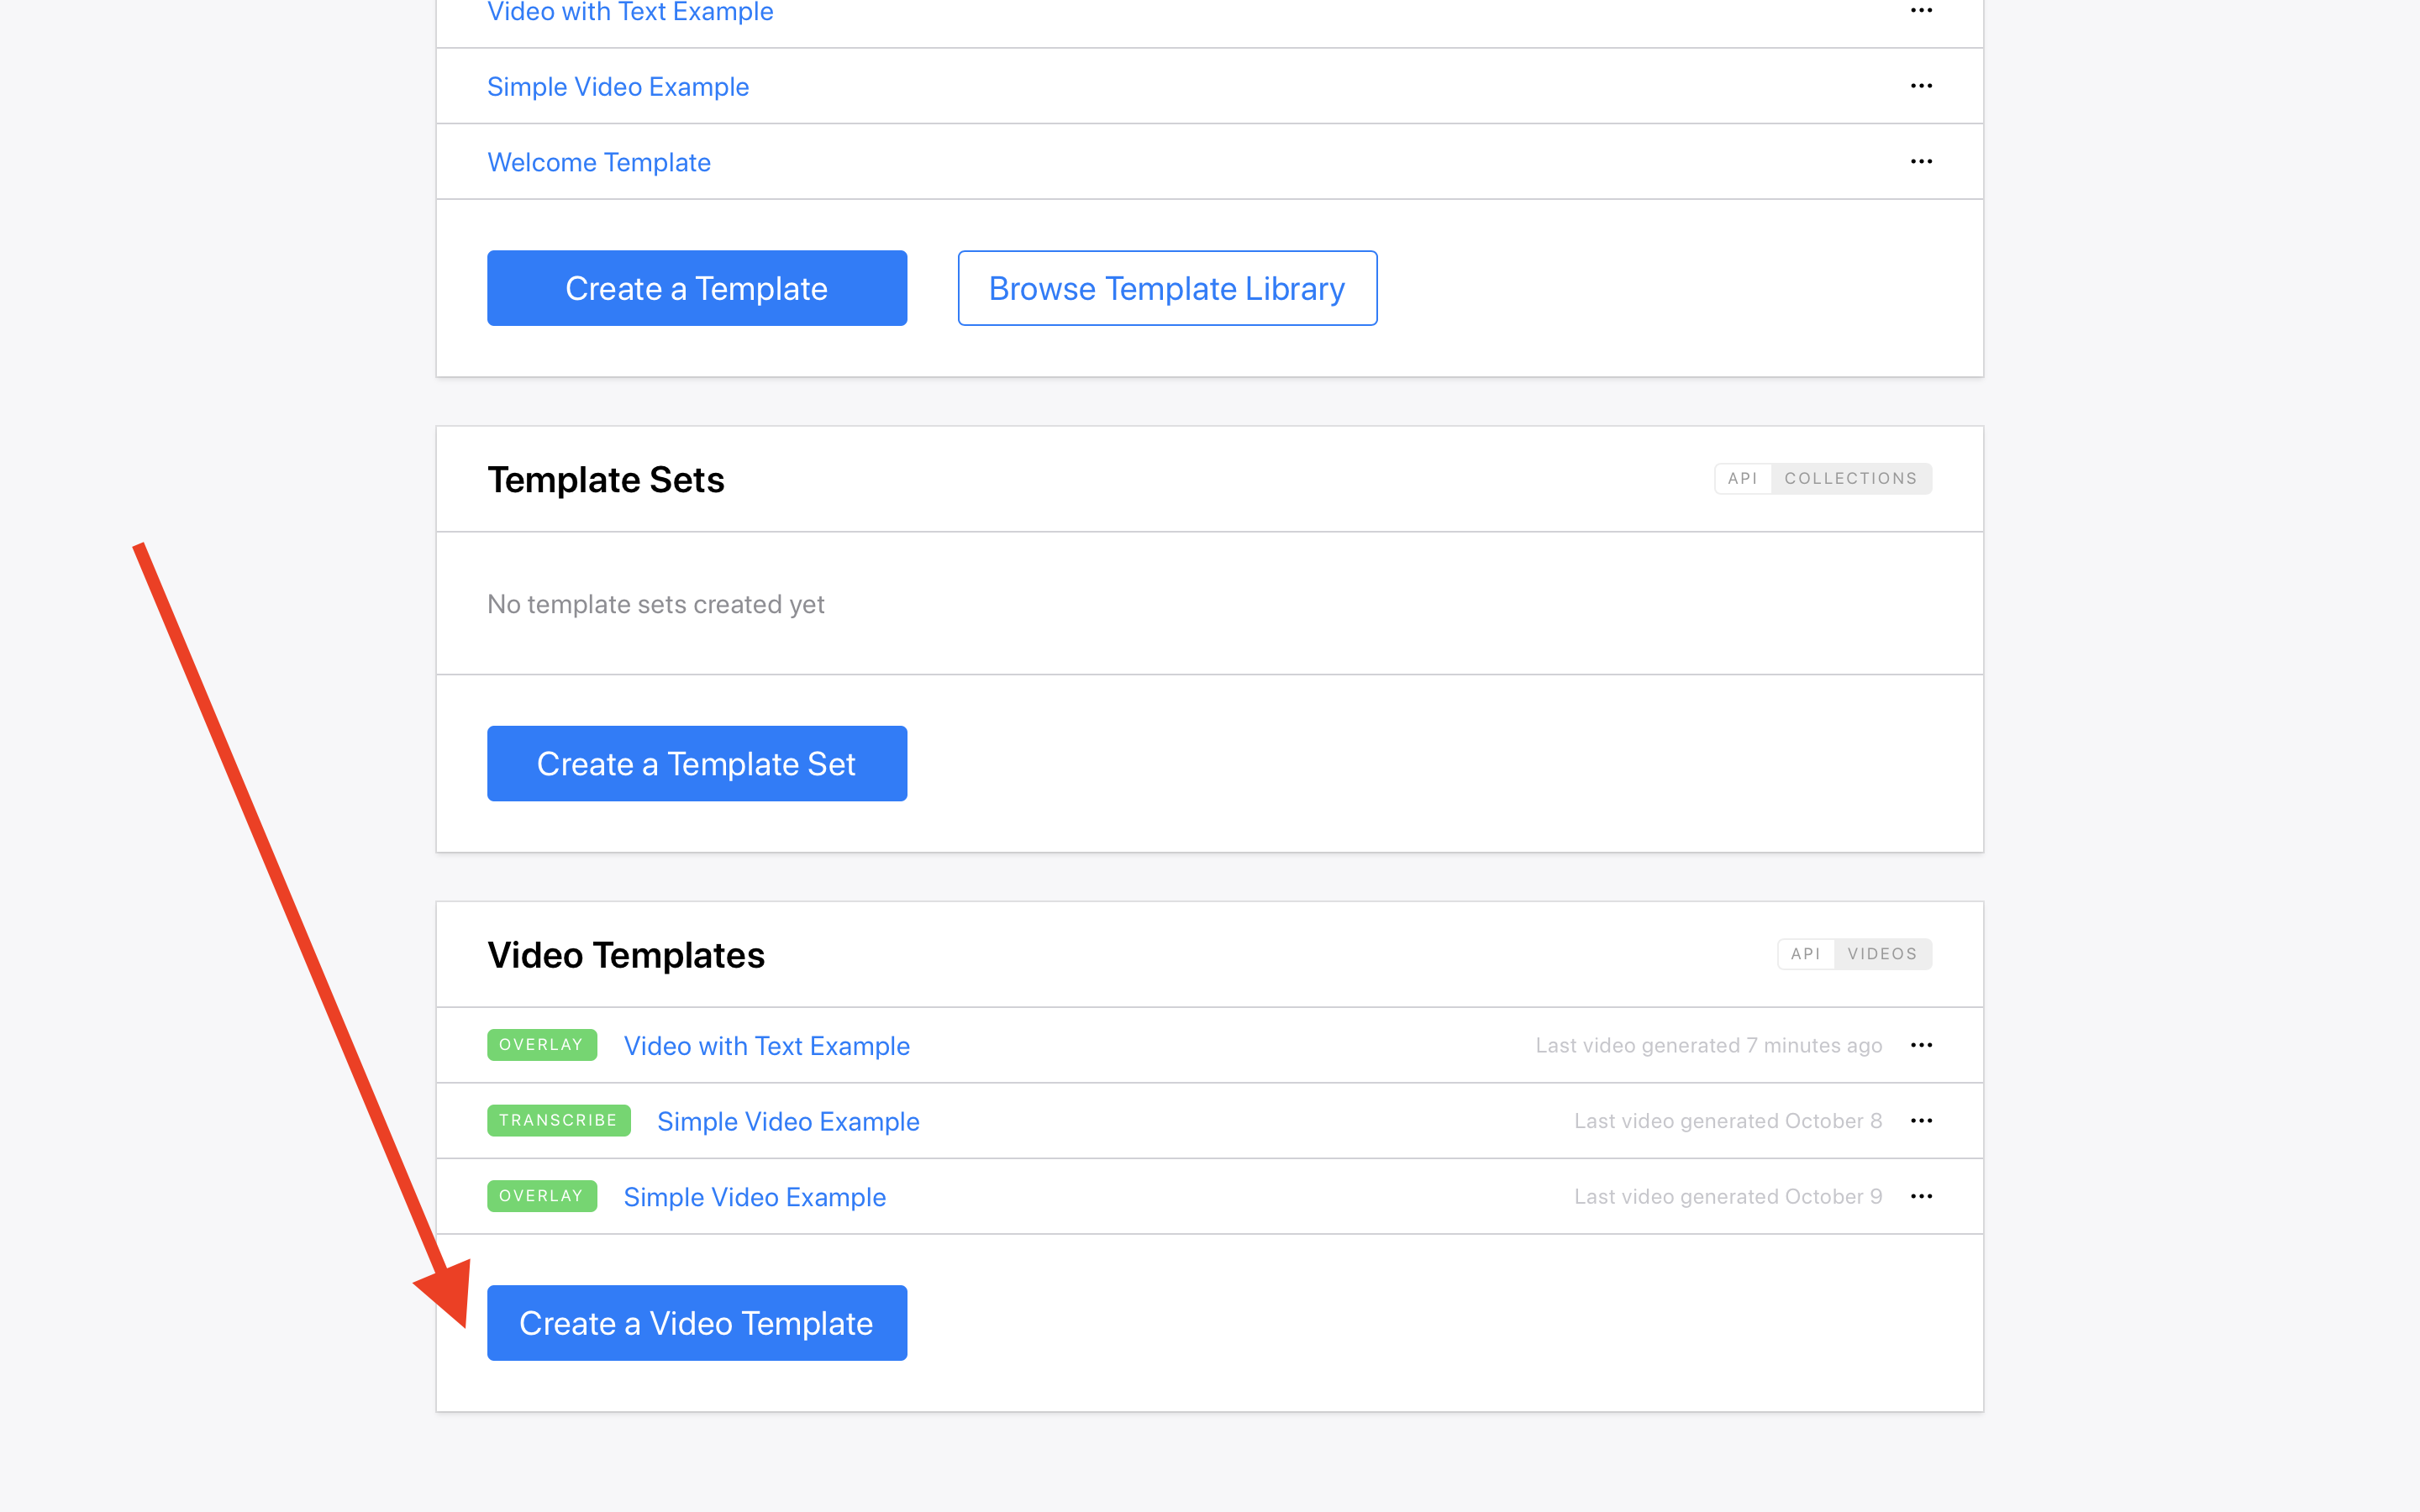
Hit Create a Video Template. Now choose the Video with Text Example template and for the build pack choose Overlay:
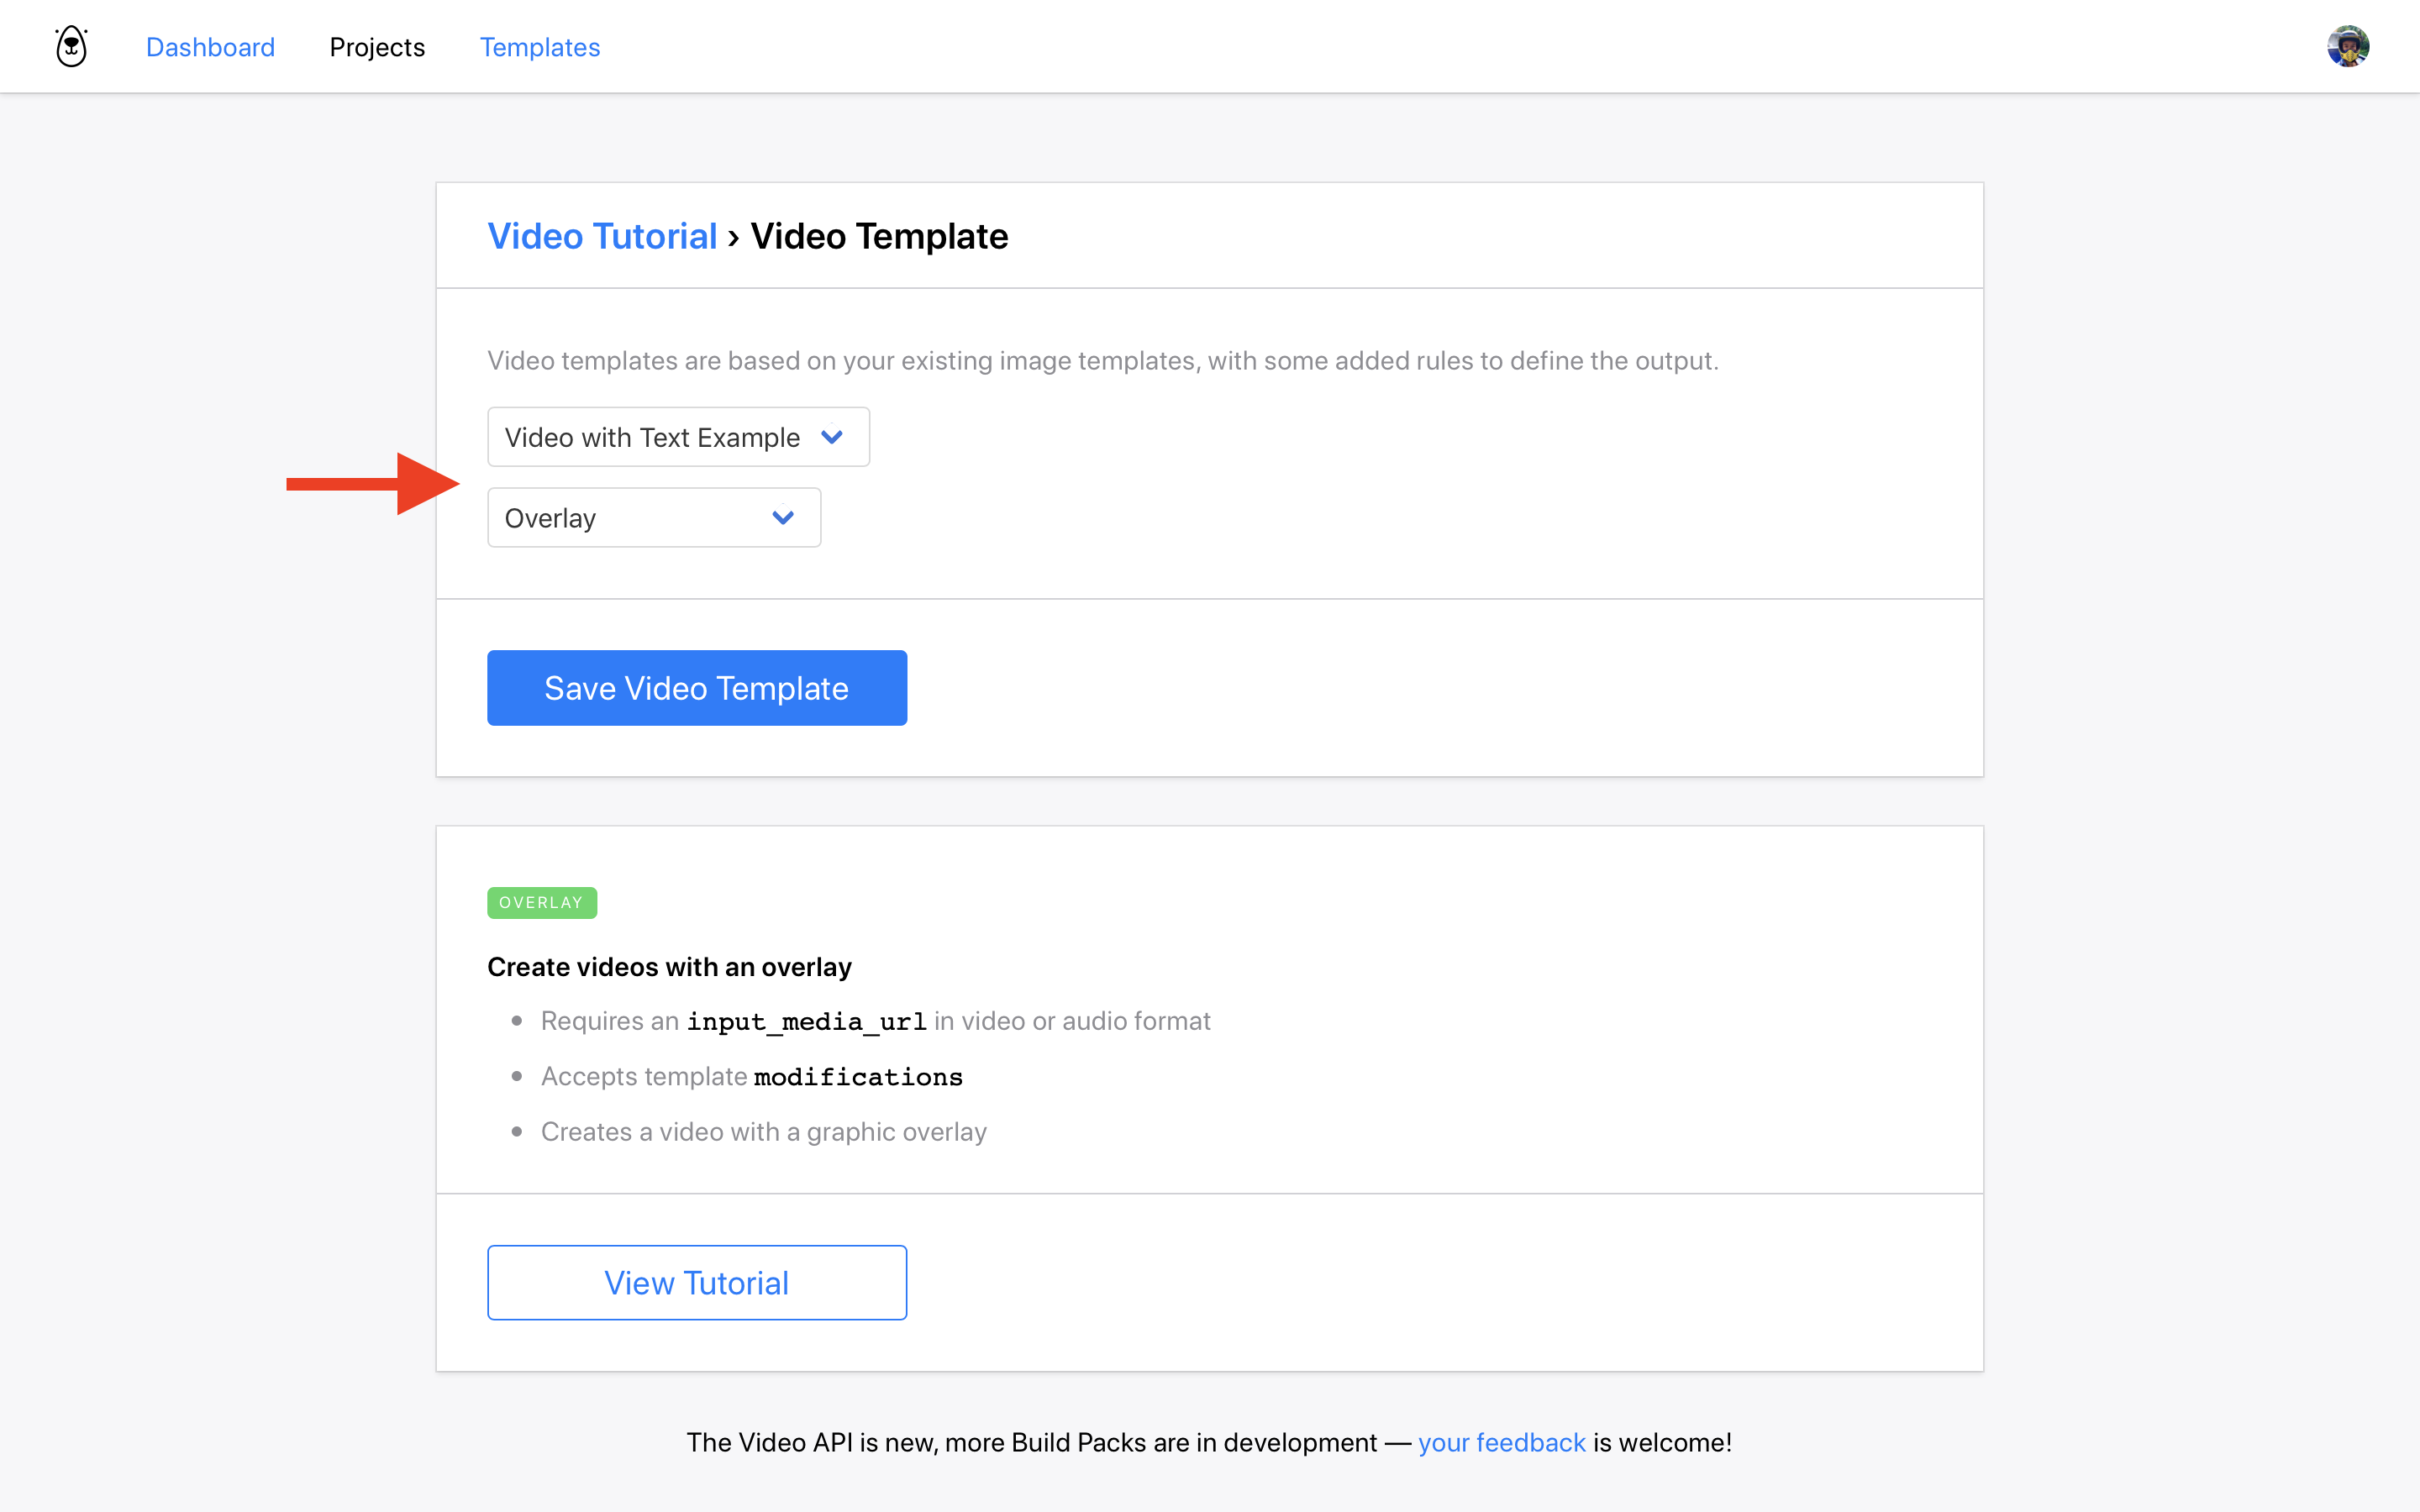
Hit Save and you will now be looking at your new Video Template - you can tell this template is for video (as opposed to images) as it will show "Video API" on the side:
Time to generate some videos!
Generating a test video
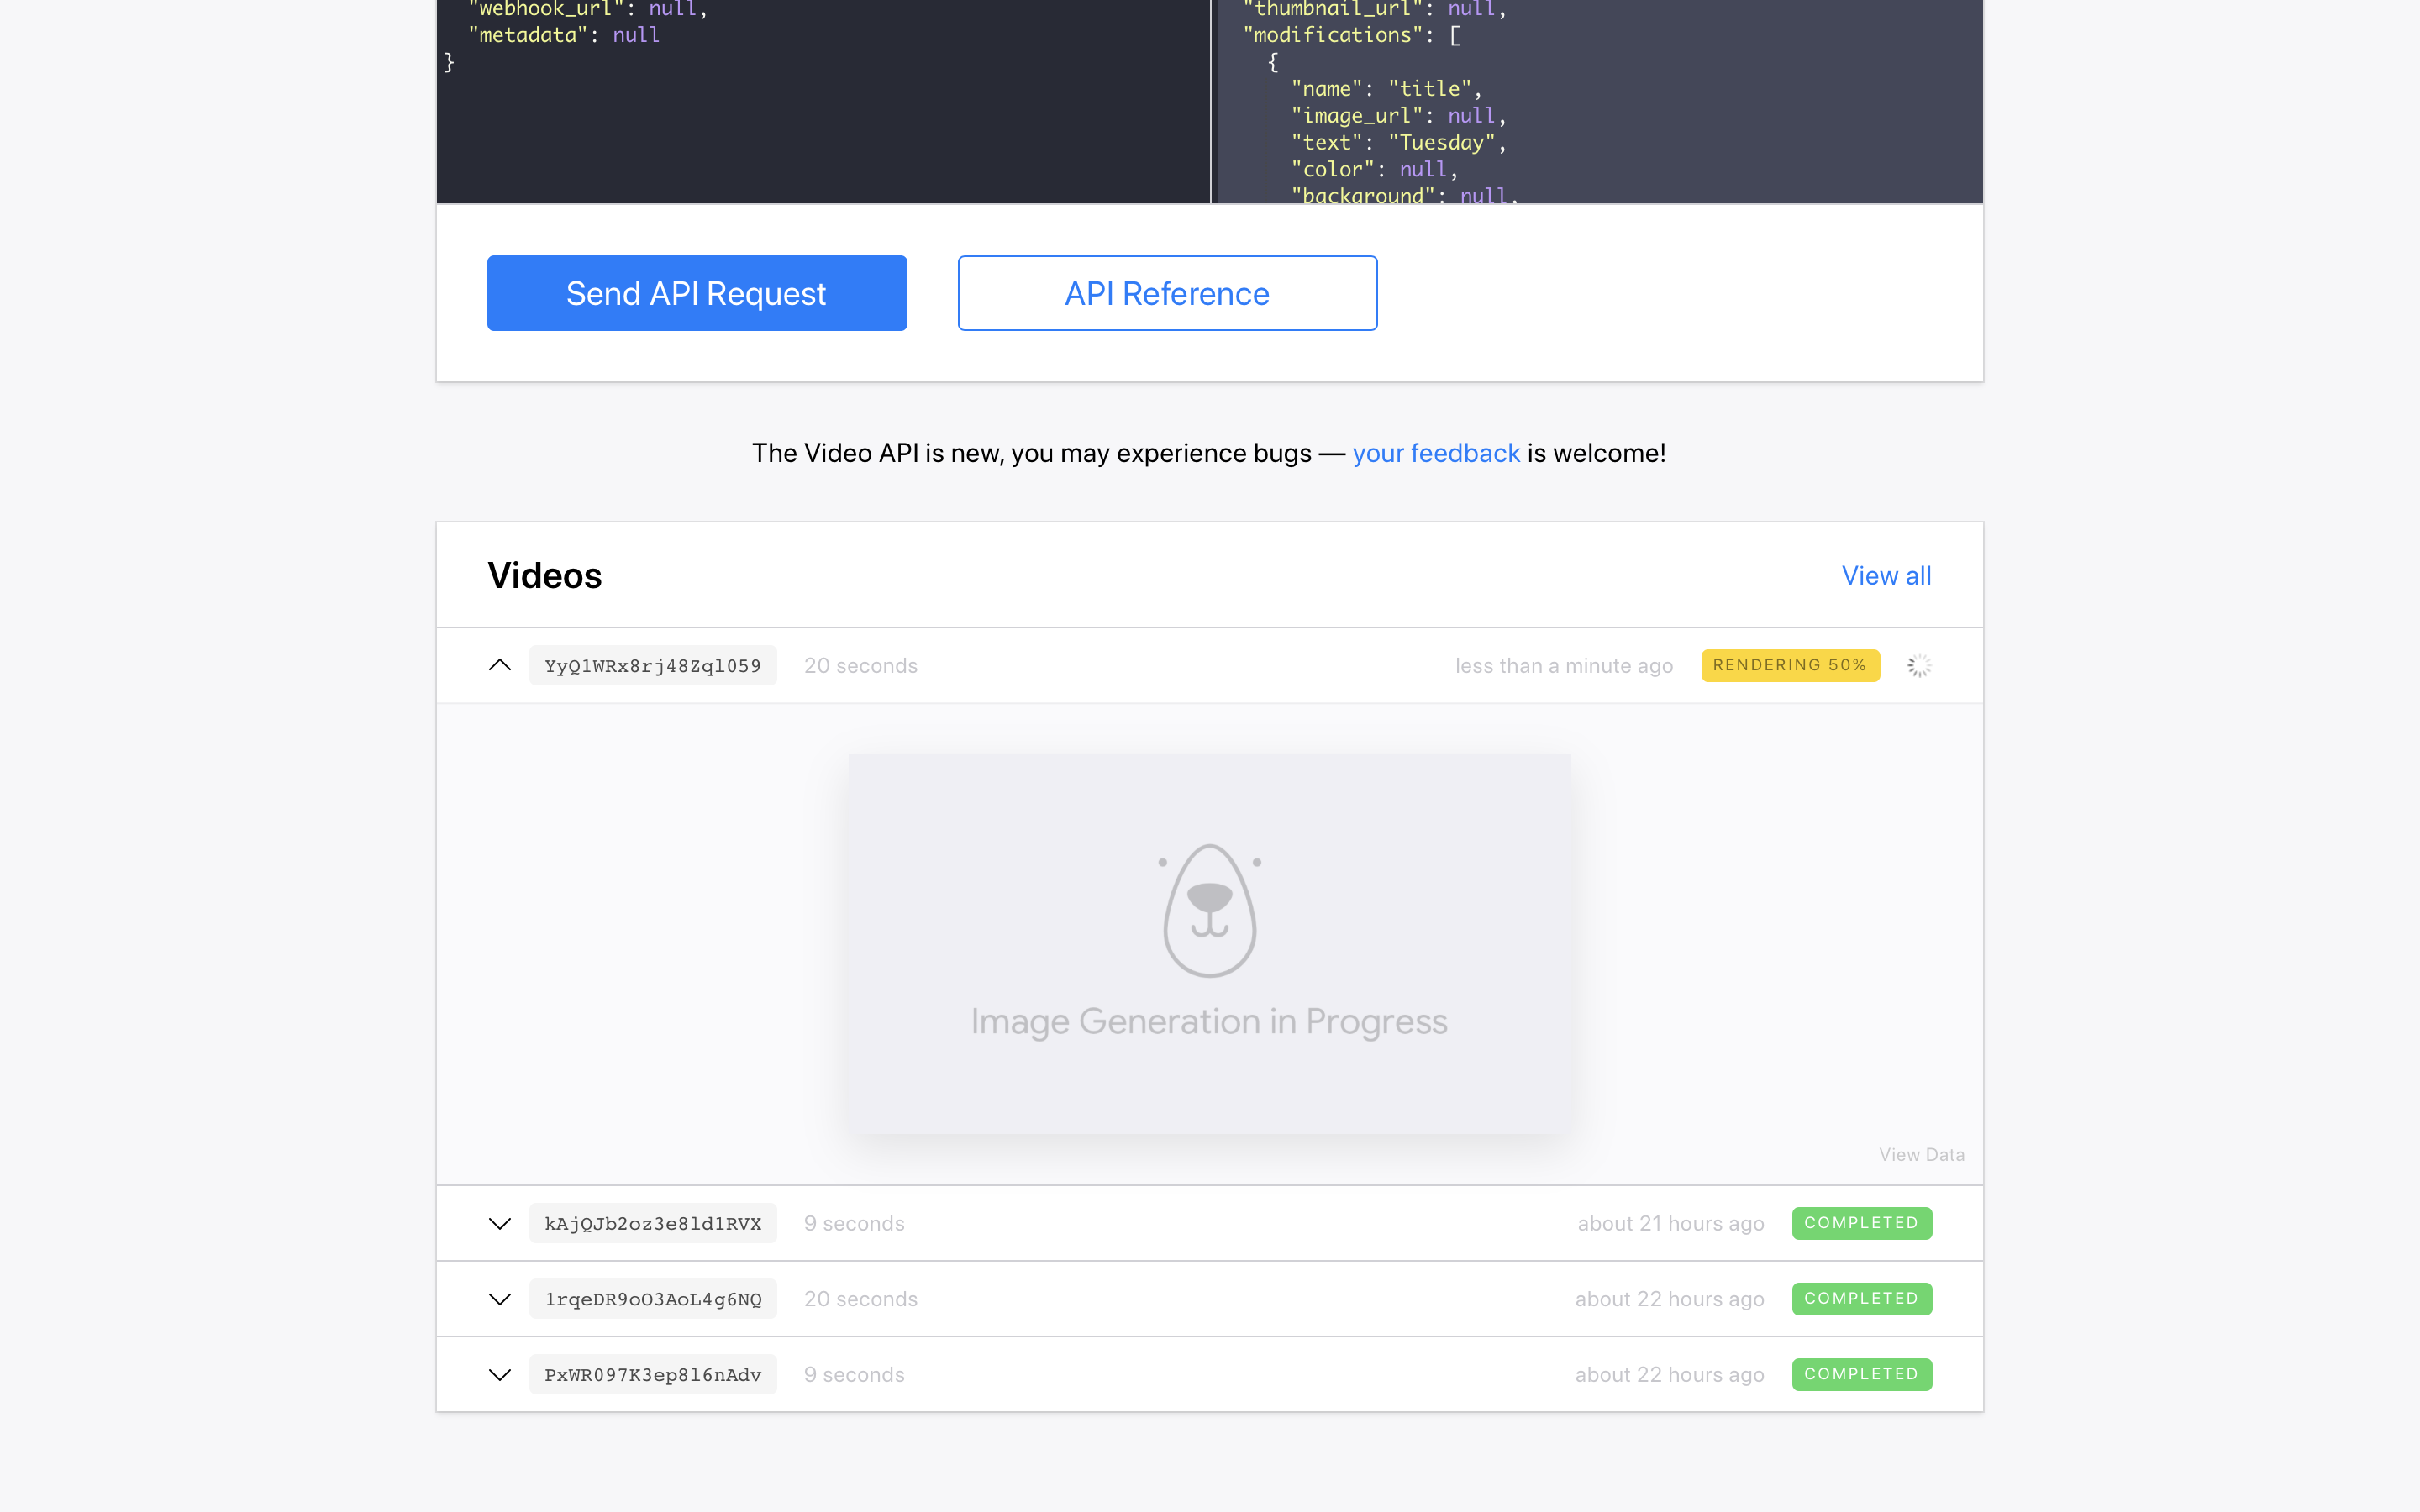
First, lets use this template to generate a test video so we can get an idea of what the result will be like at the end of this tutorial. Scroll down to the API Console / Sample Data panel and select some test data:
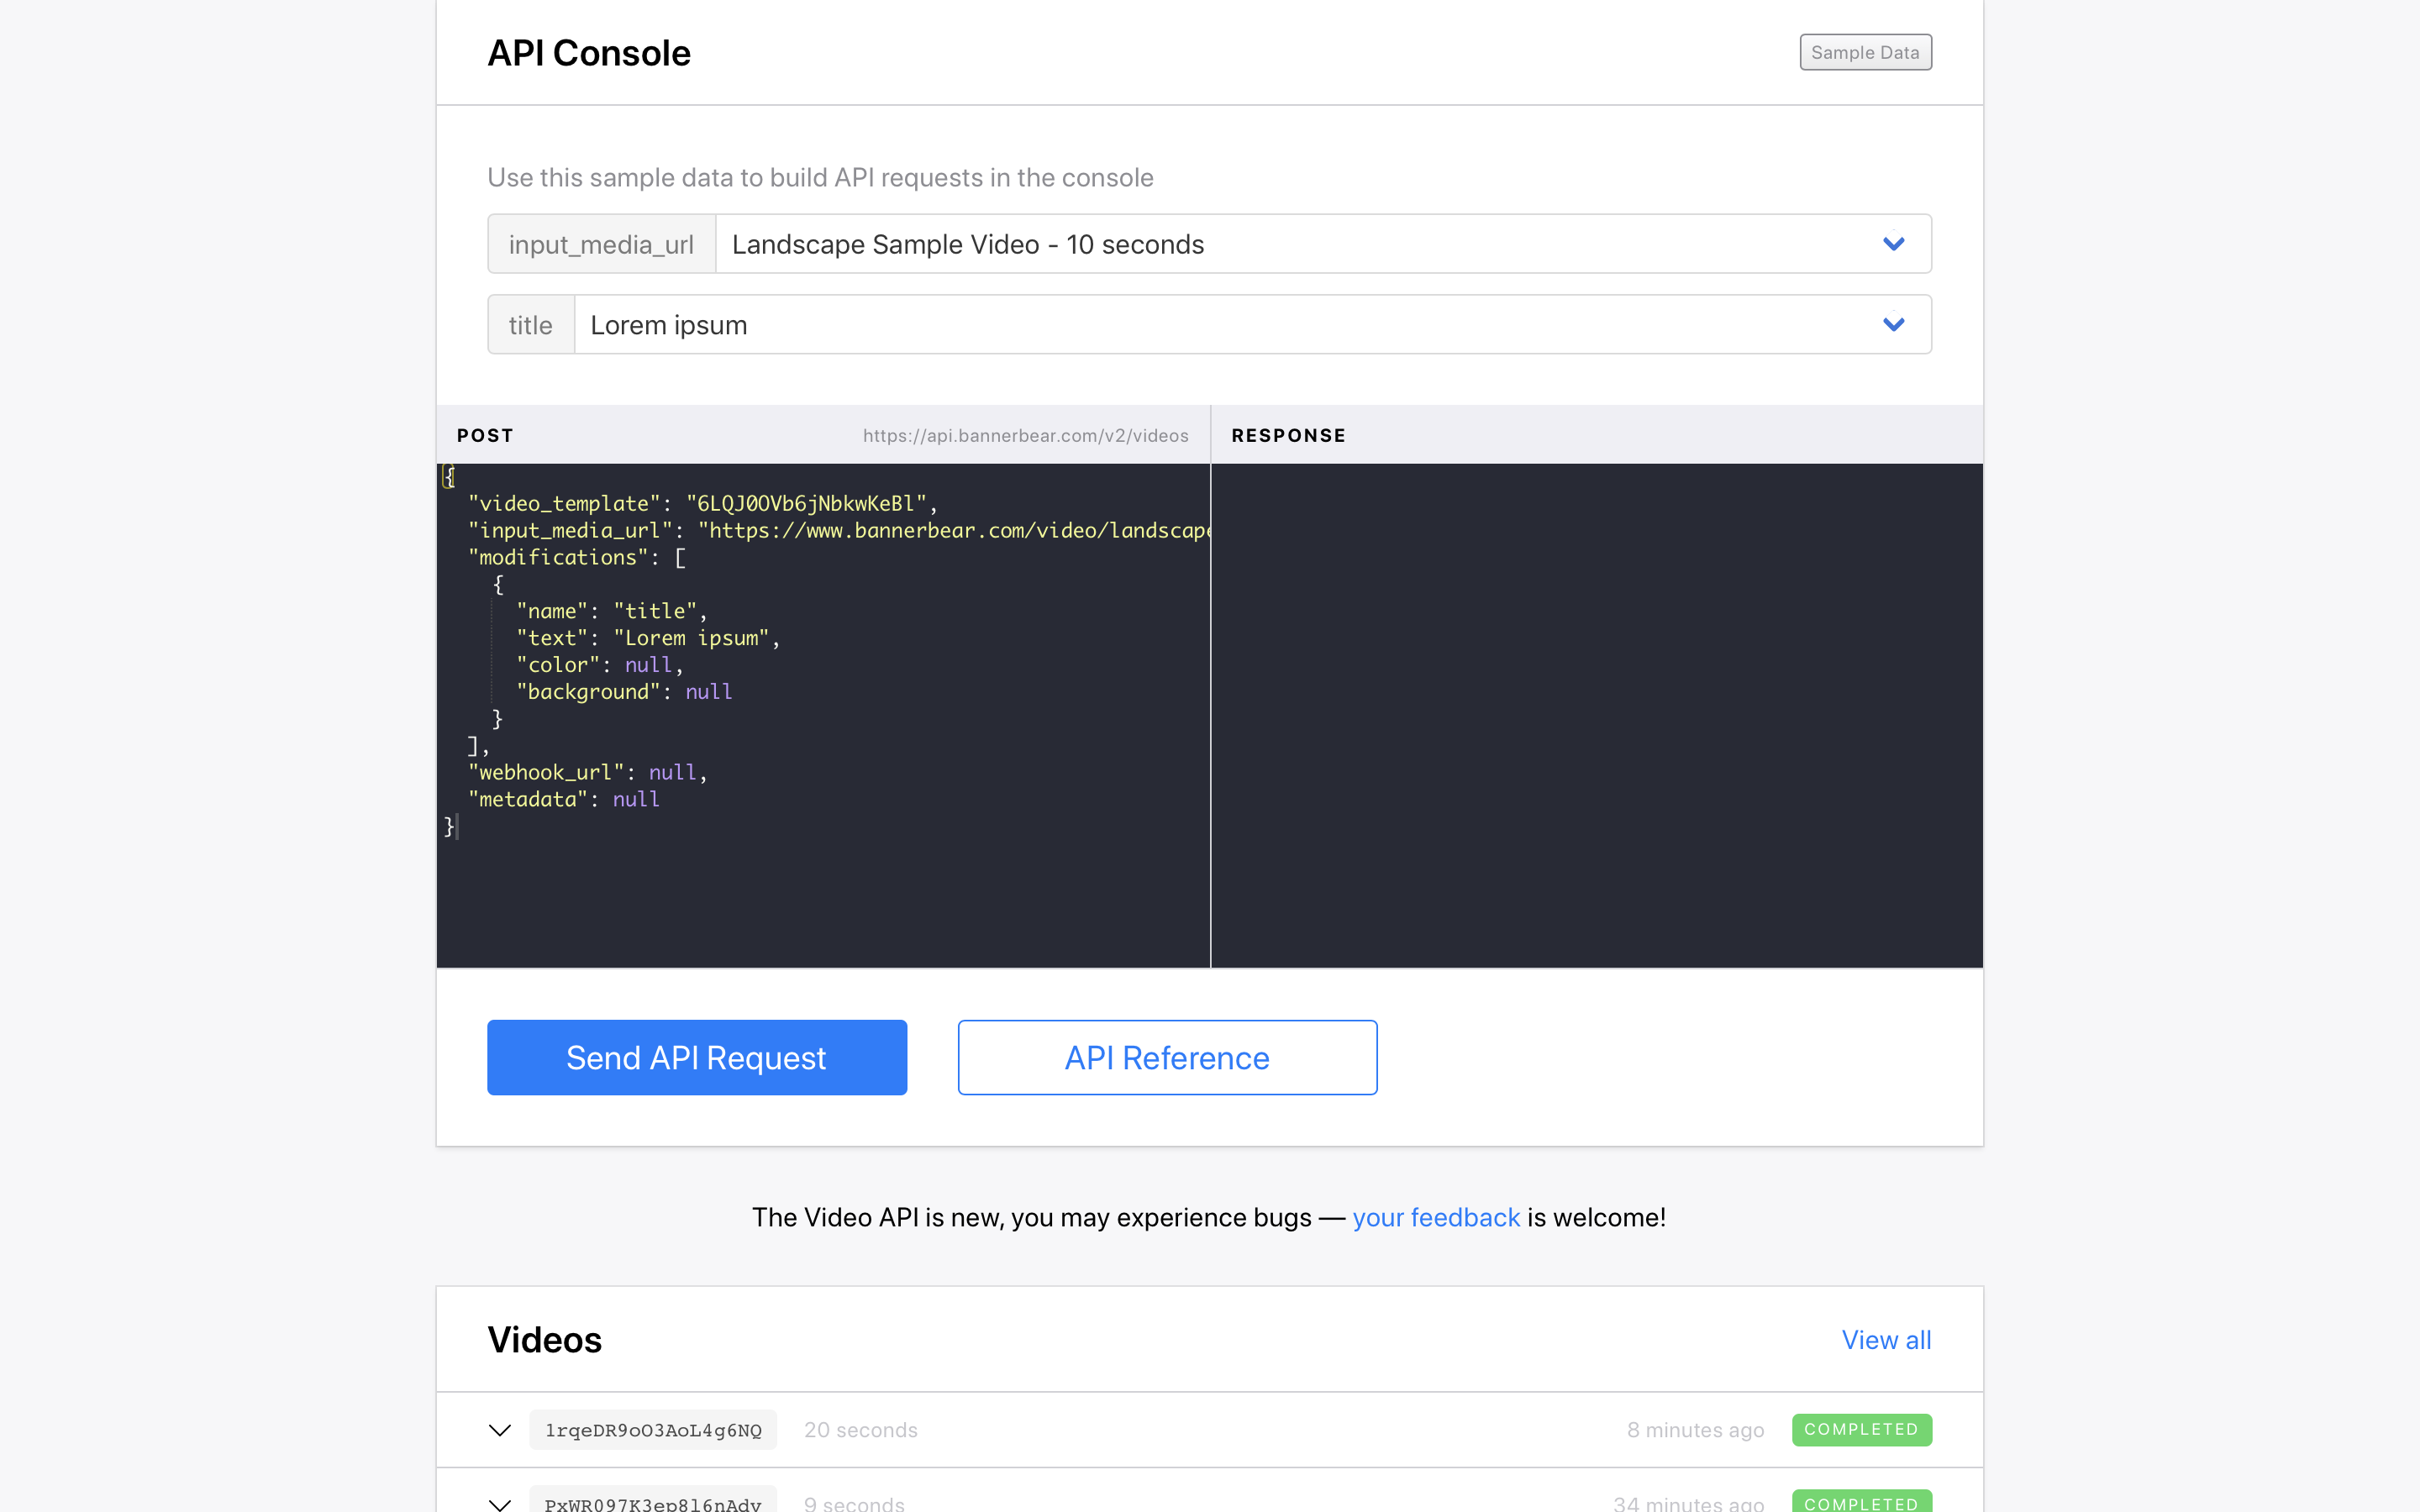
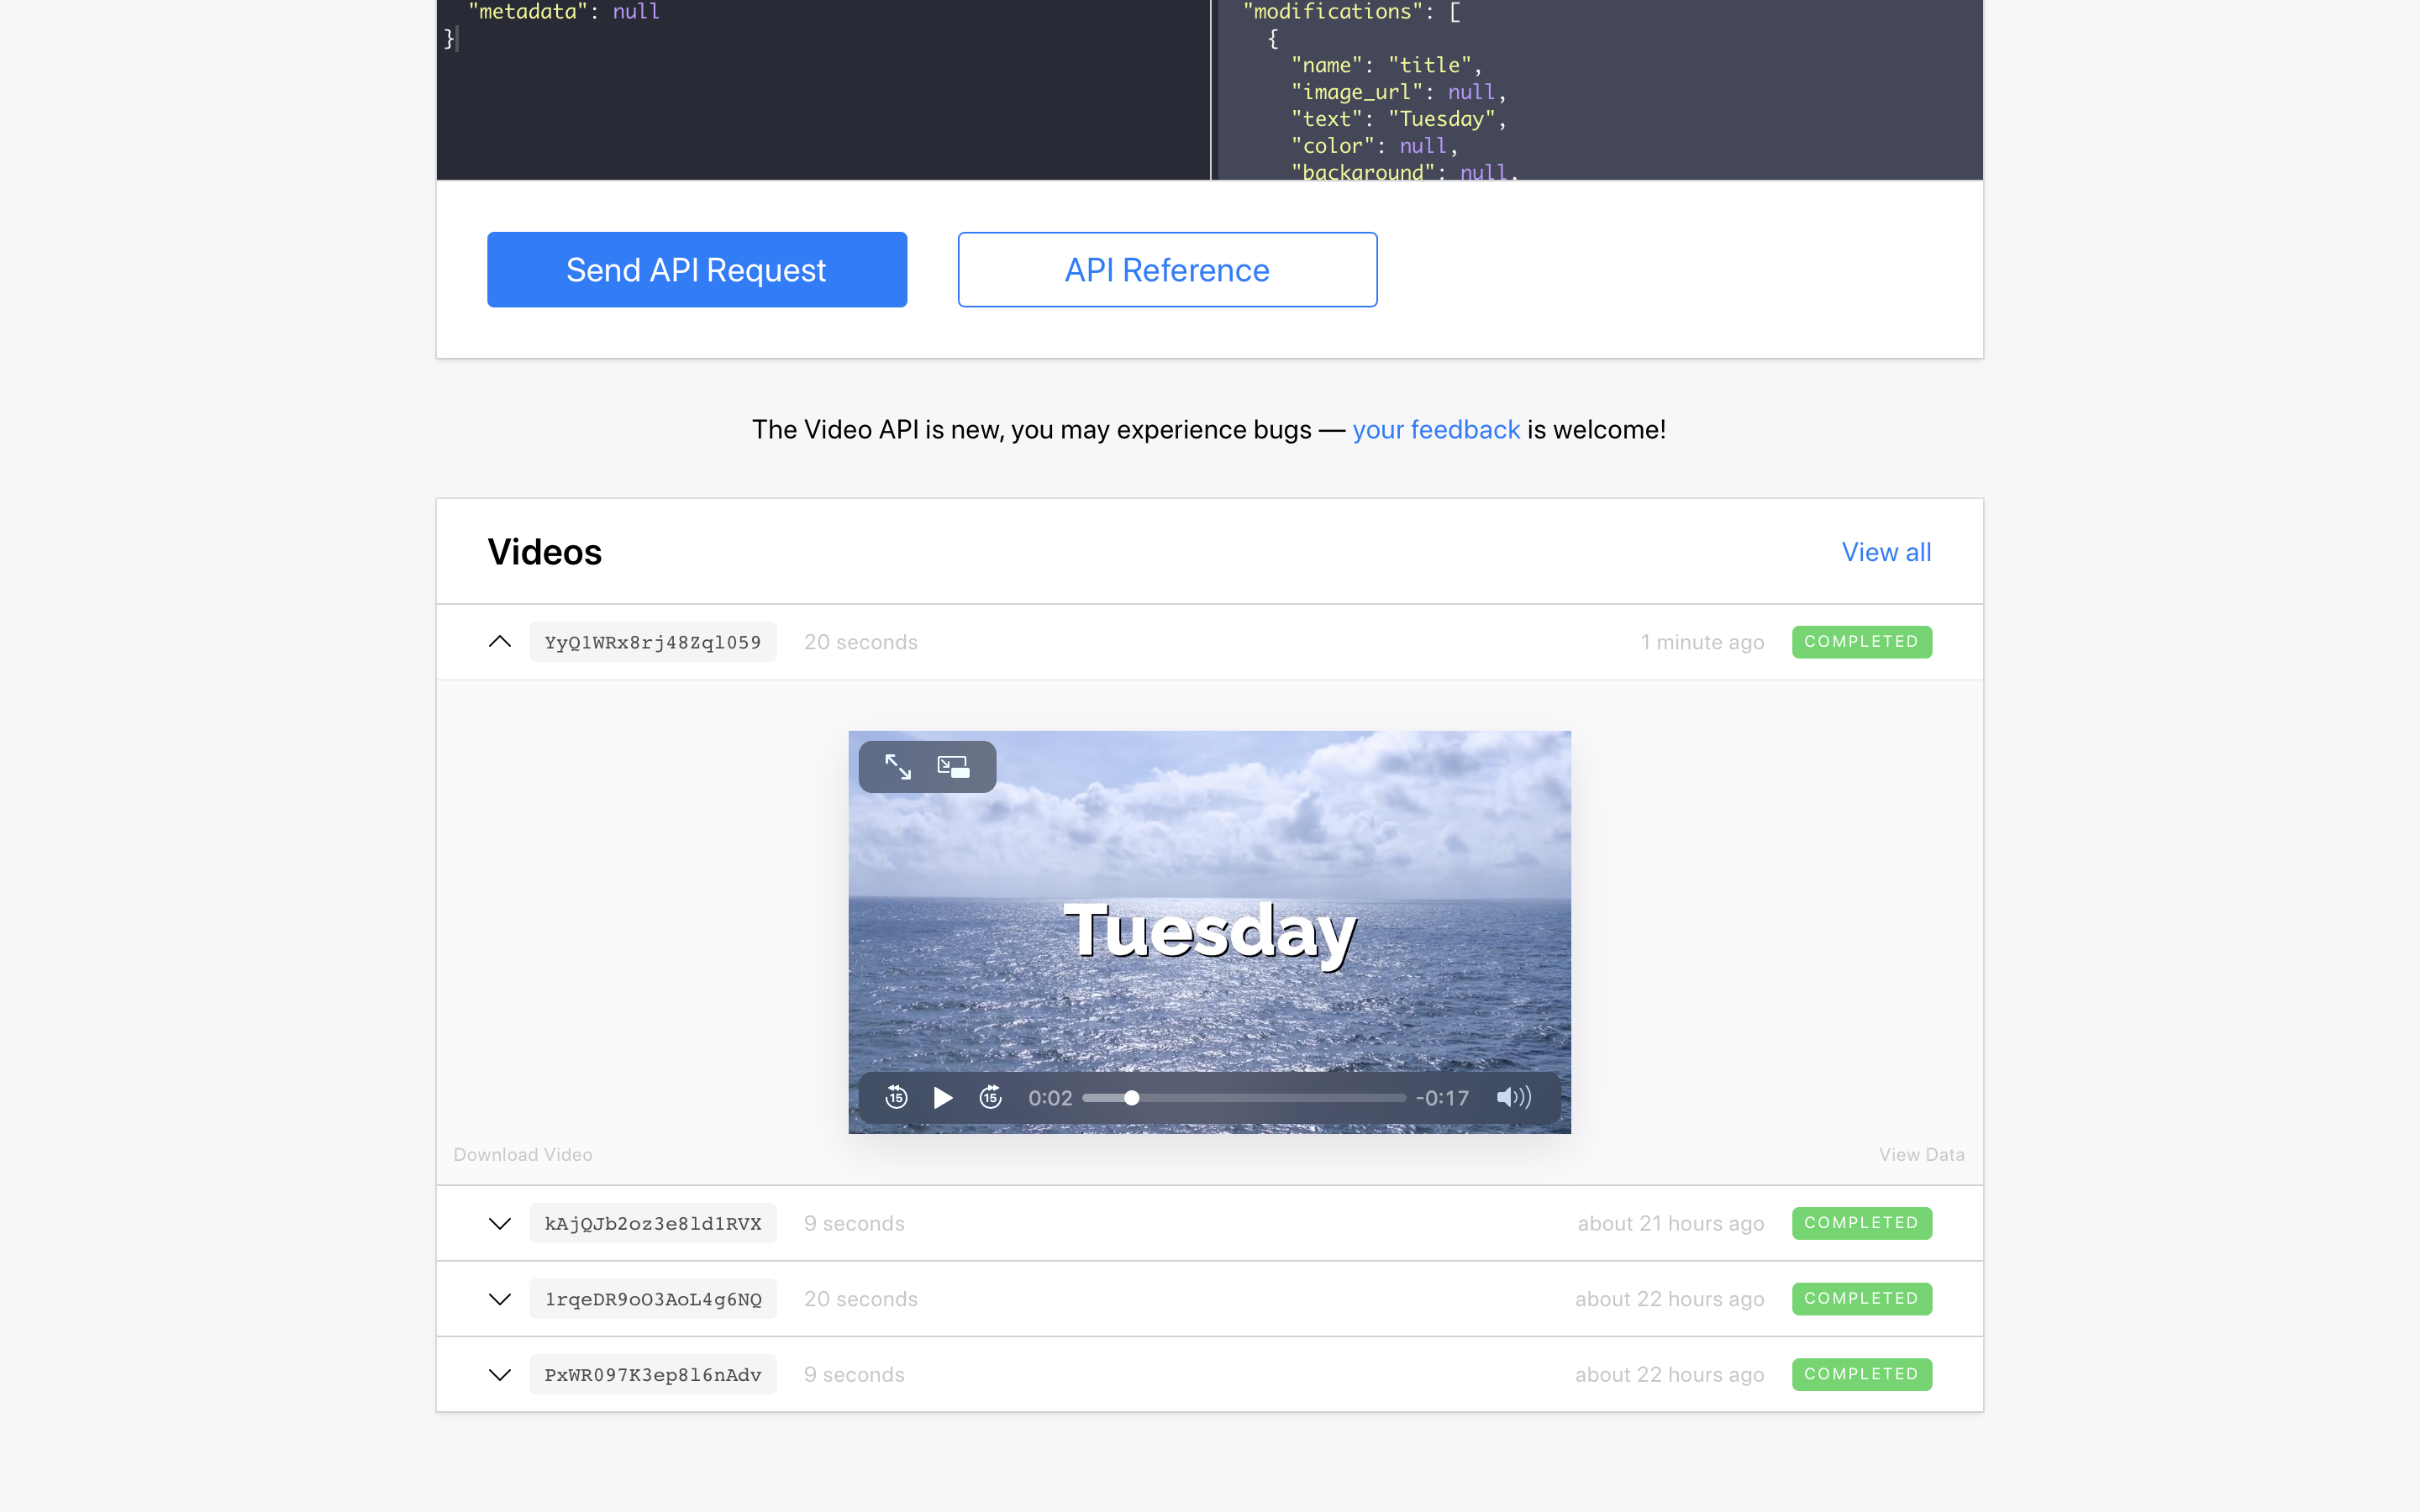
Hit Send API Request and after a few moments you should have a new video based on the parameters you selected:
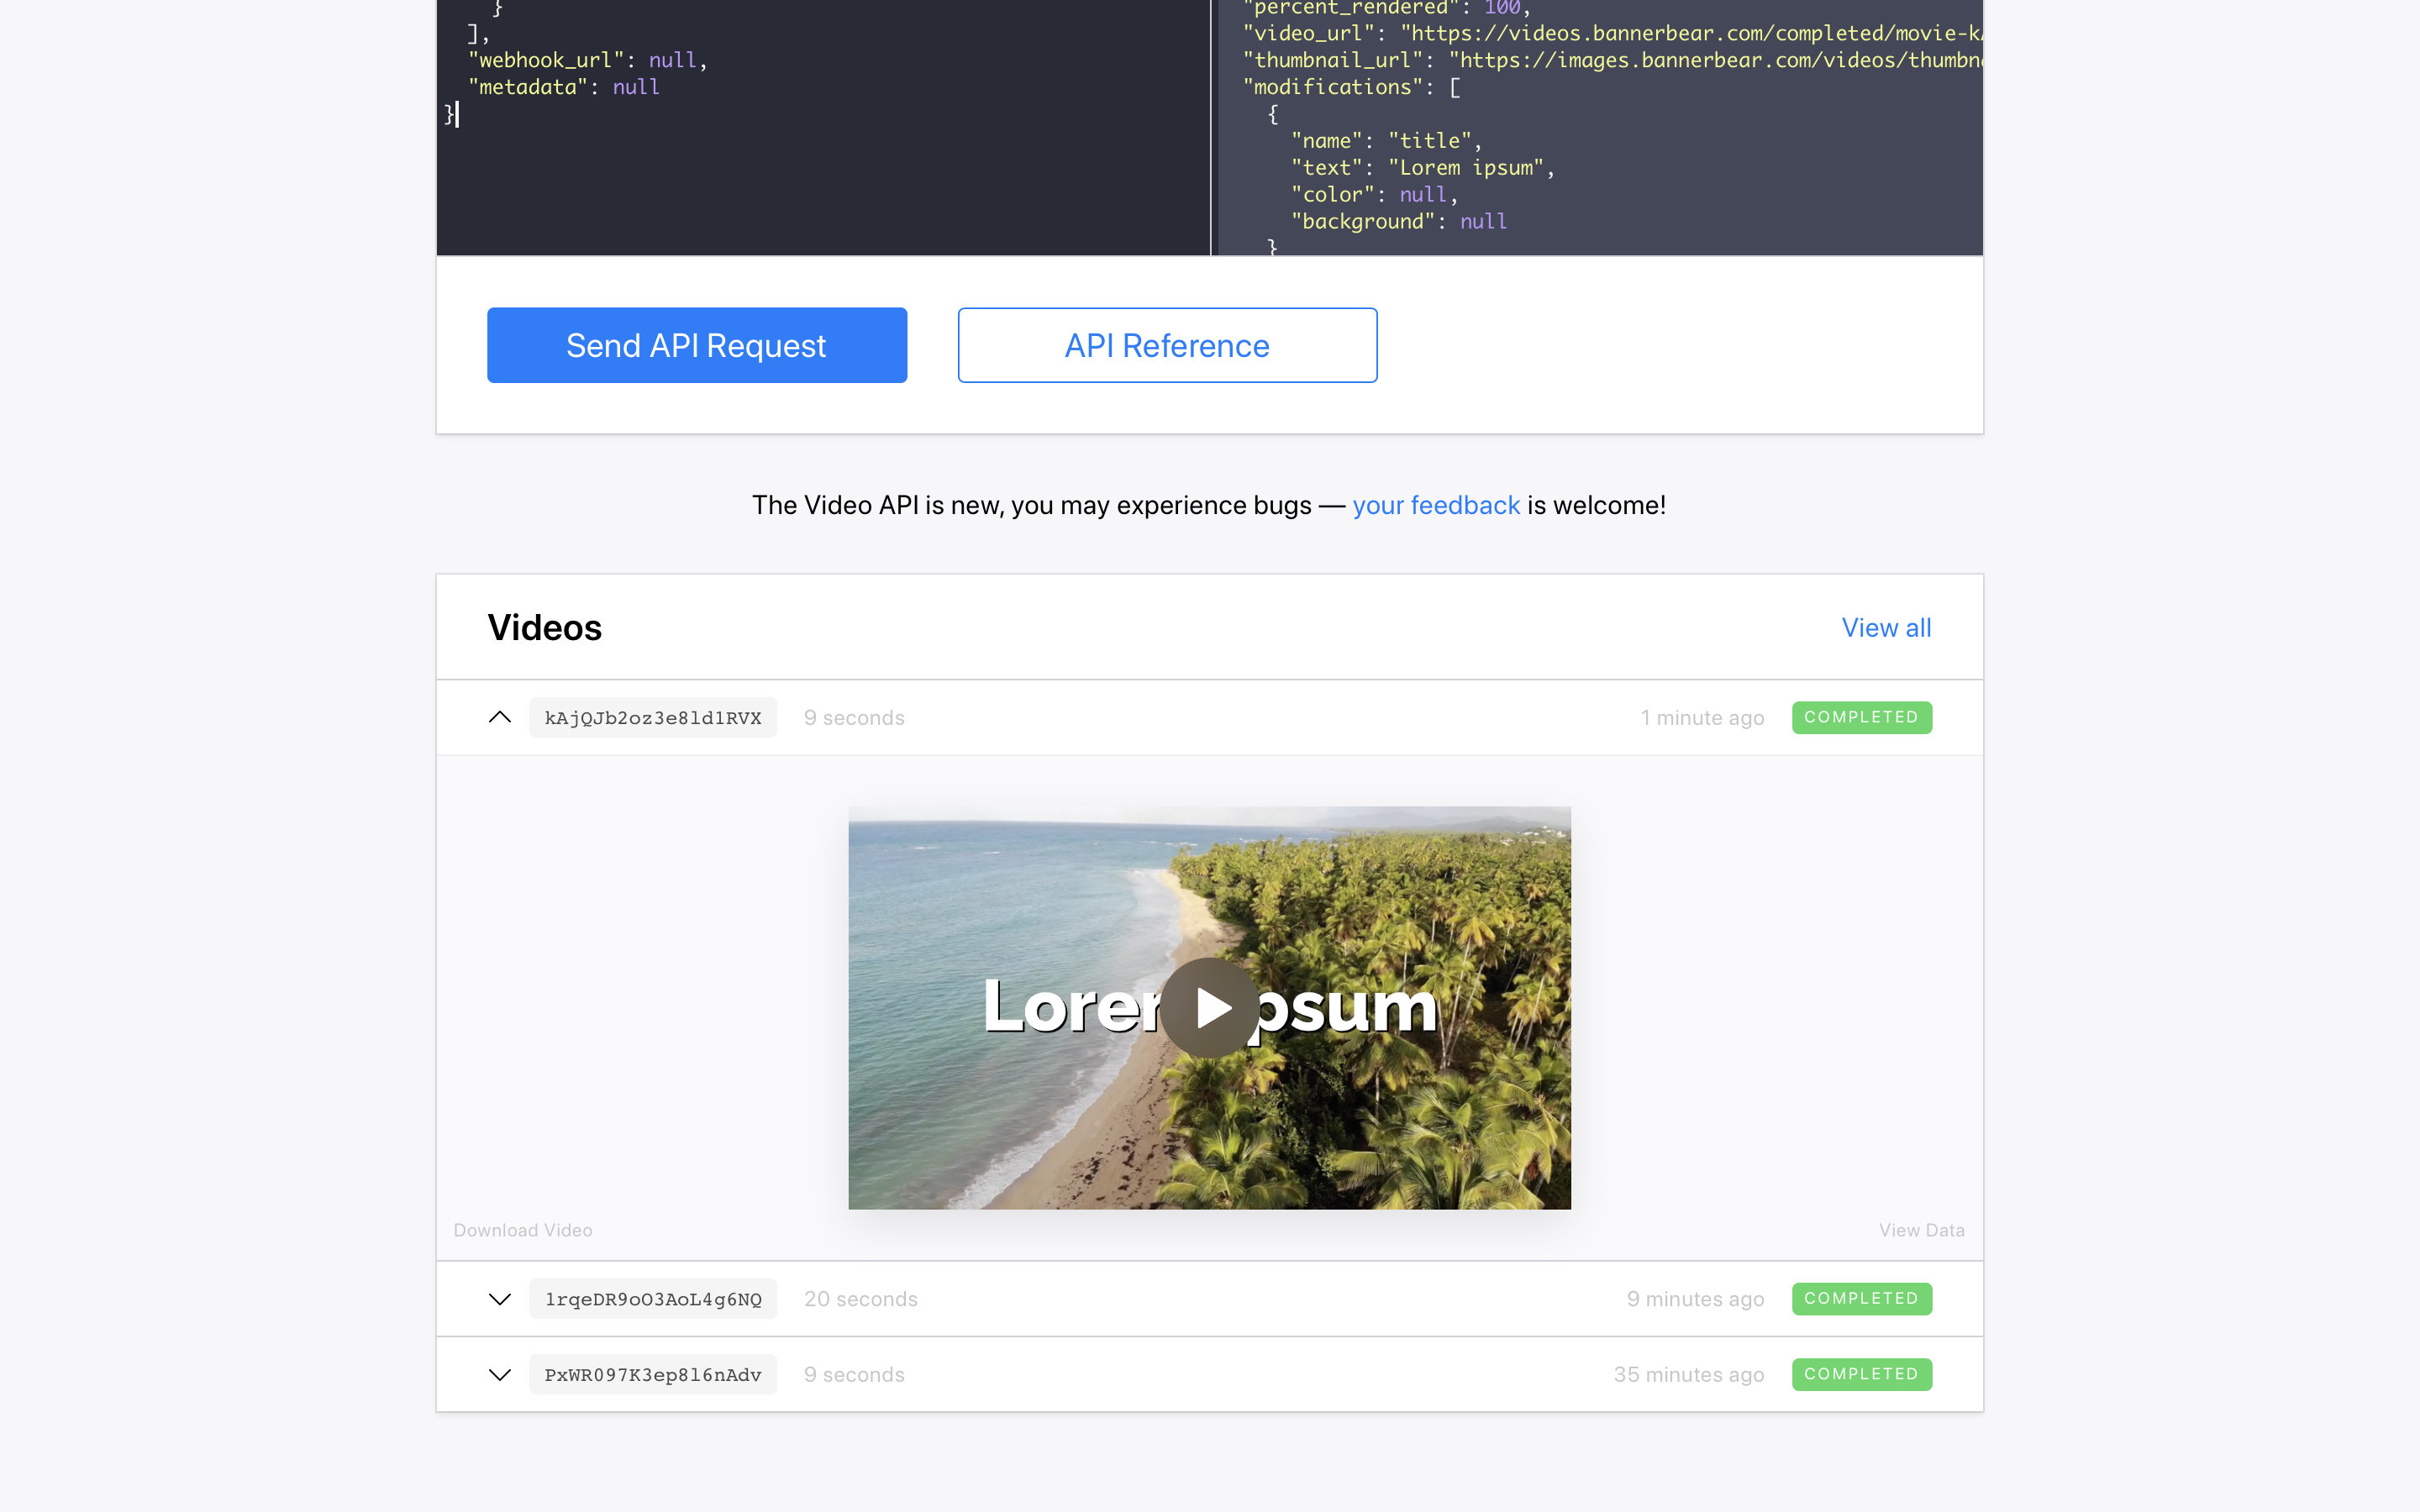
As you can see, the template takes two parameters: a video url and a line of short text. Bannerbear then combines those two and creates a video with the text as an overlay.
Lets proceed to create a Zap to automate this whole process!
Create a Pexels API Key
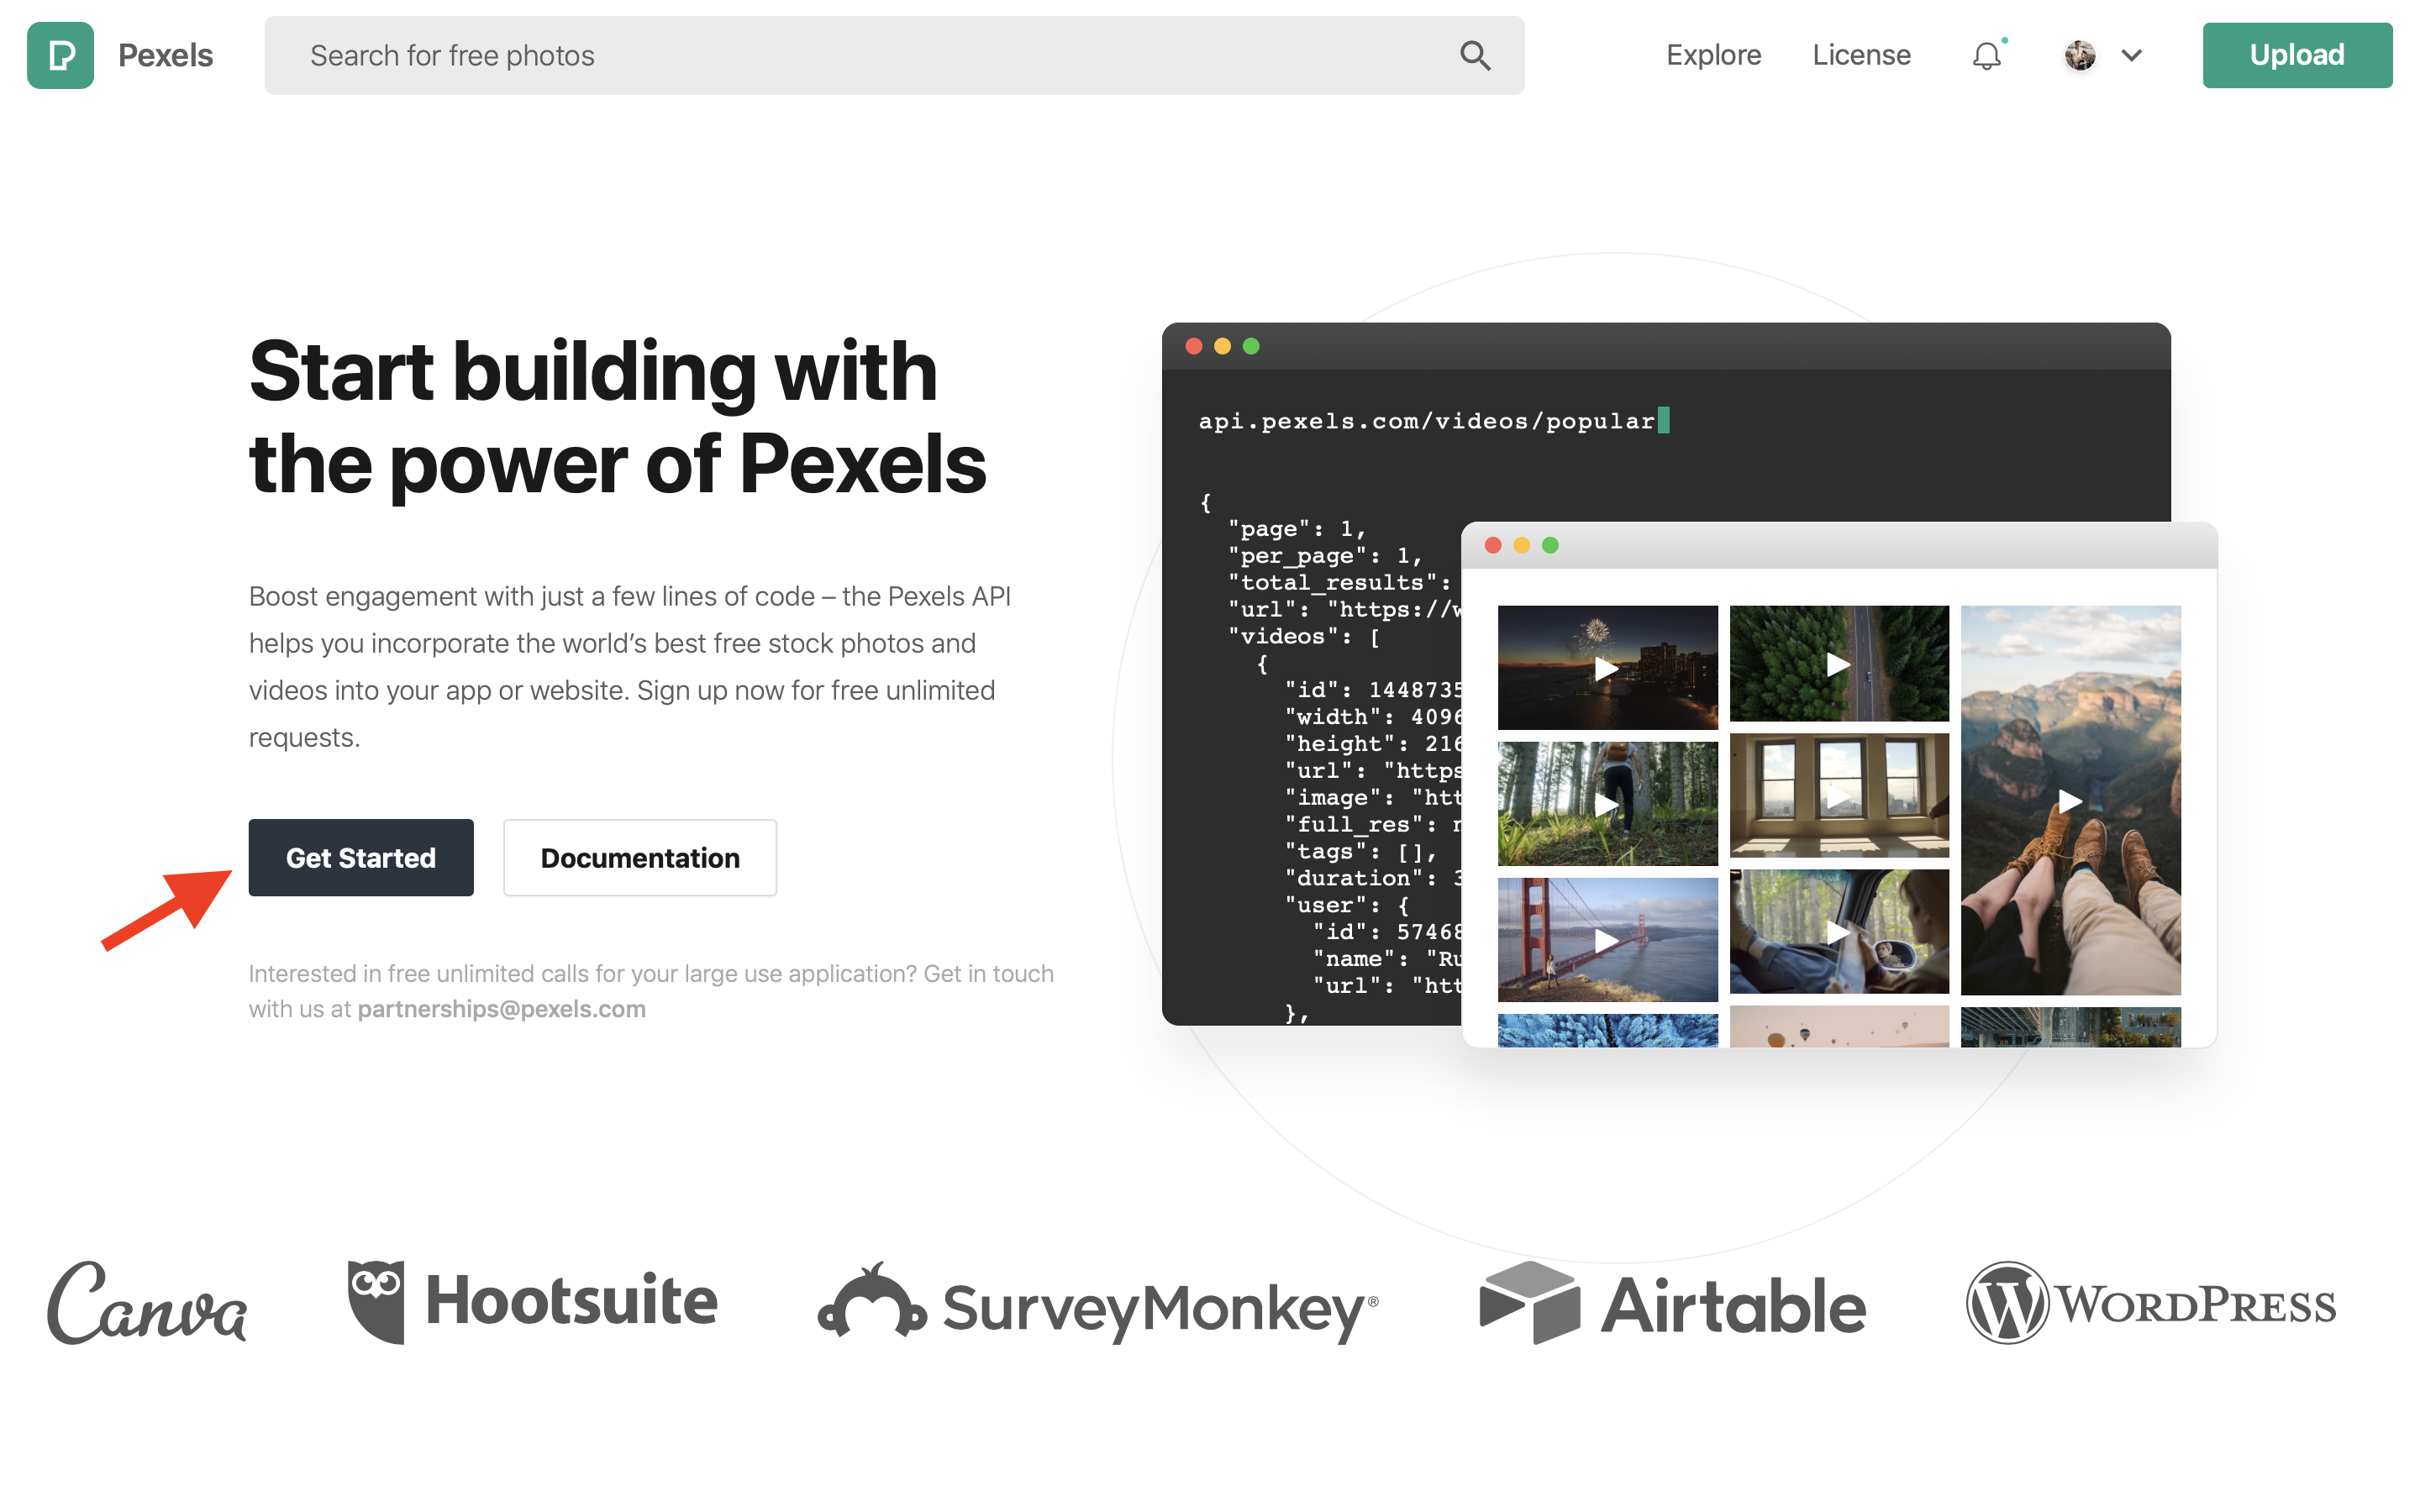
In the zap we are about to create, we will need to use the Pexels API. Pexels is a free library of stock images and videos, with a handy API to search through their database.
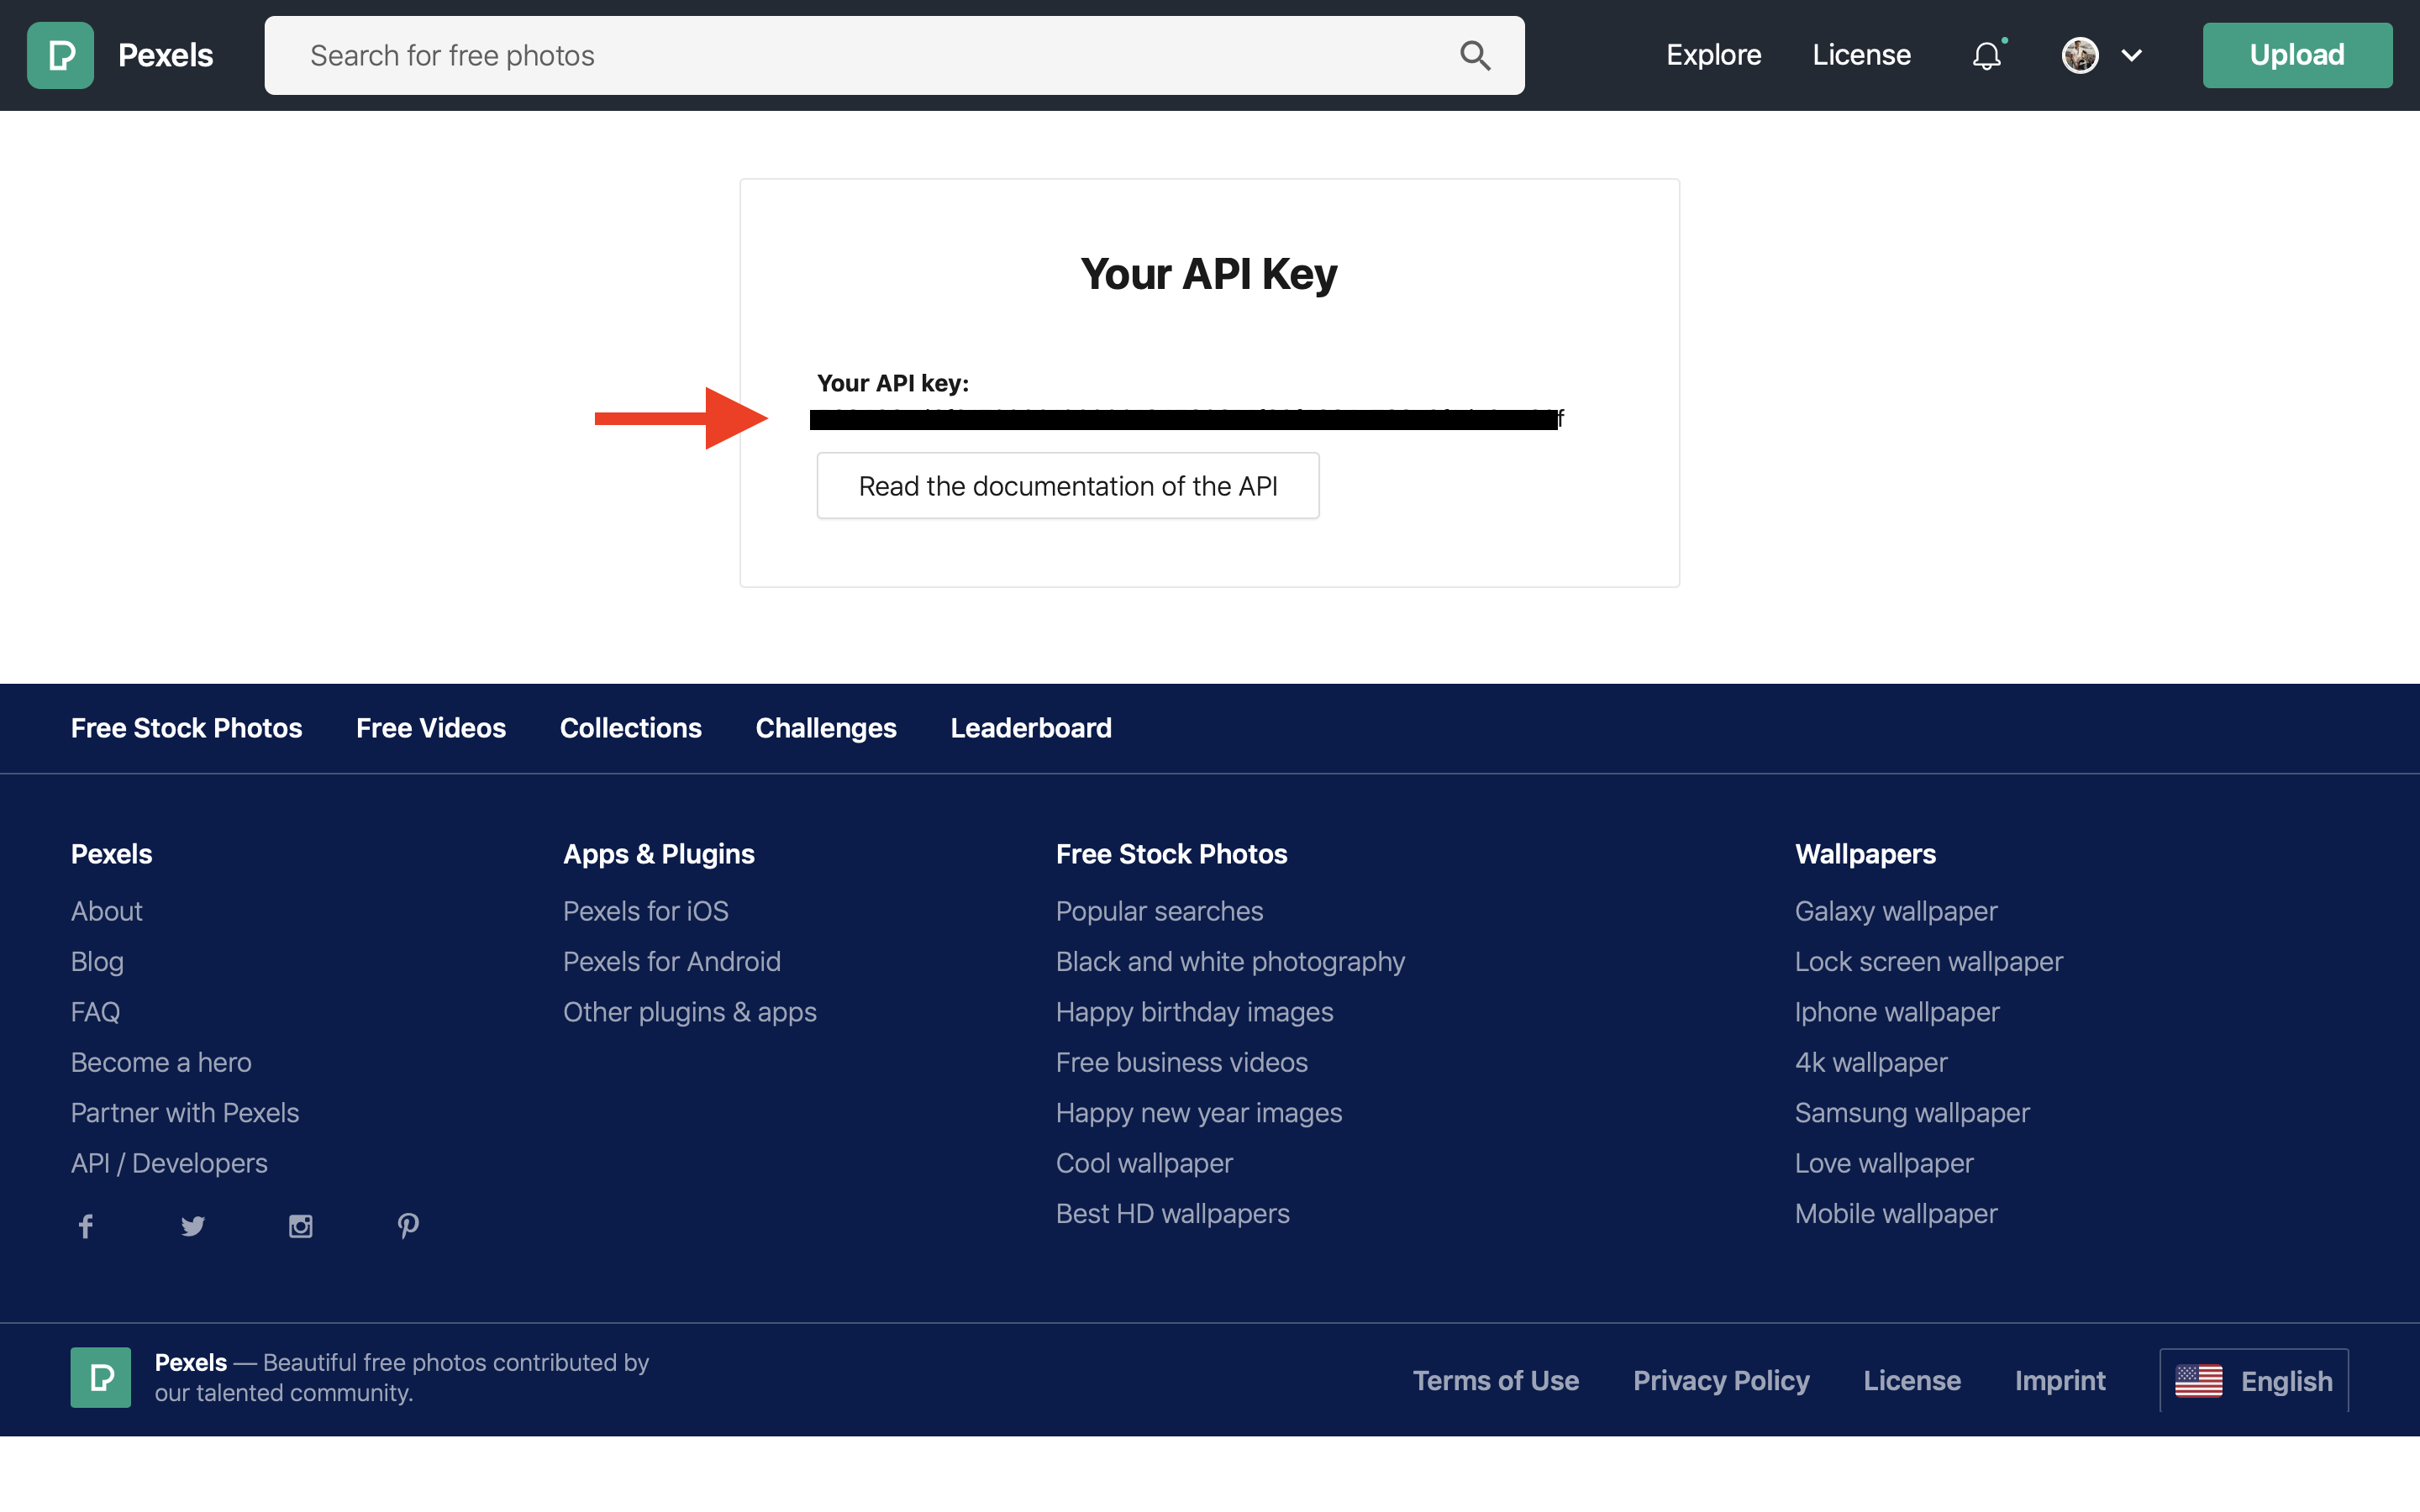
Go to https://www.pexels.com/api/ and sign up for an API key.
Keep this window open as you will be needing your Pexels API key in a later step:
Starting the Zap
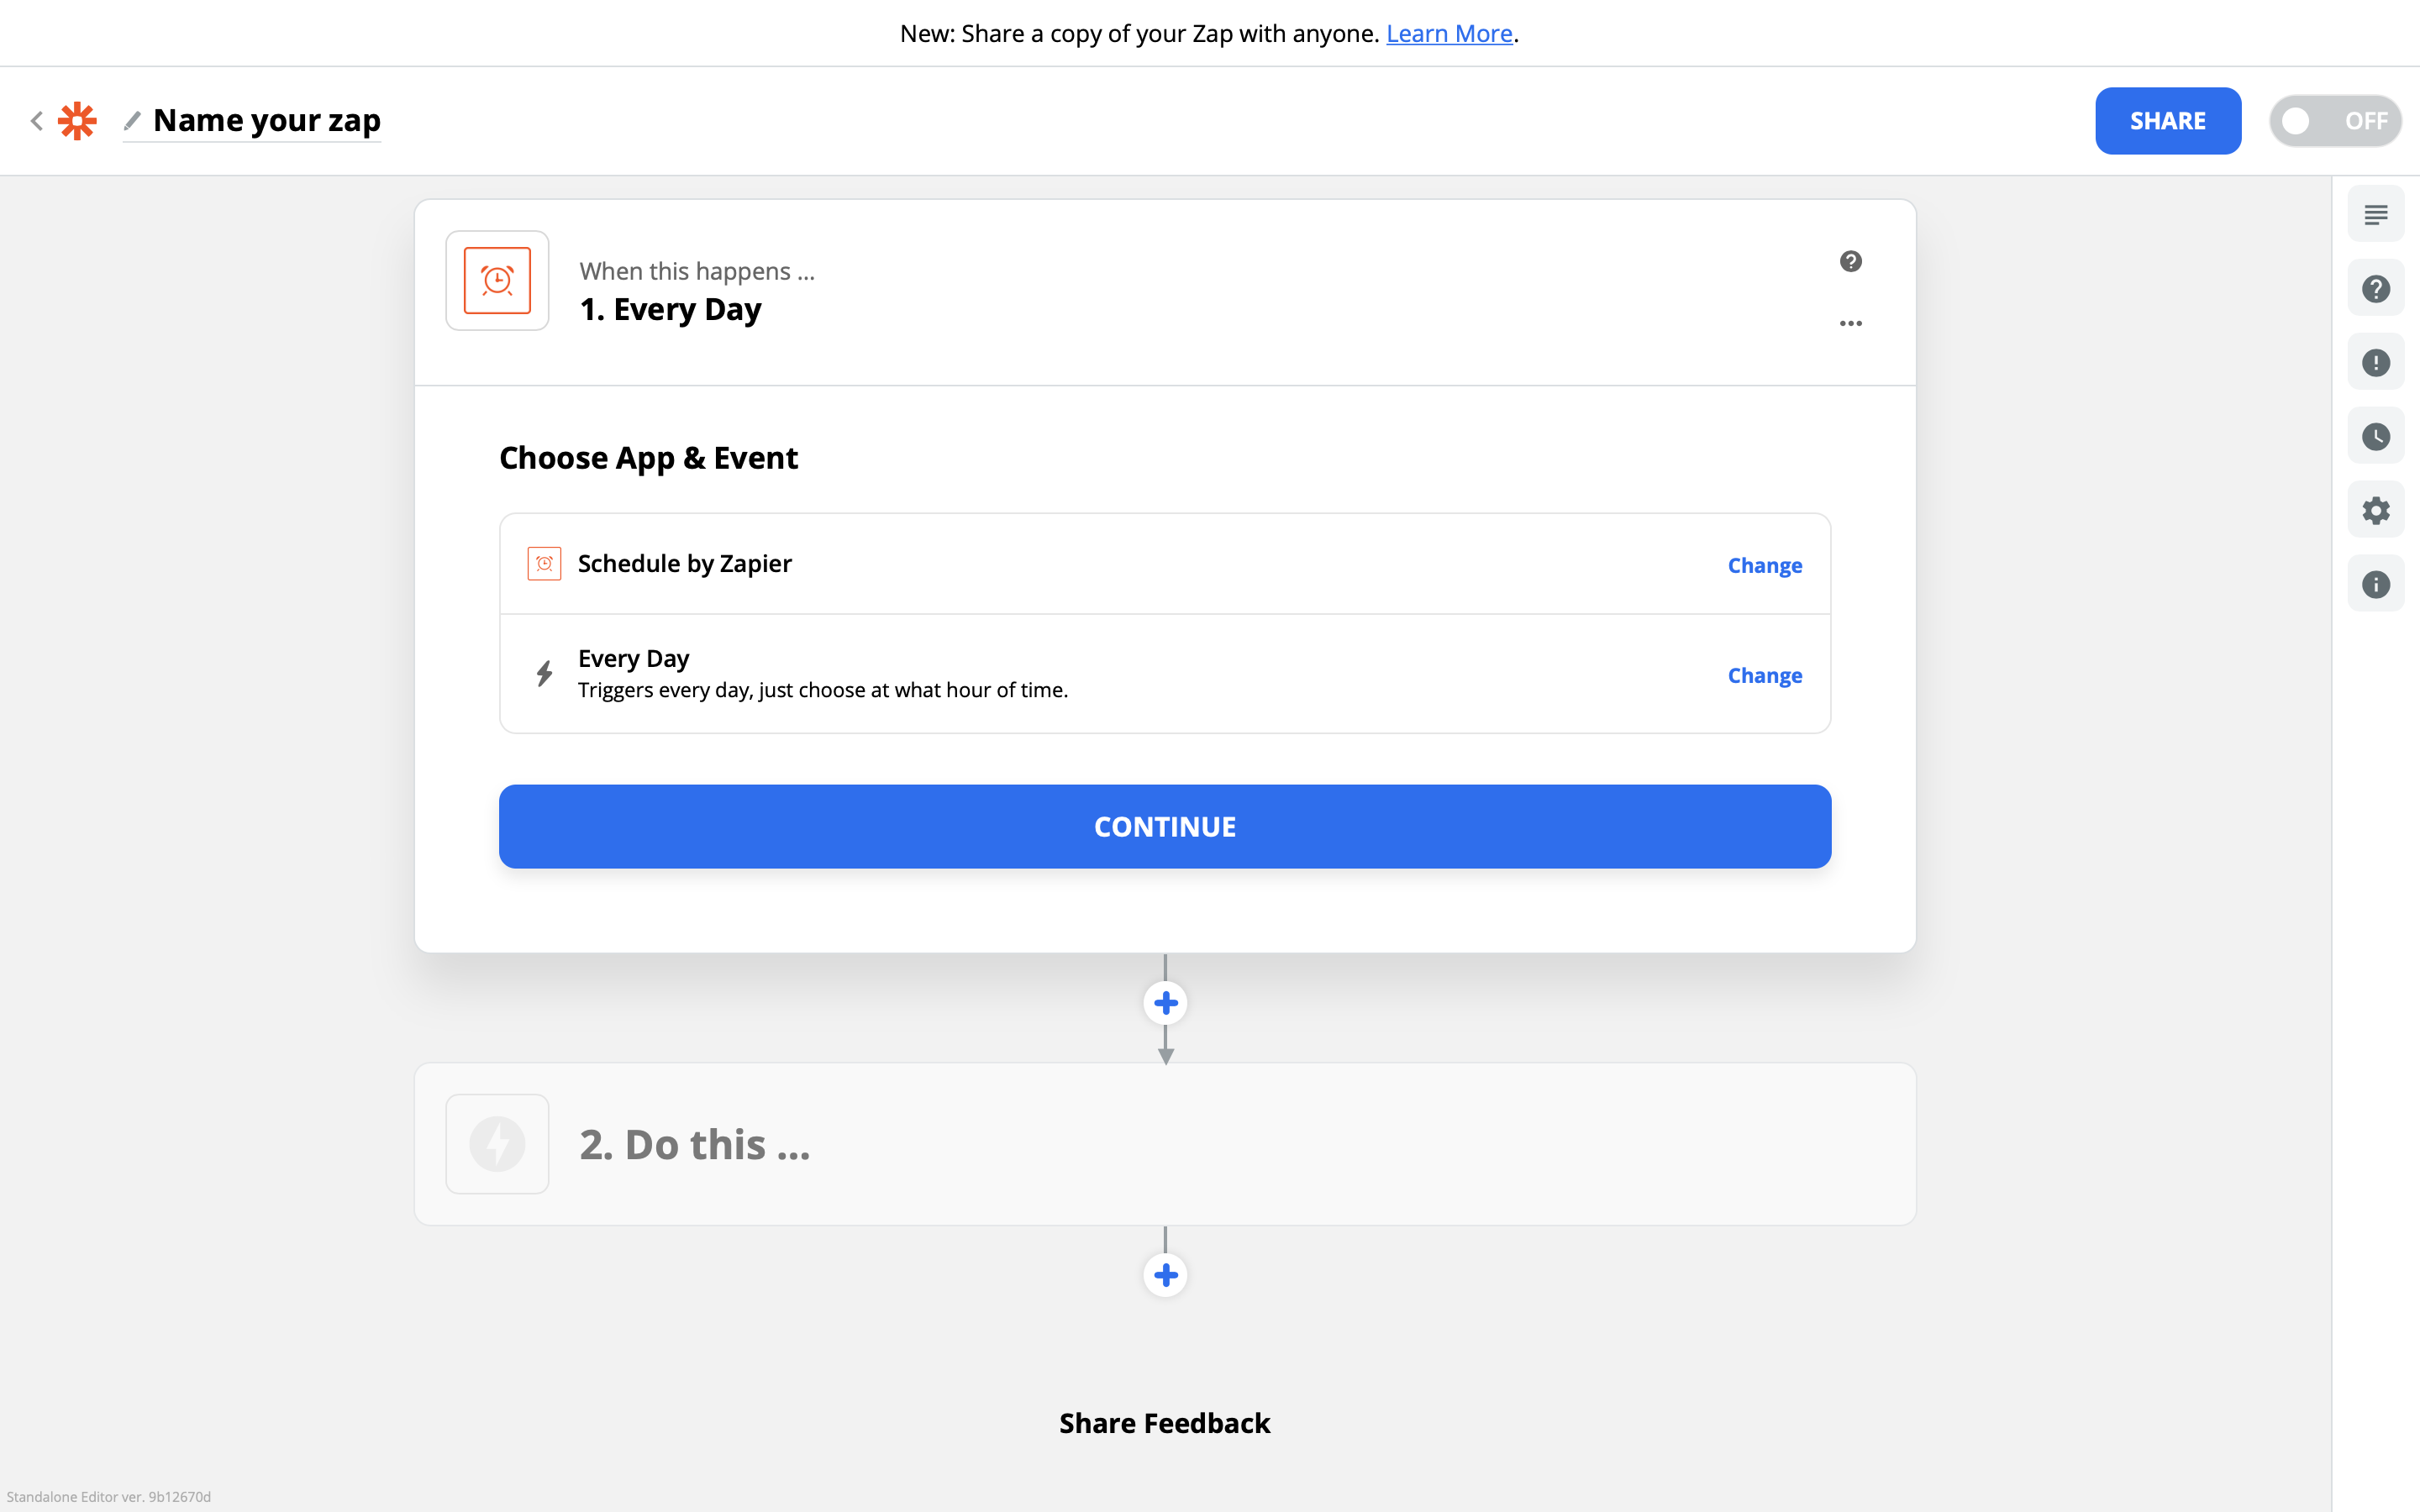
Lets start creating the zap. In Zapier, create a new zap with the Schedule by Zapier trigger. You can choose any settings you like here, I went with "every day" at midnight.
Using the Pexels API
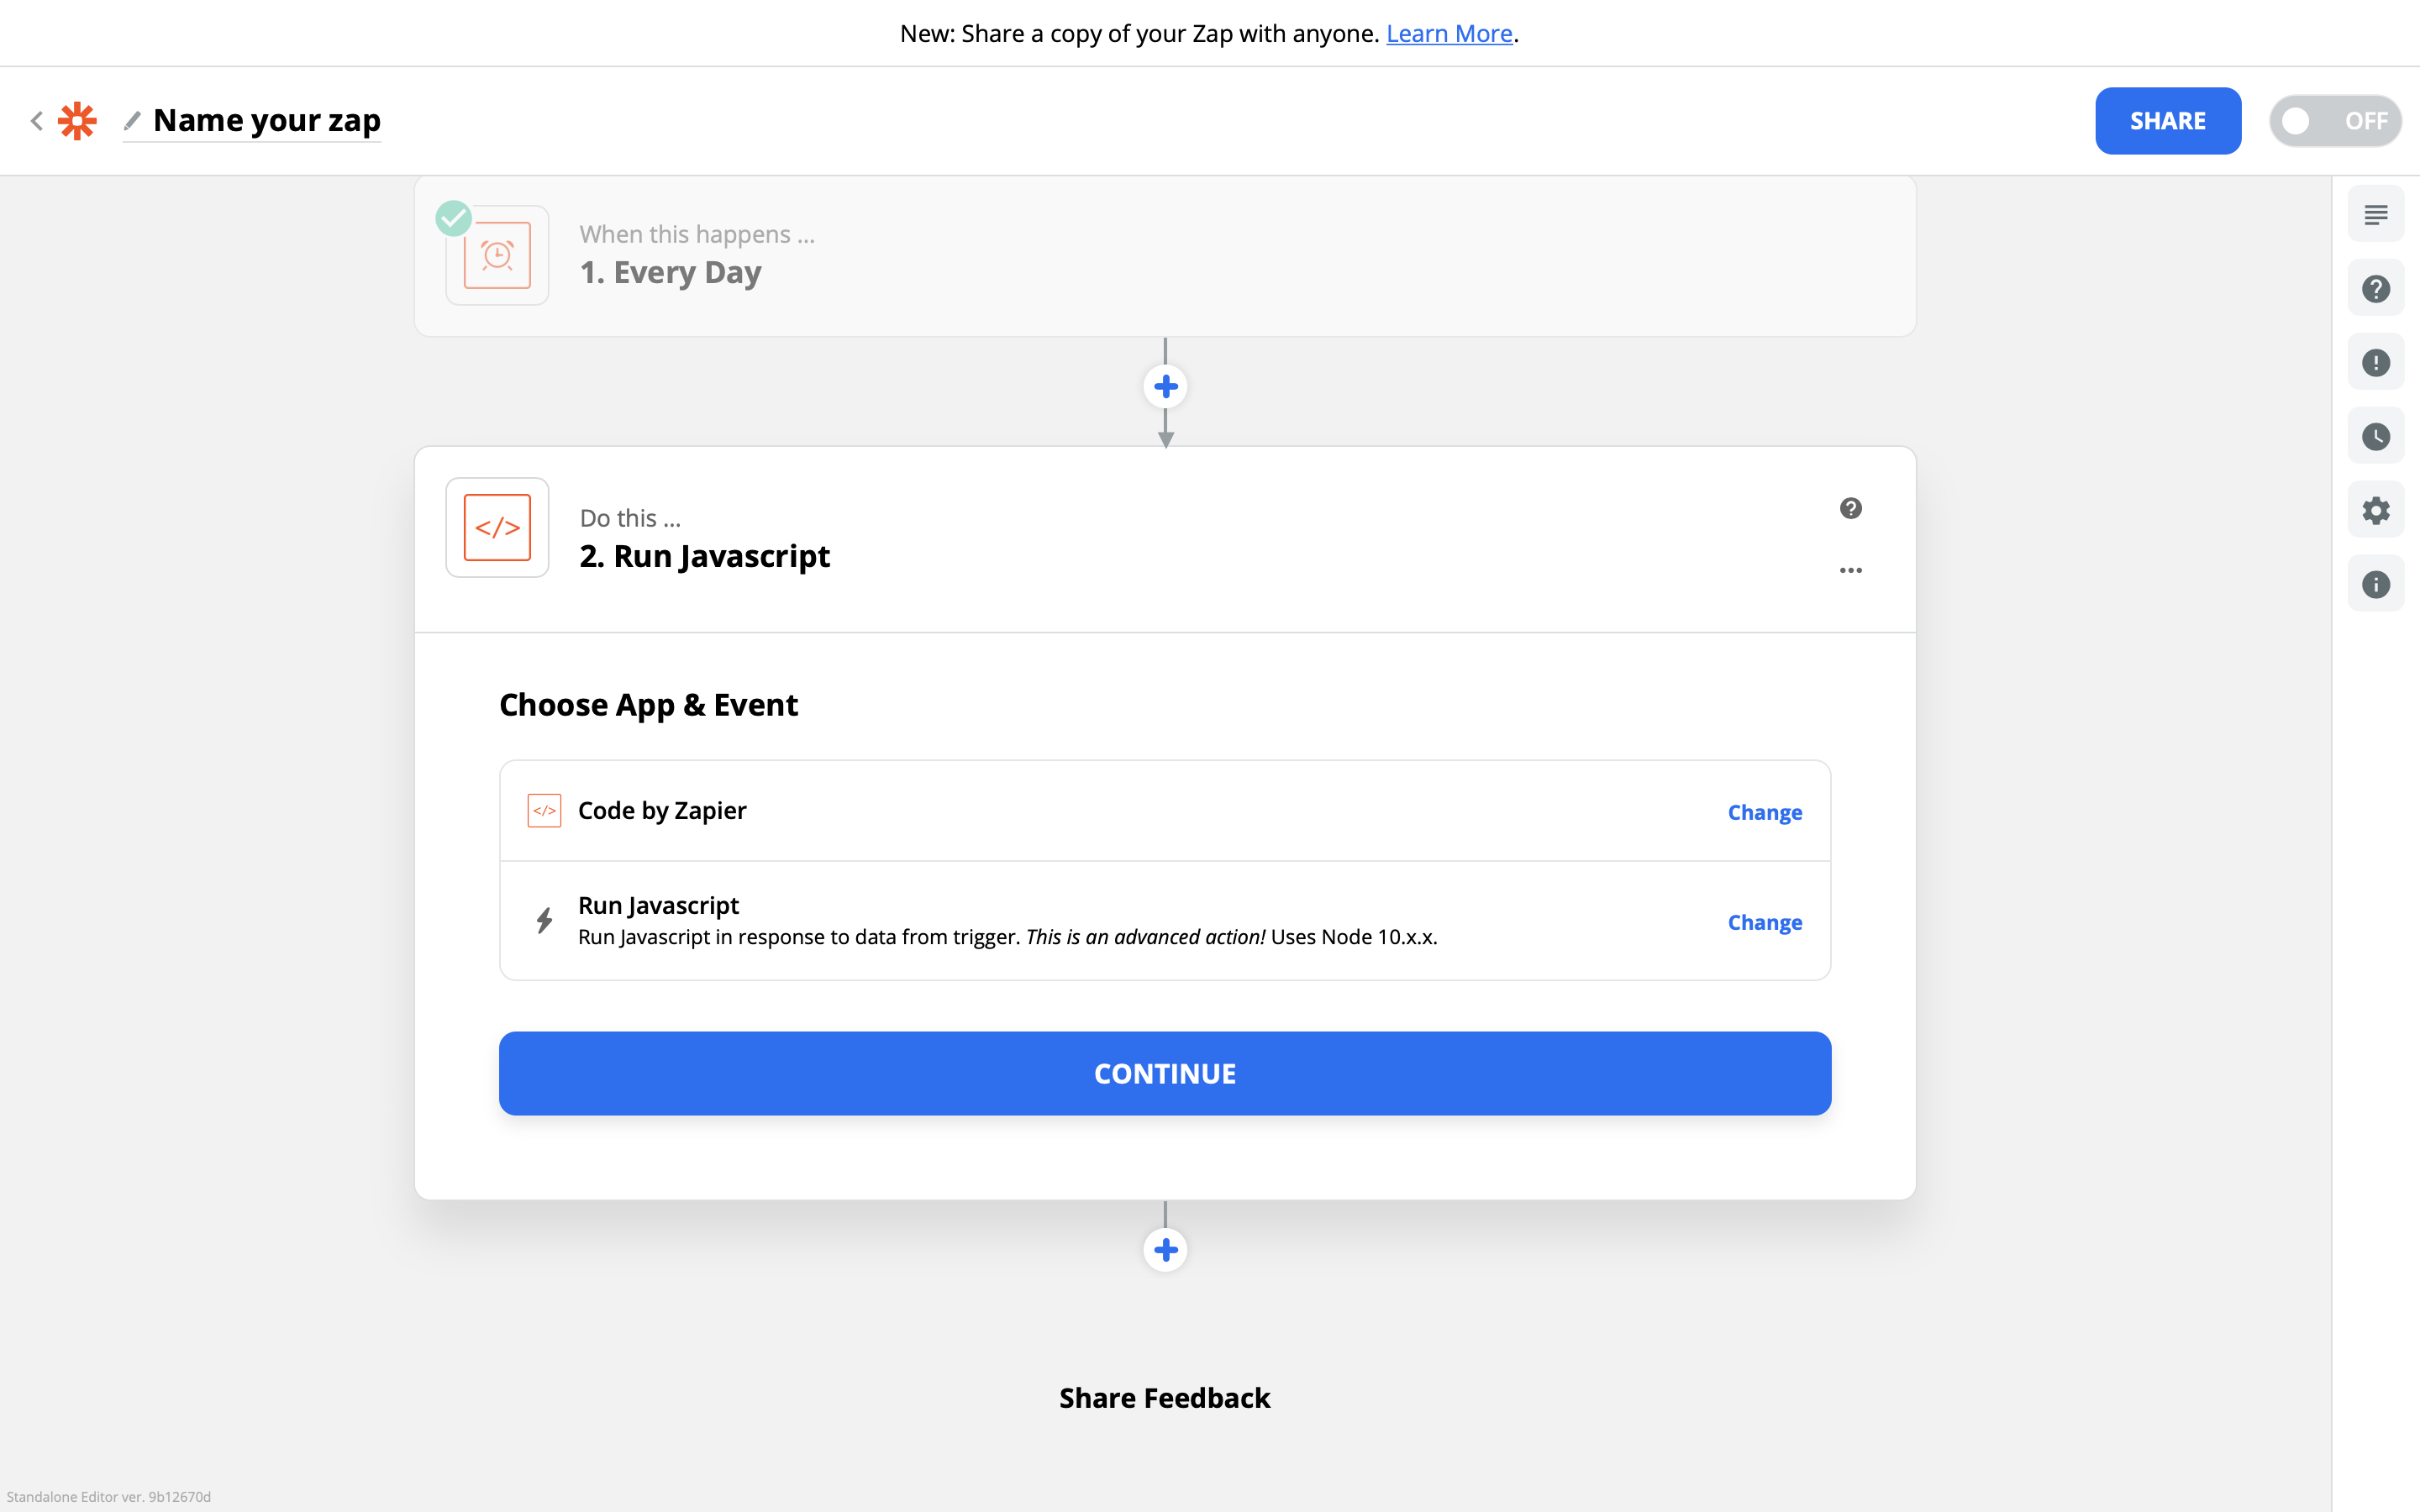
Pexels does not currently have a Zapier integration, but they do have an API that we can use via the Code by Zapier integration. Choose Code by Zapier and Run Javascript as the next step in your Zap:
In this step we are going to run some code that will hit the Pexels API using our Pexels API Key that we created earlier. It will choose a random video from the Pexels library and return the url of the video, so that we can use it with Bannerbear in the next step.
Here is a Github Gist of the code you need for this step. Paste the code into the main window and set up two input variables named keyword and pexels_api_key. The code expects these two inputs:

The keyword can be anything you like, but obviously it should be something that will turn up results from the pexels library, so don't put anything too obscure!
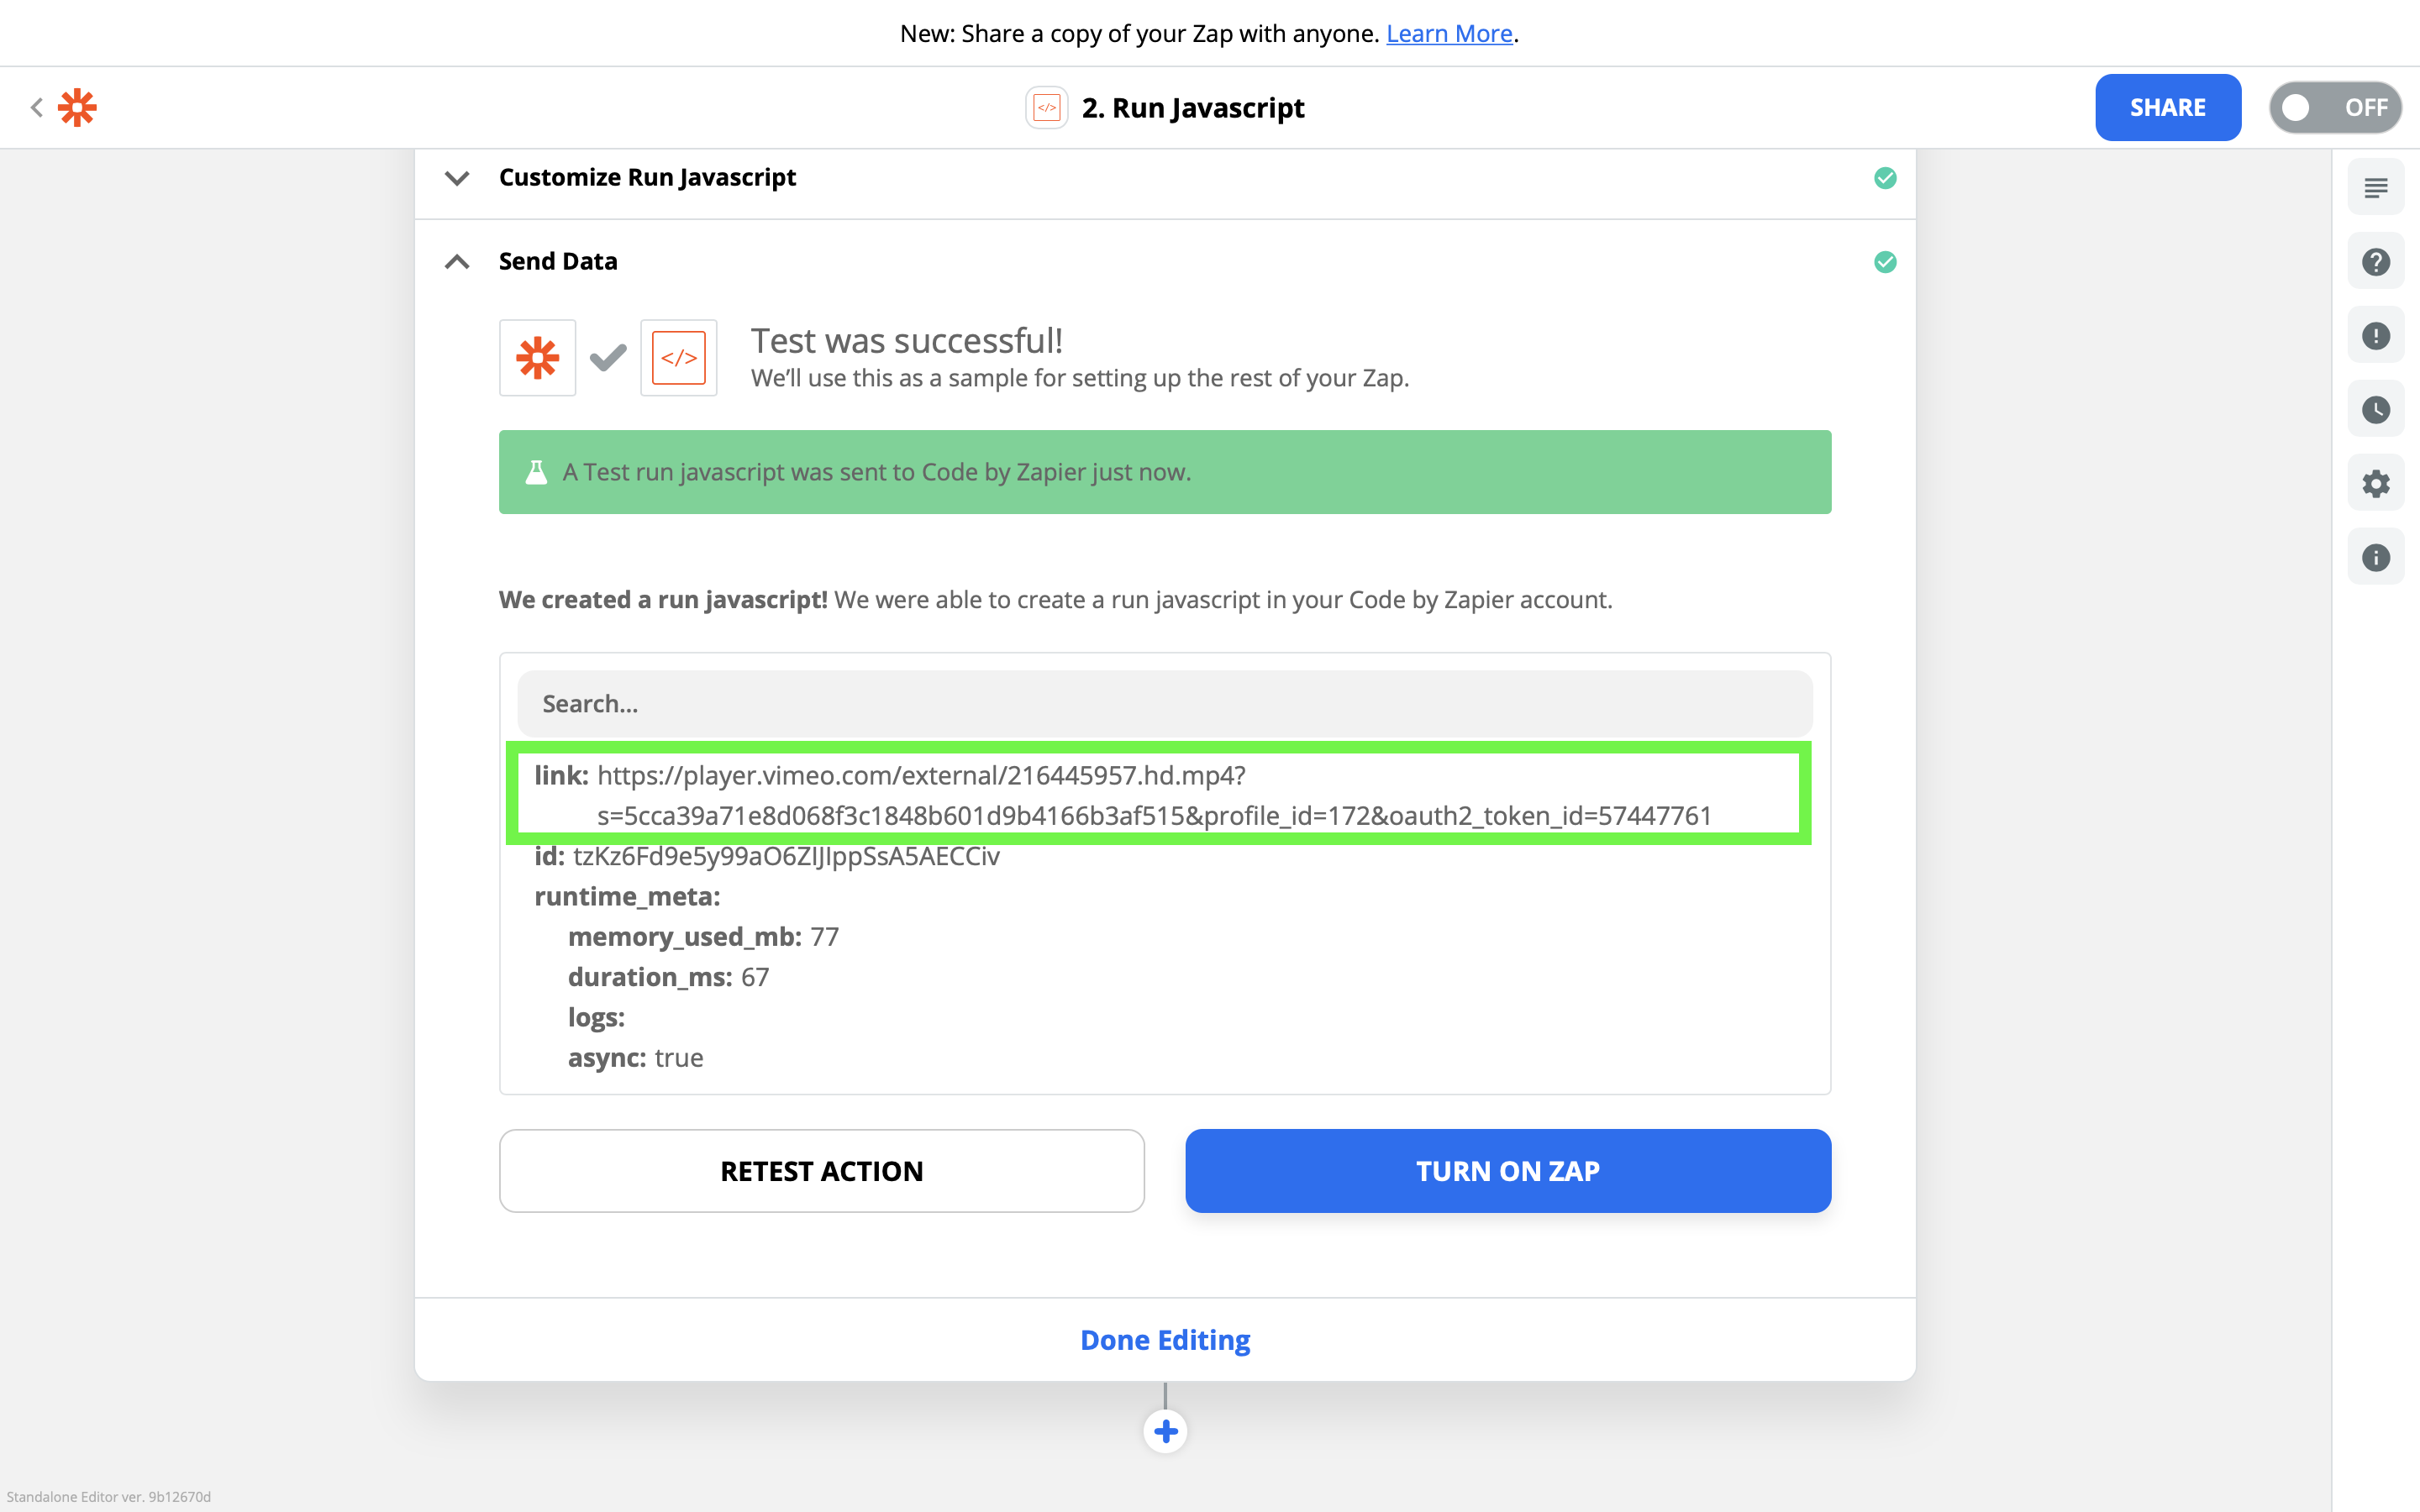
Test the Zap step and you should see some kind of video url as the output.
Now it's time to pass this data to Bannerbear!
Sending data to Bannerbear
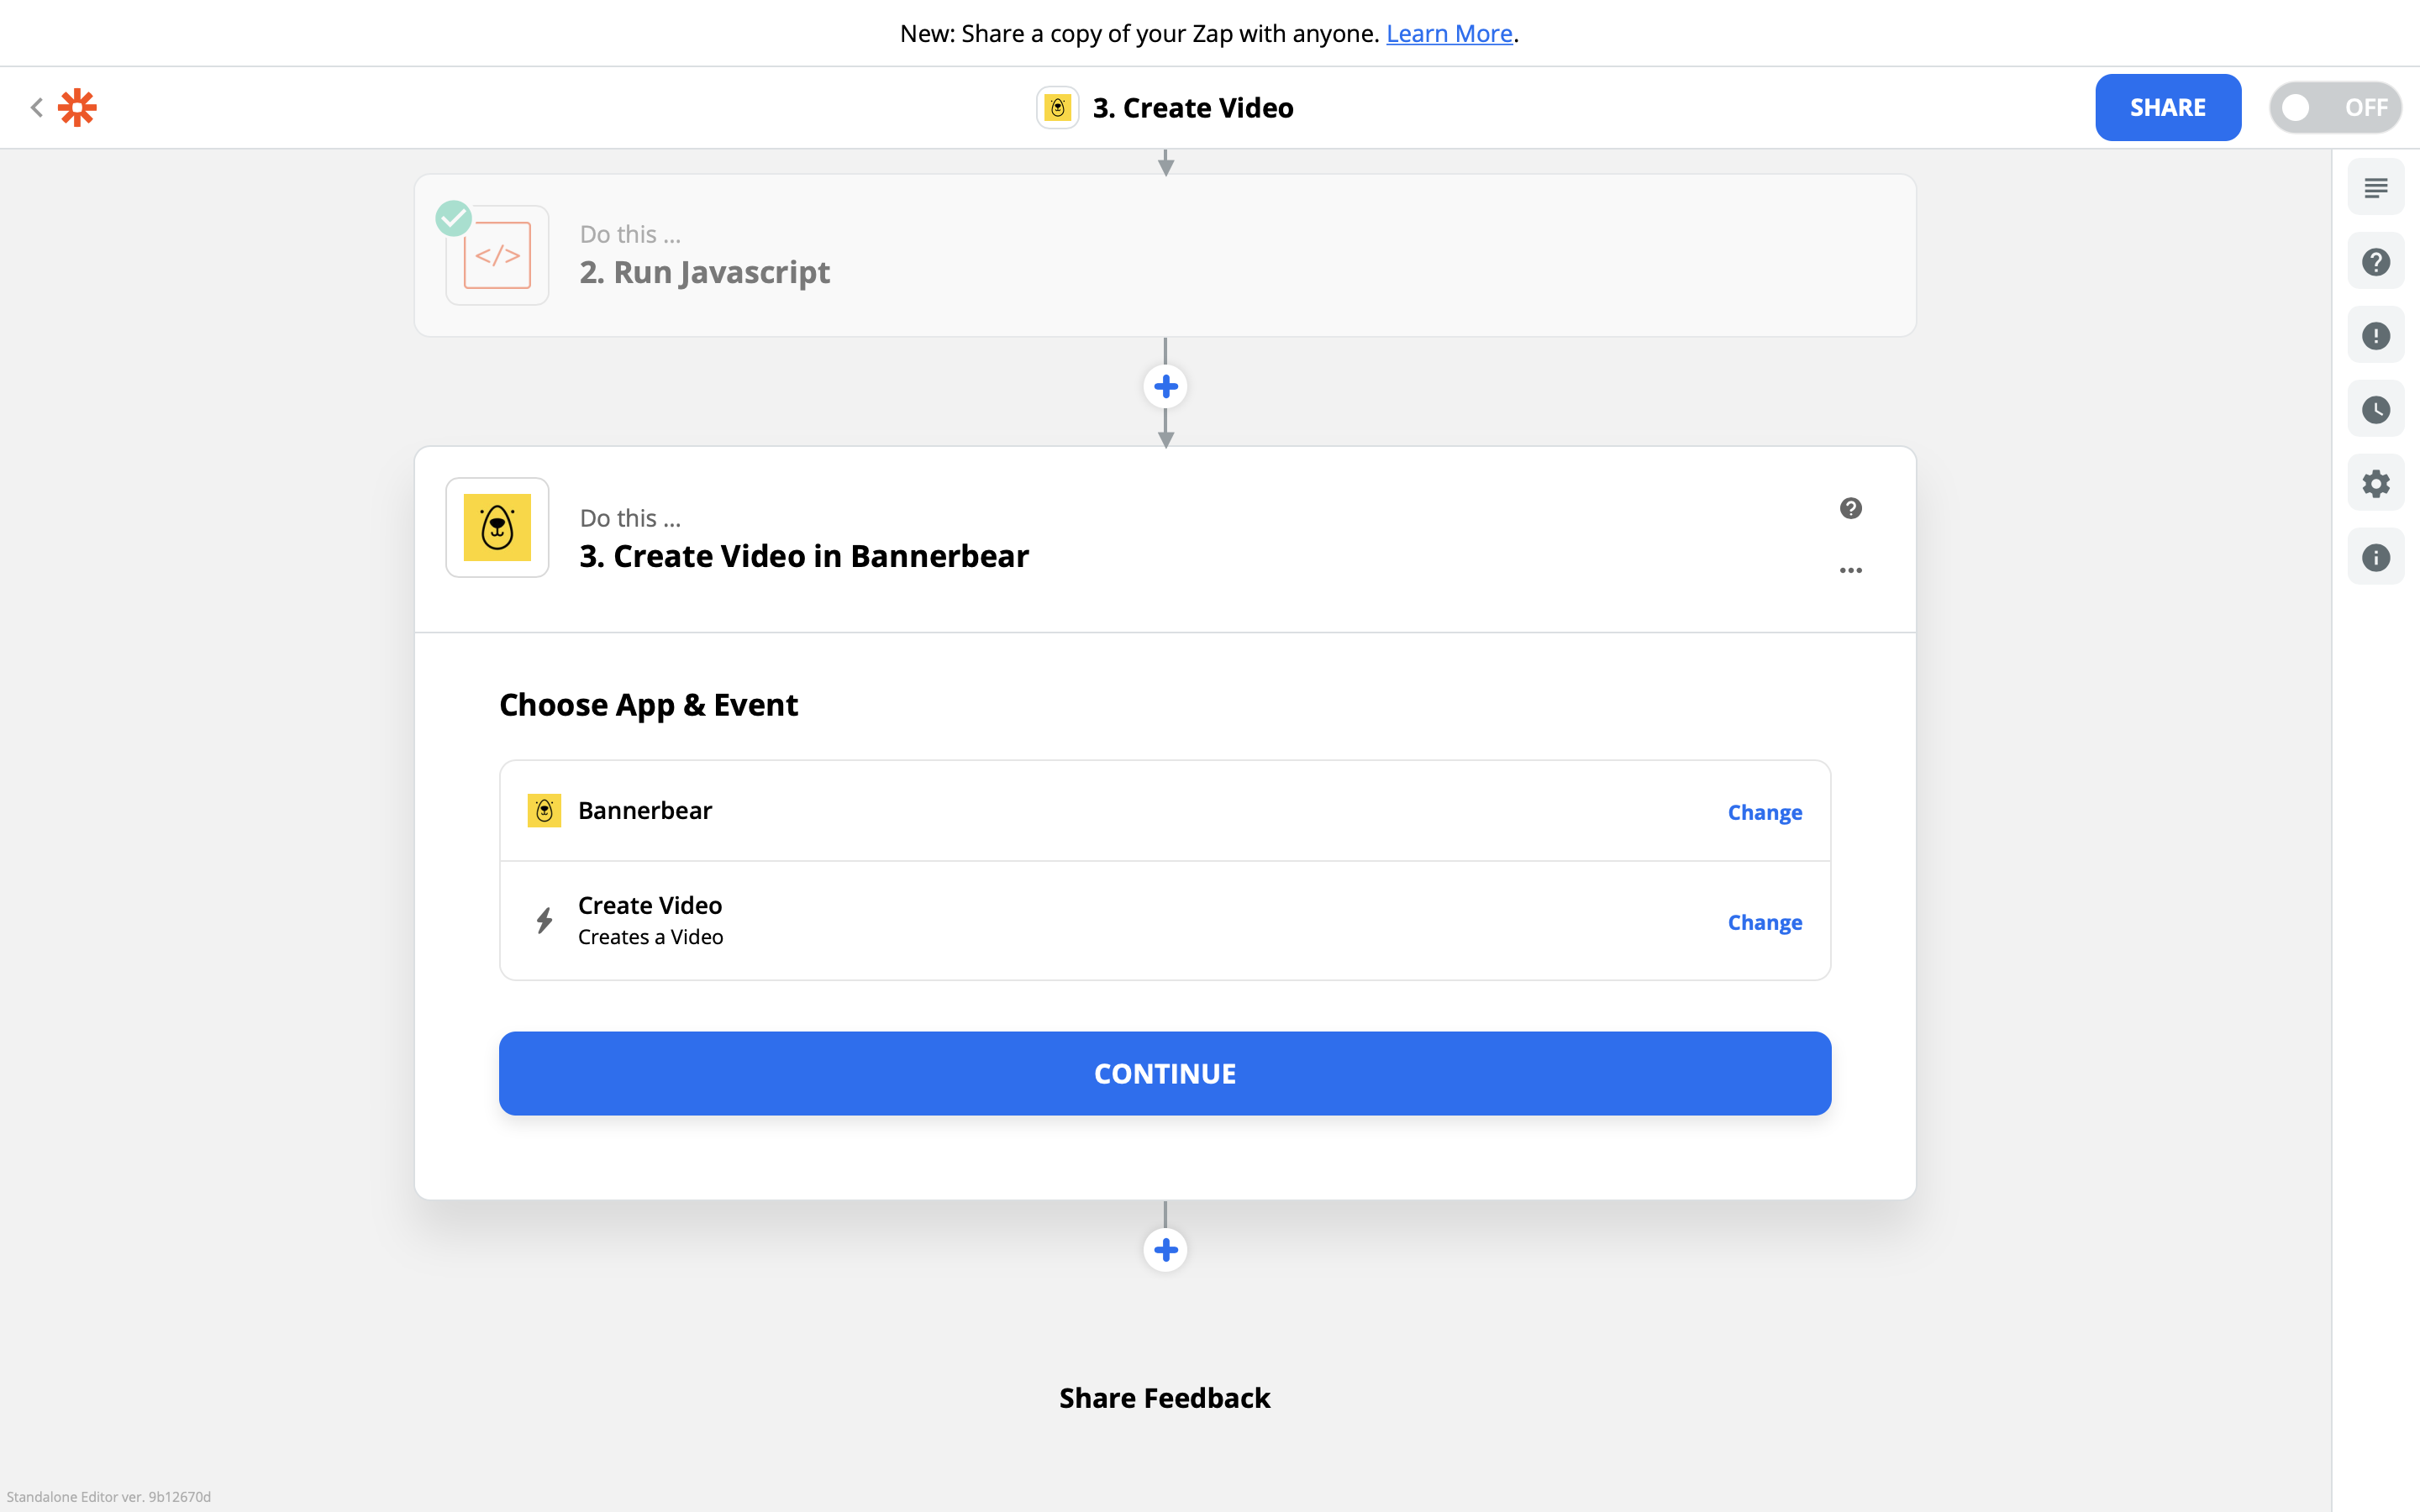
As the next step in your Zap, choose Bannerbear and the Create Video action:
To authenticate with Bannerbear you will need your Project API Key which can be found in the project settings page:
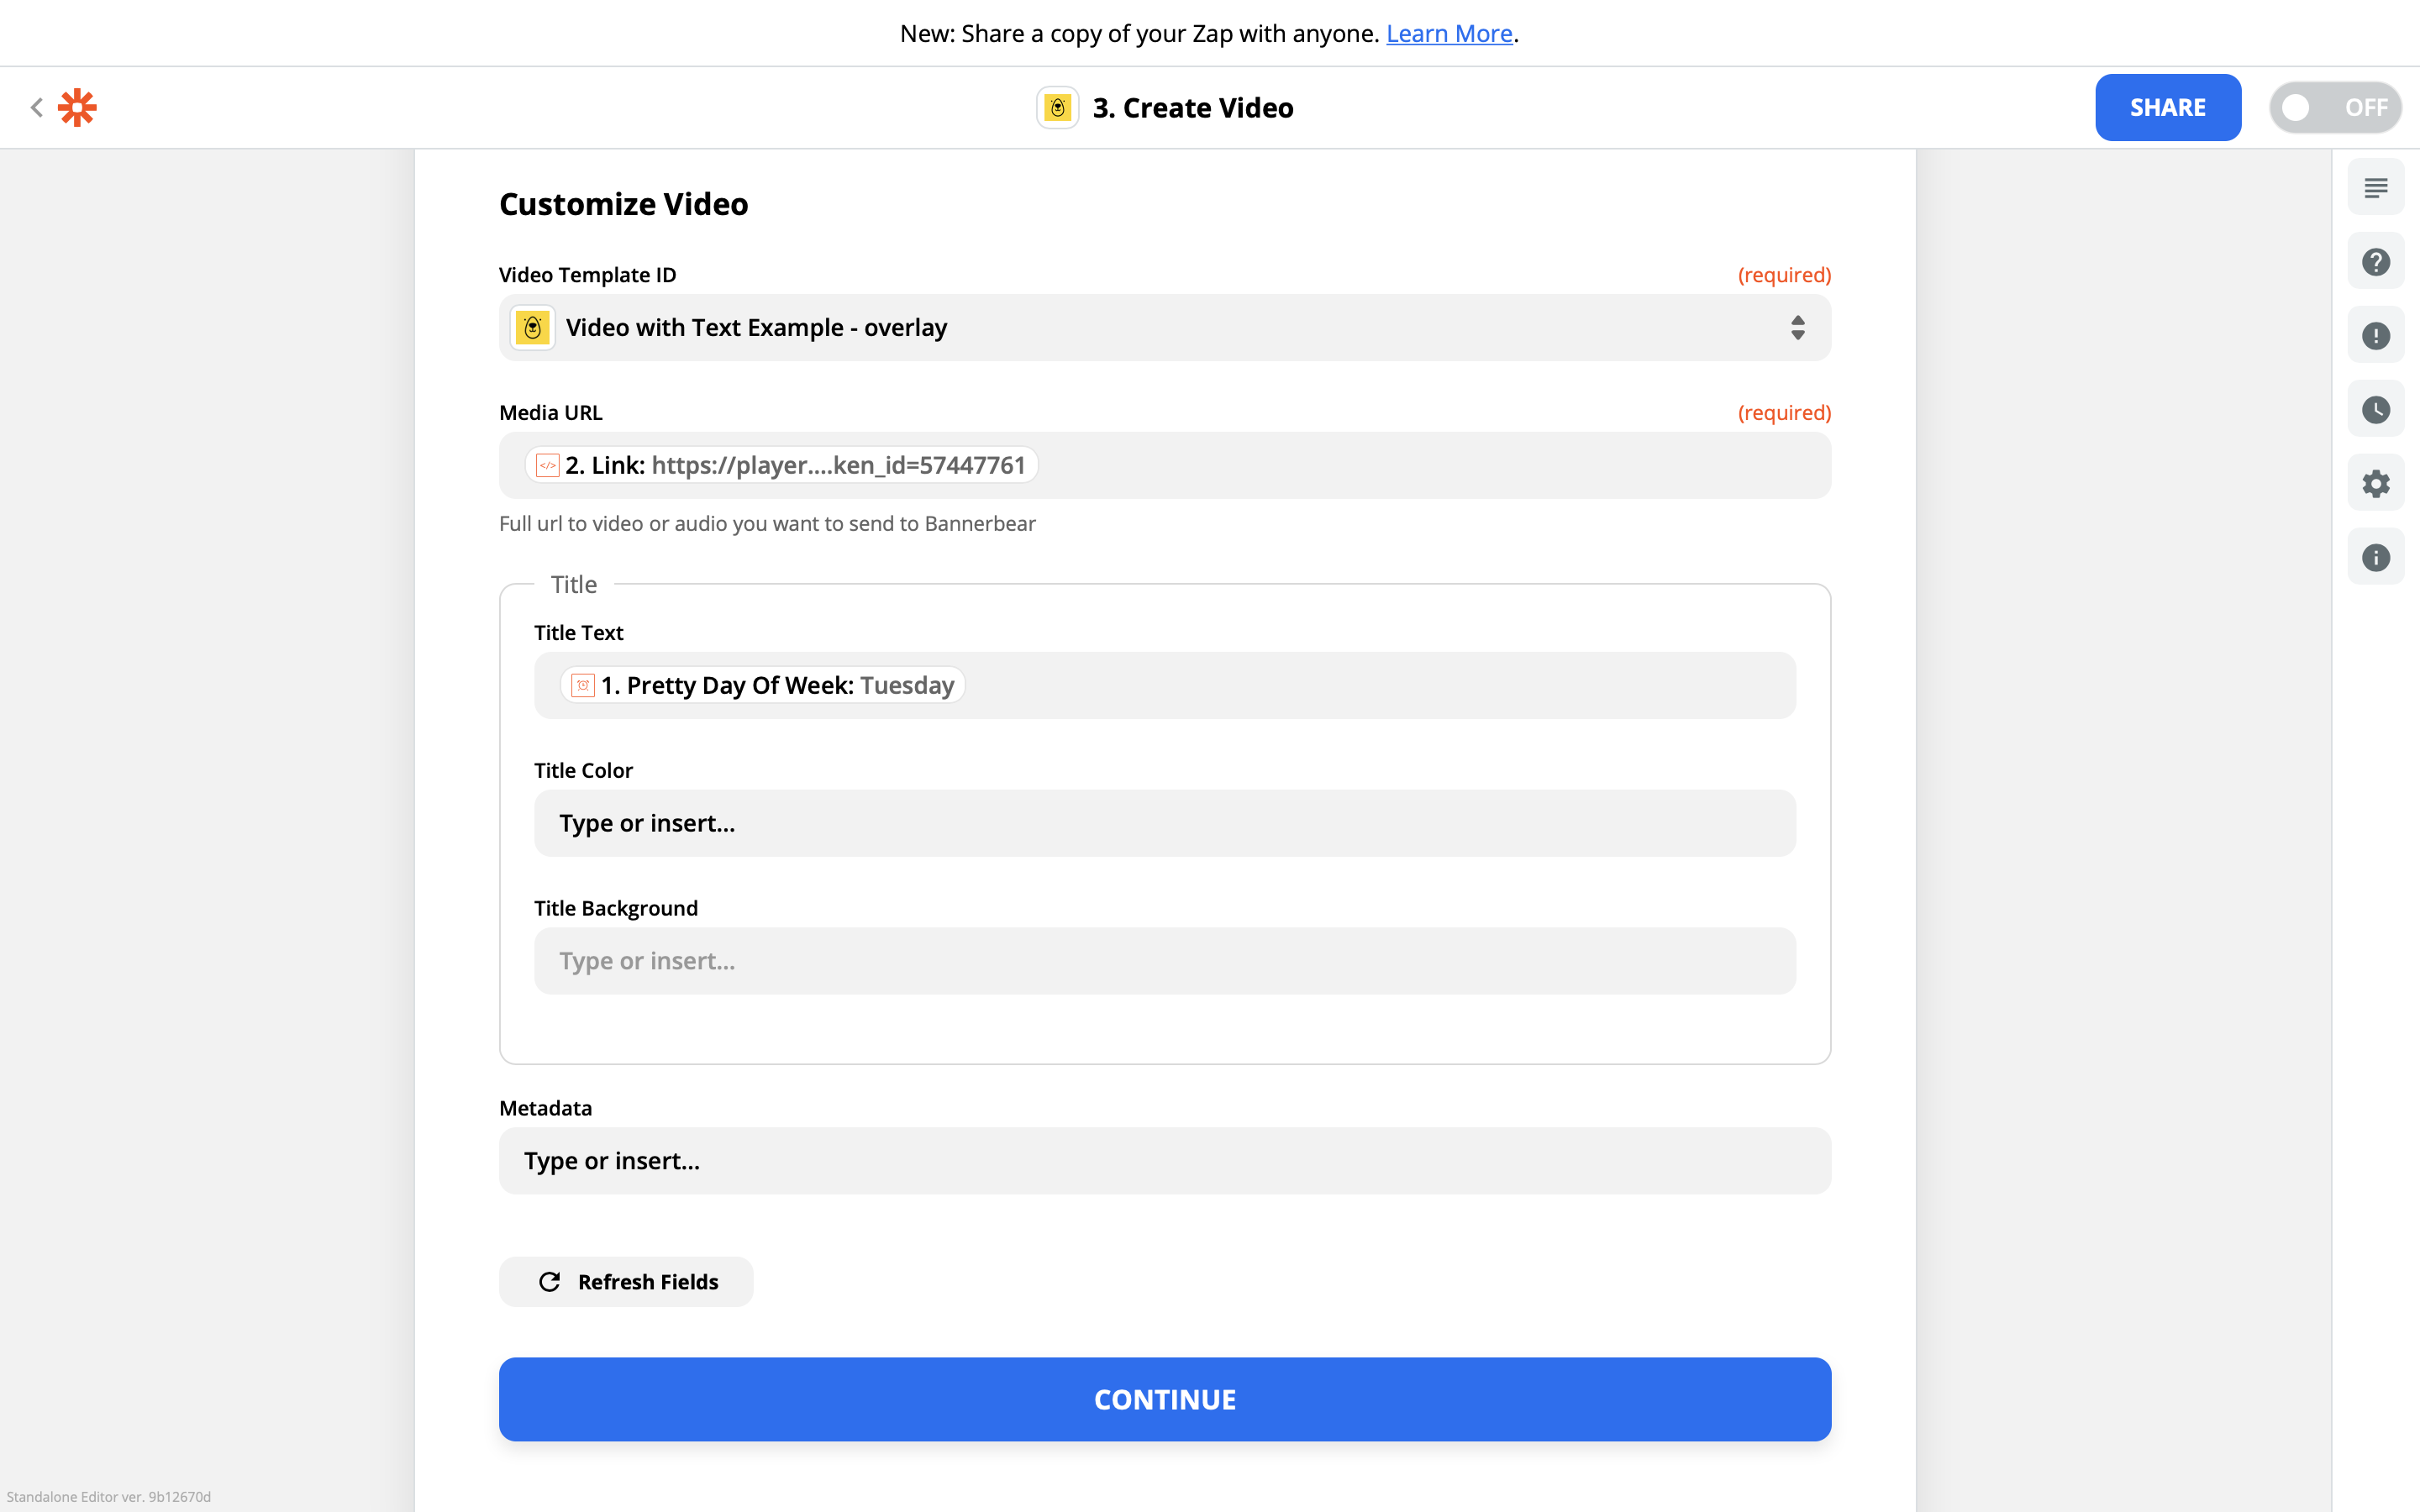
Zapier will now ask for the template data.
For the Video Template ID, choose Video with Text Example - overlay which is the Video Template you created earlier.
For the Media URL choose the Link result of the Run Javascript action you set up earlier.
For the Title Text choose the Pretty Day of the Week result of the Every Day action you set up earlier.
The zap step should look something like this now:
Lets recap - what did we just do? We just created a zap that:
- Runs every day at midnight
- Searches Pexels for a random video (based on a keyword)
- Sends 2 bits of data to a Bannerbear template: a video url, and the current day
Sending the final test
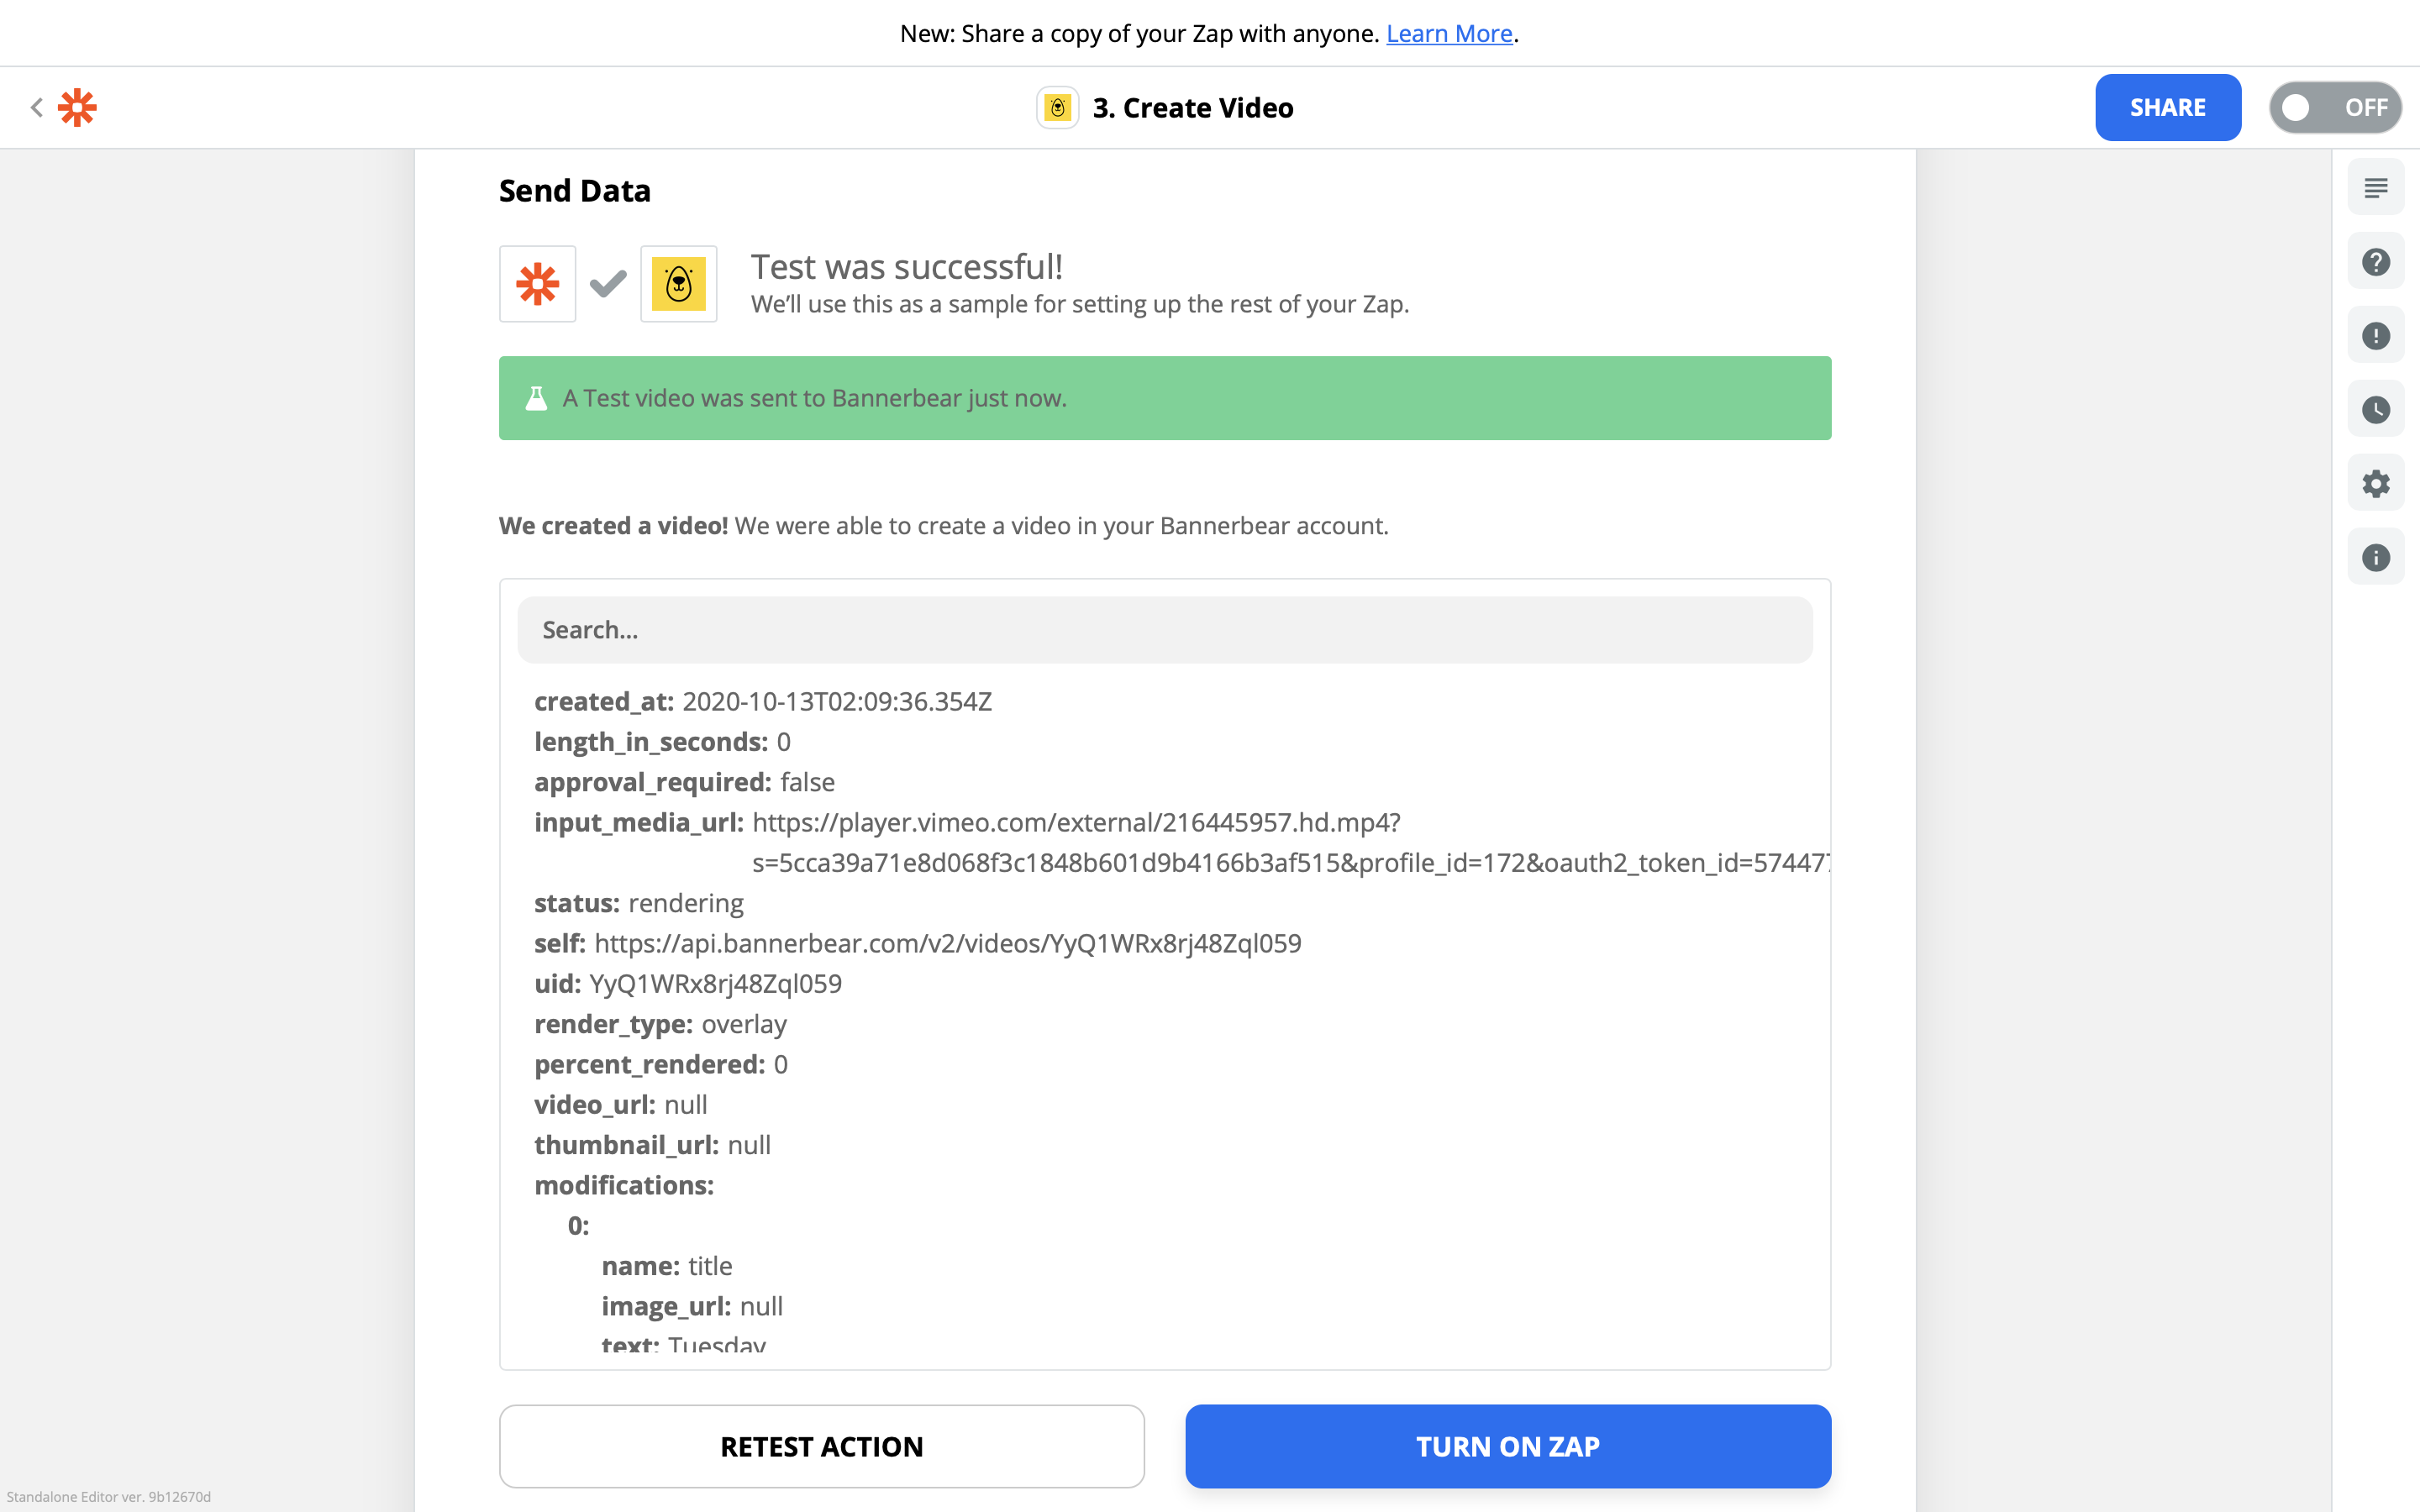
We are ready to send this final data payload to Bannerbear. Hit Test and Review in Zapier to test the zap, you should see a green "success" message and some data output:
Switch over to the Bannerbear dashboard to confirm - you should see that there is a new video being rendered on the Video Template page for (overlay) Video with Text Example.
After a few moments the video should finish rendering:
Congratulations! You have created your first auto-generated video using Zapier and Bannerbear :)
Turn on this zap and it will start creating videos every day at midnight.
Triggering an action when a video is generated
So now the newly rendered video is sitting in Bannerbear. That's great, but most likely you will want to do something with this video once it is generated.
Videos behave a little differently compared to Images, with the Zapier + Bannerbear integration.
In the integration the Create Image action generates an image instantly and the image url is found in the zap step result.
The Create Video action receives the request and then starts generating the video in the background. To actually get the video, you need to set up another step.
Videos take a lot longer to generate compared to images. The rendering time can also be quite different depending on the size / length / complexity of the video (could be anywhere from 1 minute to a few minutes). So for these reasons, this two-step approach is necessary.
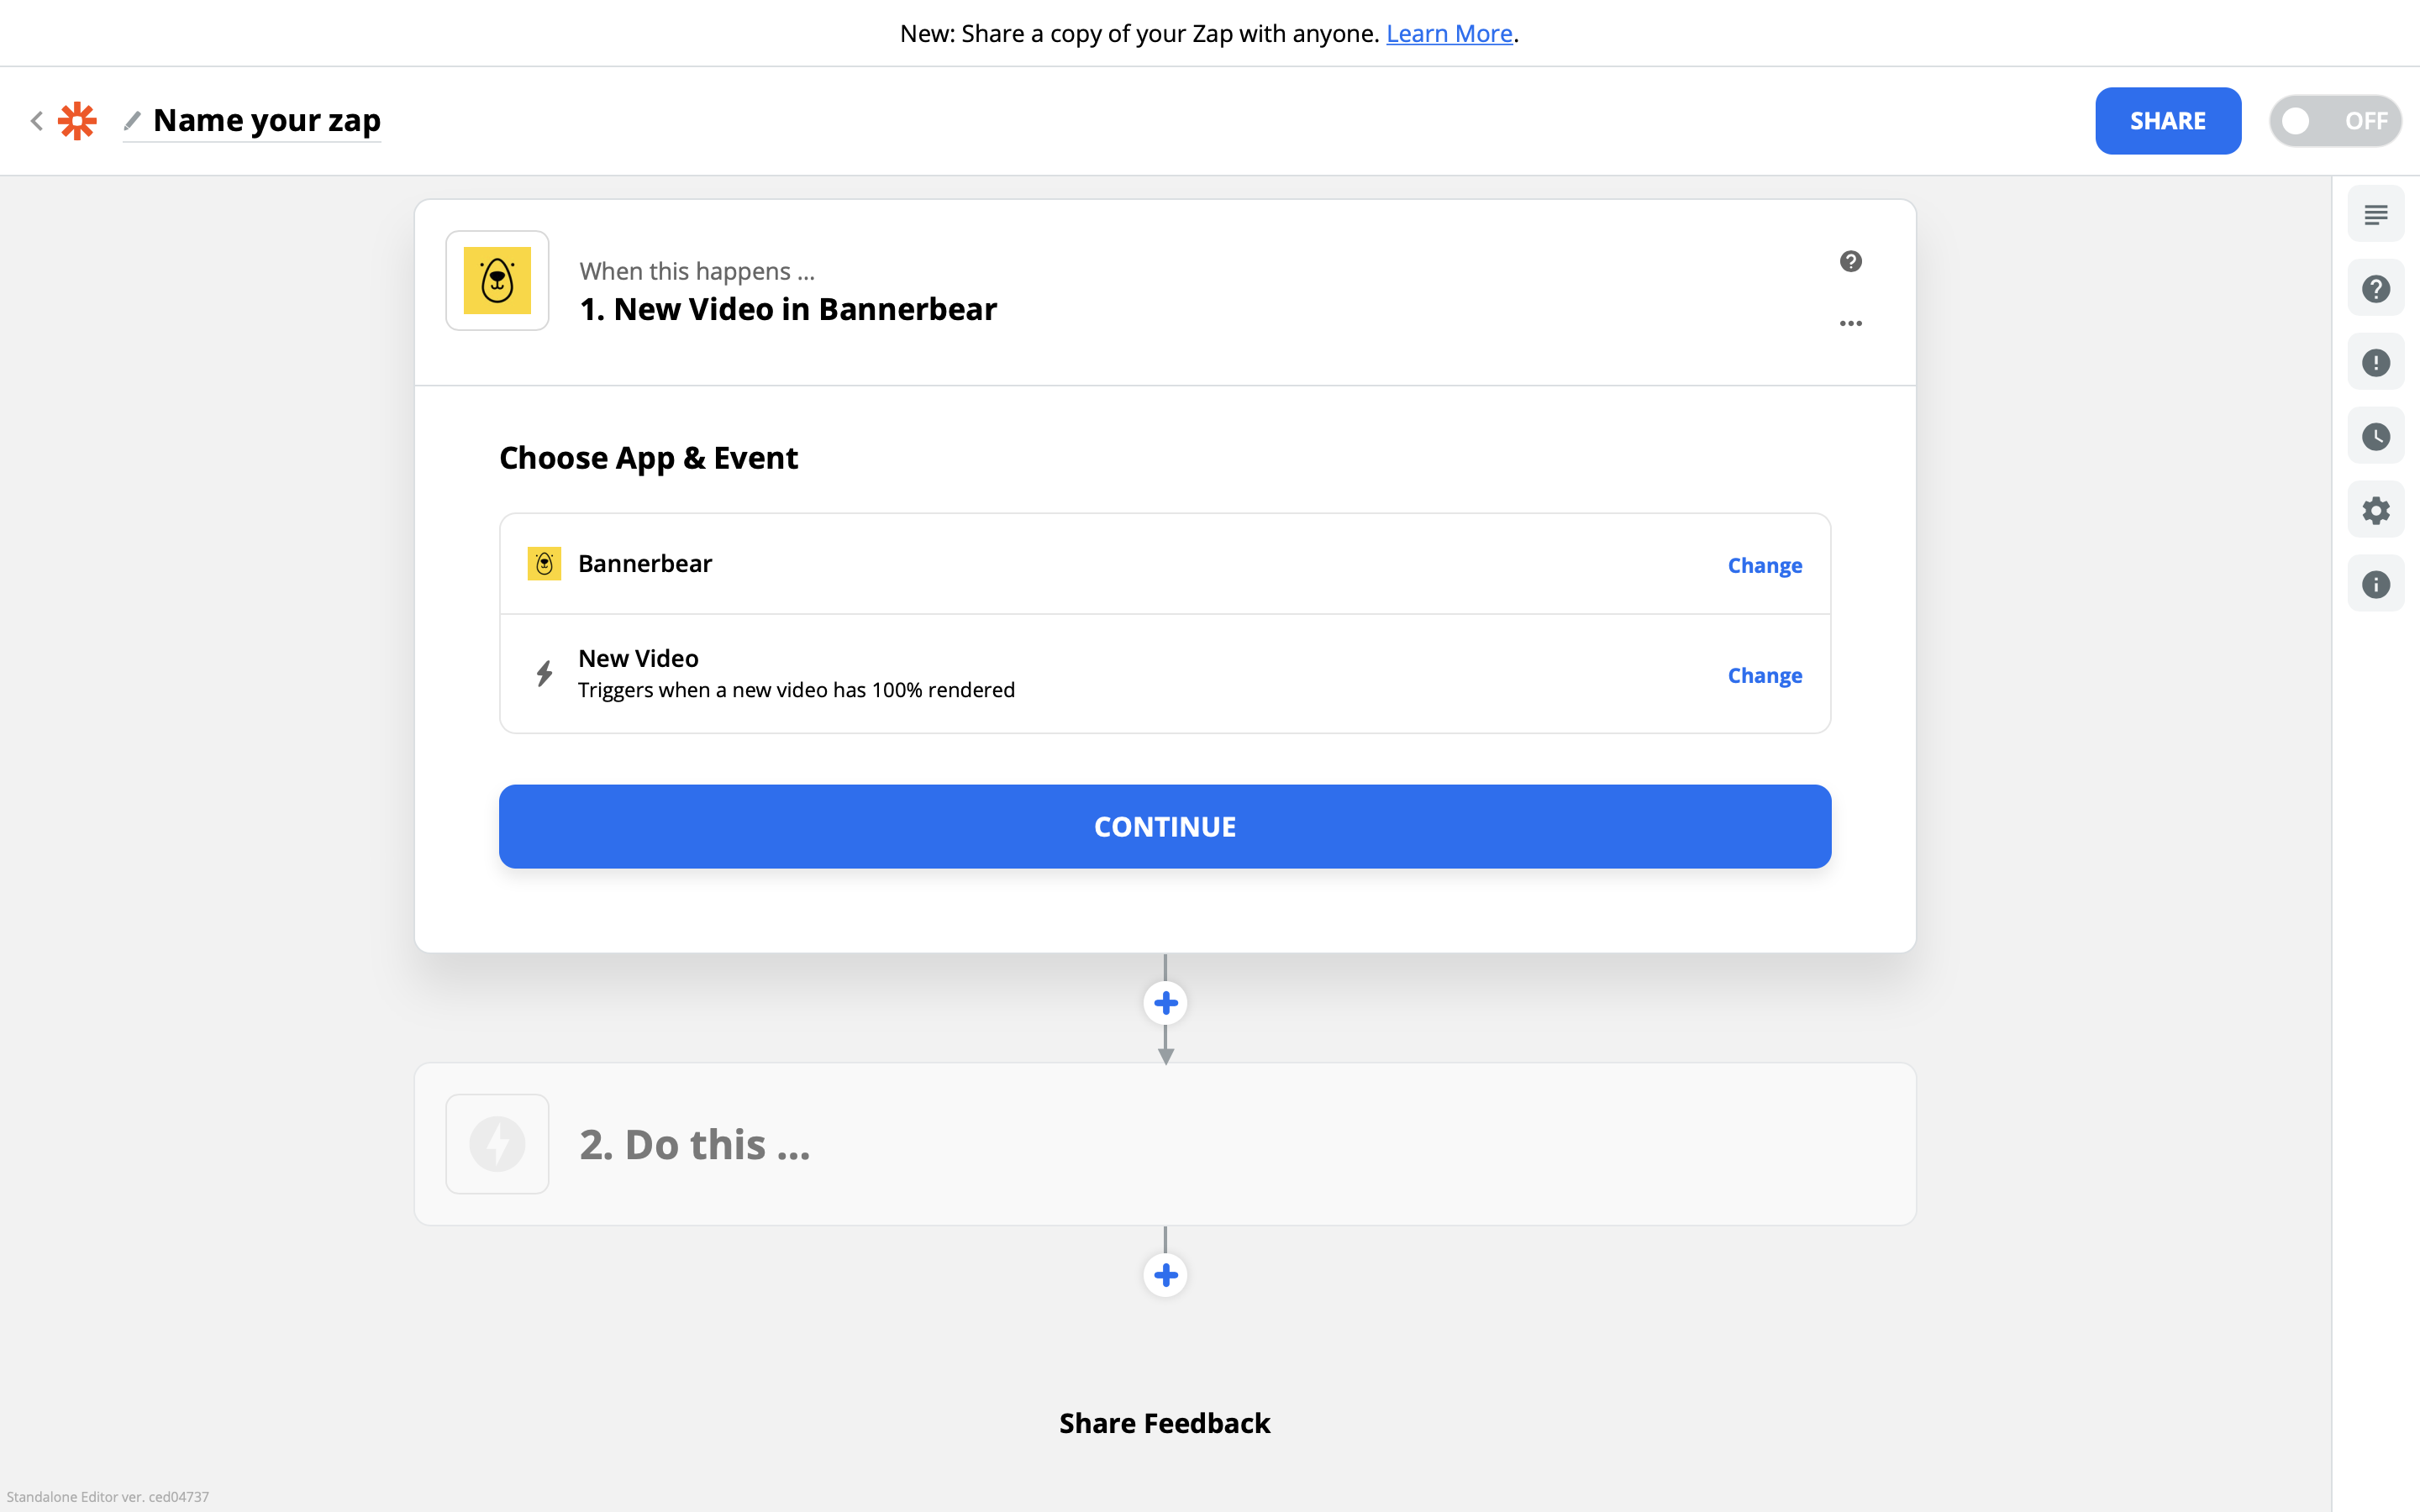
So to continue your automated workflow when a video has finished rendering, you need to set up another zap. This time, the Trigger for the zap will be New Video.
In Zapier, create a new zap and choose Bannerbear + New Video as the trigger:
Choose the same Bannerbear account that you authenticated with above.
When you test the zap trigger you should see the video you just generated:
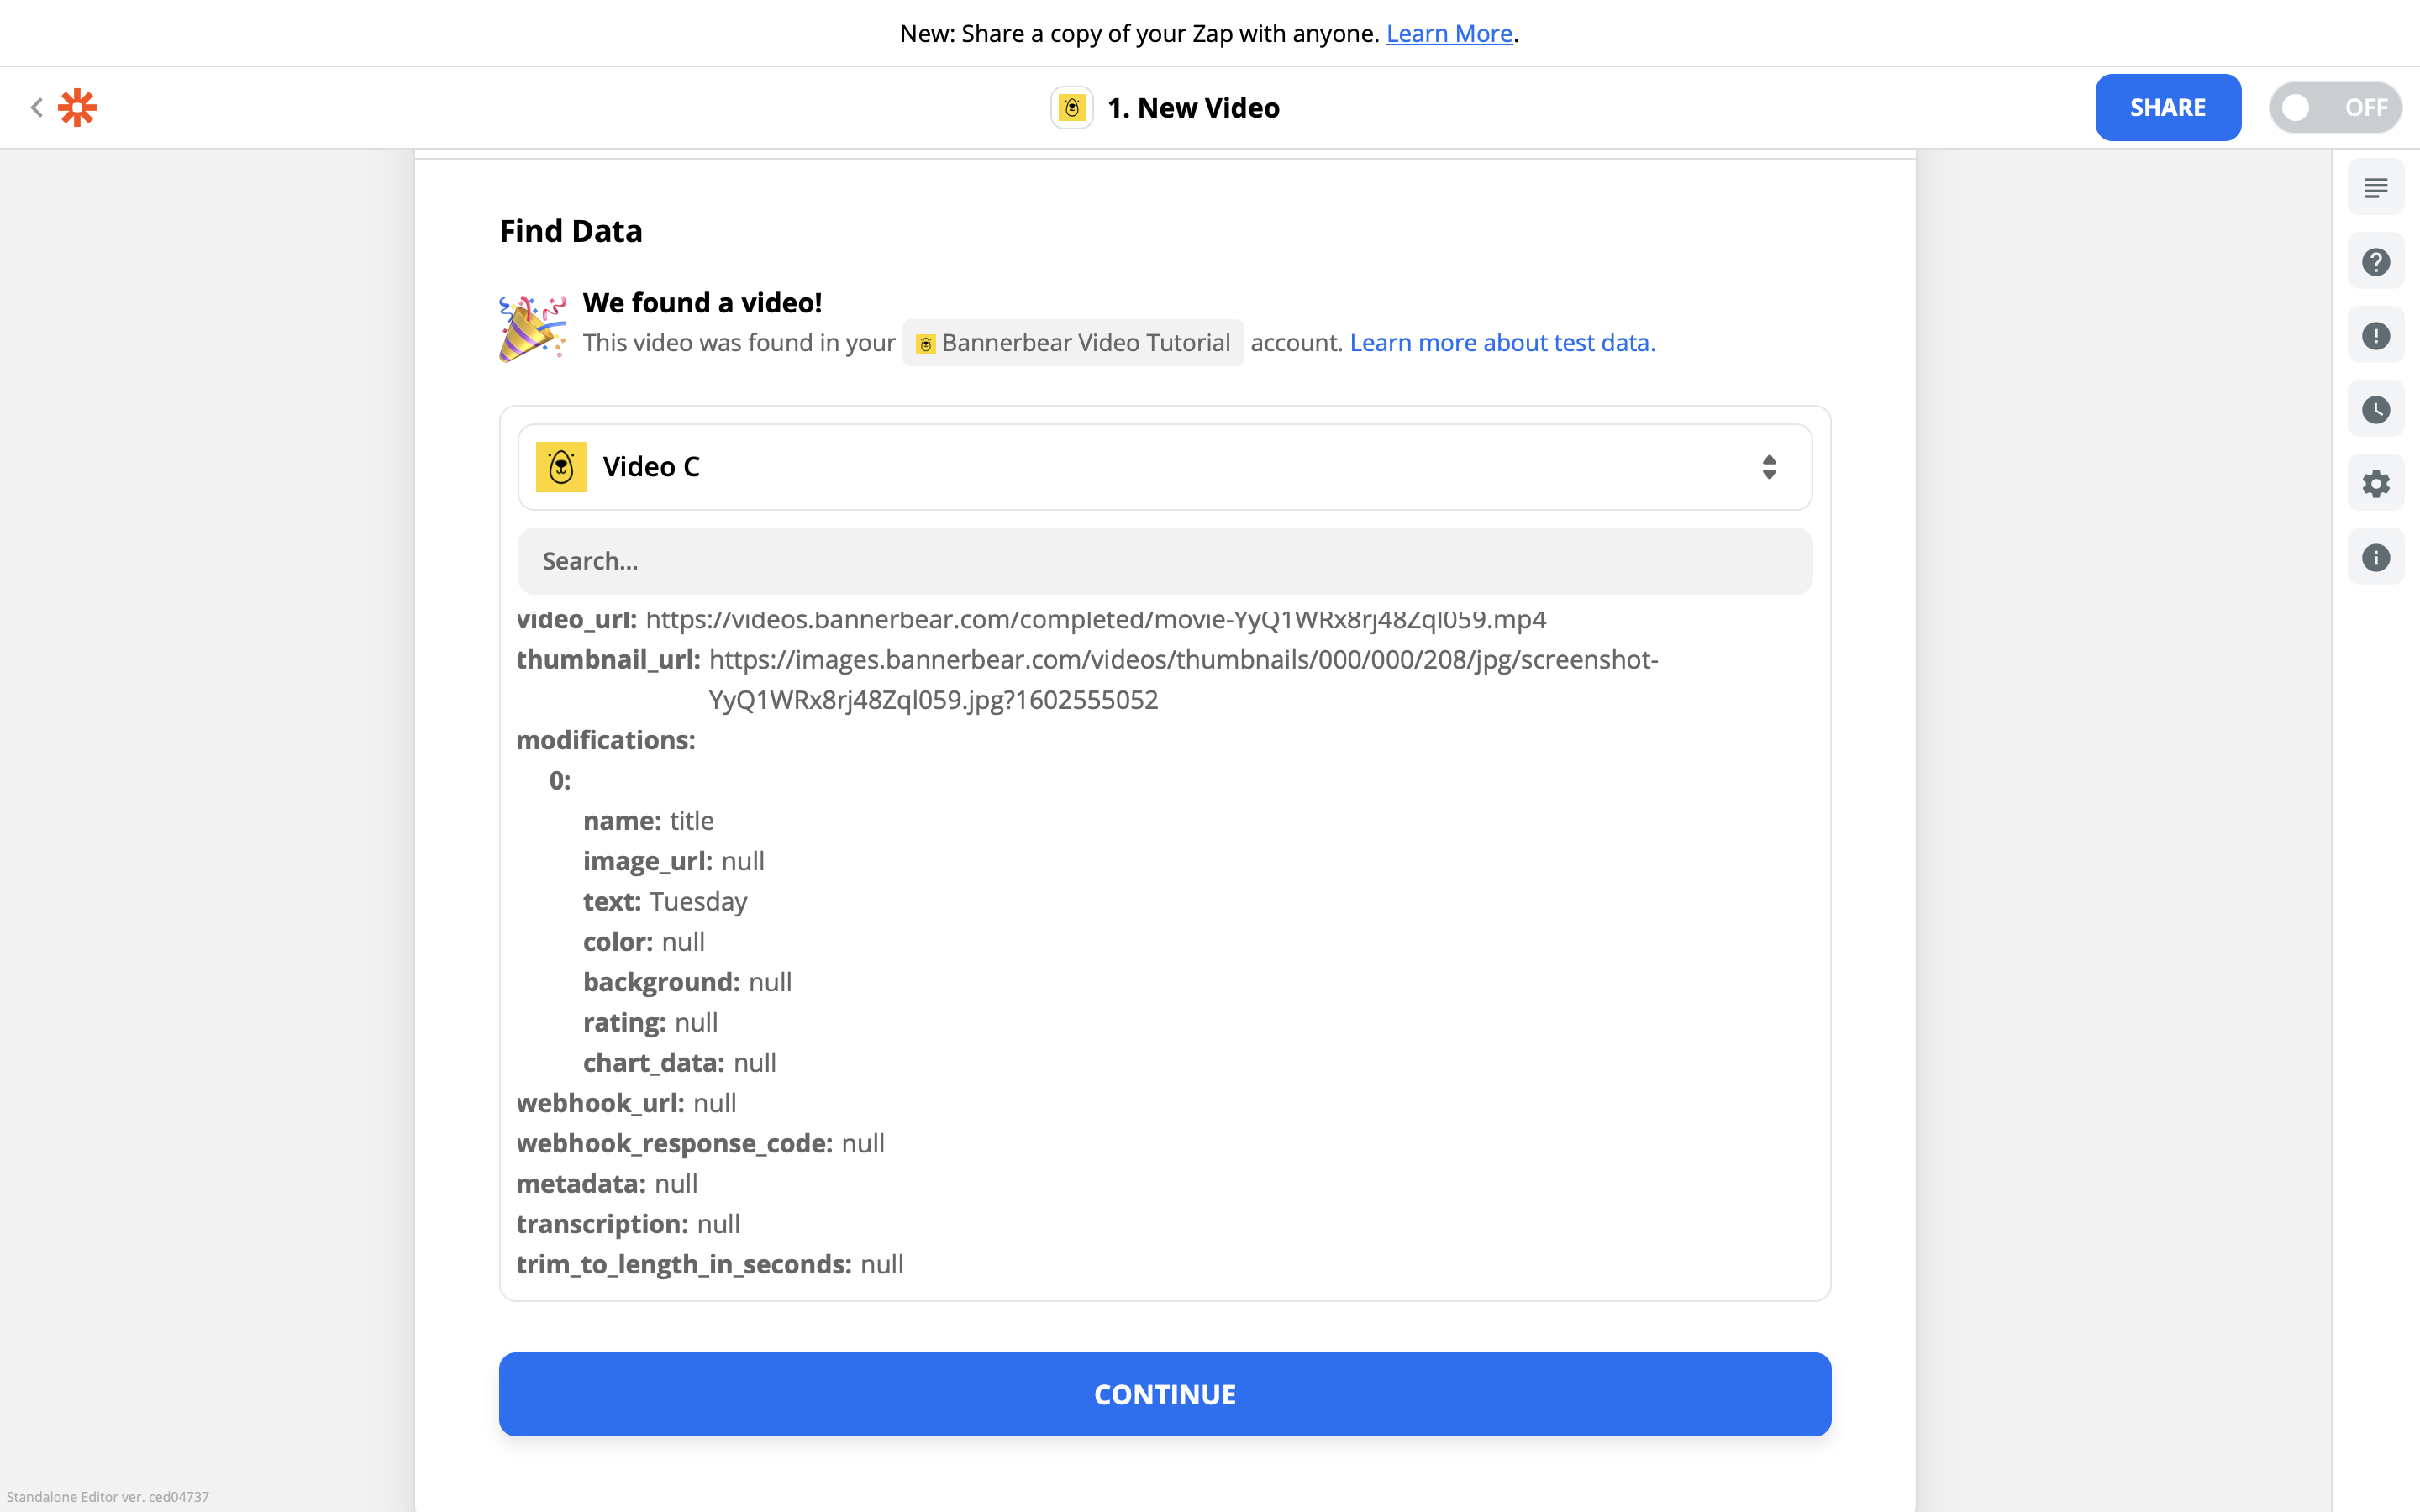
The response of this trigger is a Bannerbear Video object. You can see details of what is contained in a Video object in the Bannerbear API Documentation.
For now, all we are interested in is the video_url attribute which we are going to use in the next step.
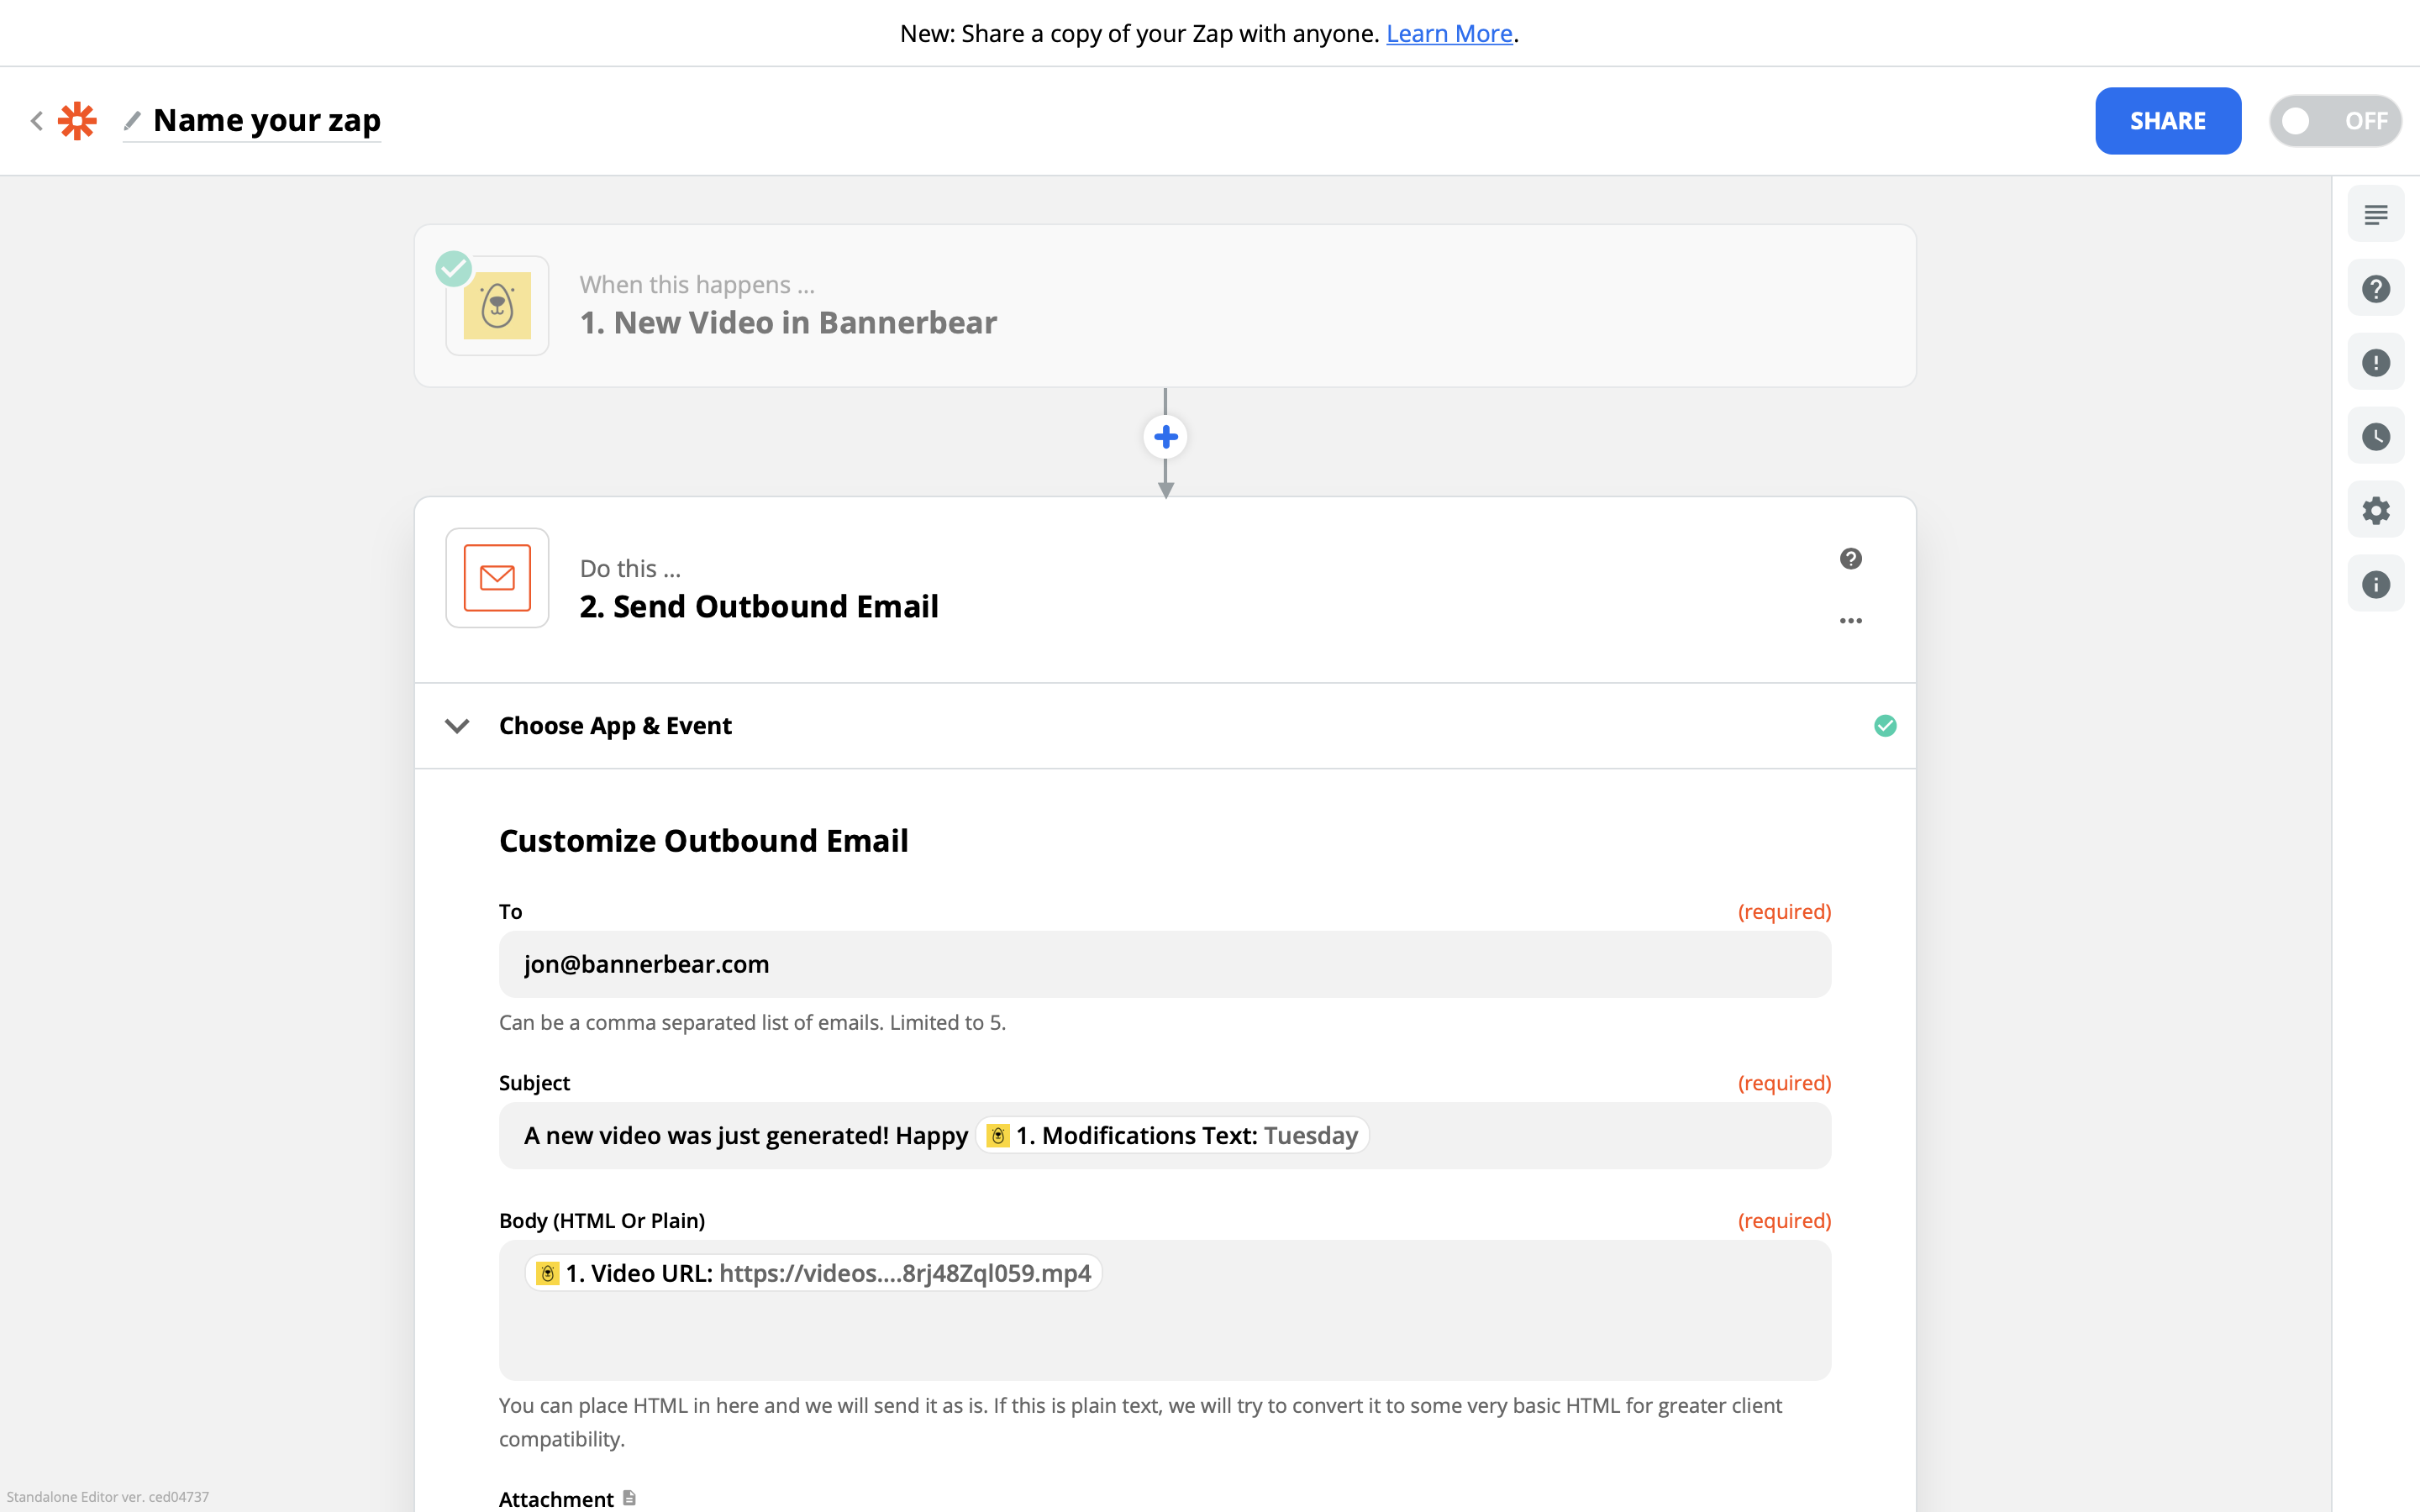
Add a next step and choose Email by Zapier as the action:

Enter your email and a subject line (I added the day text from the Bannerbear Video object here).
In the body of the email, add the link to the video. This can be found in the Video URL attribute of the data from the previous step. Make sure you choose Video URL and not one of the other urls! The Video URL is the newly-rendered video from Bannerbear, which is what you want.
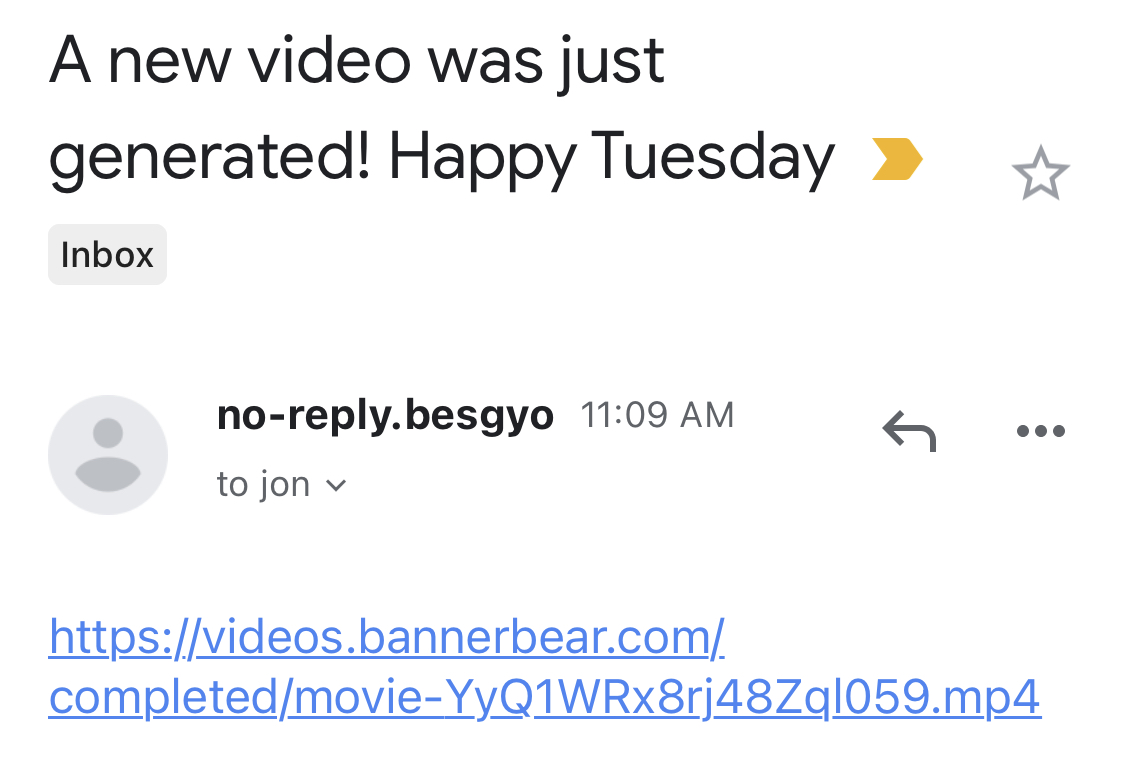
Test the step and check your email, you should now see the newly-rendered video url in your inbox.
That's it! You have now set up the trigger step that will be activated whenever a new video is generated in your project.
Next Steps…
This was just a simple example to show you the end-to-end principles of automated video generation using Bannerbear and Zapier. As a next step why not try something like:
Video inputs…
- Grab videos from a Slack channel
- Grab videos from an Airtable
- Grab videos from a Google Drive
Transformations…
- Get Bannerbear to auto-subtitle the videos
- Add your company logo
- Add names etc of people in the video
Outputs…
- Auto post video to social media
- Add videos to a spreadsheet
- Add videos to a Google Drive
Conclusion
The Bannerbear Video API using Zapier is a powerful way to create automatic workflows that result in auto-generated branded videos ideal for social media. Integrate Bannerbear with over 2000+ apps via Zapier and the rest is up to your imagination!
API Documentation
You can read through the Bannerbear API Documentation which covers generating both Images and Videos.
