A 5-Minute Quick Guide to Working with Airtable Views
Contents
If you are familiar with no-code and low-code tools, you have probably used or heard of Airtable. If you haven’t, think of Airtable as a Google Sheets and relational database hybrid.
Airtable is made up of workspaces, bases, custom tables, fields, and views. In a base, you can create multiple views specific to each table in your base.
Everyone has a unique approach to tackling projects within a team. When working with a large base or alongside a team, view management can allow anyone on your team to see data differently. Teammates can customize and create a new view of the table without affecting the data in the table.
View management defines how your data is displayed by customizing how and what information you see. Put simply, each Airtable view is like different ways through which you can see the same records in the table. This article takes you through the types of views you can use for your project.
With Airtable views, you apply configurations to show only specific fields or records. To preview a view type, hover over each of the view type options. To create a new view, click on a view type to open up the view menu from among the new view creation buttons at the bottom of the page.
Grid view
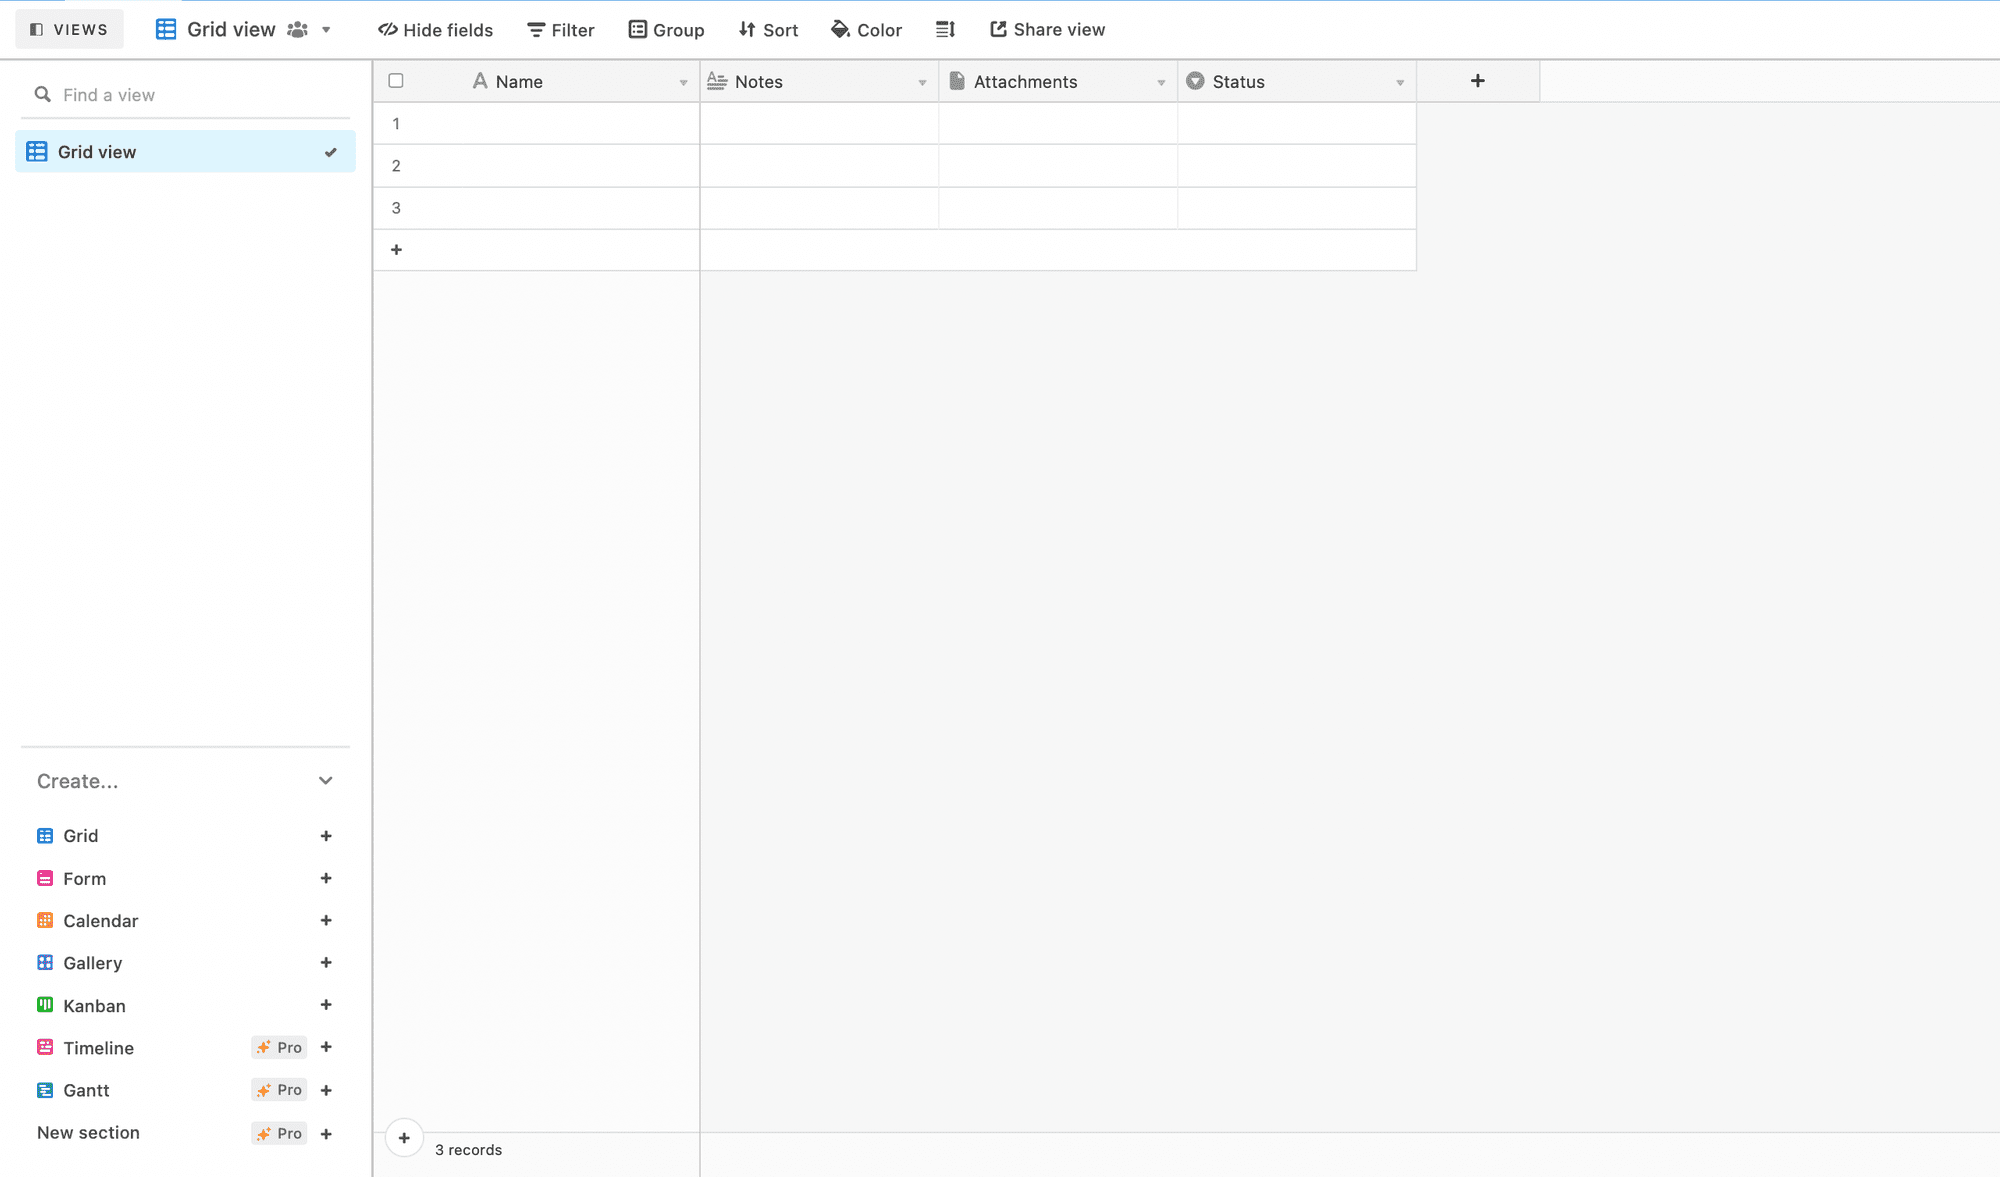
Every table in a database must have at least one table or grid view.
Airtable’s grid view closely resembles a traditional spreadsheet with rows and columns. This is the best view to add new information to a table before going on to modify other views.
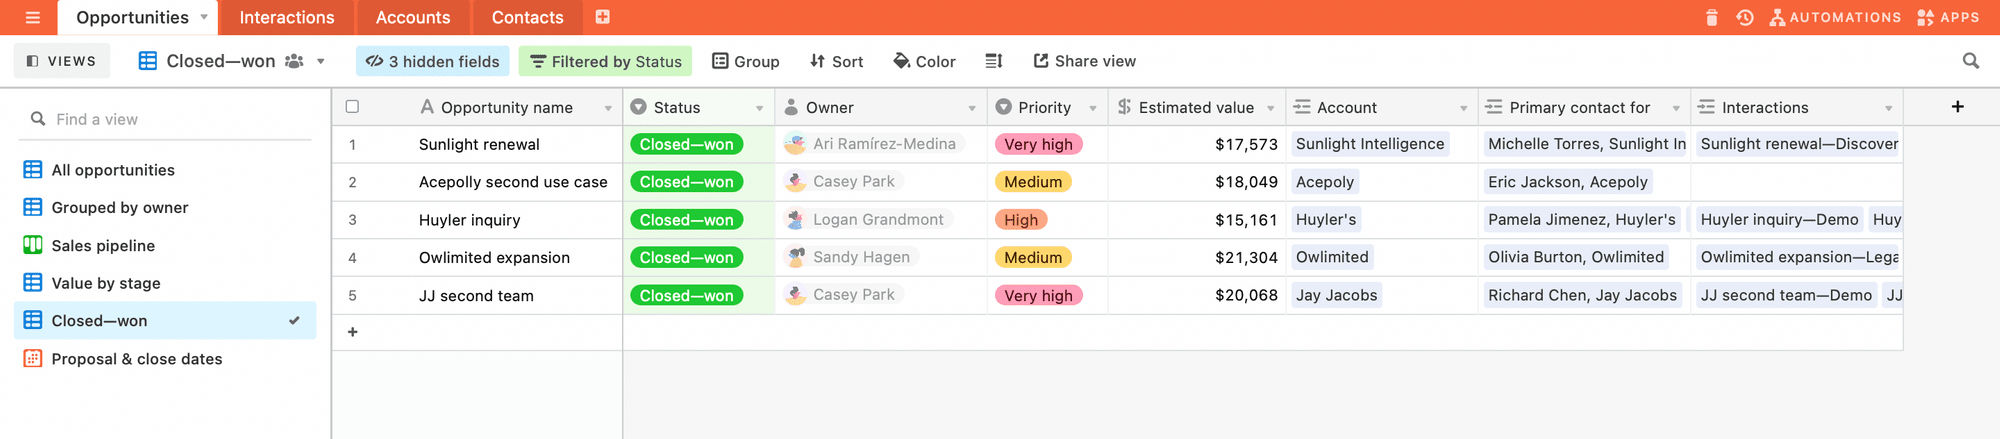
To filter and sort records, click on the add filters and apply sort buttons in the view bar as necessary.
Form View
Unlike other Airtable views, creating a shareable form populates records in your table when they are filled out.
This view is no different from your traditional forms. Why Airtable forms are preferred compared to other forms is that it lets you collect information and save the submission automatically to an Airtable base, with no Zaps or automation needed.
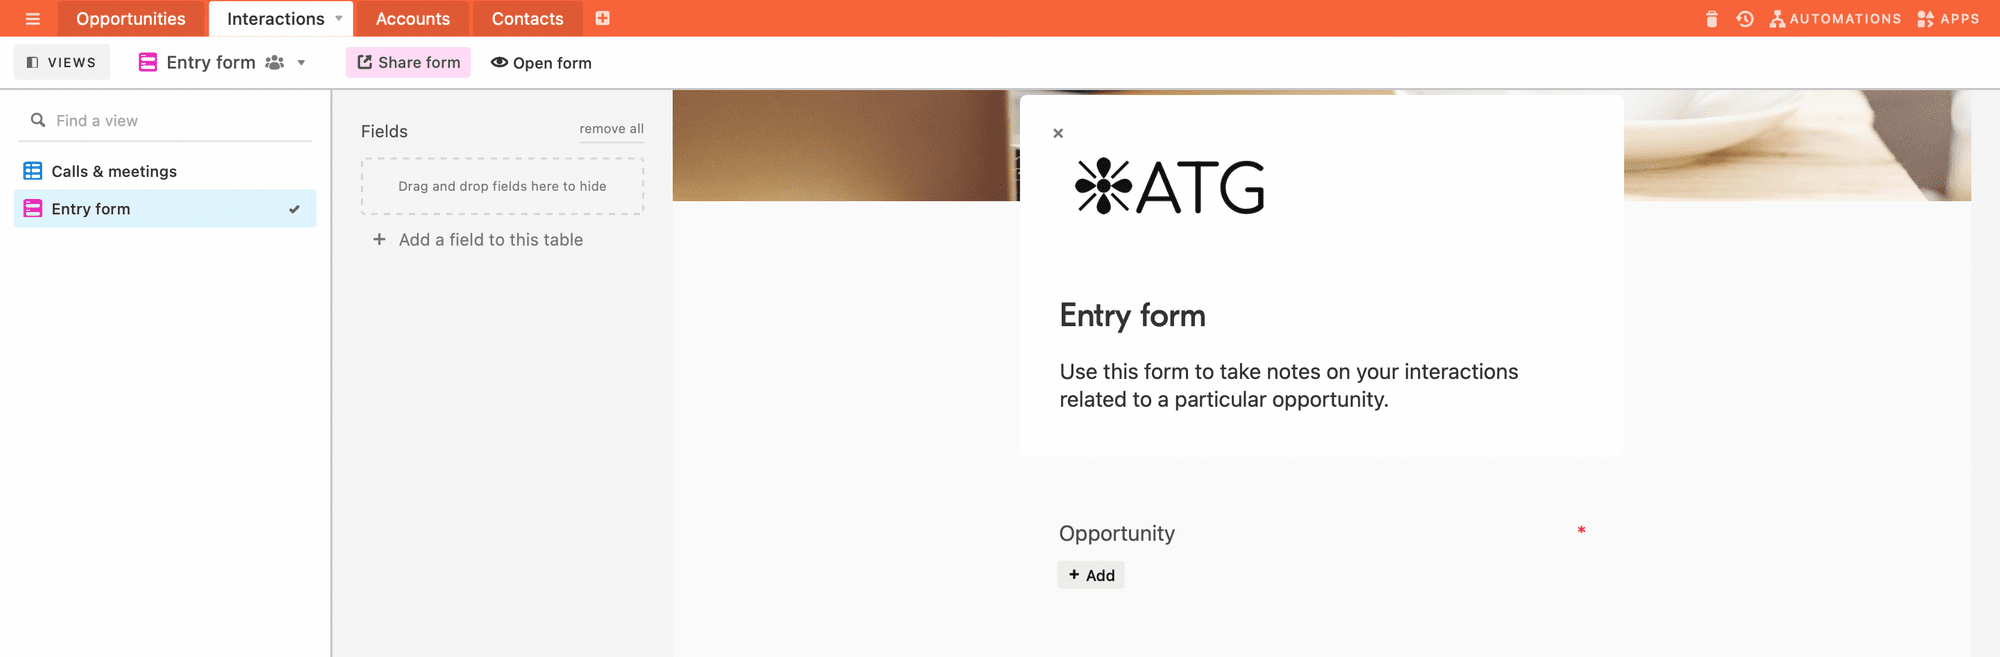
You also do not have to build a form from scratch. Airtable synced information makes it easier to automatically generate questions from fields in your grid view.
Calendar view
This works very similarly to your everyday calendar. You can sync your data to Google Calendar, Apple Calendar, or Outlook.
The Calendar view allows you to see key dates and deadlines at a glance without too many other details. For example, you can view your social media content calendar in the calendar view to keep track of your posting deadlines.
Sharing this view gives the viewer a snapshot of the table records as events on a calendar.
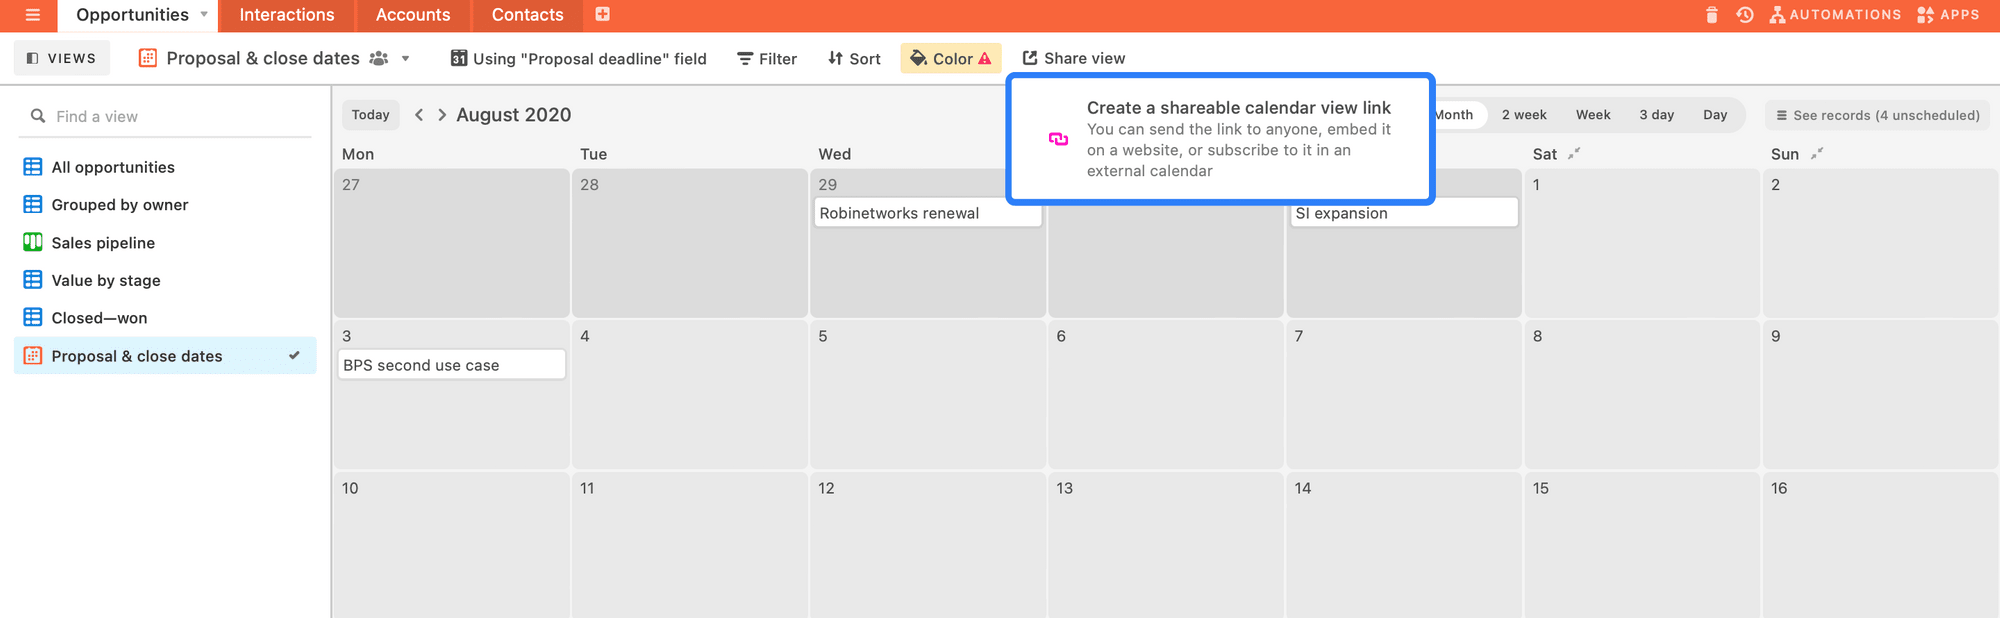
If you have at least one date field in your table, you can create a calendar view to see deadlines differently. Use filter options to create a filtered view that shows records when certain criteria are met.
Gallery view
The gallery view displays your records as large visual cards. In particular, you can see thumbnail displays of records, in a grid pattern.
Airtable allows card customization so you can define what information is highlighted on the cards. The records typically highlight a designated attachment as the cover field at the top of each gallery card. When a gallery view is created, Airtable automatically selects an attachment field set as your gallery view's cover field.
Without an attachment field, the gallery view will display records that fit the size of each card.
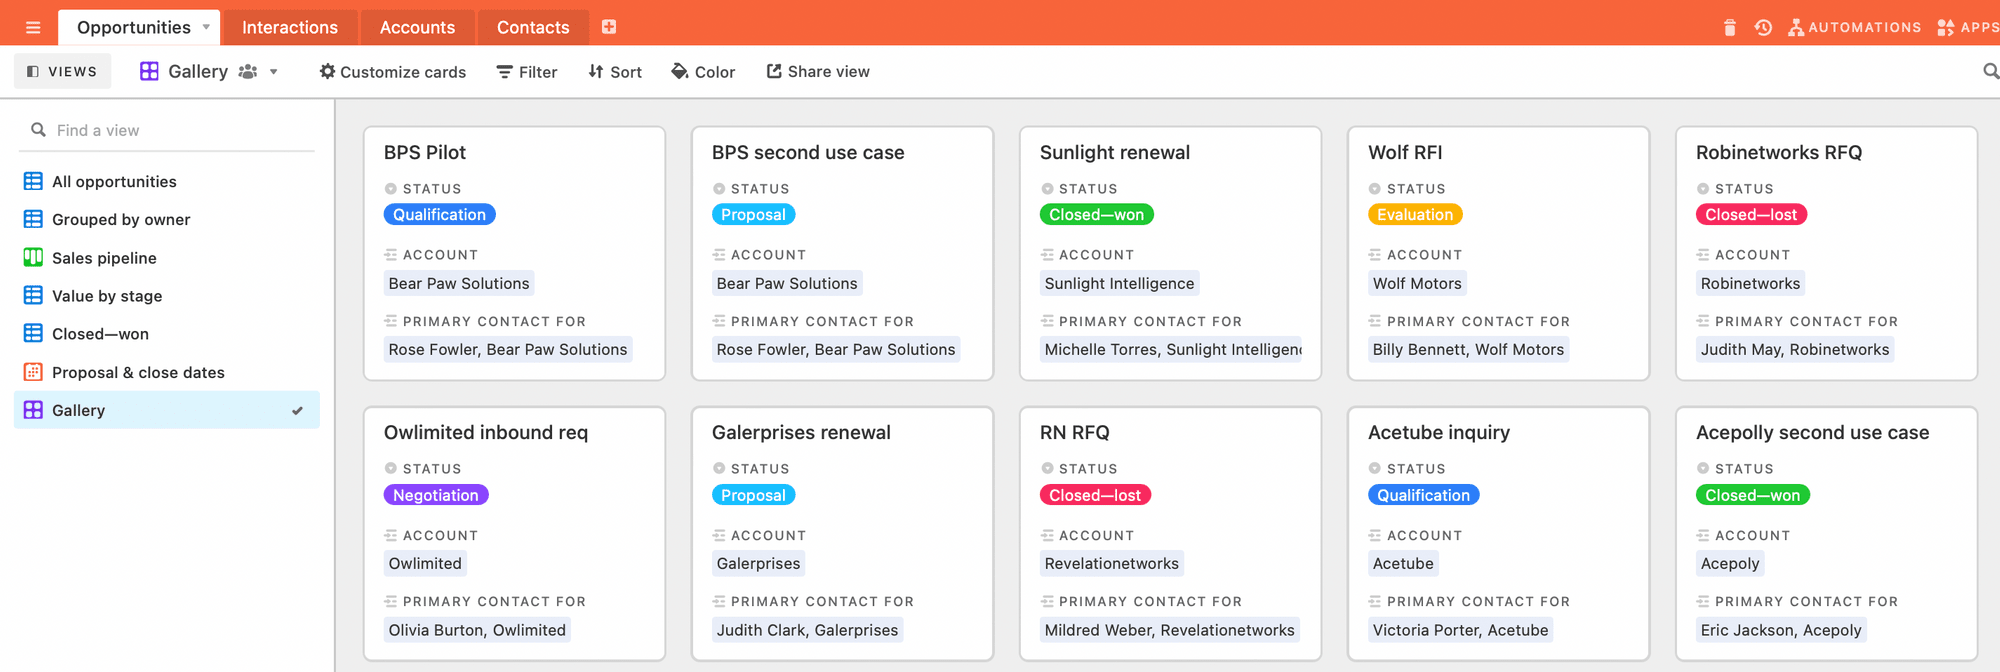
You can customise the size of the cover attachment (if any) with the slider at the top of the Customize cards menu. This allows you to show or hide on the gallery cards and choose whether the images on the cover fields will crop or fit depending on the size of the window.
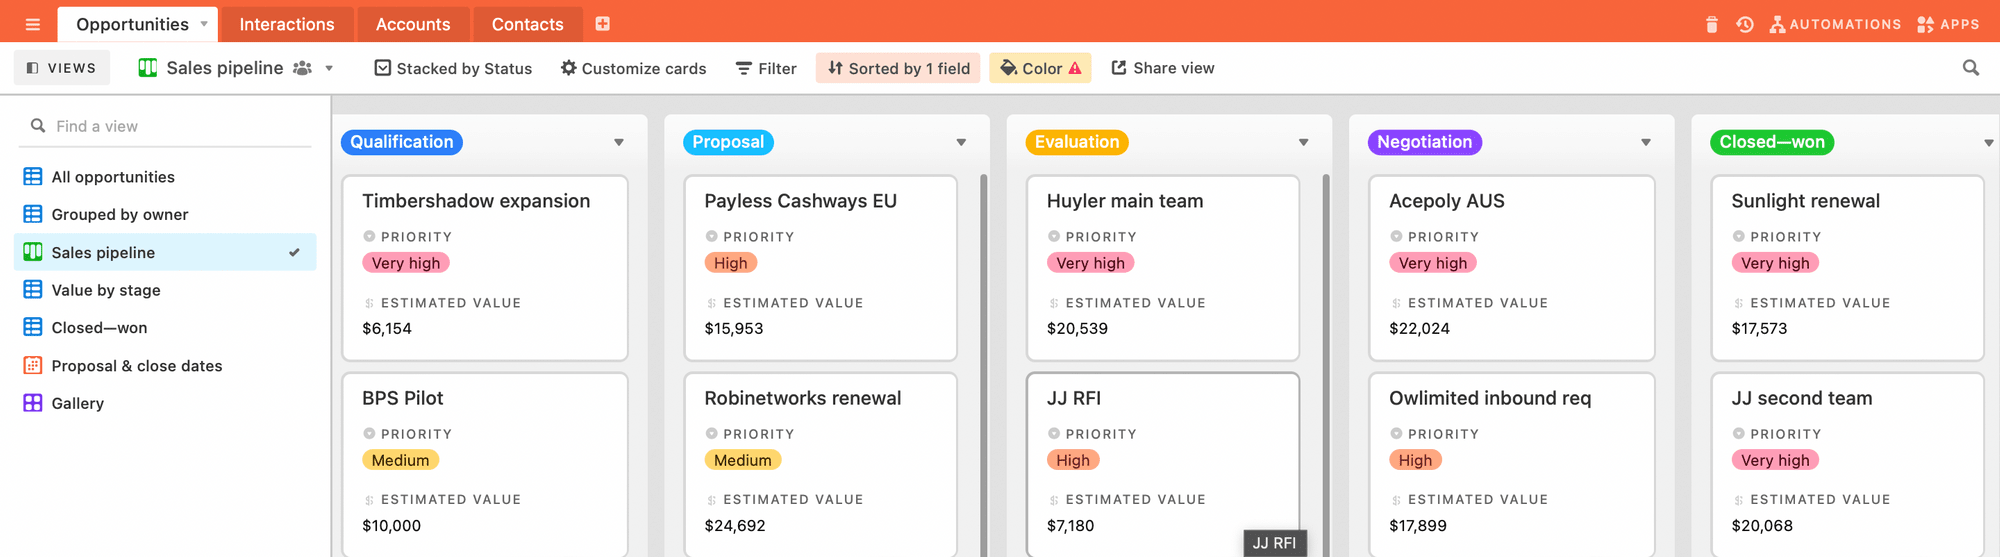
Kanban view
Think Trello. The Airtable Kanban view is right for you if you need to visualize the status of your project on a board of stacked cards.
You would need to choose which single select or collaborator field to use the kanban view. A single select field represents each record’s status, stage or type, while a collaborator field represents each record assignee or owner. The collaborator field view customization would only show the tasks assigned to its owners.
Choosing a grouping field will sort the kanban view according to the tags.
Timeline view
The timeline view shows how records map over time. For example, If you need to check team members’ capacity over a certain period, the timeline view is right for you.
With this view, it is easy to see each team member’s workload over time with records stacked on top of one another by the assignee.
Gantt view
Gantt view is perfect to view how project management, timelines, or resource management tasks flow and interact with one another.
Use Gantt view to visualize a schedule of related activities all at one time — like tasks, multiple projects, or events.
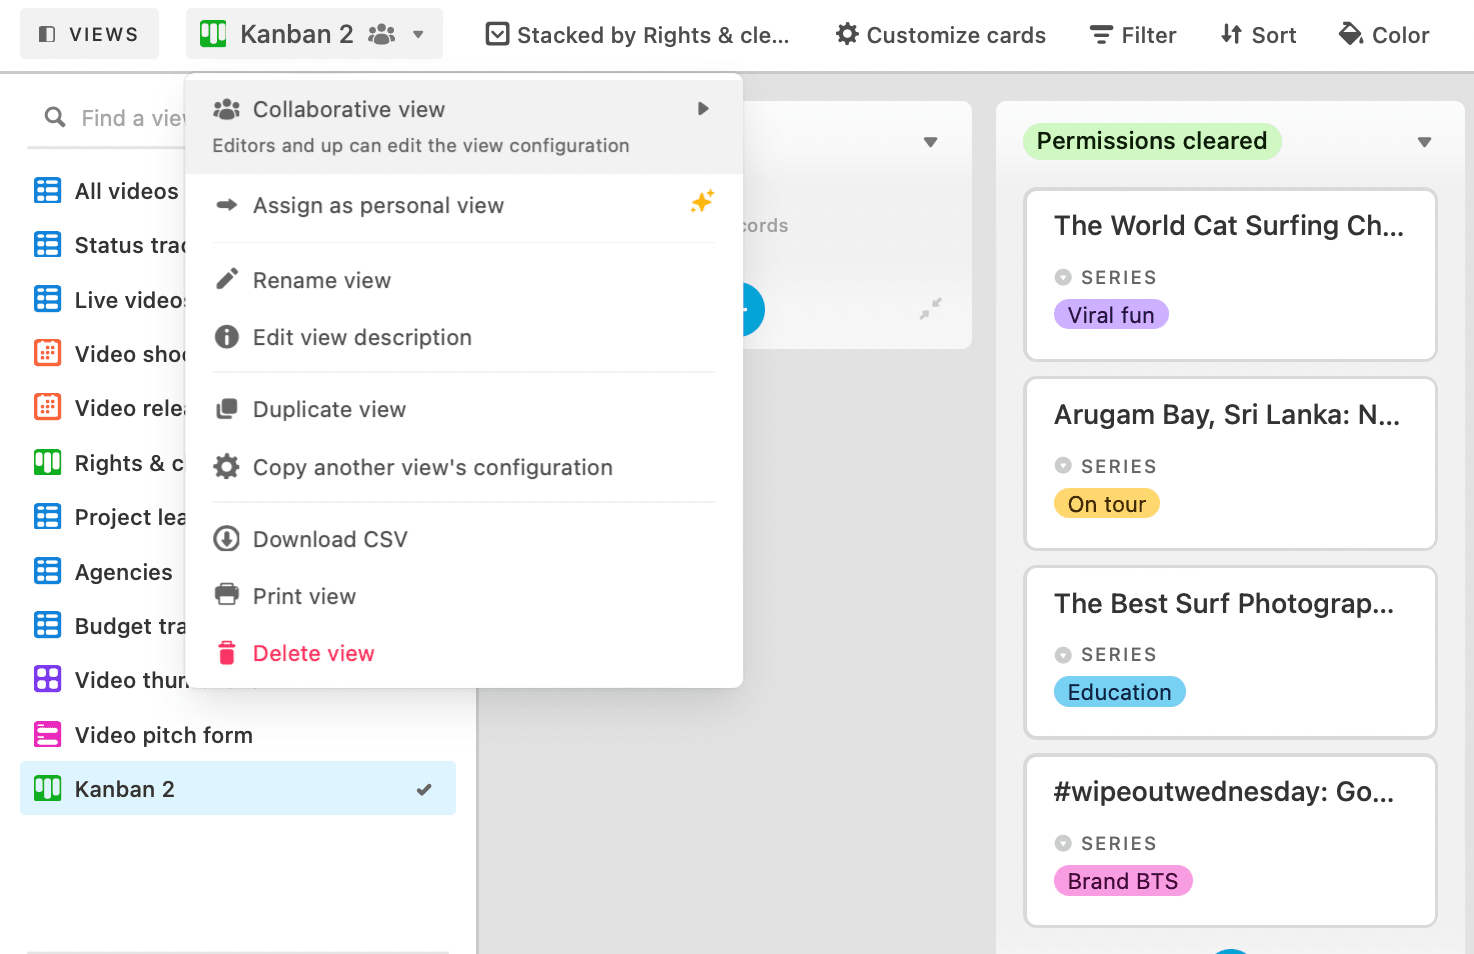
Collaborative view
Every view in every table by default is a collaborative view. This means that data is viewable and configurable by all base collaborators.
Depending on the level assigned, collaborators can create, rename, organize, or delete view sections for each table within that base. They can display particular fields or records, and apply additional customizations to control the data in that view.
If you’re on Airtable's Pro and Enterprise plan, you have access to two premium view features. The locked and personal views allow for greater control over the view configurations when working in a team.
Locked view
A locked view prevents anybody from editing the view configuration. To lock a view, click the icon to reveal the view options menu, and change the collaborative view type to a Locked view.
You need to have either creator or owner-level permissions to a base in a workspace to lock a view.
Personal view
Only a collaborator with creator, editor, or commenter permissions can create personal views. They can configure, filter, group, and hide fields or records from other collaborators’ views.
Personal views can only be configured by the current owner. This is a great way to work collaboratively with a team while creating a system that works for you. To customize a view's field visibility, you can reassign the personal view to a new owner.
Key Takeaways
Configuring views can save us from drowning in our data, especially when you work in a team or with a large base.
With Airtable Views, you can show or hide specific fields or records, manage data in a selected view, or change the way information is formatted.
If you have a table of tasks, categorize information and set up separate views for each workspace collaborator so that anyone on your team can see the information they need, in the way they need it, when they need it.