5 Practical Ways to Import Data into an Existing Airtable Base
Contents
Almost everyone is on the Airtable train.
If you’re new to Airtable, Airtable is a spreadsheet-database hybrid with the features of a database but applied to a spreadsheet.
It is easy to get started with Airtable by using existing data from Google Sheet, CSV file or Excel Workbook. When you first start with Airtable, you are presented with options to import an entire Google Sheets file as a new base.
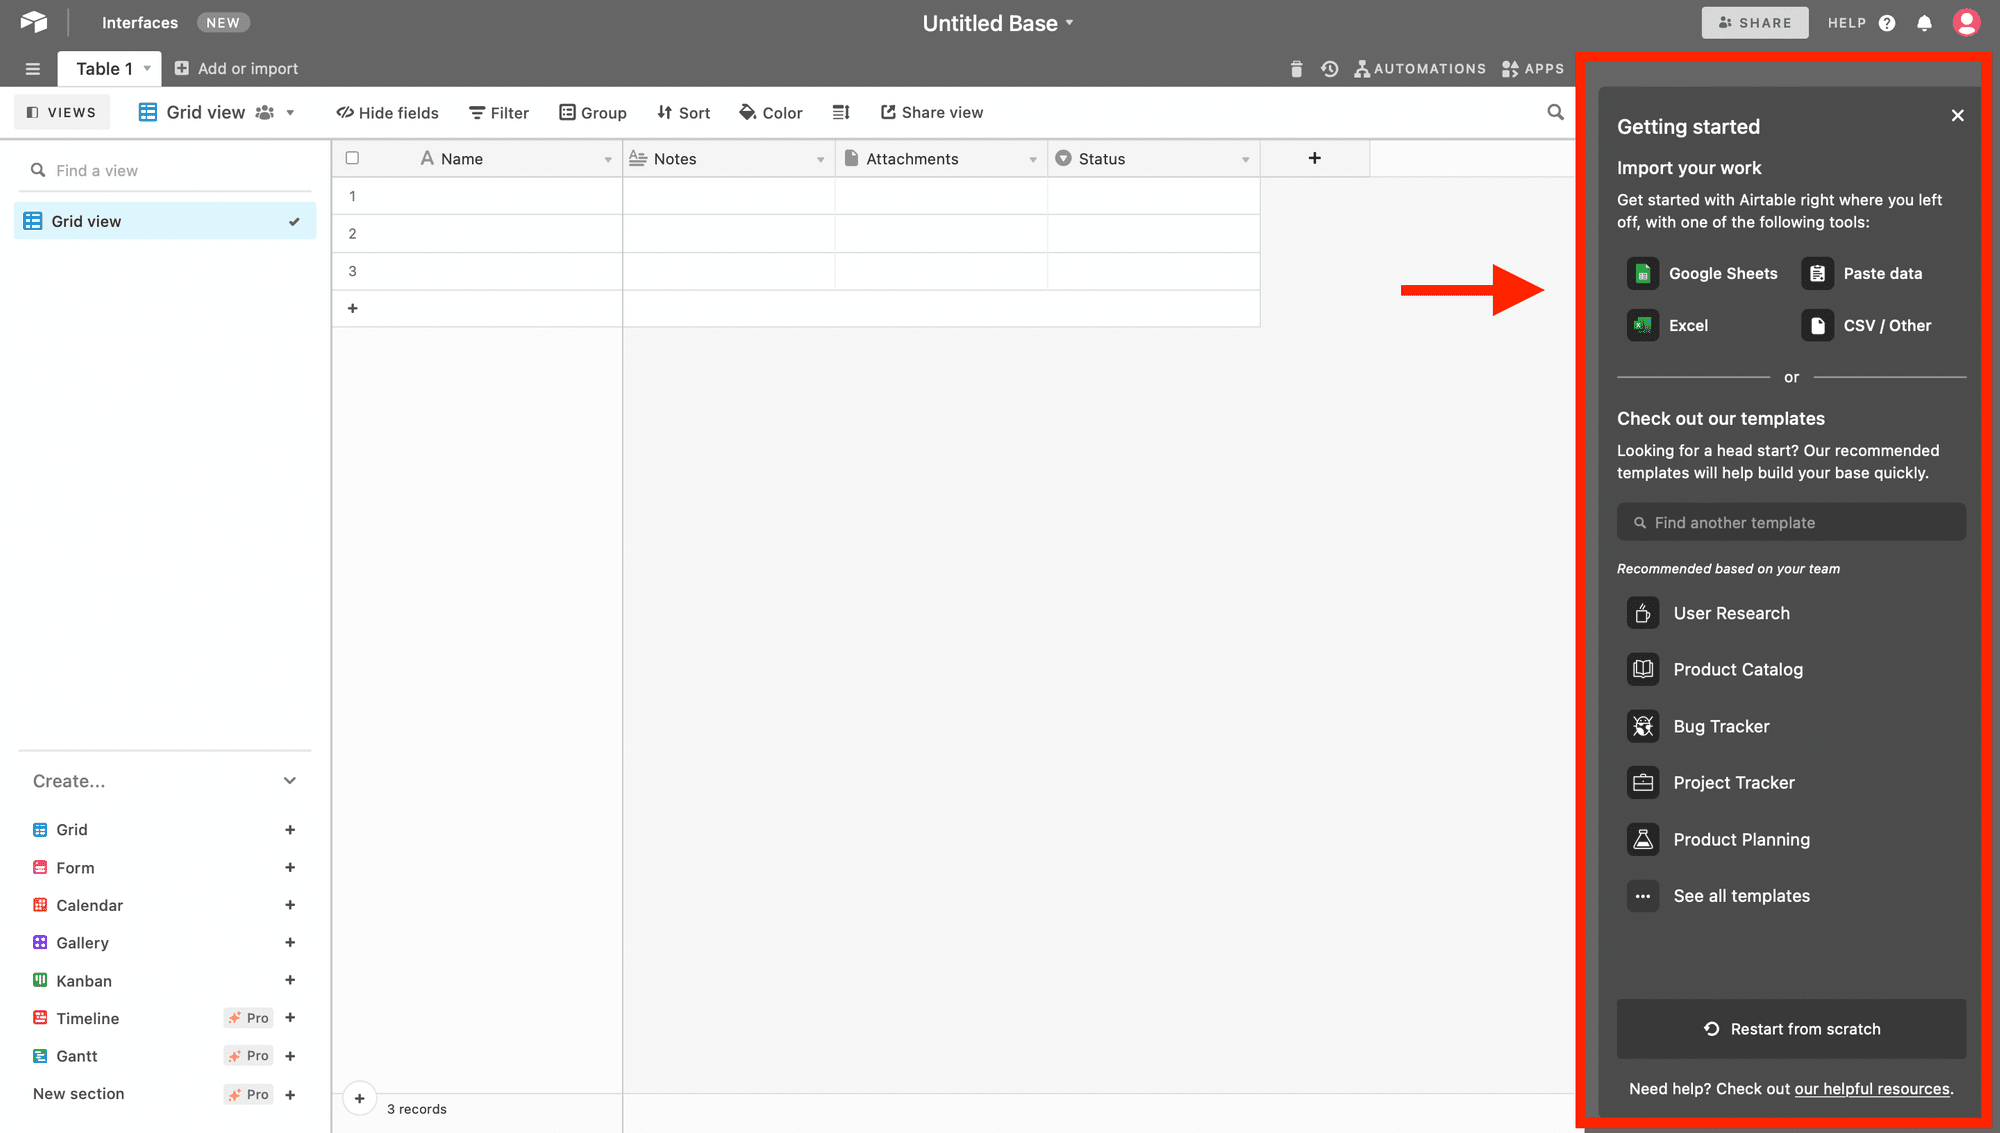
However, this article does not focus on that. Rather we’ll take you through how to import data from Google Sheets into an existing Airtable base.
Export a spreadsheet from Google Sheets
Before the import begins, we need to first export the data from Google Sheets.
To get the data from Google Sheets, click on the File menu option at the top-right corner of the page. Next, select Comma-separated-values (.csv) from the list of Download options presented.
Now we are ready to add tables from a Google Sheet to your existing Airtable base.
Option 1: Import file from a connected Google account
The first workflow we will explore to accomplish this task is to import data by clicking the + button to the right of the list of tables.

This process requires you to connect a Google account and choose a Sheet to import from your account.
If you don’t have an account already connected, follow the prompt to + Connect new account. Each sheet in your Google Sheet workbook will be added as a table in your opened Airtable base when you select the Sheet.
Provided that the order of the columns in the original spreadsheet matches the order of the columns in the destination Airtable base, Airtable will automatically place and convert data into the defined Airtable field types.
Option 2: Import your data as a CSV file
Next, we’ll import the CSV file exported earlier from Google Sheets.
To import an existing CSV, you’ll follow the same process of selecting Google connected account.
Click the + button and select the quick import from CSV File option. You have the option to add data to existing table or new table. Note that importing data to an existing table is via CSV import app and only available on the Pro Plan.
Select the option to add data to new table. This will open up a dialog to upload a new file. Next, Select Files to Upload or drag and drop, copy and paste files from your computer. Alternatively, you can select other locations to upload — Link (URL), Dropbox, Google Drive, Box, OneDrive or OneDrive Business.
Click the Upload button:
After you upload the file, Airtable will detect the field types for you based on the values in the table.
There are however some restrictions with import data with option:
- Spreadsheet/CSV import can only be done on the desktop and web versions of Airtable
- The standard CSV import function has a limit of 5MB on CSV imports. However, you can import larger than 5MB CSV with the CSV Import app (detailed in the next option).
- There is a limit of 15,000 rows per upload.
- Your CSV file needs to remain within the 50,000 record limit for a single table.
Option 3: Use the CSV Import app to add new records to an existing table
We already identified a size restritiction in the previous option. If you want to import CSVs larger than 5MB, you will need to use the CSV import app to import that data into an existing table within your base instead of the regular CSV import tool.
Before we go on, note that this app is only available to Pro and Enterprise customers. Also, the CSV import app has a 25,000 row limit.
Now that that’s out of the way, let’s add new records to an existing table in your base directly from a CSV file using the CSV Import app.
First, we need to add the CSV import app from the Apps Dashboard at the top right of your base:
Next, drop a CSV file or click to choose a file.
After you've uploaded your CSV file into the app, map columns in your CSV to fields in your Airtable base and select which table you want to import into.
Option 4: Automatically add new rows via Airtable automation
When you use options 1 and 2 above to import data into Airtable, any changes made within Airtable will not be reflected back to the original Google sheet you used for importing. This option will be focused on just that.
With the Google Workspace action, you can automatically sync data created in a new row in a Google Sheet associated with your Google account.
To add new Google Sheet rows to a table in your base via automation, you will need to choose the Google action you would like to set up. You can choose to "Manage connected accounts" or "Connect new account".
Click on ‘Automations’ at the top right corner of the page. In the list of automations, click on ‘Create a custom automation’.
Add a trigger and select a Google account. This trigger will fire when a row is created in a Google spreadsheet.
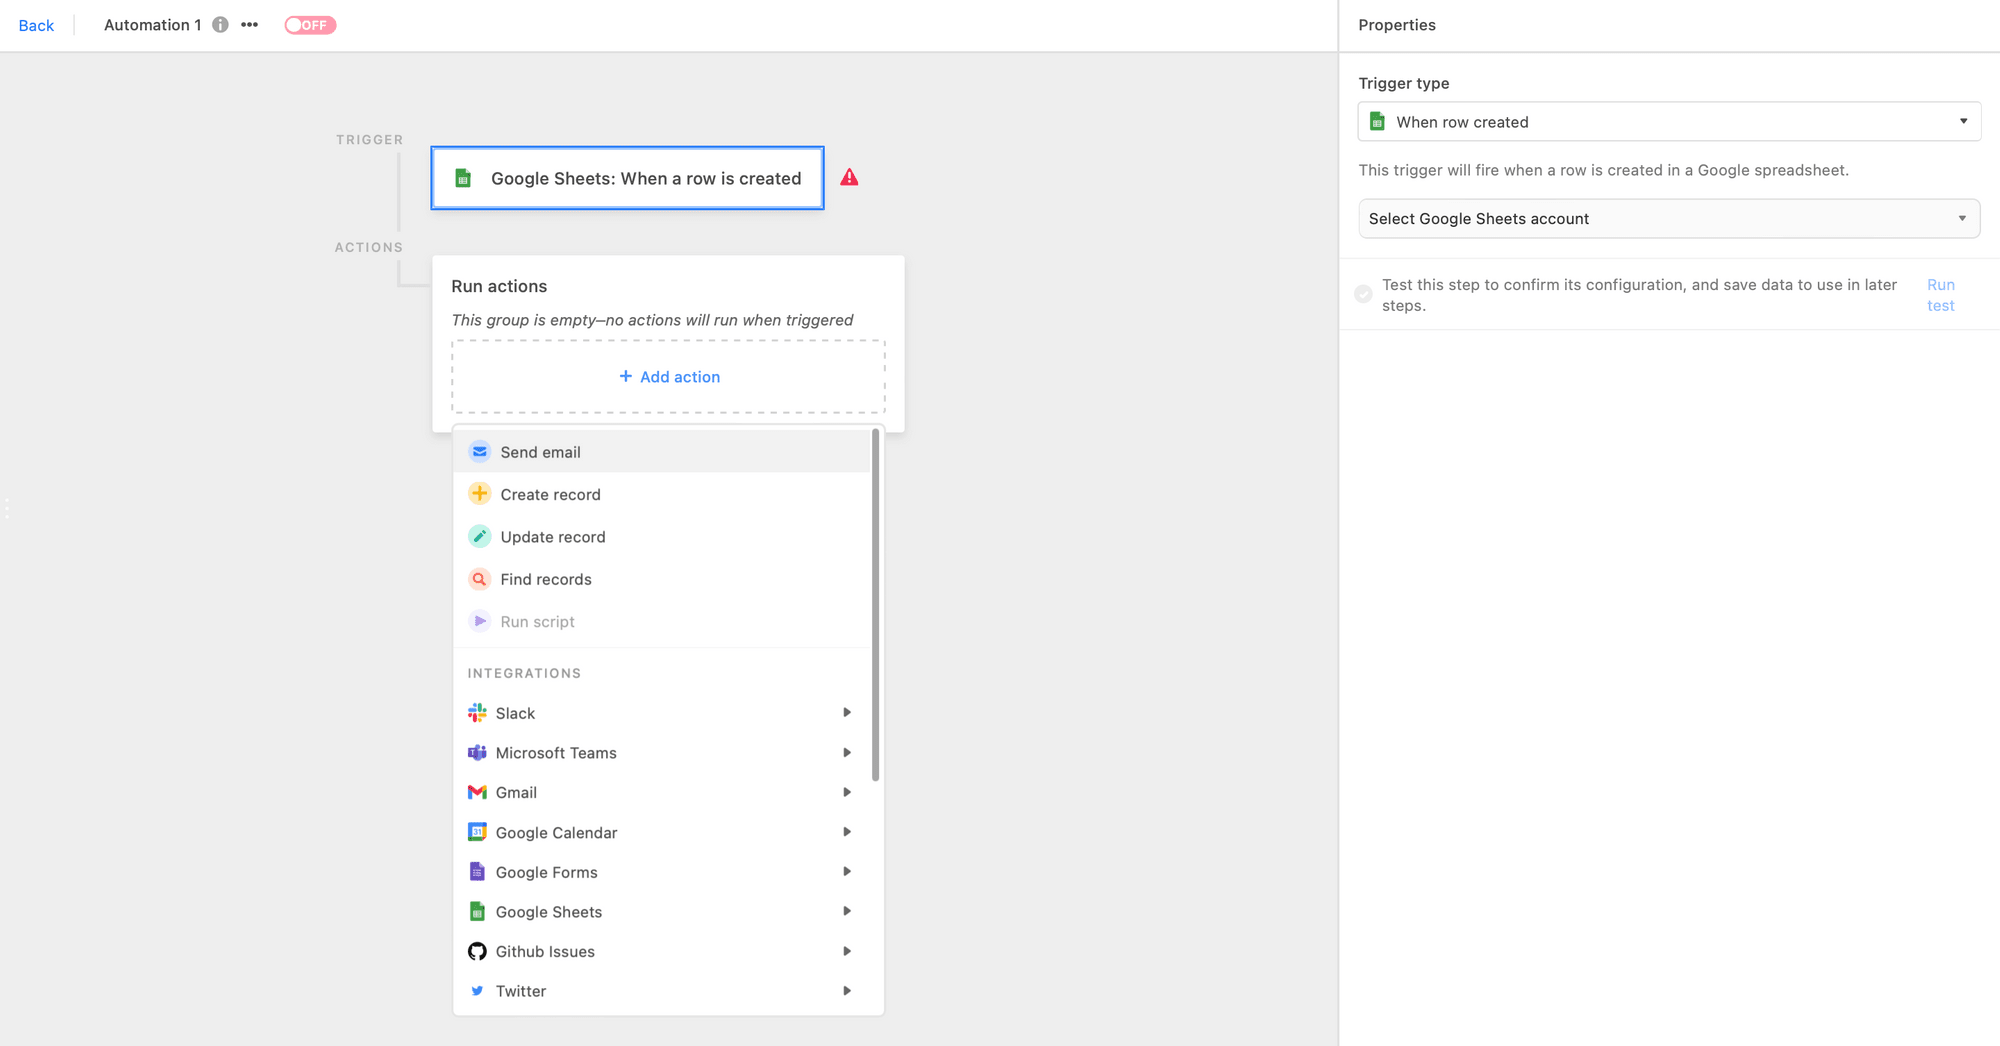
After selecting the desired "Spreadsheet"and "Worksheet", you can specify what fields to fill in for the "Row data".
Option 5: Copy and paste data from your Google Sheet
We saved the best for last. One of the simplest ways to duplicate data is using Airtable's copy and paste functions using ⌘ + C and ⌘ + V.
We have an article that covers Airtable hacks, including keyboard shortcuts, that speed up your workflow in this article.
All you have to do is to select and copy a range of cells from your Google Sheet and paste the data directly onto Airtable using shortcuts.
Click the + button and paste the data into the "Paste table data" dialog using ⌘ + V.
Key Takeaways
We have tons of tutorials and tips on Airtable so you can harness more of Airtable’s features and ease your onboarding.
Finally, make sure that the order of the columns in the original spreadsheet matches the order of the columns in the destination Airtable base.