
How to Vibe-Code a Certificate Maker with Claude Code and Bannerbear
Contents
Automating certificate generation with a backend script works well when you're the one running it. But what if you want a course admin, an HR manager, or an event coordinator to generate certificates themselves without touching the terminal? You need a simple web frontend.
Instead of handing off a script and a set of instructions, give them a form to enter a name, select a course, pick a date, and download the certificate. In this tutorial, we'll vibe-code a simple web app using Claude Code and the Bannerbear API.
Here’s the plan:
- A Node.js + Express backend that accepts form data and calls the Bannerbear API to generate a certificate image
- A single-page HTML frontend with a form and a live certificate preview that updates after generation
Everything is scaffolded and wired together using Claude Code with natural language prompts. By the end, you'll have a working web app you can hand off to anyone on your team, similar to Bannerbear's free certificate maker, but self-hosted and fully under your control. Let's get started!
Pre-requisites
You will need:
- Node.js (v18 or later)
- A Bannerbear account (sign up for free here)
- Claude Code installed (installation guide here)
- An Anthropic API key or Claude Pro/Max subscription
What is Bannerbear?
Bannerbear is an automated media generation tool that lets you create custom images, videos, PDFs, and more from design templates. It offers a REST API along with official libraries for Node.js, Ruby, and PHP, so you can integrate image and media generation into any project without building a renderer from scratch.
To generate images or videos automatically, you create a design template that serves as a blueprint for creating the images and videos in Bannerbear's editor. A template can contain two types of objects:
- Static objects - These remain the same in every generated image (e.g., a company logo)
- Dynamic objects - These change based on data you provide (e.g., a recipient's name, a course title, or a date)
When you call the API, you pass in values for the dynamic objects, and Bannerbear merges them into the template, returning a finished image. This makes it easy to generate thousands of unique, consistently branded assets from a single design. For our certificate maker, each API call will produce one personalized certificate with a different name and course filled in.
Now that you have a basic understanding of how Bannerbear works, let's set it up.
Vibe-Coding a Certificate Maker with Claude Code
Step 1. Create Your Certificate Template in Bannerbear
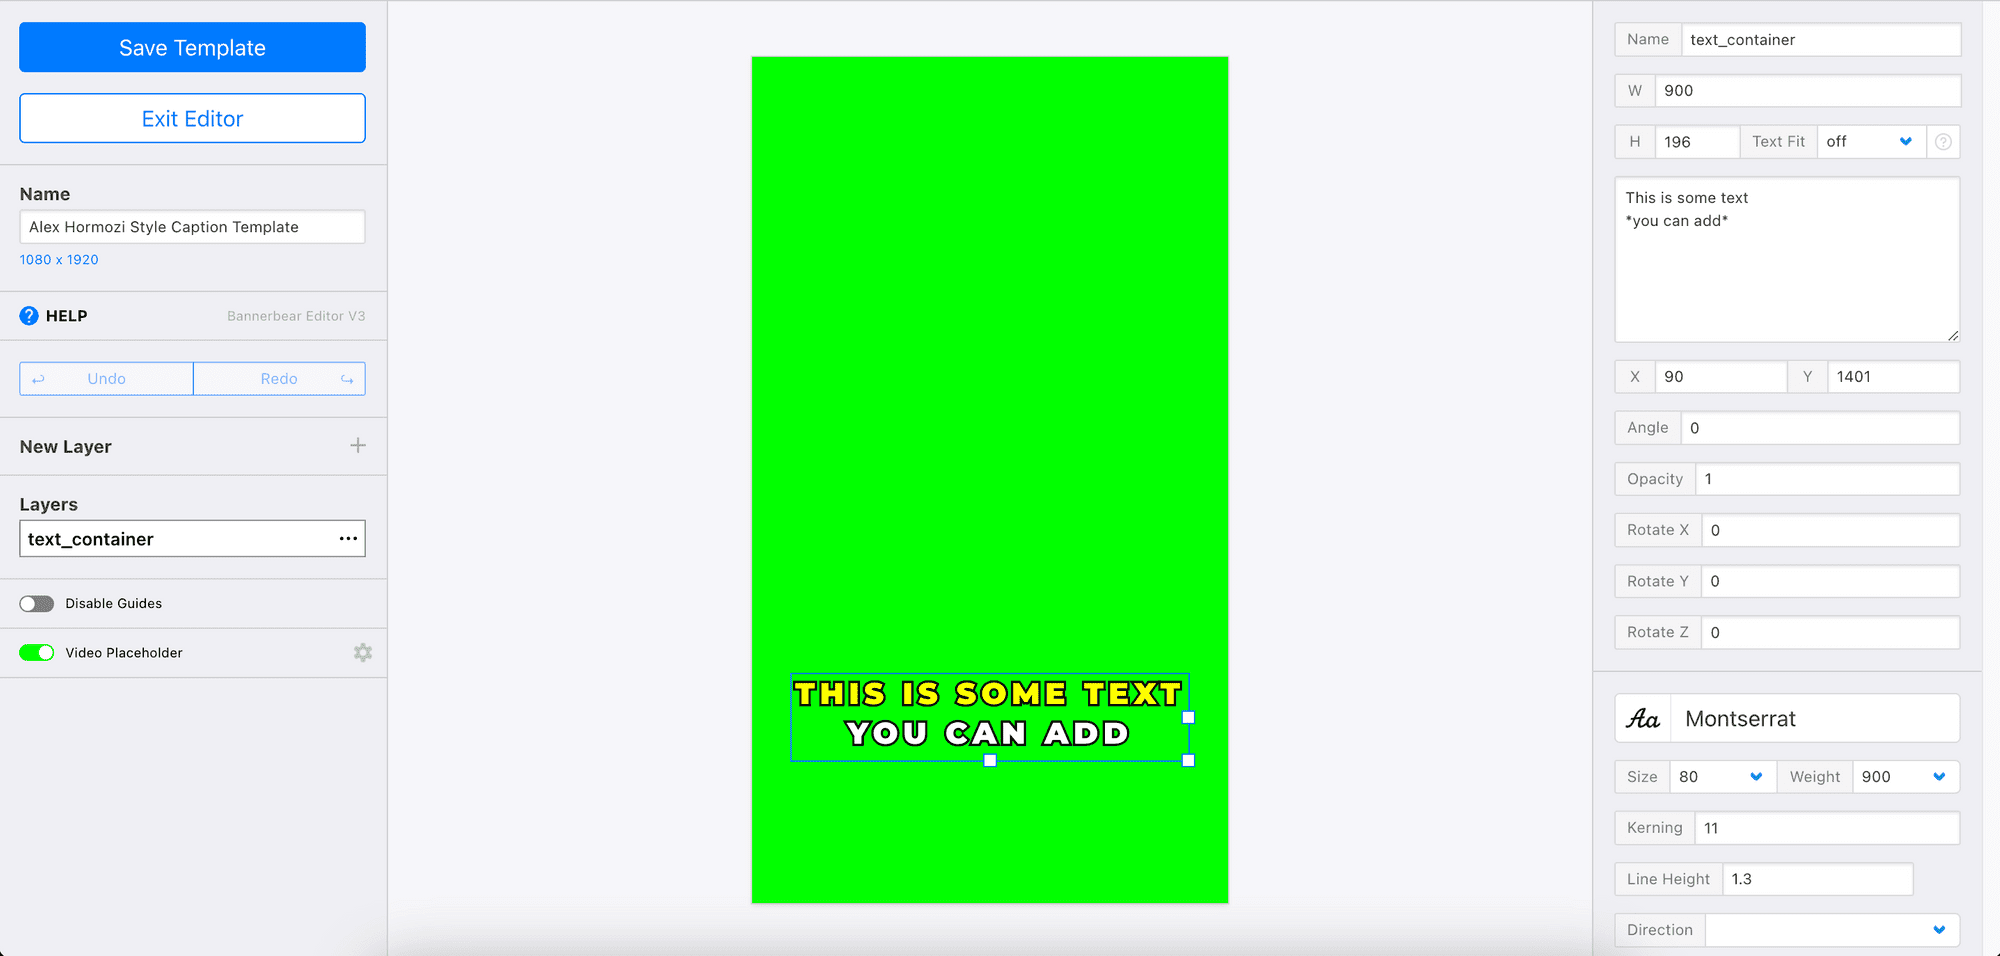
Log in to Bannerbear, create a new project, and add a template. You can duplicate the one below or pick one from the template library to get started quickly:

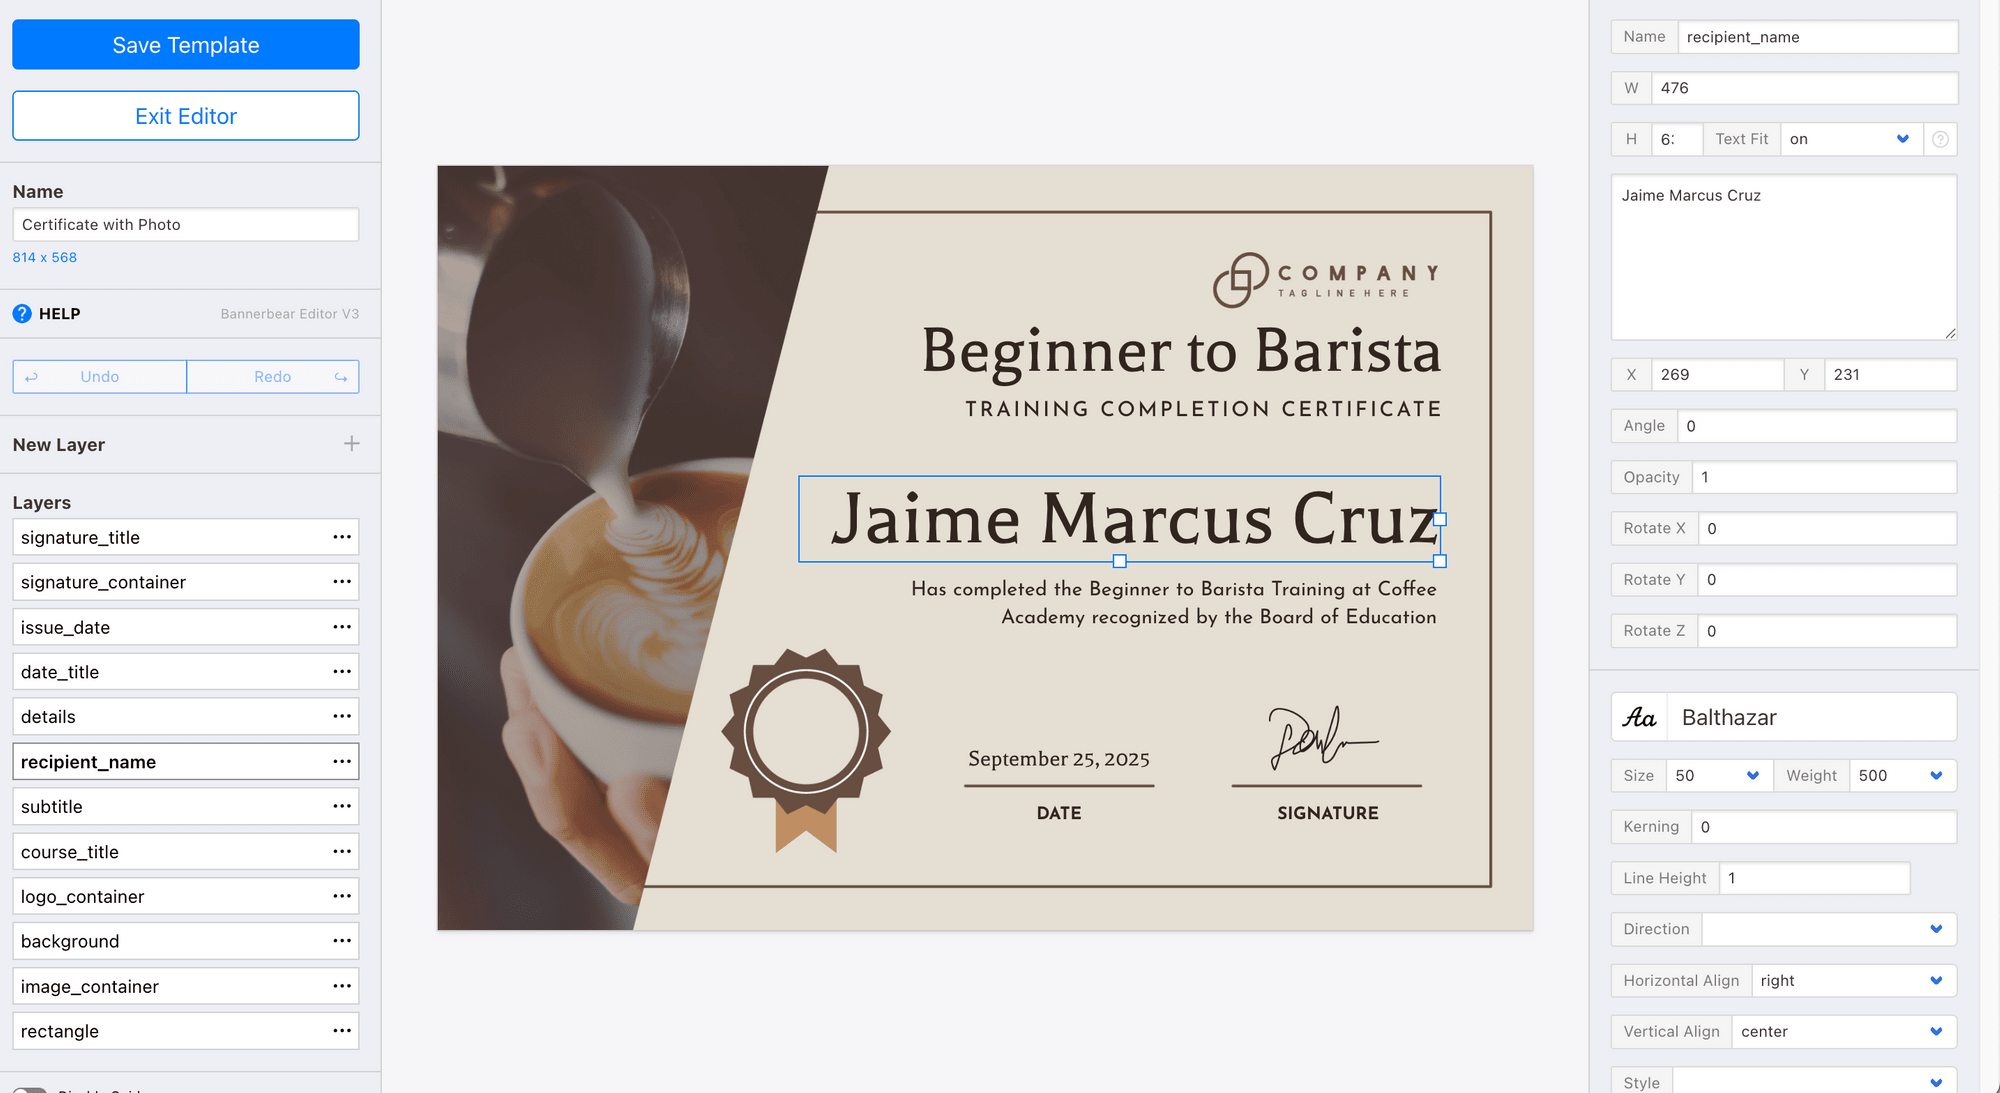
Make sure your template has these dynamic text layers:
recipient_namecourse_titleissue_date
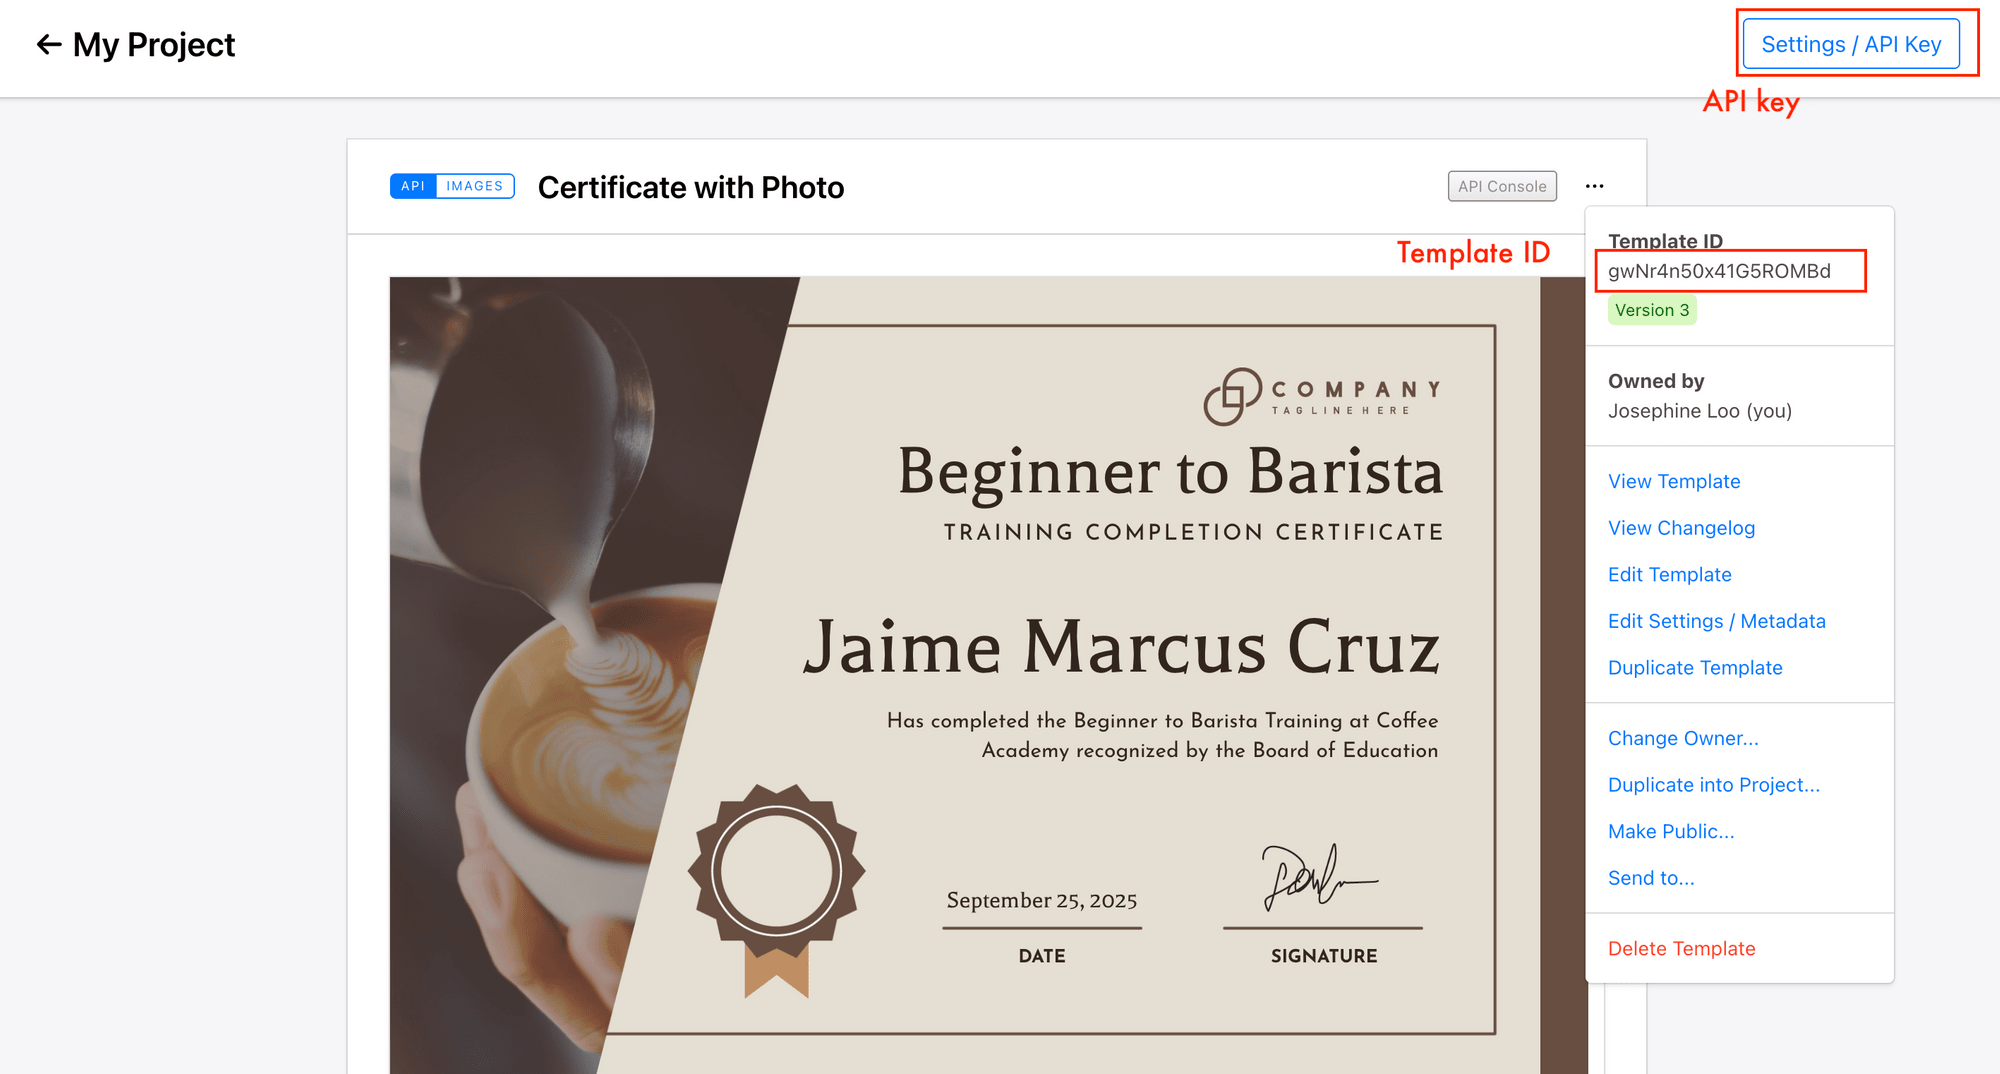
Once your template is ready, copy your Project API Key and Template ID from the project settings:
Step 2. Create the Project with Claude Code
In your terminal/command prompt, run the commands below to create a new folder and start Claude Code in it:
mkdir certificate-maker && cd certificate-maker
claude
Now describe the project to Claude Code in one prompt:
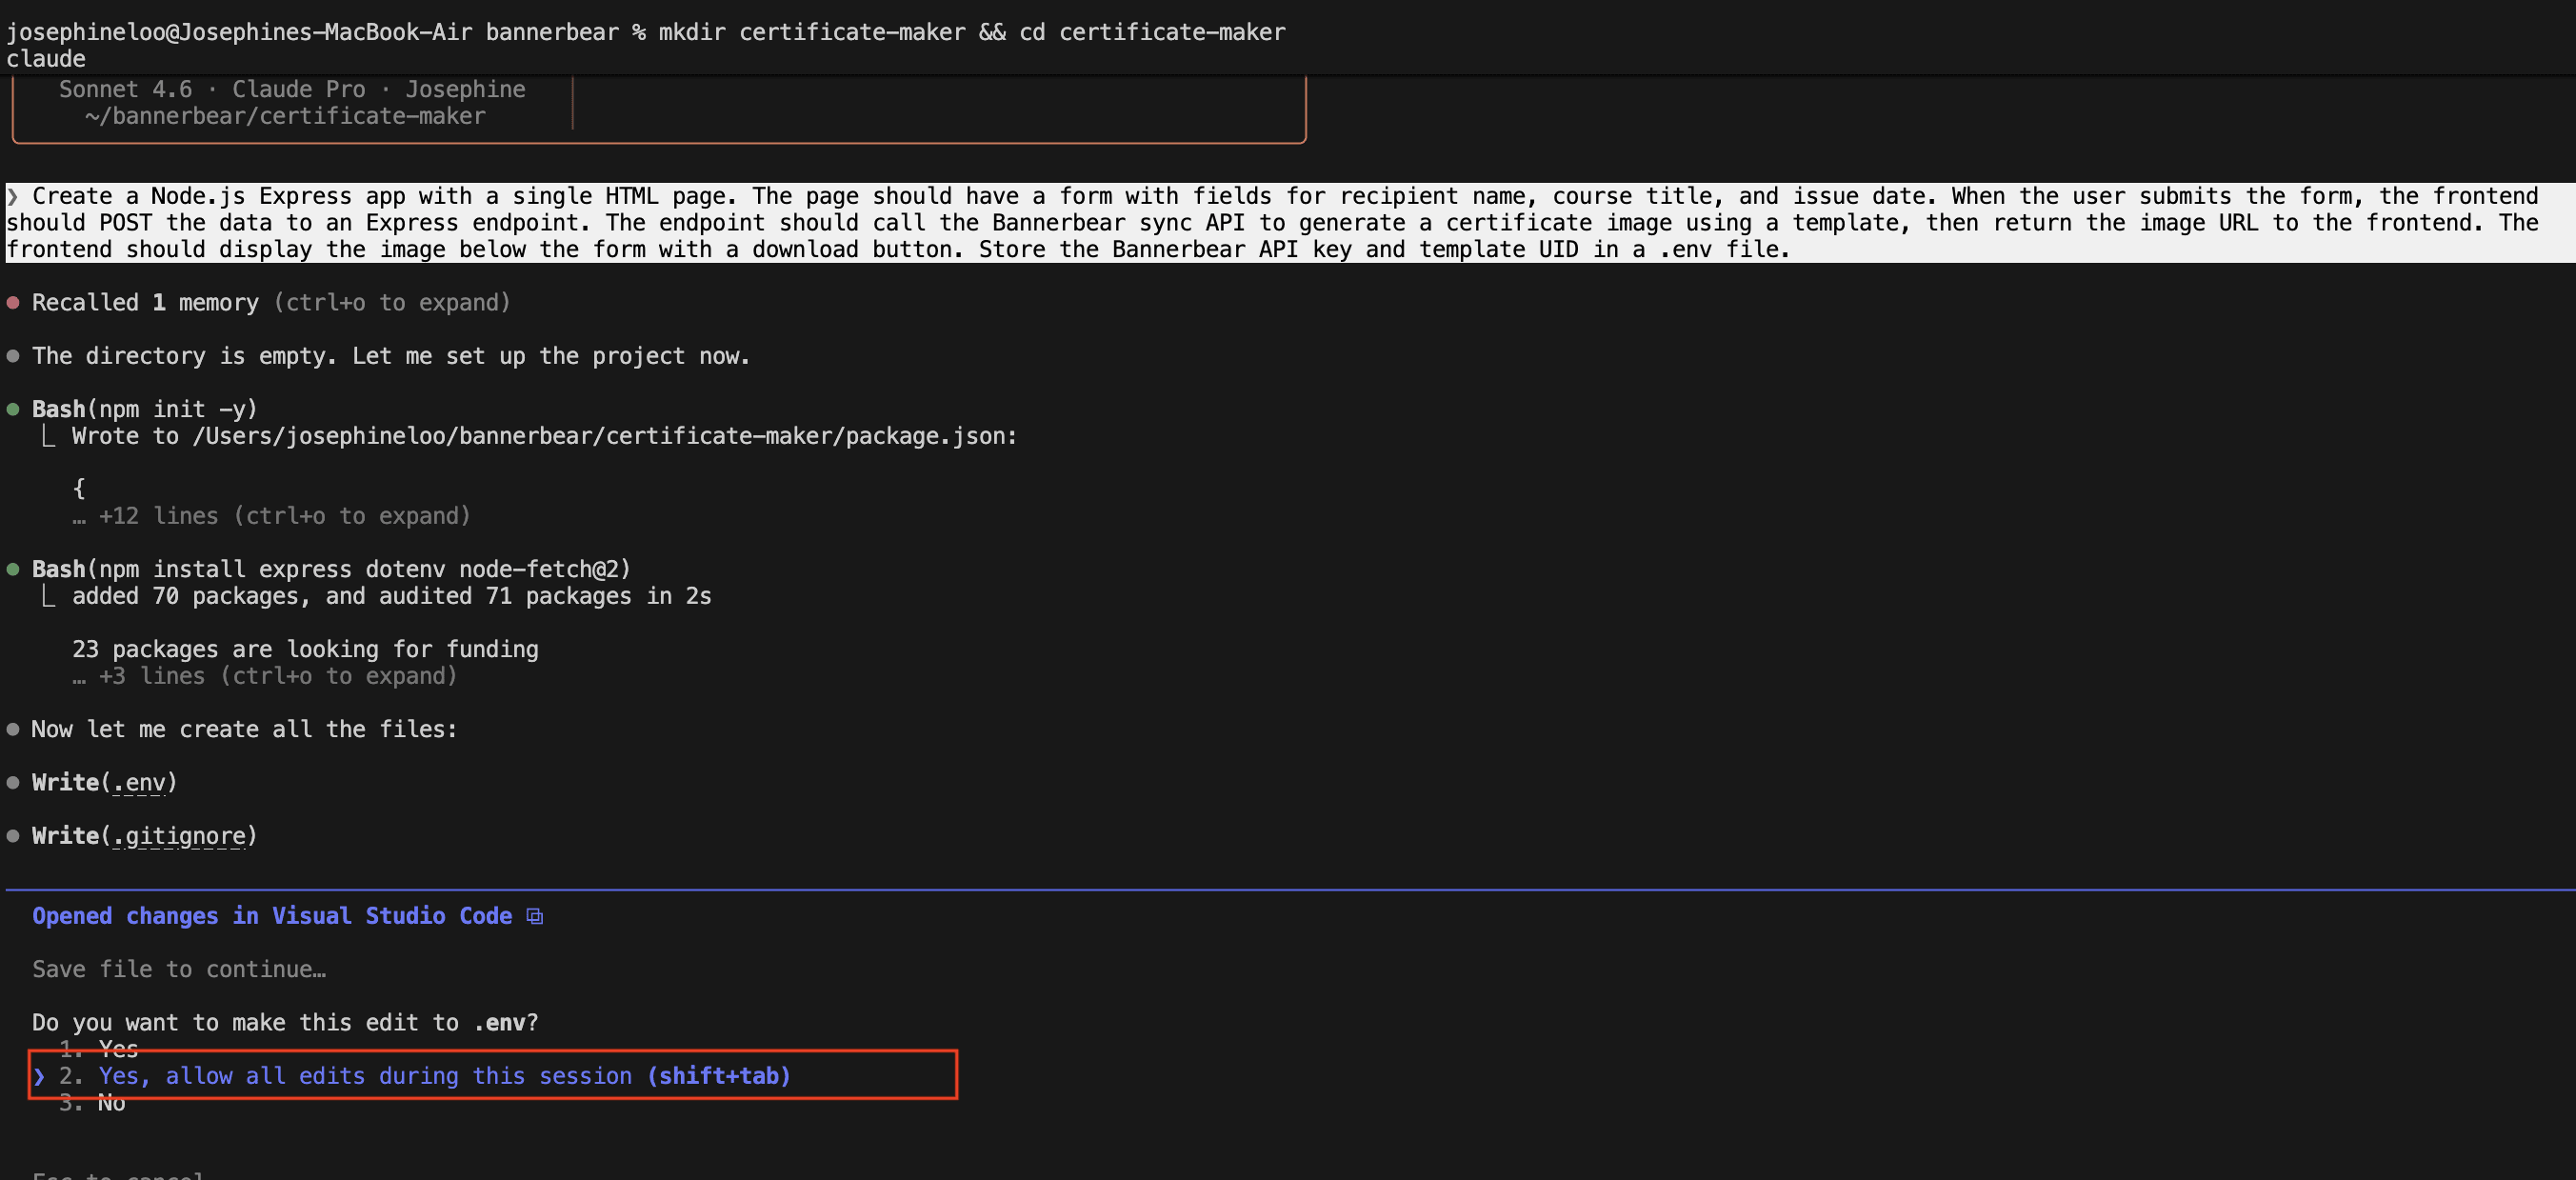
“Create a Node.js Express app with a single HTML page. The page should have a form with fields for recipient name, course title, and issue date. When the user submits the form, the frontend should POST the data to an Express endpoint. The endpoint should call the Bannerbear sync API to generate a certificate image using a template, then return the image URL to the frontend. The frontend should display the image below the form with a download button. Store the Bannerbear API key and template UID in a .env file.”
If you’re asked to give permission to run some npm commands or make edits to some files, select yes:
Claude Code will set up the project and install the required dependencies. Your project structure should look something like this:
certificate-maker/
  ├── .env ← API key & template UID
  ├── .gitignore
  ├── package.json
  ├── server.js ← Express server
  └── public/
      └── index.html ← Frontend form + result display
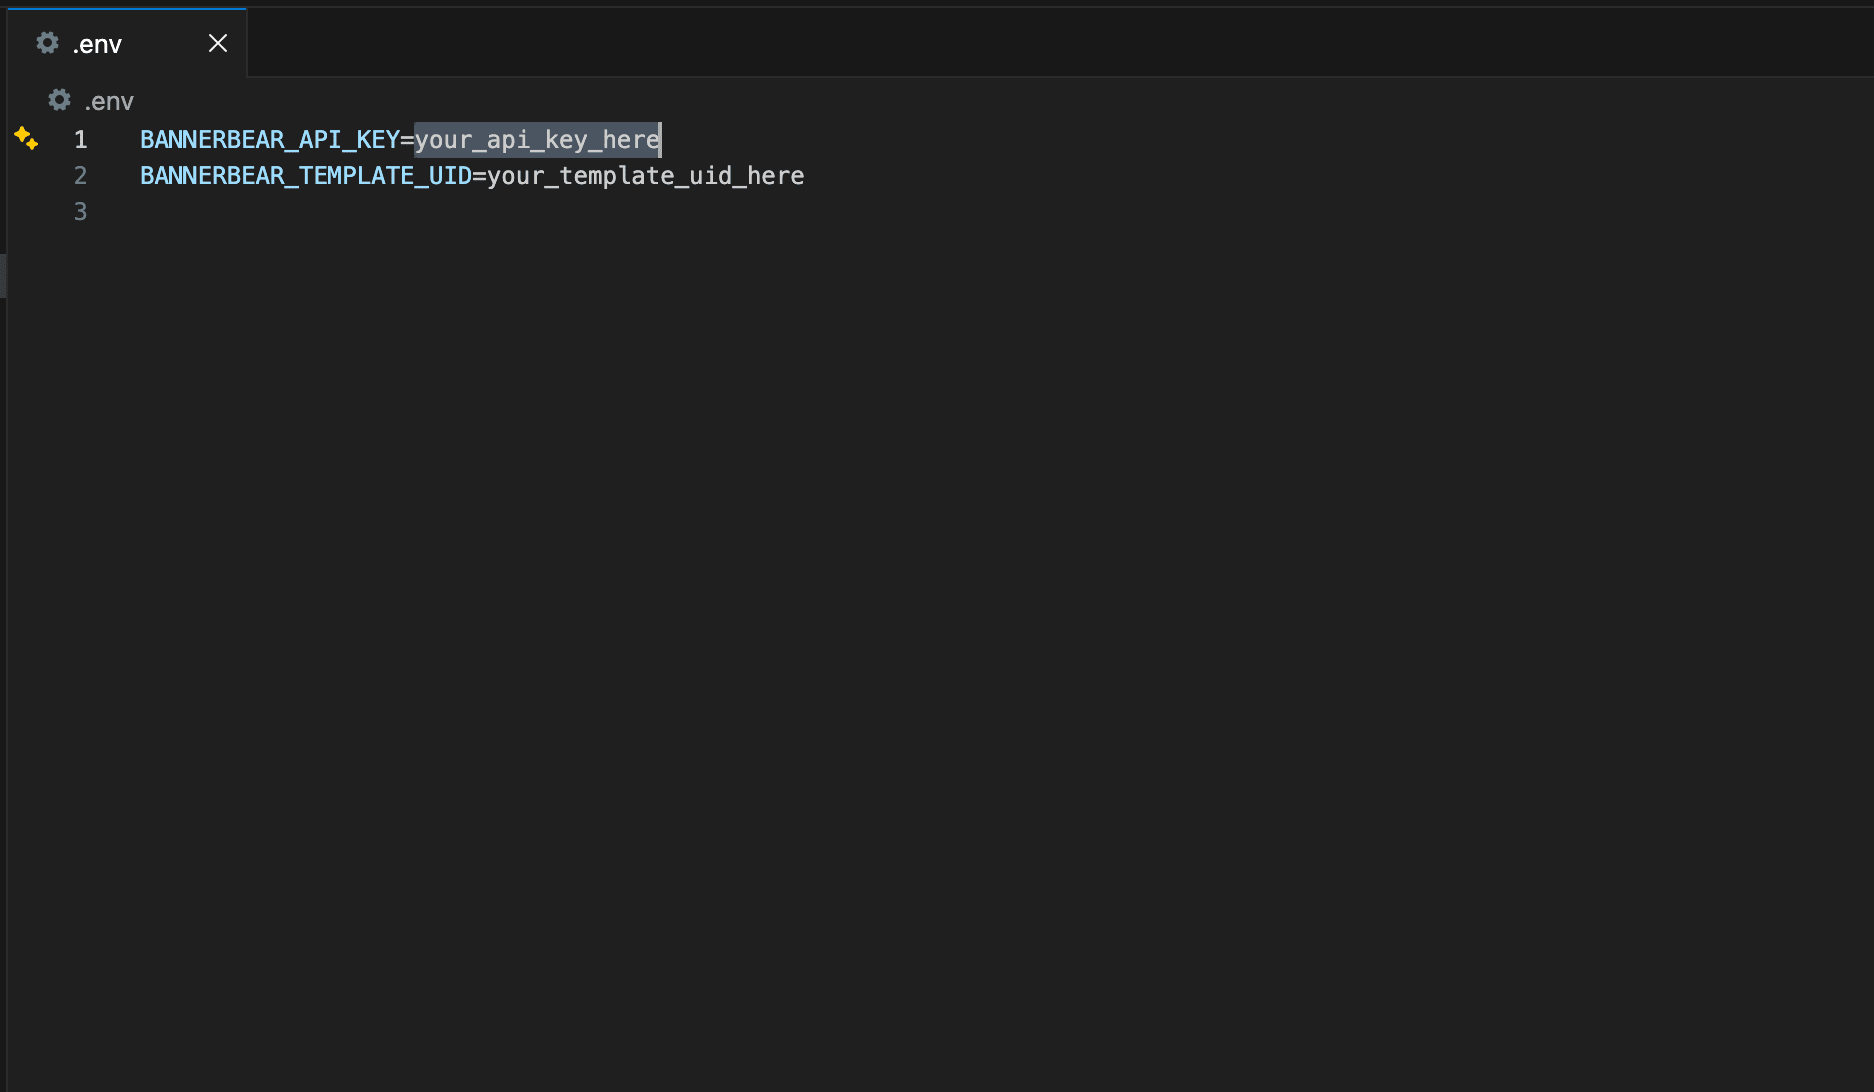
Next, add your Bannerbear credentials to .env:
Step 3. Review the Backend (server.js)
The Express server needs to do two things: serve the frontend HTML file, and handle the POST request that triggers certificate generation. Here's what Claude Code produced:
require('dotenv').config();
const express = require('express');
const fetch = require('node-fetch');
const path = require('path');

const app = express();
app.use(express.json());
app.use(express.static(path.join(__dirname, 'public')));

app.post('/generate', async (req, res) => {
  const { recipientName, courseTitle, issueDate } = req.body;

  if (!recipientName || !courseTitle || !issueDate) {
    return res.status(400).json({ error: 'All fields are required.' });
  }

  try {
    const response = await fetch('https://sync.api.bannerbear.com/v2/images', {
      method: 'POST',
      headers: {
        'Authorization': `Bearer ${process.env.BANNERBEAR_API_KEY}`,
        'Content-Type': 'application/json',
      },
      body: JSON.stringify({
        template: process.env.BANNERBEAR_TEMPLATE_UID,
        modifications: [
          { name: 'recipient_name', text: recipientName },
          { name: 'course_title', text: courseTitle },
          { name: 'issue_date', text: issueDate },
        ],
      }),
    });

    if (!response.ok) {
      const error = await response.json();
      return res.status(response.status).json({ error: error.message || 'Bannerbear API error.' });
    }

    const data = await response.json();
    res.json({ imageUrl: data.image_url });
  } catch (err) {
    console.error(err);
    res.status(500).json({ error: 'Failed to generate certificate.' });
  }
});

const PORT = process.env.PORT || 3000;
app.listen(PORT, () => console.log(`Server running at http://localhost:${PORT}`));
Here’s what the code above does:
express.staticserves thepublic/folder, so the HTML page is accessible atlocalhost:3000.- The
/generateroute destructuresrecipientName,courseTitle, andissueDatefrom the request body. - It does a basic validation check before making any API call and returns a
400immediately if any field is missing. - It calls Bannerbear's sync endpoint using
node-fetch. Themodificationsarray maps each camelCase field to the snake_case layer names defined in your Bannerbear template. - If Bannerbear returns a non-OK response, the error is forwarded back to the client with the original status code for debugging.
- On success, the image URL is returned as
imageUrlin the JSON response.
Step 4. Review the Frontend (public/index.html)
The frontend is a single HTML file with an inline form and a JavaScript fetch call. Ask Claude Code to generate it:
“Write public/index.html with a clean, minimal design. It should have a form with three fields: recipient name, course title, and issue date. On submit, it should POST to /generate and show a loading state. When the response comes back, display the certificate image below the form along with a Download Certificate button.”
Claude Code should generate code similar to this in the HTML file:
<!DOCTYPE html>
<html lang="en">
<head>
  <meta charset="UTF-8" />
  <meta name="viewport" content="width=device-width, initial-scale=1.0" />
  <title>Certificate Maker</title>
  <style>
    *, *::before, *::after { box-sizing: border-box; margin: 0; padding: 0; }

    body {
      font-family: -apple-system, BlinkMacSystemFont, 'Segoe UI', Roboto, sans-serif;
      background: #fafafa;
      color: #111;
      min-height: 100vh;
      display: flex;
      flex-direction: column;
      align-items: center;
      padding: 64px 20px 80px;
    }

    header {
      text-align: center;
      margin-bottom: 40px;
    }

    header h1 {
      font-size: 1.625rem;
      font-weight: 700;
      letter-spacing: -0.02em;
    }

    header p {
      margin-top: 6px;
      font-size: 0.9rem;
      color: #666;
    }

    .card {
      background: #fff;
      border: 1px solid #e5e5e5;
      border-radius: 16px;
      padding: 36px 32px;
      width: 100%;
      max-width: 460px;
    }

    .field {
      display: flex;
      flex-direction: column;
      gap: 6px;
      margin-bottom: 20px;
    }

    .field:last-of-type { margin-bottom: 28px; }

    label {
      font-size: 0.8125rem;
      font-weight: 600;
      color: #444;
      letter-spacing: 0.01em;
    }

    input {
      padding: 10px 13px;
      border: 1px solid #ddd;
      border-radius: 8px;
      font-size: 0.9375rem;
      color: #111;
      background: #fff;
      outline: none;
      transition: border-color 0.15s, box-shadow 0.15s;
      width: 100%;
    }

    input::placeholder { color: #aaa; }

    input:focus {
      border-color: #111;
      box-shadow: 0 0 0 3px rgba(0,0,0,0.06);
    }

    .btn-primary {
      width: 100%;
      padding: 12px;
      background: #111;
      color: #fff;
      border: none;
      border-radius: 8px;
      font-size: 0.9375rem;
      font-weight: 600;
      cursor: pointer;
      display: flex;
      align-items: center;
      justify-content: center;
      gap: 8px;
      transition: background 0.15s;
    }

    .btn-primary:hover { background: #333; }
    .btn-primary:disabled { background: #999; cursor: not-allowed; }

    .error {
      display: none;
      font-size: 0.8125rem;
      color: #c0392b;
      background: #fff5f5;
      border: 1px solid #fcc;
      border-radius: 8px;
      padding: 10px 13px;
      margin-bottom: 16px;
    }

    /* Spinner */
    .spinner {
      width: 16px;
      height: 16px;
      border: 2px solid rgba(255,255,255,0.4);
      border-top-color: #fff;
      border-radius: 50%;
      animation: spin 0.65s linear infinite;
      flex-shrink: 0;
    }

    @keyframes spin { to { transform: rotate(360deg); } }

    /* Result */
    #result {
      display: none;
      flex-direction: column;
      align-items: center;
      gap: 16px;
      margin-top: 32px;
      width: 100%;
      max-width: 460px;
    }

    #result img {
      width: 100%;
      border-radius: 12px;
      border: 1px solid #e5e5e5;
      display: block;
    }

    .btn-download {
      display: inline-flex;
      align-items: center;
      gap: 8px;
      padding: 11px 24px;
      background: #fff;
      color: #111;
      border: 1.5px solid #111;
      border-radius: 8px;
      font-size: 0.9375rem;
      font-weight: 600;
      text-decoration: none;
      transition: background 0.15s, color 0.15s;
    }

    .btn-download:hover {
      background: #111;
      color: #fff;
    }

    .btn-download svg, .btn-primary svg { flex-shrink: 0; }
  </style>
</head>
<body>
  <header>
    <h1>Certificate Maker</h1>
    <p>Fill in the details below to generate a certificate.</p>
  </header>

  <div class="card">
    <p class="error" id="error"></p>

    <form id="certForm">
      <div class="field">
        <label for="recipientName">Recipient Name</label>
        <input type="text" id="recipientName" placeholder="Jane Doe" autocomplete="off" required />
      </div>

      <div class="field">
        <label for="courseTitle">Course Title</label>
        <input type="text" id="courseTitle" placeholder="Introduction to Web Development" autocomplete="off" required />
      </div>

      <div class="field">
        <label for="issueDate">Issue Date</label>
        <input type="date" id="issueDate" required />
      </div>

      <button type="submit" id="submitBtn">
        <svg width="16" height="16" viewBox="0 0 16 16" fill="none" xmlns="http://www.w3.org/2000/svg">
          <path d="M8 1.5a6.5 6.5 0 100 13 6.5 6.5 0 000-13zM0 8a8 8 0 1116 0A8 8 0 010 8z" fill="currentColor" fill-rule="evenodd" clip-rule="evenodd"/>
          <path d="M8 4a.75.75 0 01.75.75v2.5h2.5a.75.75 0 010 1.5h-2.5v2.5a.75.75 0 01-1.5 0v-2.5h-2.5a.75.75 0 010-1.5h2.5v-2.5A.75.75 0 018 4z" fill="currentColor"/>
        </svg>
        Generate Certificate
      </button>
    </form>
  </div>

  <div id="result">
    <img id="certImage" src="" alt="Generated certificate" />
    <a id="downloadBtn" download="certificate.png">
      <svg width="16" height="16" viewBox="0 0 16 16" fill="none" xmlns="http://www.w3.org/2000/svg">
        <path d="M7.47 10.78a.75.75 0 001.06 0l3.25-3.25a.75.75 0 00-1.06-1.06L8.75 8.44V2.75a.75.75 0 00-1.5 0v5.69L5.28 6.47a.75.75 0 00-1.06 1.06l3.25 3.25z" fill="currentColor"/>
        <path d="M2.5 13.25a.75.75 0 000 1.5h11a.75.75 0 000-1.5h-11z" fill="currentColor"/>
      </svg>
      Download Certificate
    </a>
  </div>

  <script>
    const form = document.getElementById('certForm');
    const submitBtn = document.getElementById('submitBtn');
    const errorEl = document.getElementById('error');
    const result = document.getElementById('result');
    const certImage = document.getElementById('certImage');
    const downloadBtn = document.getElementById('downloadBtn');

    const IDLE_LABEL = `<svg width="16" height="16" viewBox="0 0 16 16" fill="none" xmlns="http://www.w3.org/2000/svg"><path d="M8 1.5a6.5 6.5 0 100 13 6.5 6.5 0 000-13zM0 8a8 8 0 1116 0A8 8 0 010 8z" fill="currentColor" fill-rule="evenodd" clip-rule="evenodd"/><path d="M8 4a.75.75 0 01.75.75v2.5h2.5a.75.75 0 010 1.5h-2.5v2.5a.75.75 0 01-1.5 0v-2.5h-2.5a.75.75 0 010-1.5h2.5v-2.5A.75.75 0 018 4z" fill="currentColor"/></svg> Generate Certificate`;
    const LOADING_LABEL = `<span class="spinner"></span> Generating…`;

    form.addEventListener('submit', async (e) => {
      e.preventDefault();

      errorEl.style.display = 'none';
      result.style.display = 'none';
      submitBtn.disabled = true;
      submitBtn.innerHTML = LOADING_LABEL;

      const body = {
        recipientName: document.getElementById('recipientName').value.trim(),
        courseTitle: document.getElementById('courseTitle').value.trim(),
        issueDate: document.getElementById('issueDate').value,
      };

      try {
        const res = await fetch('/generate', {
          method: 'POST',
          headers: { 'Content-Type': 'application/json' },
          body: JSON.stringify(body),
        });

        const data = await res.json();
        if (!res.ok) throw new Error(data.error || 'Something went wrong.');

        certImage.src = data.imageUrl;
        downloadBtn.href = data.imageUrl;
        result.style.display = 'flex';
        result.scrollIntoView({ behavior: 'smooth', block: 'start' });
      } catch (err) {
        errorEl.textContent = err.message;
        errorEl.style.display = 'block';
      } finally {
        submitBtn.disabled = false;
        submitBtn.innerHTML = IDLE_LABEL;
      }
    });
  </script>
</body>
</html>
Step 5. Run the App and Test It
In your terminal/command prompt, run the command below to start the server:
node server.js
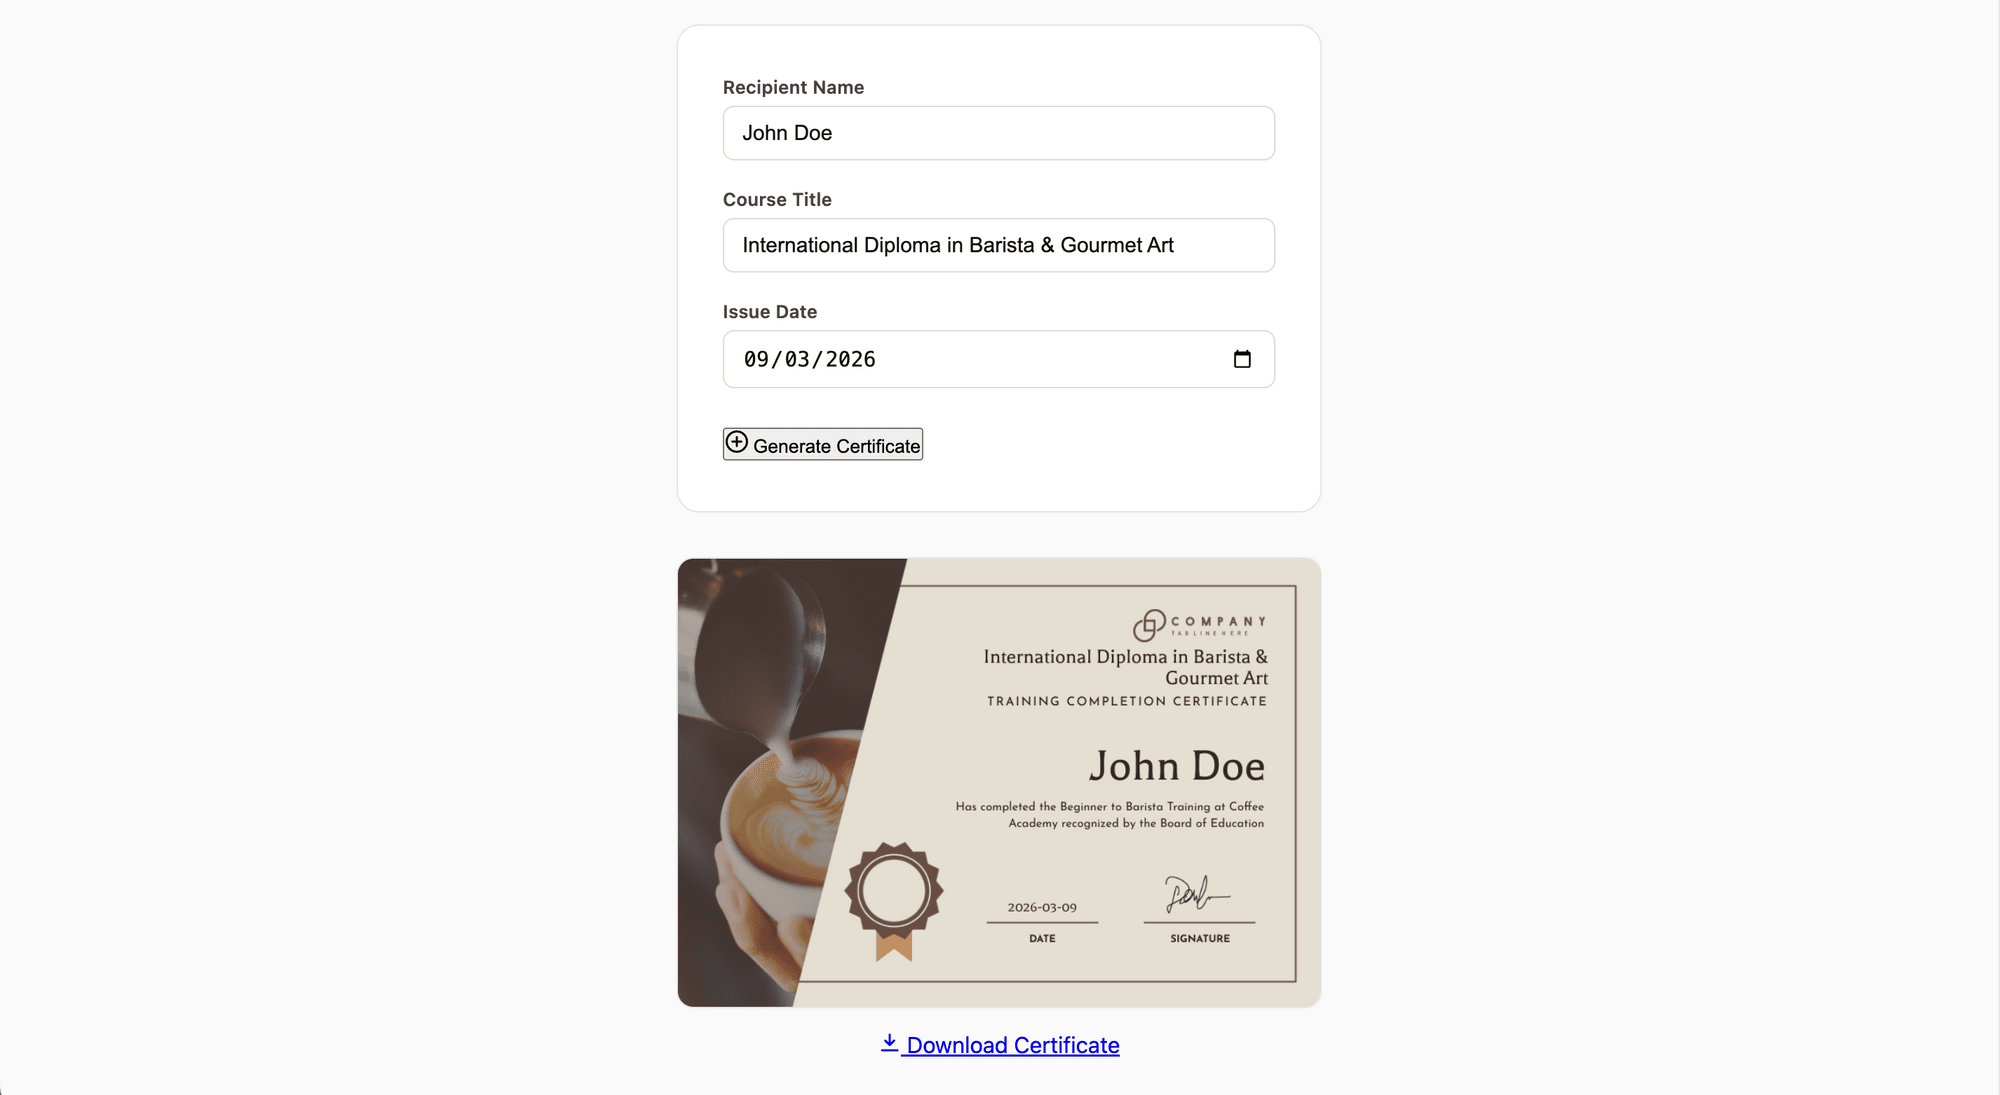
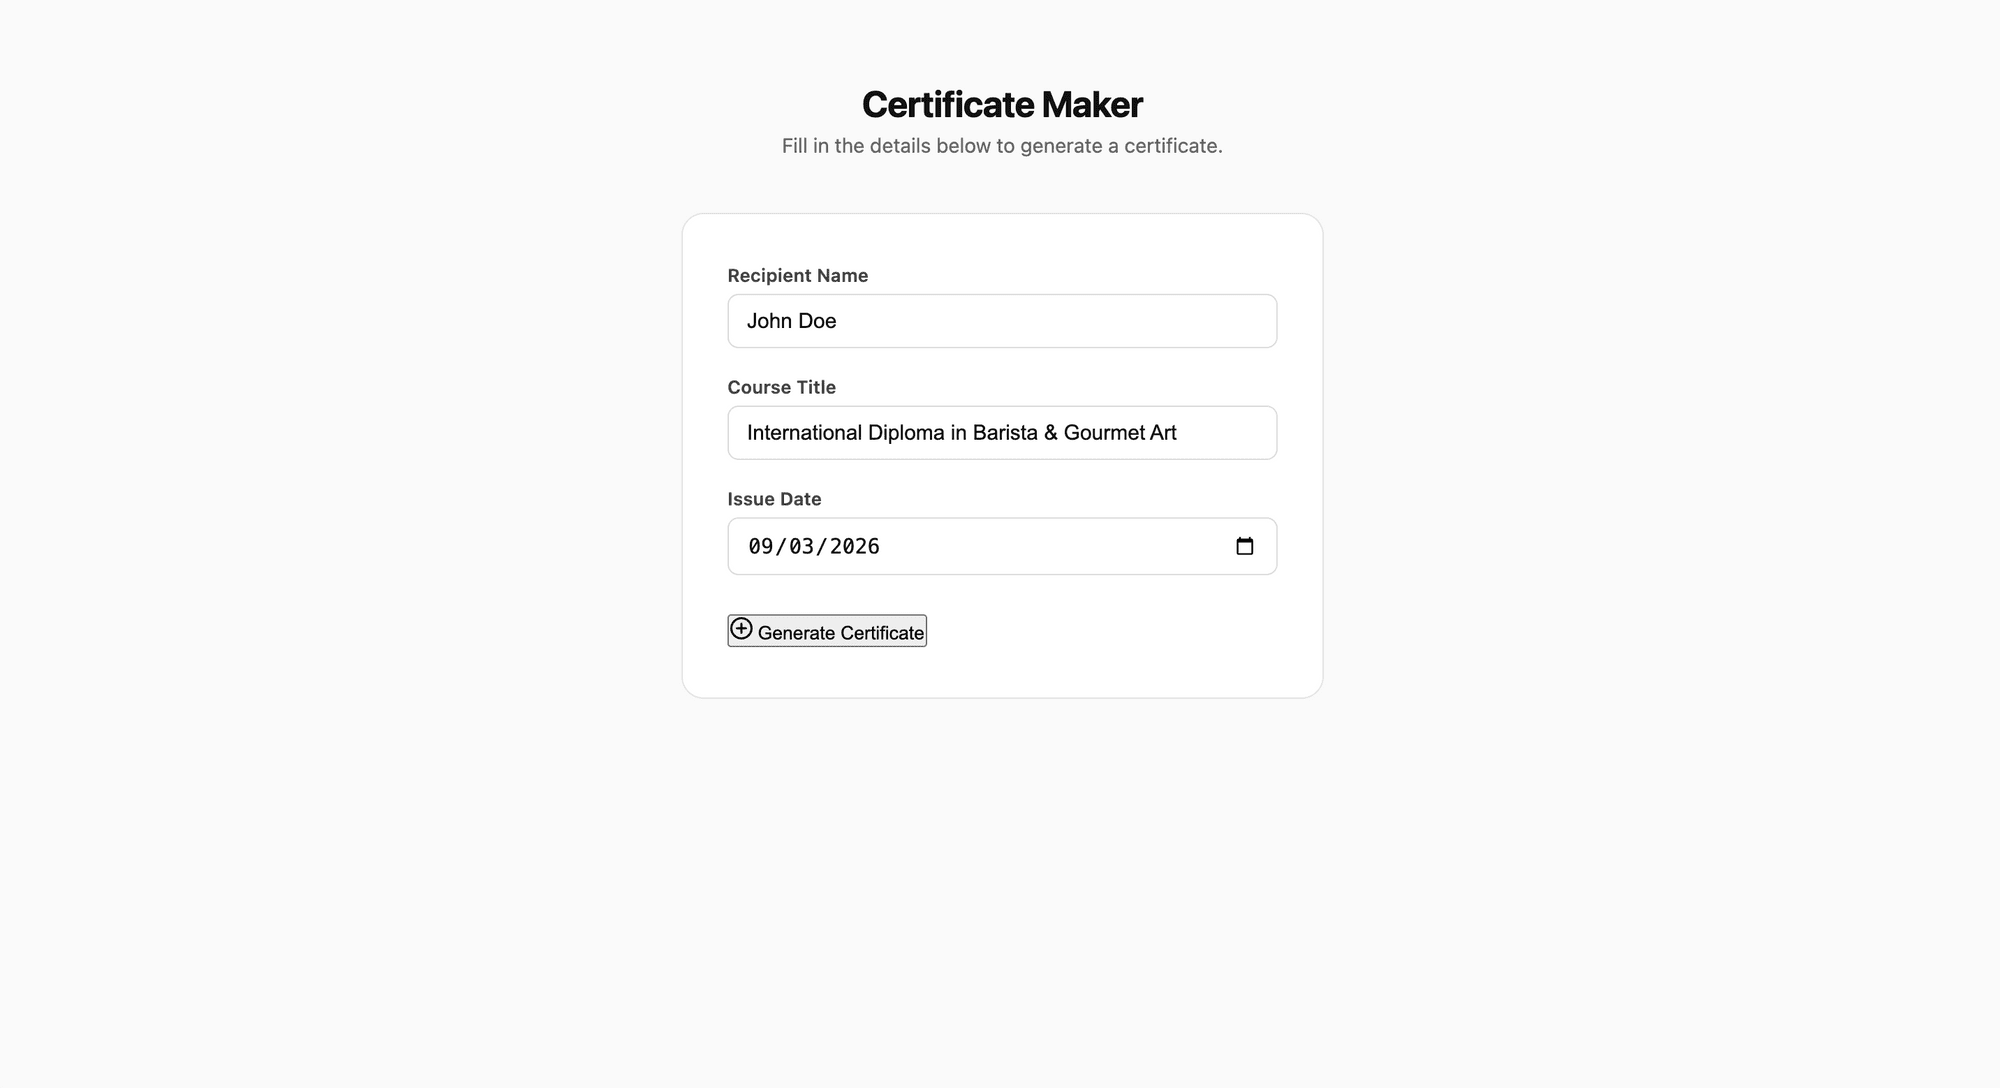
Open the localhost address (e.g., http://localhost:3000) in your browser. Fill in a name, course, and date, then click “Generate Certificate” :
Within a couple of seconds, your certificate will appear below the form, and ready to be downloaded:

Bonus: Add More Templates
Right now, the app uses a single fixed template. To let users choose between multiple designs, extend the backend and frontend like this:
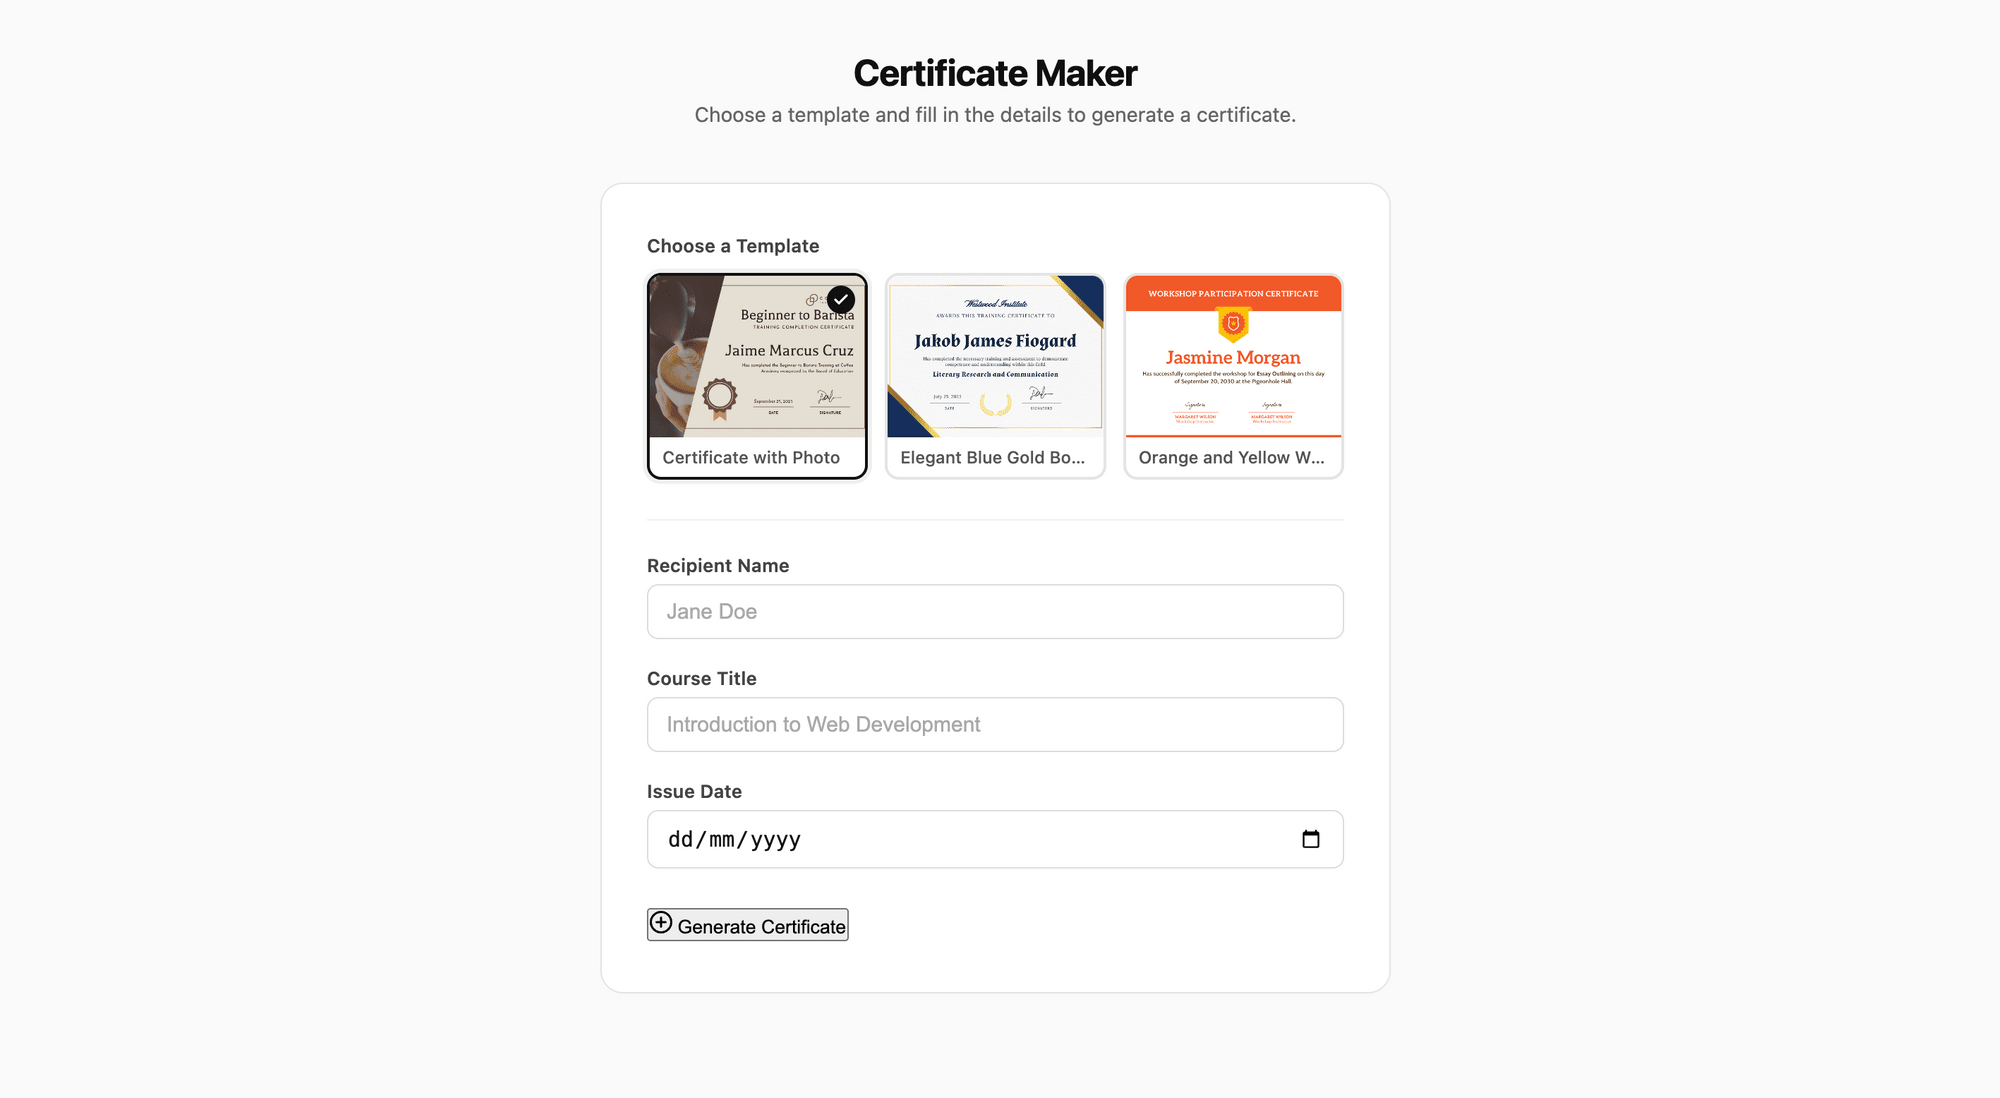
“Update the app to support three certificate templates. Add a template selector to the form with thumbnail previews. Pass the selected template UID to the /generate endpoint.”
Claude Code will add a visual template picker, update the POST payload, and adjust the backend to use the selected ID so that users can choose a template:
🐻 Bear Tip: Add more templates to your project from Bannerbear's template library.
Conclusion
Building a certificate generator this way is faster than using a drag-and-drop website builder and more flexible. You own the frontend completely, so you can match your brand, embed it in an existing app, or connect it to your own database of recipients.
Bannerbear handles the hard part—consistent, high-quality image rendering across every certificate, while your frontend handles the user experience. If you’d like to extend this project further, here are some ideas: connect it to a Google Form, trigger certificates automatically when a course is completed, or batch-generate for entire cohorts at once.
For more on what Bannerbear can automate, check out Bannerbear’s API Reference and other tutorials:
- How to Bulk Generate and Send Personalized Invitations from a CSV File Using Bannerbear and WhatsApp Cloud API (Node.js)
- How to Build a Discord Bot That Creates Personalized Certificate Images For Members Using Bannerbear (Node.js)
- How to Generate Dynamic Open Graph Images in Next.js Using Bannerbear (Complete Guide)
