
How to Install Claude Code: Terminal, IDE, Web & Desktop Setup
Contents
AI has completely changed how we work, including how developers write code. If you're exploring AI coding assistants, Claude Code is definitely one to check out. Unlike basic LLMs that just provide code snippets based on what you ask, Claude Code can understand your entire codebase, execute complex tasks autonomously, and even streamline the entire development process from building and debugging all the way to shipping!
You can work with Claude Code in several ways—directly from the terminal, in your IDE, web browser, or the desktop app. In this tutorial, we'll walk through how to get started with Claude Code across all these interfaces so you can choose one that fits best into your workflow. Let’s get started!
What is Claude Code?
Claude Code by Anthropic is a powerful agentic coding tool built on Claude Opus 4.5, which is optimized specifically for code understanding and generation. It can understand your entire codebase and edit files across multiple directories.
Claude Code uses agentic search to grasp the full context of your project. This means it can debug errors with awareness of how everything connects, generate comprehensive tests, and even handle git workflows for you.
That said, you have full control over how Claude Code works in your codebase. It's configurable to adapt to your coding standards and patterns, and it requires your approval before modifying any files.
Pre-requisites
No matter where you're using Claude Code from, you'll need an Anthropic account with one of these options:
- Claude subscription (Pro, Max, Team, or Enterprise)
- API credits in Anthropic Console/Claude Developer Platform
Any other prerequisites will depend on which interface you choose, and we'll cover those in the relevant sections below.
🐻 Bear Tip: A Claude subscription gives you access to Claude Code with usage limits, but at a predictable monthly cost. Alternatively, using API credits is billed based on token consumption—you pay for what you use.
How to Install Claude Code
Method 1: Terminal CLI
Using Claude Code in the terminal CLI offers the most features and flexibility. It's perfect for developers who prefer working in the terminal and want direct control over their workflow.
Note : Claude Code is primarily designed for Unix-like environments (Linux/macOS). If you're on Windows, you'll need the Windows Subsystem for Linux (WSL) for the best experience (though you can also use PowerShell for a native Windows installation).
Installation Steps
Open your terminal and run this command for the native installation on macOS, Linux, and WSL:
curl -fsSL https://claude.ai/install.sh | bash
This downloads and executes the official installation script from Anthropic. The script automatically detects your operating system and handles the setup.
For Windows users, you can open PowerShell and run:
irm https://claude.ai/install.ps1 | iex
…or open the command line and run:
curl -fsSL https://claude.ai/install.cmd -o install.cmd && install.cmd && del install.cmd
After installation, verify everything worked by starting Claude Code:
claude
You should see the version number displayed along with a text style selection screen:
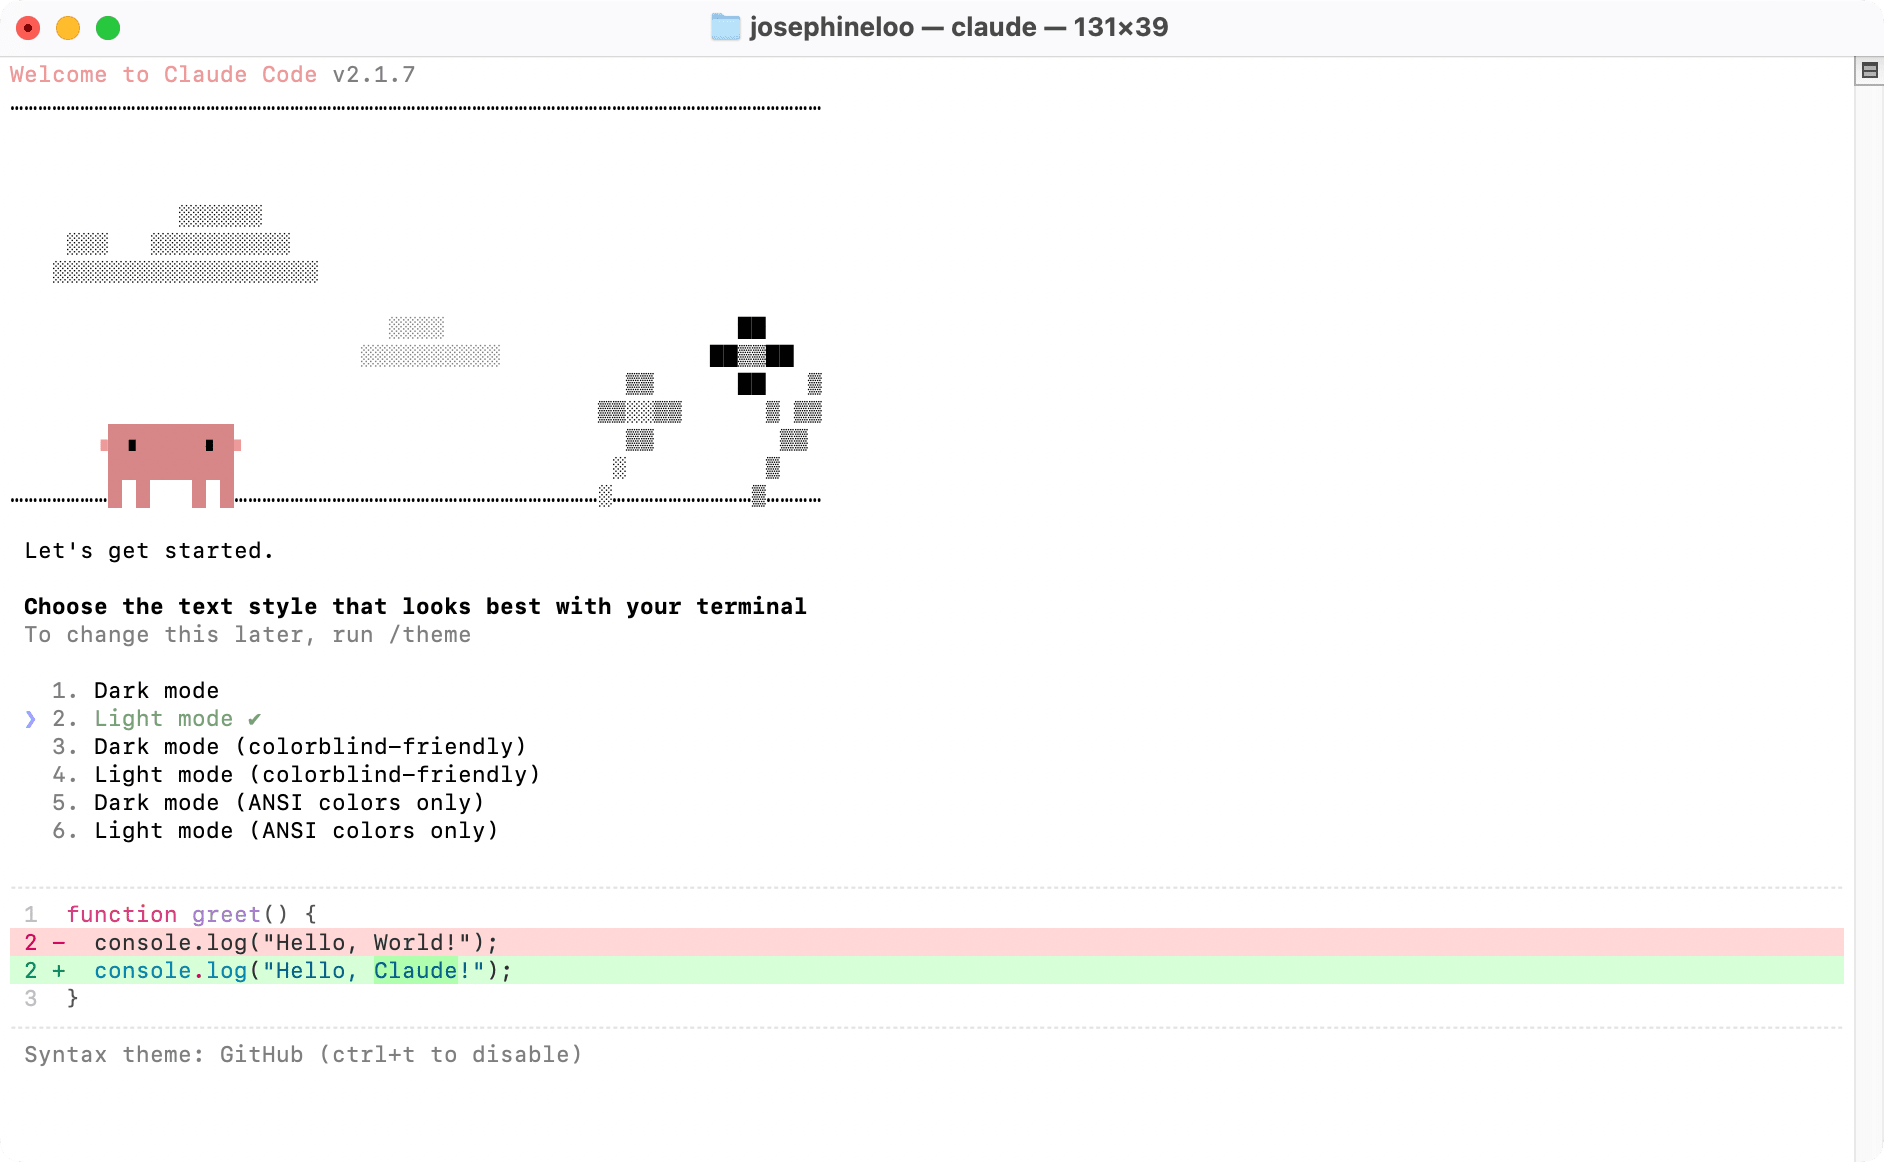
Choose your preferred style, and you'll be prompted to log in to your Claude or Anthropic Console account:
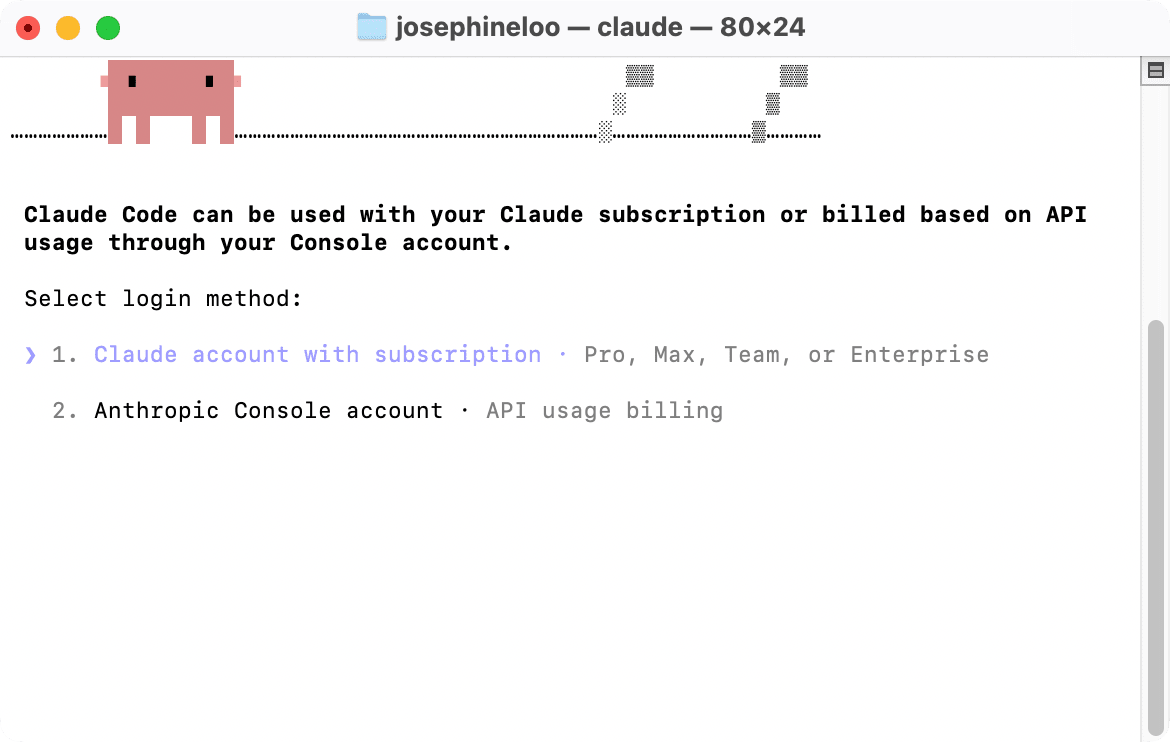
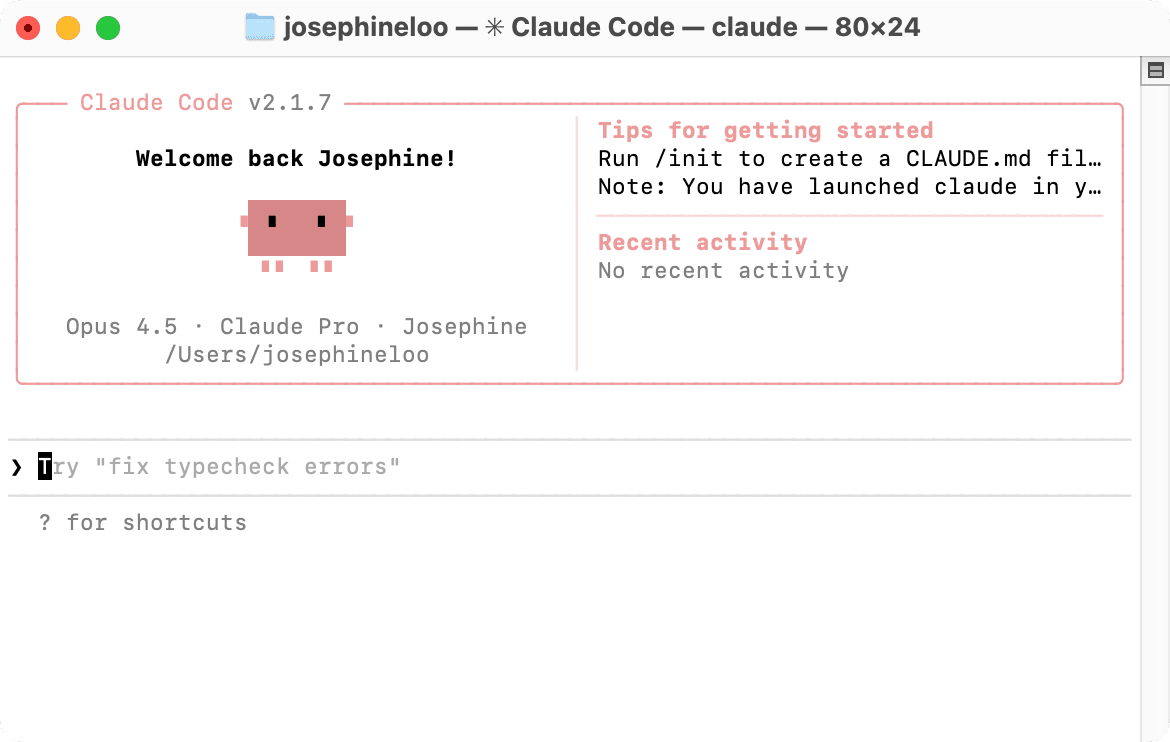
After logging in, you're ready to use Claude Code in the terminal:
Method 2: VS Code Extension
The VS Code extension integrates Claude Code directly into your IDE. Compared to opening up a terminal in your project in VS Code, using the extension gives you a graphical user interface with inline diffs and real-time visual feedback.
Installation Steps
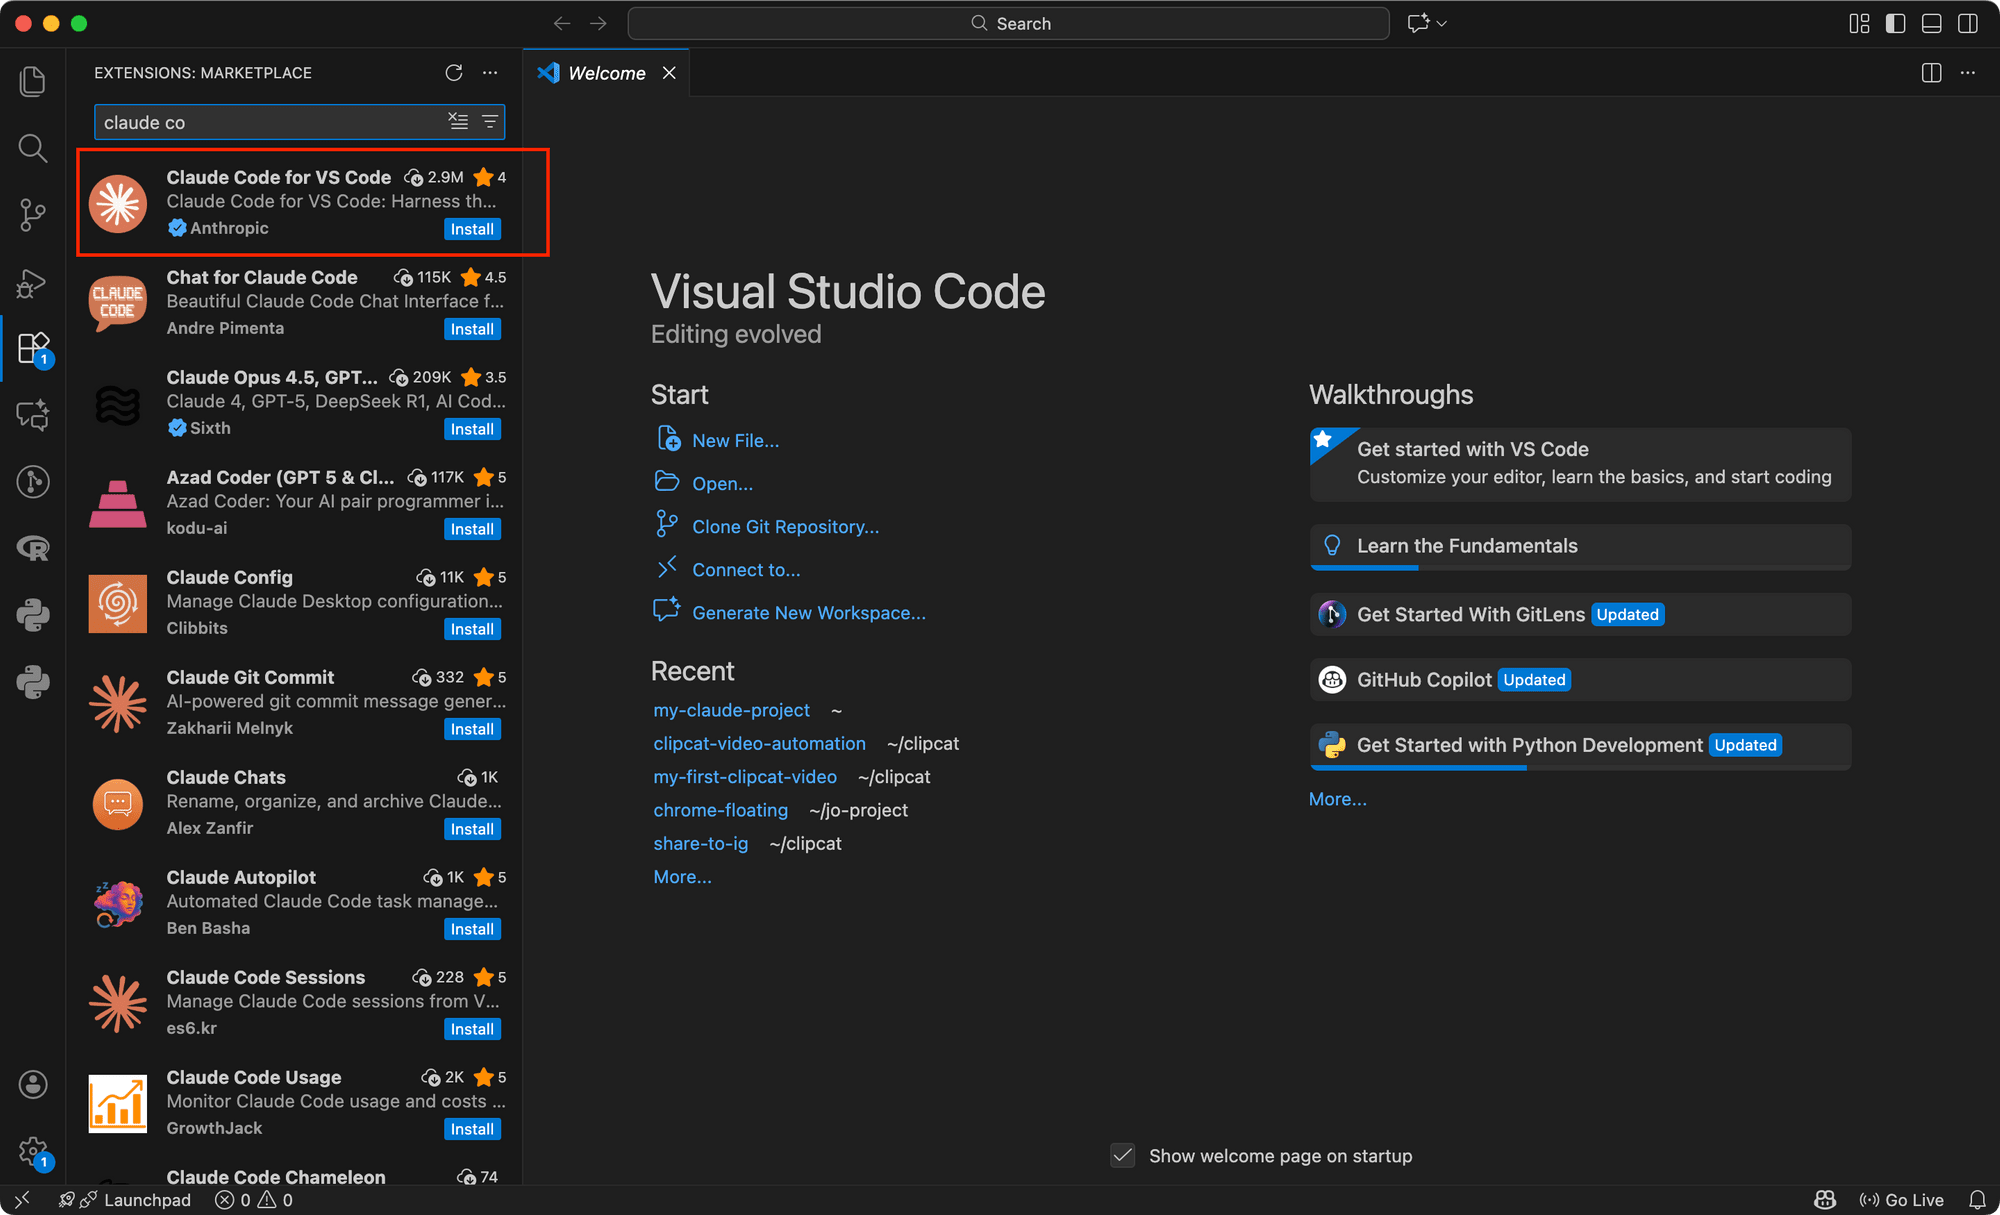
Open VS Code and go to the “Extension” tab. From there, search for “Claude Code” and install the official extension from Anthropic:
After installing, you’ll see the Claude logo in the top right corner of your VS Code:
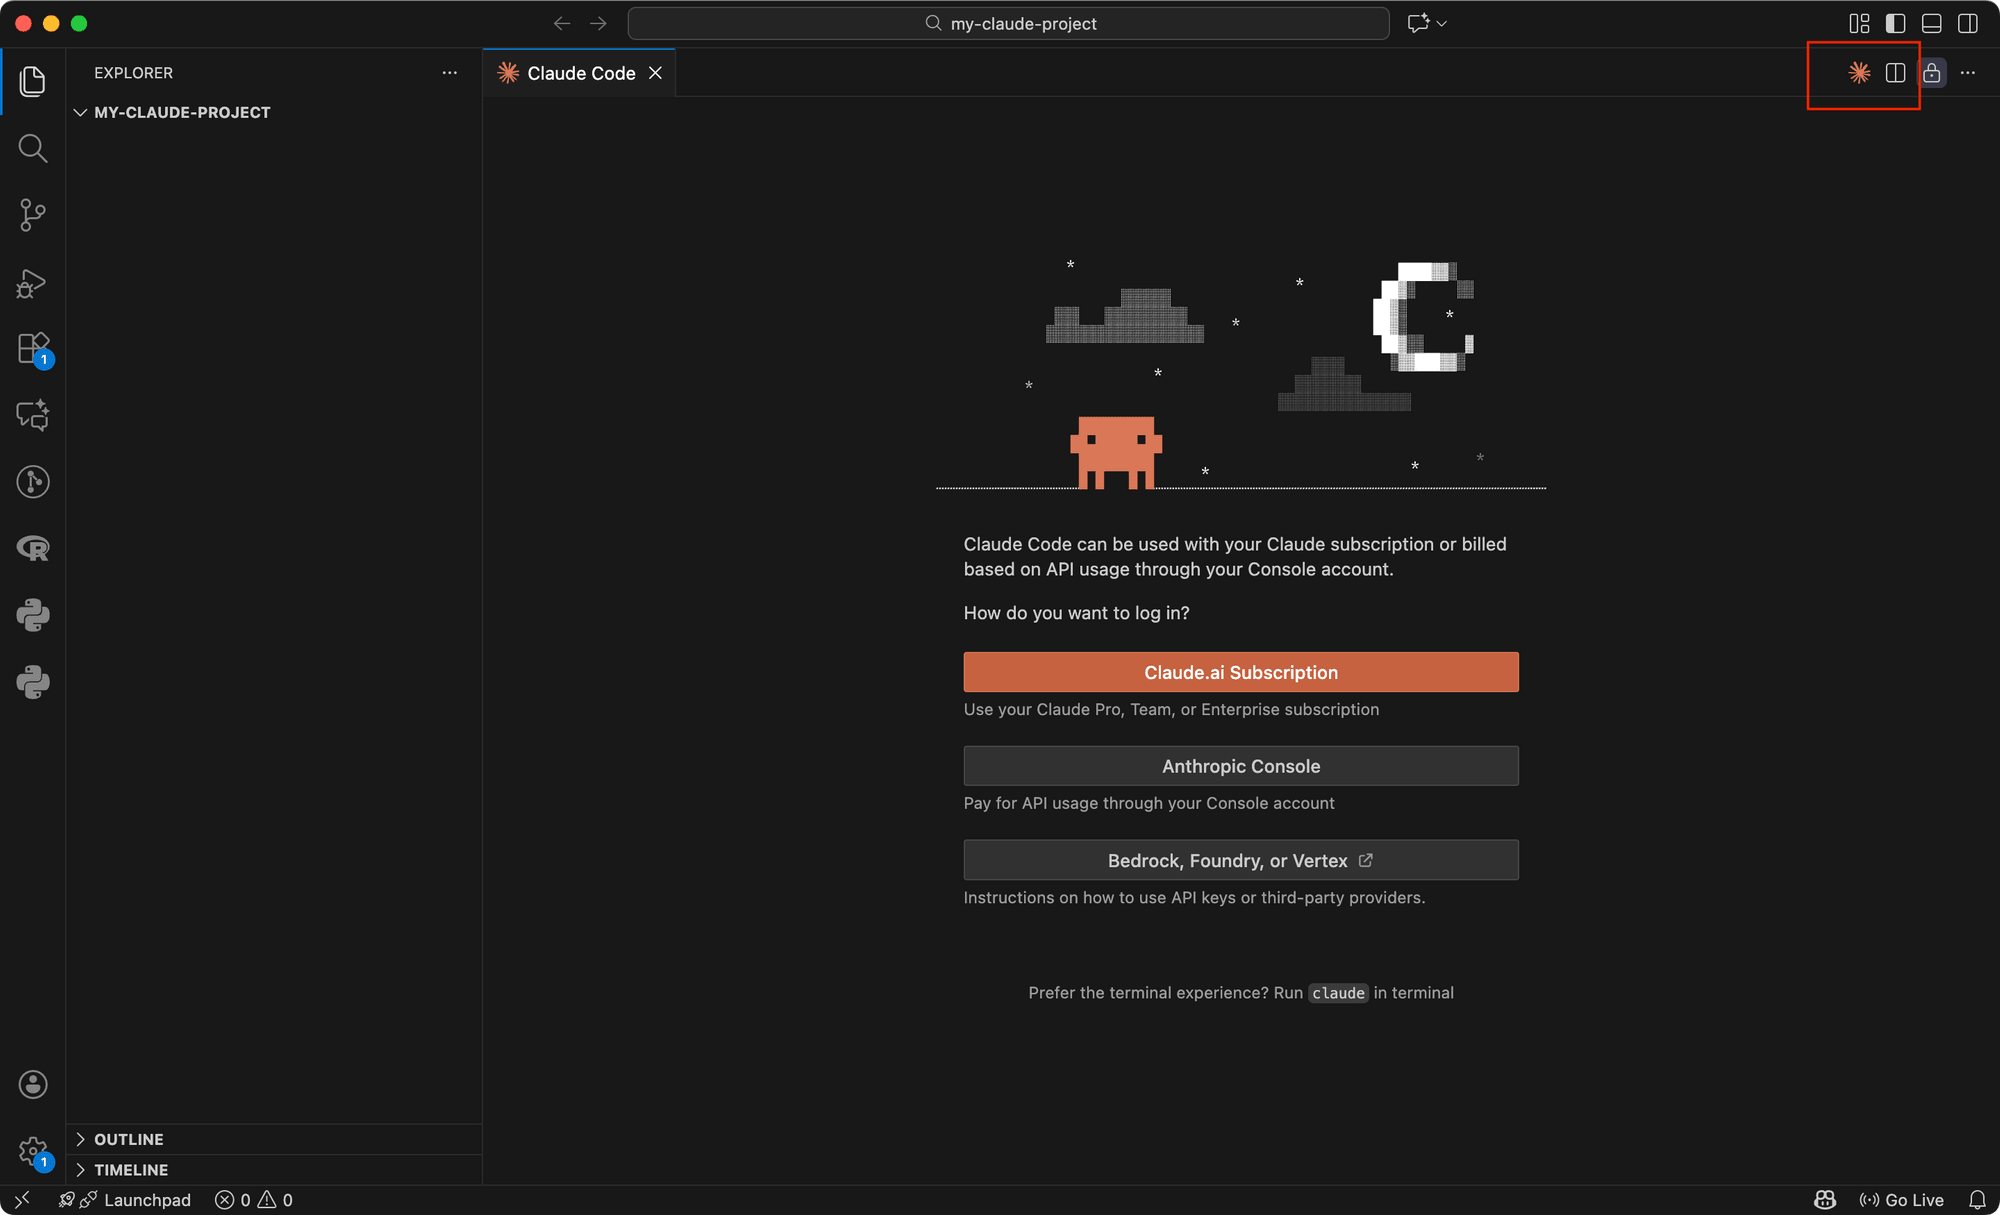
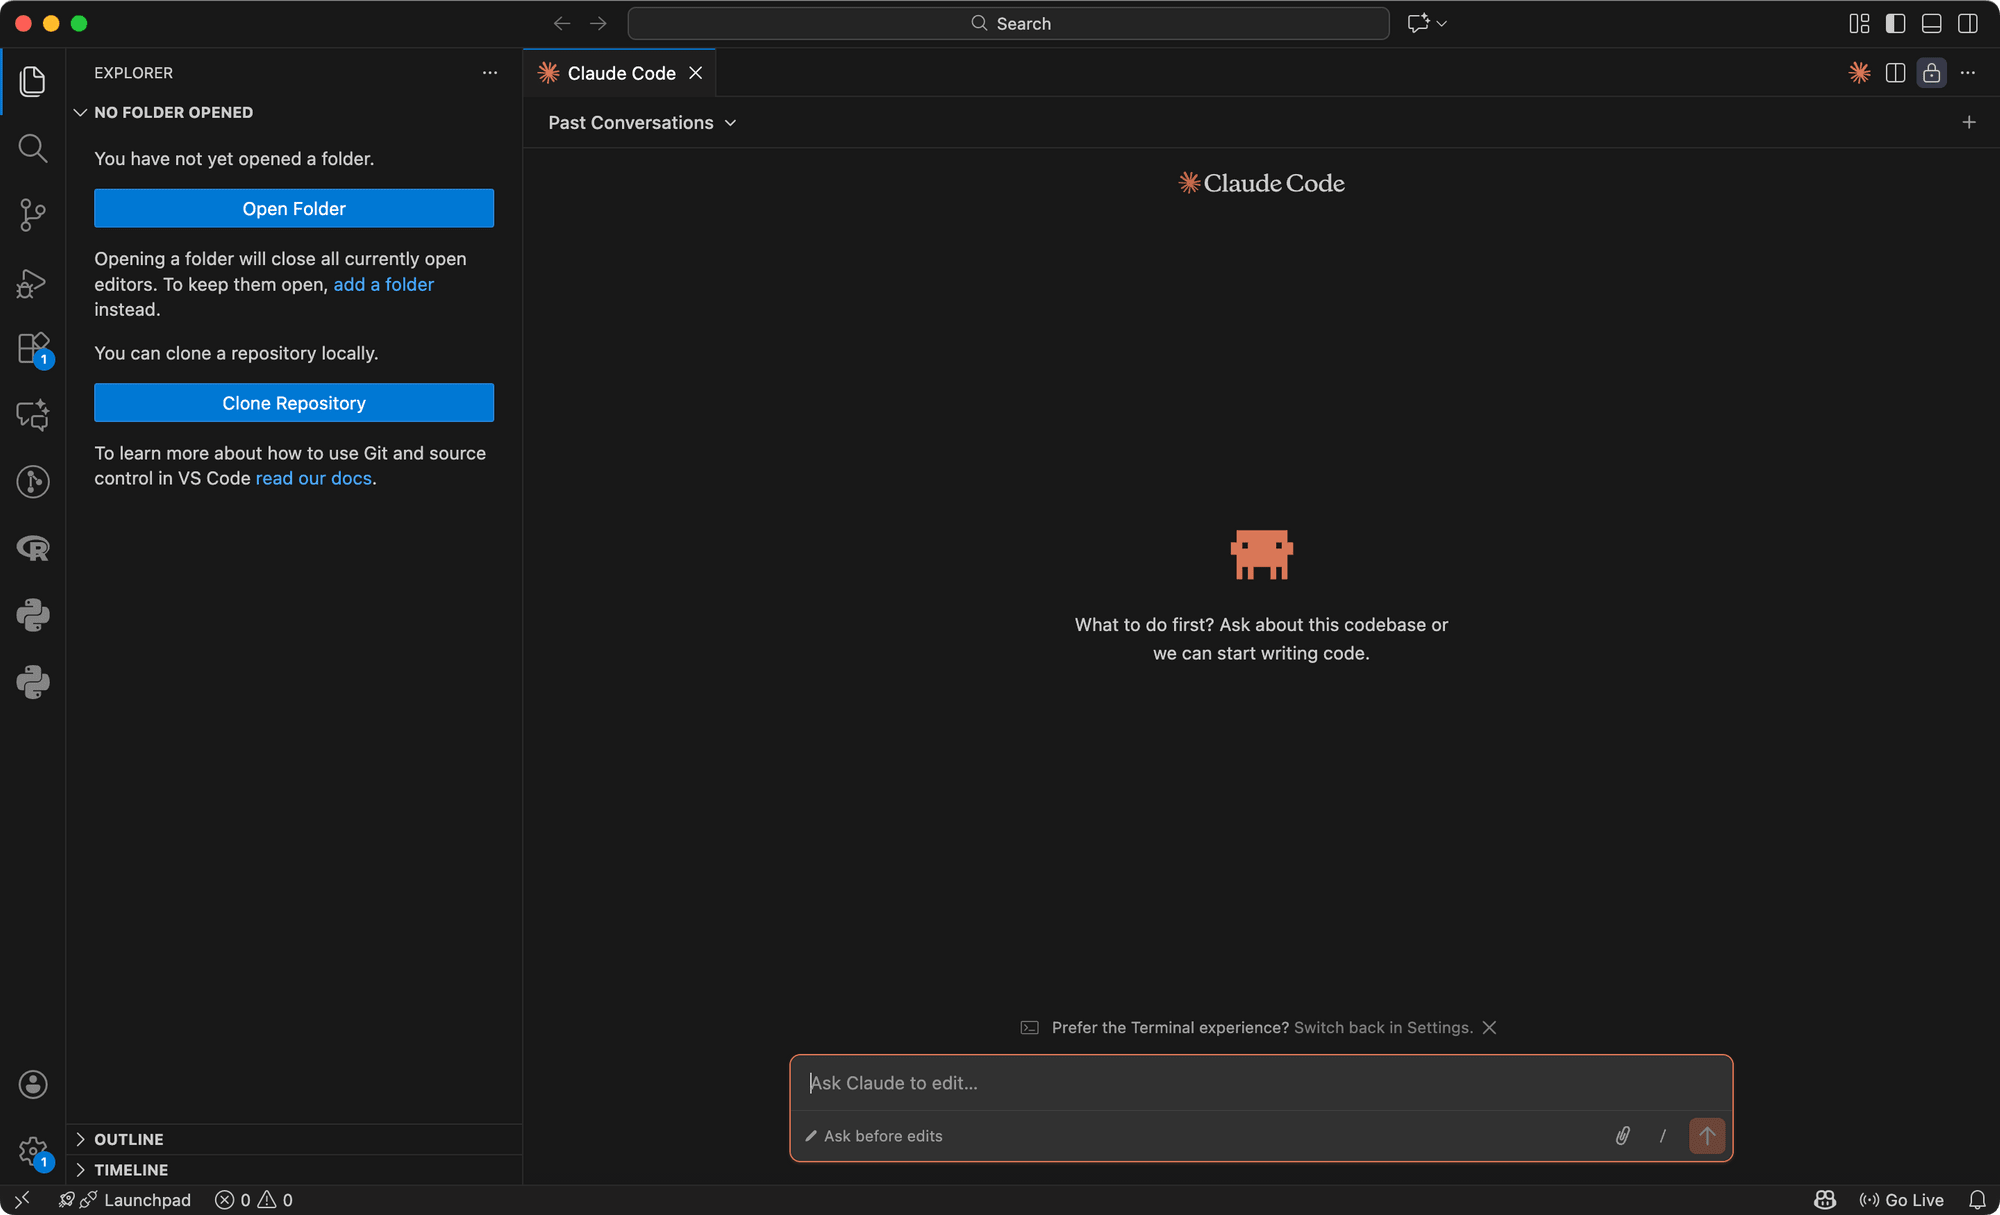
Click one of the buttons to log in to your Claude or Anthropic Console account. Once authenticated, you can start using Claude Code directly in VS Code:
Method 3: Web Interface
Using Claude Code in the web interface doesn’t require any installation on your local machine. However, you do need to install the Claude App in your GitHub account to access your repositories.
Installation Steps
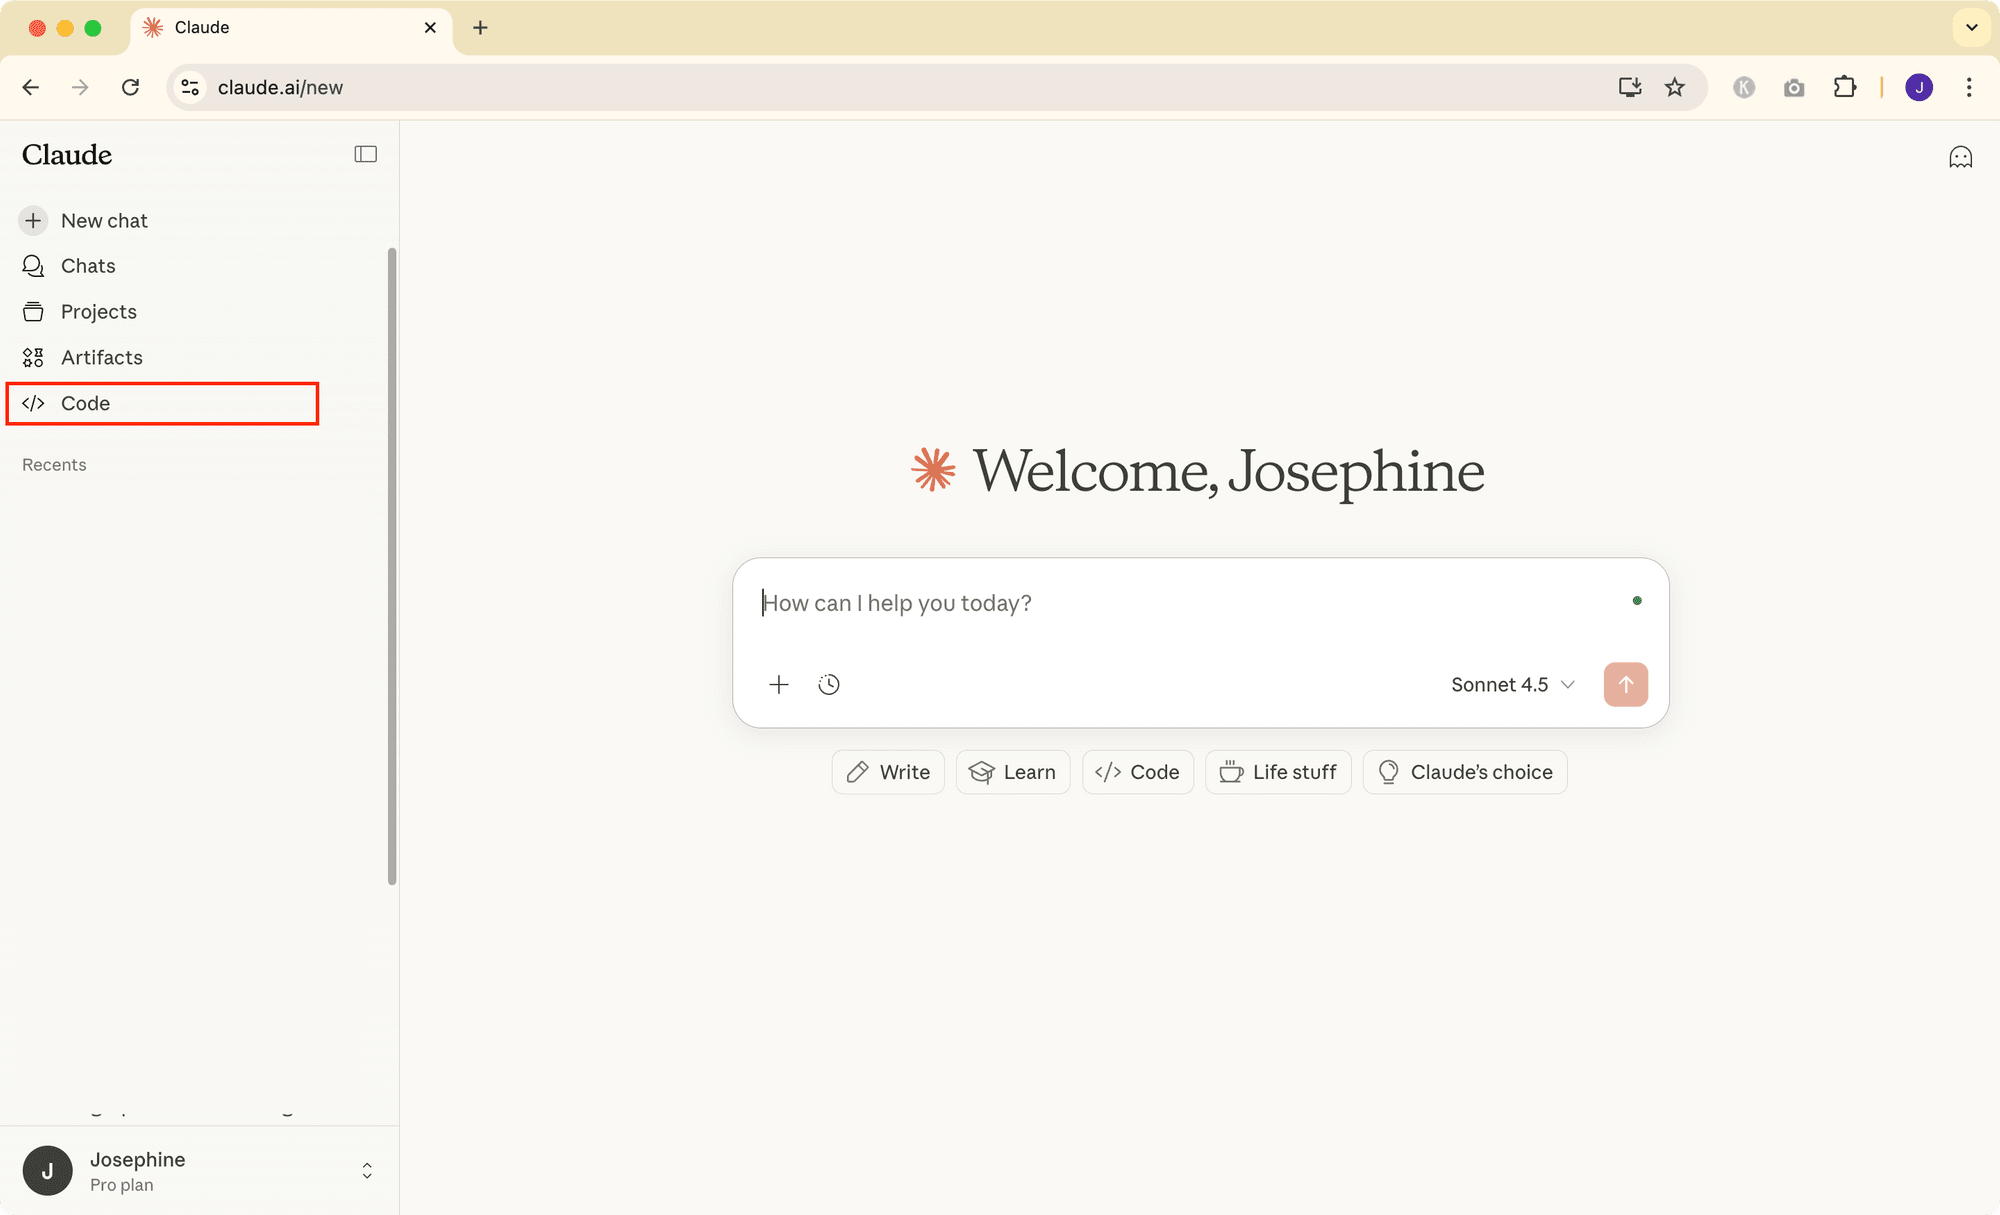
To use Claude Code on the web, visit https://claude.ai/code or go to the “Code” tab in Claude:
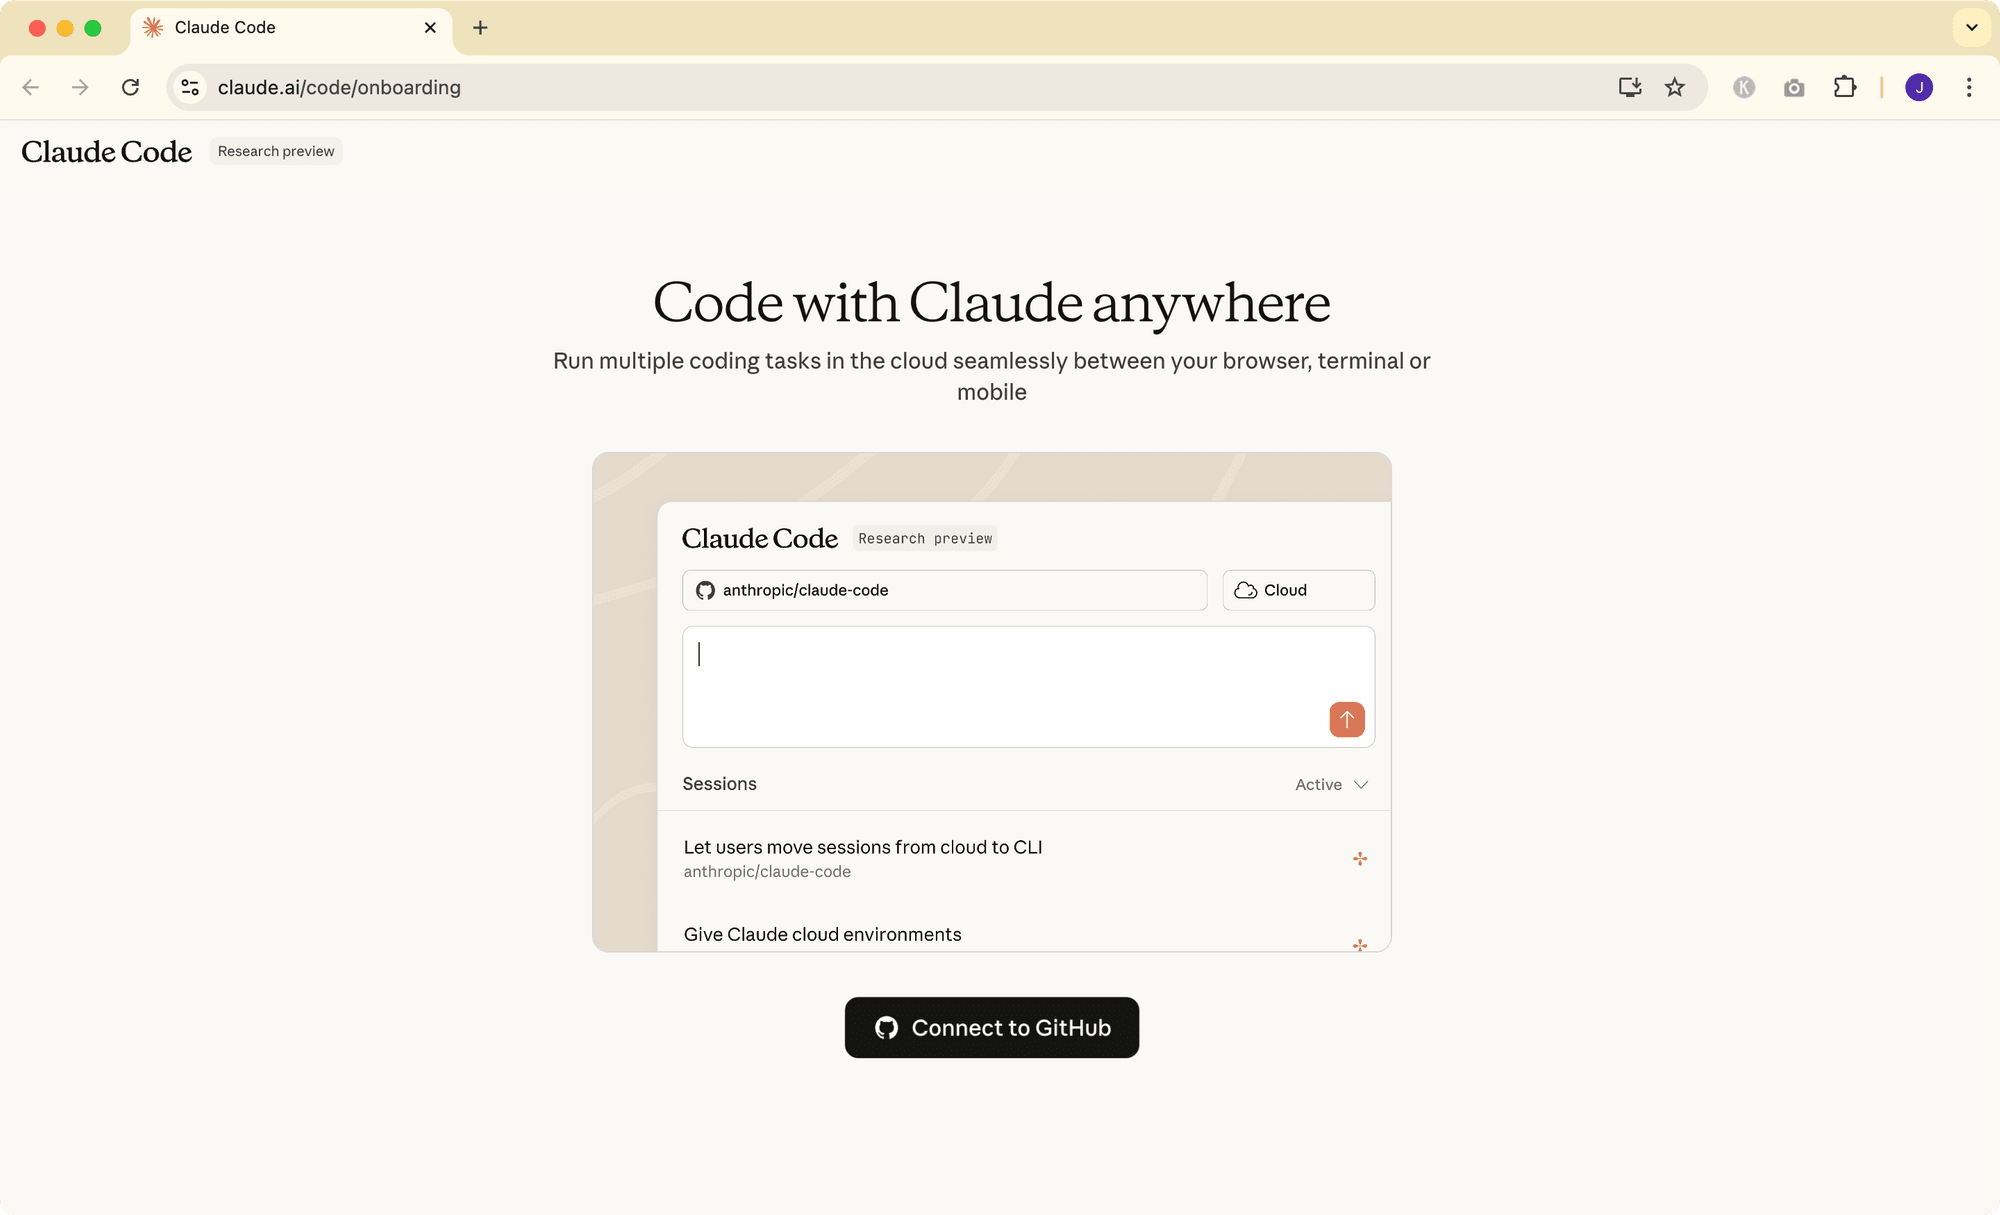
Click on “Connect to GitHub” to begin the setup process:
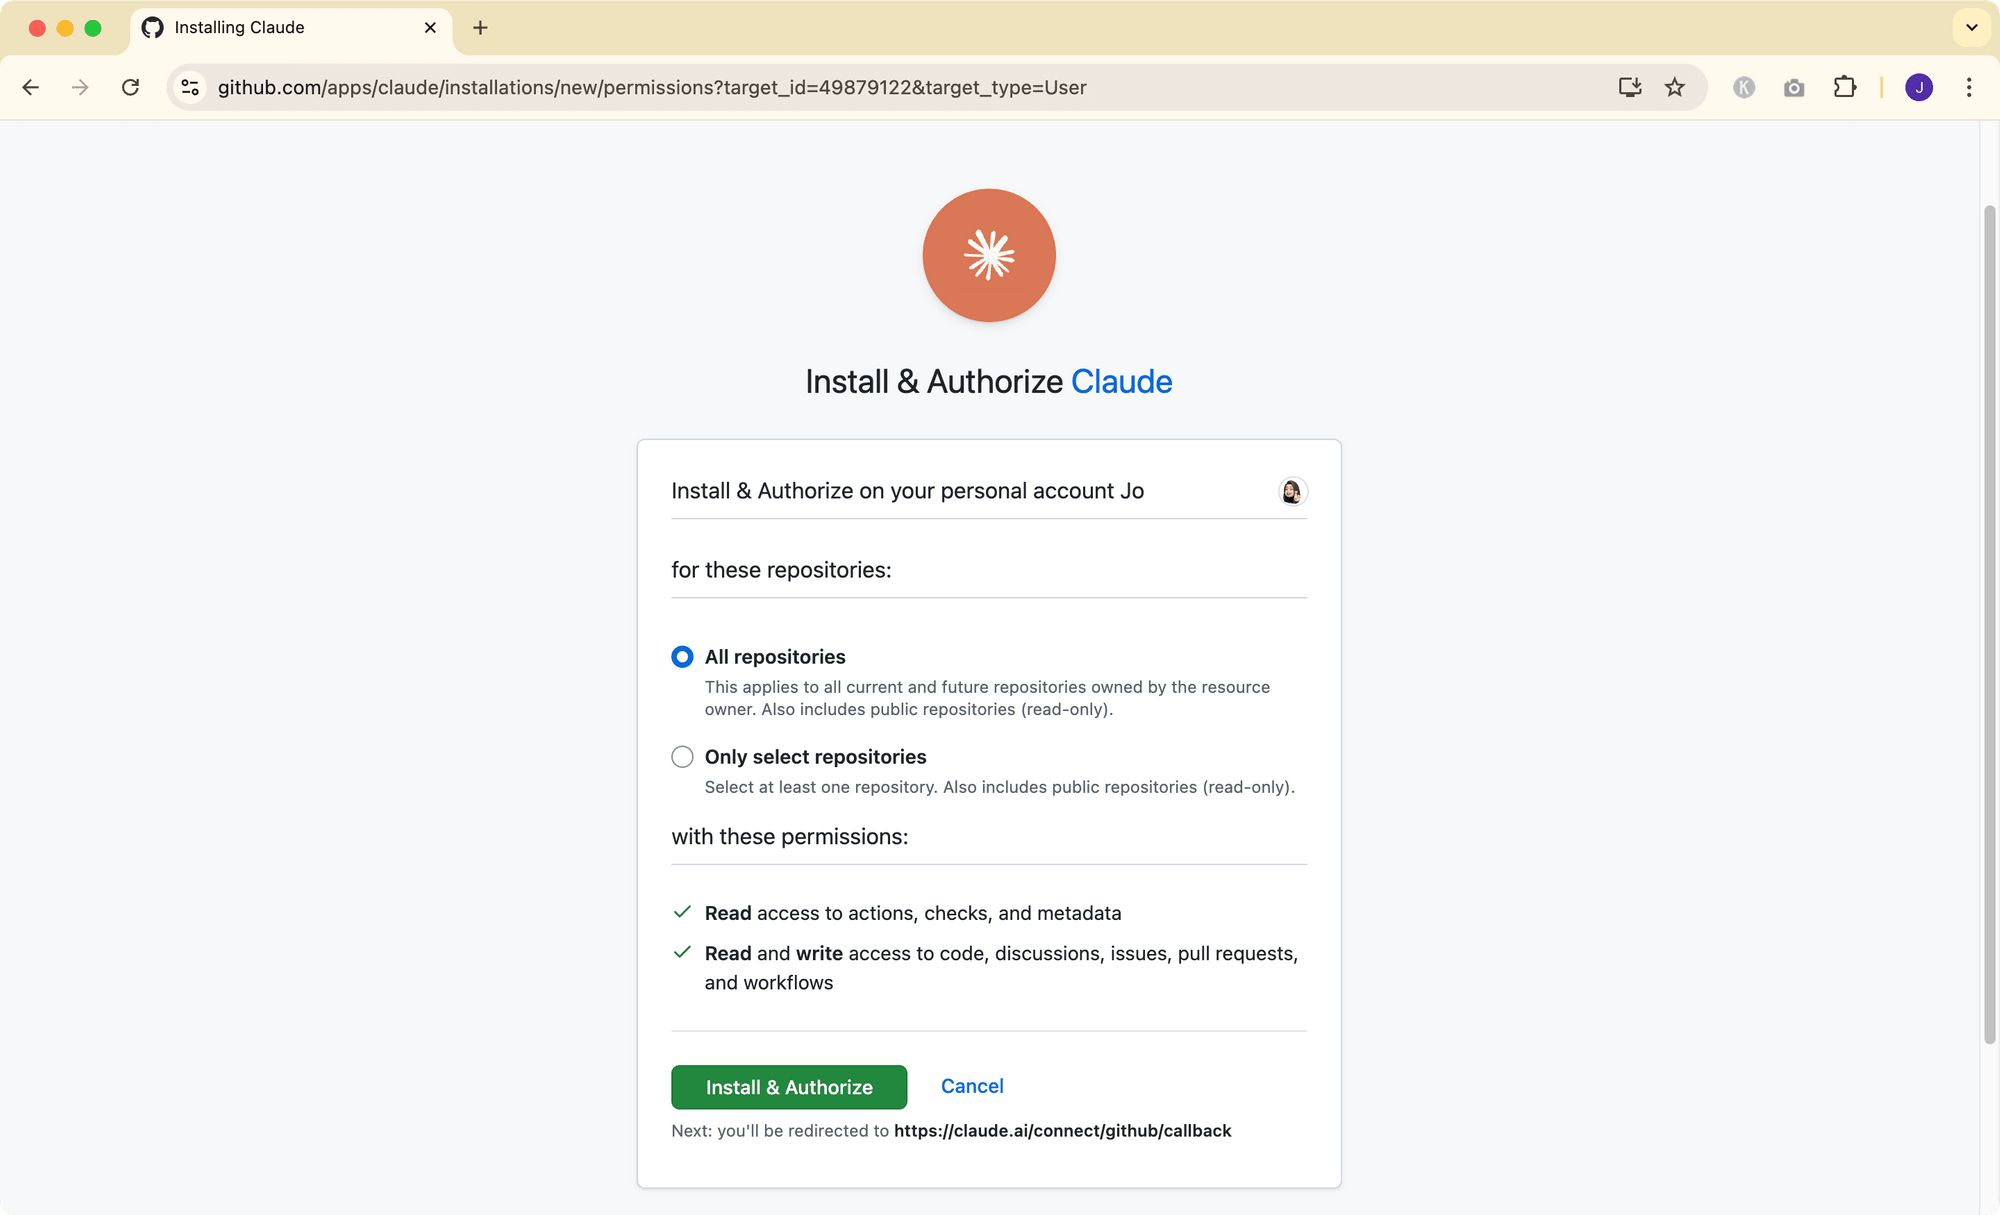
You'll be redirected to GitHub where you need to authorize the Claude App. This gives Claude Code permission to read and modify repositories you select:

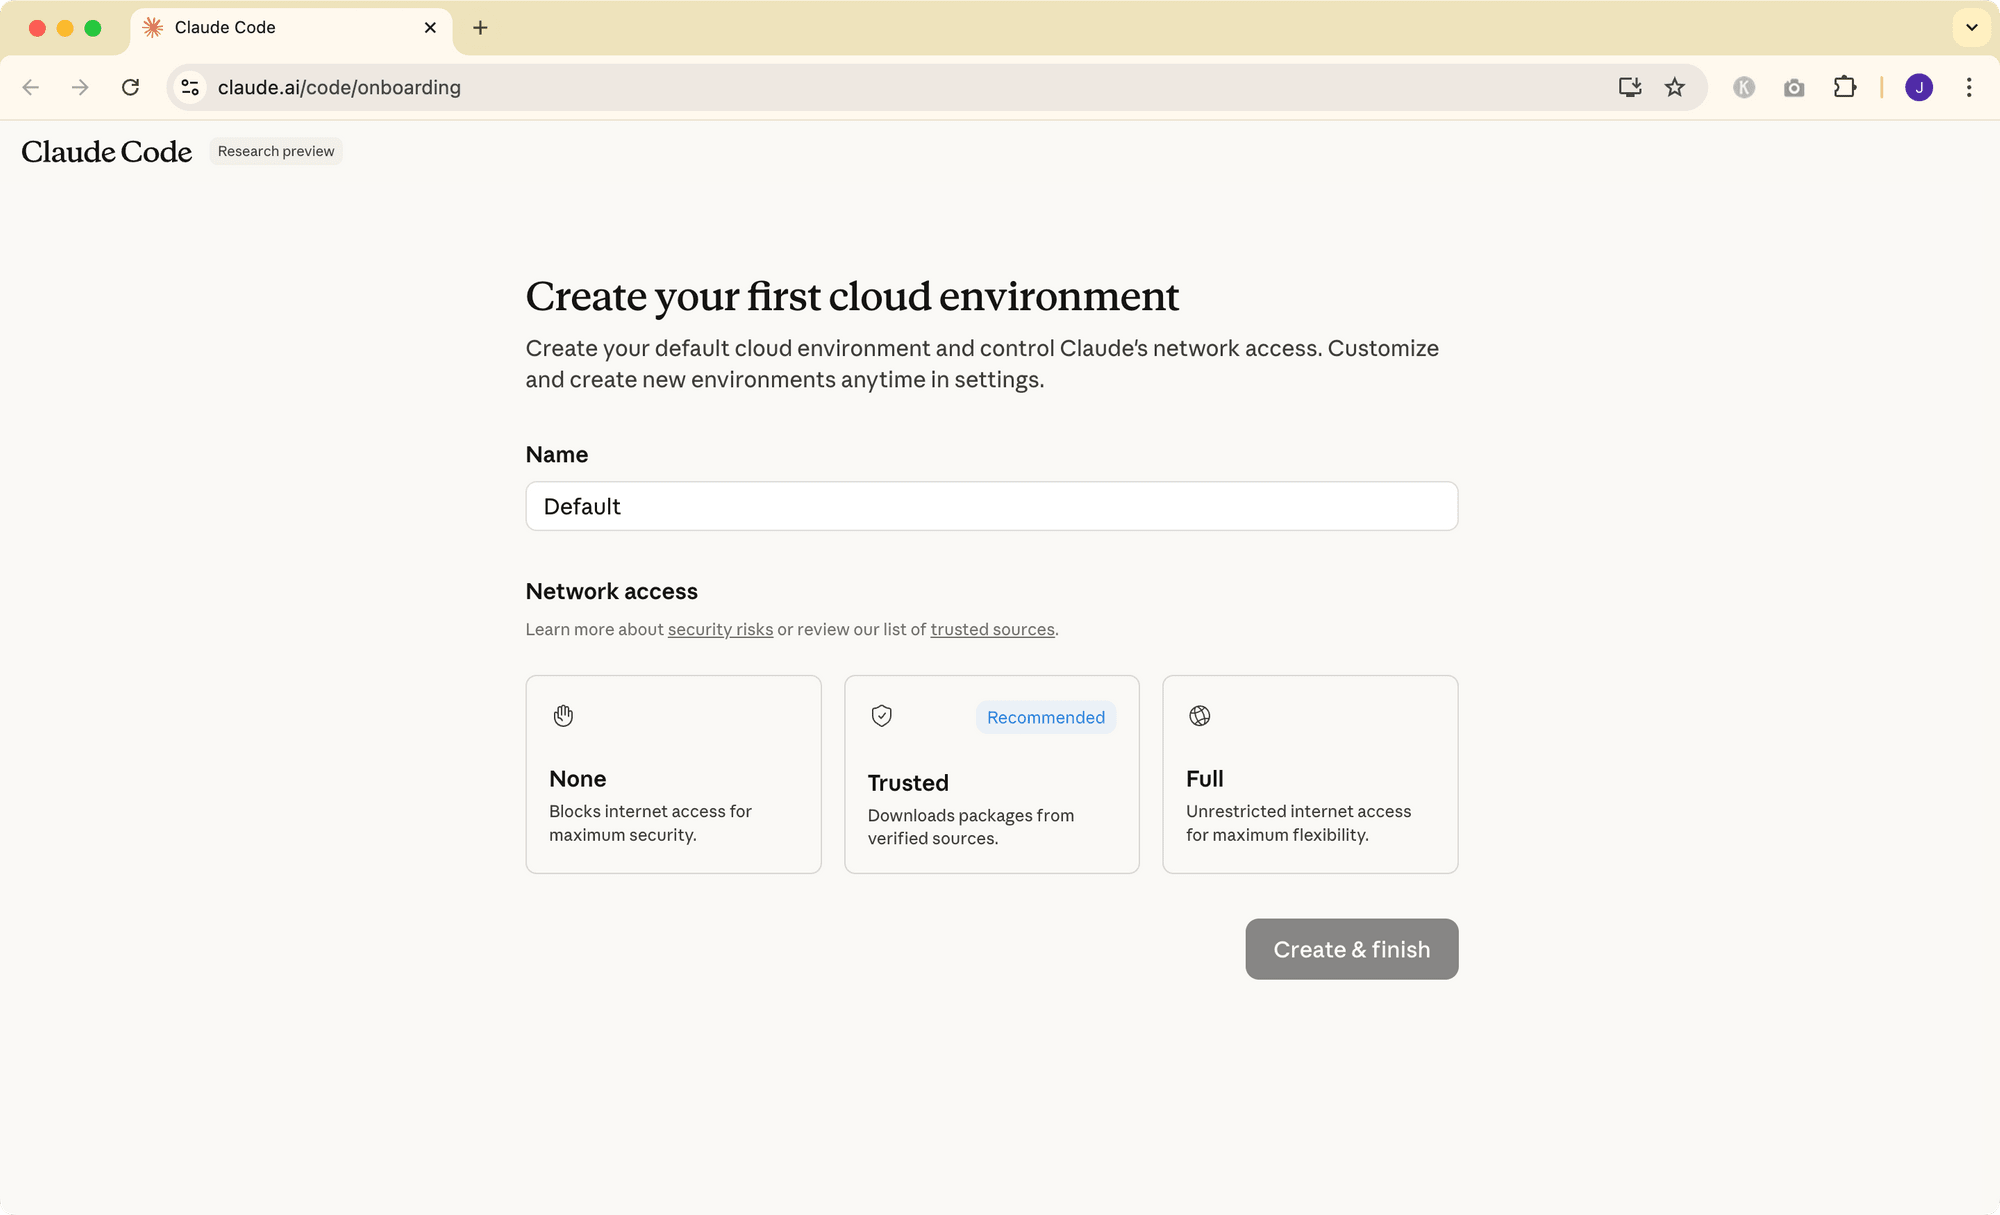
After authorizing, you'll create your first cloud environment. Choose an appropriate network access level based on your security requirements and click “Create & finish” to continue:
Next, select which repositories you want to grant Claude Code access to. You can choose specific repositories or allow access to all repositories in your account:
🐻 Bear Tip: For security reasons, it's recommended to start with specific repositories until you're comfortable with the workflow.
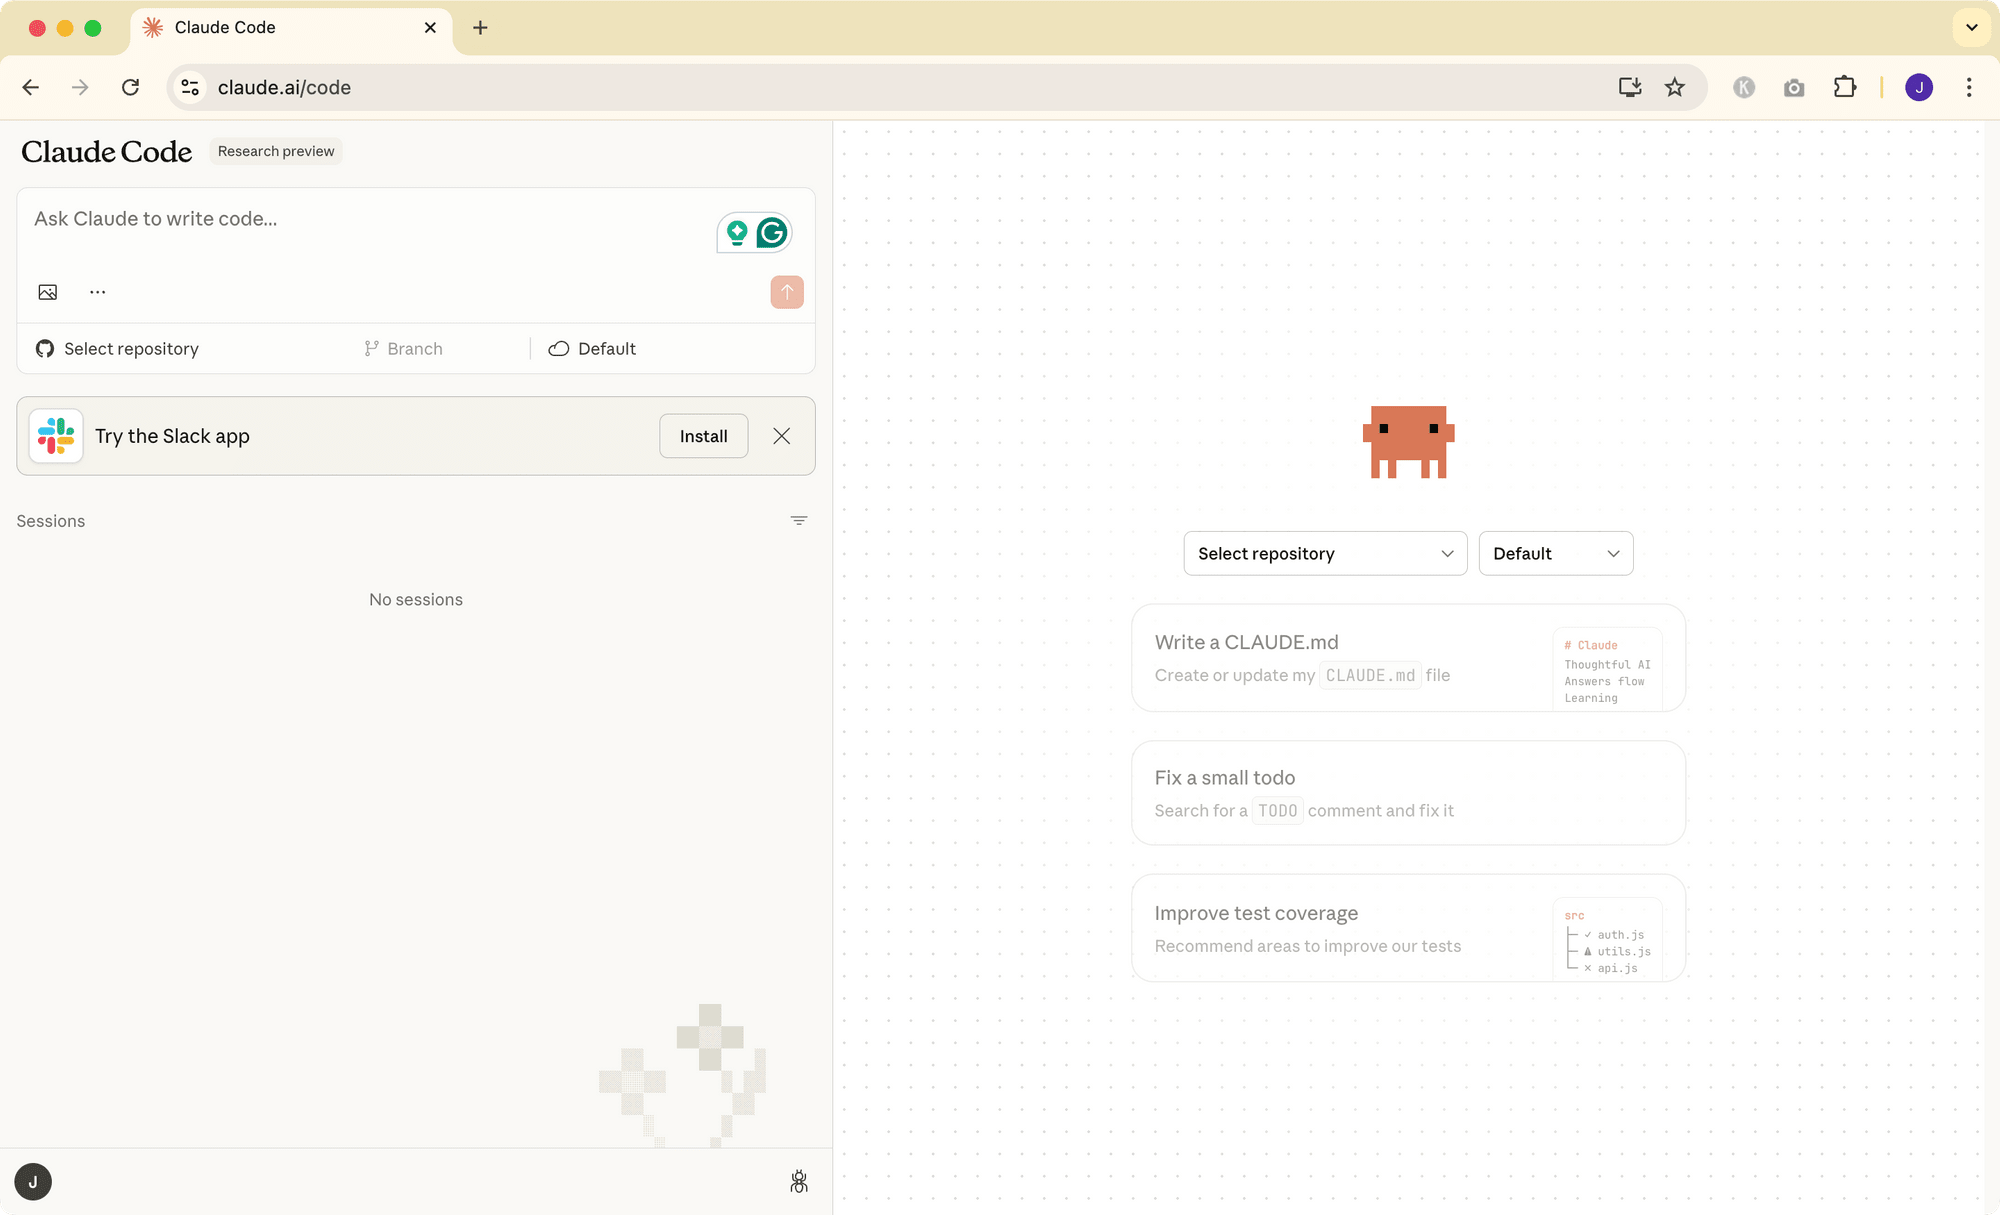
After that, you’ll be able to use Claude Code on the web for any of your authorized GitHub repositories
Method 4: Desktop App
The Claude desktop app is easily accessible from the dock and includes a shortcut for instant access from anywhere in your system. With a Claude subscription, you can also access Claude Code from the desktop app.
The desktop app provides a native interface for running multiple Claude Code sessions in parallel on your local machine, each with its own isolated git worktree. On top of that, you can access both local and cloud sessions from the same interface, making it incredibly versatile.
Installation Steps
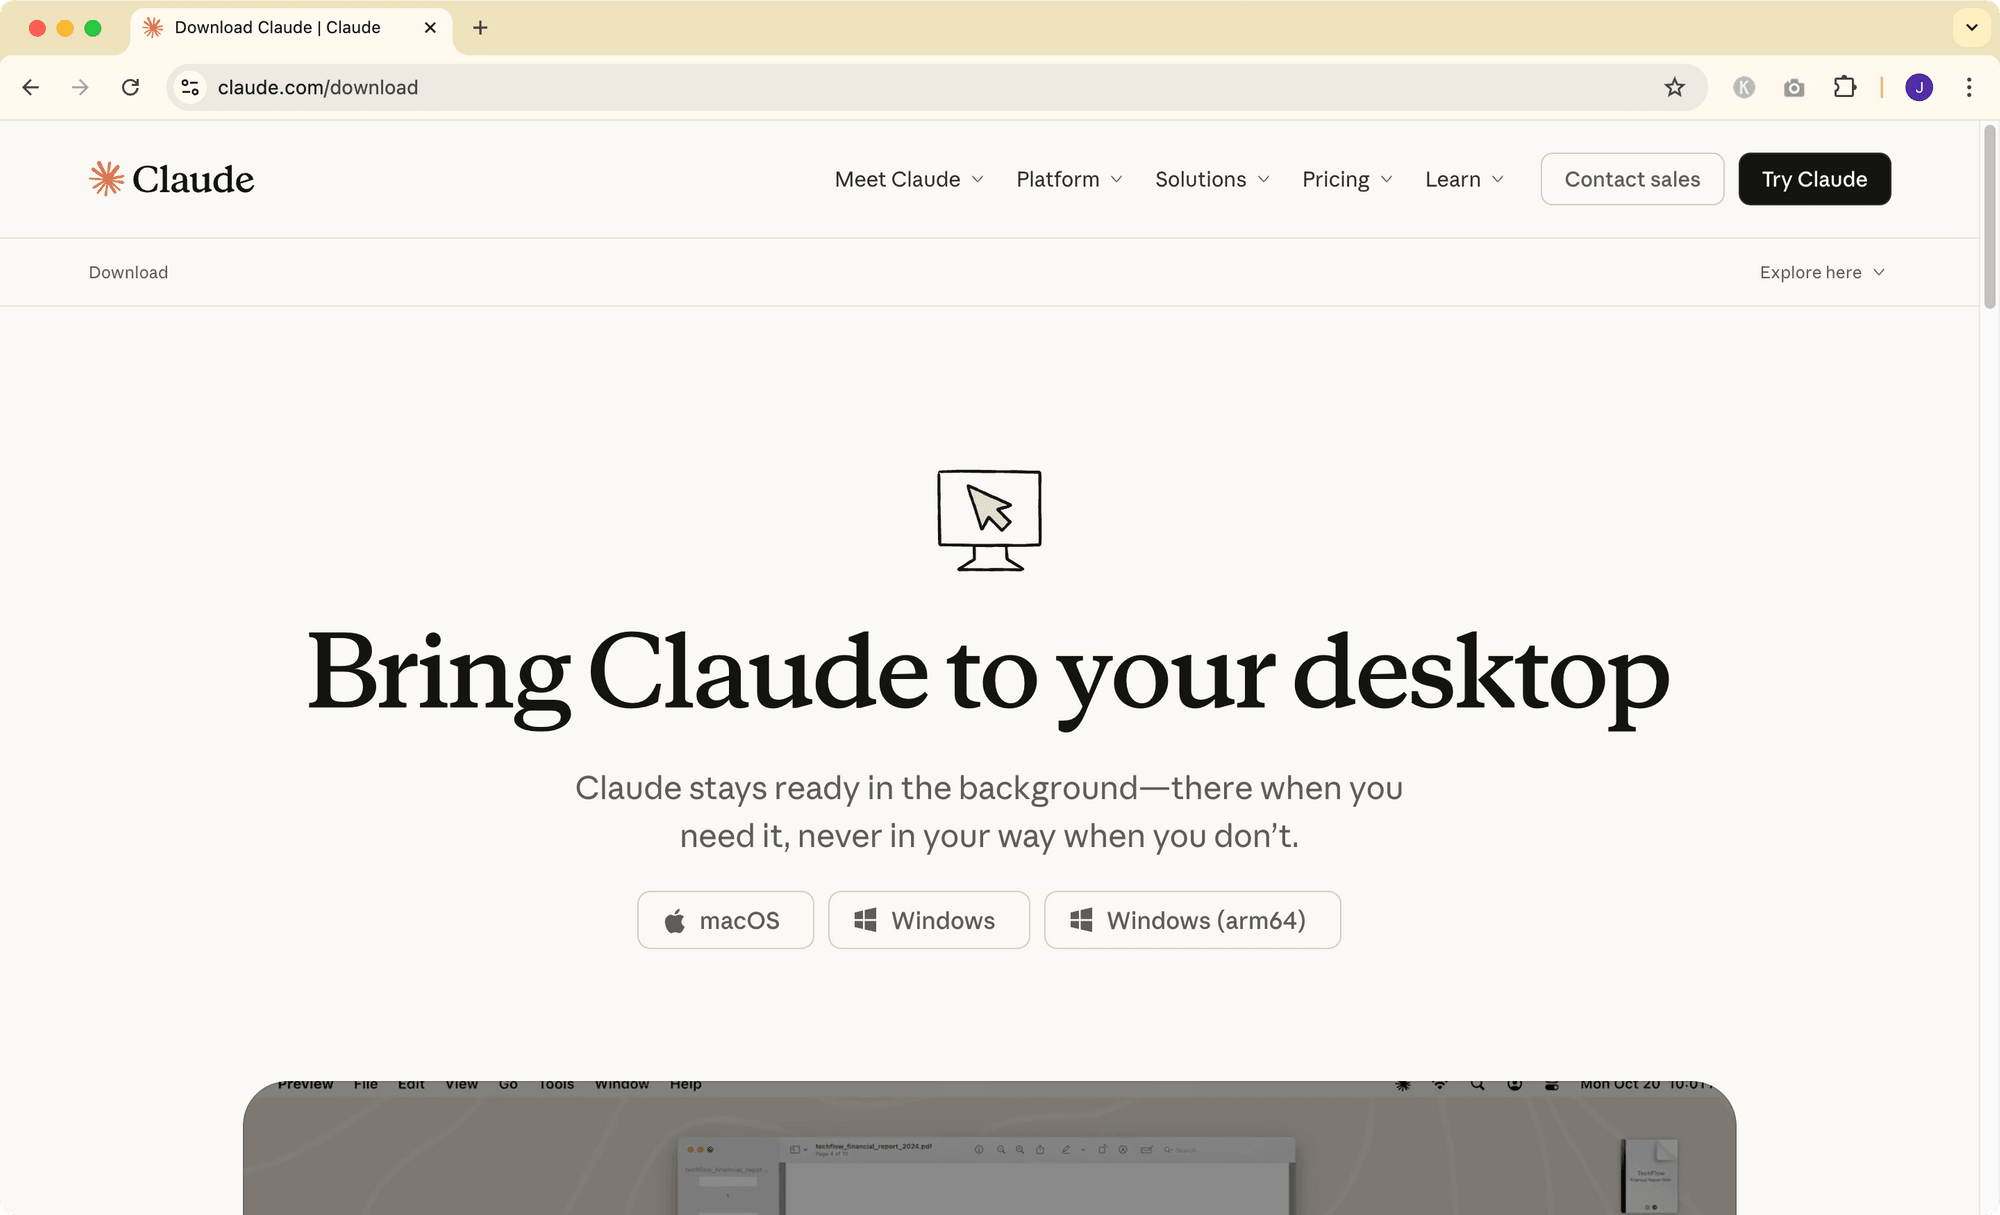
Download the Claude Desktop app from claude.com/download. Choose the version for your platform and install the app like any other desktop application:
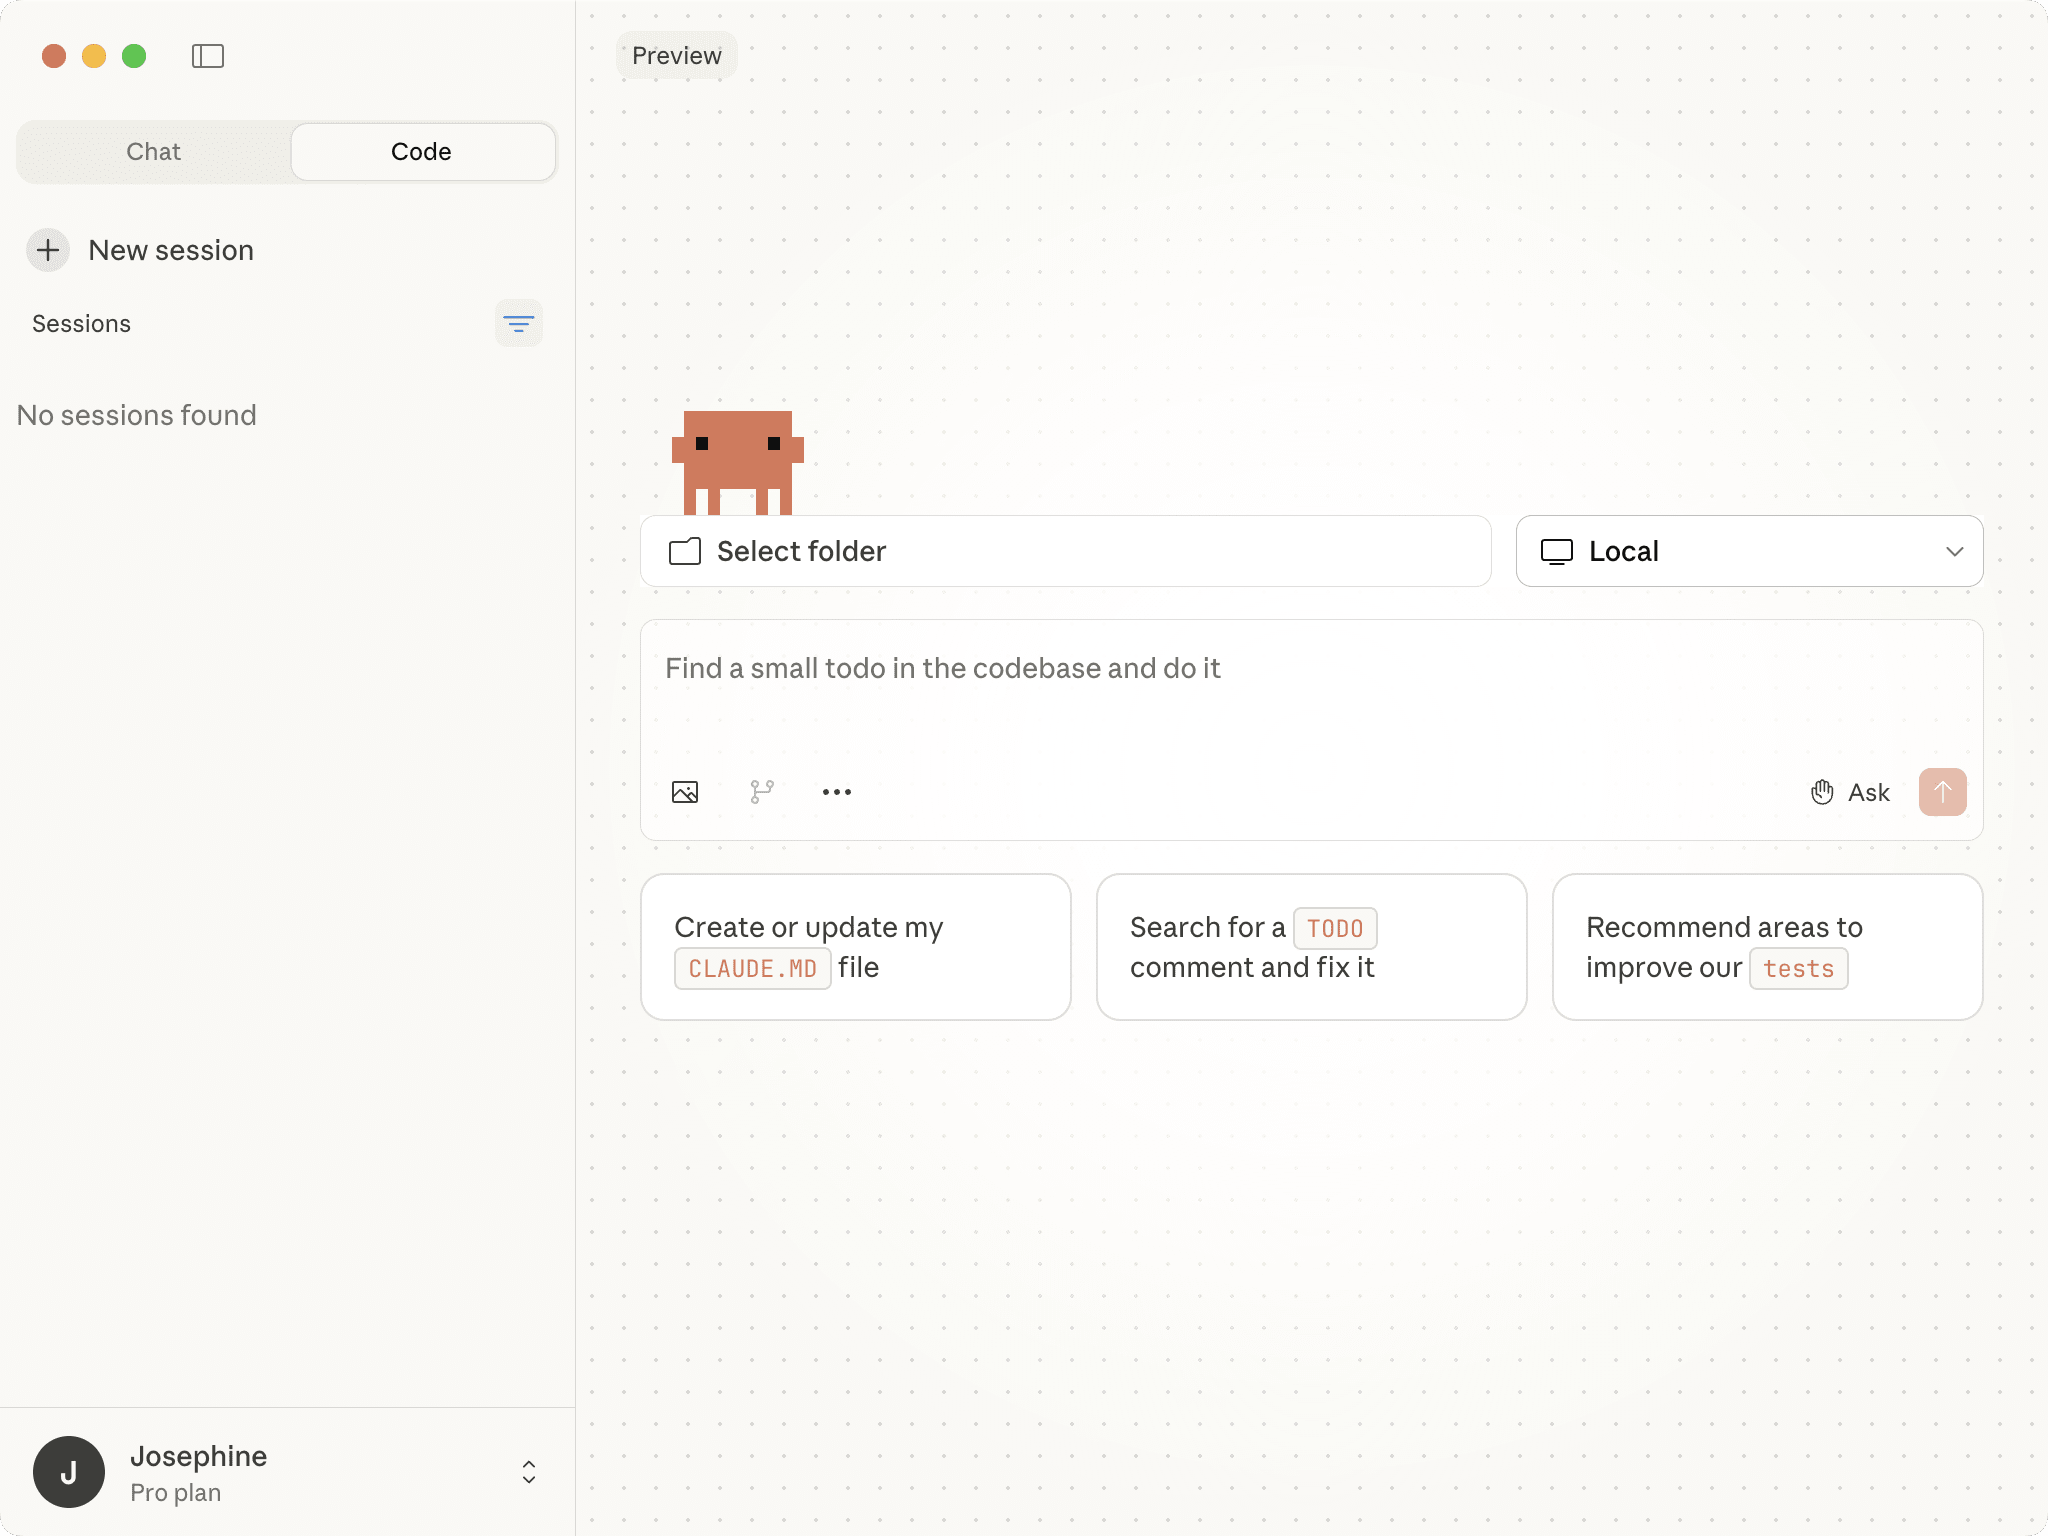
Once you've installed and logged in to your Claude account, you'll see the "Code" tab in the desktop app. Before you can use local sessions, you'll need to install runtime dependencies:

After the dependencies are installed, you can start using Claude Code in both local and cloud sessions:
🐻 Bear Tip: The local session works with projects on your machine, with full access to your local file system and development tools. On the other hand, the cloud session is similar to the web interface and connects to your GitHub repositories.
Choosing the Right Interface
Each interface offers a different user experience, and the best one for you depends on how you prefer to work. Here's a quick guide to help you choose:
- Terminal CLI - If you're comfortable with command-line workflows and want maximum control and flexibility.
- VS Code Extension - If you primarily work in VS Code and prefer visual feedback alongside your code.
- Web Interface - If you want to get started quickly without installation, are working from a different device or environment, or want to use Claude Code for tasks like automatically writing tests when backend changes occur.
- Desktop App - If you prefer a native application experience or need both local and cloud sessions in one interface.
Final Thoughts
Each interface gives you access to the same powerful AI coding assistant, just with a slightly different user experience. And you're not limited to choosing just one. A valid account with a subscription or API credits gives you access to all of them!
From here, you can explore creating project-specific configurations with CLAUDE.md files, set up custom slash commands to automate repetitive tasks, and experiment with subagents for complex multi-file operations. If you need to automate image and video generation in your applications, you can even use Claude Code to help build integrations with APIs like Bannerbear.
Try them out yourself!
