
How to Create Videos with an Overlay via API
Contents
The Bannerbear Video API recently went live. Here's how to use it to create videos with an overlay effect!
Looking for a tutorial on the transcription feature? Read this tutorial instead
The new Video API works in a similar way to the Image API.
You pass in some parameters, and Bannerbear gives you something back. This time, instead of Bannerbear generating an image, it generates a video!
A common use-case for video is putting some kind of overlay on videos. This is simple enough if all you need is a static watermark that never changes, but what if you want to overlay something slightly different each time? For example, overlay with different text, or overlay a different image. That's where Bannerbear comes in.
Examples
In these two example videos, notice how the basic template is the same, but the video, the text and the image are different.
Using the Bannerbear Video API you can pass in these variables (text, avatar, video url) to the API and Bannerbear will generate a new video based on a template you have created. You have full flexibility over how these templates look - you can create any aspect ratio, add multiple overlay objects, use custom fonts, add your logo… etc!
Basic Concepts
If you've used Bannerbear to generate images already, then you will already know some of these basics.
Full API Documentation
You can read through the Bannerbear API Documentation which covers generating both Images and Videos.
Every Template is an API
In Bannerbear, every template you design becomes an API. You can then use that API to generate images / videos from the template. When generating images you'll be using the /images endpoint, when generating videos you'll be using the /videos endpoint.
Video Templates are just Templates!
There is no special editor for creating video templates, you just use the standard Bannerbear template editor. Video templates are actually the same thing as regular templates - your video media simply fills the entire background space. This means that essentially any of your existing templates can be a video template, as long as there isn't something covering the entire background.
So to create a video template, the workflow looks like:
- Design a "regular" template
- Create a Video Template, choosing (1) as the base
- Start generating videos!
In this tutorial we are going to walk through these basic steps to help you get an understanding of how the Bannerbear API works.
Adding the Sample Template
For the purposes of this tutorial I have prepared a really simple example video template. As I mentioned previously, essentially any Bannerbear template can become a video template so you don't have to use this specific template for this tutorial, but it keeps things easy to follow.
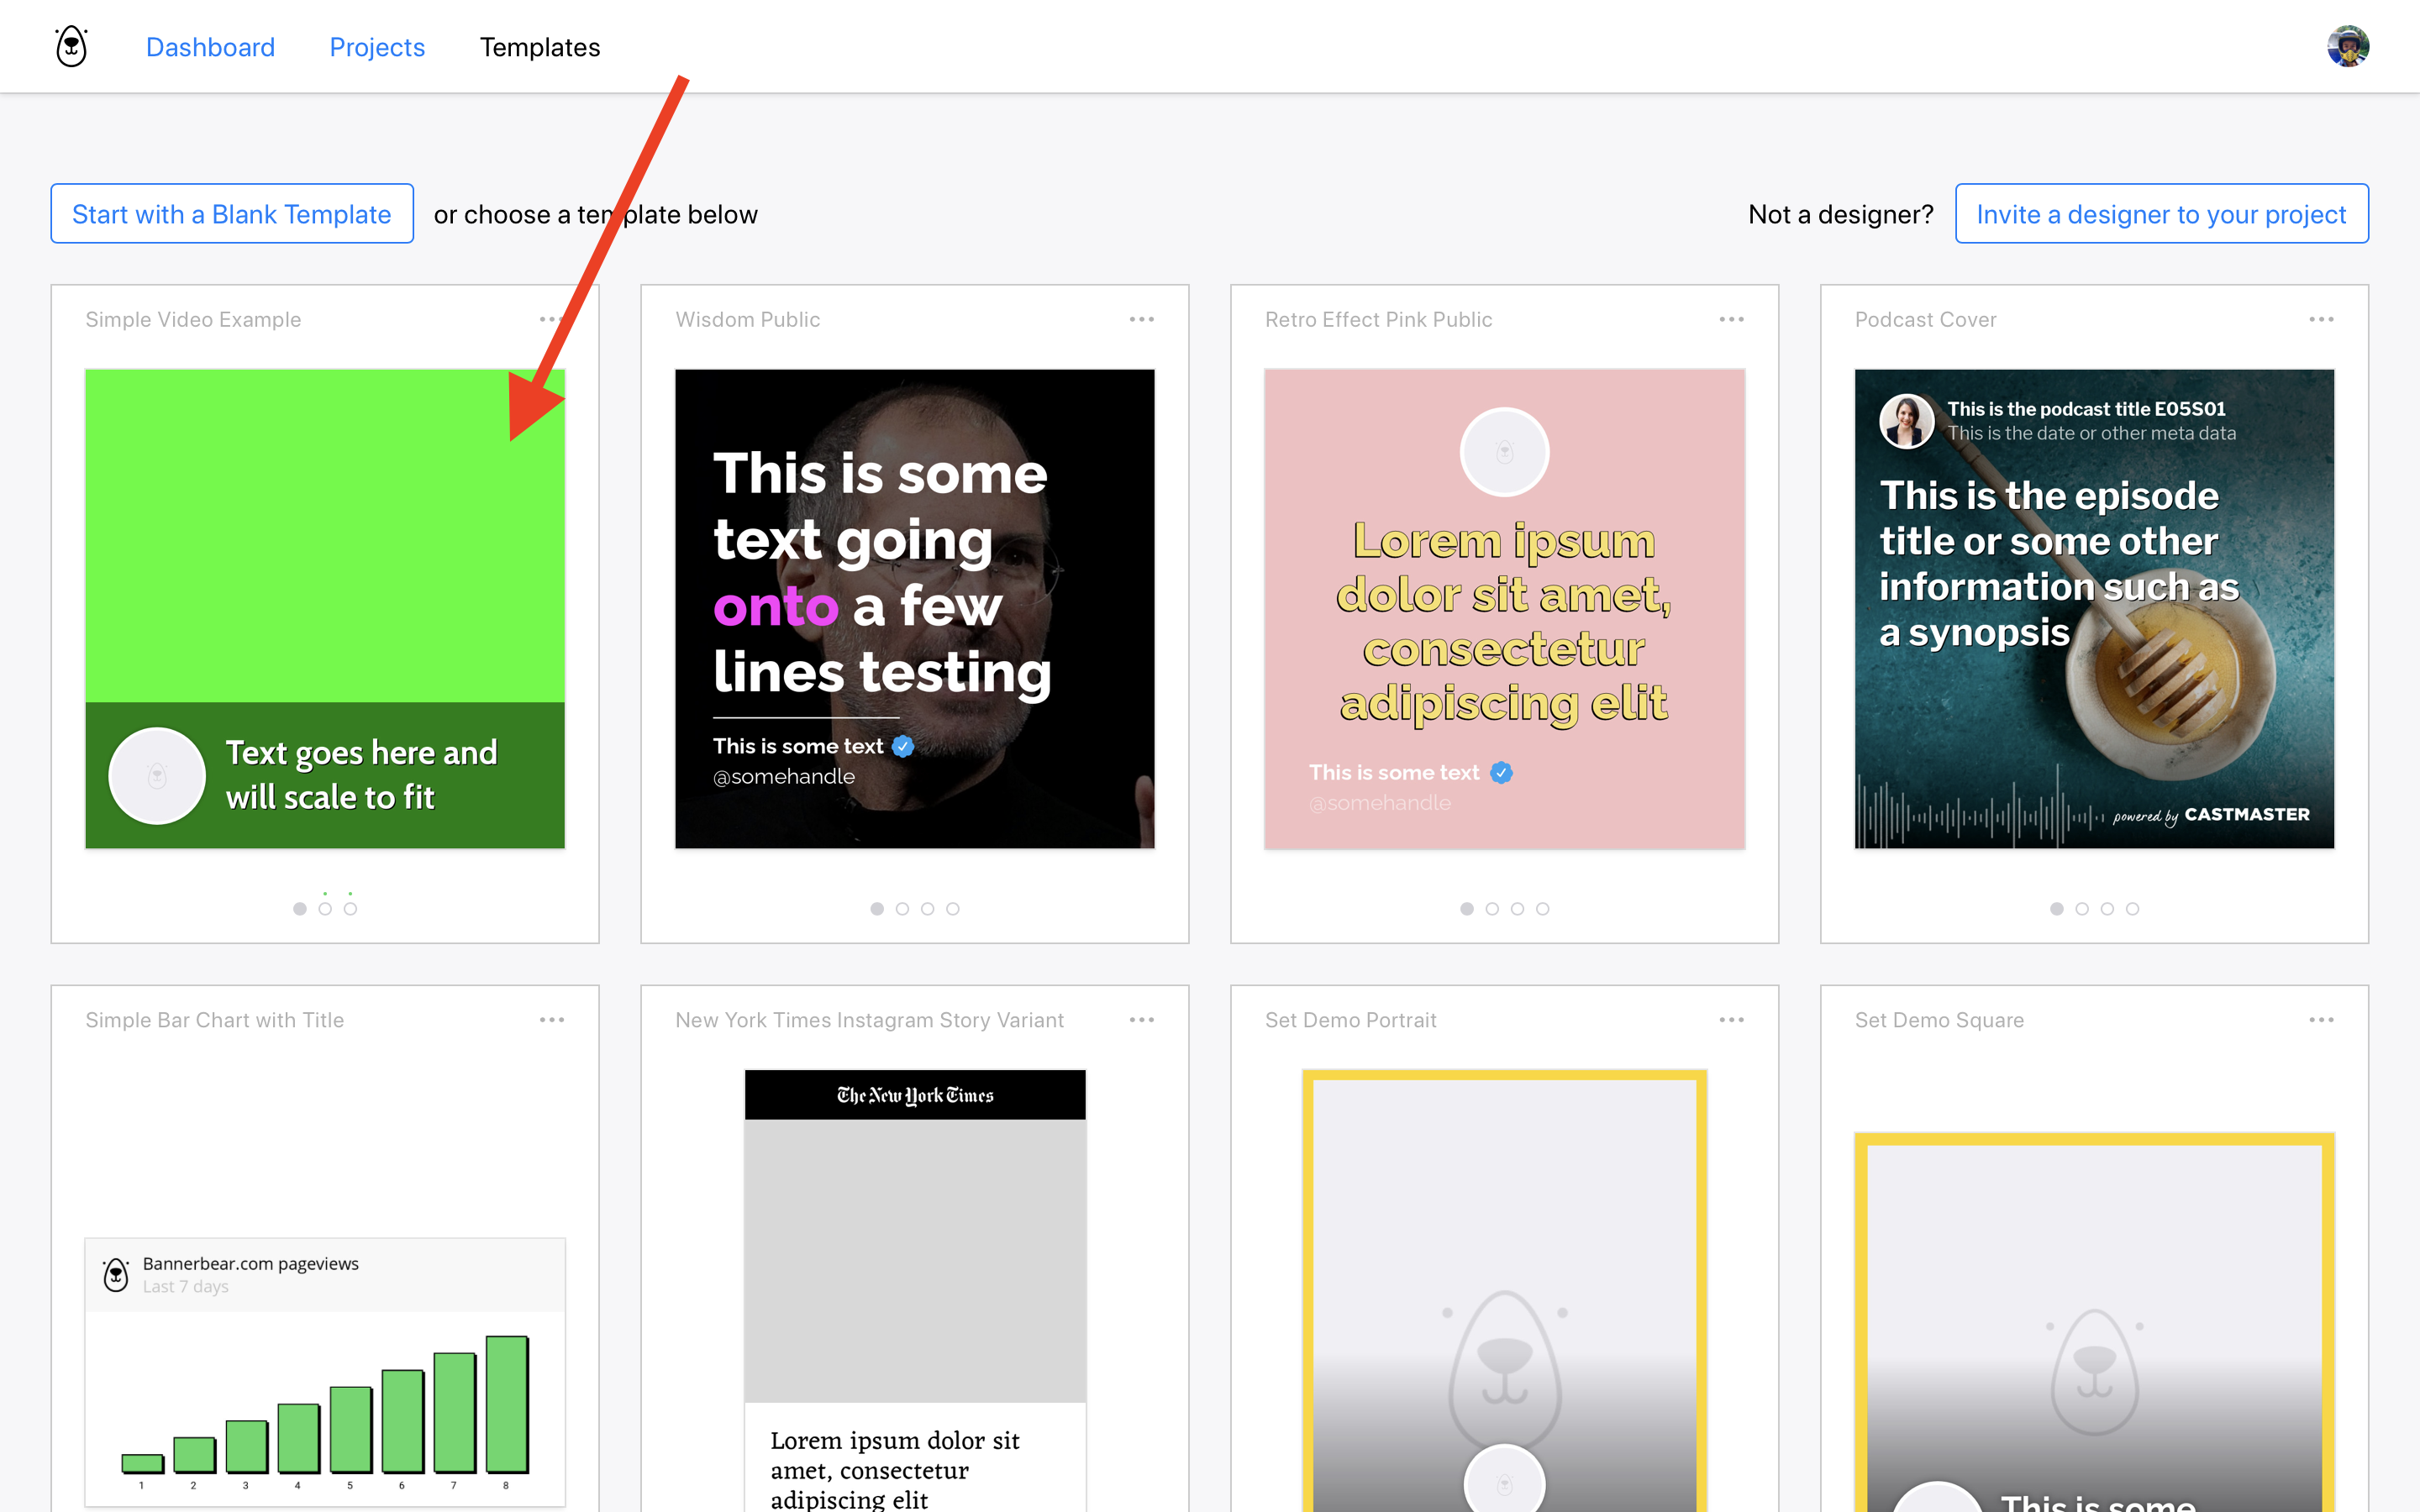
Add the Simple Video Example template to one of your projects:
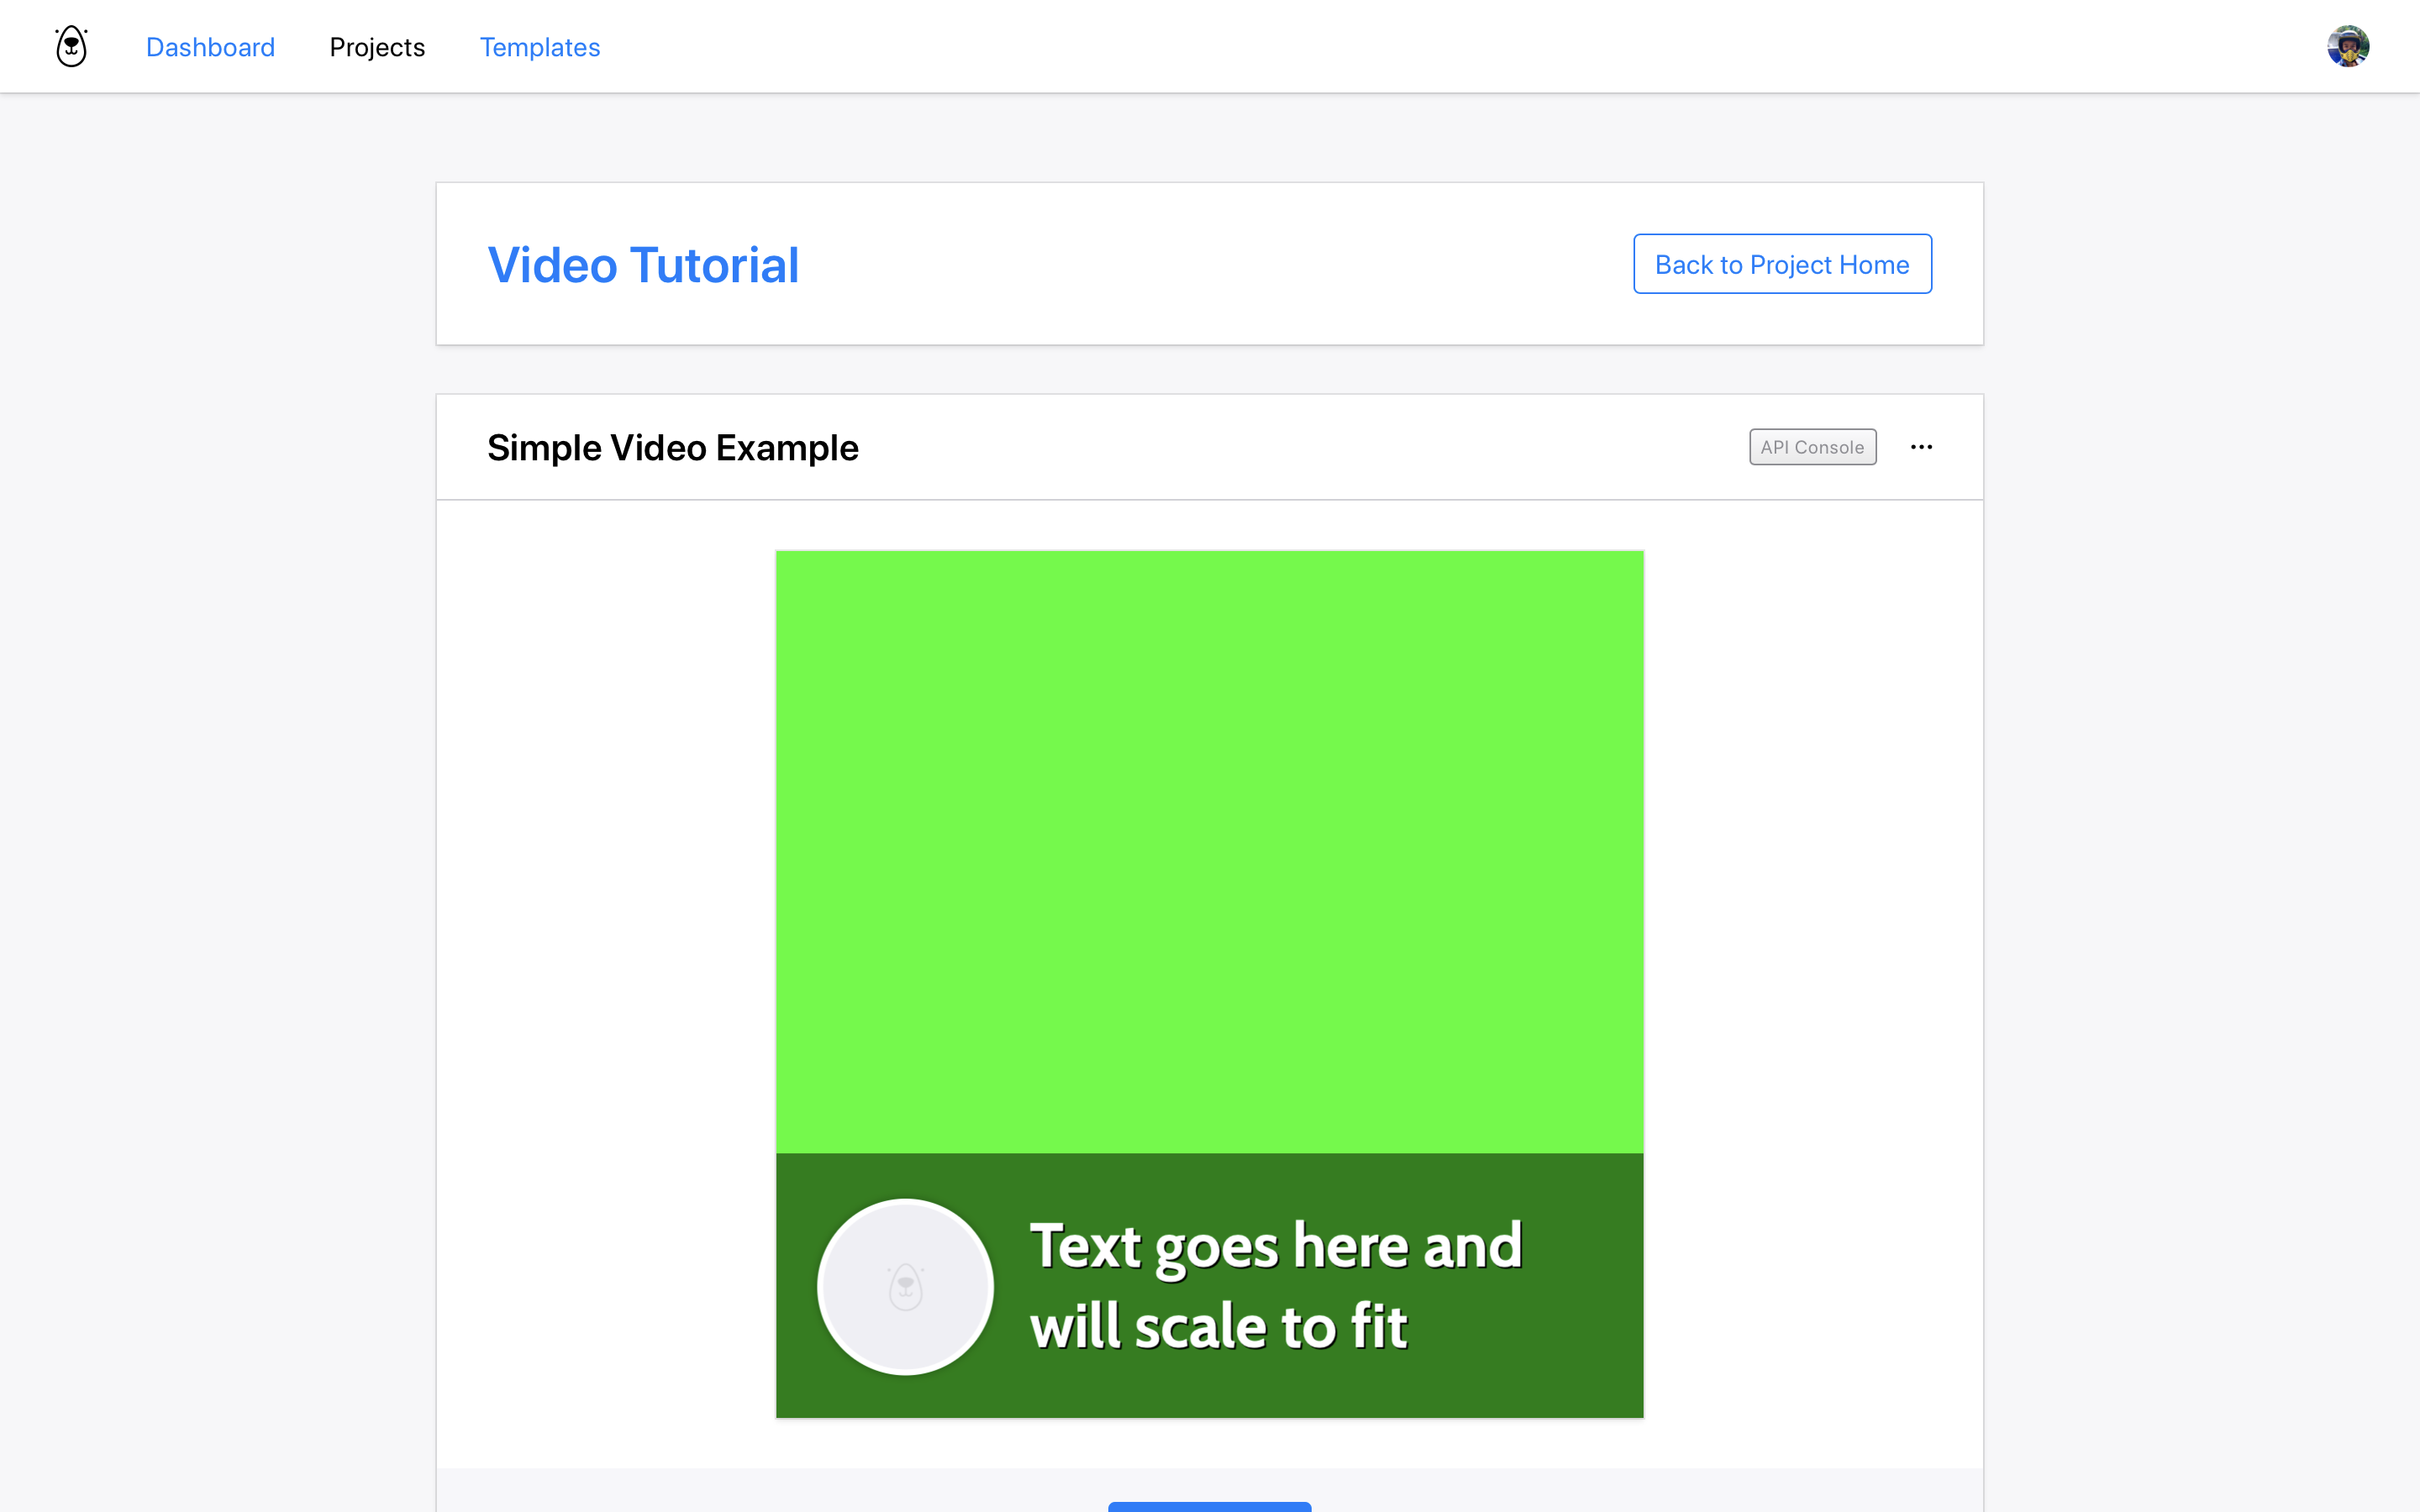
The template will get added to the project you chose:
Creating a Video Template from a Template
The template gets added to your project as a standard Bannerbear template. This means at this point, all it can do is generate images - there is one more step for videos.
This is perhaps the most important takeaway from this tutorial. In order to start generating videos, you have to Create a Video Template based on this new template. It's a simple one-click process.
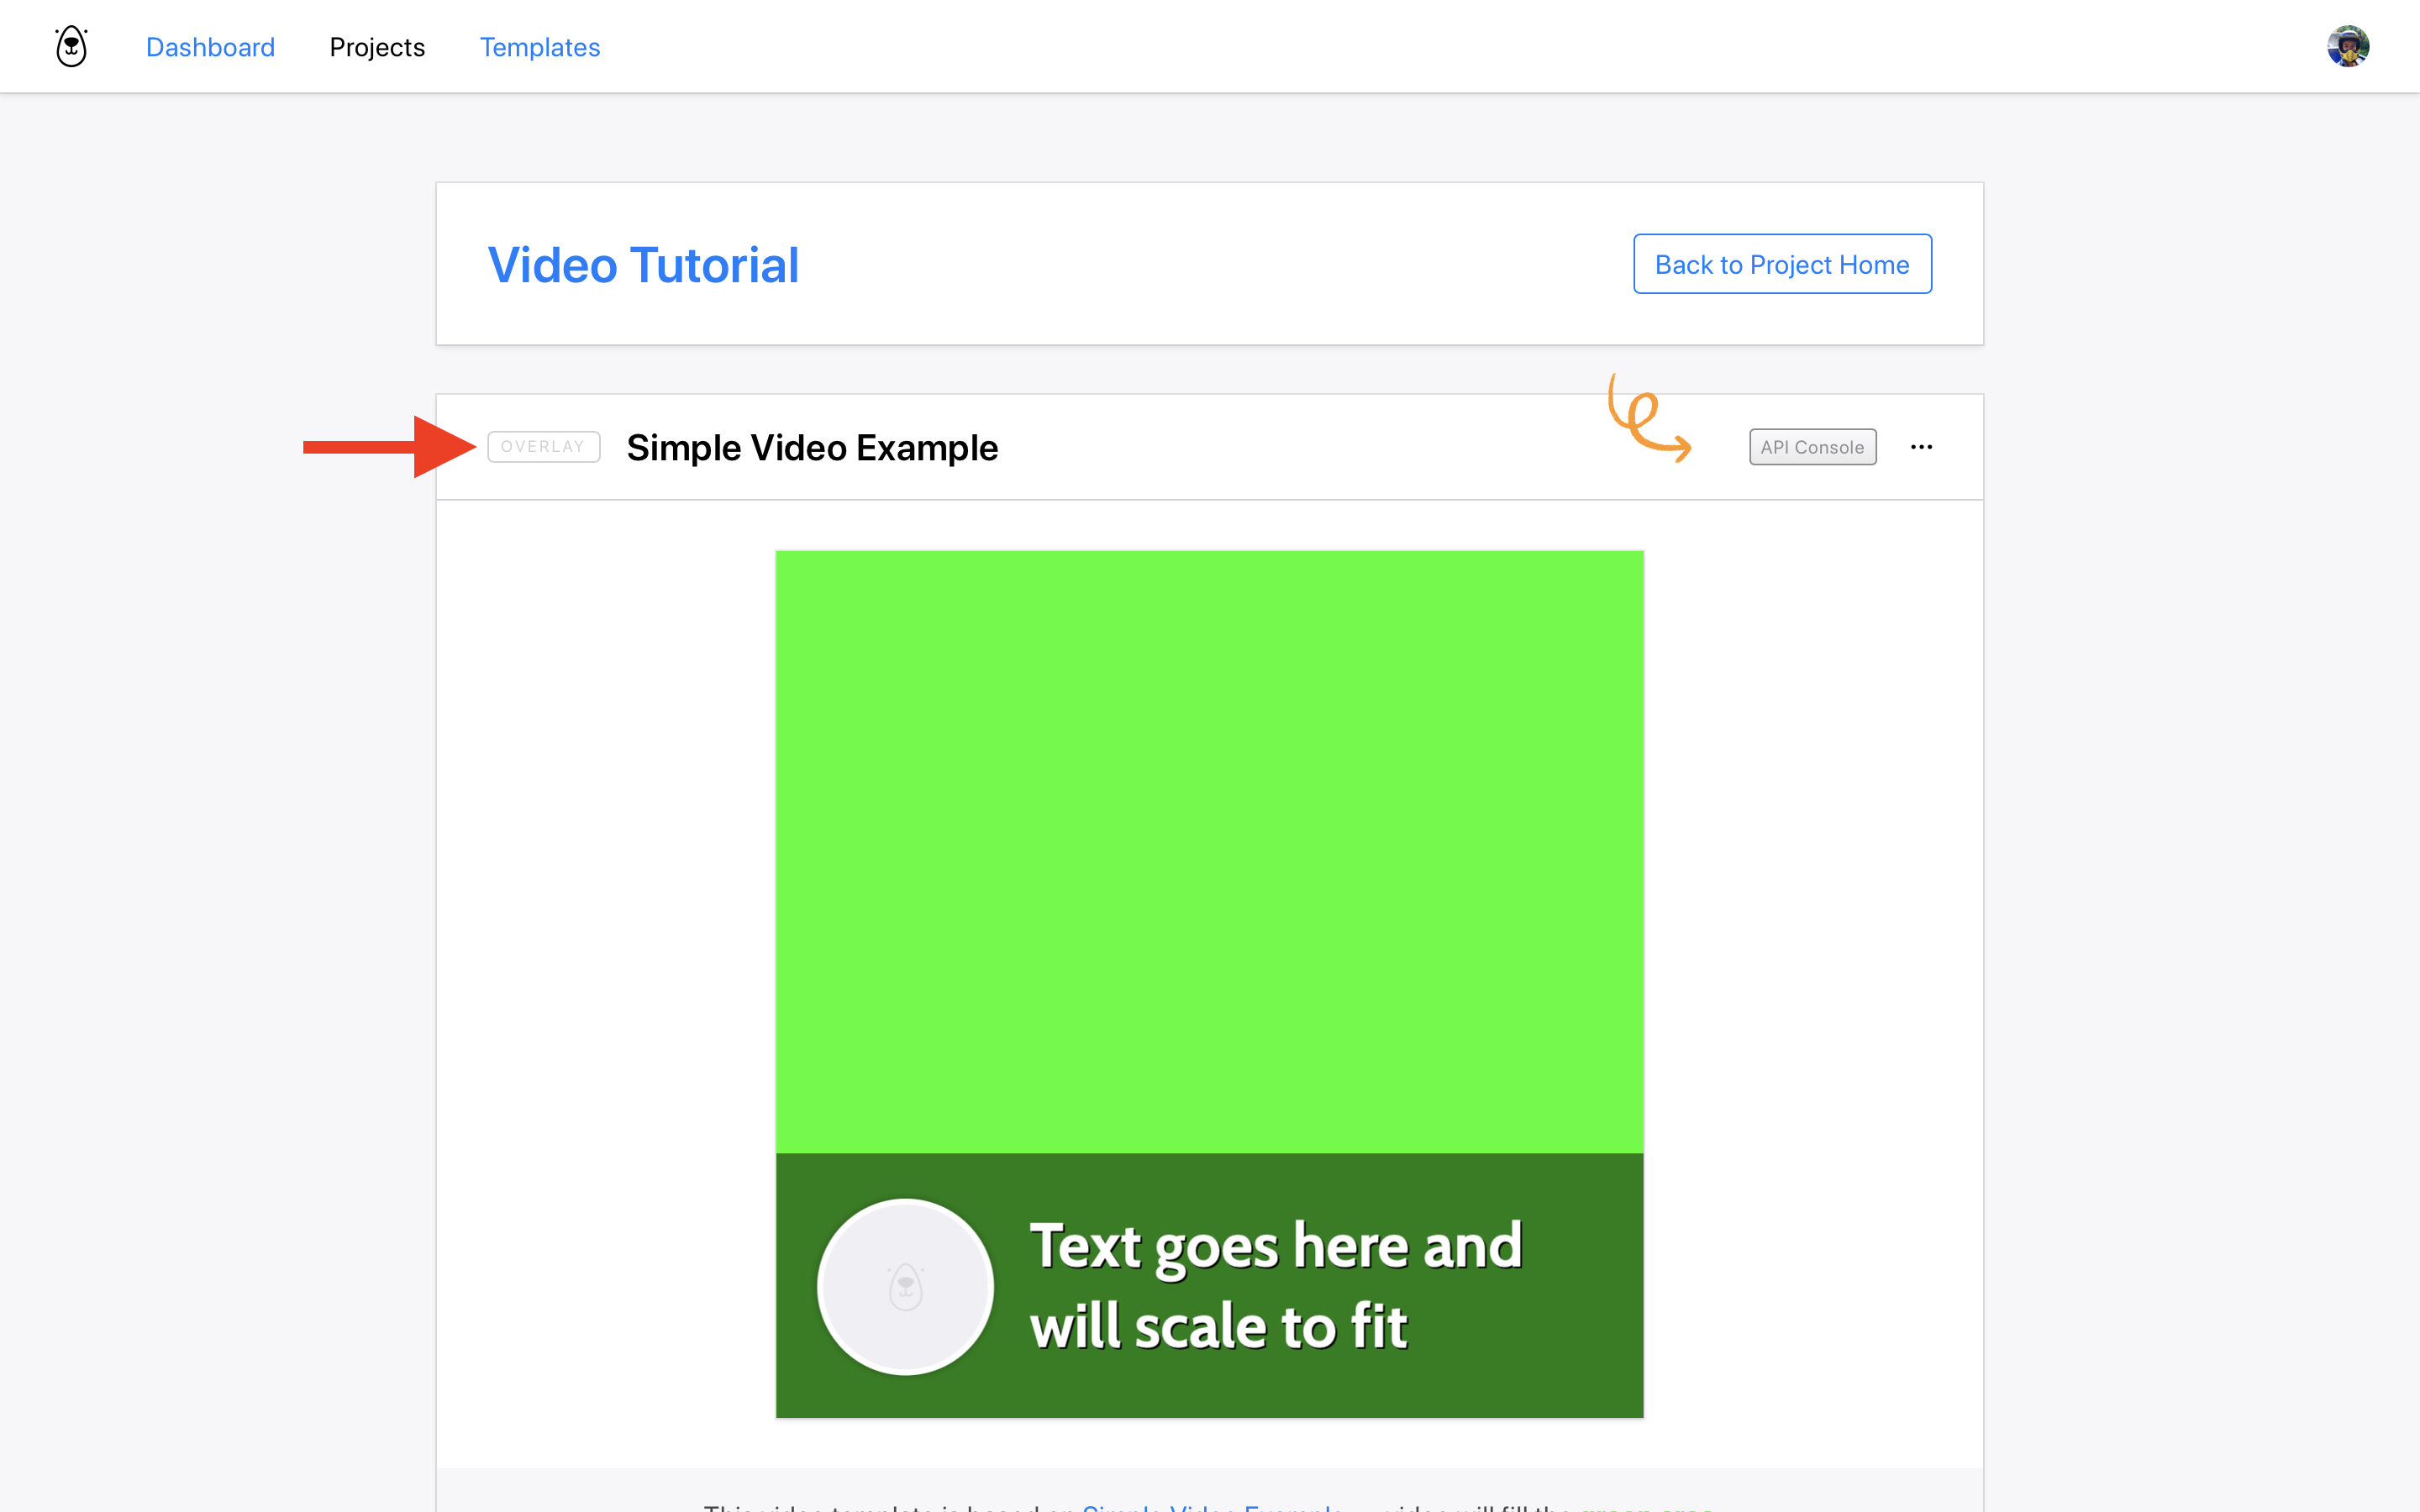
In your project's Home page you will see the Simple Video Example in the Templates section:
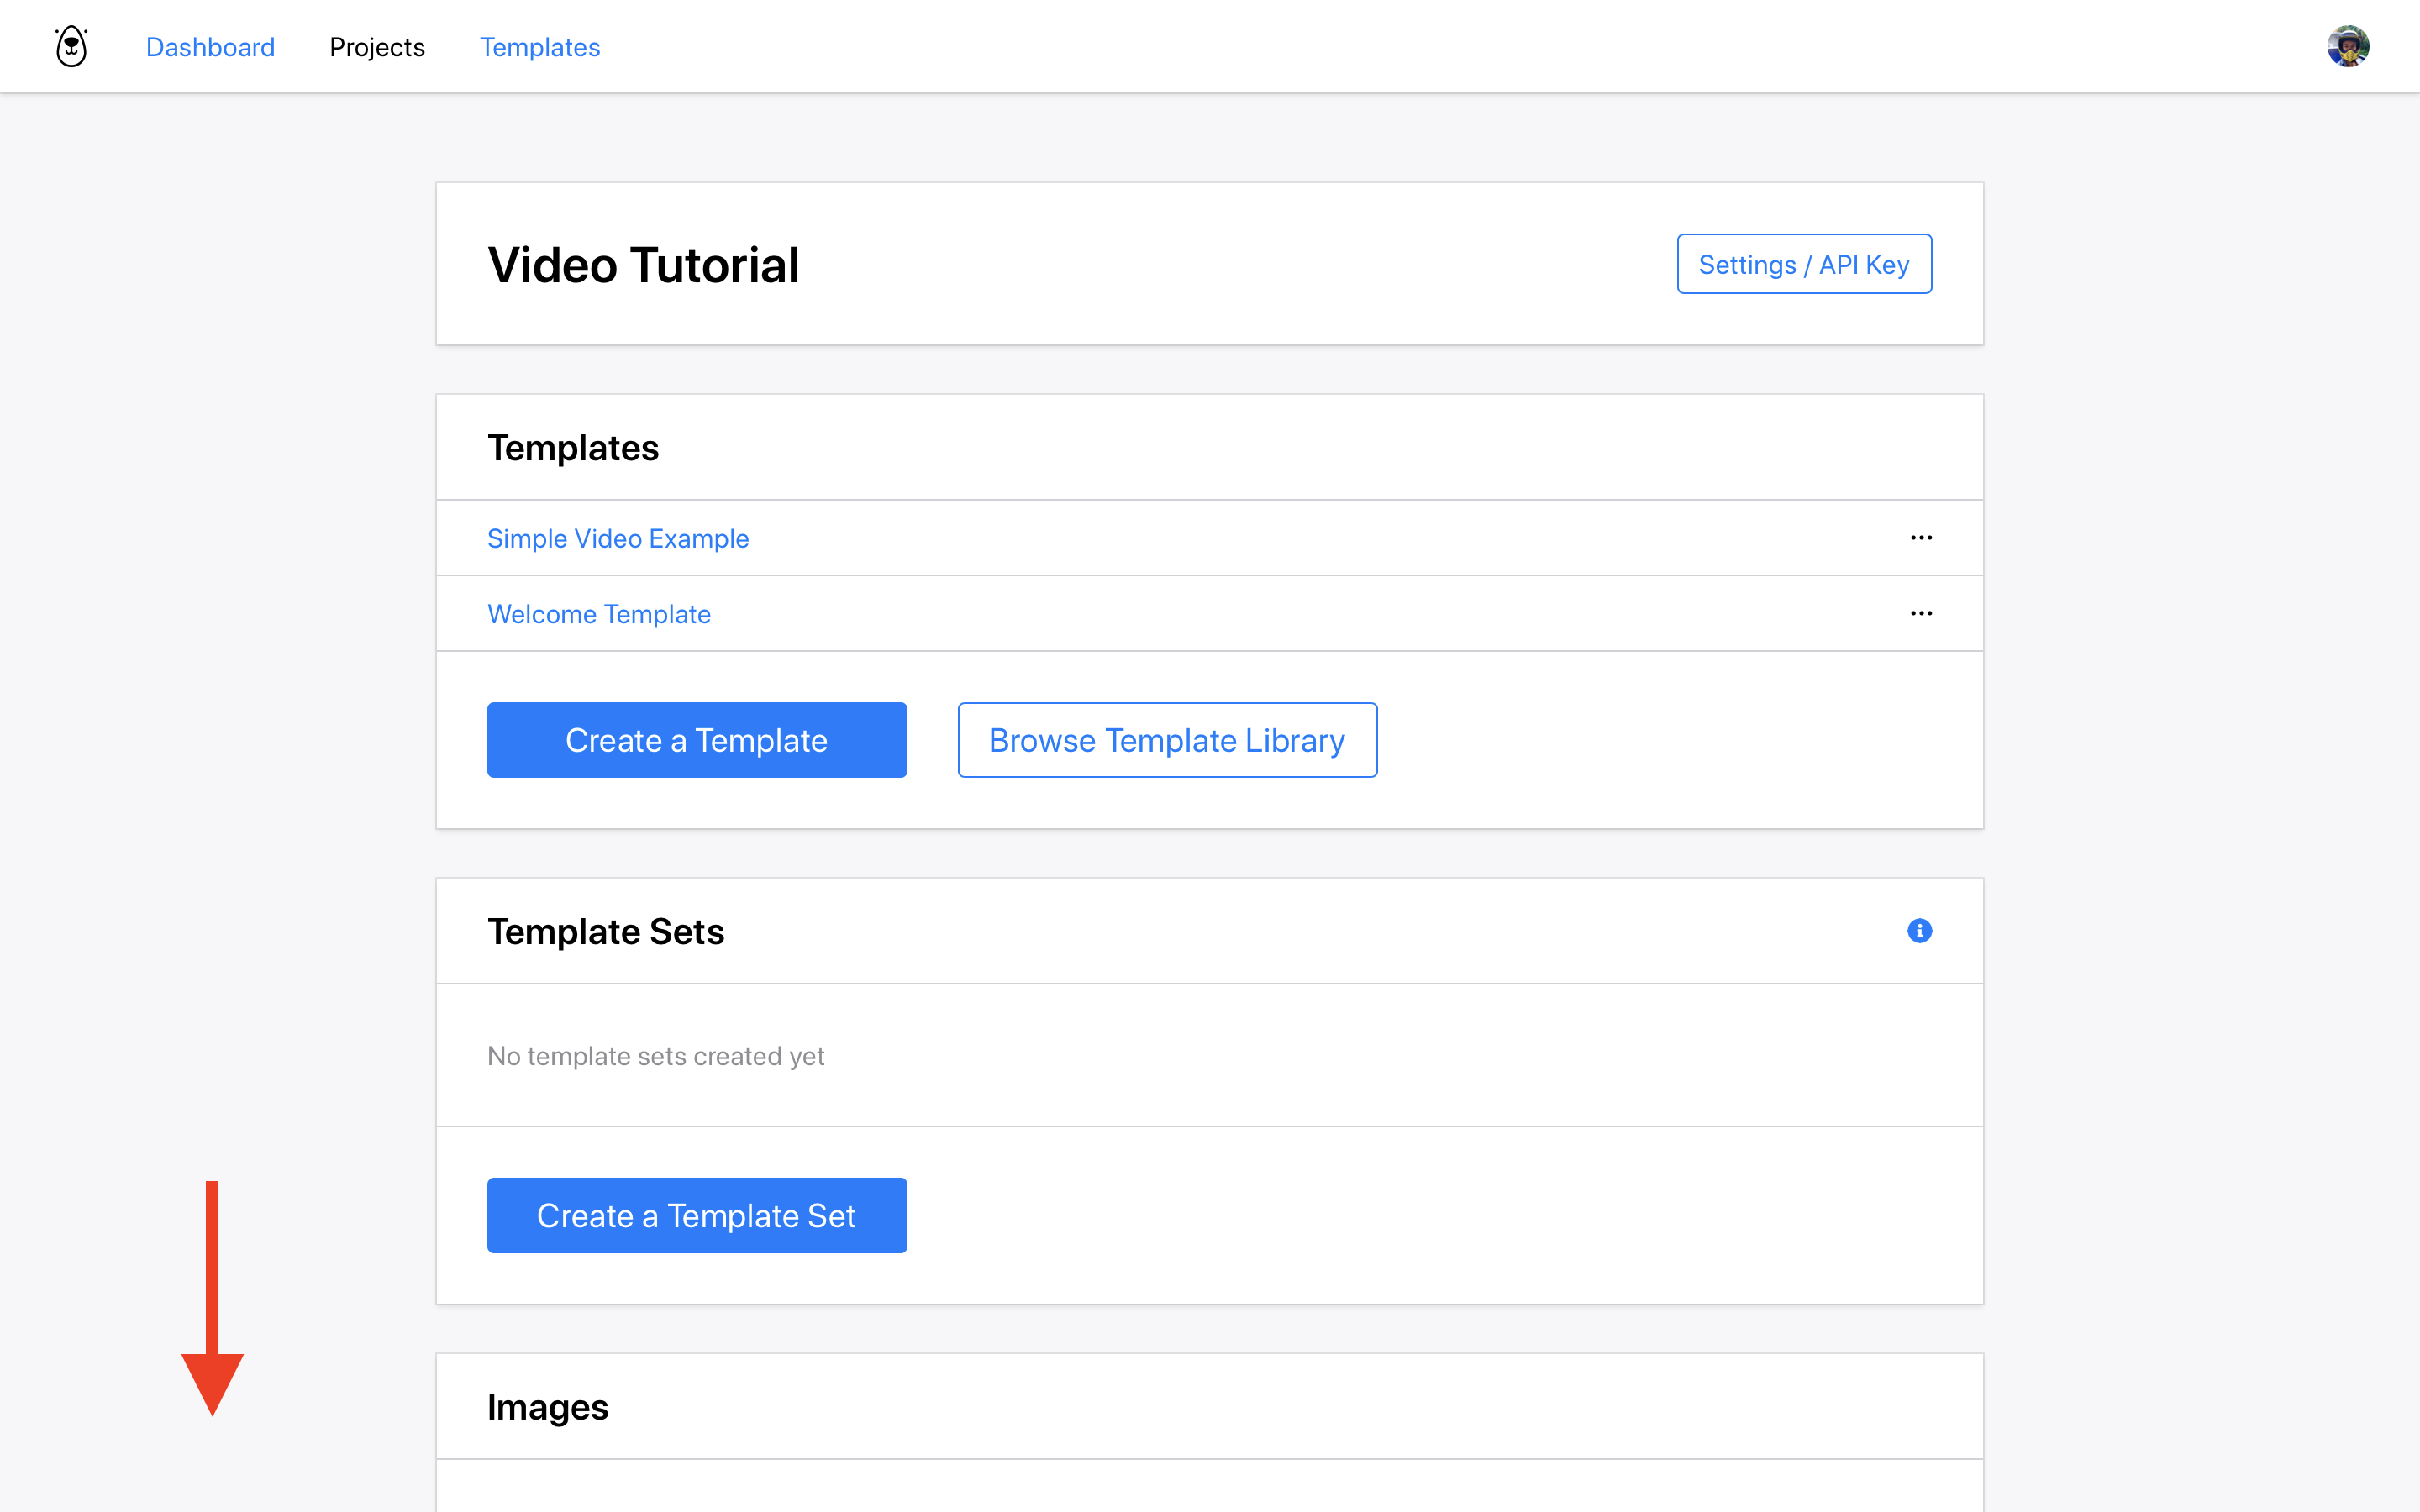
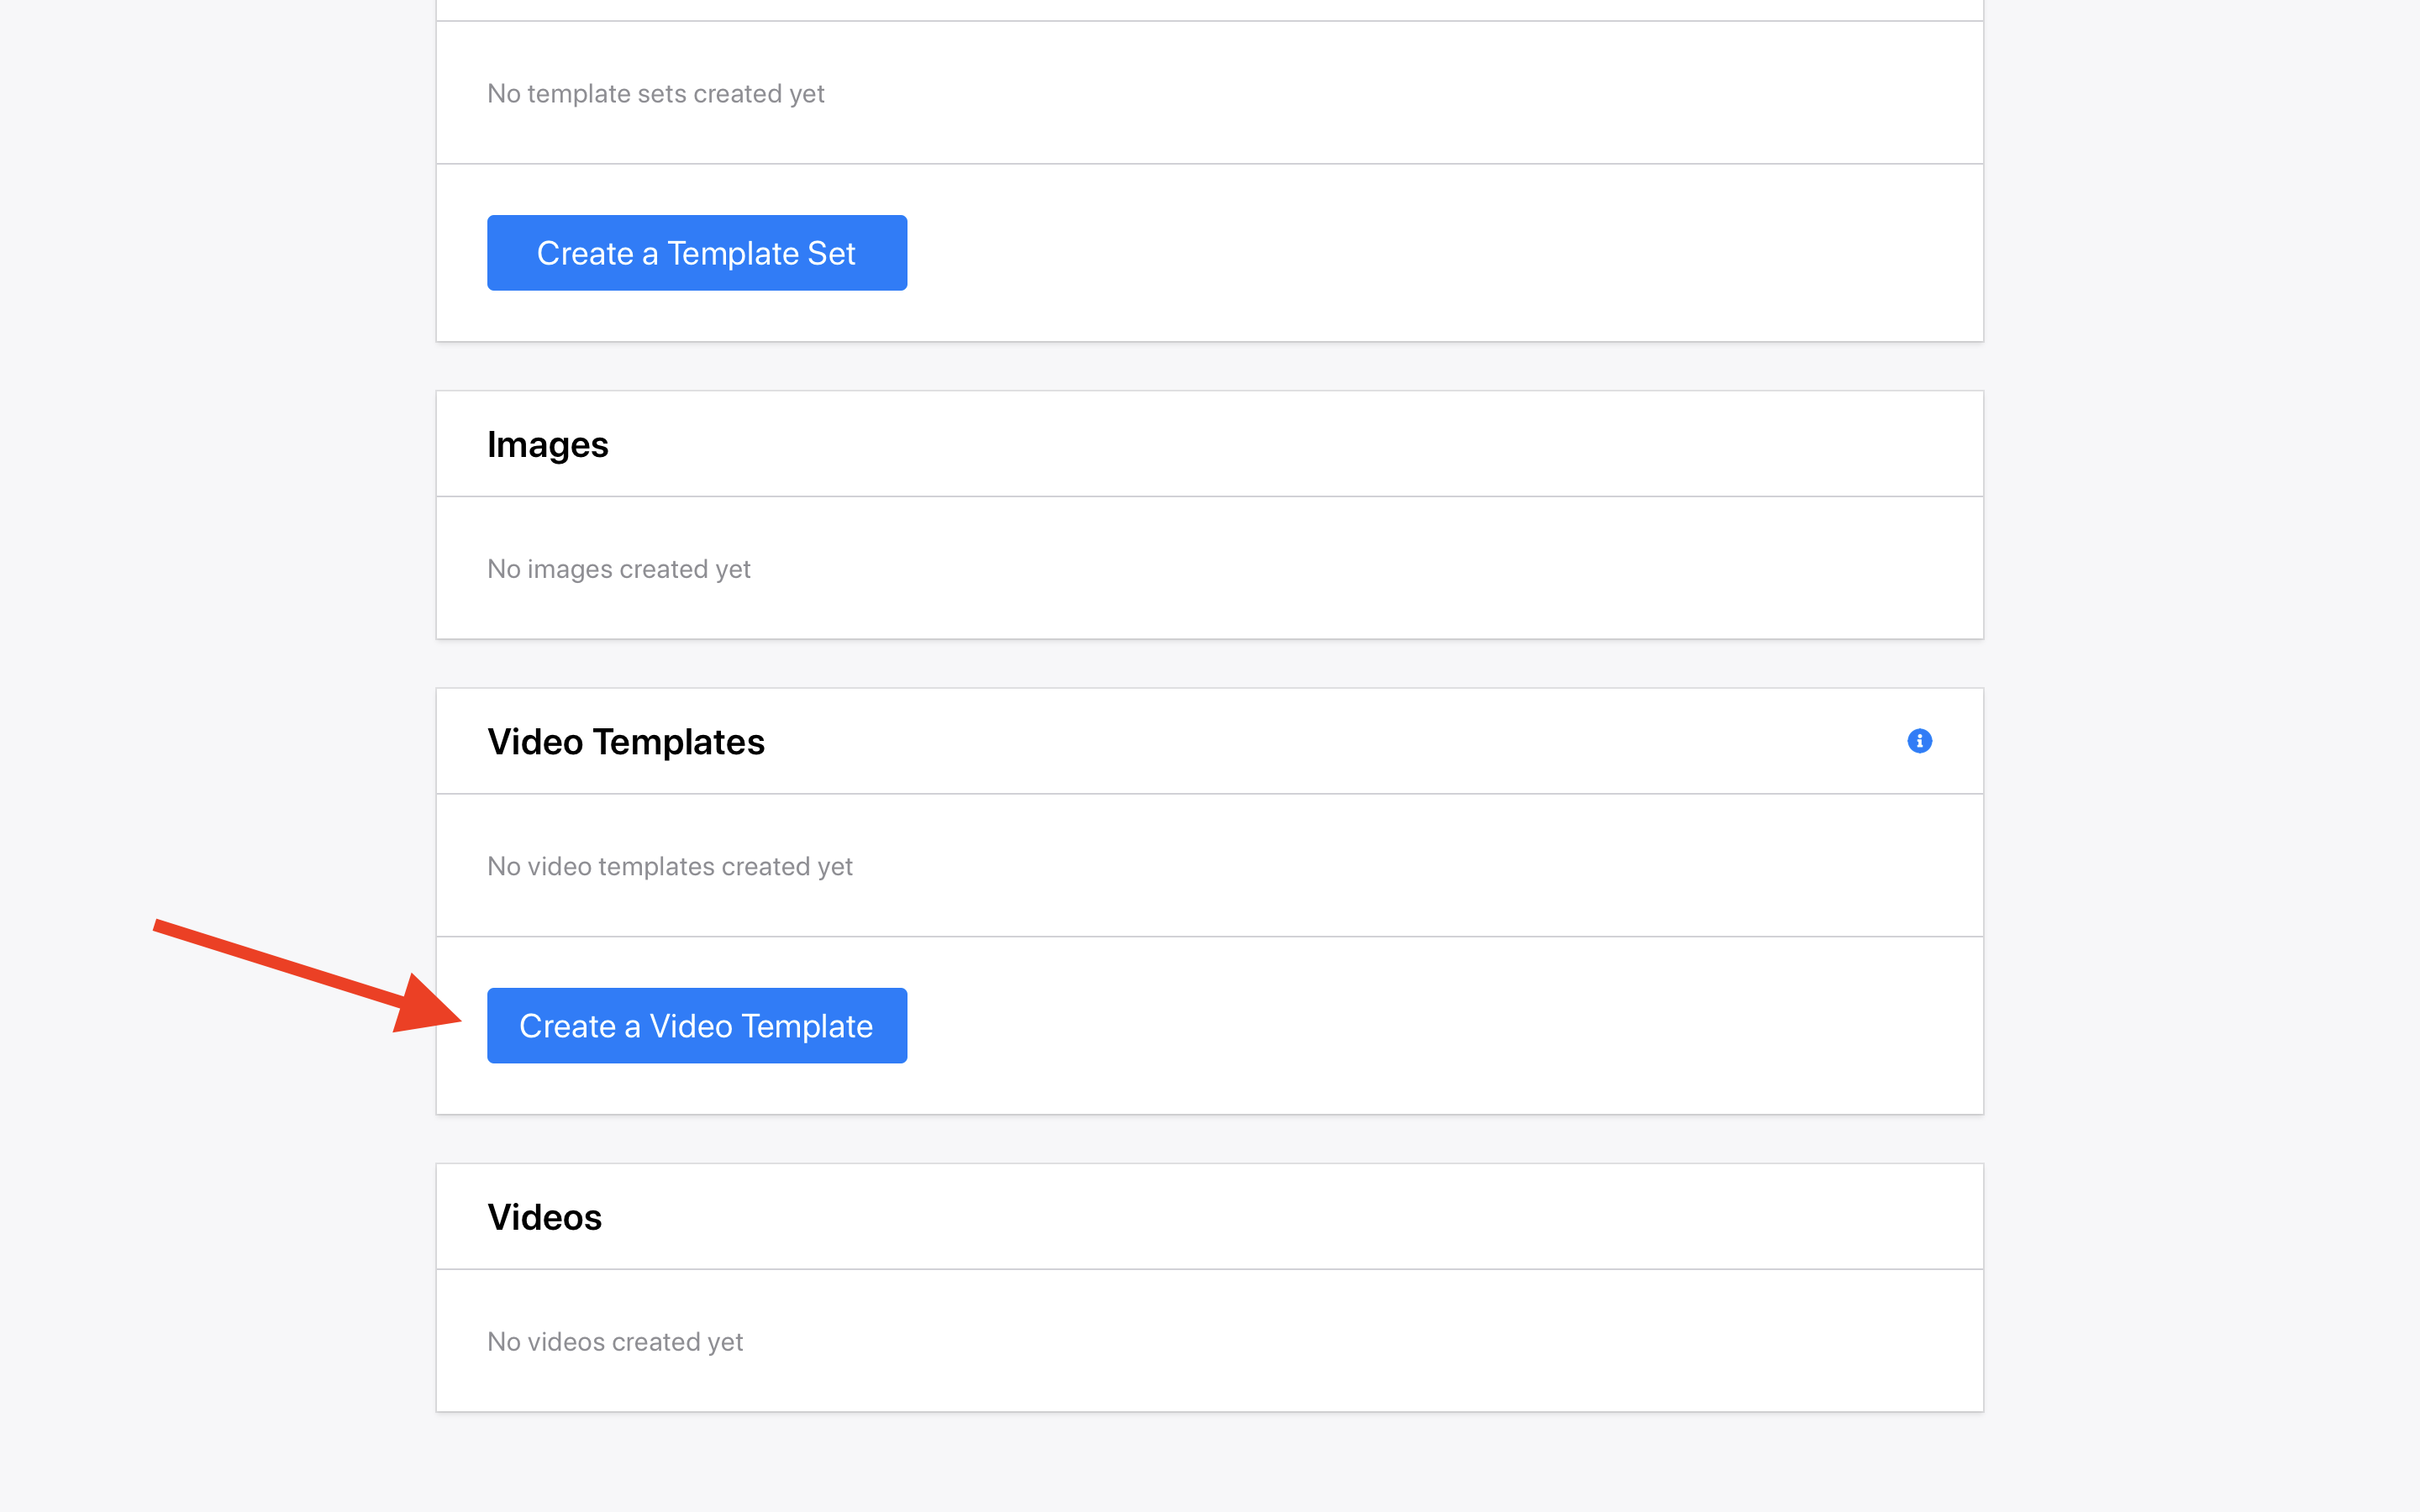
Scroll down until you see the Video Templates section and click Create a Video Template:
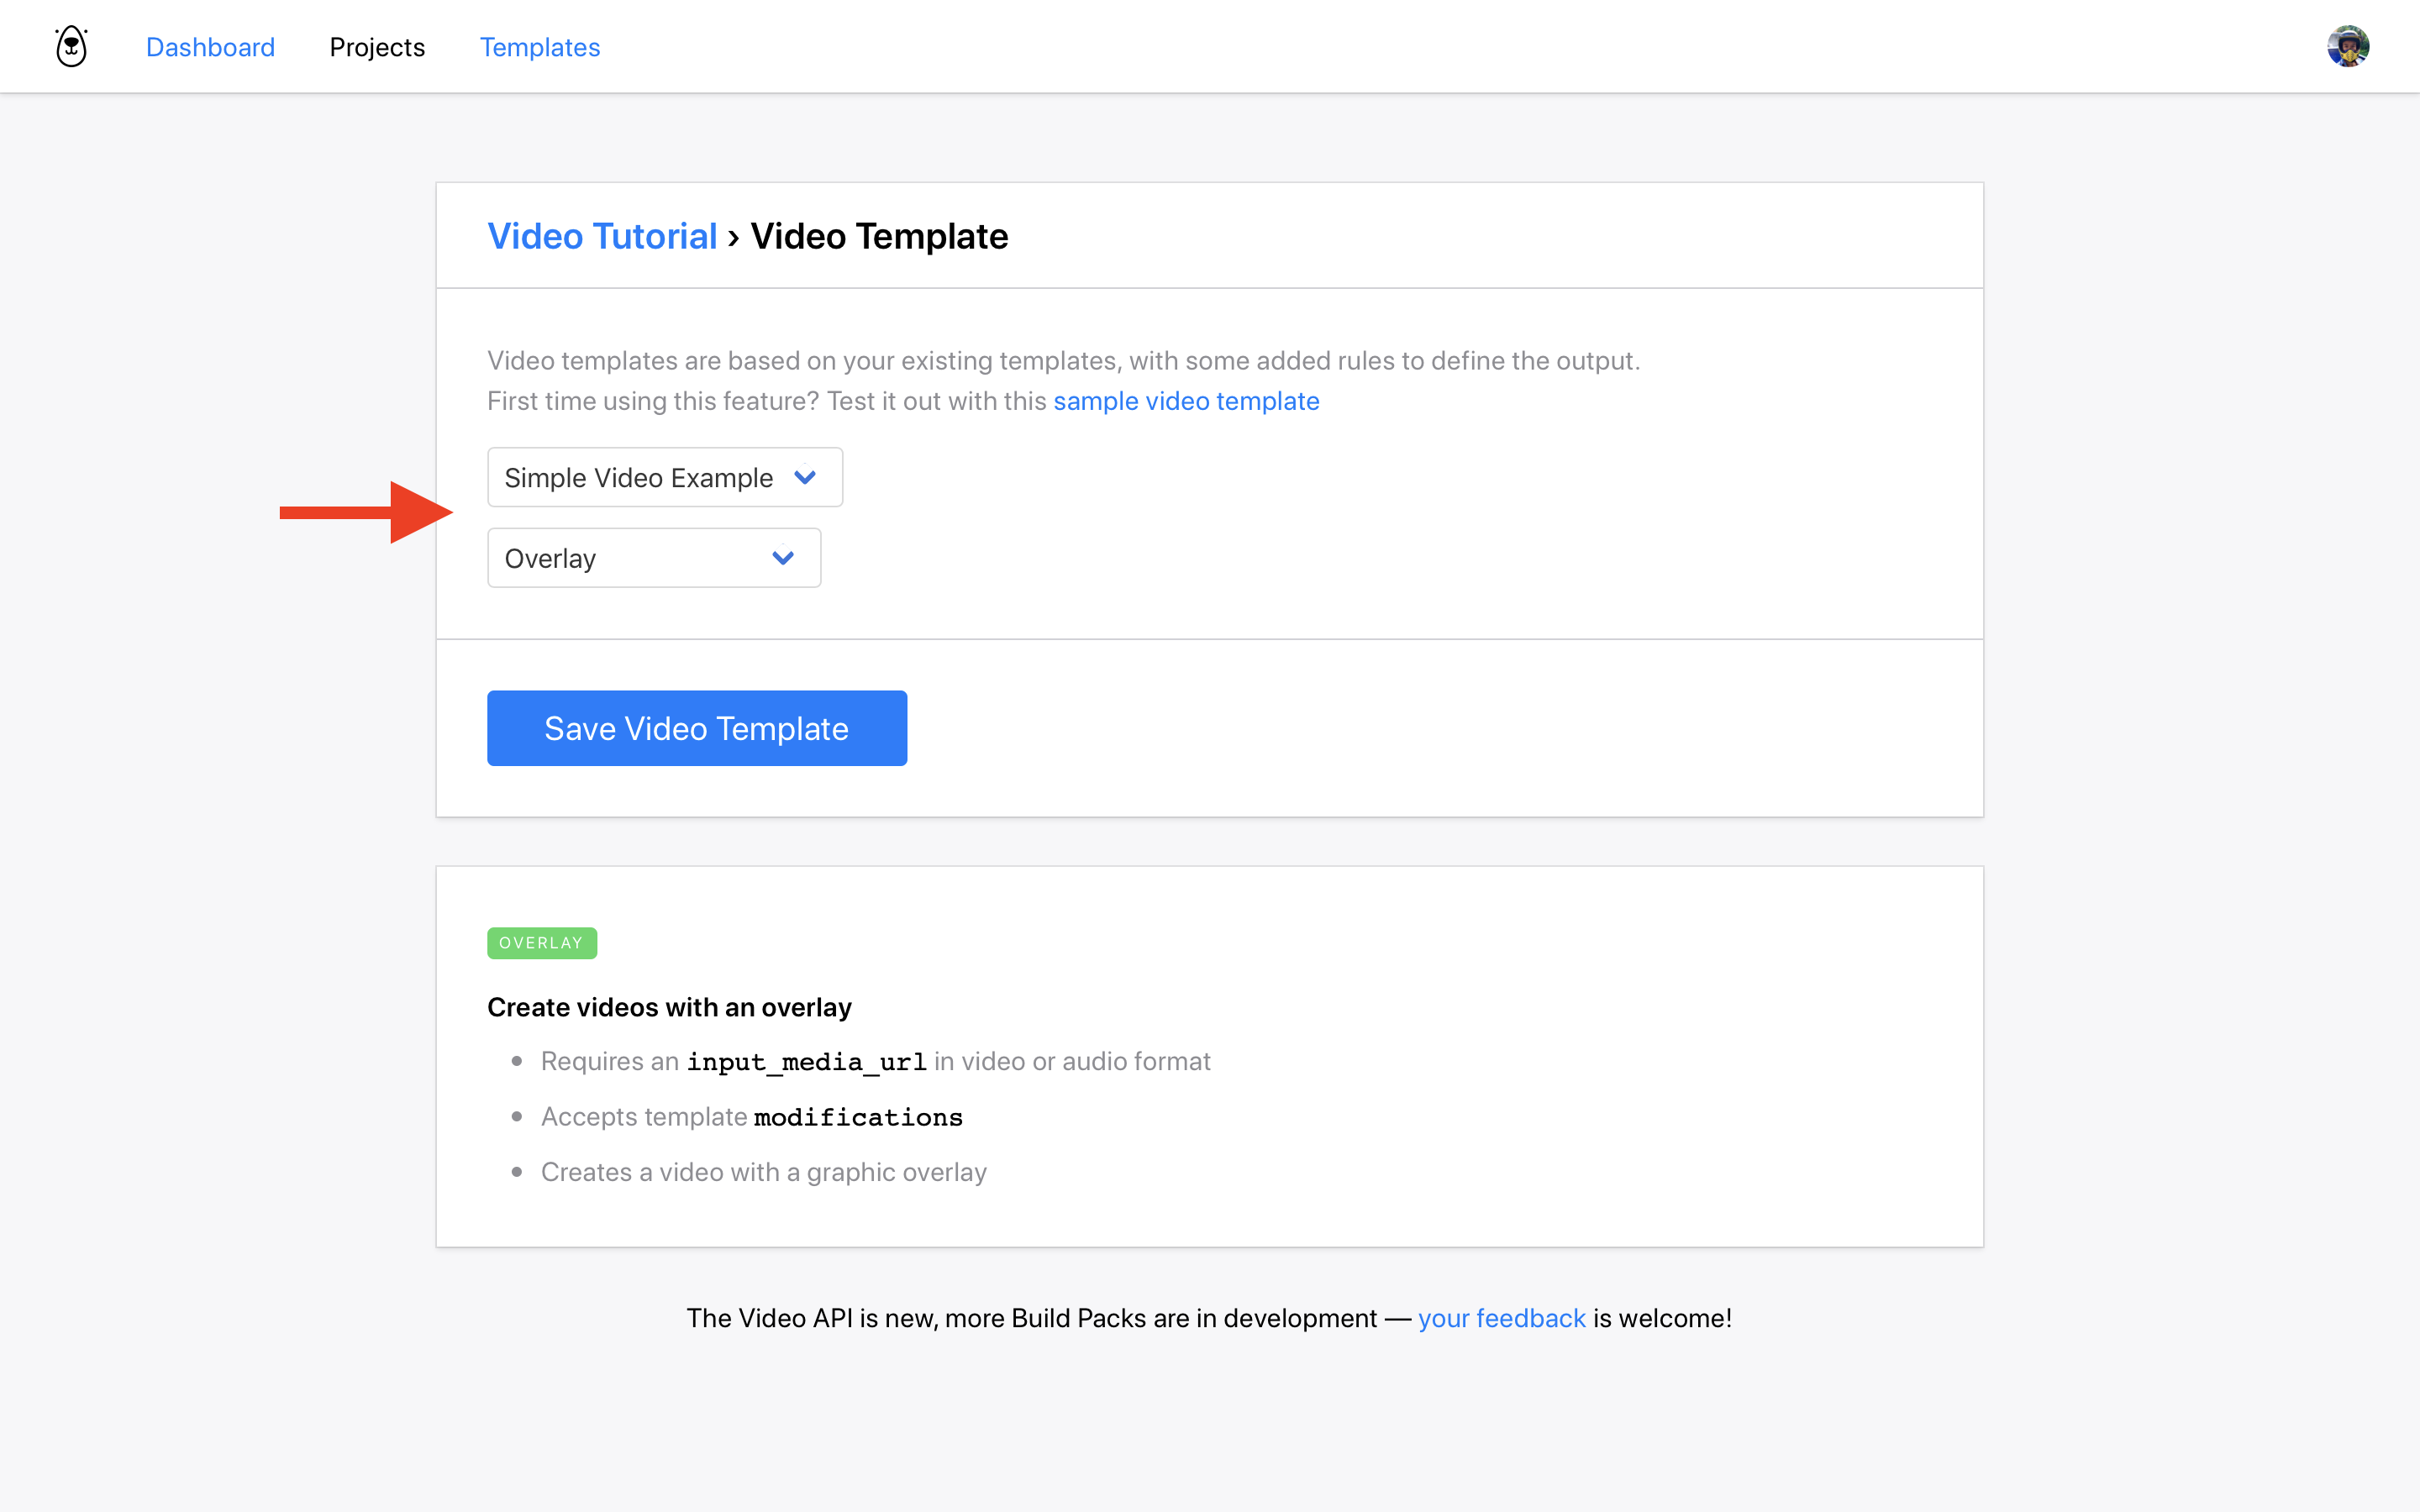
Choose your Simple Video Example template and choose Overlay as the build pack. Think of "Build Packs" as a set of video behaviors / animation rules. There will be more Build Packs to choose from in the future. Hit Save.
Using the Sample Data Panel
You will now be on your new Video Template API test screen. It looks a lot like the Image Template screen but you can tell the difference as the Video Build Pack is displayed in the title:
Click the API Console button to skip down to the API console. Hit the Sample Data button to open the sample data panel.
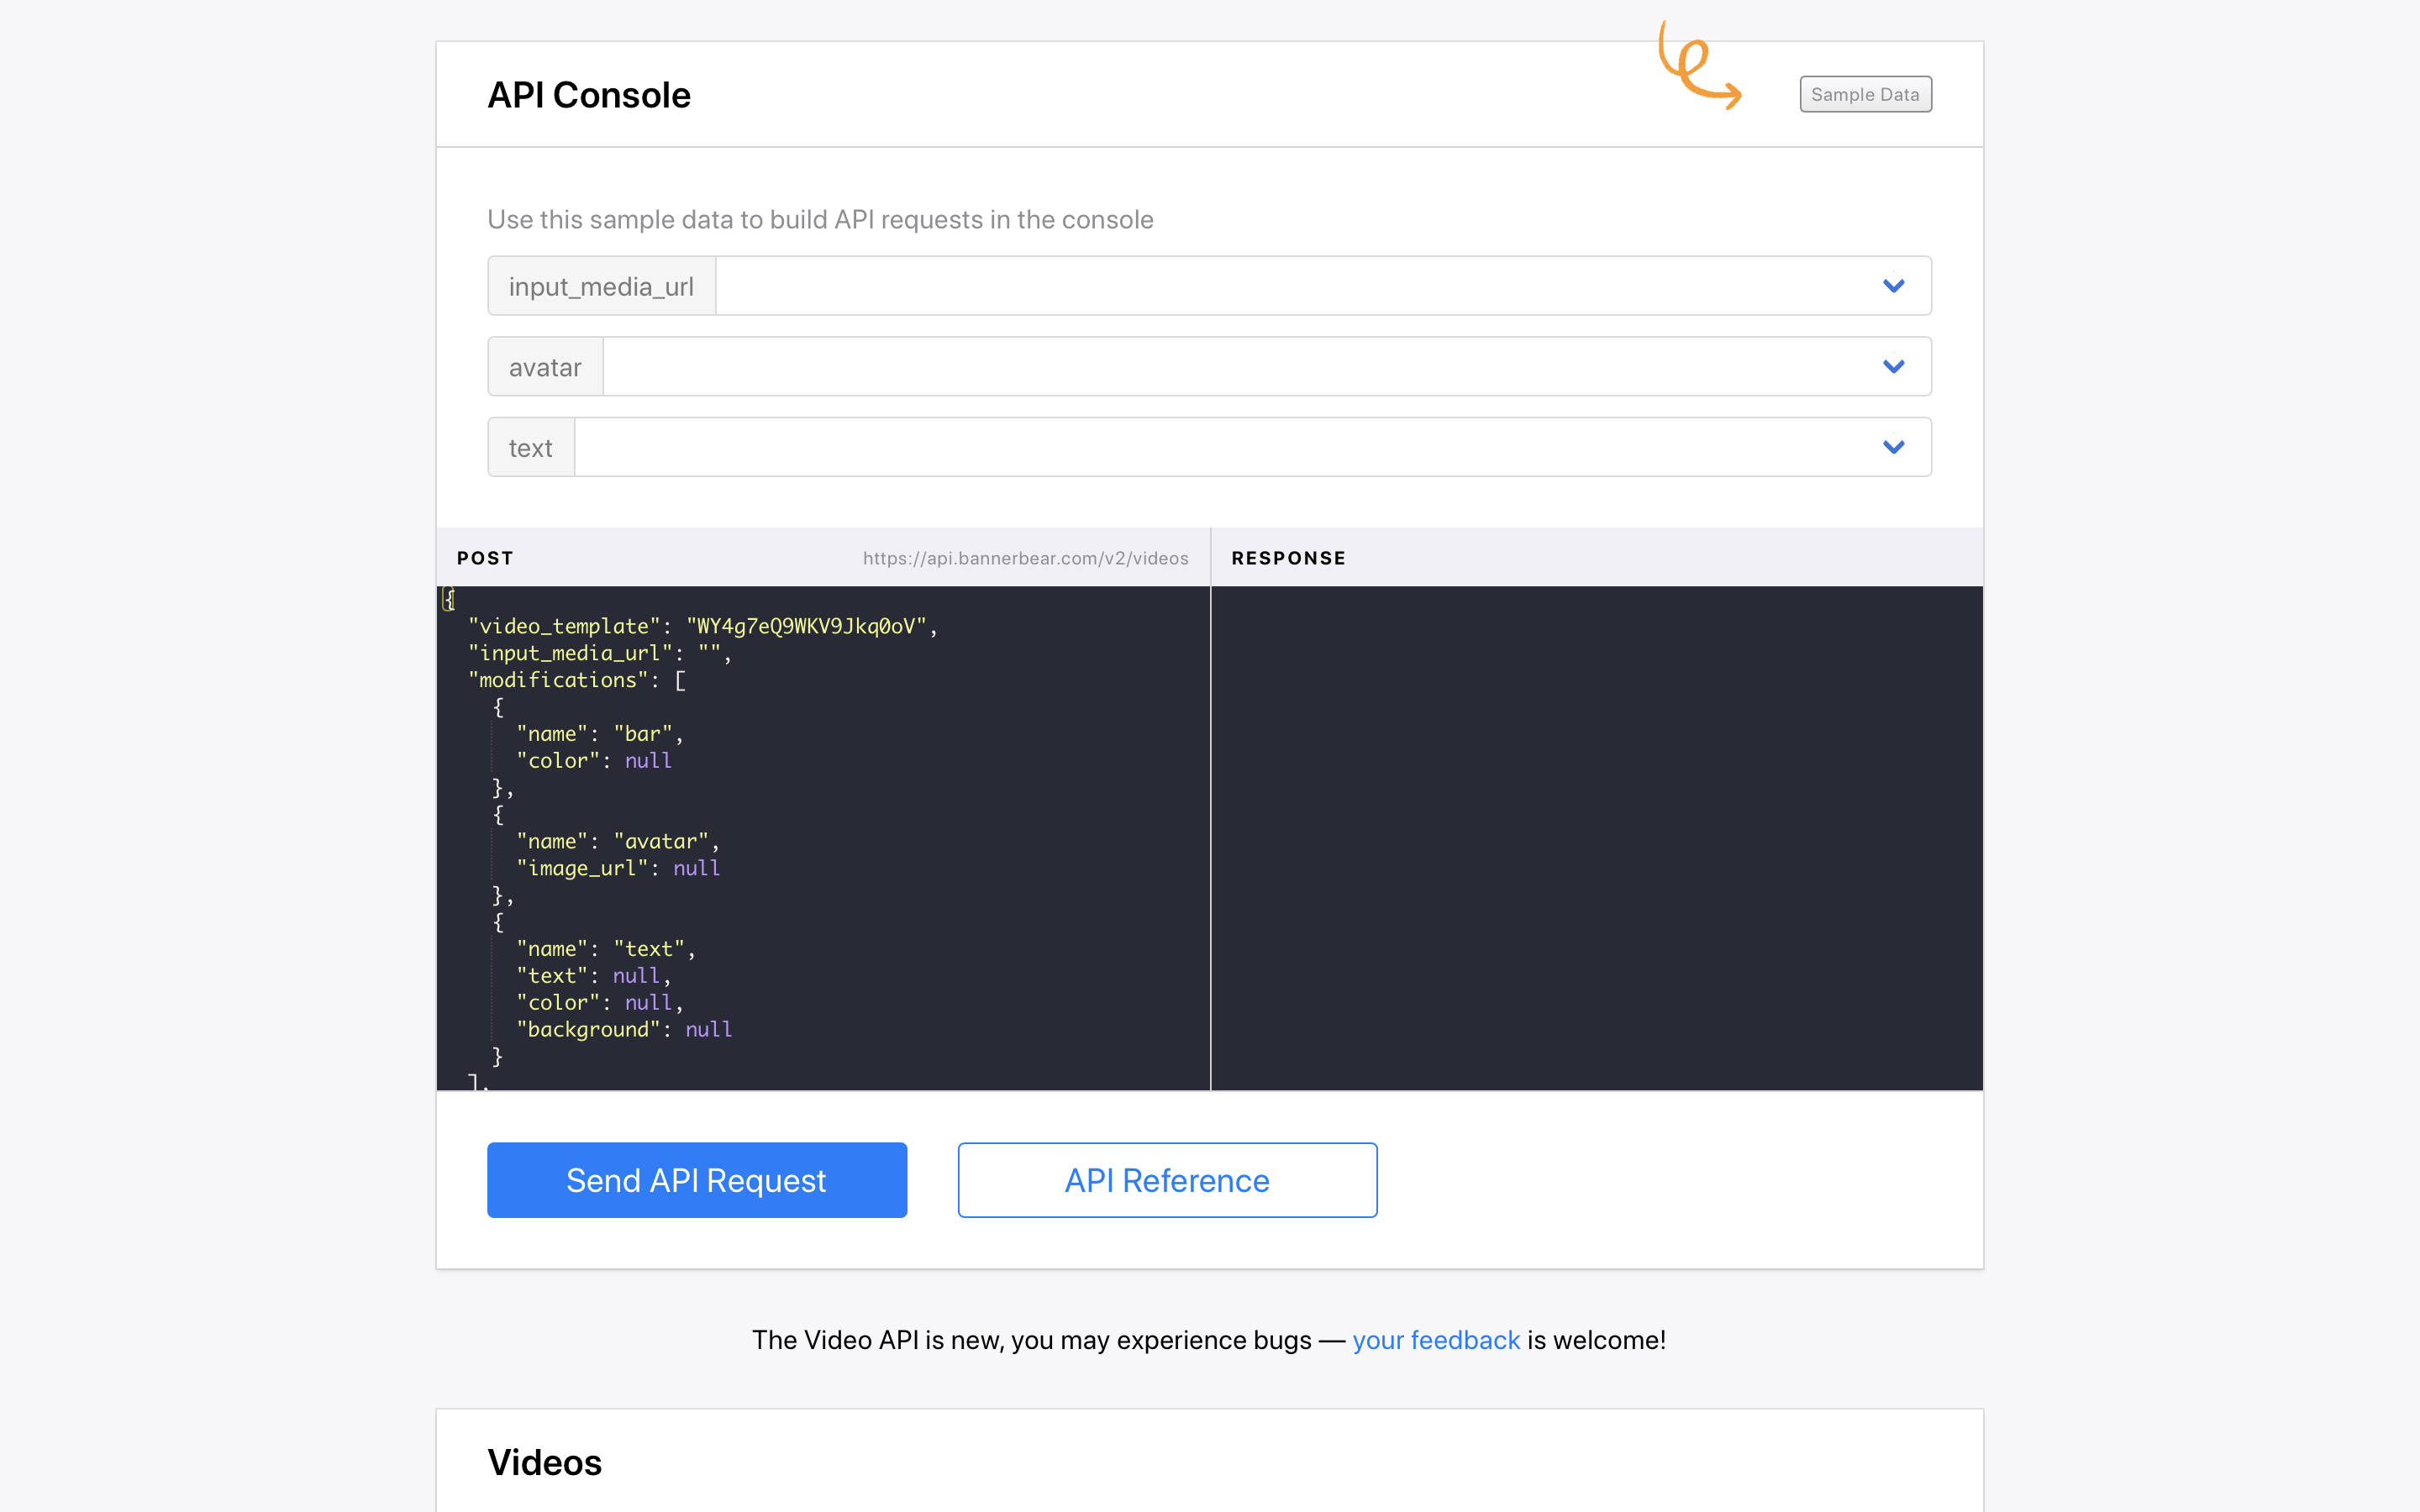
This should look pretty familiar to you if you've used the Image API before. It's the same, except this time the API console hits the /videos endpoint and the sample data panel has some video-related sample video and audio files that you can use in your tests.
Rendering the Video
Choose some sample data - all this does is populate the API console with some presets. If you have your own test data you can paste it directly into the API console :)
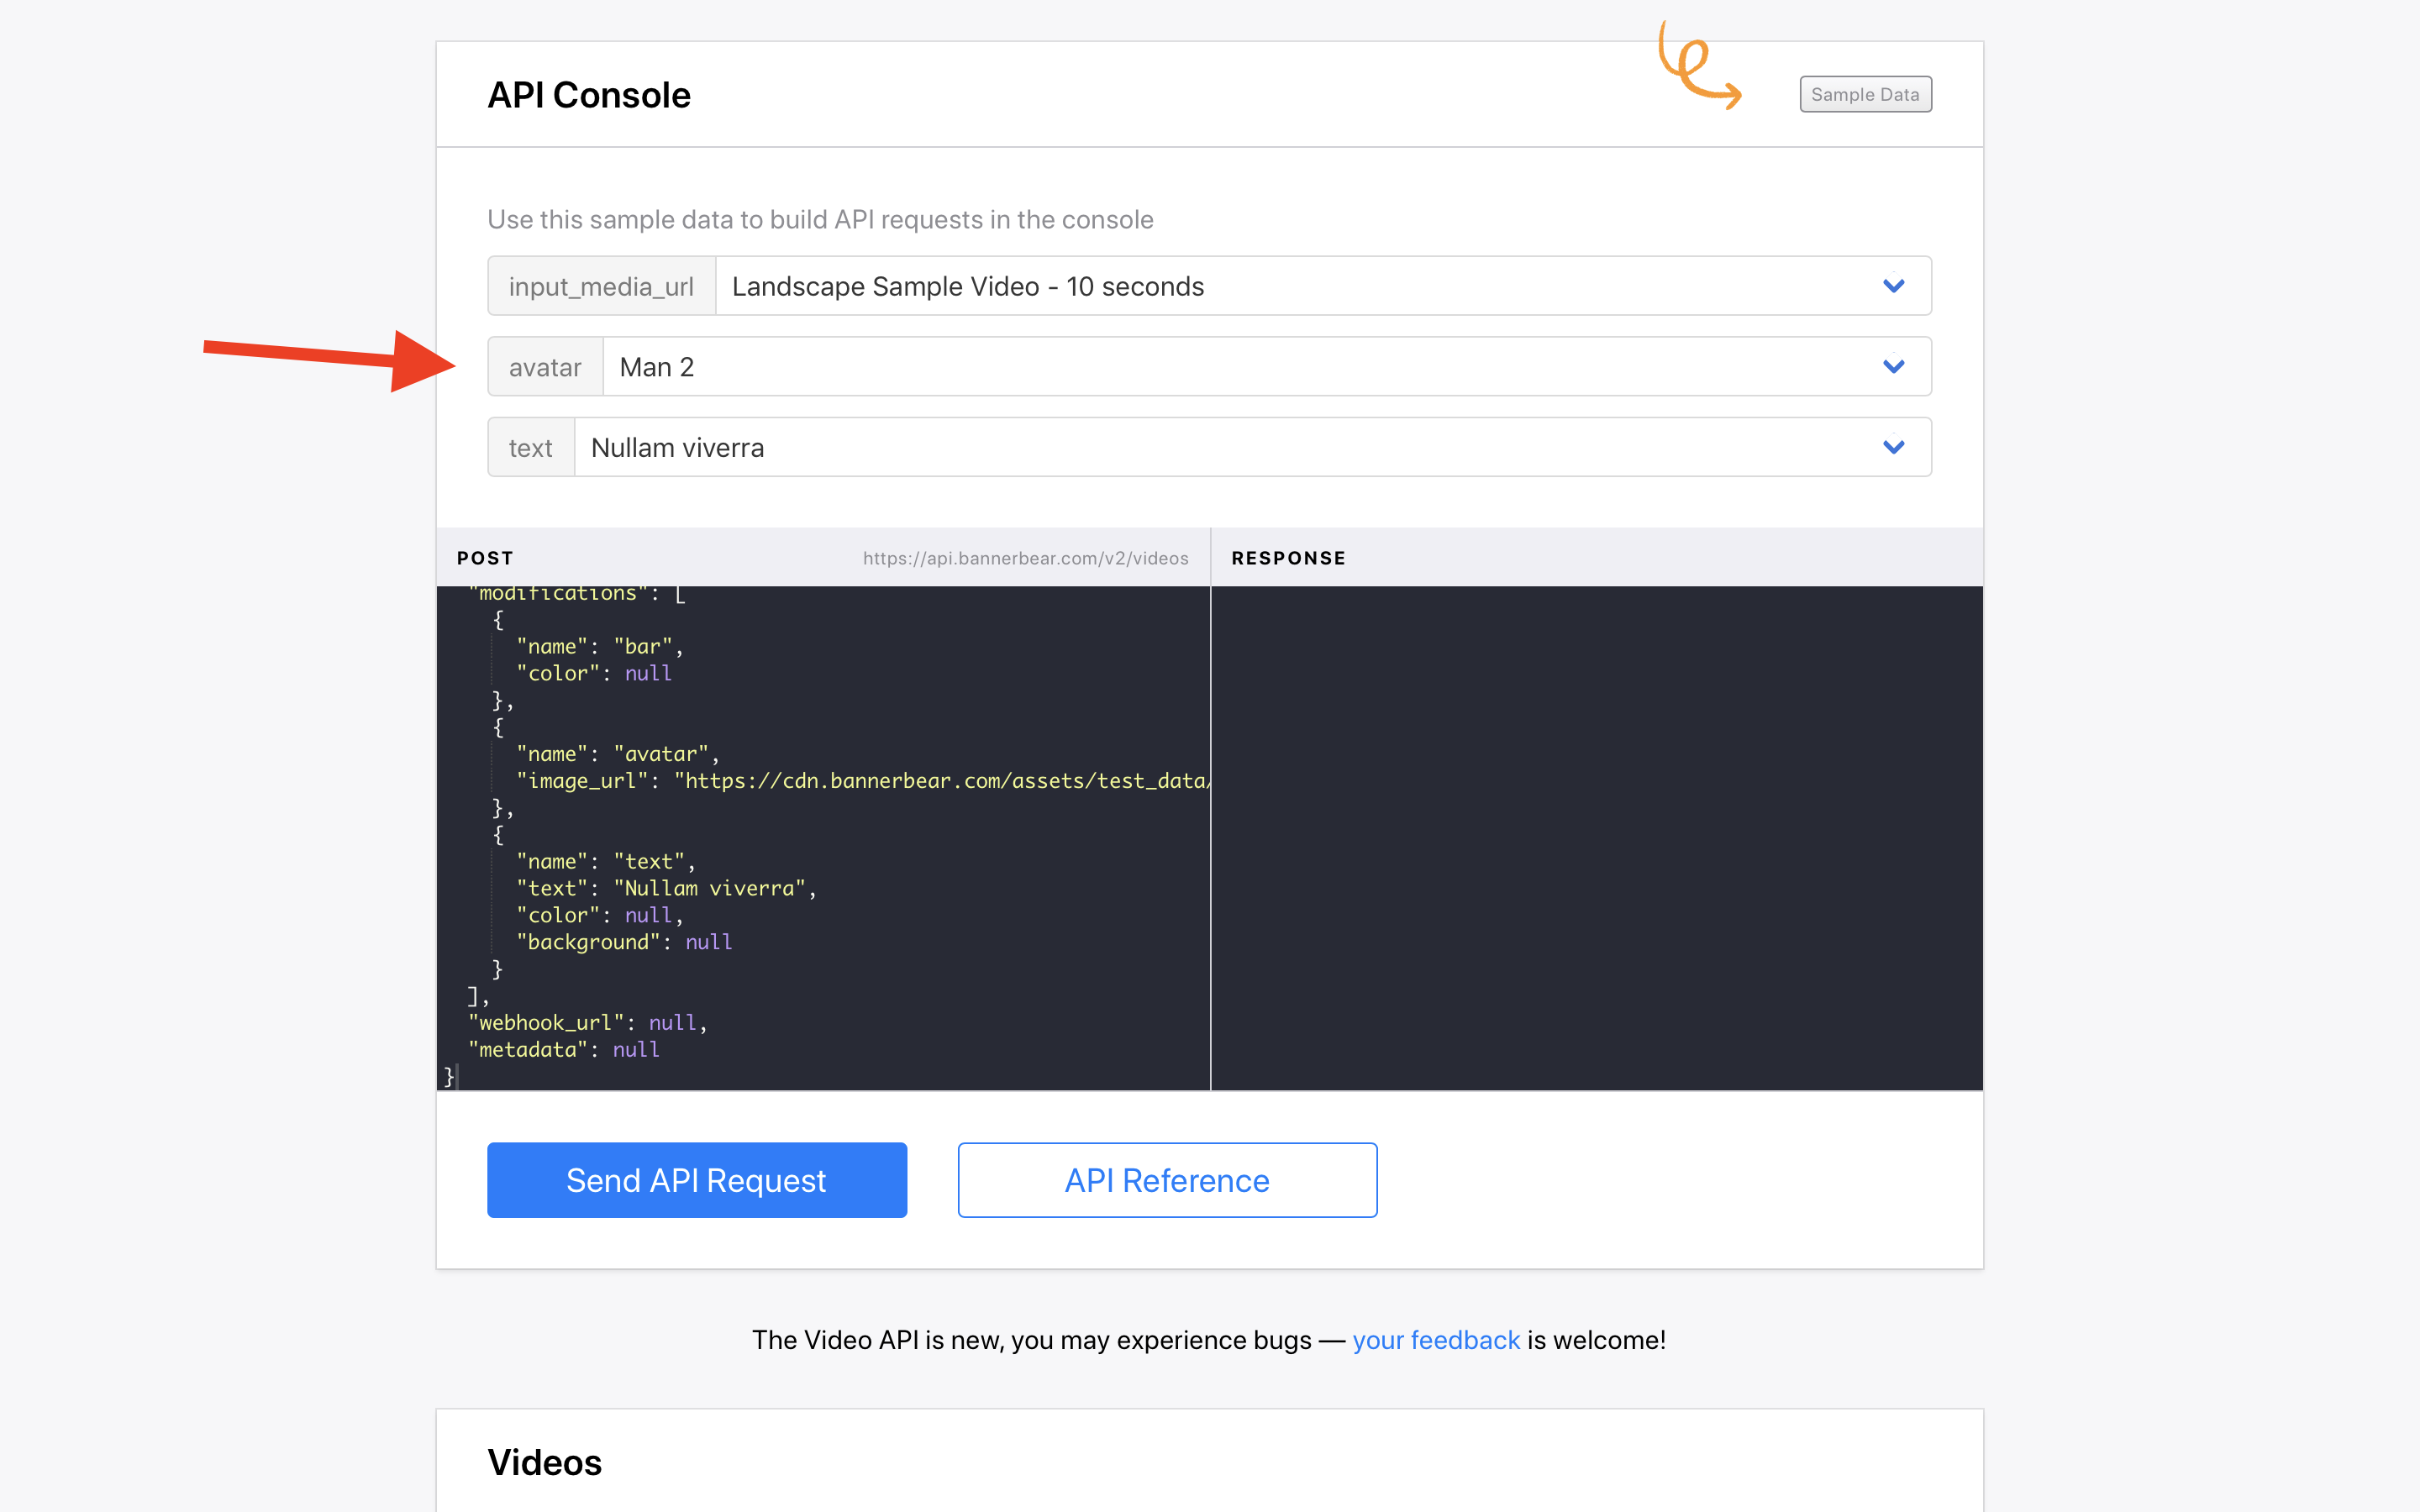
Hit Send API Request!
Your video will start rendering. Rendering time will depend on the complexity of your video, but if you're just rendering a test video based on the sample data, it should take less than a minute.
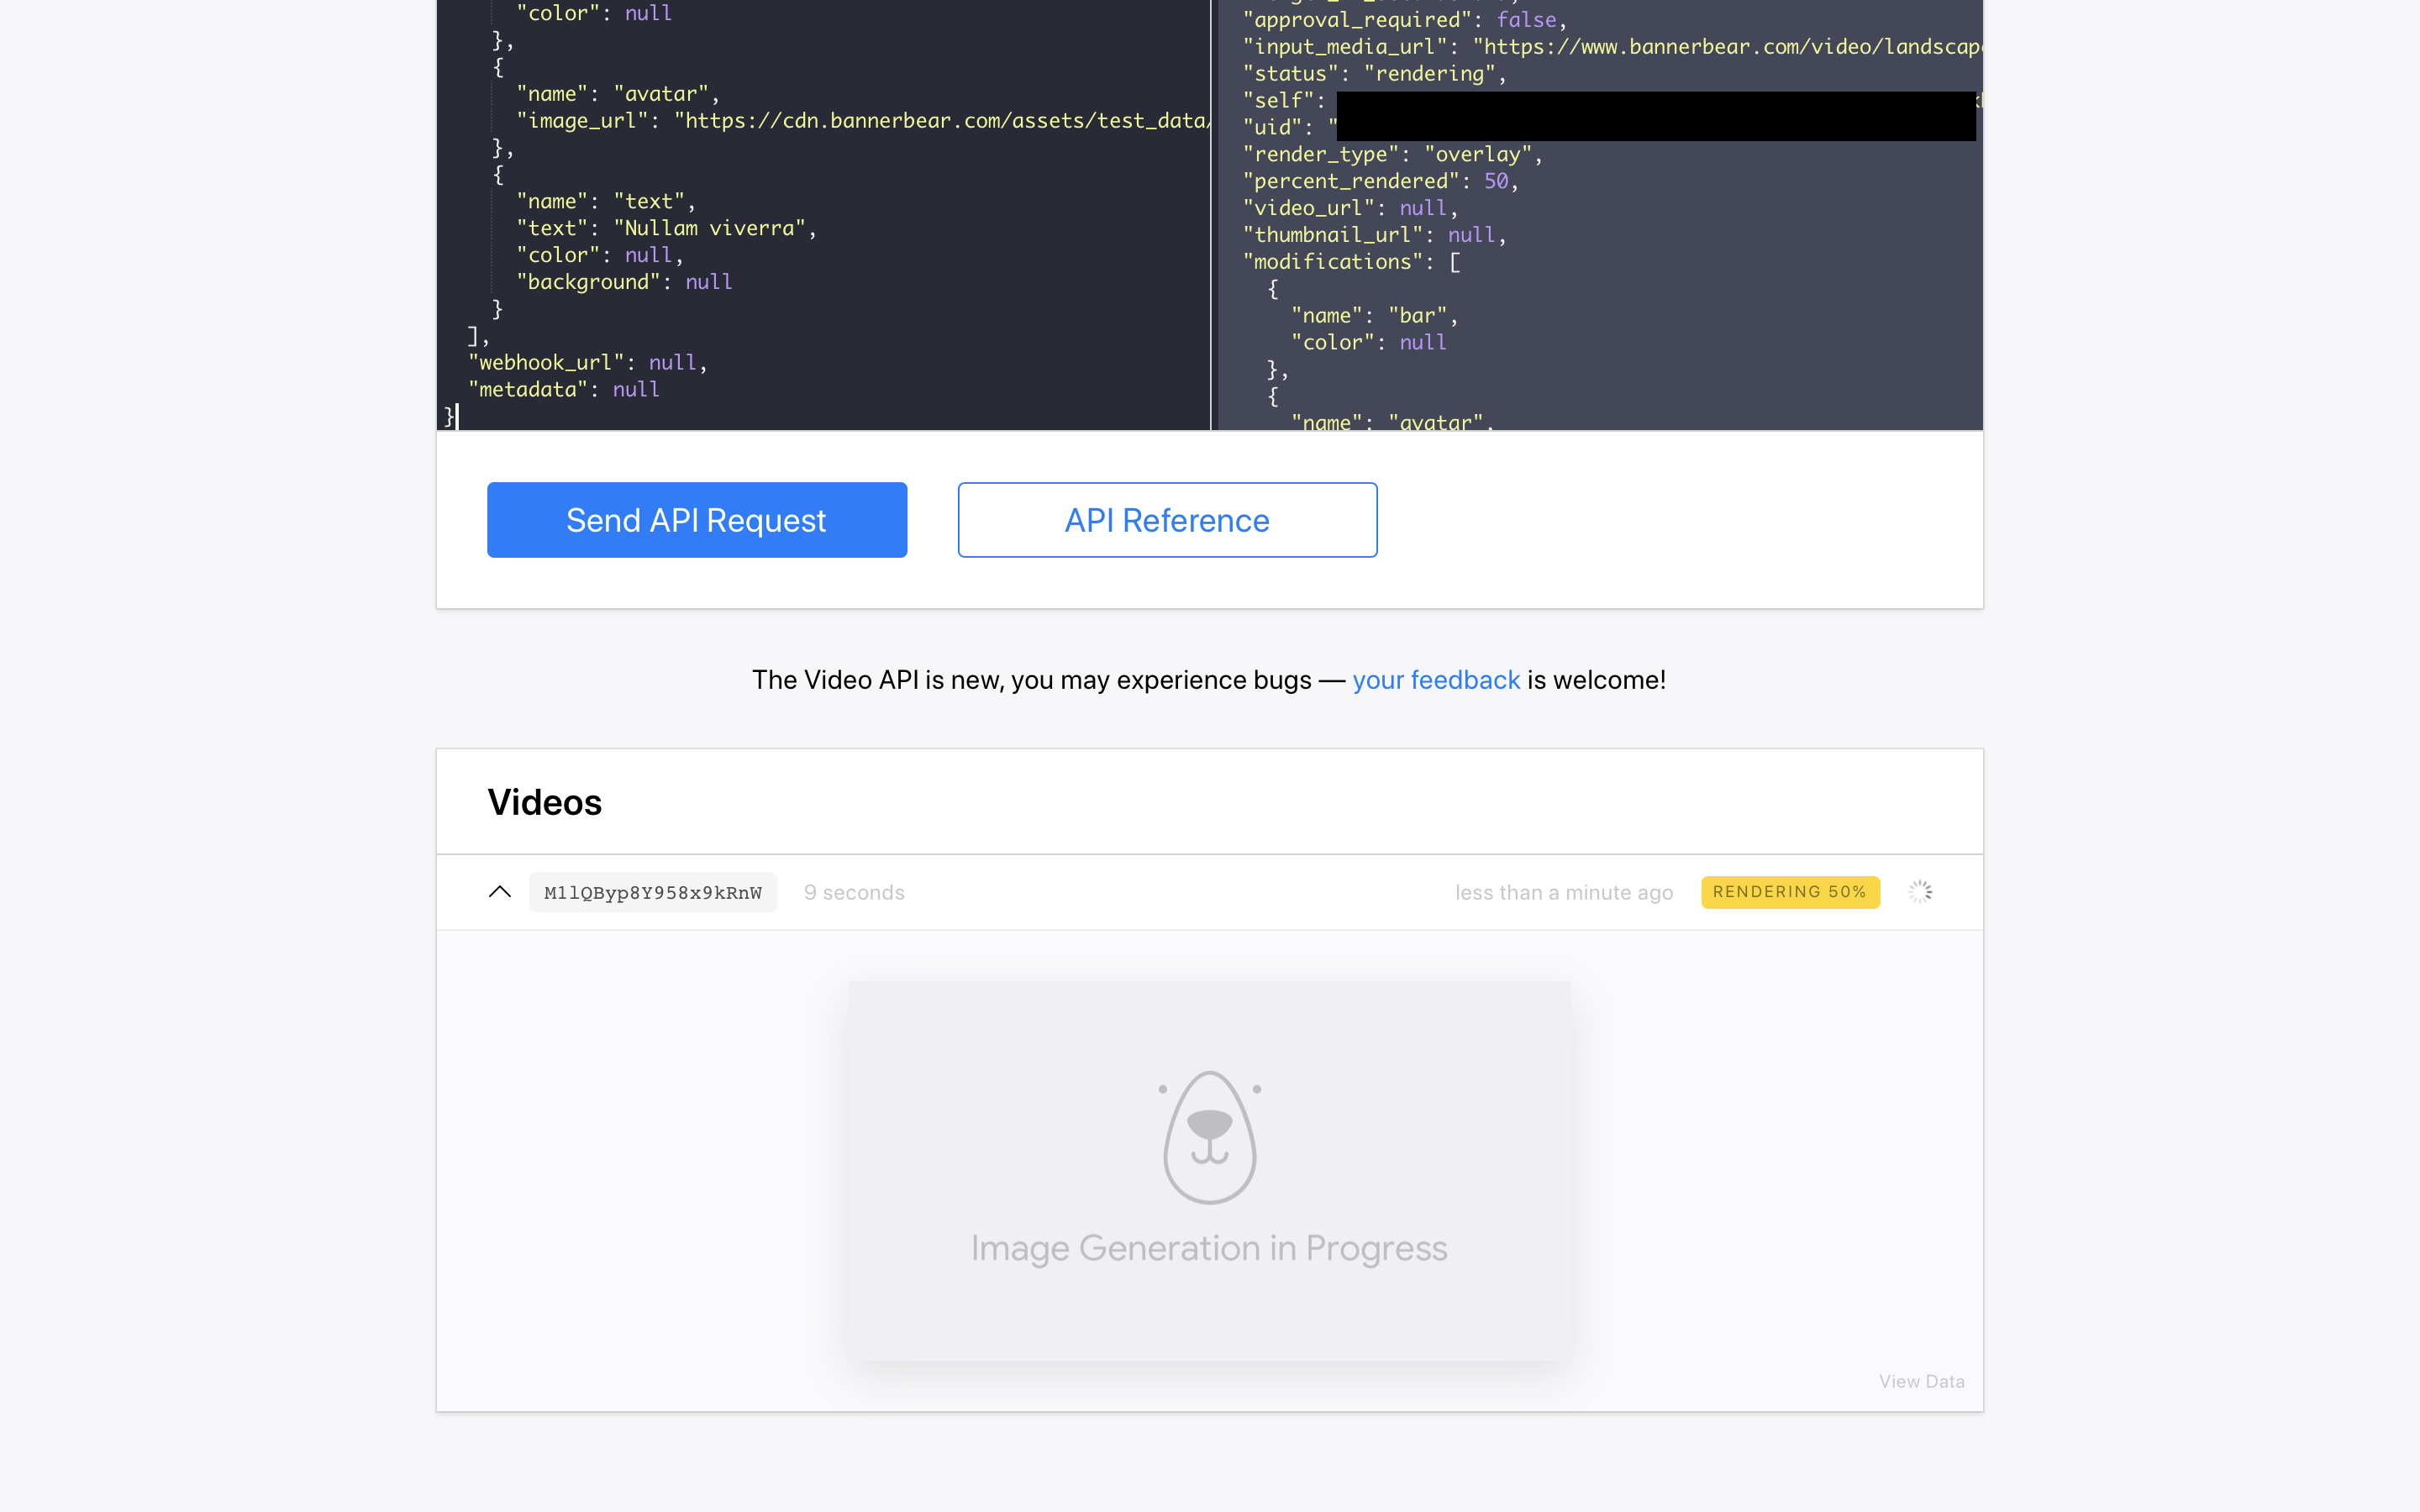
The page will update when rendering has finished:
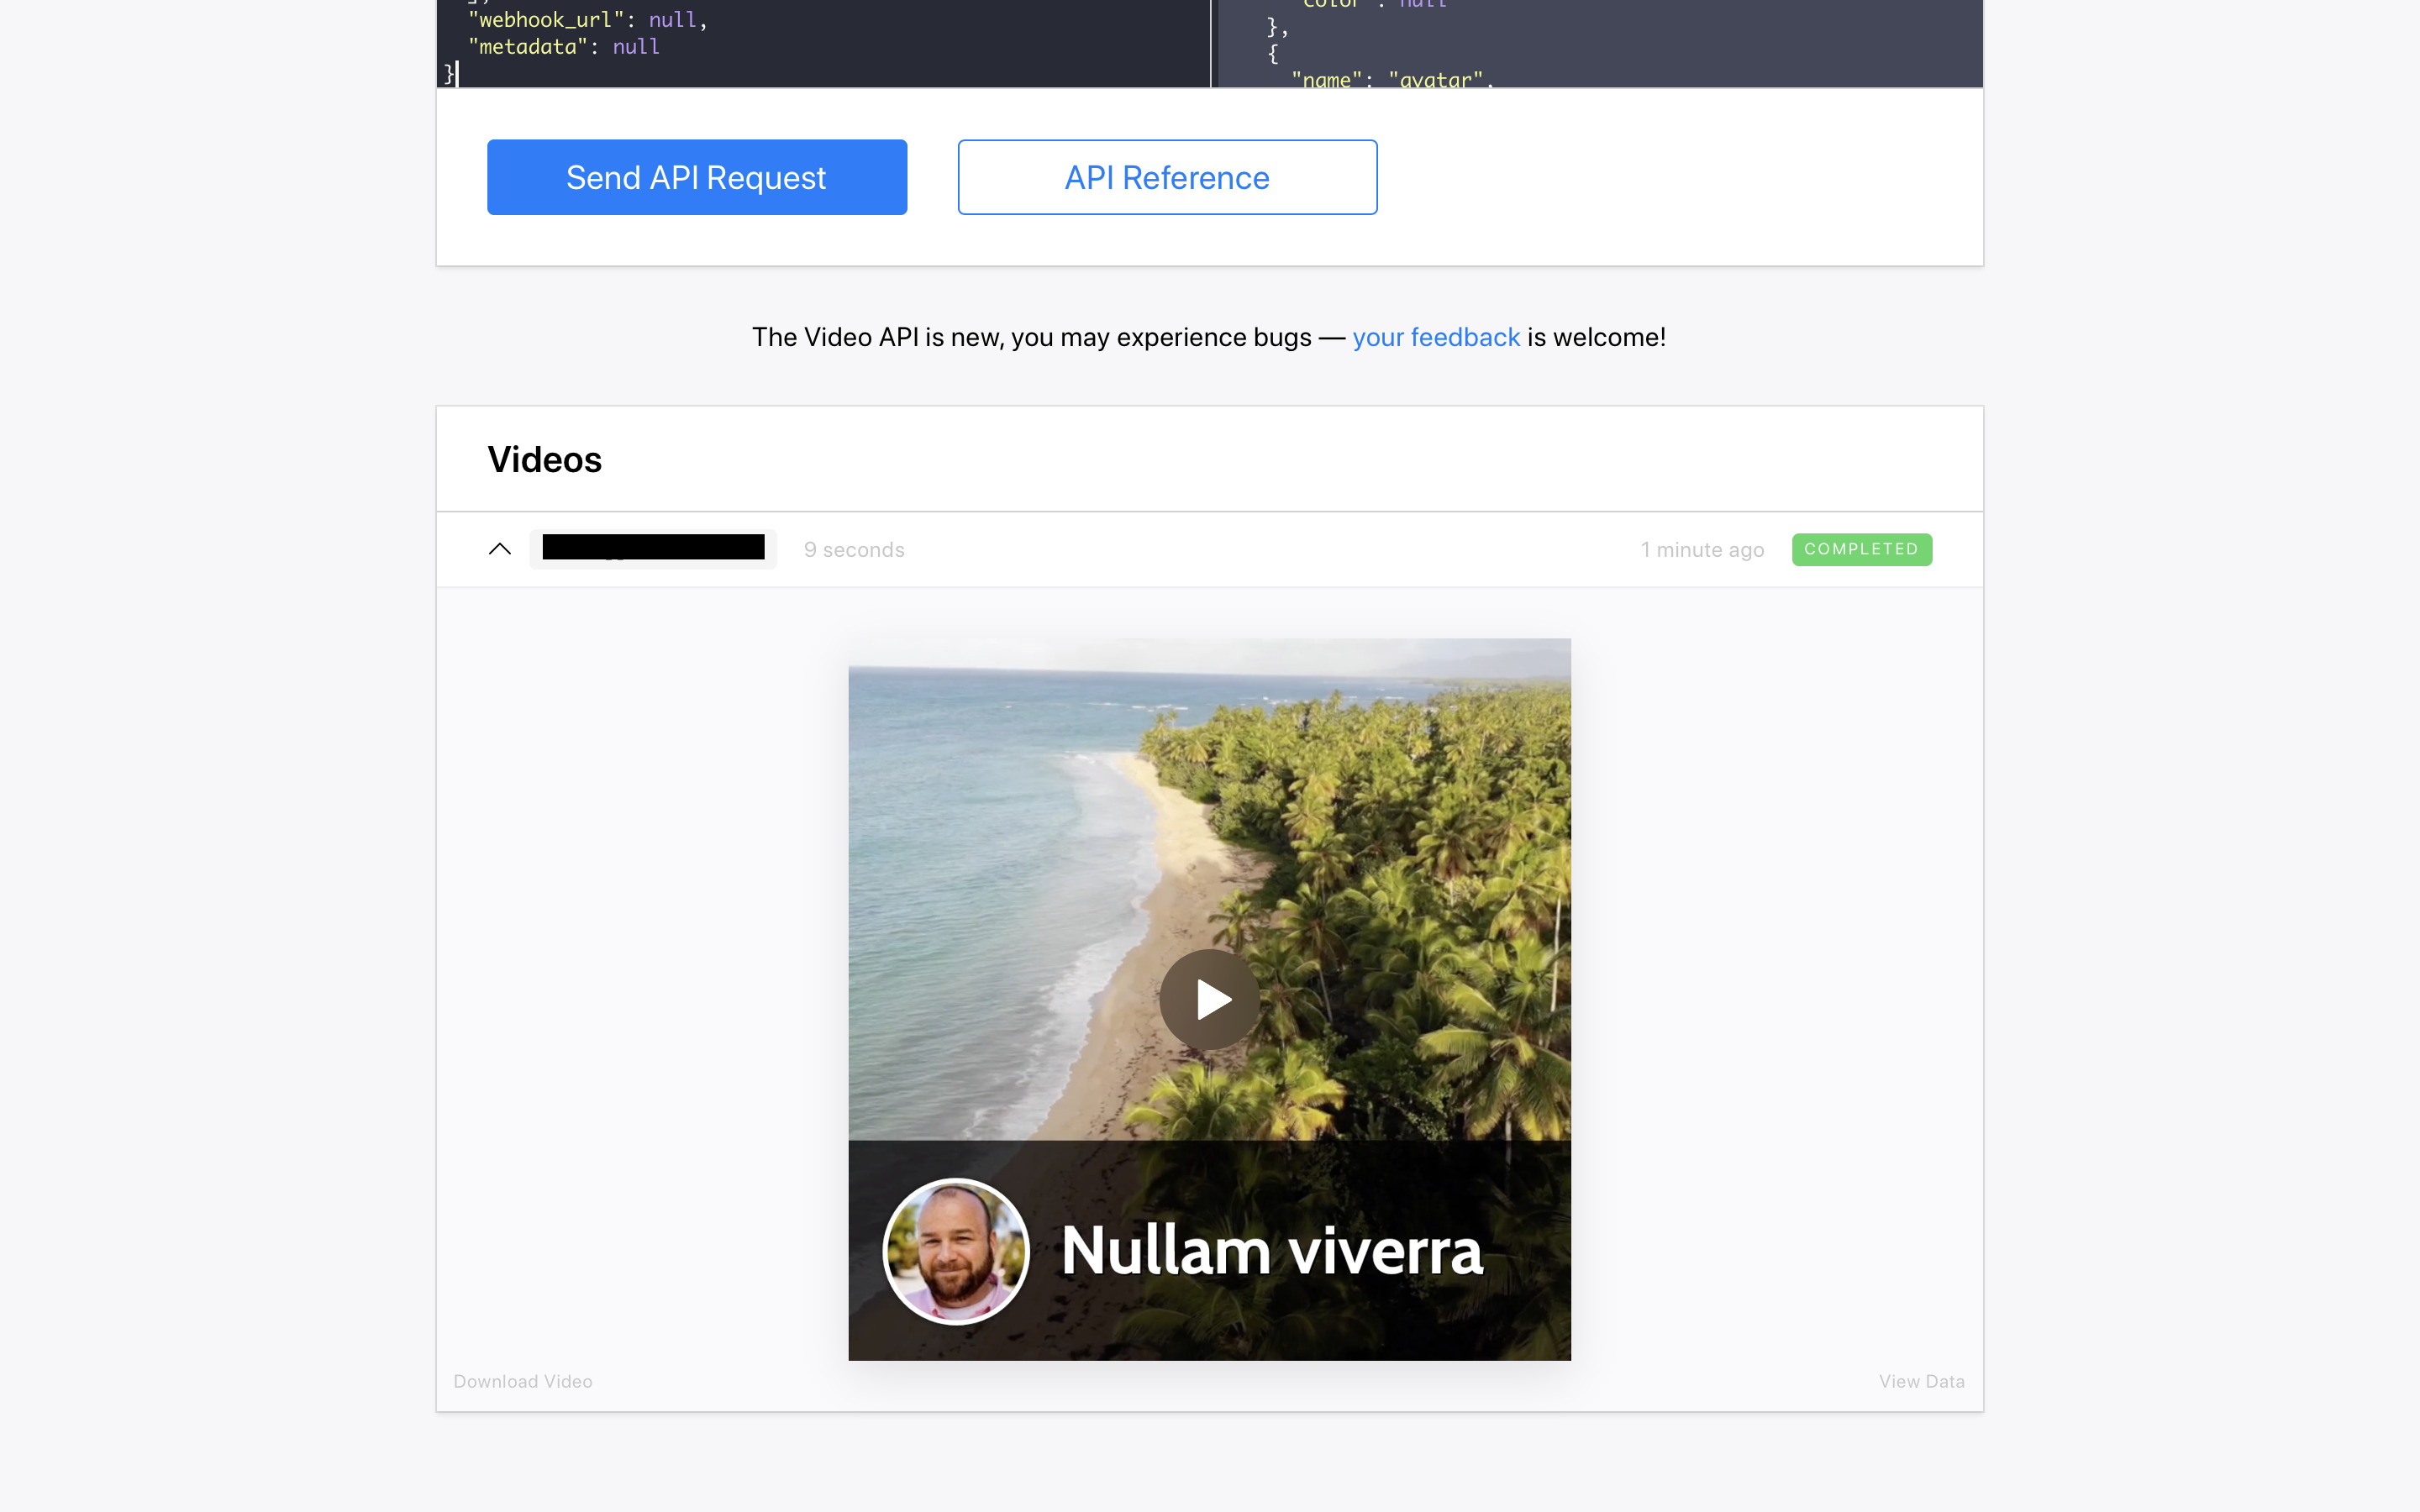
Boom! A fresh video rendered by Bannerbear, using the parameters you defined in the API console. Try using a different input_media_url to see a different result!
Conclusion
The Bannerbear Video API using the Overlay build pack is a powerful way to auto-generate branded videos or add overlay information to your user-generated video content, and many more use cases.
In this tutorial we just created a simple static overlay, but the Video API can do much more than that, which I will be covering in future tutorials!
Oh and… more #nocode tools for video are on the way! Video already fully supports Zapier, so if you have a Zapier account give the Bannerbear integration a try.
API Documentation
You can read through the Bannerbear API Documentation which covers generating both Images and Videos.
