
How to Build a Social Media Image Generation App Using Ruby on Rails
Contents
I built a couple of demos using the Bannerbear API over the last week and there has been some interest on Twitter as to how I did it. Well, here's how!
Public git repo for this tutorial:
Bannerbear Tutorial App
Disclaimer: I'm not sure how useful this will be to people, but I'm all for helping anyone learn new skills, especially given the current global crisis.
Please share if you'd like to see more!
Lets build an image generation app!
The Bannerbear API is a simple REST API that generates custom images.
Sign up for a free account to get started.
Bannerbear can integrate with various languages / frameworks and has many different use cases. In this tutorial I will show you how to use Ruby on Rails to grab data from the web and send it to Bannerbear in order to turn Wikipedia articles into shareable graphics.
Although Wikipedia is the use case for the demo, this same technique could easily be adapted to work with basically any website!
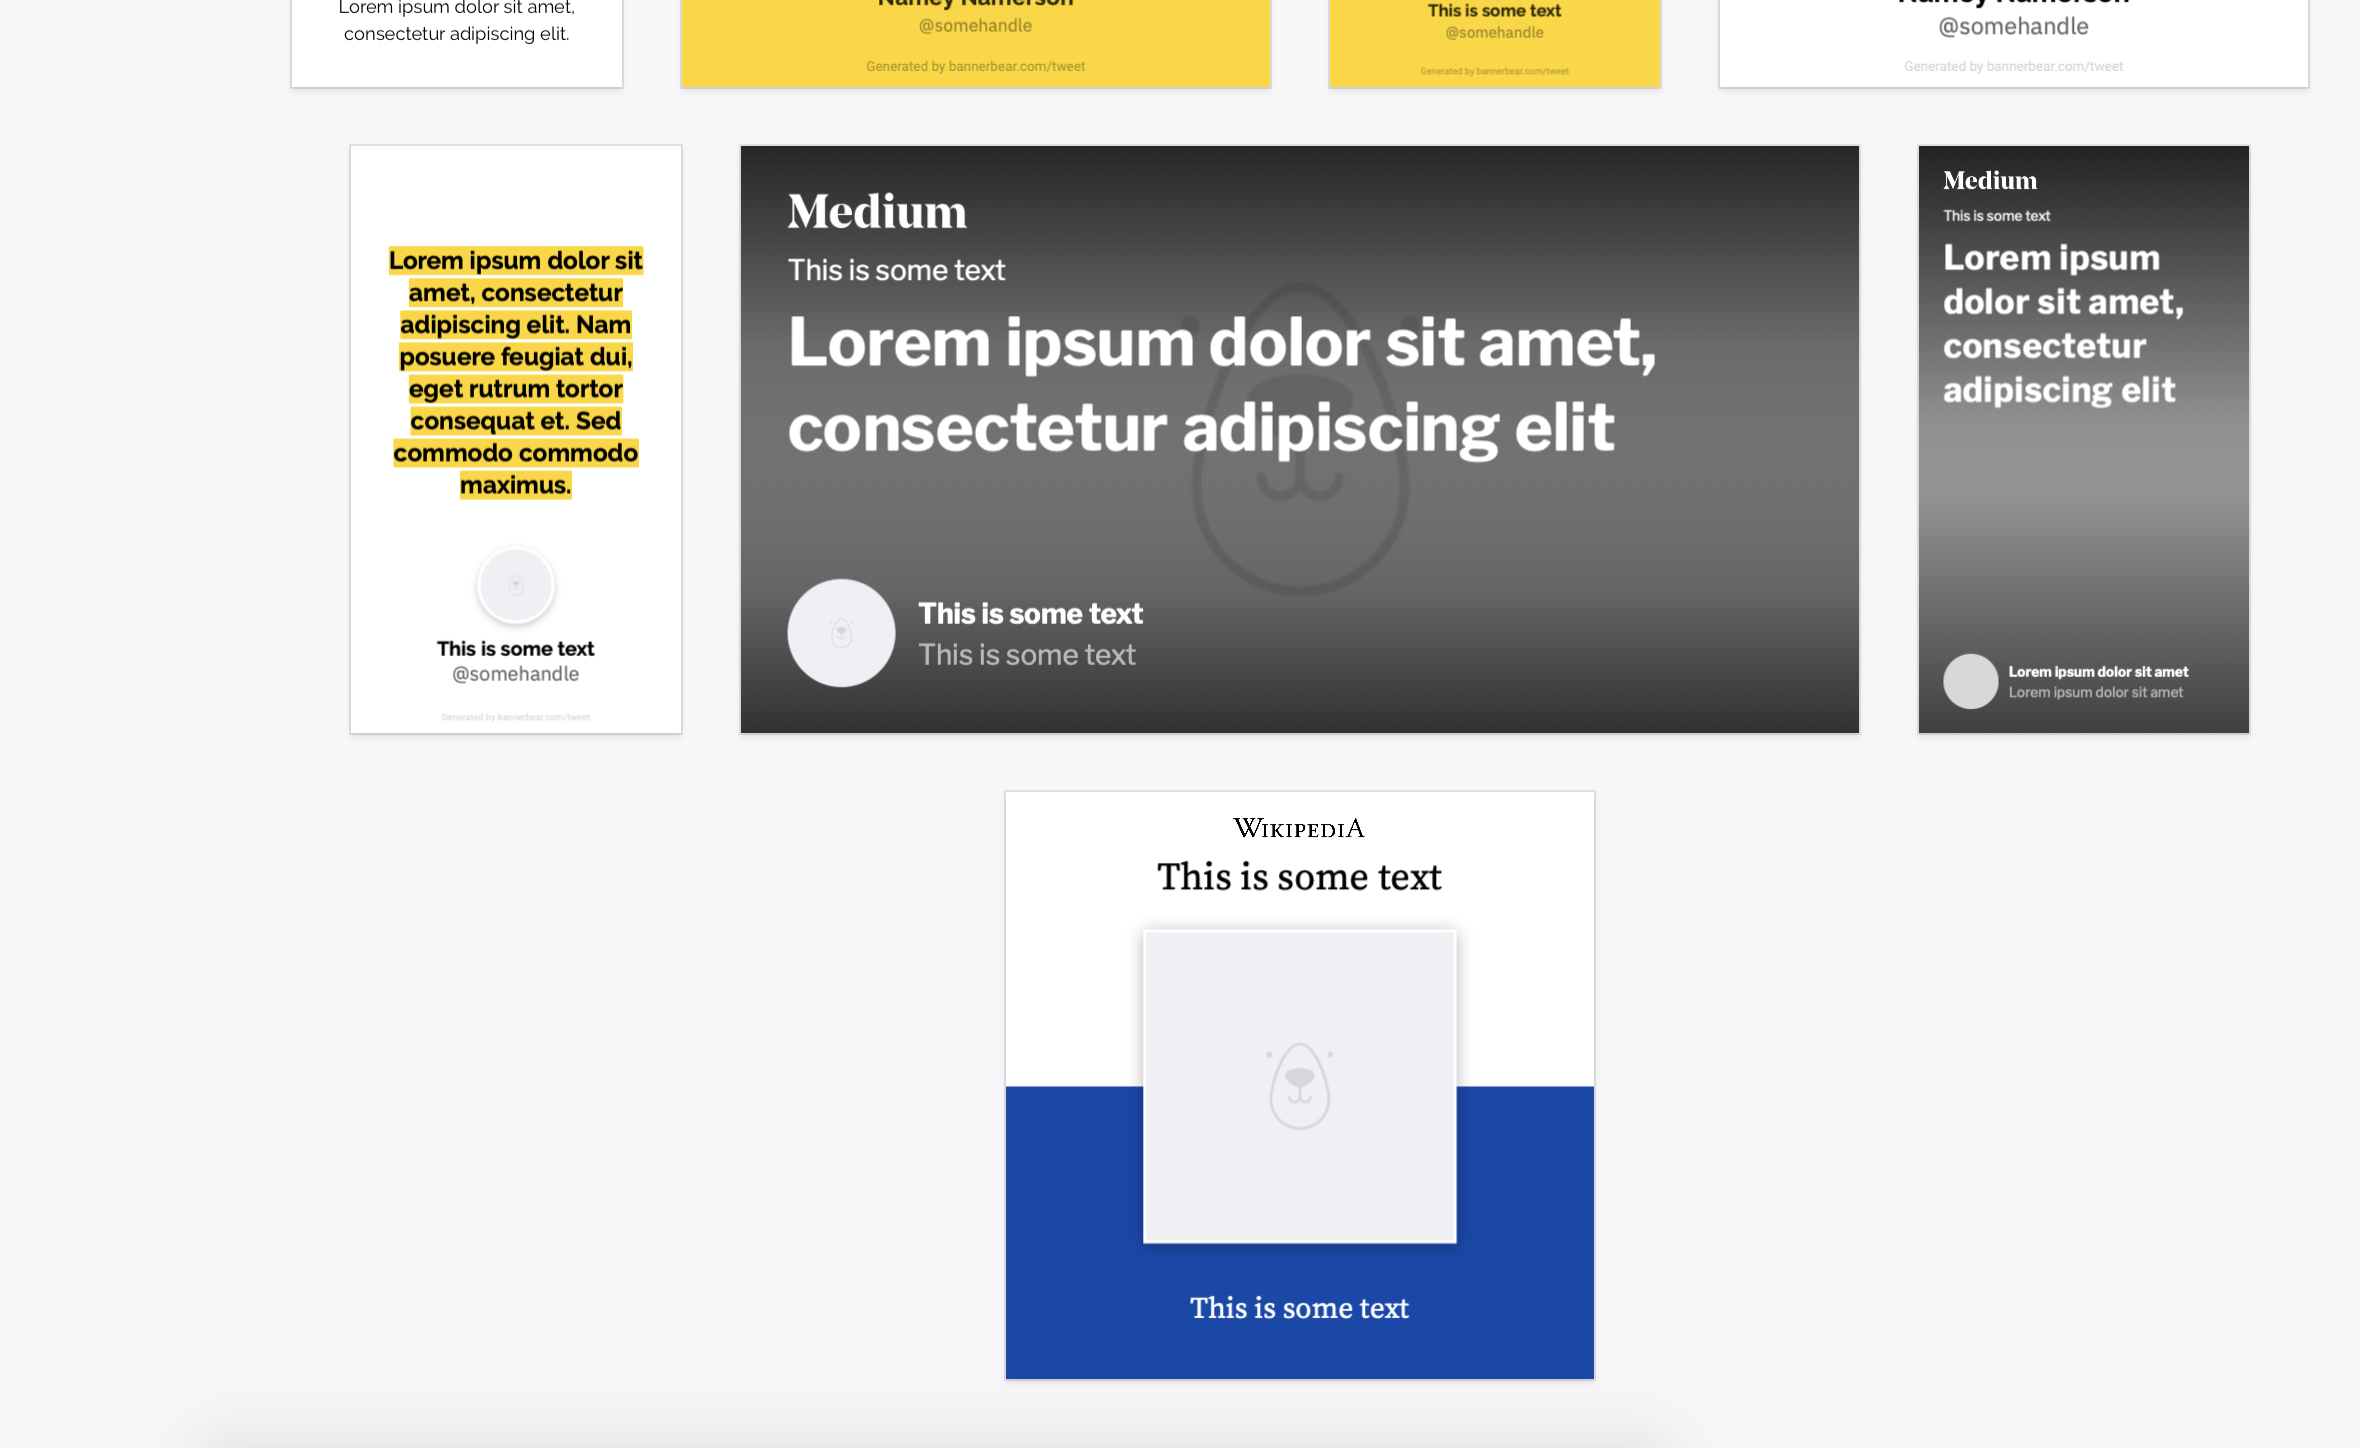
End result sample images
This app will turn this url:
https://en.wikipedia.org/wiki/Taco
Into this image:

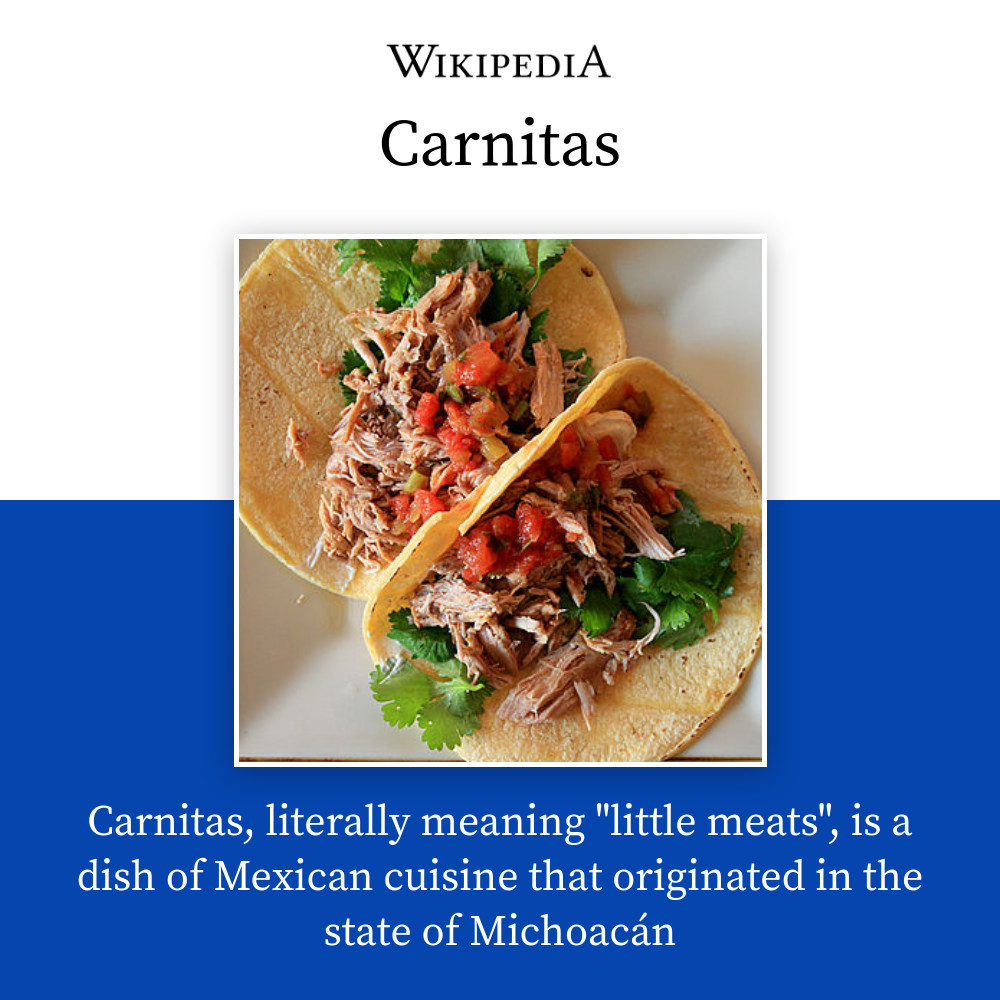
Or turn this url:
https://en.wikipedia.org/wiki/Carnitas
Into this image:
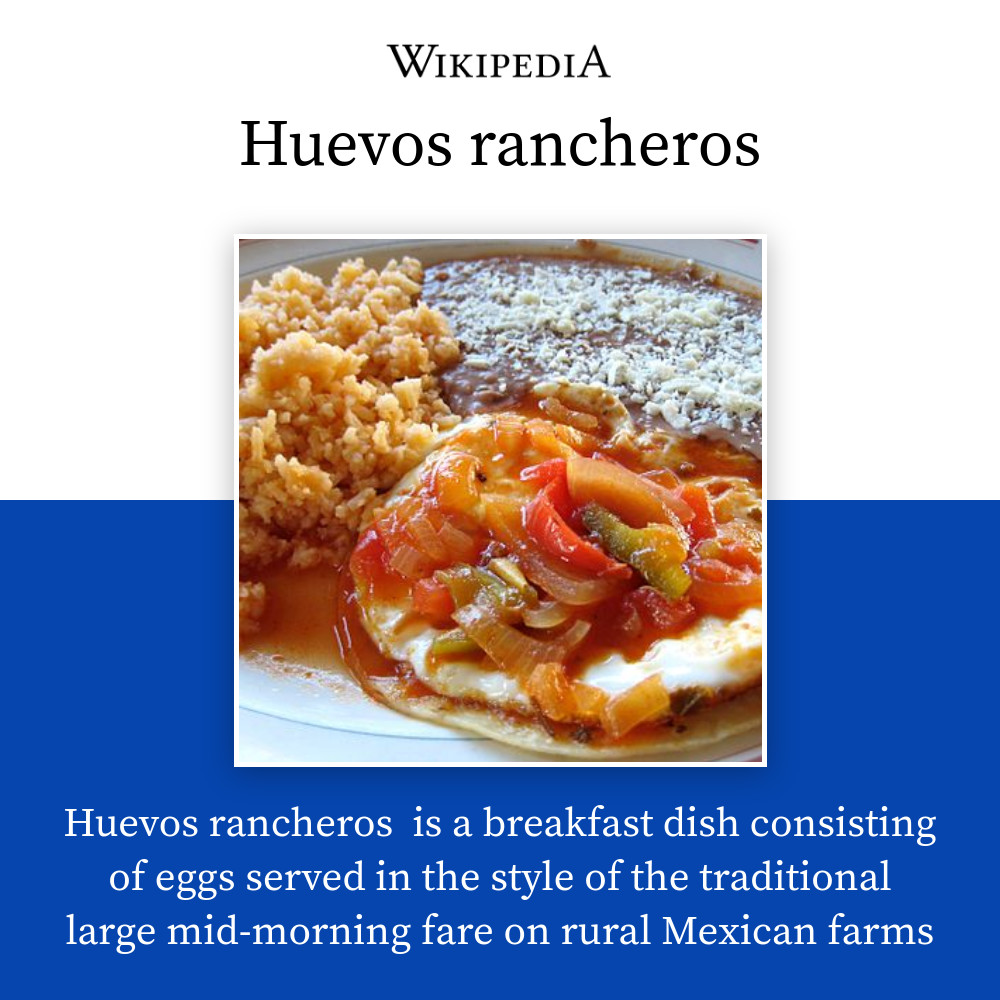
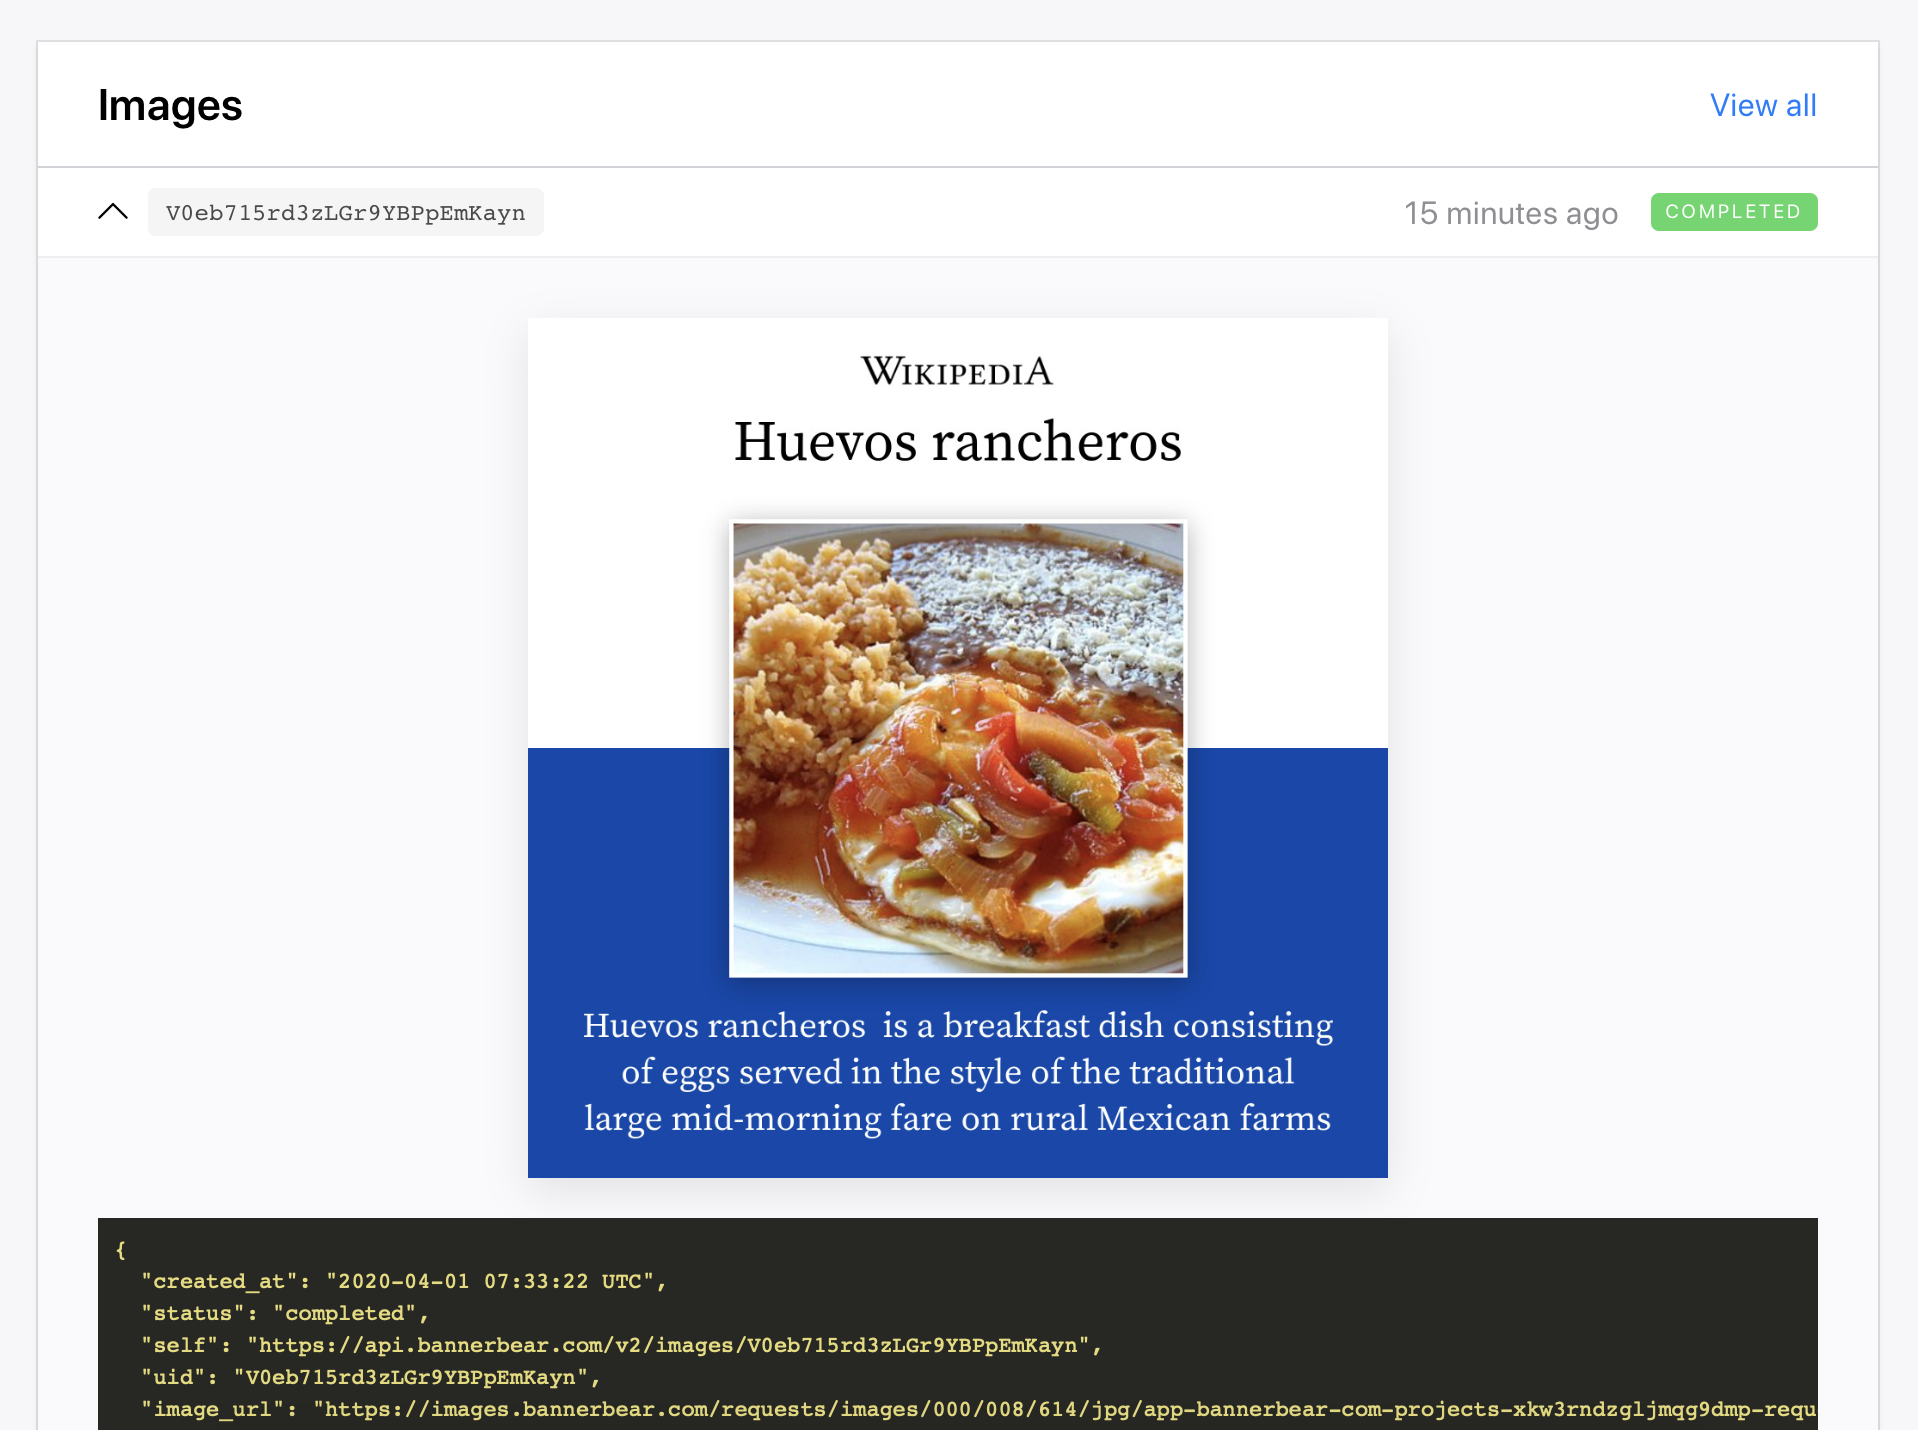
Or this url:
https://en.wikipedia.org/wiki/Huevos_rancheros
Into this image:
This app will work for any Wikipedia article with an image, not just mexican food :)
For this tutorial I'm going to assume you're a Ruby on Rails newbie, but you know some of the basics of coding such as using the command line, and you know what an API is.
I'll leave some additional steps for a Part 2 of this tutorial, such as adding webhooks, adding an interface to view the generated images, and deploying to a live server.
Lets get started!
Planning the app functionality
This app will use the Bannerbear API to take some data from Wikipedia and make it into an image, suitable for sharing on social media.
Normally when planning out features of an app you would write User Stories but since this app is so basic I'm just going to outline a rough user journey:
- User inputs a wikipedia url into a form
- User hits submit
- Data is sent to Bannerbear
That's it! Minimal scope for an MVP is a good thing :)
Installing Ruby on Rails
Skip this step if you already have it!
Many, many other people have written tutorials on this topic so instead of duplicating the instructions I'm just going to link you to them. Most methods of installing Rails involve installing Homebrew (an OS X package manager), then installing Ruby, then Rails, then a few additional packages.
If you are starting from scratch, here's a great tutorial to follow to install Rails on various different platforms: GoRails - Installing Ruby on Rails
Creating a barebones Rails app
Now we are ready to start. In your terminal, navigate to a folder where you keep your projects and run this command:
rails new bannerbear-testThis creates a new Rails app named "bannerbear-test".
If you get some sort of error here, that probably means Rails isn't installed properly and you might need to check you followed all the above instructions correctly.
If Rails is properly installed then the generator will install a bunch of default libraries (dependencies) that it needs to run. You should see an output like:
...
Using turbolinks 5.2.1
Fetching web-console 4.0.1
Installing web-console 4.0.1
Fetching webdrivers 4.2.0
Installing webdrivers 4.2.0
Fetching webpacker 4.2.2
Installing webpacker 4.2.2
Bundle complete! 17 Gemfile dependencies, 75 gems now installed.
And you're ready to go! Now navigate to the newly-created app folder.
cd bannerbear-testInstalling Gems
Rails packages are called Gems and since Rails has been around for over a decade, there is a vast amount (133,000+) of mature and battle-tested Gems to help you with whatever you're building. Google is the best discovery tool for gems, just add "gem" to the end of something you're stuck with e.g. "social login gem".
Gems are managed in a file called Gemfile in the project root. As a first step in this project, I'm going to install a Gem that I personally find handy.
Slim Template Engine (optional)
The Slim Rails Gem allows me to use the Slim template engine when writing view files with Rails. I find Slim a lot faster and neater to work with than the default ERB templating language. YMMV, so this is an optional step.
Add this line to your Gemfile:
# /Gemfile
gem "slim-rails"
This tells Rails that you want to use this Gem in your app.
After editing your Gemfile, you will need to download any new Gems you've just added. You do this by running the following command in your terminal:
bundle installThe bundler program will go through your Gemfile and download the files you need (and figure out conflicts / dependencies for you).
You should see some output showing that slim-rails was installed:
Fetching slim-rails 3.2.0
Installing slim-rails 3.2.0
Well done, you've installed your first Gem! This pattern of finding Gems with functionality you need, updating your Gemfile, and running bundle install is one that Rails devs go through many times over the course of building an app.
Now might also be a good time to make your first commit to the Git repo. Git comes as standard when you create a new Rails app.
In the terminal run:
git add .
git commit -m "first commit"
In the interest of simplicity I won't include any more Git commits in this tutorial, but it's best to commit often!
Booting up Ruby on Rails
Now we are ready to run our Rails app for the first time. In the terminal run:
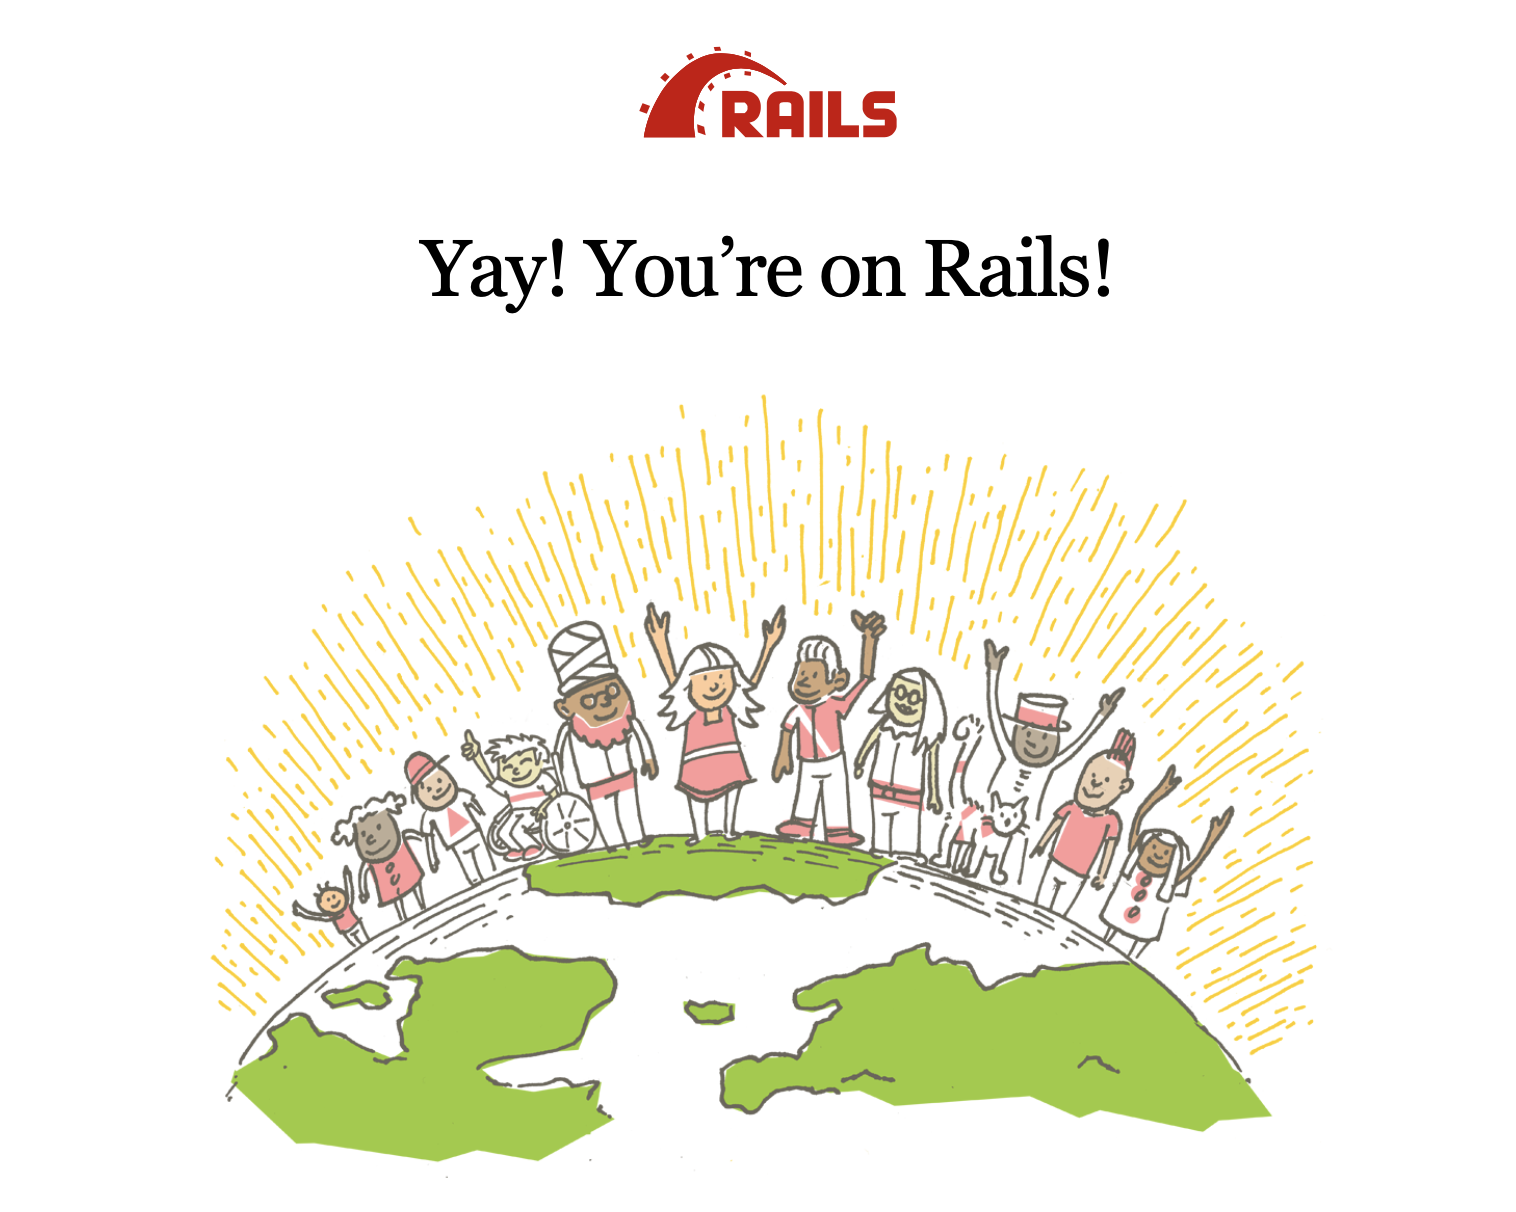
rails sOpen your browser to http://127.0.0.1:3000
If you see this image in your browser, you've successfully booted your first Rails app!
A note on testing
Testing and TDD is a topic that by itself would warrant a whole series of posts. For the purposes of this tutorial I'm not going to follow the TDD process or write tests - this is a topic you can study later.
Creating / Saving Articles
The first thing I want my app to do is to to show users an input box.
This is where users will plug in wikipedia urls, which my app then saves… and does something clever with afterwards.
The fact that I want to save something to the database indicates that I need to create a new Model of some kind. This is the data structure of the object that I want to save, along with any associated rules I want to enforce.
For now, all I want to do is save a wikipedia URL, so… do I create a "URL" model?
Model-naming could be a whole other post. But in a nutshell my thought process is that I'm not just saving urls… a url is simply an attribute of the fundamental object that I want to save / represent. The actual, fundamental object is an article, a wikipedia article. Therefore, my first model is going to be called Article and it will have a url attribute.
Creating the Model
In the terminal run:
rails g model articleThis results in Rails generating some files to use with my new model. You should see an output like this:
invoke  active_record
create    db/migrate/20200330085205_create_articles.rb
create    app/models/article.rb
invoke    test_unit
create      test/models/article_test.rb
create      test/fixtures/articles.yml
Note the migration file created above. Any time you create a new model in Rails, a migration file is created. This is a set of instructions to alter the structure (schema) of your database. You can also generate migration files on an adhoc basis - for example when you need to add or remove columns from your schema - more on this later.
For now, the only thing that my Article model needs is a url attribute:
# /db/migrate/20200330085205_create_articles.rb
class CreateArticles < ActiveRecord::Migration[6.0]
  def change
    create_table :articles do |t|
      t.string :url #add this line to your migration file
      t.timestamps
    end
  end
end
Next we run the migration to alter the database schema. In the terminal run:
rails db:migrateWhich should output something like:
== 20200330085205 CreateArticles: migrating ===================================
-- create_table(:articles)
   -> 0.0023s
== 20200330085205 CreateArticles: migrated (0.0024s) ==========================
What have we achieved so far?
Now we have an article.rb model file, ready for us to add validation rules and other behaviours. In addition, we have set up our database with an articles table, where each article has a url (string) attribute. I think we are ready to save some records!
Creating the front end
Our above model deals with the database directly.
To manage input from the front end, we need a Controller.
Rails comes with all sorts of auto-generators. The one above generates model-specific files. There's another that creates controller-specific files. The generator I'm going to use next creates controller-specific files with some handy auto-generated views and logic.
In the terminal run:
rails g scaffold_controller articleYou should see some output like:
create  app/controllers/articles_controller.rb
invoke  slim
create    app/views/articles
create    app/views/articles/index.html.slim
create    app/views/articles/edit.html.slim
create    app/views/articles/show.html.slim
create    app/views/articles/new.html.slim
create    app/views/articles/_form.html.slim
invoke  test_unit
create    test/controllers/articles_controller_test.rb
create    test/system/articles_test.rb
invoke  helper
create    app/helpers/articles_helper.rb
invoke    test_unit
invoke  jbuilder
create    app/views/articles/index.json.jbuilder
create    app/views/articles/show.json.jbuilder
create    app/views/articles/_article.json.jbuilder
The last step before we can "view" any of these view files in the browser is to add a route. To create a set of routes for articles:
# /config/routes.rb
Rails.application.routes.draw do
  resources :articles
end
This generates routes for /articles that follow a RESTful pattern.
So now if you navigate to http://127.0.0.1:3000/articles/new you should see something…
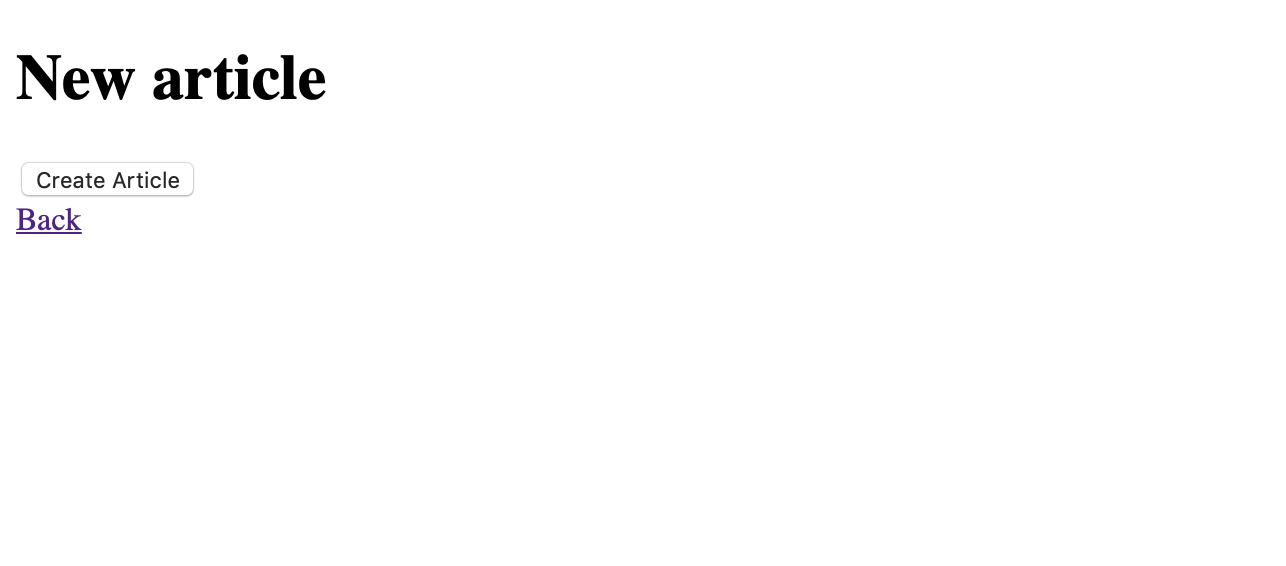
What you are looking at is: the controller articles at /app/controllers/articles_controller.rb is calling the action new which is rendering a view file in /app/views/articles/new, which itself is rendering a small form in /app/views/articles/_form.
This might seem a lot to take in, but this pattern will be the same for every model / controller you create. Rails is all about convention over configuration. Once you embrace these conventions, the framework becomes very productive!
Add a CSS Framework (optional)
Alright this front end is looking a bit goofy, lets add a CSS framework to make things a bit more pretty.
Remember your Gemfile?
Follow the instructions here to add Bulma to your project. Note, you may need to rename /app/assets/stylesheets/application.css to /app/assets/stylesheets/application.scss to make this work.
Add a form input
Lets add a text_field input to the form, to allow users to add a url.
# /app/views/articles/_form.html.slim
= form_for @article do |f|
  - if @article.errors.any?
    #error_explanation
    h2 = "#{pluralize(@article.errors.count, "error")} prohibited this article from being saved:"
    ul
      - @article.errors.full_messages.each do |message|
        li = message

  .field
    .control
      = f.text_field :url, :required => true, :class => "input"

  .actions = f.submit :class => "button is-primary"
The "required" flag just adds the corresponding HTML5 attribute for client-side validation, but to make this more robust we will add validation on the model later.
The class attributes are optional - these add the Bulma styles, if you added the Bulma CSS framework in the above step. Now we've got something looking like this:

Curious to see what happens if you type something and hit the Create Article button? Go ahead!
You'll probably see something about ForbiddenAttributesError.
If you take a look at the articles_controller.rb file, you'll see why.
When you submit the form, Rails uses the RESTful route magic you added earlier, and submits via POST to the create action of articles_controller.rb which currently looks like a bit this:
# /app/controllers/articles_controller.rb
def create
  @article = Article.new(article_params)
...
article_params is defined at the bottom of the file:
# /app/controllers/articles_controller.rb
def article_params
  params.fetch(:article, {})
end
The ForbiddenAttributesError error is protection against the posting of unwanted attributes to our model. The Rails way to protect models is to "whitelist" each attribute that we want to allow.
So to do that, lets add url to the list of allowed attributes:
# /app/controllers/articles_controller.rb
def article_params
  params.fetch(:article, {}).permit(:url)
end
Now try submitting again. Success! The record was saved to the database.
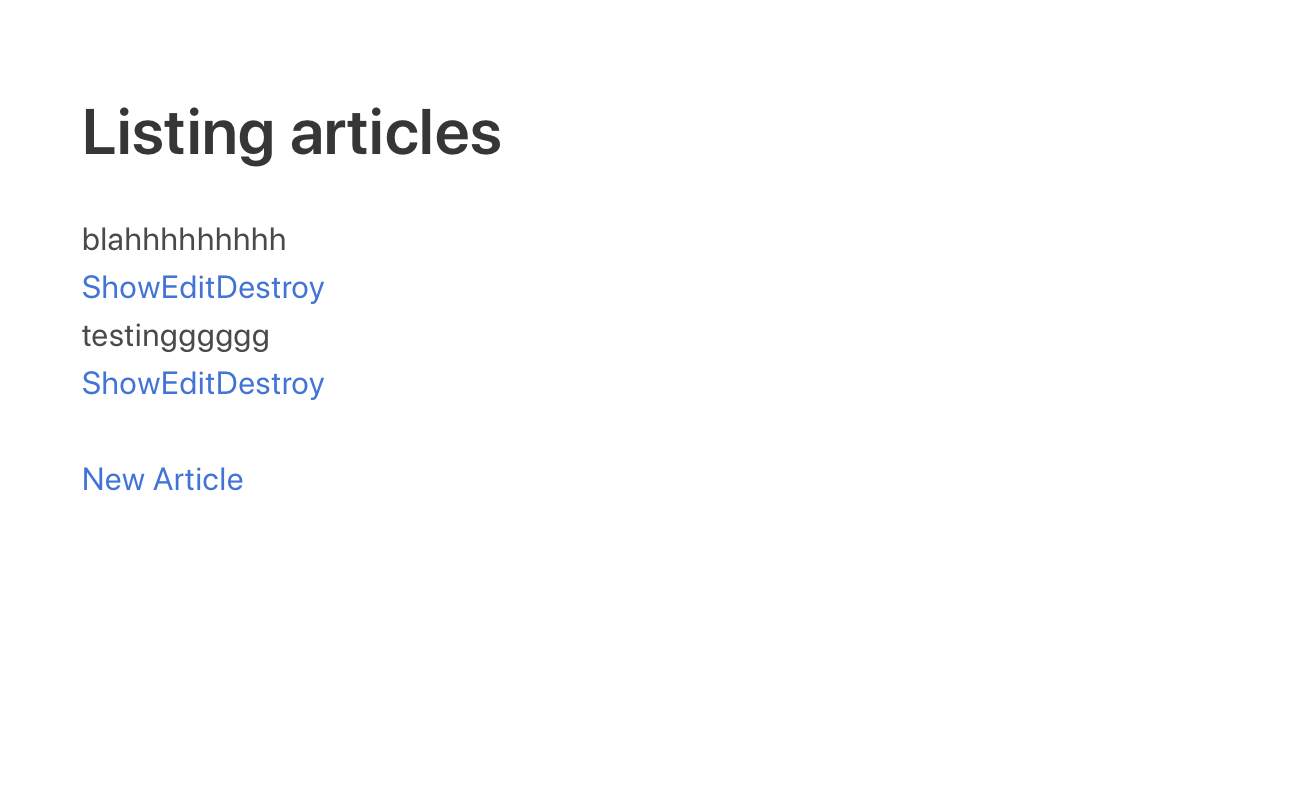
Lets quickly modify the article listing view template so we can actually see our results. Currently there's nothing in here that shows the url:
# /app/views/articles/index.html.slim
...
tbody
  - @articles.each do |article|
    tr
      td = link_to 'Show', article
      td = link_to 'Edit', edit_article_path(article)
      td = link_to 'Destroy', article, data: { confirm: 'Are you sure?' }, method: :delete
So lets just add another table row to show it:
# /app/views/articles/index.html.slim
...
tbody
  - @articles.each do |article|
    tr
      td colspan="3" "#{article.url}"
    tr
      td = link_to 'Show', article
      td = link_to 'Edit', edit_article_path(article)
      td = link_to 'Destroy', article, data: { confirm: 'Are you sure?' }, method: :delete
Now when you view the article listing at http://127.0.0.1:3000/articles you'll be able to see the value a user has entered as the url.
Validating the input
But… currently a user can input any old rubbish, but I want them to ONLY be able to enter urls… and more specifically, Wikipedia urls! Lets add some validation to our model.
First I'm going to ensure that a user hasn't entered a blank url and that all urls are unique:
# /app/models/article.rb
class Article < ApplicationRecord
  validates_presence_of :url
  validates_uniqueness_of :url
end
Then I'm going to ensure that all urls are, in fact, valid urls:
# /app/models/article.rb
class Article < ApplicationRecord
  validates_presence_of :url
  validates_uniqueness_of :url
  validates :url, format: URI::regexp(%w[http https])
end
Lets try adding a non-url in http://127.0.0.1:3000/articles/new to see if this is working.
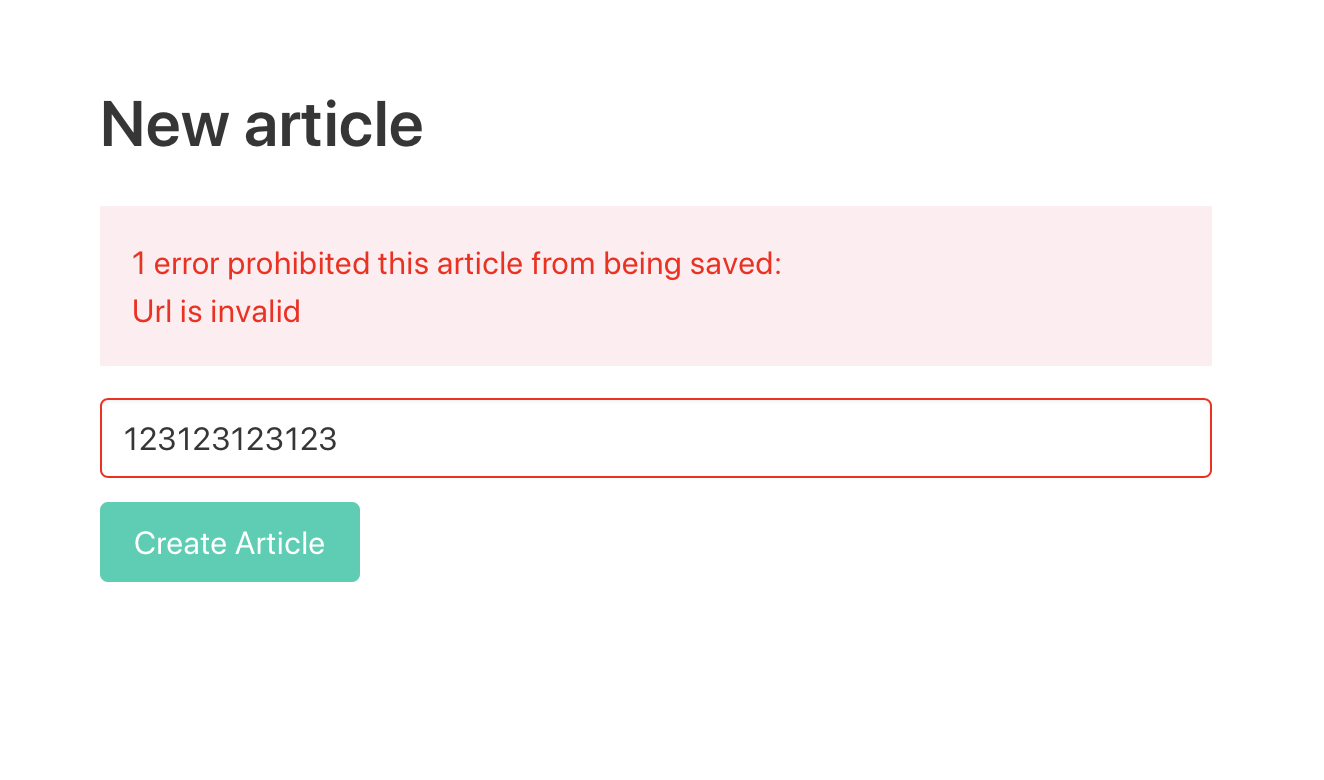
Looks good! Note that I added some custom error styles here.
To ensure that a url is from wikipedia however, we need to write a custom validation rule.
# /app/models/article.rb
class Article < ApplicationRecord
  validates_presence_of :url
  validates_uniqueness_of :url
  validates :url, format: URI::regexp(%w[http https])
  validate :is_wikipedia_url

  def is_wikipedia_url
    uri = URI.parse(url.downcase)
    if uri.host
      return true if uri.host.match /[a-z]{2}\.wikipedia\.org/
      errors.add(:url, "must be an article on wikipedia.org")
    end
  end

end
Now our app is saving only urls from Wikipedia.org!
Clearing the test database
If at any time you want to delete all Articles from the database, in the terminal run:
rails cThis fires up the Rails console. This is a terminal-like environment that lets you interact with your Rails app in plain Ruby code. In the Rails console run:
Article.destroy_allYou can exit the Rails console back to your command line via:
exitFetching data from an external source
So now our Rails app is collecting user input and saving wikipedia urls.
The next step is, I want to grab some data from these articles so that I can post the data to Bannerbear. I'll need data like the title, the main image, maybe an excerpt, etc.
There are many ways you could do this. Wikipedia even has an official API.
For now, I'm going to do it in a very generic way - I'm going to capture all the HTML and then I can pick and choose what data I need later. It's perhaps a bit overkill for many use cases, but it works!
Adding the new column
First, I need a place to save the HTML data for each article which means a new column on my Articles table. In the terminal run:
rails g migration AddHtmlToArticles html:textUsing some Rails magic, this generates a new migration file, adding an "html" column to my Articles table, with a "text" column type.
Run the migration:
rails db:migrateA note on asynchronous jobs and Sidekiq
The act of grabbing some external HTML before saving the record is a "blocking" call. The record can't be saved until the HTML is grabbed, which introduces latency. In a worst case scenario however, this could cause the entire save to fail.
In a live app, you probably wouldn't attach an external fetch to a synchronous before_save callback like this. You would put the action into a job queue, to be executed asynchronously so that your record can be saved first, and your fetch job can then fail, succeed or retry independently.
My preference is to attach the job via the after_commit callback, and then to run the job using Sidekiq, a background job processor for Ruby.
For the purposes of this simple tutorial though, I'm just going to attach the action synchronously.
Using callbacks
Rails has a callback framework that allows you to attach actions at different points in the data lifecycle. To grab the HTML data I'm going to use a before_save callback.
# /app/models/article.rb
class Article < ApplicationRecord
  ...
  before_save :grab_html

  def grab_html

  end

end
This will execute whatever instructions are in grab_html before the record is saved to the database. Before_save is useful for doing things like massaging data before saving, or like here, supplementing data before saving.
So what do we need to do in grab_html? Really I just want to hit the url (which my model already has), load the HTML and save it.
You can do this in a number of ways but personally I like using the HTTParty Gem for this, as the API is elegant and the name is cool :)
# /Gemfile
gem "httparty"
bundle install# /app/models/article.rb
class Article < ApplicationRecord
...
before_save :grab_html
def grab_html
response = HTTParty.get(self.url)
return if response.code != 200
self.html = response.body
end
end
There's definite potential for refactoring here later, as this would currently allow records to be saved without html if there is some failure. But in the interest of keeping things simple, this will do for now!
Now that HTML is being fetched and saved by the Rails app, it's time to start grabbing the things I want from the fetched HTML.
Try adding some urls, then use the Rails console to see if the HTML is being saved correctly.
Parsing the saved HTML
As a first test, I want to grab the title from the saved HTML document.
For parsing / manipulating HTML or XML documents, Nokogiri is the de facto Gem.
Lets add it:
# /Gemfile
gem "nokogiri"
bundle installWe can start testing how this works right in the Rails console. Fire it up:
rails cLets see if we can parse the title via the HTML document's h1 tag:
Nokogiri::HTML.parse(Article.last.html).at('h1').text=> "Bacon sandwich"Neato! (obviously your output will depend on the article you added…)
This works just fine by itself and is already functional enough to start posting data to Bannerbear. I'm going to go one small step further though and just add some methods to make calling these HTML snippets a bit cleaner.
# /app/models/article.rb
class Article < ApplicationRecord
  ...
  def title
    Nokogiri::HTML.parse(self.html).at('h1').text
  end

  def image
    "https:" + Nokogiri::HTML.parse(self.html).at('.infobox img, .thumb img')['srcset'].split('1.5x, ').last.split(' 2x').first
  end

  def first_sentence
    Nokogiri::HTML.parse(self.html).at('.mw-parser-output > p:not(.mw-empty-elt)').text.split(".").first.gsub(/\(.*\)/, "").gsub(" ,",",")
  end
end
Now I can simply call:
Article.last.titleAnd get:
=> "Bacon sandwich"A note on brittleness
Currently this code is quite brittle, meaning that it will break under certain circumstances. If the HTML doc can't be parsed, it will break. If the elements I have specified above don't exist in the HTML, it will break. And so on. In a live app you might refactor this to catch the exceptions and output a default value or fail more gracefully.
Sending data from Rails to Bannerbear
Now our Rails app is:
- Getting a Wikipedia url from user input and validating it
- Saving the url and grabbing the article HTML
- Equipped with instance methods to parse the title, image and first sentence
It's time to send the data to our Bannerbear template!
Create a Bannerbear project
On Bannerbear, create a new project, then go to the Template Library and add the Wikipedia sample template to your project.
In Settings / API Key, you'll find the API Key which you need for the next step.
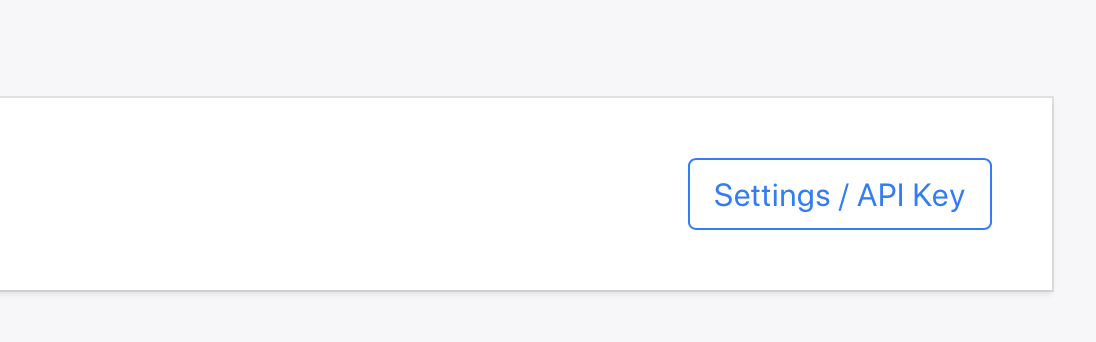
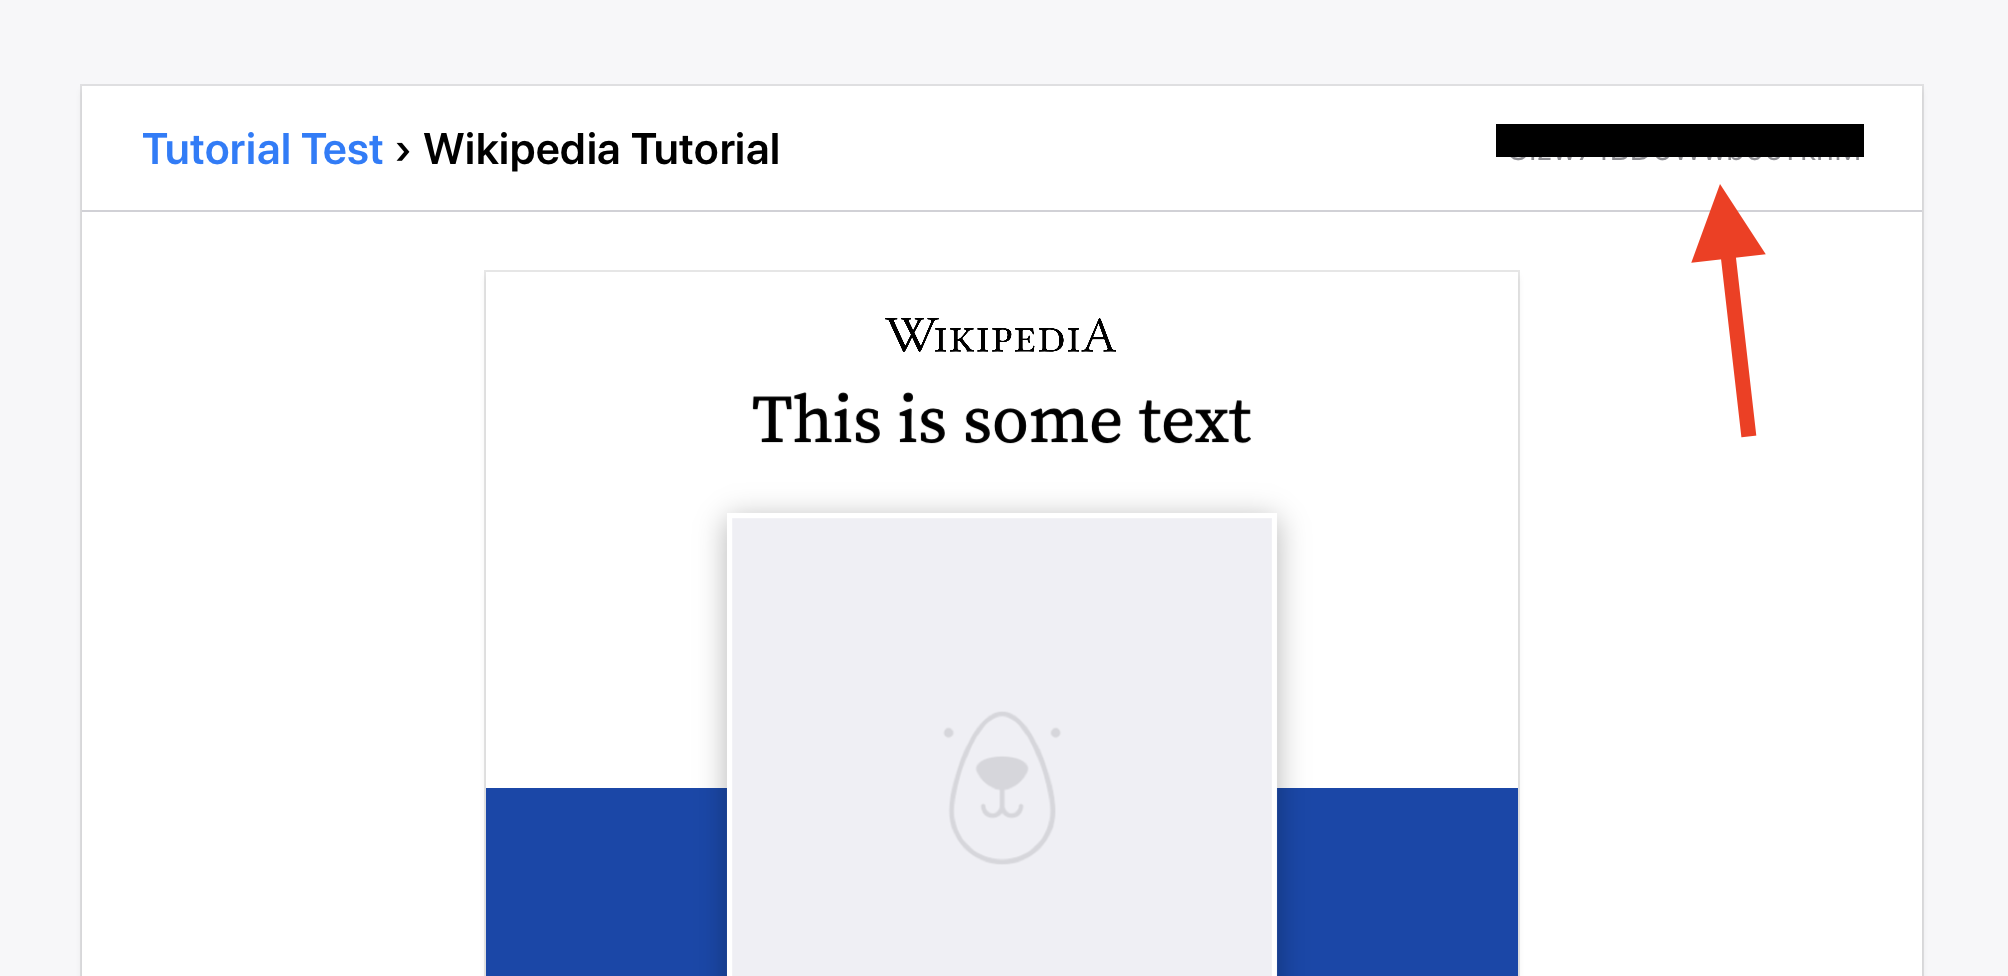
To find the template ID, look in the top-right of the template view:
Keeping your API key secret
When interacting with 3rd party APIs, most of the time you'll need a key/token of some kind and you'll want to keep that key secret. Rails has an encrypted credentials file to make this easy.
For this tutorial I'm actually going to use an even simpler method, using a Gem called Figaro. This adds a git-ignored YAML file to your app which reads in settings to add as ENV variables.
# /Gemfile
gem "figaro"
bundle installbundle exec figaro installIn the newly-created application.yml file, add two things:
- the API key of your Bannerbear project
- the template ID of your test template
# /config/application.yml
bannerbear_api_key: yourkey
bannerbear_template_id: yourid
Restart your Rails server for these settings to take effect.
Creating the JSON payload
Bannerbear expects data to be posted via a POST request. What data do I need to give Bannerbear? Well, Bannerbear tells you :)
Every template you add to your project in Bannerbear gives you a code snippet in the API console. This is a base template for the payload you need to send to Bannerbear:
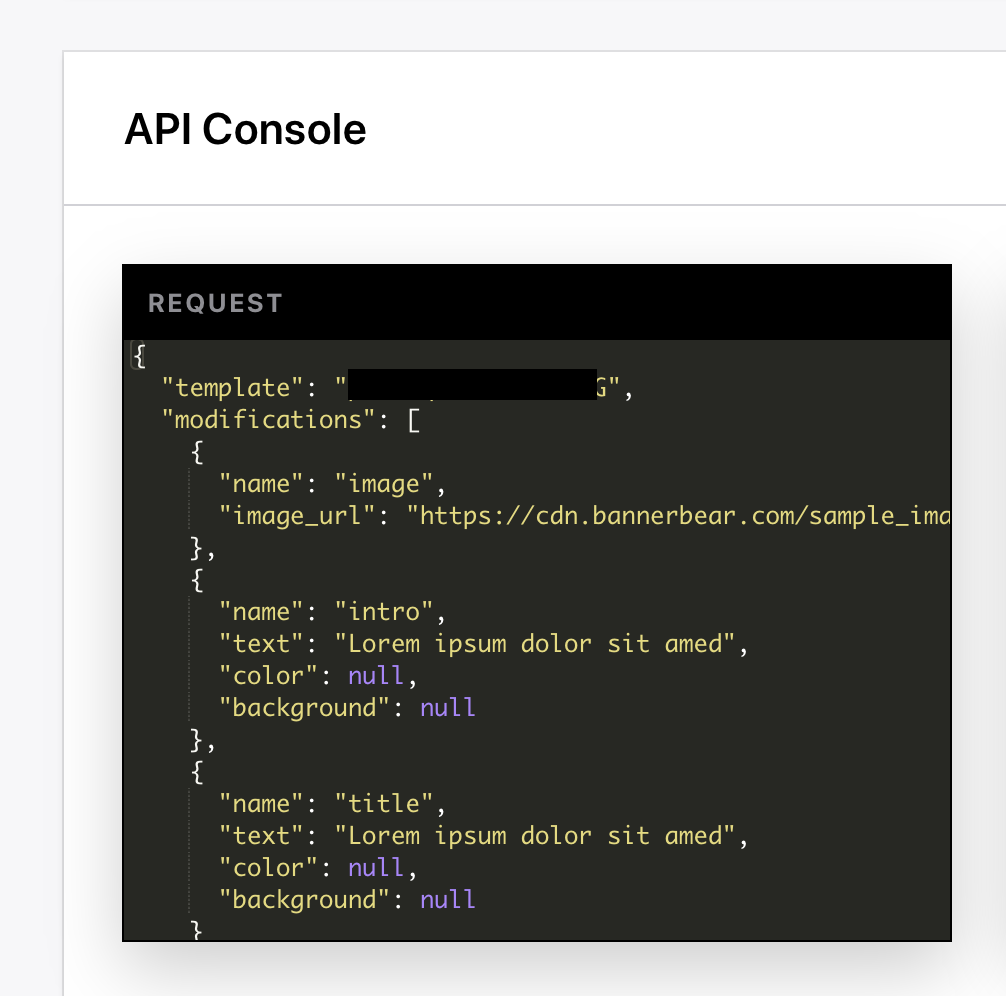
"Modifications" is simply an array of JSON objects. The "name" attribute corresponds to the name of the layer in your template. Everything else is optional - e.g. you can specify a color if you want to change the color of the object, or leave it out.
Read the Bannerbear API Reference for more information on this topic :)
Posting the request
To achieve this we are going to use HTTParty again!
# /app/models/article.rb
class Article < ApplicationRecord
  ...
  def post_to_bannerbear
    return if !self.html
    payload = {
      "template": ENV['bannerbear_template_id'],
      "modifications": [
        {
          "name": "image",
          "image_url": self.image
        },
        {
          "name": "intro",
          "text": self.first_sentence
        },
        {
          "name": "title",
          "text": self.title
        }
      ]
    }
    response = HTTParty.post("https://api.bannerbear.com/v2/images", {
      body: payload,
      headers: {"Authorization" => "Bearer #{ENV['bannerbear_api_key']}"}
    })
  end
end
All that's happening here is we are creating a JSON payload to POST to Bannerbear.
Adding the final callback
Now the only thing left to do is to tie this action into the workflow somehow. I'm just going to add it as an after_commit callback. This means it will execute after the url / html record has been saved in the database.
# /app/models/article.rb
class Article < ApplicationRecord
  ...
  after_commit :post_to_bannerbear
Congratulations!
You've just finished building a Rails app from scratch and integrated it with the Bannerbear API.
To try your app out go to http://127.0.0.1:3000/articles/new and:
- Enter a wikipedia url
- Hit the button
- Go to your Bannerbear project dashboard and see the new image get generated!
Public git repo for this tutorial:
Bannerbear Tutorial App
Subscribe to the newsletter!
Enjoyed the tutorial? Subscribe to the newsletter below to get notified when there are new tutorials / design automation tips!
Oh and please share this post with those who might find it useful :)
