
5 Powerful Tips For Generating Bannerbear Images with Make.com
Contents
Bannerbear and Make is a potent combination for hands-free image generation, but it's easy to bleed credits without realizing it. Most workflows fail in the same places: misconfigured data, unnecessary re-renders during testing, and images generated that never get used.
The good news? These problems are entirely preventable. This guide covers five practical tactics to keep your image generation workflows efficient, cost-effective, and actually functional. You'll learn where most integrations break, how to test without hemorrhaging credits, and how to structure scenarios that scale without surprise charges at the end of the billing cycle.
Let’s get started.
Tip #1: Generate Minimally During Testing
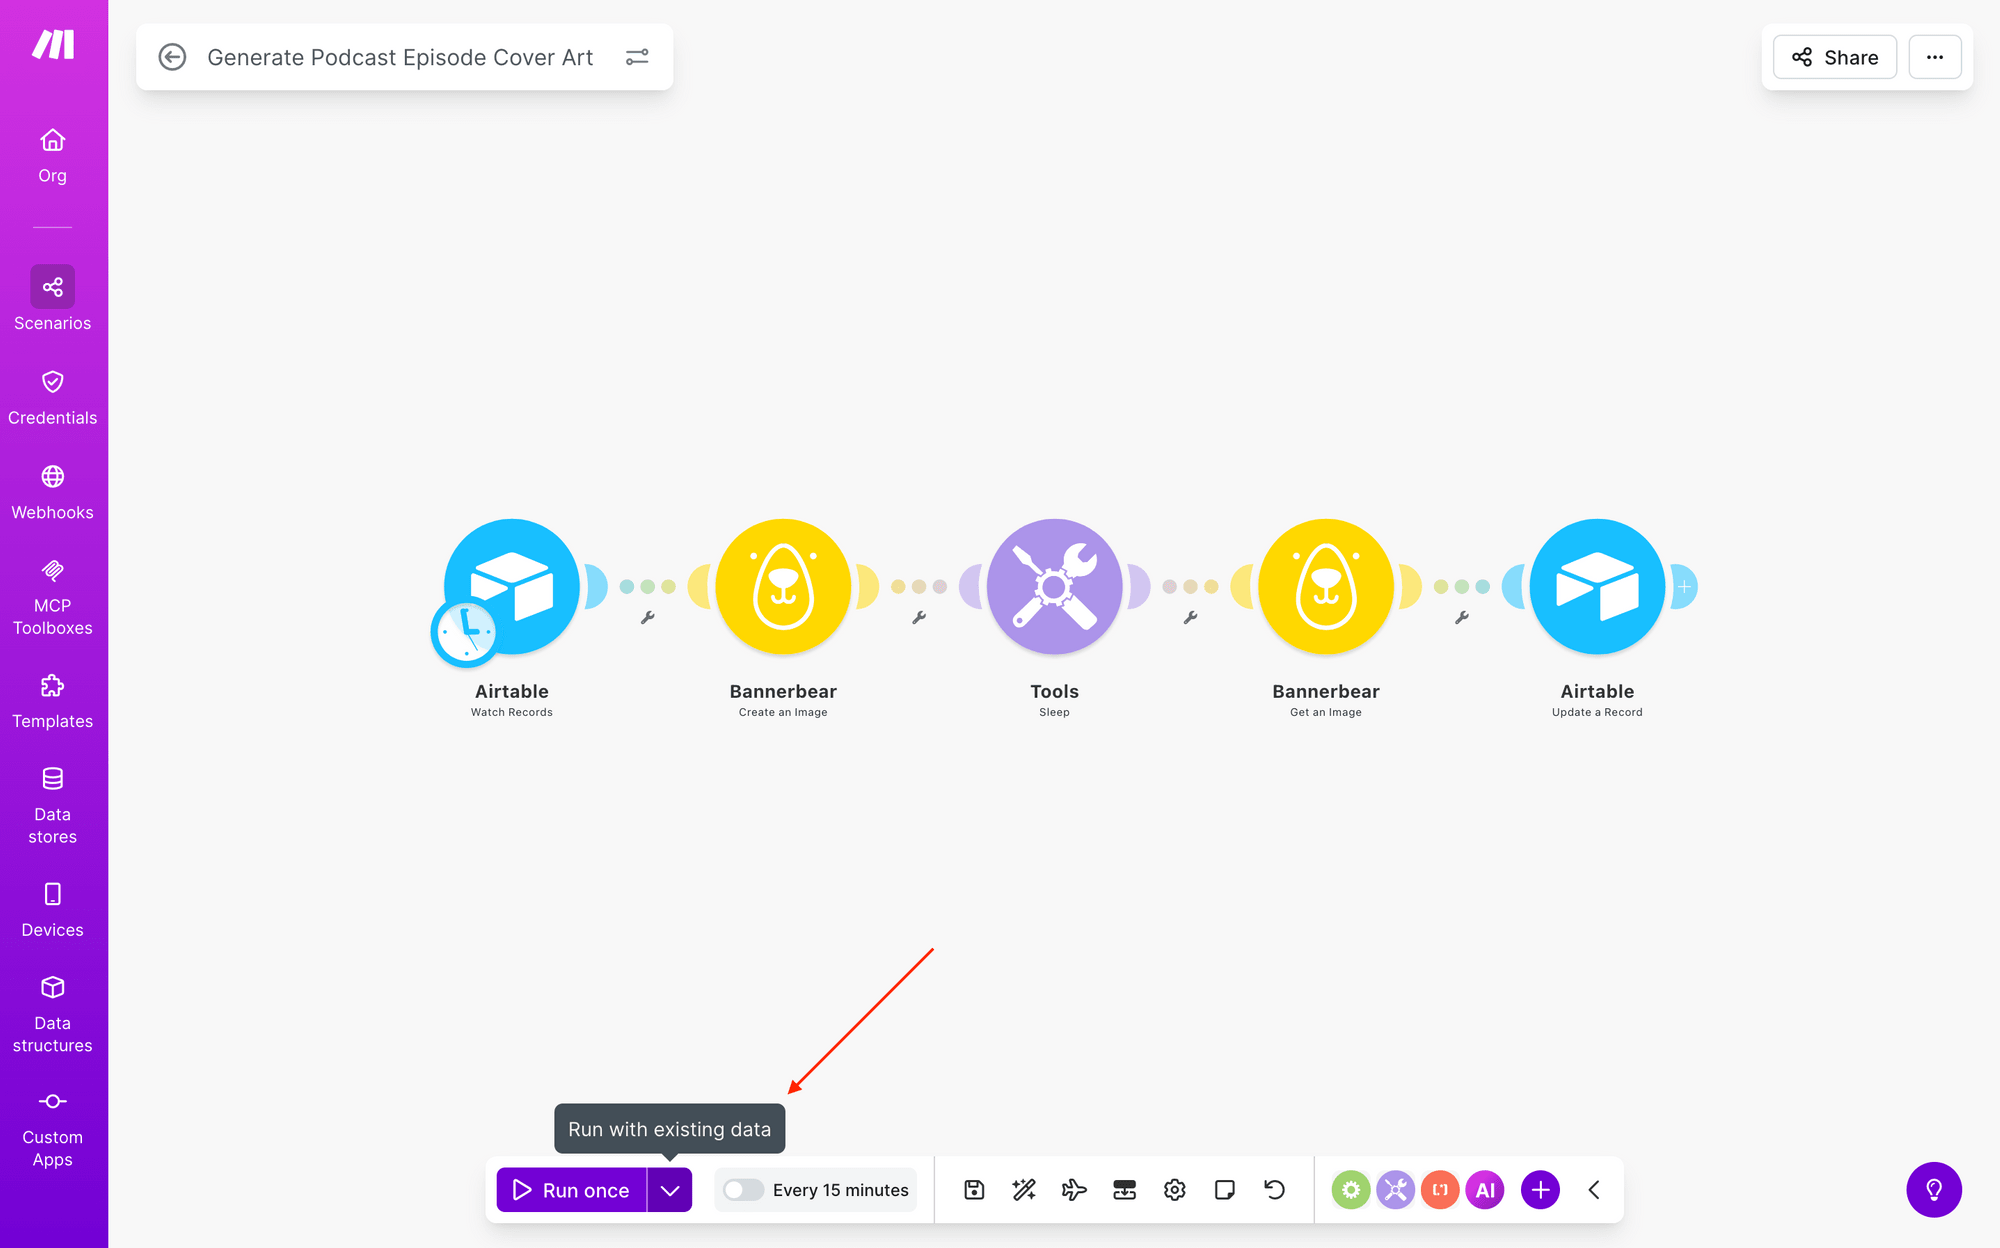
Did you know that you don’t have to generate a graphic every time you test a Make scenario during testing? If the image generation portion of your workflow is working correctly, you can continue testing with the same data, preventing you from having to waste another dozen API credits.
Instead of clicking Run once while editing your scenario, click the down-facing arrow next to it to Run with existing data.
Tip #2: Validate Your Data Before Rendering
If your data is messy, incomplete, or poorly formatted when it hits Bannerbear, you'll generate images that don’t make the cut—and waste credits doing it.
The best place to clean your data? Before it ever reaches your workflow. Ideally, you should process and validate your data in your database or source system before it enters Make. This prevents bad data from entering the workflow, catches errors early, and avoids generating images from incomplete or malformed data.
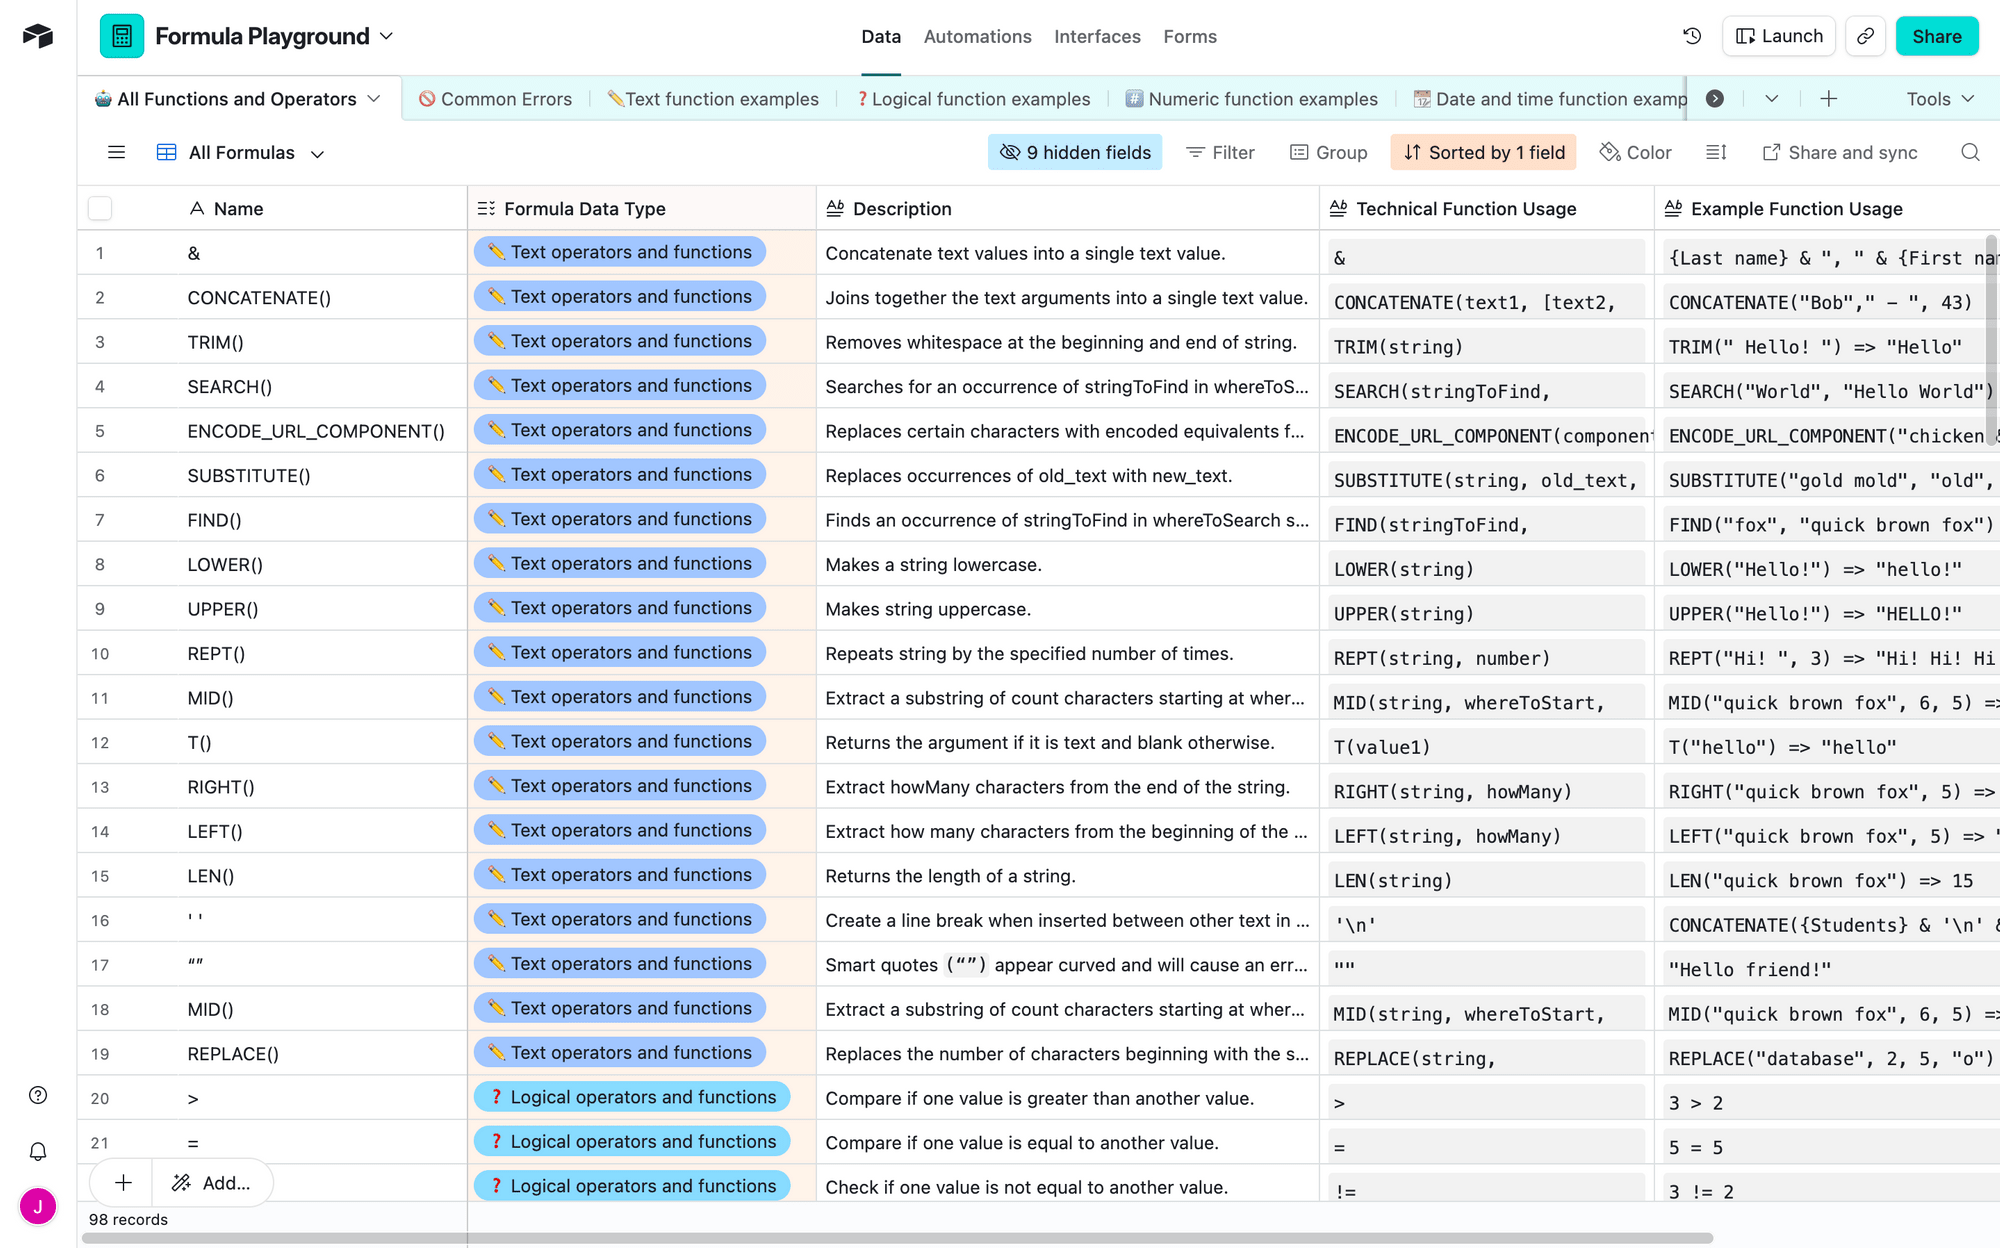
Airtable, for example, has a wealth of formulas and data manipulation tools that you can use to transform your records the way you need it.
Sometimes you don't control the data source, or the data arrives in a format that needs transformation. In these cases, Make's built-in features can help: formulas and functions to normalize text, parsers (JSON, CSV, XML) to structure data, text transformers to handle capitalization and trimming, and routers to filter out incomplete records before they reach Bannerbear. These tools are perfectly legitimate when used strategically—but think of them as a last line of defense.
When working with data payloads in automation, validate early, validate often, and validate at the source whenever possible. Your Bannerbear credit usage—and your overall workflow reliability—will thank you.
Tip #3: Monitor for Unexpected Errors
Even a thoughtfully-designed workflow can fall short. API timeouts happen. Data sources experience errors. Image rendering fails mid-process. Cloudflare goes offline (again). Without proper monitoring, failed image generations can go unnoticed for days, while credits get wasted on retries.
There are many things you can do to accommodate these exceptional circumstances:
- Set up notifications to alert the right people when scenarios fail. A developer might need a full error log for debugging, while a support team just needs to know a specific order's image didn't generate. Route specific failure types to specific teams so alerts actually get acted on—don't send everything to everyone.
- Enable retry logic to accommodate timeouts and temporary unavailability. Most of these resolve themselves within a few attempts. Just avoid retrying permanent failures (invalid credentials, malformed data) since they won’t amount to anything.
- Build separate error-handling paths. These can help log failures, attempt recovery with cleaned data, alert stakeholders, and route problematic records to manual review. This way, failed renders don't disappear—they get tracked and investigated so you can improve your workflows over time.
- Set limits on your workflows. Use execution caps, limit records processed per run, and configure automatic pauses if error rates spike. If 1 in 4 automation runs are failing, continuing to generate images probably isn't the right call—pause, investigate, and resume once you've fixed the root cause.
With smart monitoring, your workflows will immediately become more efficient.
Tip #4: Set Up Conditional Workflows
Conditional workflows are one of the most underutilized efficiency levers in Make. Instead of processing every piece of data through your entire scenario—and generating images for requests that may not need them—you can route data conditionally and only trigger image generation when necessary.
The fact of the matter is that in many workflows, not every record will require a Bannerbear render. Some may be incomplete, duplicated, flagged for manual review, or simply need to be dealt with in a different way. Without conditional logic, you're burning credits on images that never get used.
With the help of Make’s routers and filters, you can:
- Skip unnecessary renders for data that fails validation checks
- Route different data types to different workflows based on content requirements
- Prevent failed renders before they consume credits on incomplete requests
For example, you might only generate an image if a product's description meets a minimum length, or if certain required fields are populated. Eliminating records that don’t make the cut can reduce your credit spend dramatically.
The key is thinking about why each image is being generated and when it actually needs to happen. If the answer is "not always," conditional workflows are your answer.
To learn more about implementing routers and filters on Make, check out our guide on processing your data conditionally.
Tip #5: Build Scenarios Strategically
There are many reasons a scenario could fail—data isn’t retrieved correctly, images aren’t finished rendering before the workflow moves on, and so on. It’s often best to build with these possibilities in mind, using a conservative approach to maximize quality output.
Evaluate your use case and determine your priority: is it speed? Minimizing error? Or reducing credit usage? This can often affect the approach you take in scenario building.
Let’s consider an example: async image generation timing issues. Separating image/video generation from retrieval in two different scenarios can be one way to prevent errors.
Alternatively, you can add a delay that increases the chances that generation is complete before retrieval.
The former option would probably be safer, but it would also take longer and cost more credits. The best choice will come down to what you prioritize.
Conclusion
Bannerbear and Make are powerful together, but only when you're intentional about how you integrate them. By testing intentionally, validating data upfront, monitoring for errors, routing conditionally, and building scenarios with purpose, you'll cut wasted credits and build workflows that actually scale.
Implement even a few of the tactics in this article can transform your scenarios and show immediate improvements. Start with the easy stuff—testing with existing data, validating early—and layer in monitoring and conditional logic as your workflows mature. Your credit bill—and your sanity—will thank you!
