If you're in the sticker-printing business, you know that the file preparation process is troublesome. Before a sticker sheet goes to print, the artwork needs to be set up correctly, and one key part of that is the outline around each sticker subject. It creates a clear visual border that tells the cutting machine exactly where to cut. Most people do this manually, and it takes time.
For developers building a sticker-printing website, automating this outline for every user-uploaded image is well worth solving. It removes a tedious manual step from your users' workflow and improves their experience.
In this article, we'll walk through how Bannerbear's PNG Stroke feature handles all of this for you, how to configure it in the template editor, and how to call the API to generate a full sticker sheet programmatically so your users get a print-ready sticker sheet in seconds.
Let's jump right into it!
Note: This tutorial uses the Bannerbear v5 API, which is not yet publicly available.
What is Bannerbear?
Bannerbear is a tool that allows you to automatically generate custom images and PDFs from templates. Every layer in a template, like text, image, or shapes, becomes a modifiable object you can update via API.
Here’s an example of a Bannerbear design template:
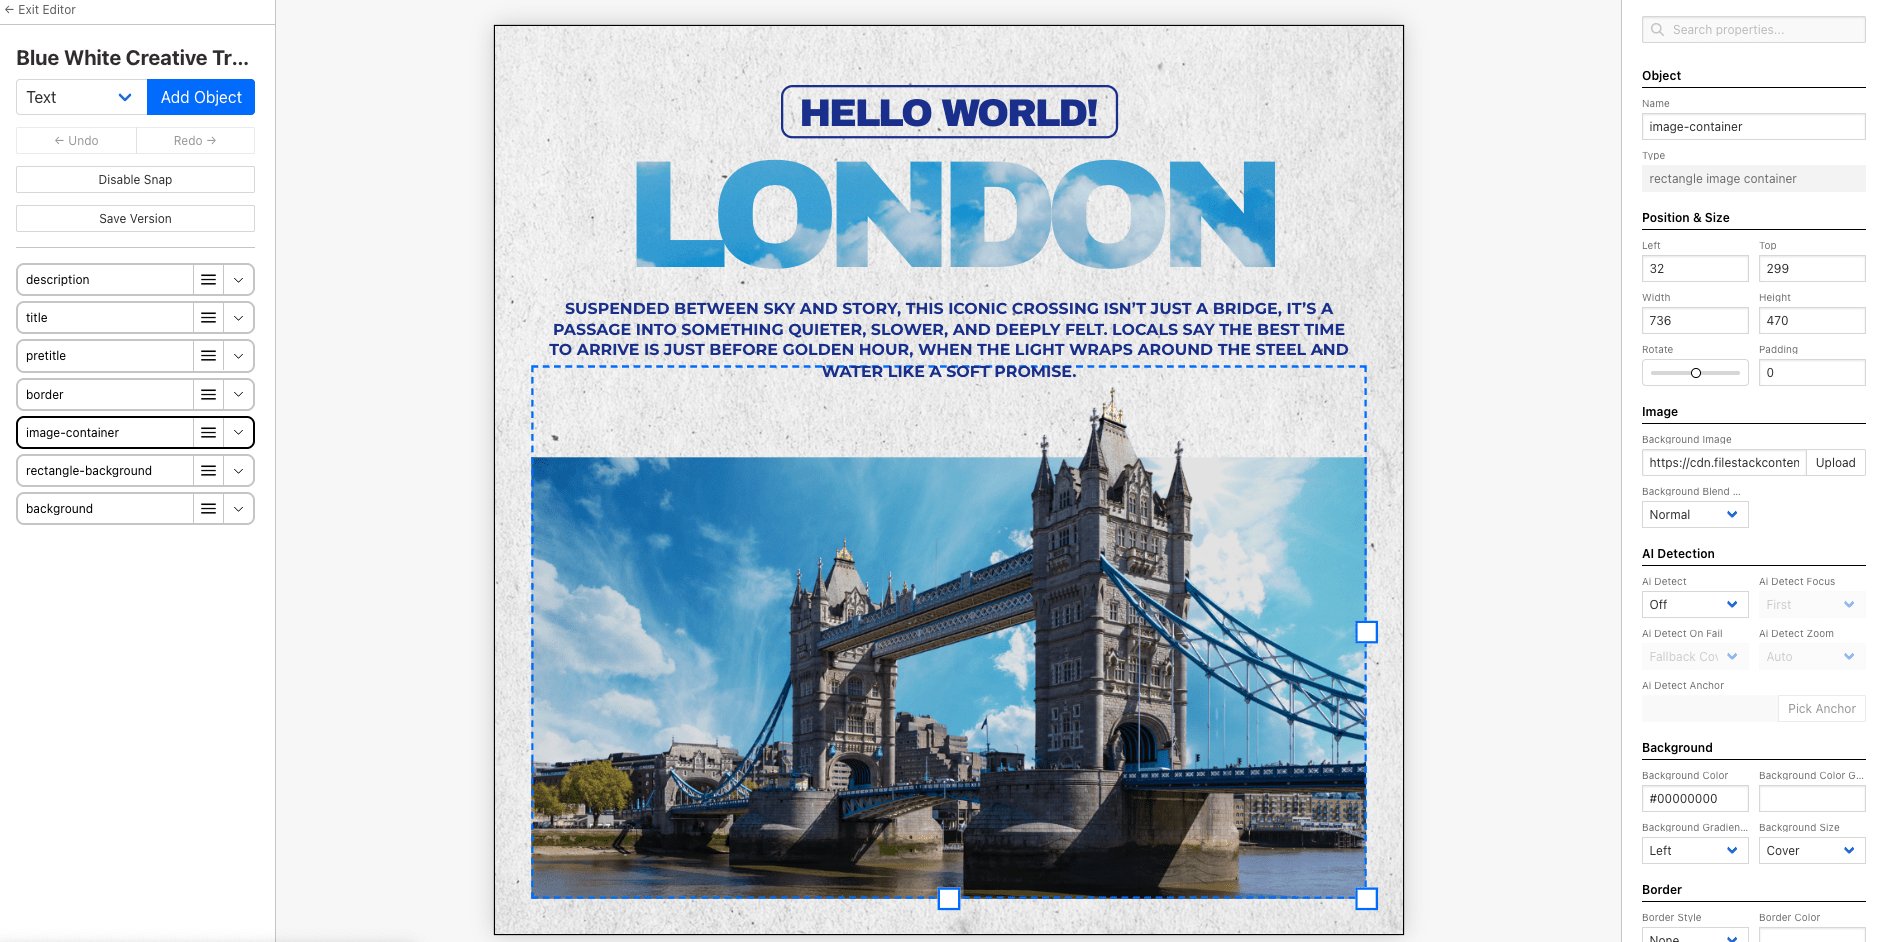
By passing different data to the API, you can alter the values of the objects in the template and create unique content based on a single template.
Pre-requisites
To follow along, you will need:
- A Bannerbear account - you can sign up the current version for free with 30 API credits
- Transparent PNG images
- Node.js installed
🐻 Bear Tips: The PNG Stroke effect only applies to images with a transparent background.
How to Create Outlined Sticker Sheet Images
Step 1. Set Up Your Sticker Sheet Template
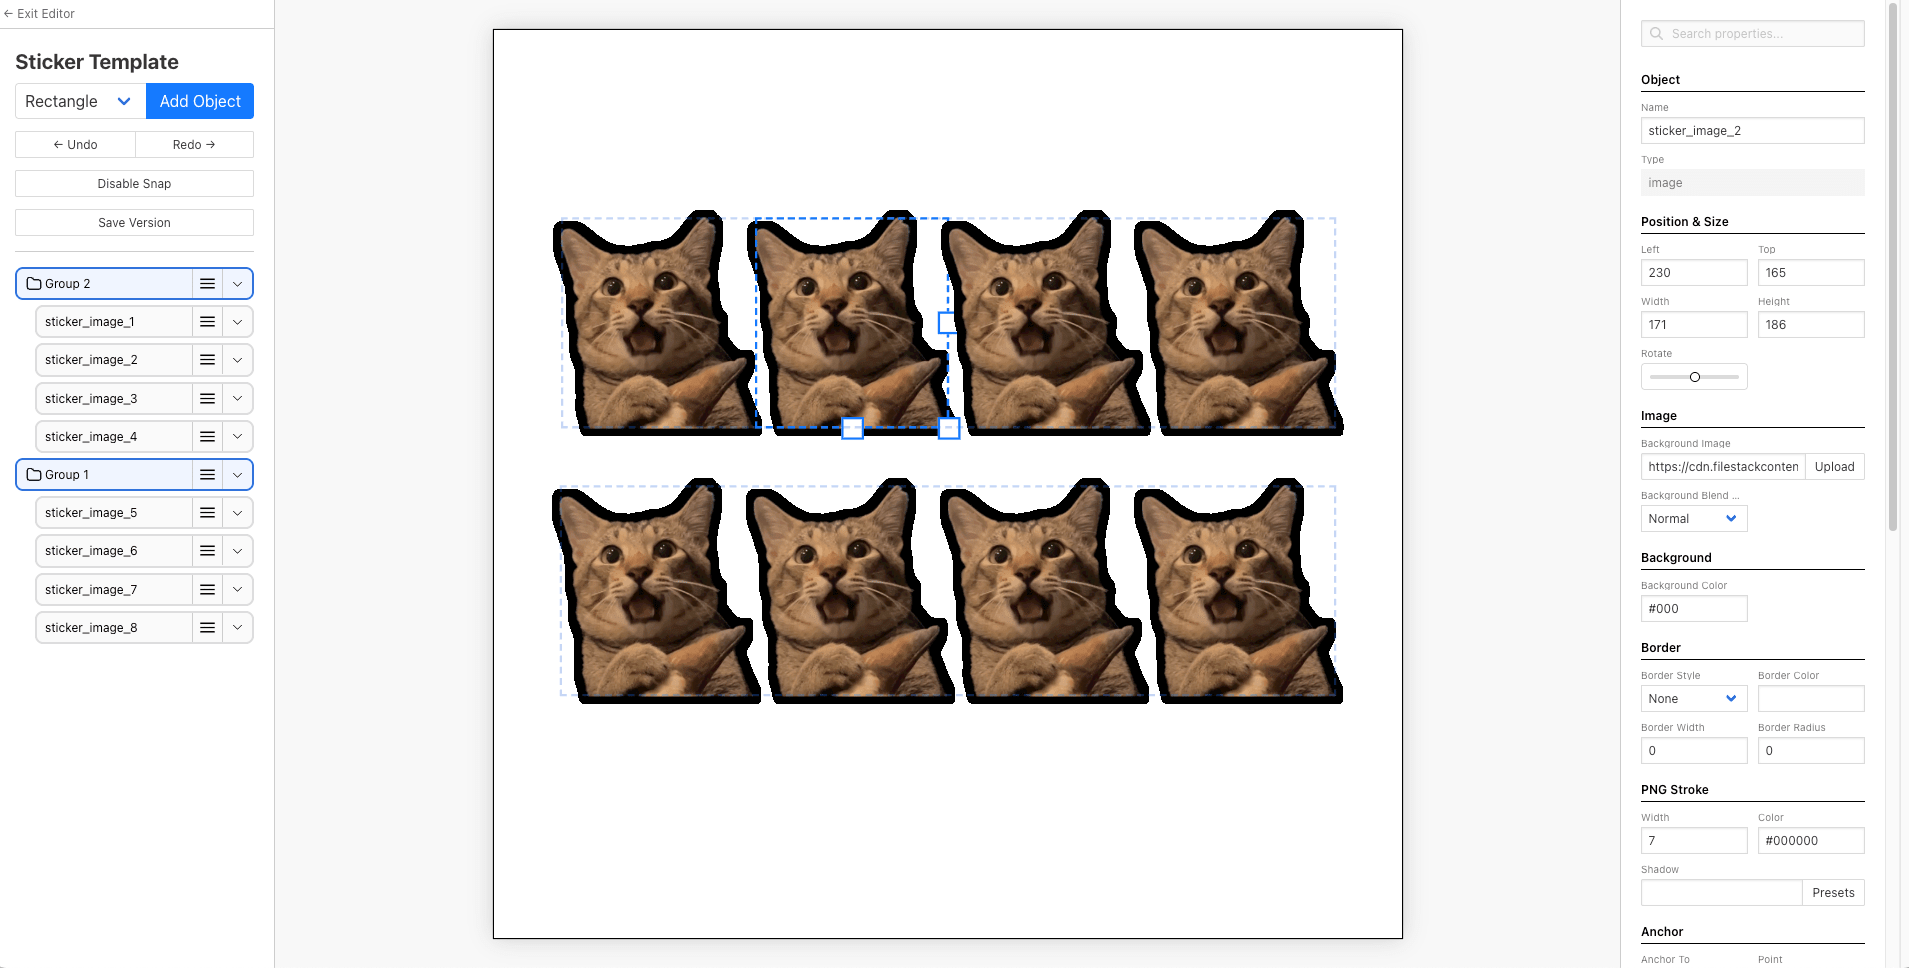
The template we're working with has eight Image objects arranged in two rows of four:
Each of the eight Image objects already has PNG Stroke configured with a Width of 7 and a Color of #000000:
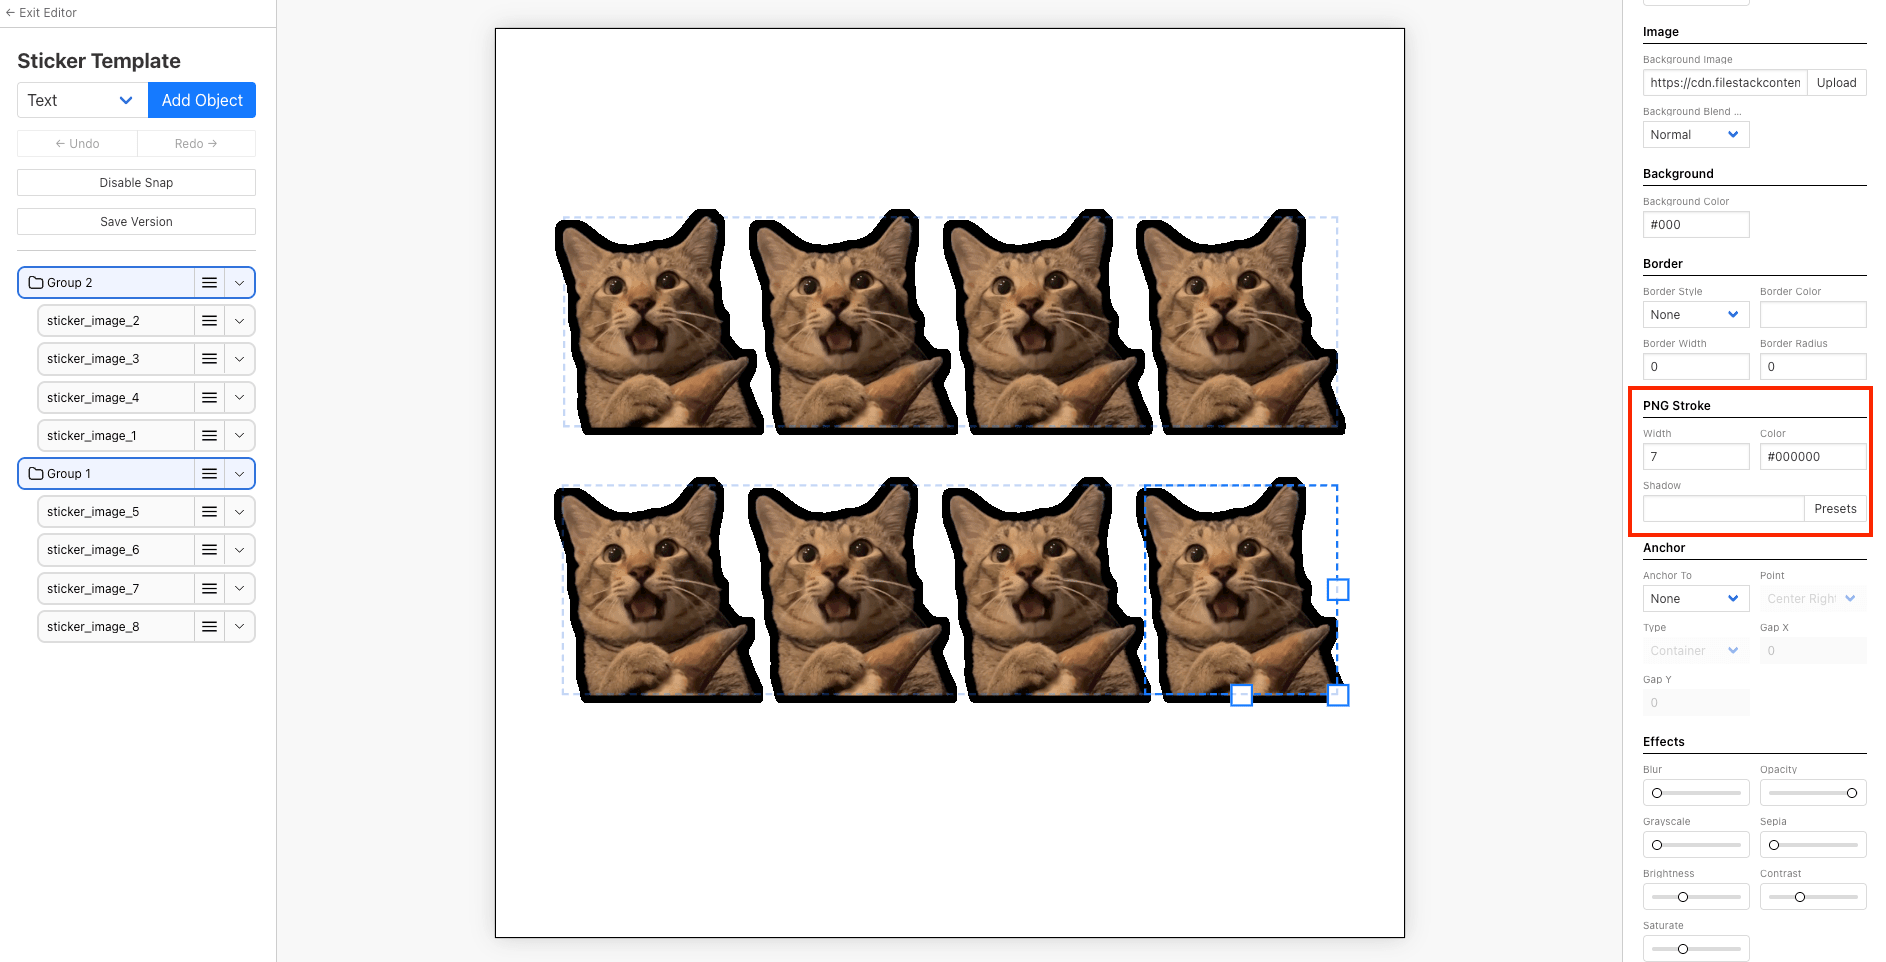
These are the default values set in the template, but you can override them per request via the API if you want to let users choose their own outline color.
Save the template. Then, grab the Template ID from the template settings page and API Key from the Developer Settings. You'll need it in the next step.
Step 2. Generate the Sticker Sheet via the Bannerbear v5 API
For the code, create a new file called index.js and add the following code:
const API_KEY = 'YOUR_API_KEY';
const TEMPLATE_UID = 'YOUR_TEMPLATE_UID';

const IMAGE_URL = 'https://your-cdn.com/product-transparent.png';

const modification_objects = [
  { name: 'sticker_image_1', 'background-image': IMAGE_URL },
  { name: 'sticker_image_2', 'background-image': IMAGE_URL },
  { name: 'sticker_image_3', 'background-image': IMAGE_URL },
  { name: 'sticker_image_4', 'background-image': IMAGE_URL },
  { name: 'sticker_image_5', 'background-image': IMAGE_URL },
  { name: 'sticker_image_6', 'background-image': IMAGE_URL },
  { name: 'sticker_image_7', 'background-image': IMAGE_URL },
  { name: 'sticker_image_8', 'background-image': IMAGE_URL },
];

async function generateStickerSheet() {
  const response = await fetch('https://sync.api.bannerbear.com/v5/images', {
    method: 'POST',
    headers: {
      'Content-Type': 'application/json',
      'Authorization': `Bearer ${API_KEY}`,
    },
    body: JSON.stringify({
      template: TEMPLATE_UID,
      modifications: {
        objects: modification_objects,
      },
    }),
  });

  const image = await response.json();
  console.log('Sticker sheet ready:', image.image_url);
}

generateStickerSheet();
The objects in the modification_objects target the layers in the template by their names and set the background image to a new one. Then, the object is passed to Bannerbear in the API call body (modifications.object).
Step 3. Run the Script
Run the script with:
node index.js
In a few seconds, you'll get back the completed image object in your console, including an image link to your finished sticker sheet:
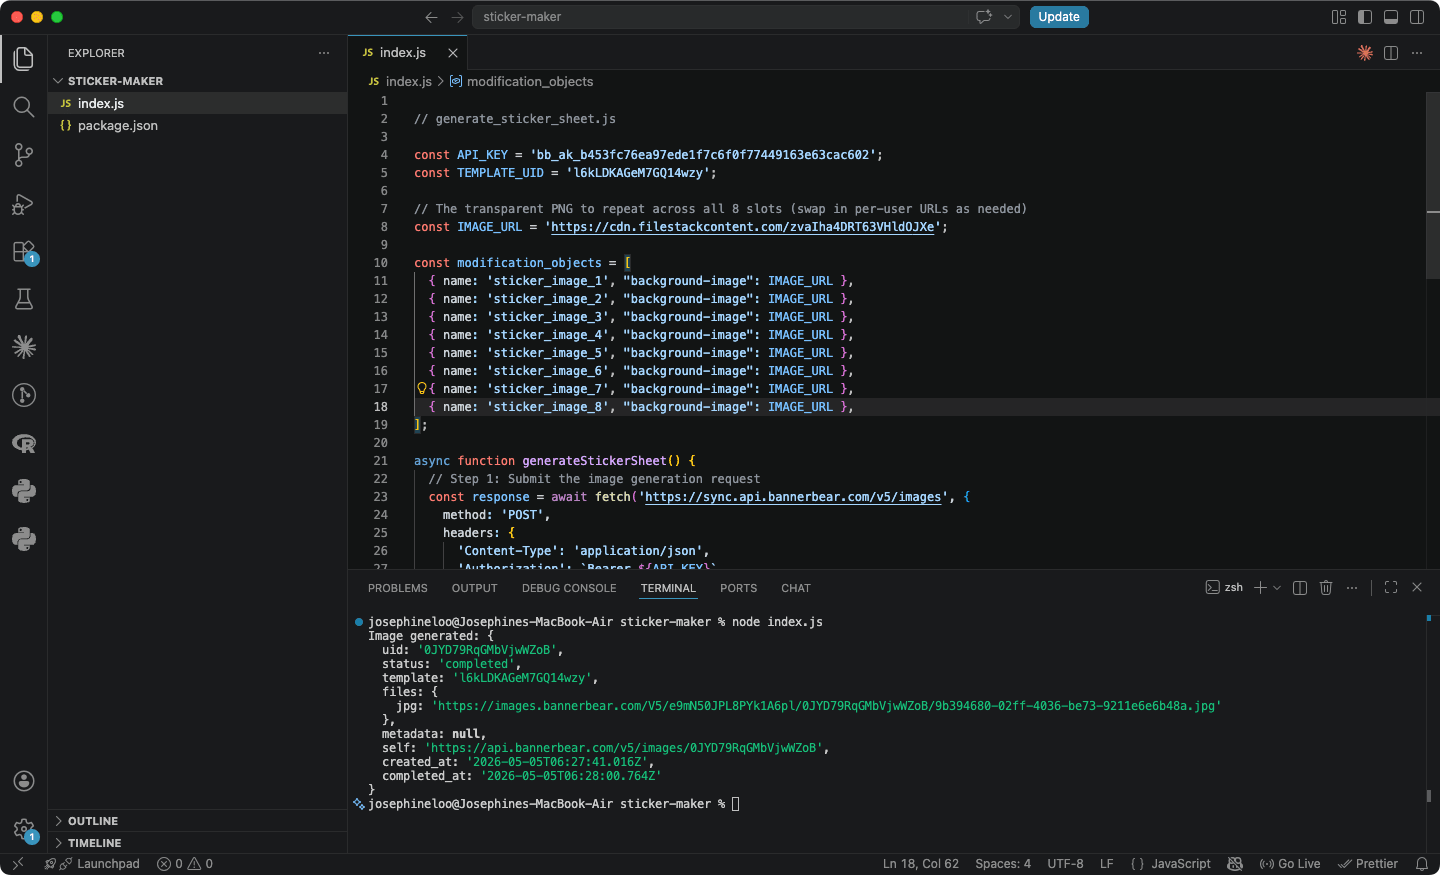
Here’s what the result sticker sheet looks like:
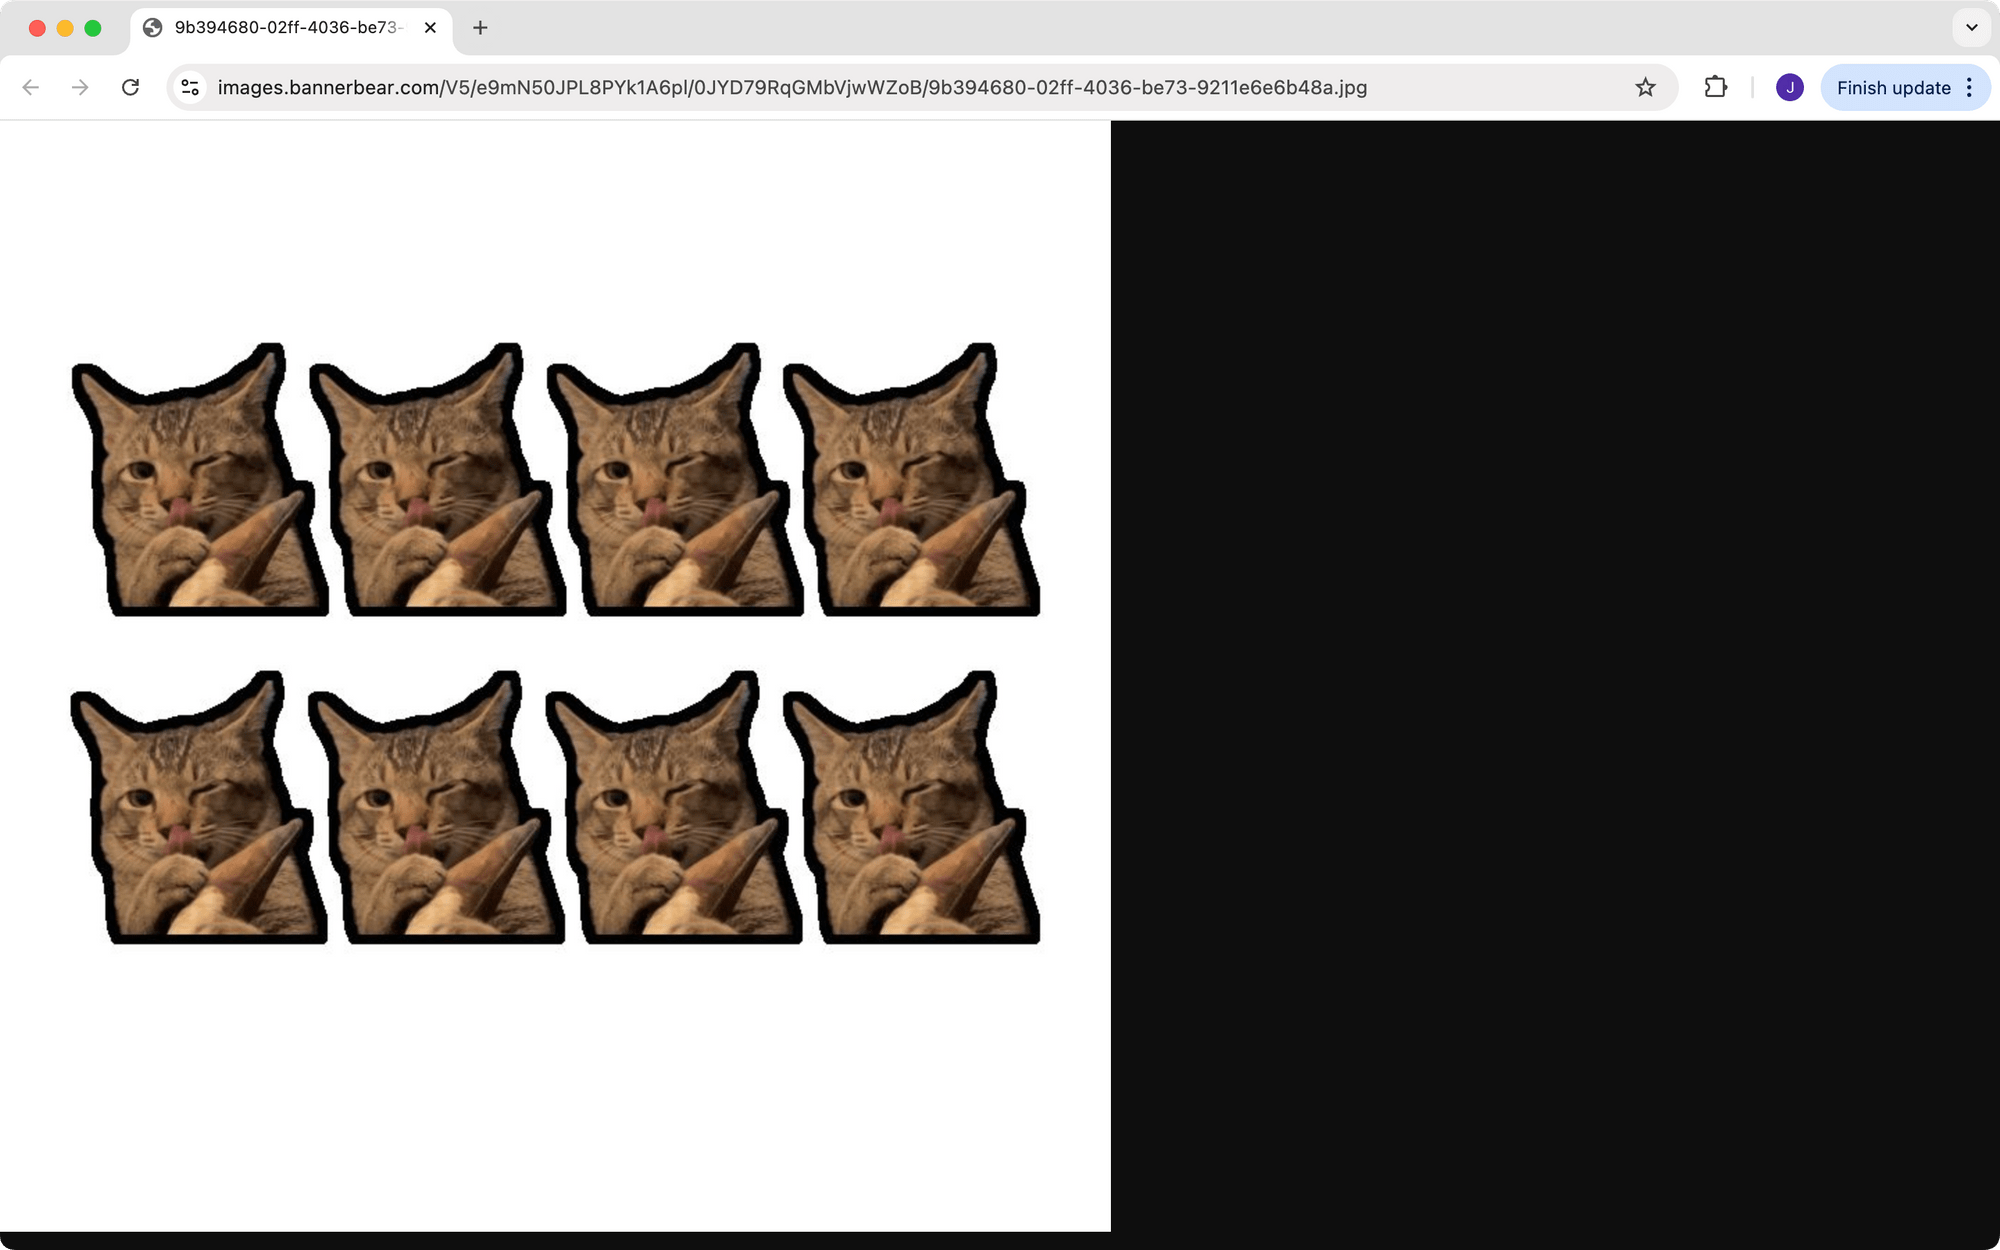
Bonus: Requesting a PDF
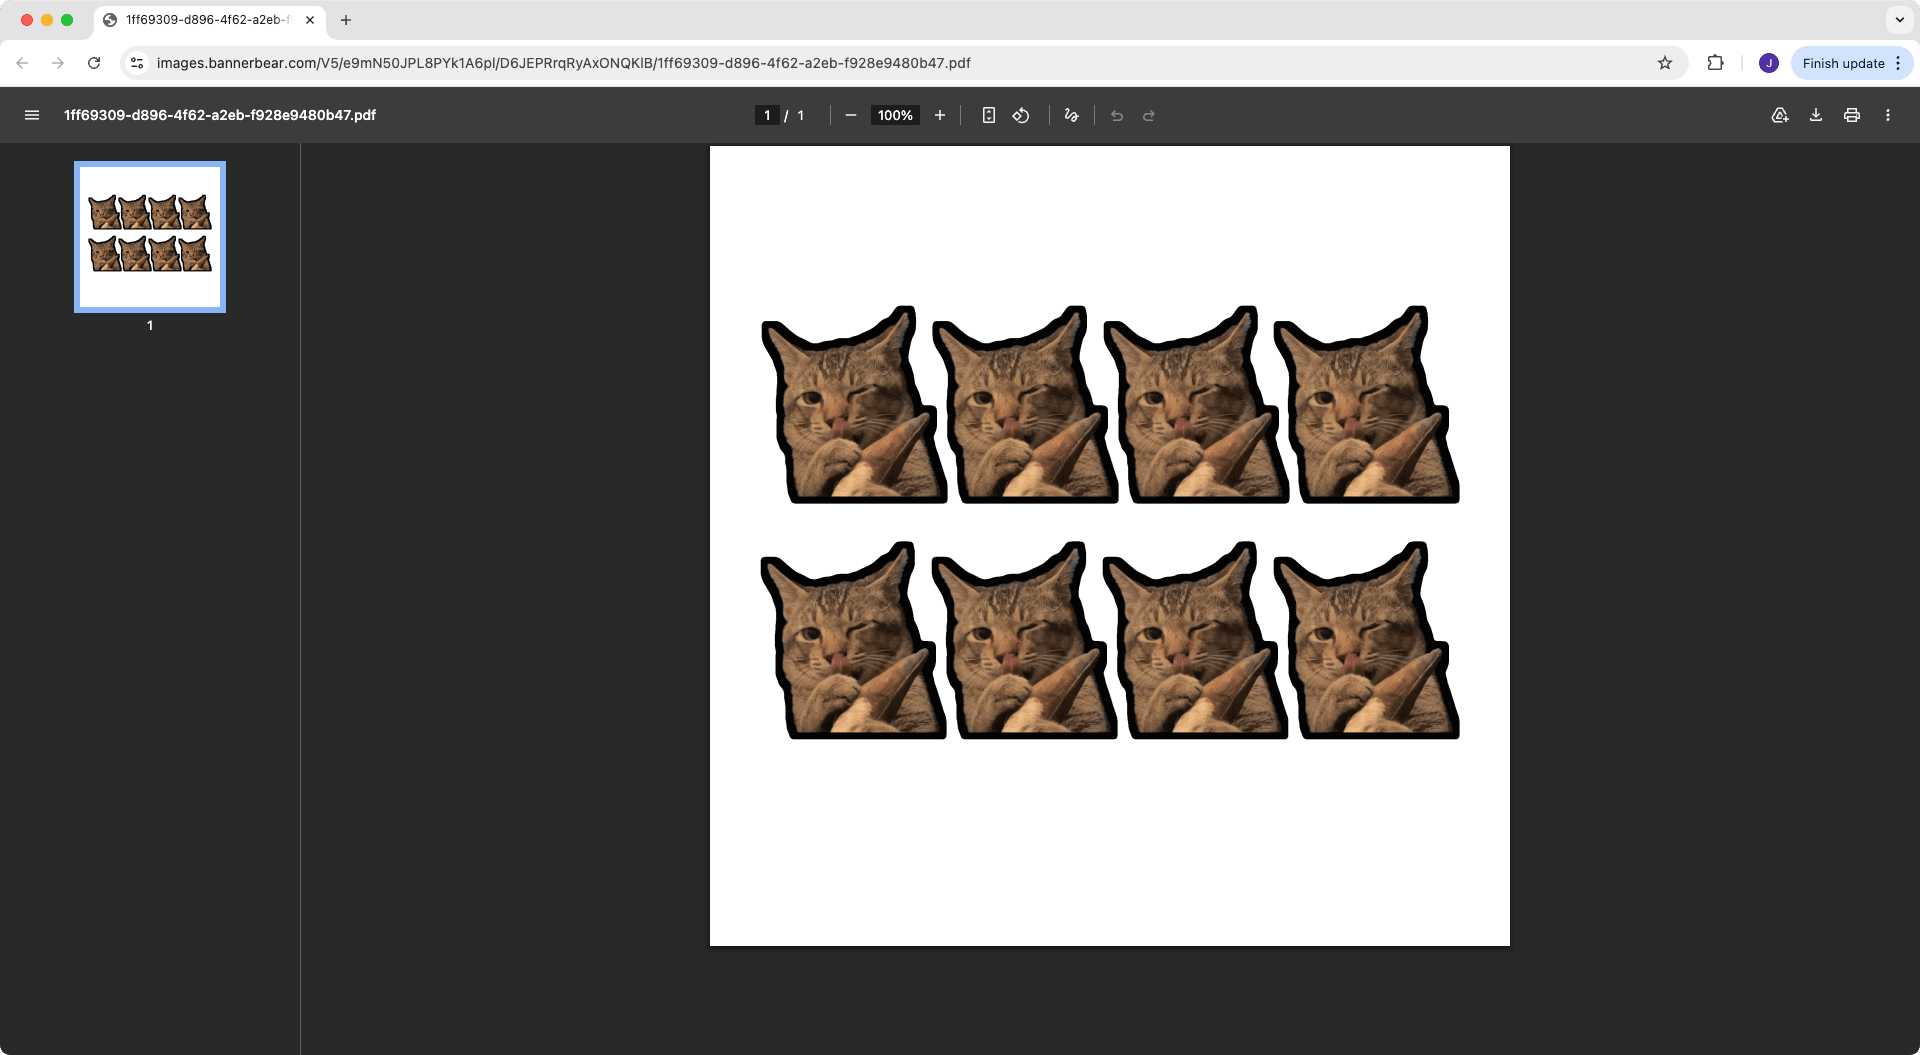
PNG works well for digital previews, but most professional print shops and cutting machines expect artwork as a PDF. It embeds color profiles, preserves vector-sharp edges, and is the format most Raster Image Processor software used by printers can reliably ingest.
To get a PDF from Bannerbear, add a formats field to your API request body:
body: JSON.stringify({
  template: TEMPLATE_UID,
  modifications: {
    objects: modification_objects,
  },
  formats: ["pdf"]
}),
The response object will now return a pdf field:

Conclusion
With Bannerbear's PNG Stroke feature, the outline is handled at the template level. All the users need to do is upload an image, and they get a ready-to-print image or PDF in seconds.
From here, there's a lot you can improve, like supporting:
- Multiple photos per sheet - instead of repeating the same image across all eight slots, let users upload different photos and map each one to a different
sticker_image_*slot - Variable sheet sizes - create templates with different grid layouts (4-up, 16-up) and let users choose how many stickers they want per sheet
- Slot-filling options - let users choose how many slots a single image should fill, then programmatically repeat that
background-imageURL across the corresponding modification objects
As mentioned earlier, the v5 API is not publicly available yet. However, you can sign up for a free Bannerbear account to start building with the current version and get access to v5 as soon as it drops!