Using a template for image generation doesn't mean sticking with one look. With Bannerbear's AI Background Generation, you can swap the backdrop for anything you can describe in a text prompt.
For example, you can style a skincare product on a sunny beach towel for a summer promo, then move it to a cozy autumn tablescape when the season changes. It's an easy and fun way to experiment with seasonal themes and new moods while your template stays the same.
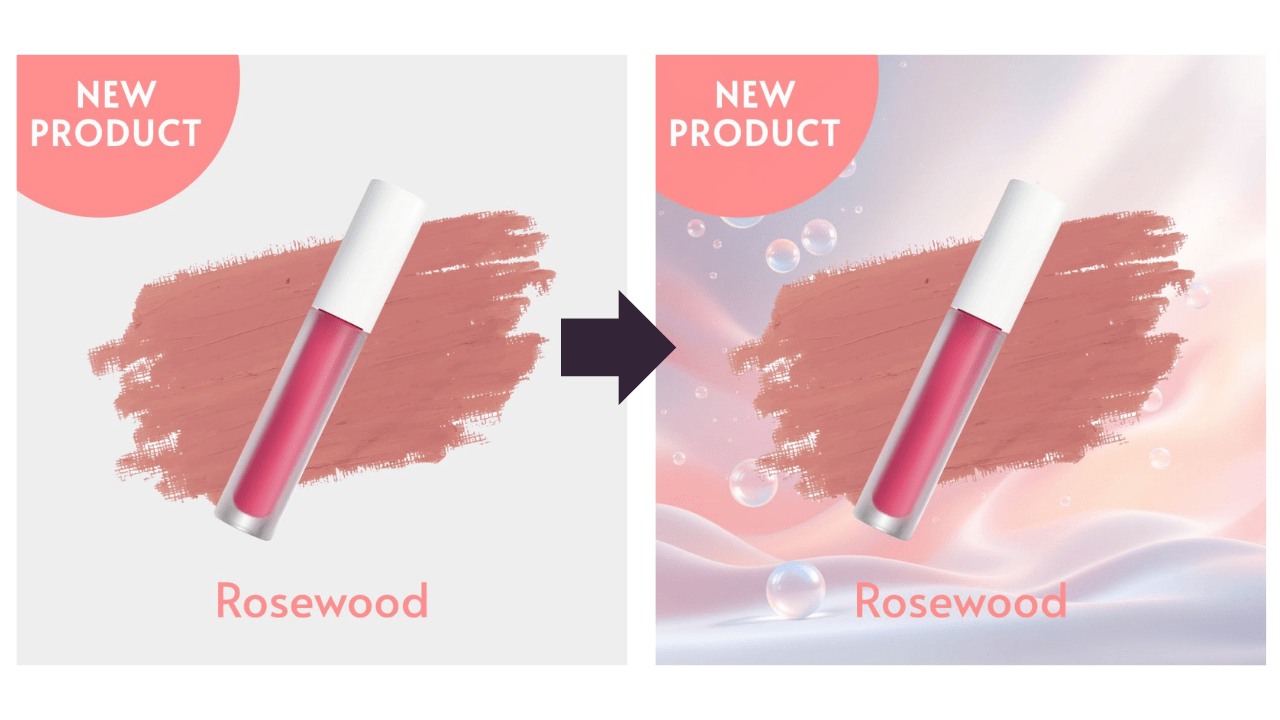
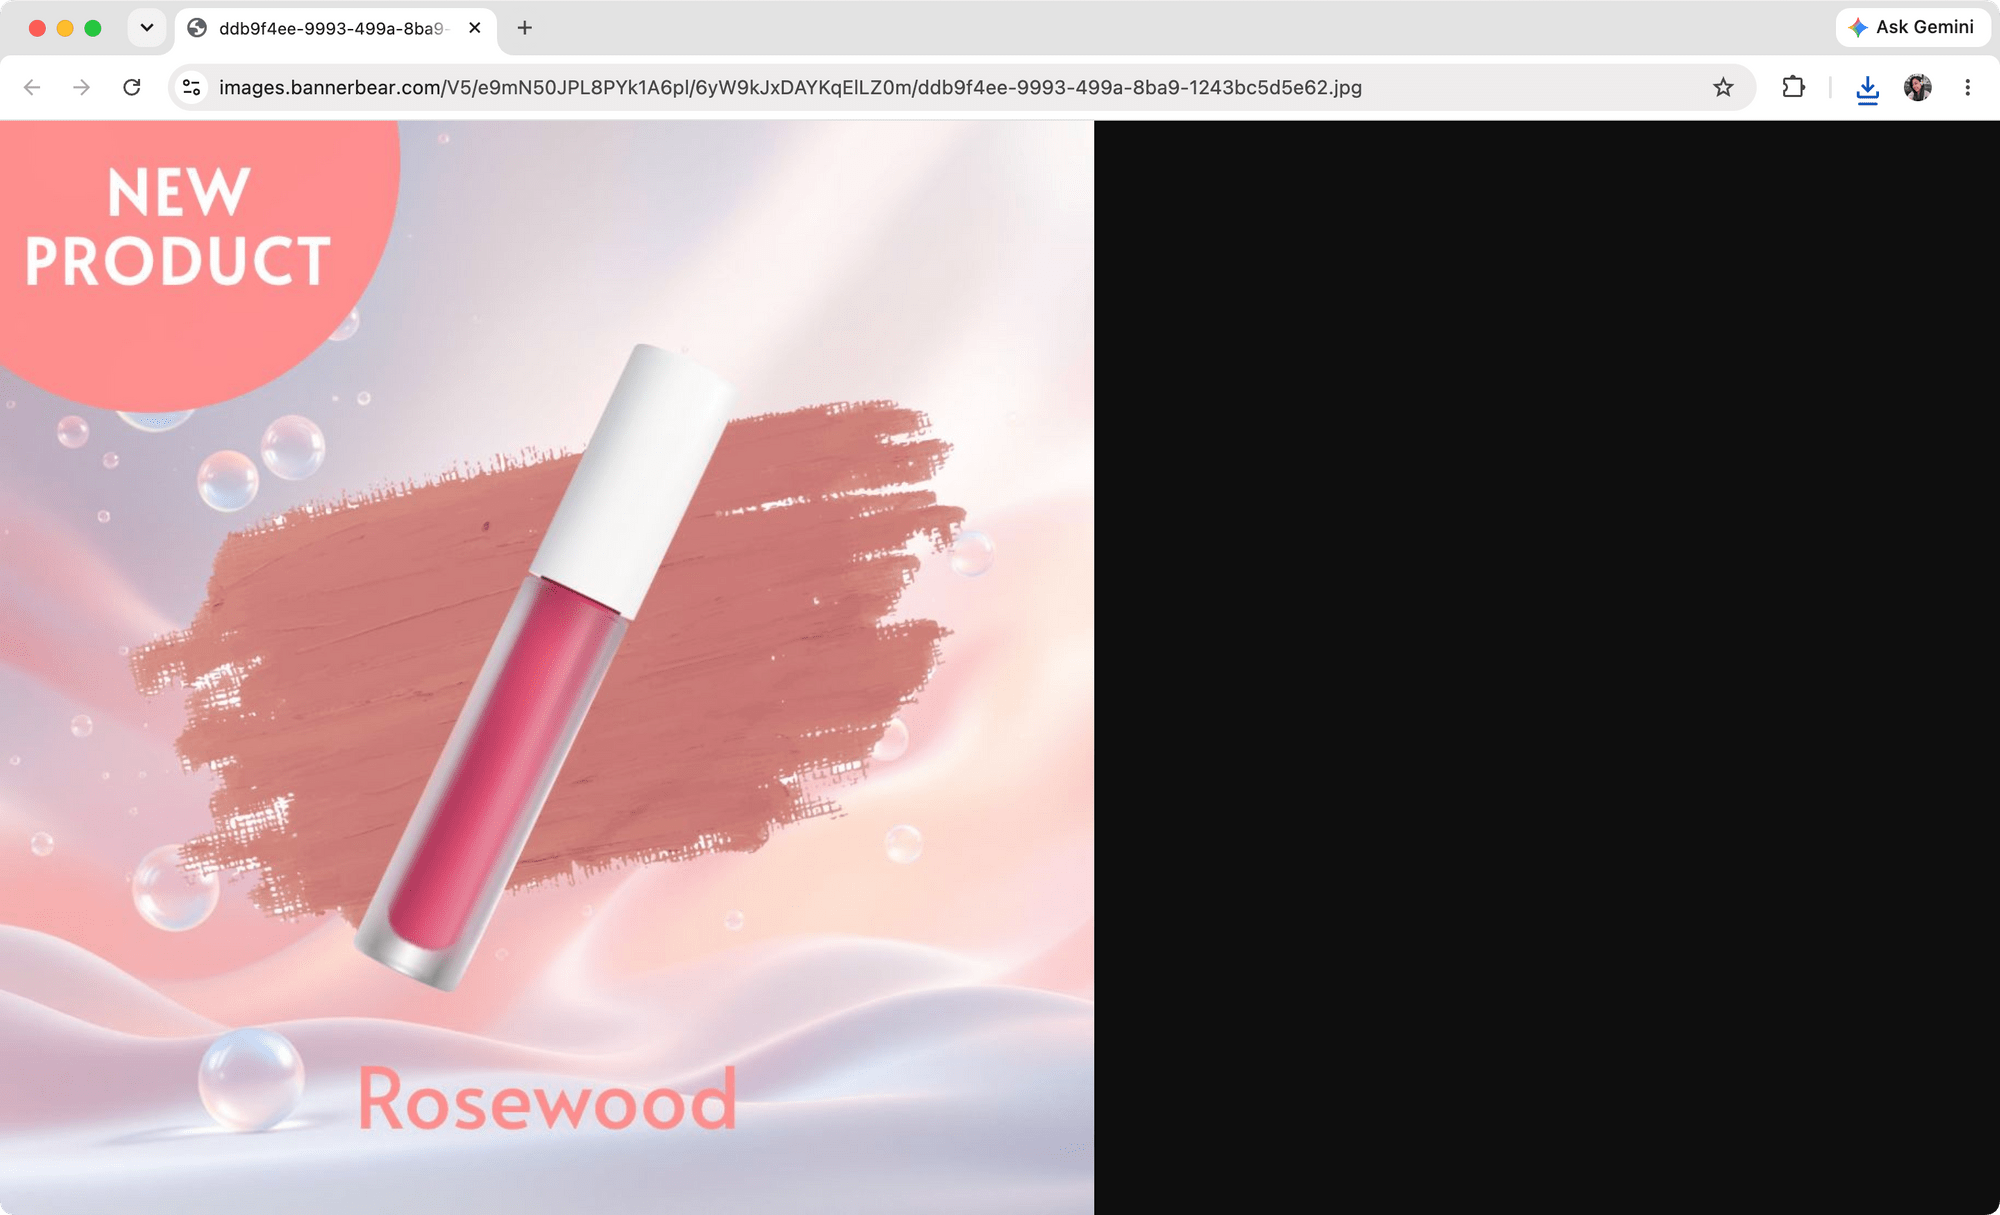
In this tutorial, we will set up AI Background Generation in a Bannerbear template and then generate images with AI backgrounds programmatically using the Bannerbear API in Node.js, generating results like this:
Let's get started!
What Is AI Background Generation in Bannerbear?
Bannerbear is a service that auto-generates images and videos from templates. You design a template once in the Bannerbear editor, and Bannerbear turns it into an API. Every layer in the template (text, images, shapes, etc.) becomes an object that you can modify dynamically in your API requests.
AI Background Generation is a feature of Bannerbear's v5 Image Container objects. When it's enabled, you can pass an ai-prompt parameter in your API request, and Bannerbear will generate a background image based on the prompt and place it inside that container automatically. This means every image you generate can have a completely unique background, without relying on stock photos, manual uploads, or extra image generation service to integrate.
It pairs nicely with Bannerbear's other AI features, like AI Background Removal and AI Detection (which positions images automatically based on face or subject detection). Combining them, you can build a fully automated pipeline that remove messy background from a raw product photo, then drop the clean product onto a freshly generated AI background.
🐻 Bear Tips: We’ve demonstrated the usage of the other two AI features in How to Automatically Remove Image Backgrounds of Product Photos with the Bannerbear V5.
Getting Started
To follow along with this tutorial, you will need:
- A Bannerbear account (sign up for free here)
- Node.js and npm installed
Note: This tutorial uses the v5 API, which is not compatible with v2 API keys (and vice versa). Make sure you switch to v5 in your dashboard.
Setting Up AI Background Generation in the Template Editor
Before the API can generate backgrounds for you, the template itself needs an image container with AI Background Generation enabled. We'll use a simple beauty product thumbnail template as the example, but the same steps apply to any template.
Duplicate the template to your account, and follow the steps below:
Step 1. Add a Rectangle Image Container
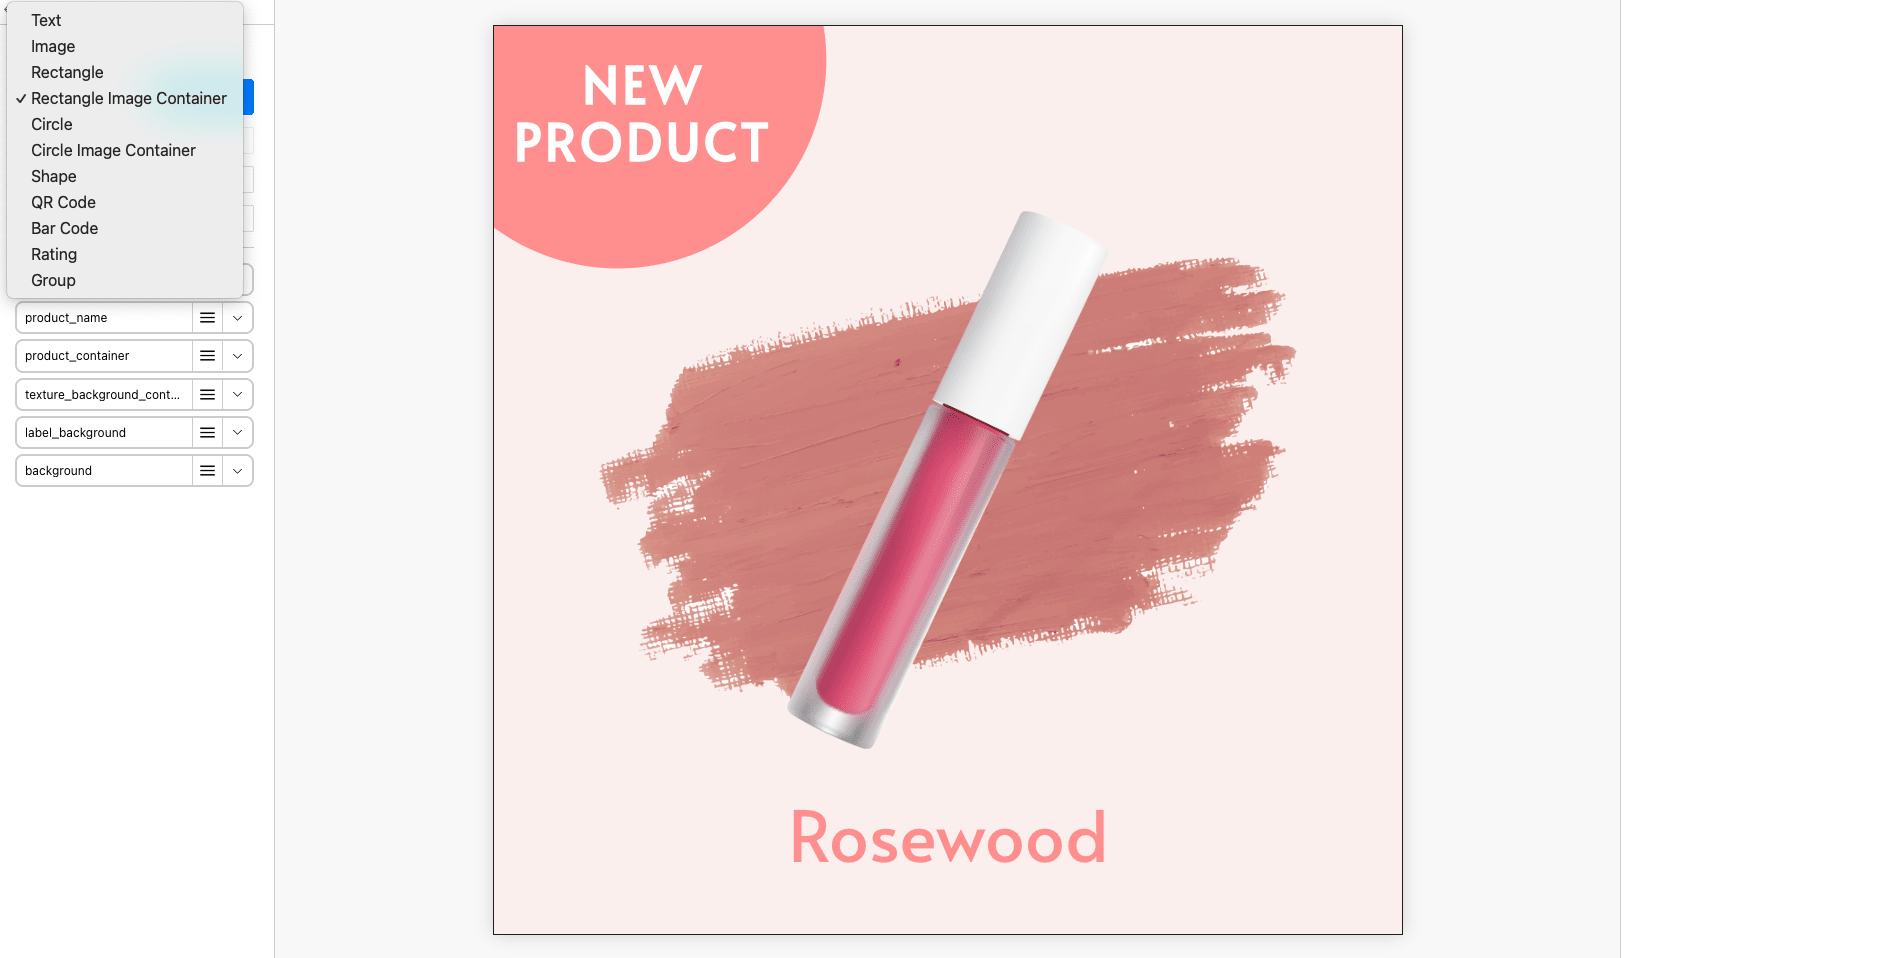
Open your template in the Bannerbear (v5) template editor. In the left panel, click the object type dropdown next to the “Add Object” button and select Rectangle Image Container , then click “Add Object” :
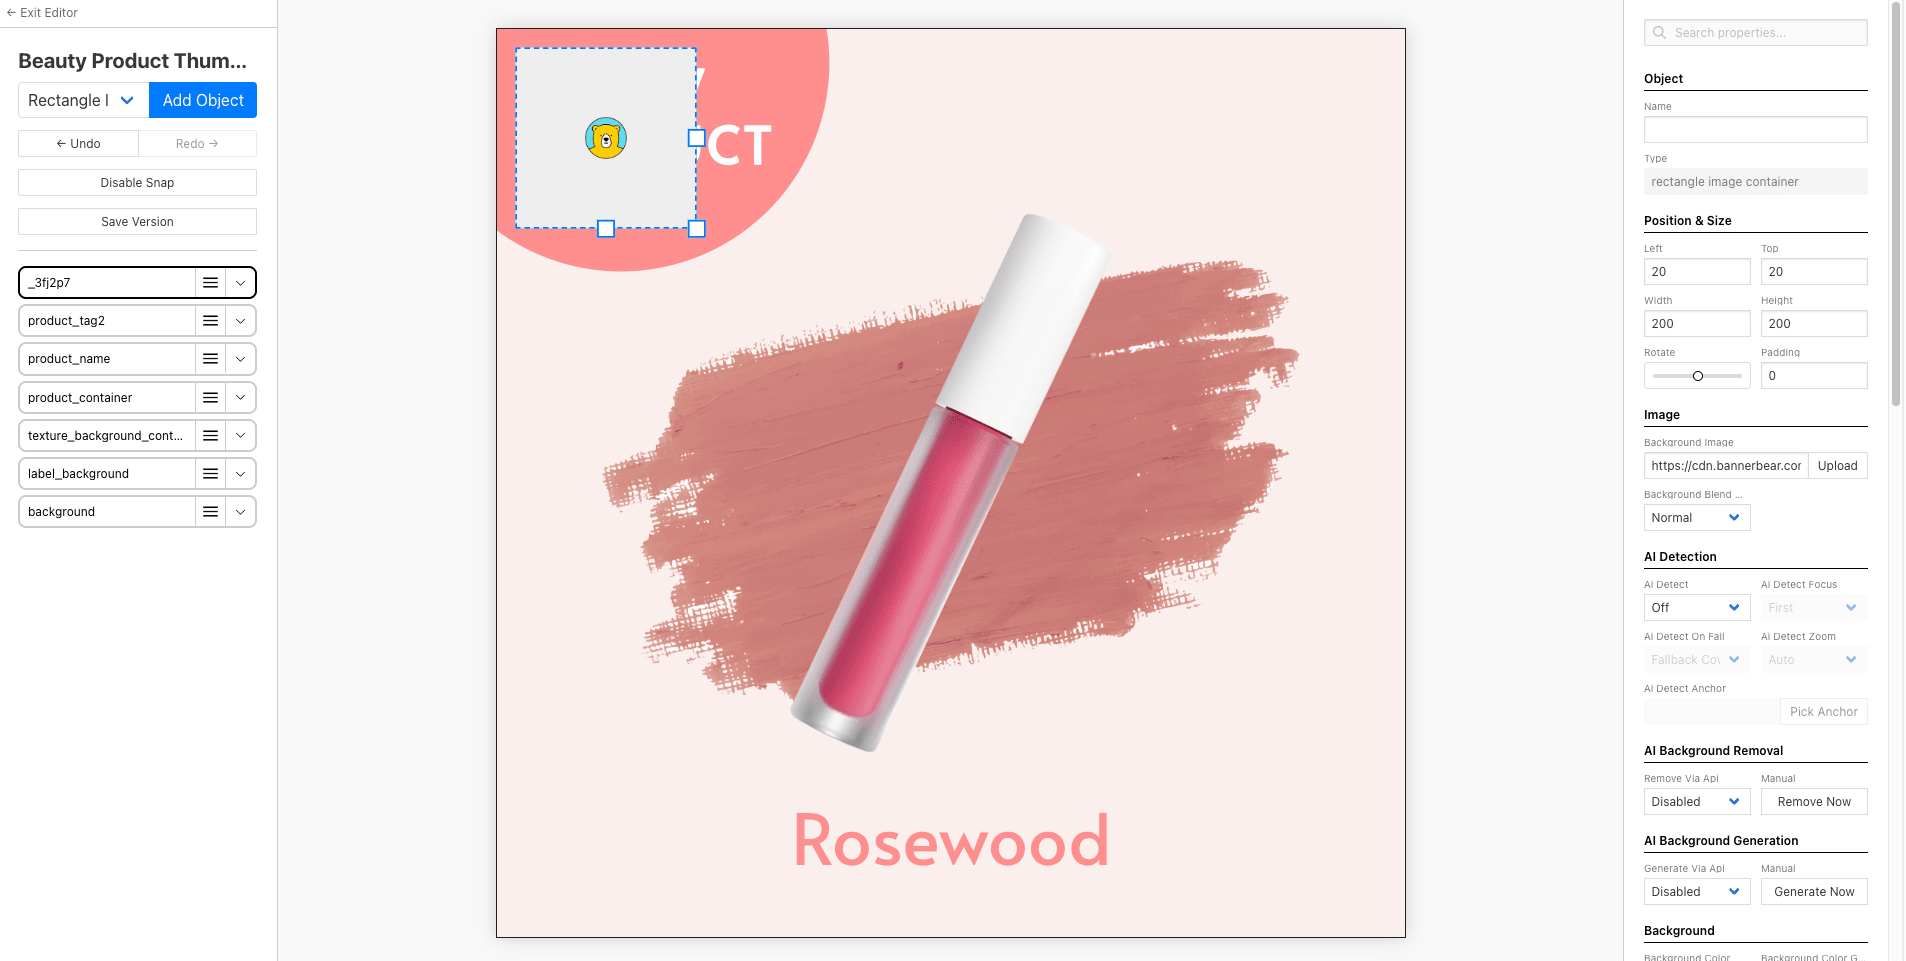
A new image container will appear on the canvas as a small placeholder:
Step 2. Position and Name the Container
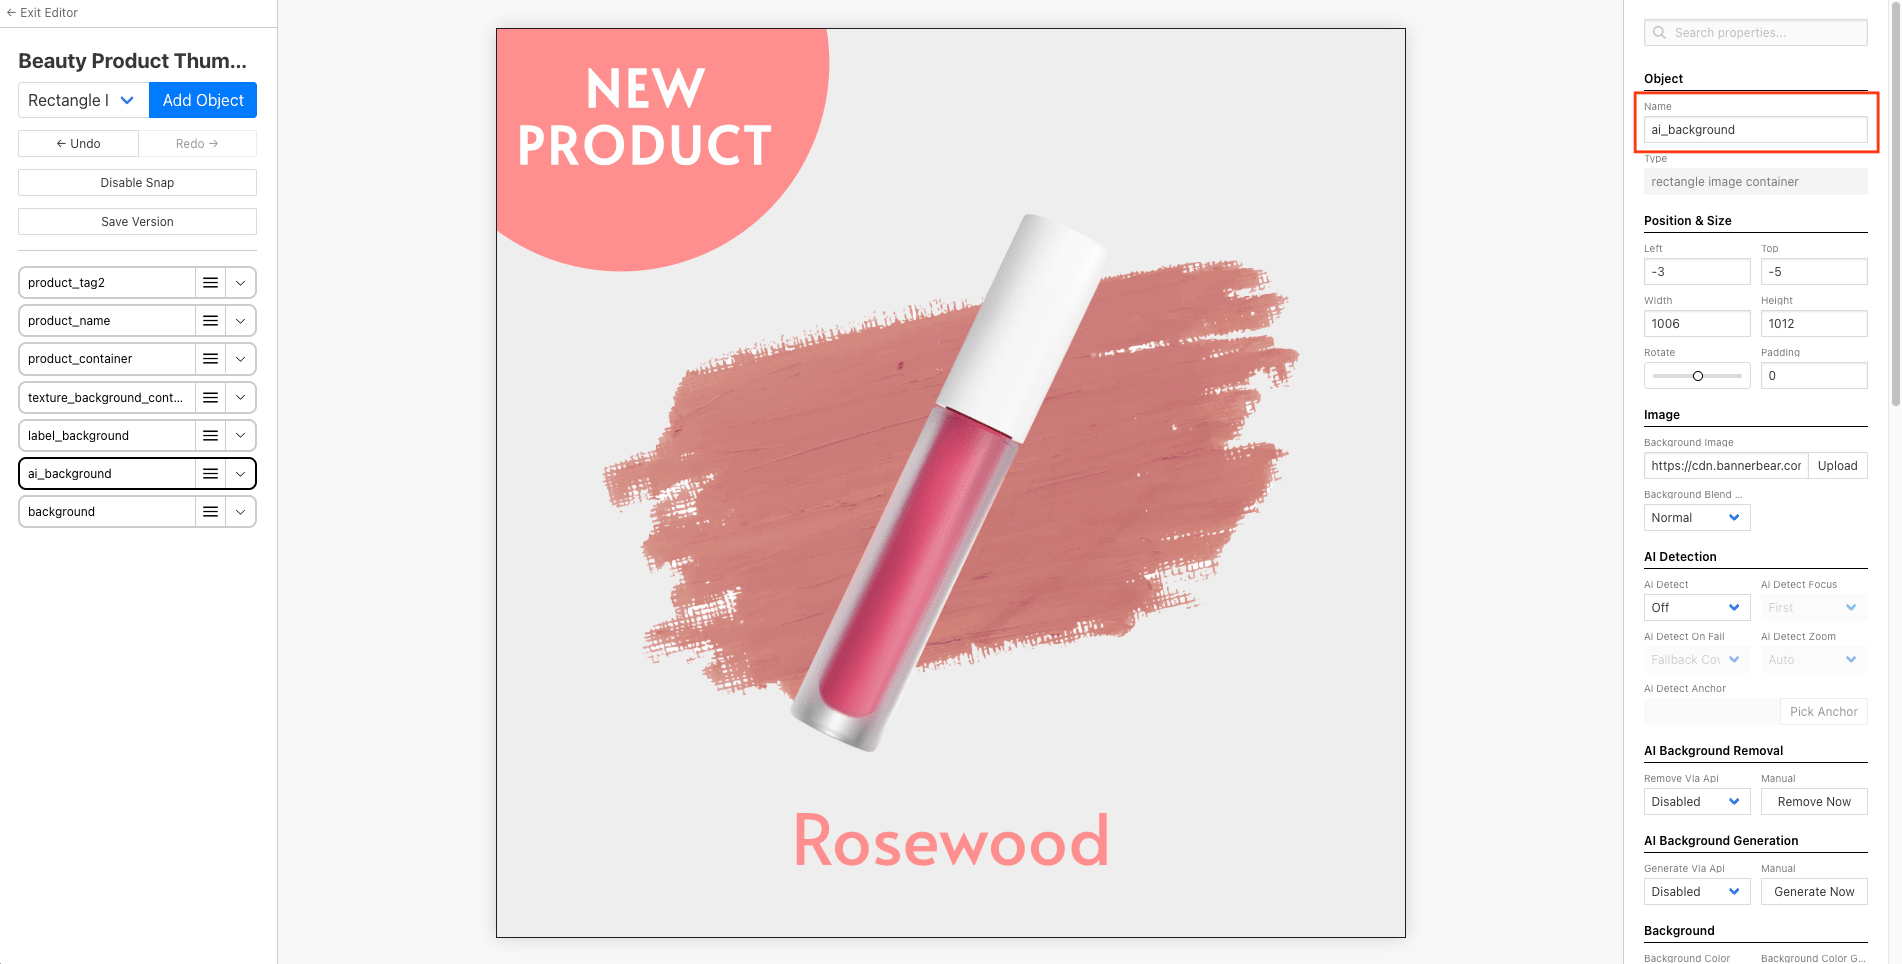
Resize the container so that it covers the full canvas (or whichever area you want the AI background to fill), and drag it down the layer list so that it sits behind your product image, text, and other foreground elements.
Give it a descriptive layer name like ai_background:
Step 3. Enable AI Background Generation
With the ai_background container selected, scroll down the settings panel on the right until you find the AI Background Generation section. Under Generate Via API , change the dropdown from Disabled to Enabled :
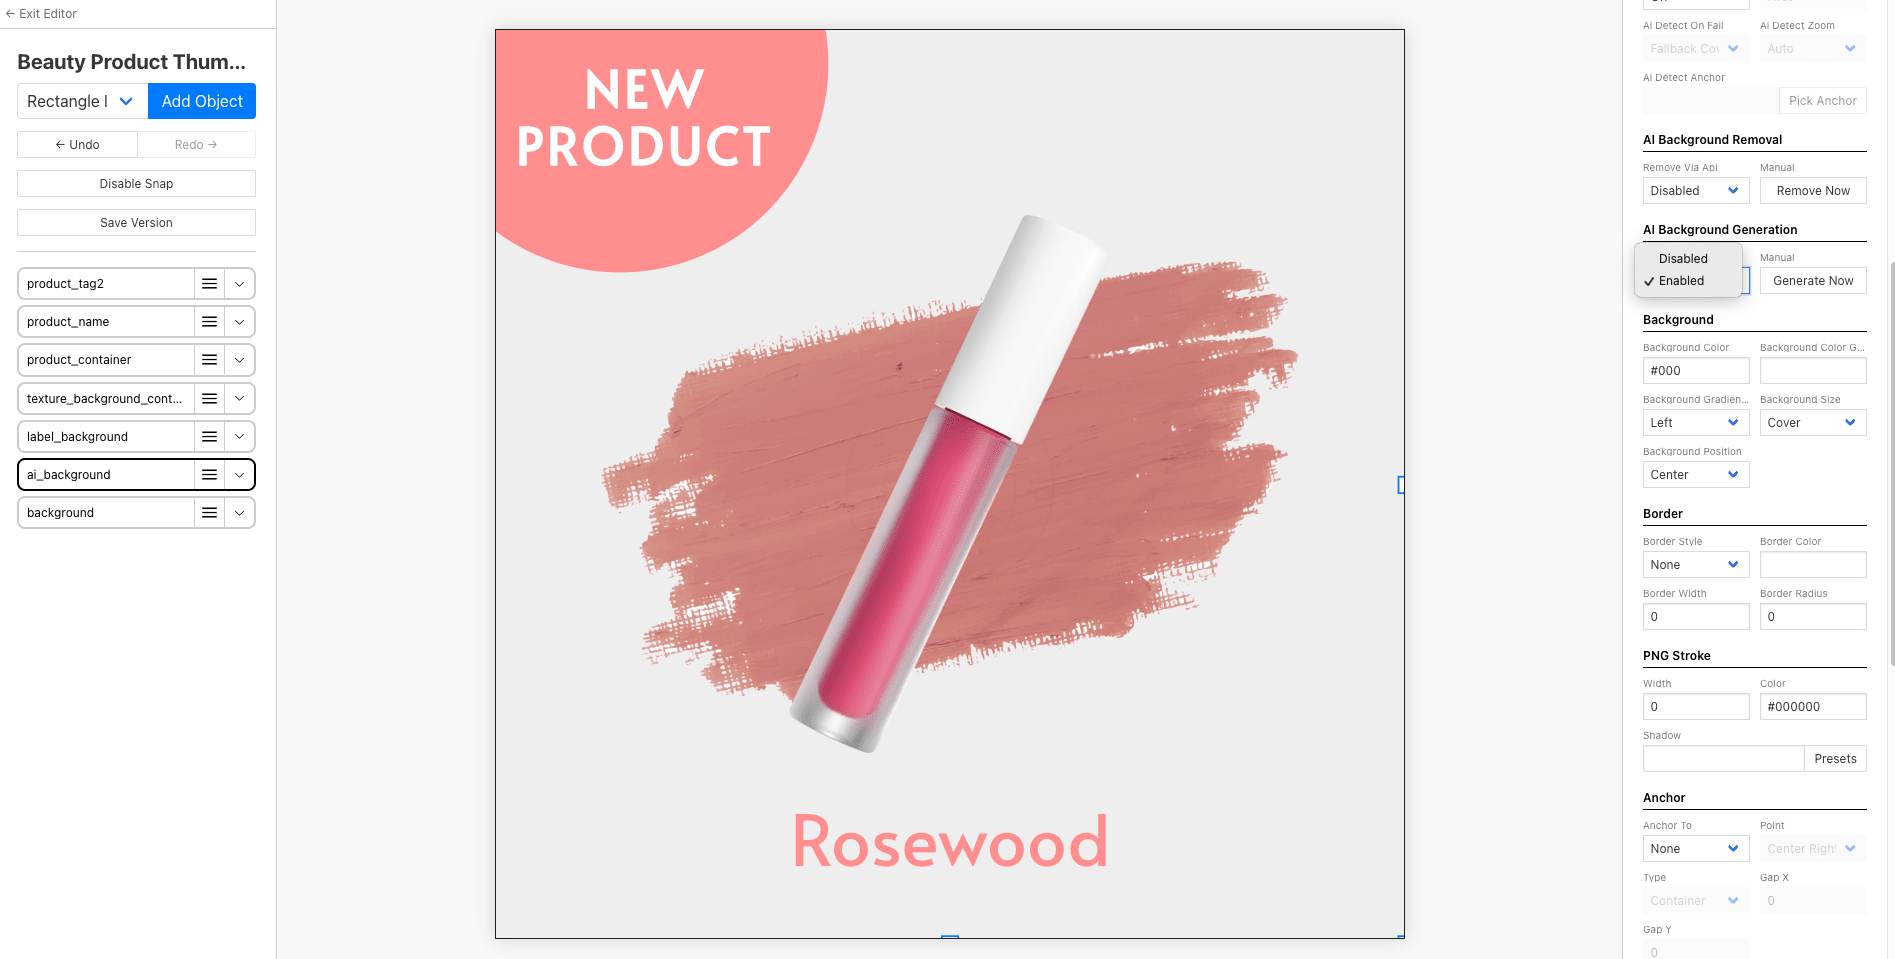
That's all the template setup you need! Click “Save Version” to save your changes.
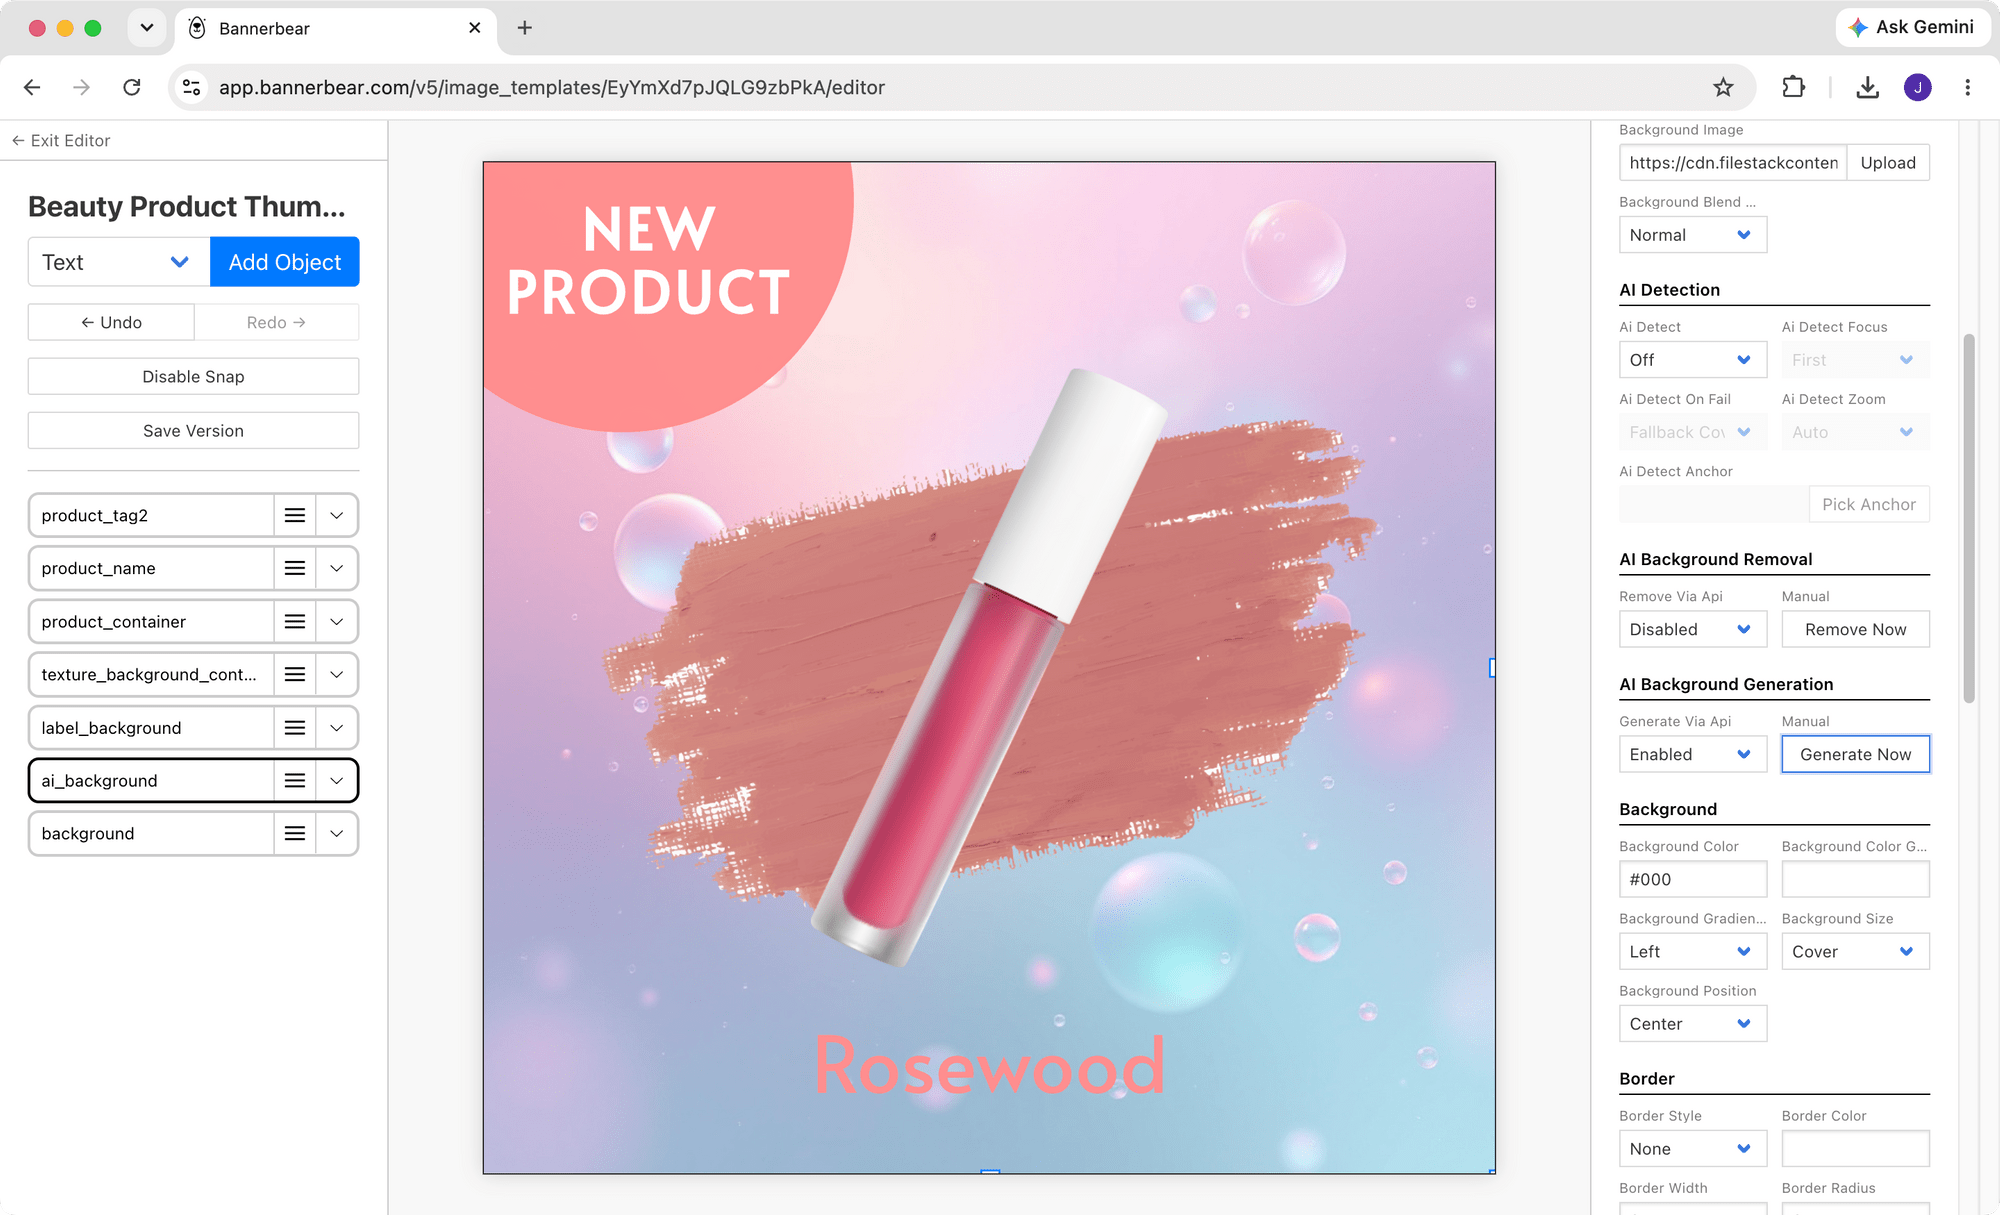
🐻 Bear Tips: You'll also see a “Generate Now” button next to the dropdown. This lets you generate a background manually inside the editor, which can be handy for previewing how an AI background will look in your design.
Generating Images with AI Backgrounds via the API
We'll use Node.js to generate images programmatically with the native fetch API. Here’s how:
Step 1. Set Up the Project
Create a new folder for your project and init a new project in the directory:
mkdir bannerbear-ai-backgrounds
cd bannerbear-ai-backgrounds
npm init -y
npm install dotenv
Next, create a .env file in your project root to store your Bannerbear API key and template ID:
BANNERBEAR_API_KEY=your_api_key_here
BANNERBEAR_TEMPLATE_UID=your_template_uid_here
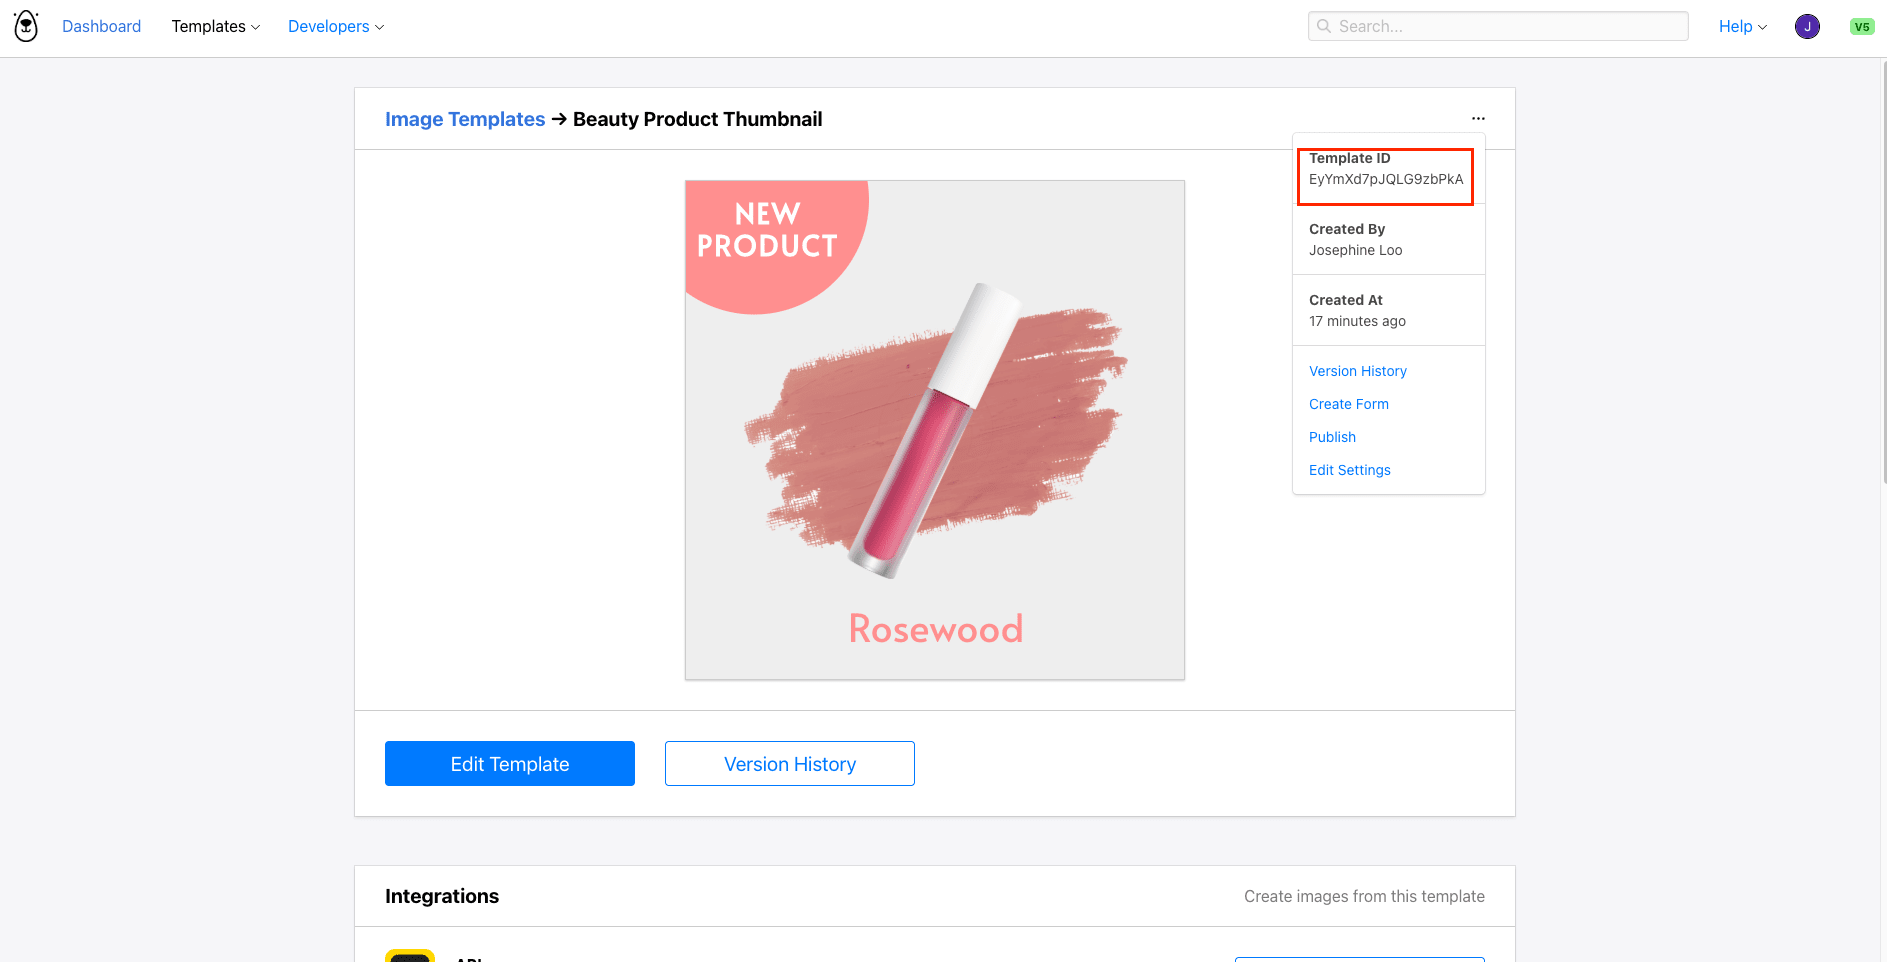
You can find the template ID in the top right corner of your template:
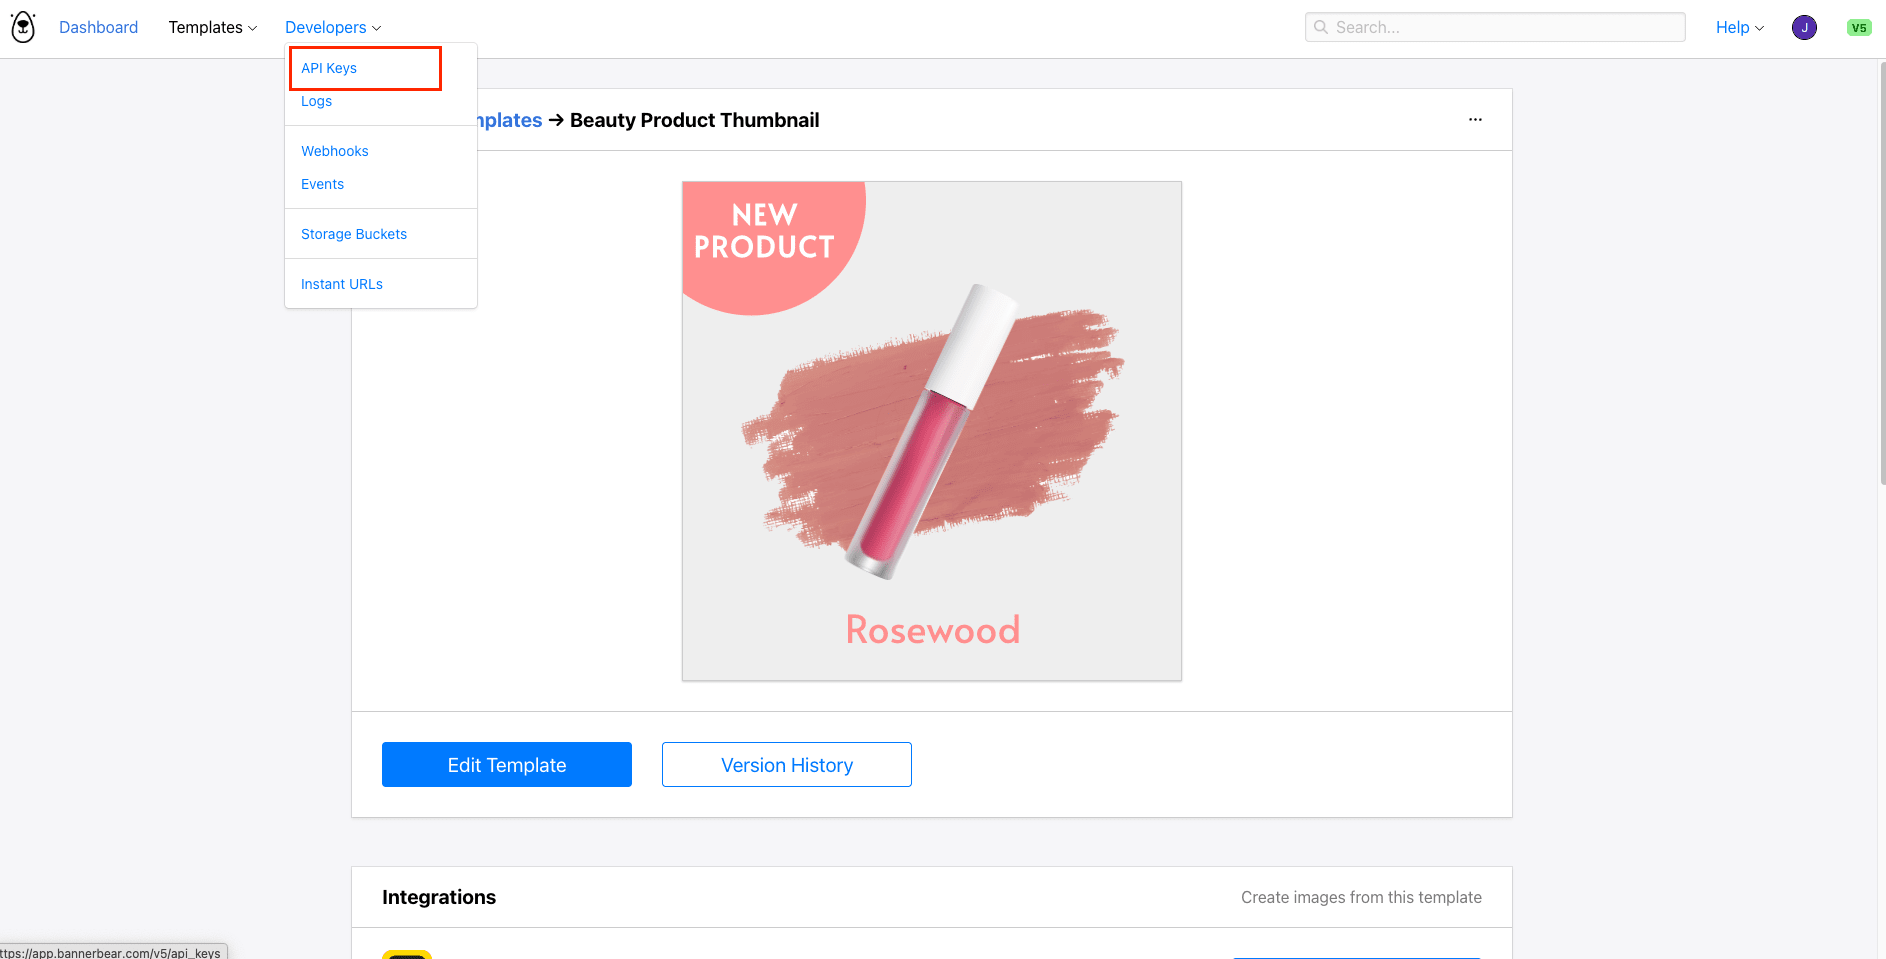
The API key can be found under Developers → API Keys :
Step 2. Send the Image Generation Request
Create a file named generate.js and add the code below:
require('dotenv').config();

const API_KEY = process.env.BANNERBEAR_API_KEY;
const TEMPLATE_UID = process.env.BANNERBEAR_TEMPLATE_UID;

(async () => {
  const data = {
    template: TEMPLATE_UID,
    modifications: {
      objects: [
        {
          name: 'ai_background',
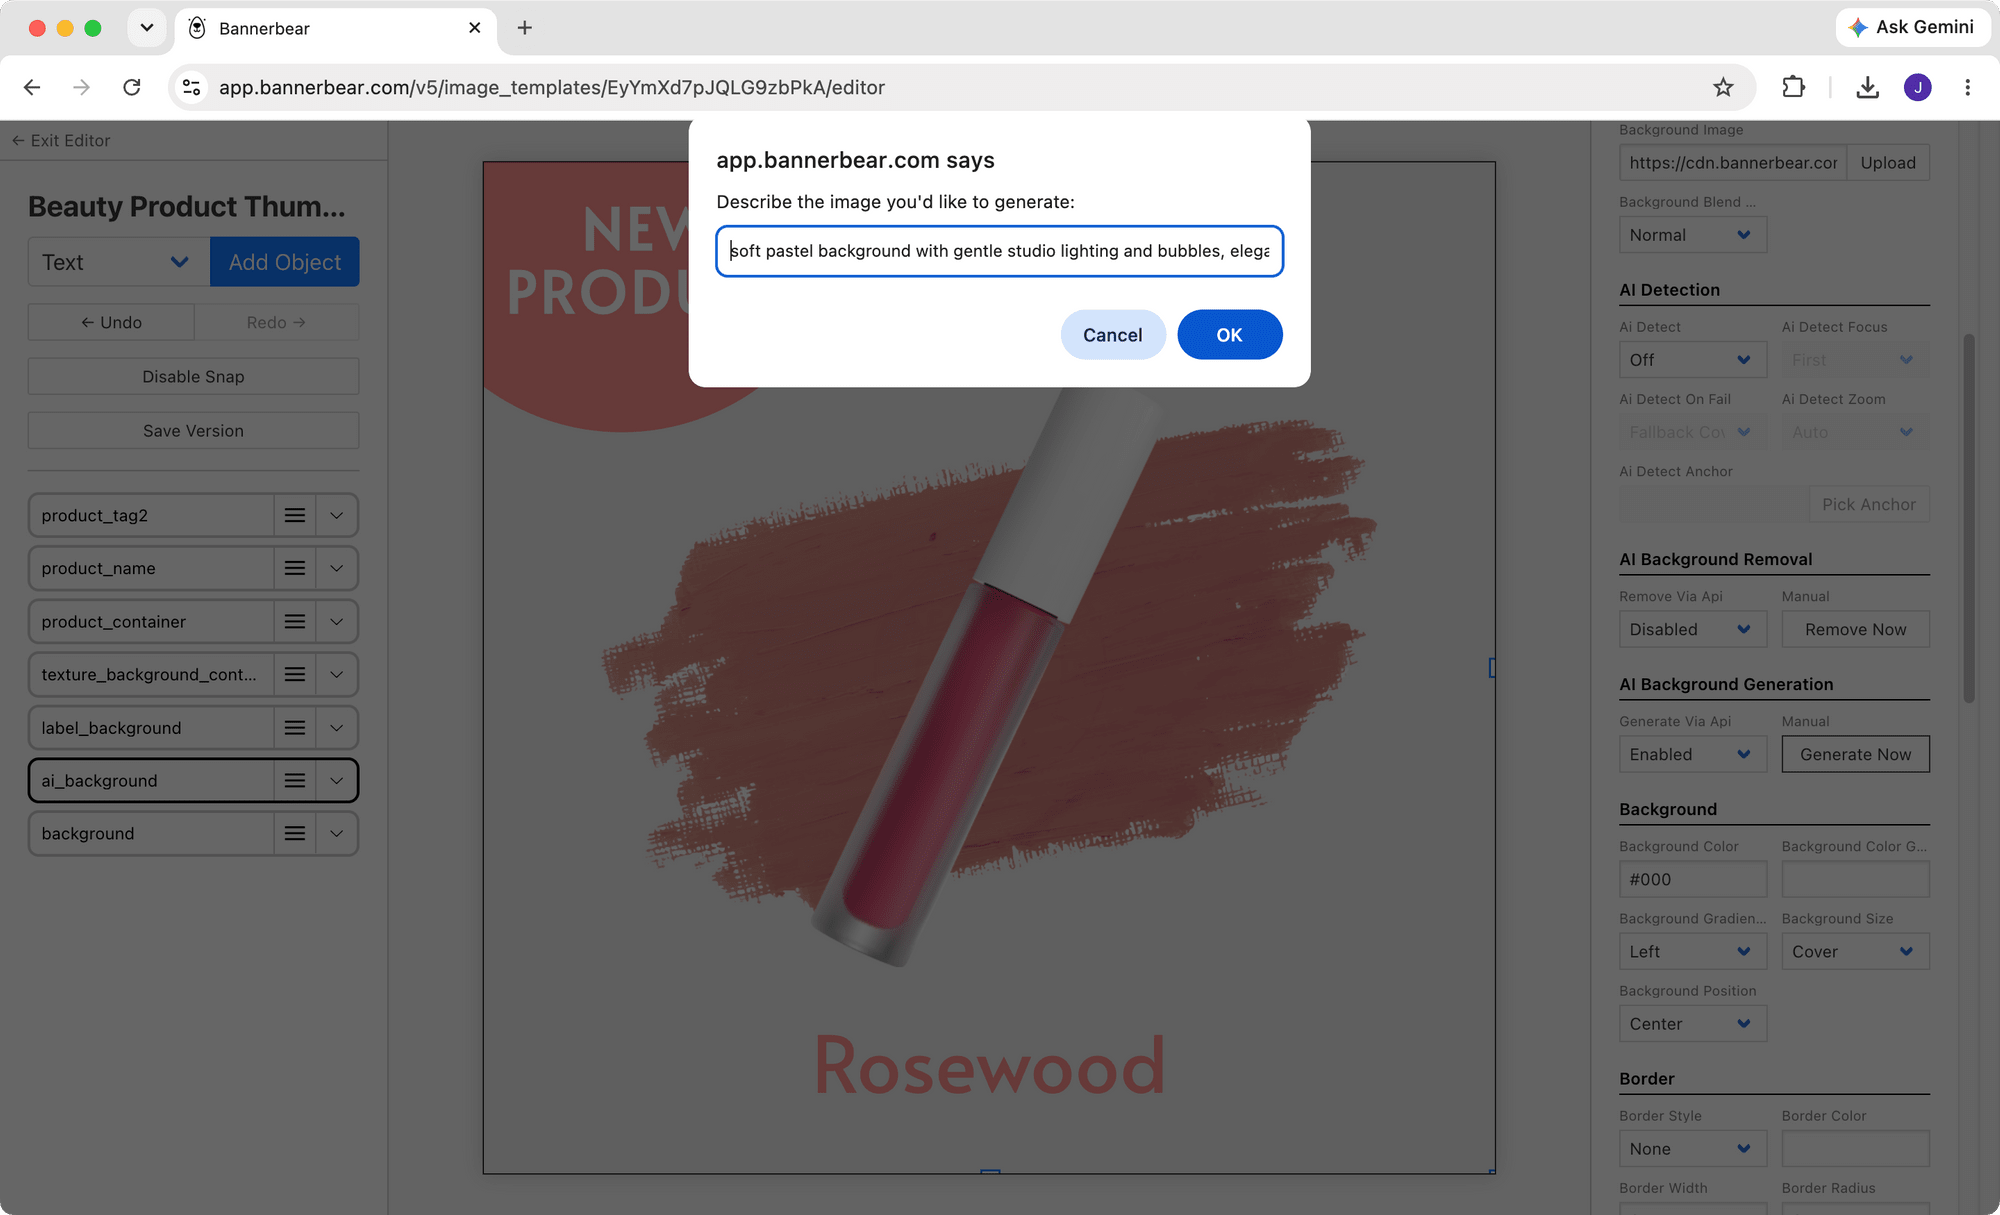
          'ai-prompt': 'soft pastel background with gentle studio lighting and bubbles, elegant and minimal'
        }
      ]
    }
  };

  // Send the POST request to the synchronous endpoint
  const response = await fetch('https://sync.api.bannerbear.com/v5/images', {
    method: 'POST',
    body: JSON.stringify(data),
    headers: {
      'Content-Type': 'application/json',
      'Authorization': `Bearer ${API_KEY}`
    }
  });

  // The response contains the completed image
  const image = await response.json();
  console.log('Image ready:', image.files.png);
})();
Here’s what the code does…
It builds a request payload containing the template ID and a modifications.objects array, which tells Bannerbear which layers of the template to change and how:
const data = {
  template: TEMPLATE_UID,
  modifications: {
    objects: [
      {
        name: 'ai_background',
        'ai-prompt': 'soft pastel background with gentle studio lighting and bubbles, elegant and minimal'
      }
    ]
  }
};
To generate an AI background, all you need to do is include your image container in the modifications.objects array with an ai-prompt:
{
  name: 'ai_background',
  'ai-prompt': 'soft pastel pink silk fabric background with gentle studio lighting, elegant and minimal, beauty product photography'
}
Other layers that are not included in the modifications.objects array will remain unchanged.
The payload is then sent as a POST request to the synchronous /v5/images endpoint, with the API key passed as a Bearer token in the Authorization header:
const response = await fetch('https://sync.api.bannerbear.com/v5/images', {
  method: 'POST',
  body: JSON.stringify(data),
  headers: {
    'Content-Type': 'application/json',
    'Authorization': `Bearer ${API_KEY}`
  }
});
Because we're using the sync base URL, Bannerbear renders the image before responding—so by the time the response arrives, the image is finished and its image URL can be printed straight from image.files.jpg:
const image = await response.json();
console.log('Image ready:', image.files.jpg);
Step 3. Get the Result
Run the command below in your terminal to execute the script:
node generate.js
When you see the image URL printed in the console, open the it. You'll see your product sitting on an AI-generated background generated entirely from your text prompt:
🐻 Bear Tips: Need lots of variations? Bannerbear’s Batches API lets you submit up to 100 image payloads in a single request, each with its own
ai-prompt.
Writing Better AI Background Prompts
The quality of your generated background depends heavily on your prompt. Here’s a few tips to write better prompts:
- Describe the scene, lighting, and mood : "warm wooden table with morning sunlight and soft shadows" works better than just "wood".
- Mention the photography style : Adding phrases like "product photography" or "studio lighting" steers the output toward clean, commercial-looking results.
- Keep the subject out of it : Since your product is already supplied separately, the prompt should describe the background only.
Experiment with the “Generate Now” button in the editor to test your prompts before wiring them into your code:
Conclusion
That's it! With a single image container and one extra parameter in your API request, the same template can now produce endless background variations, whether it’s a different scene, season, or mood for every image, without ever redesigning the template or hunting for stock photos.
Feel free to play around with different prompts and see what works best!